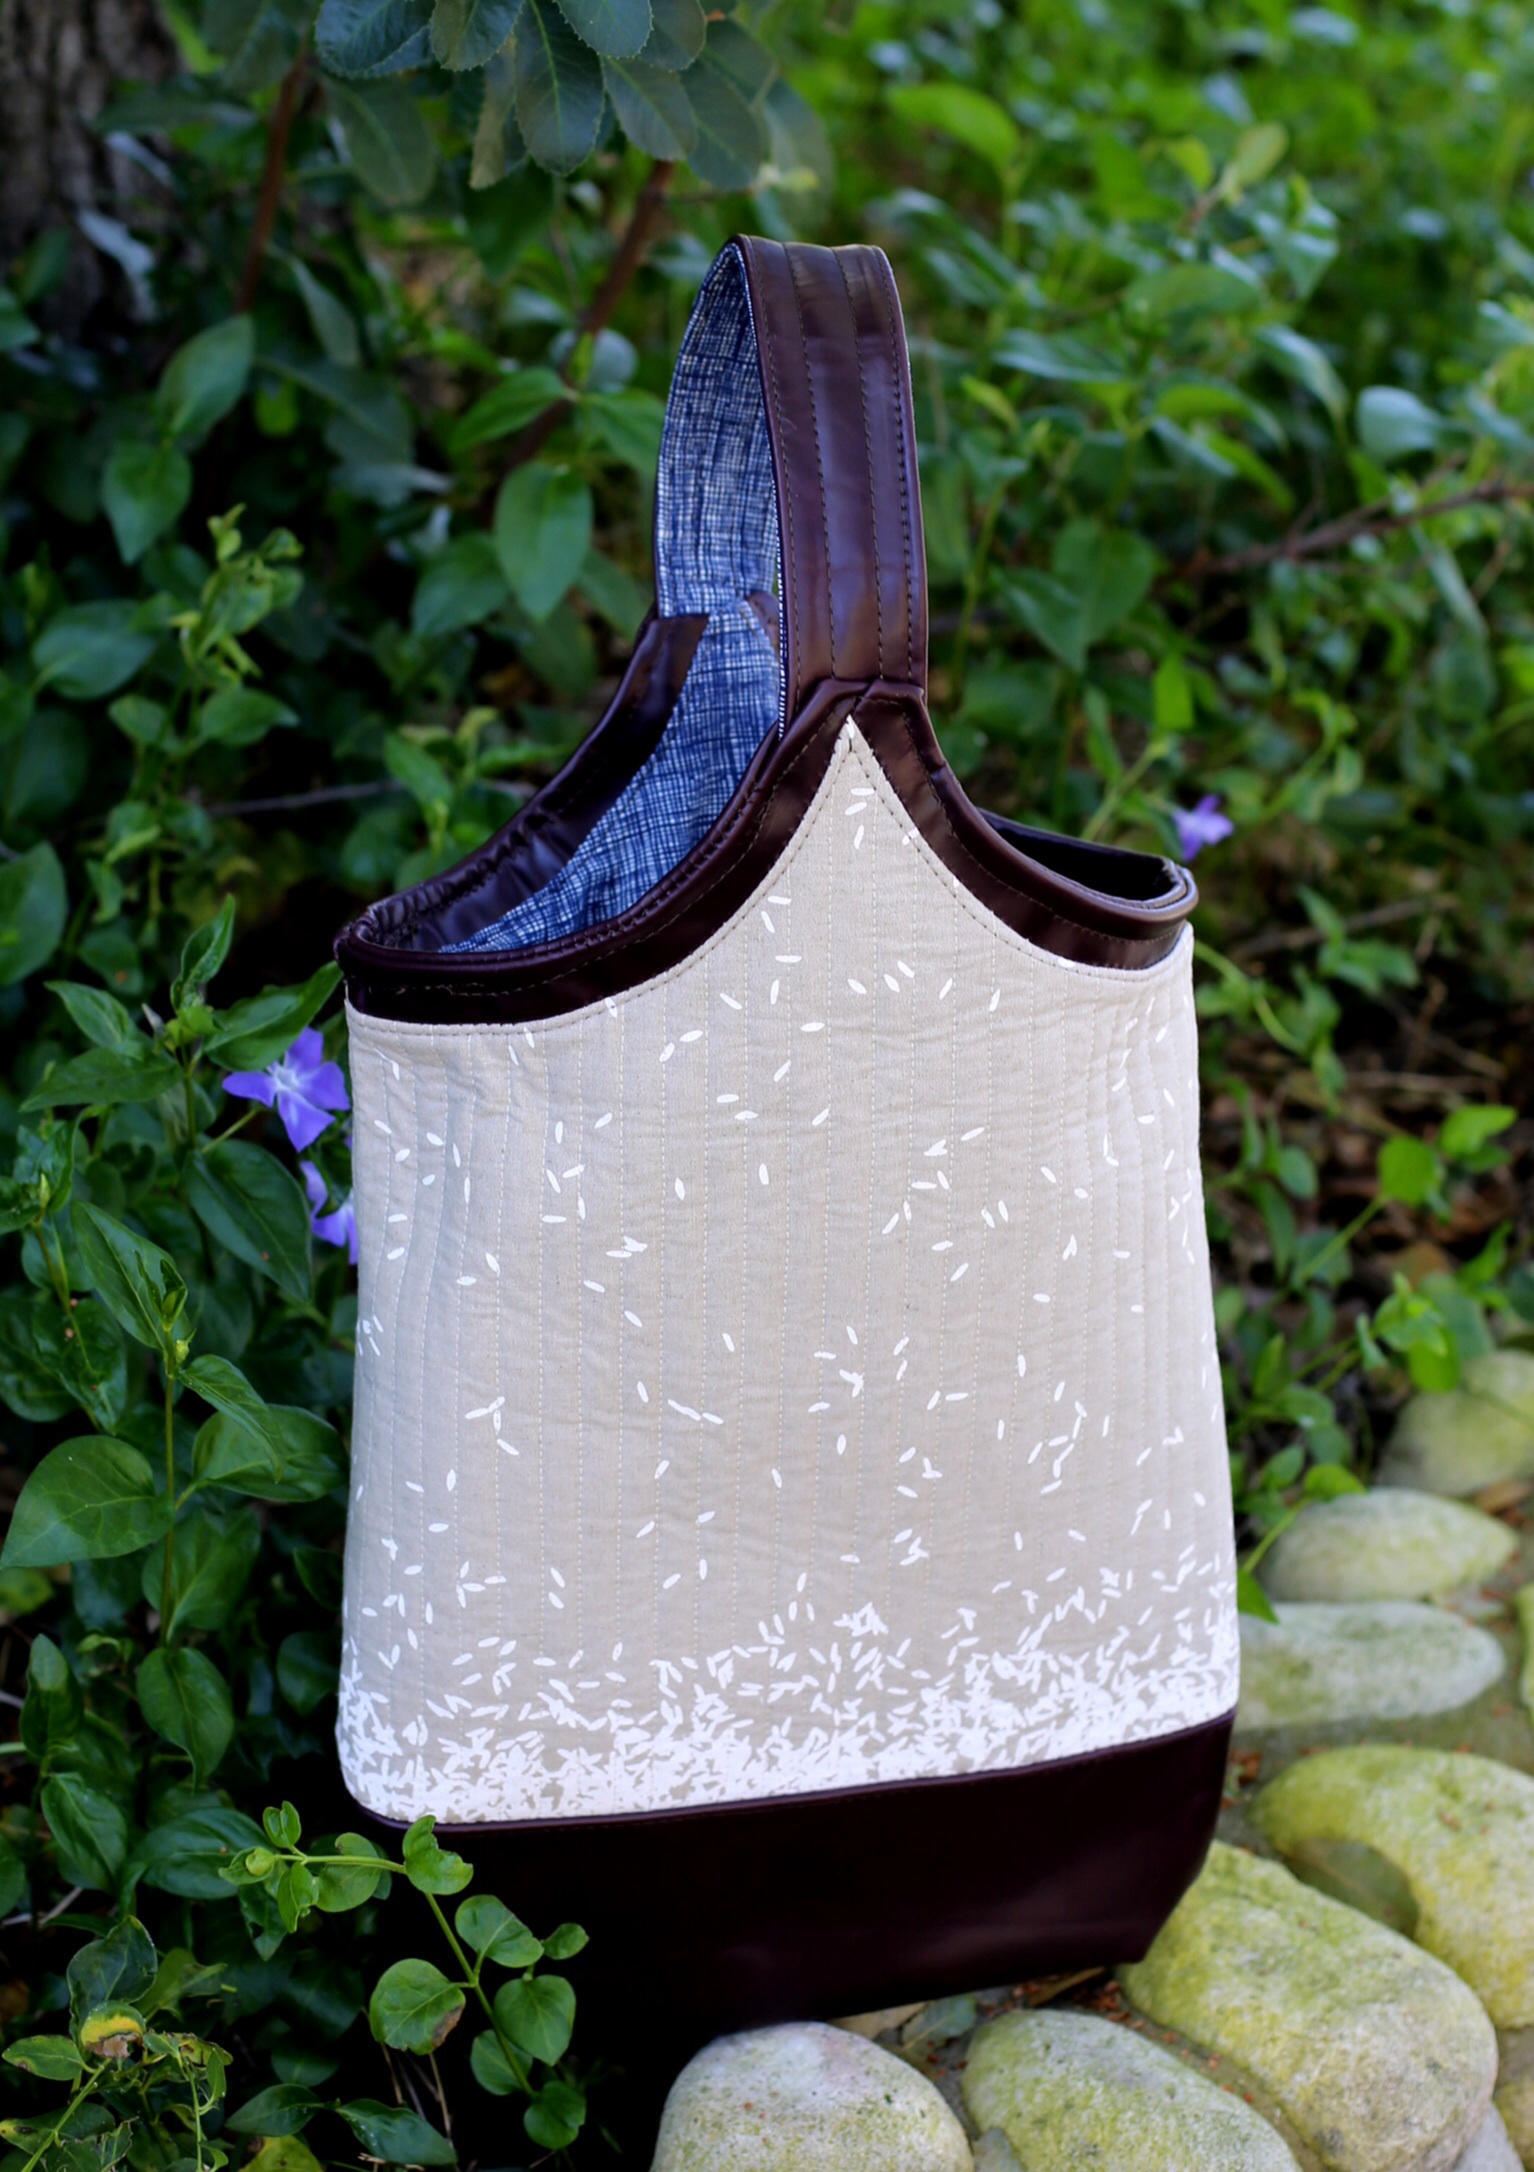
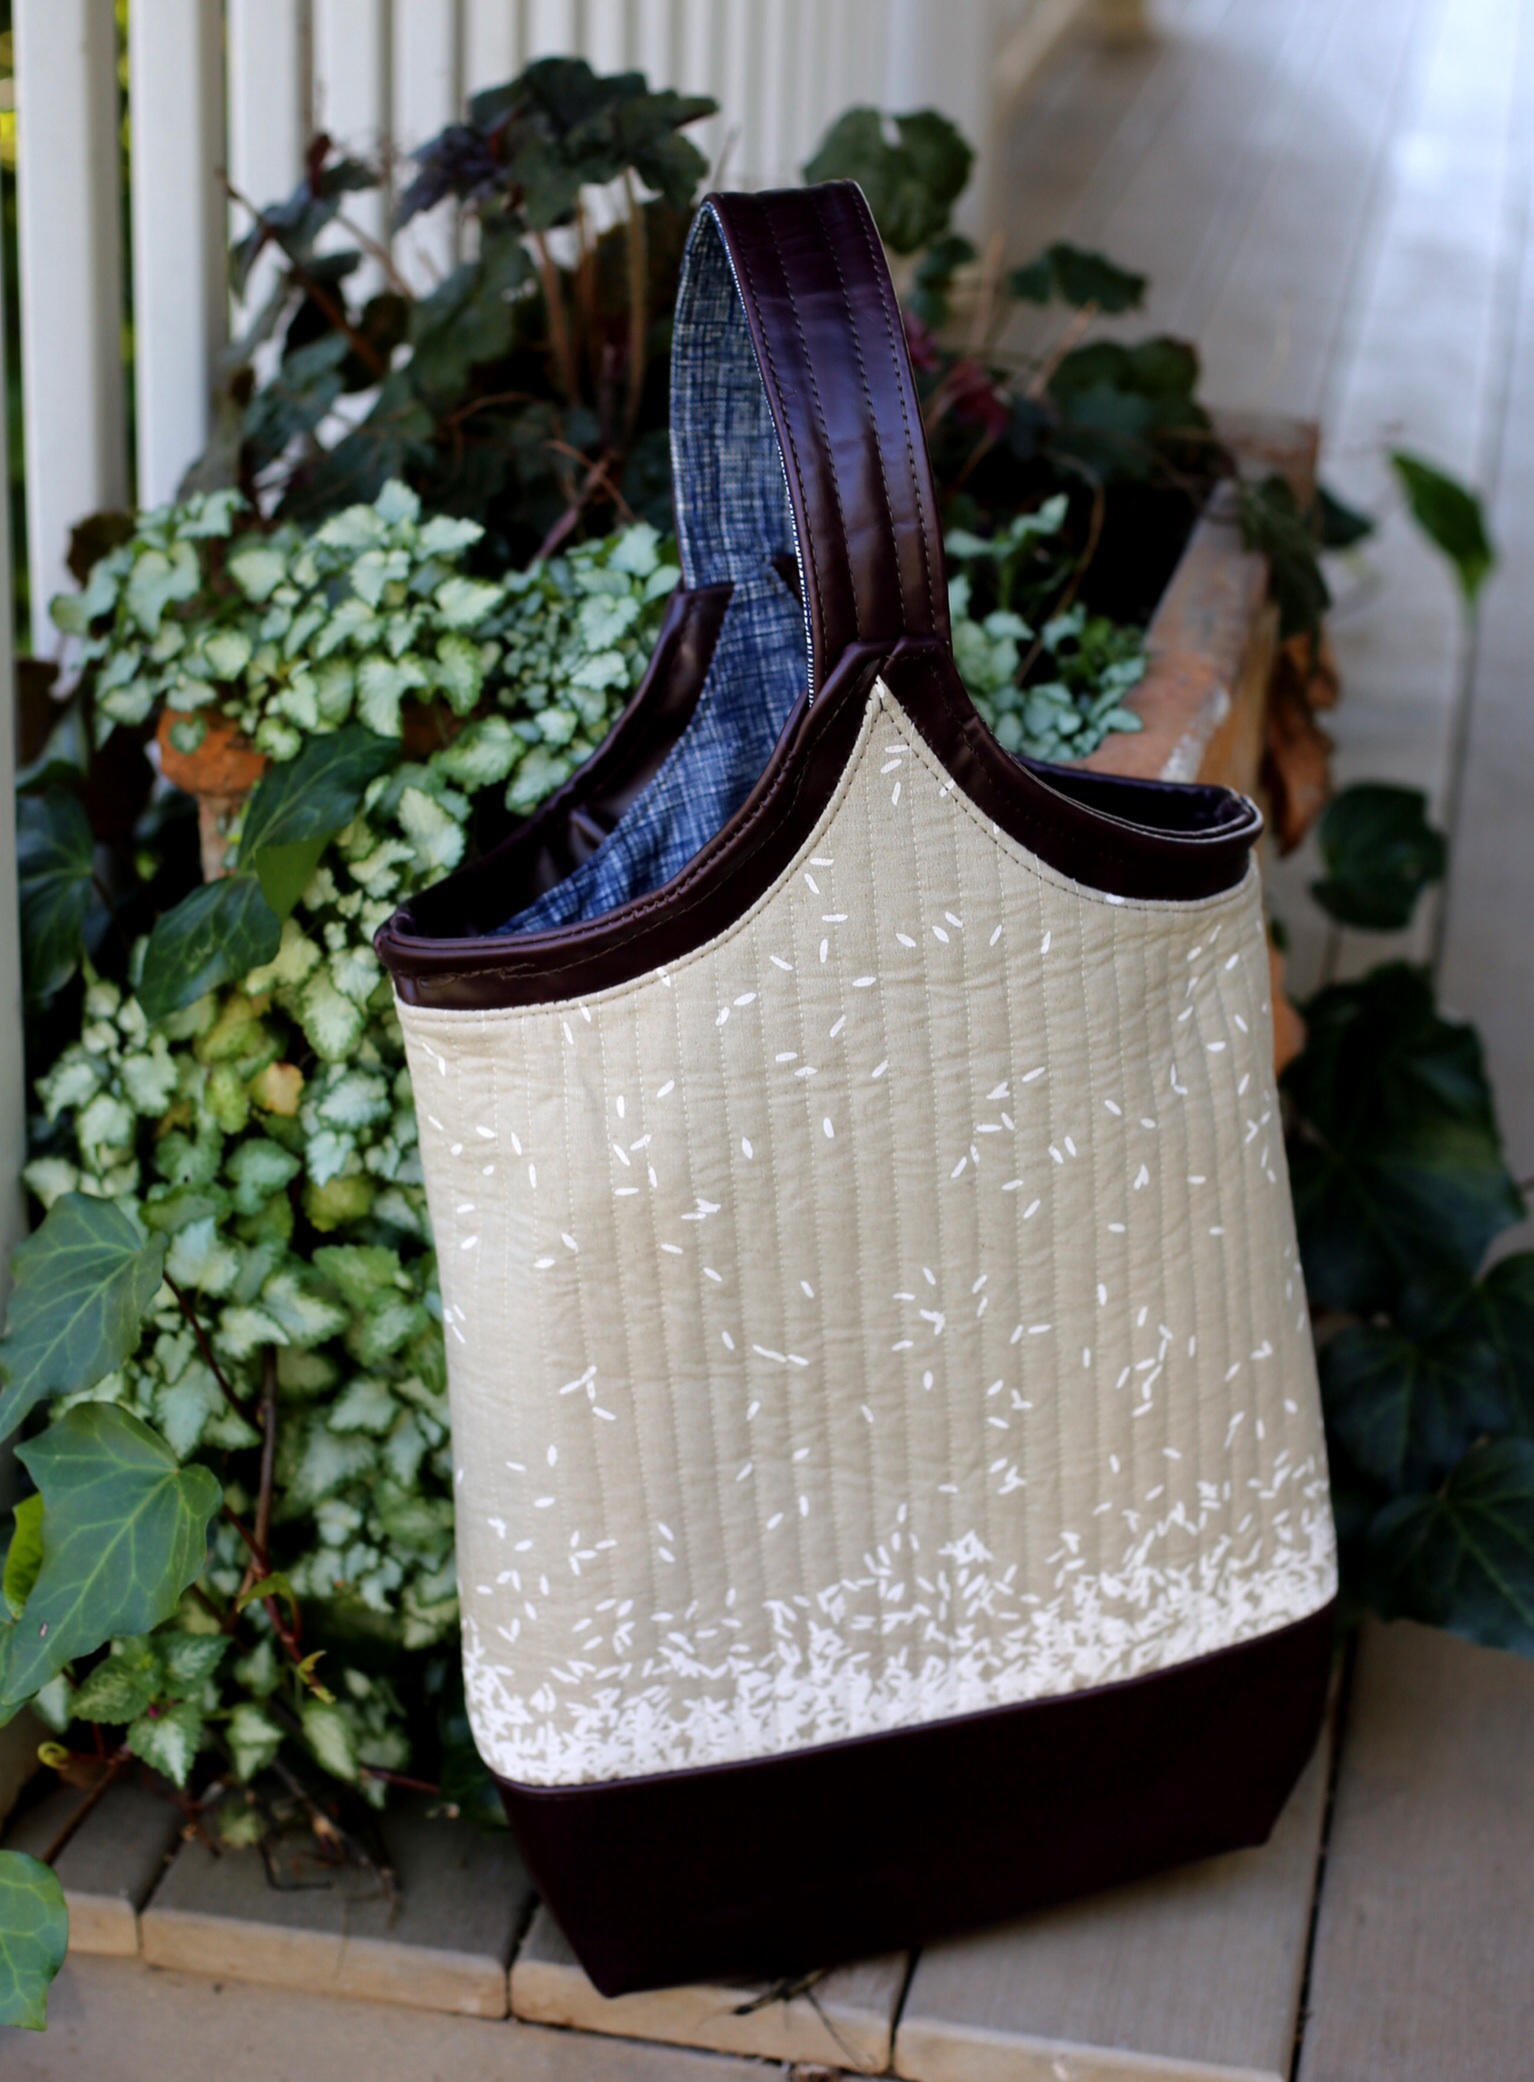
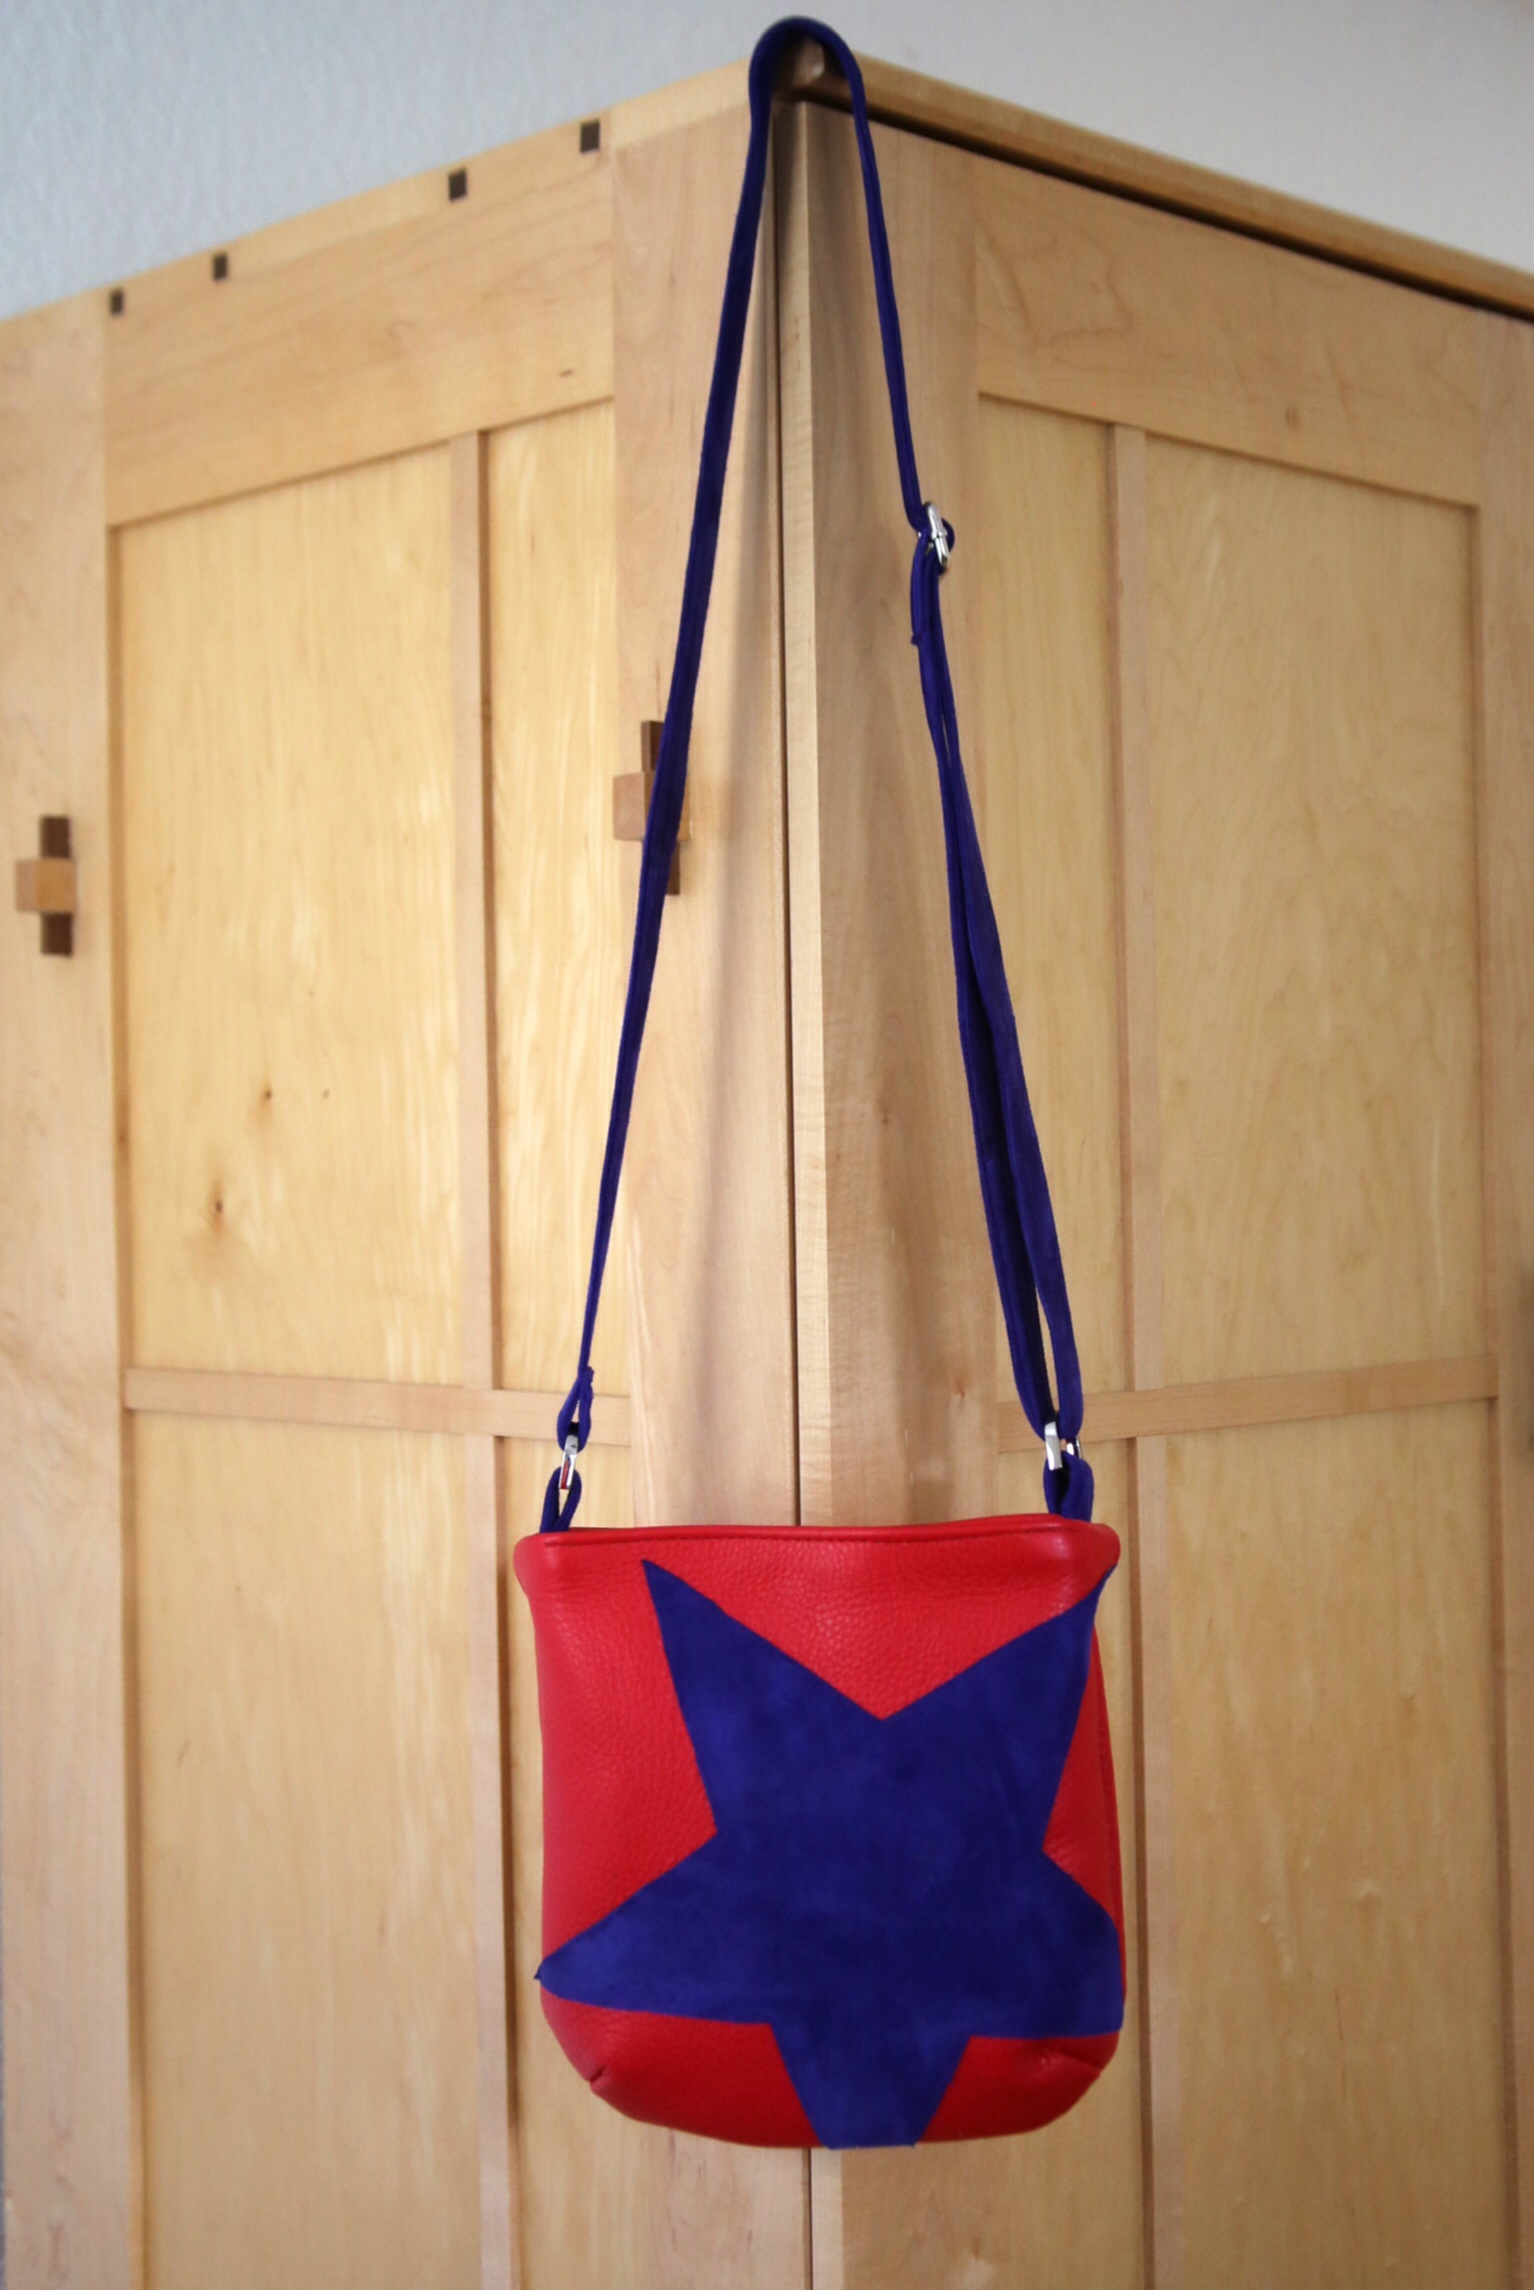
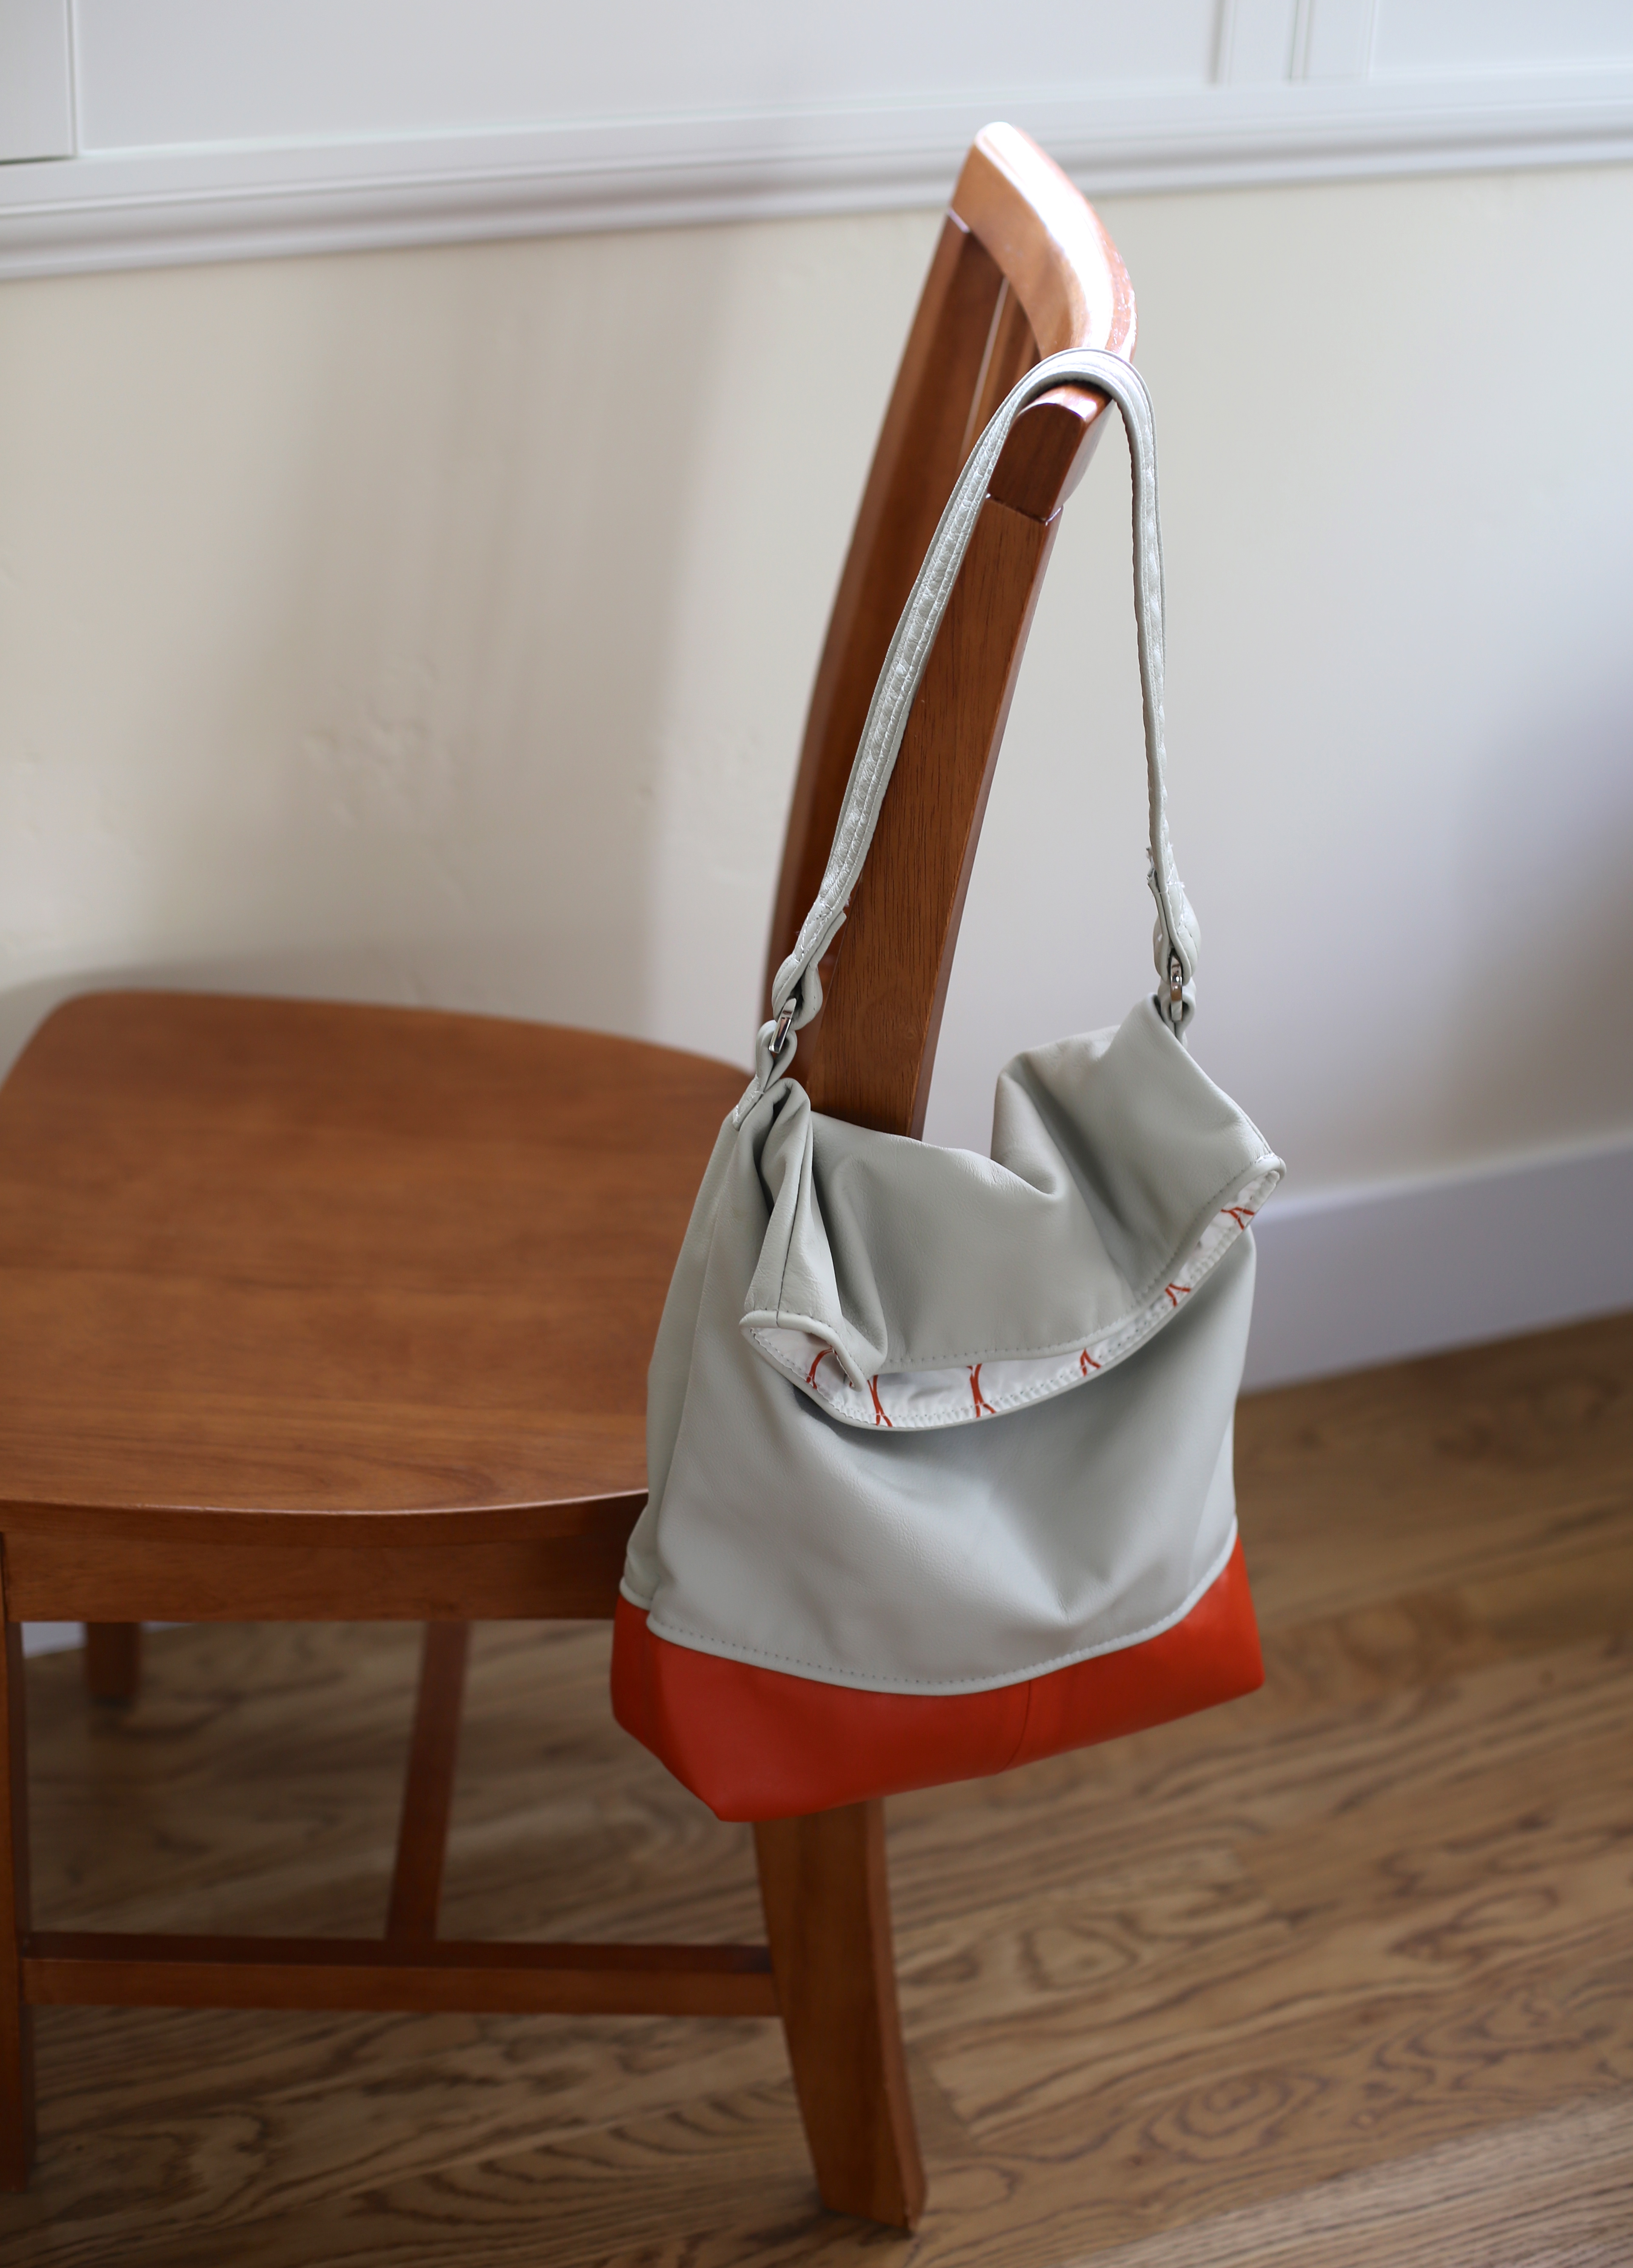
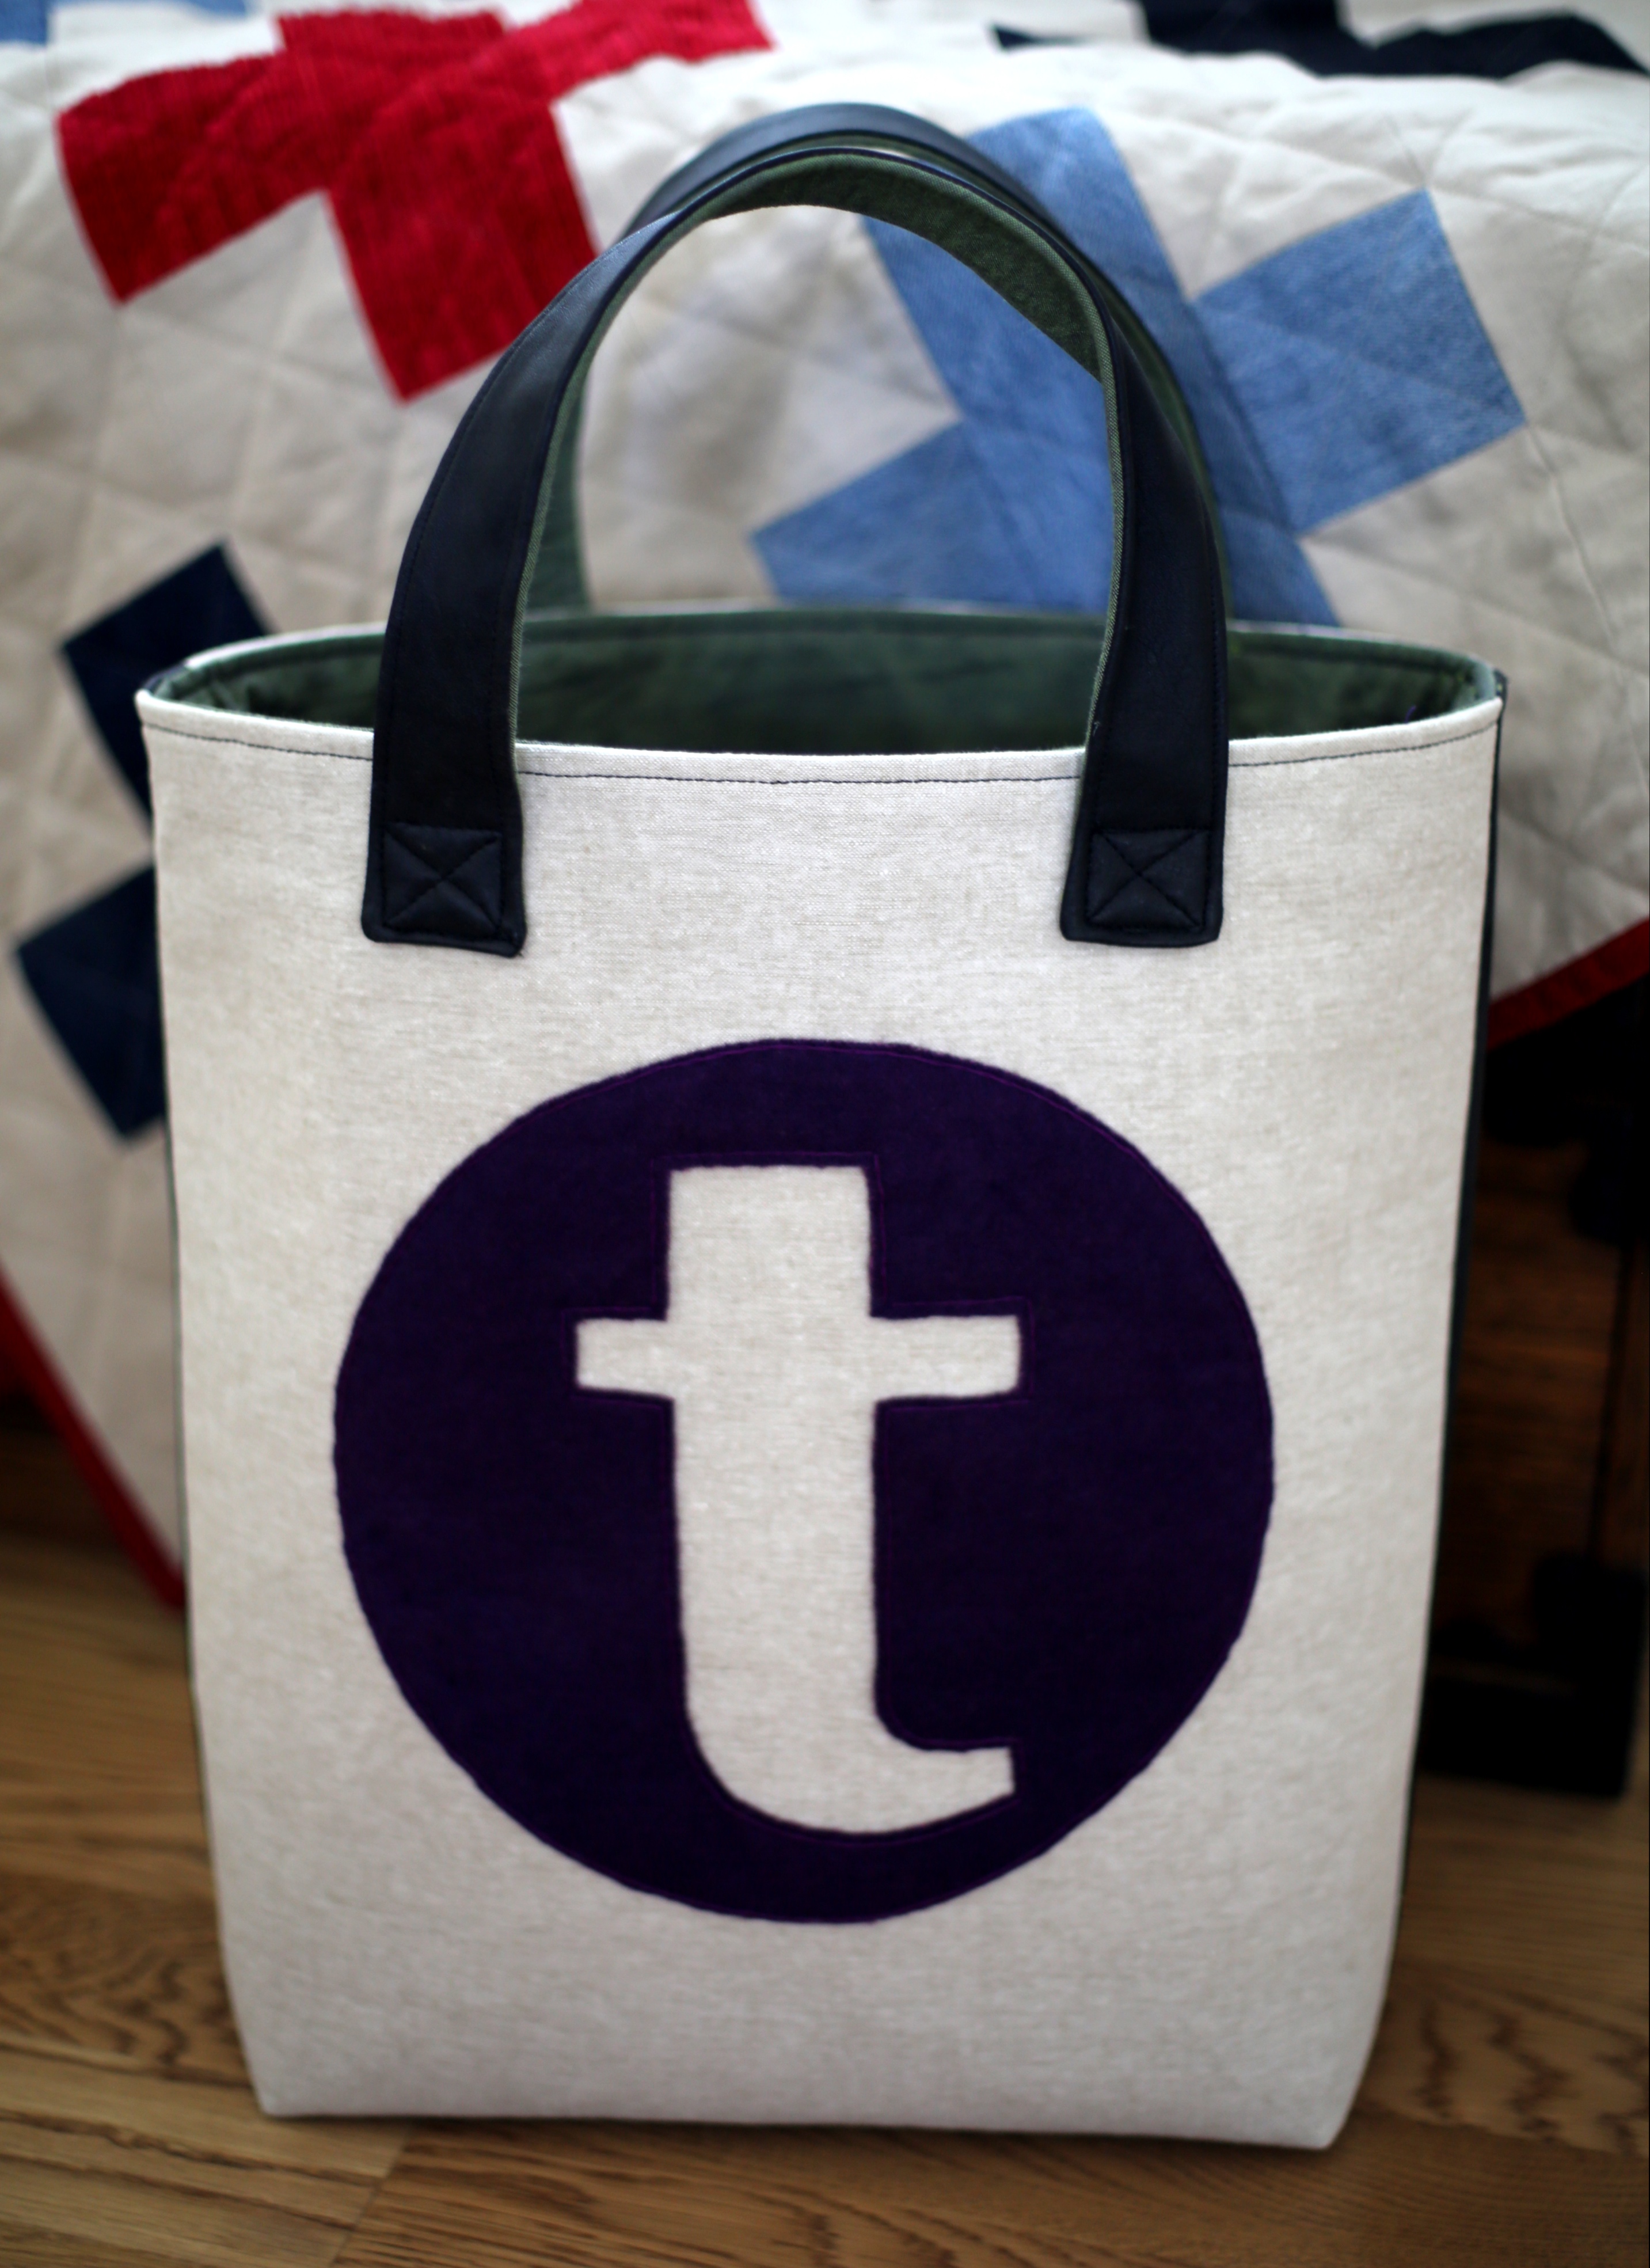
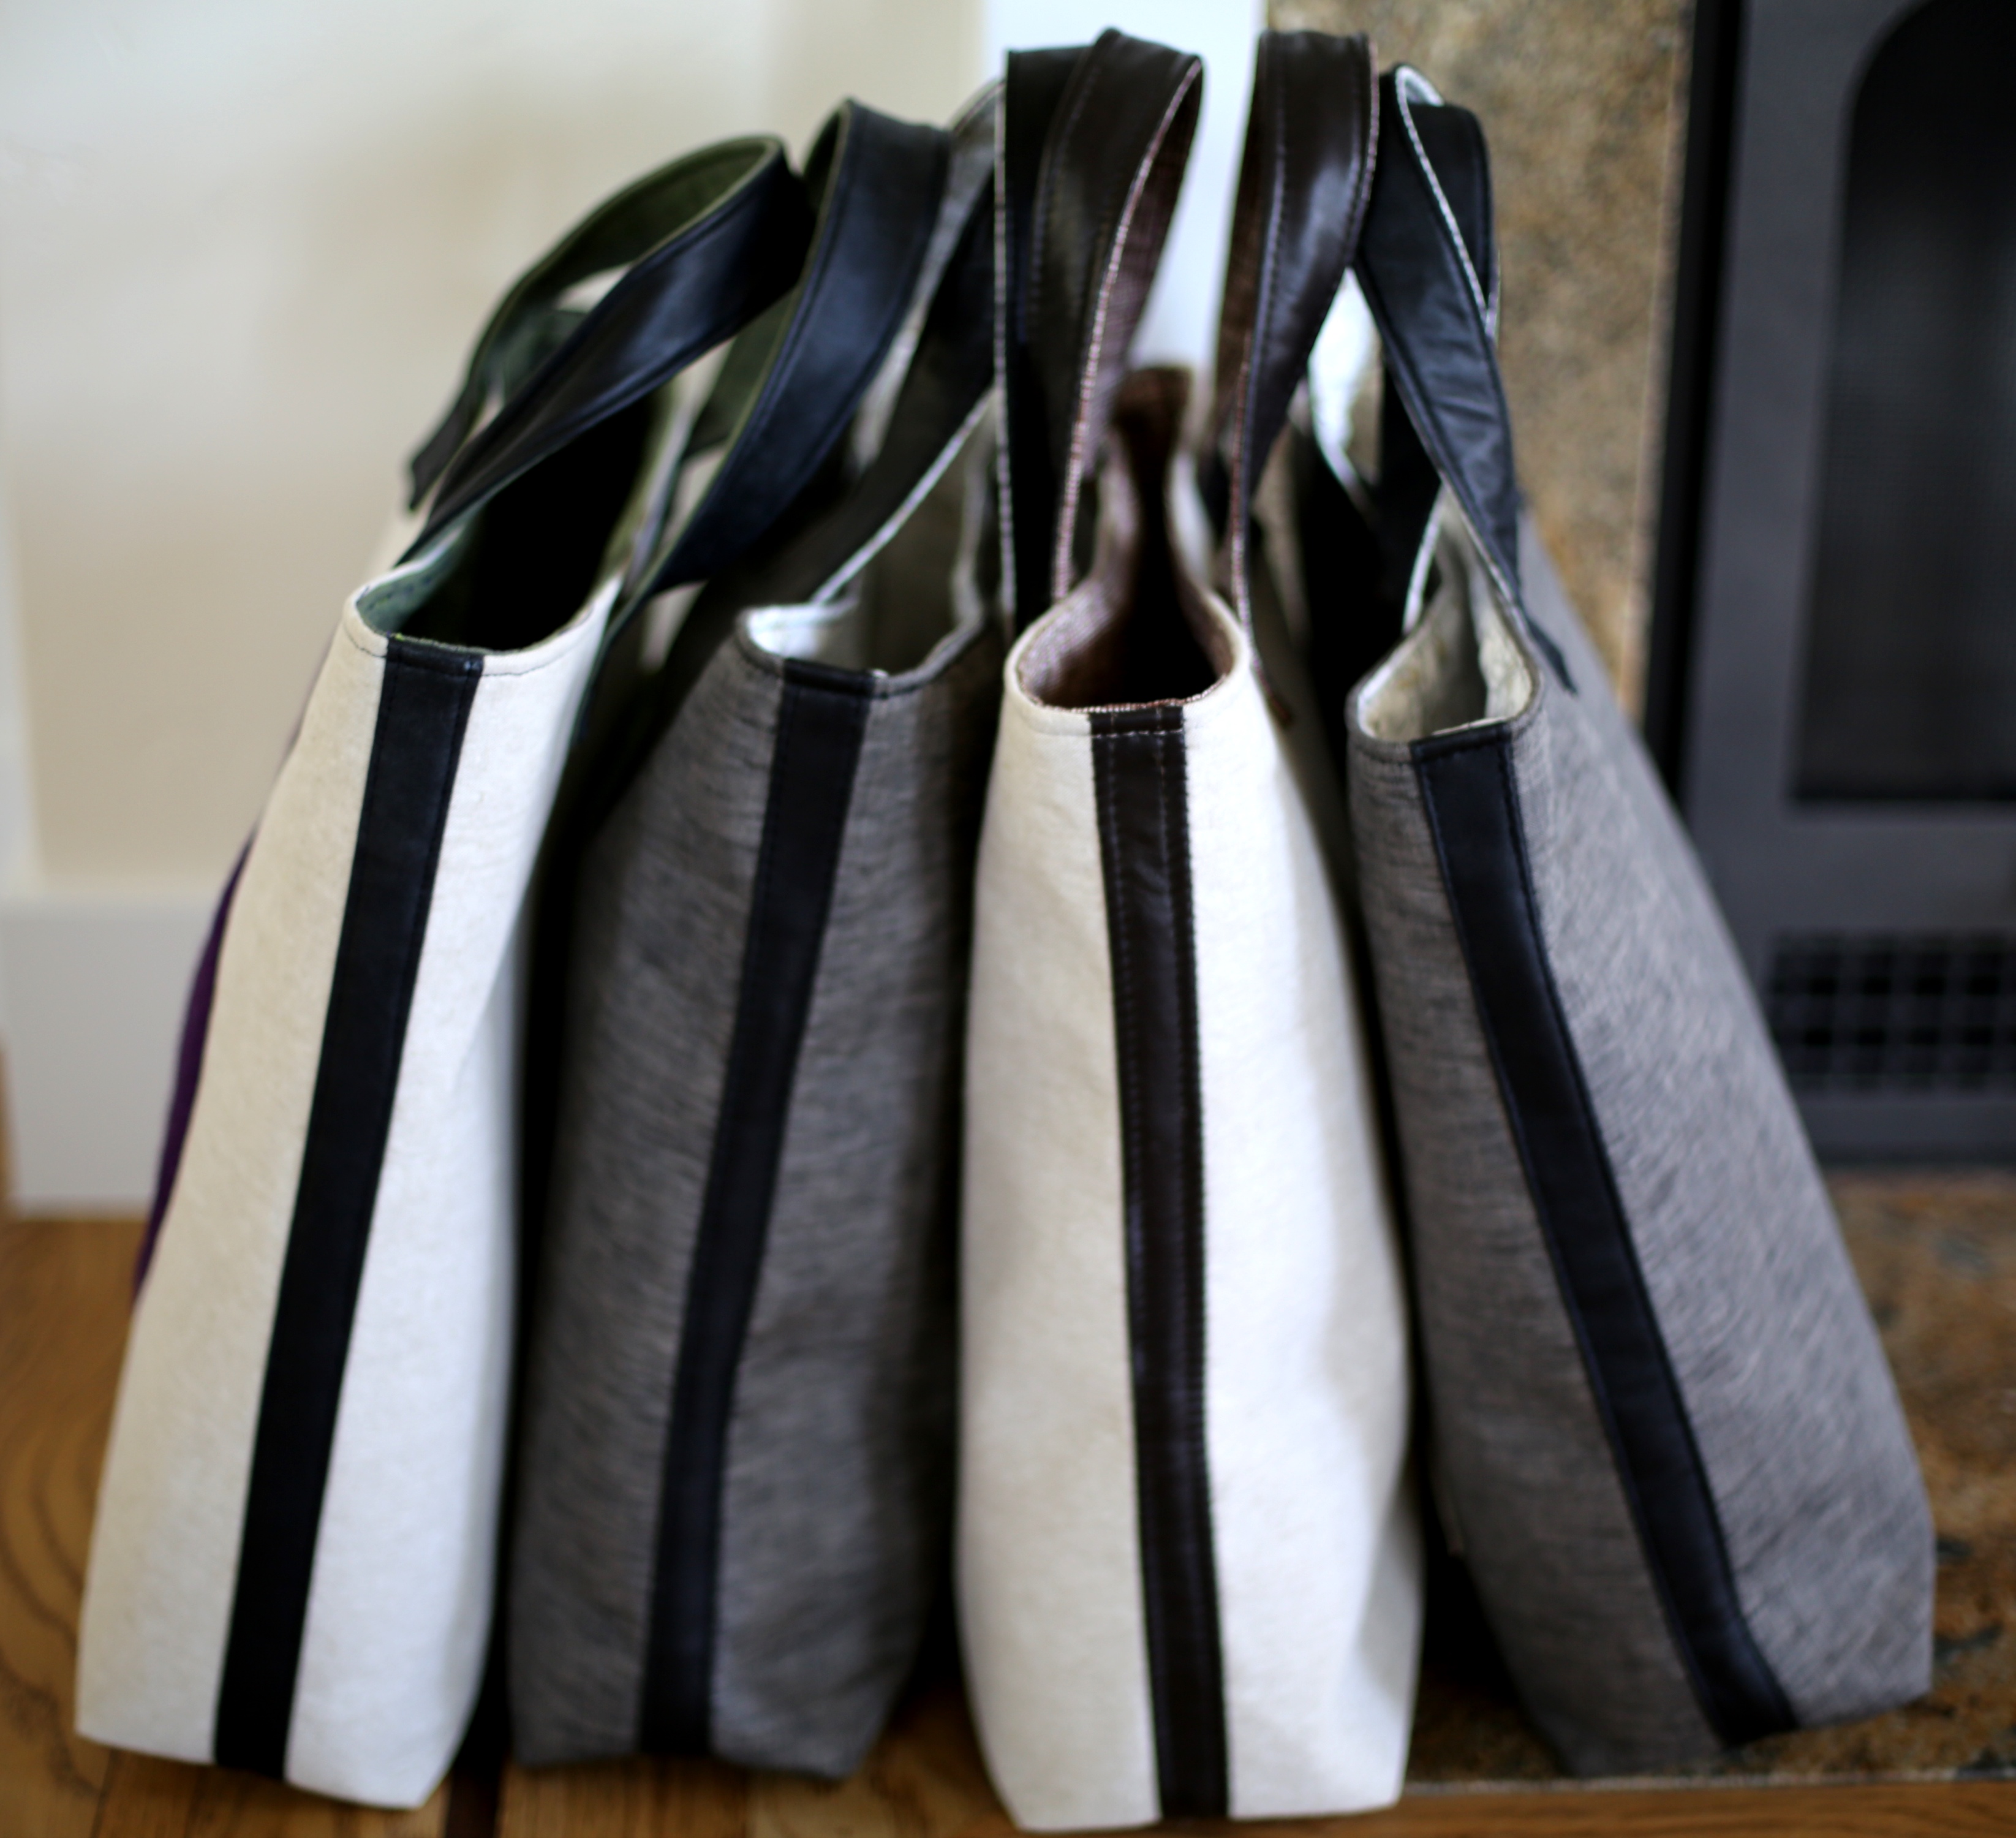
I’ve had so much fun making up my these simple bags that feature letters and symbols in fancy fonts and recycled leather accents, I thought I would write up a quick tutorial. These are guidelines on how I have made my bags but I would delight in people taking my idea and modifying to make it their own. I have used both my industrial Juki machine to sew these up as well as my Janome Memory Craft machine with no problem so I know it can be done either way. The limiting factor in using a traditional machine for this bag is NOT the leather since the repurposed leather I use from coats and skirts is fairly thin, it is the heavy weight interfacing. Having said that, using the leather needle, going slow and steady, I broke no needles and had no problem using my traditional machine. I hope the same may be true for you.


Supplies:
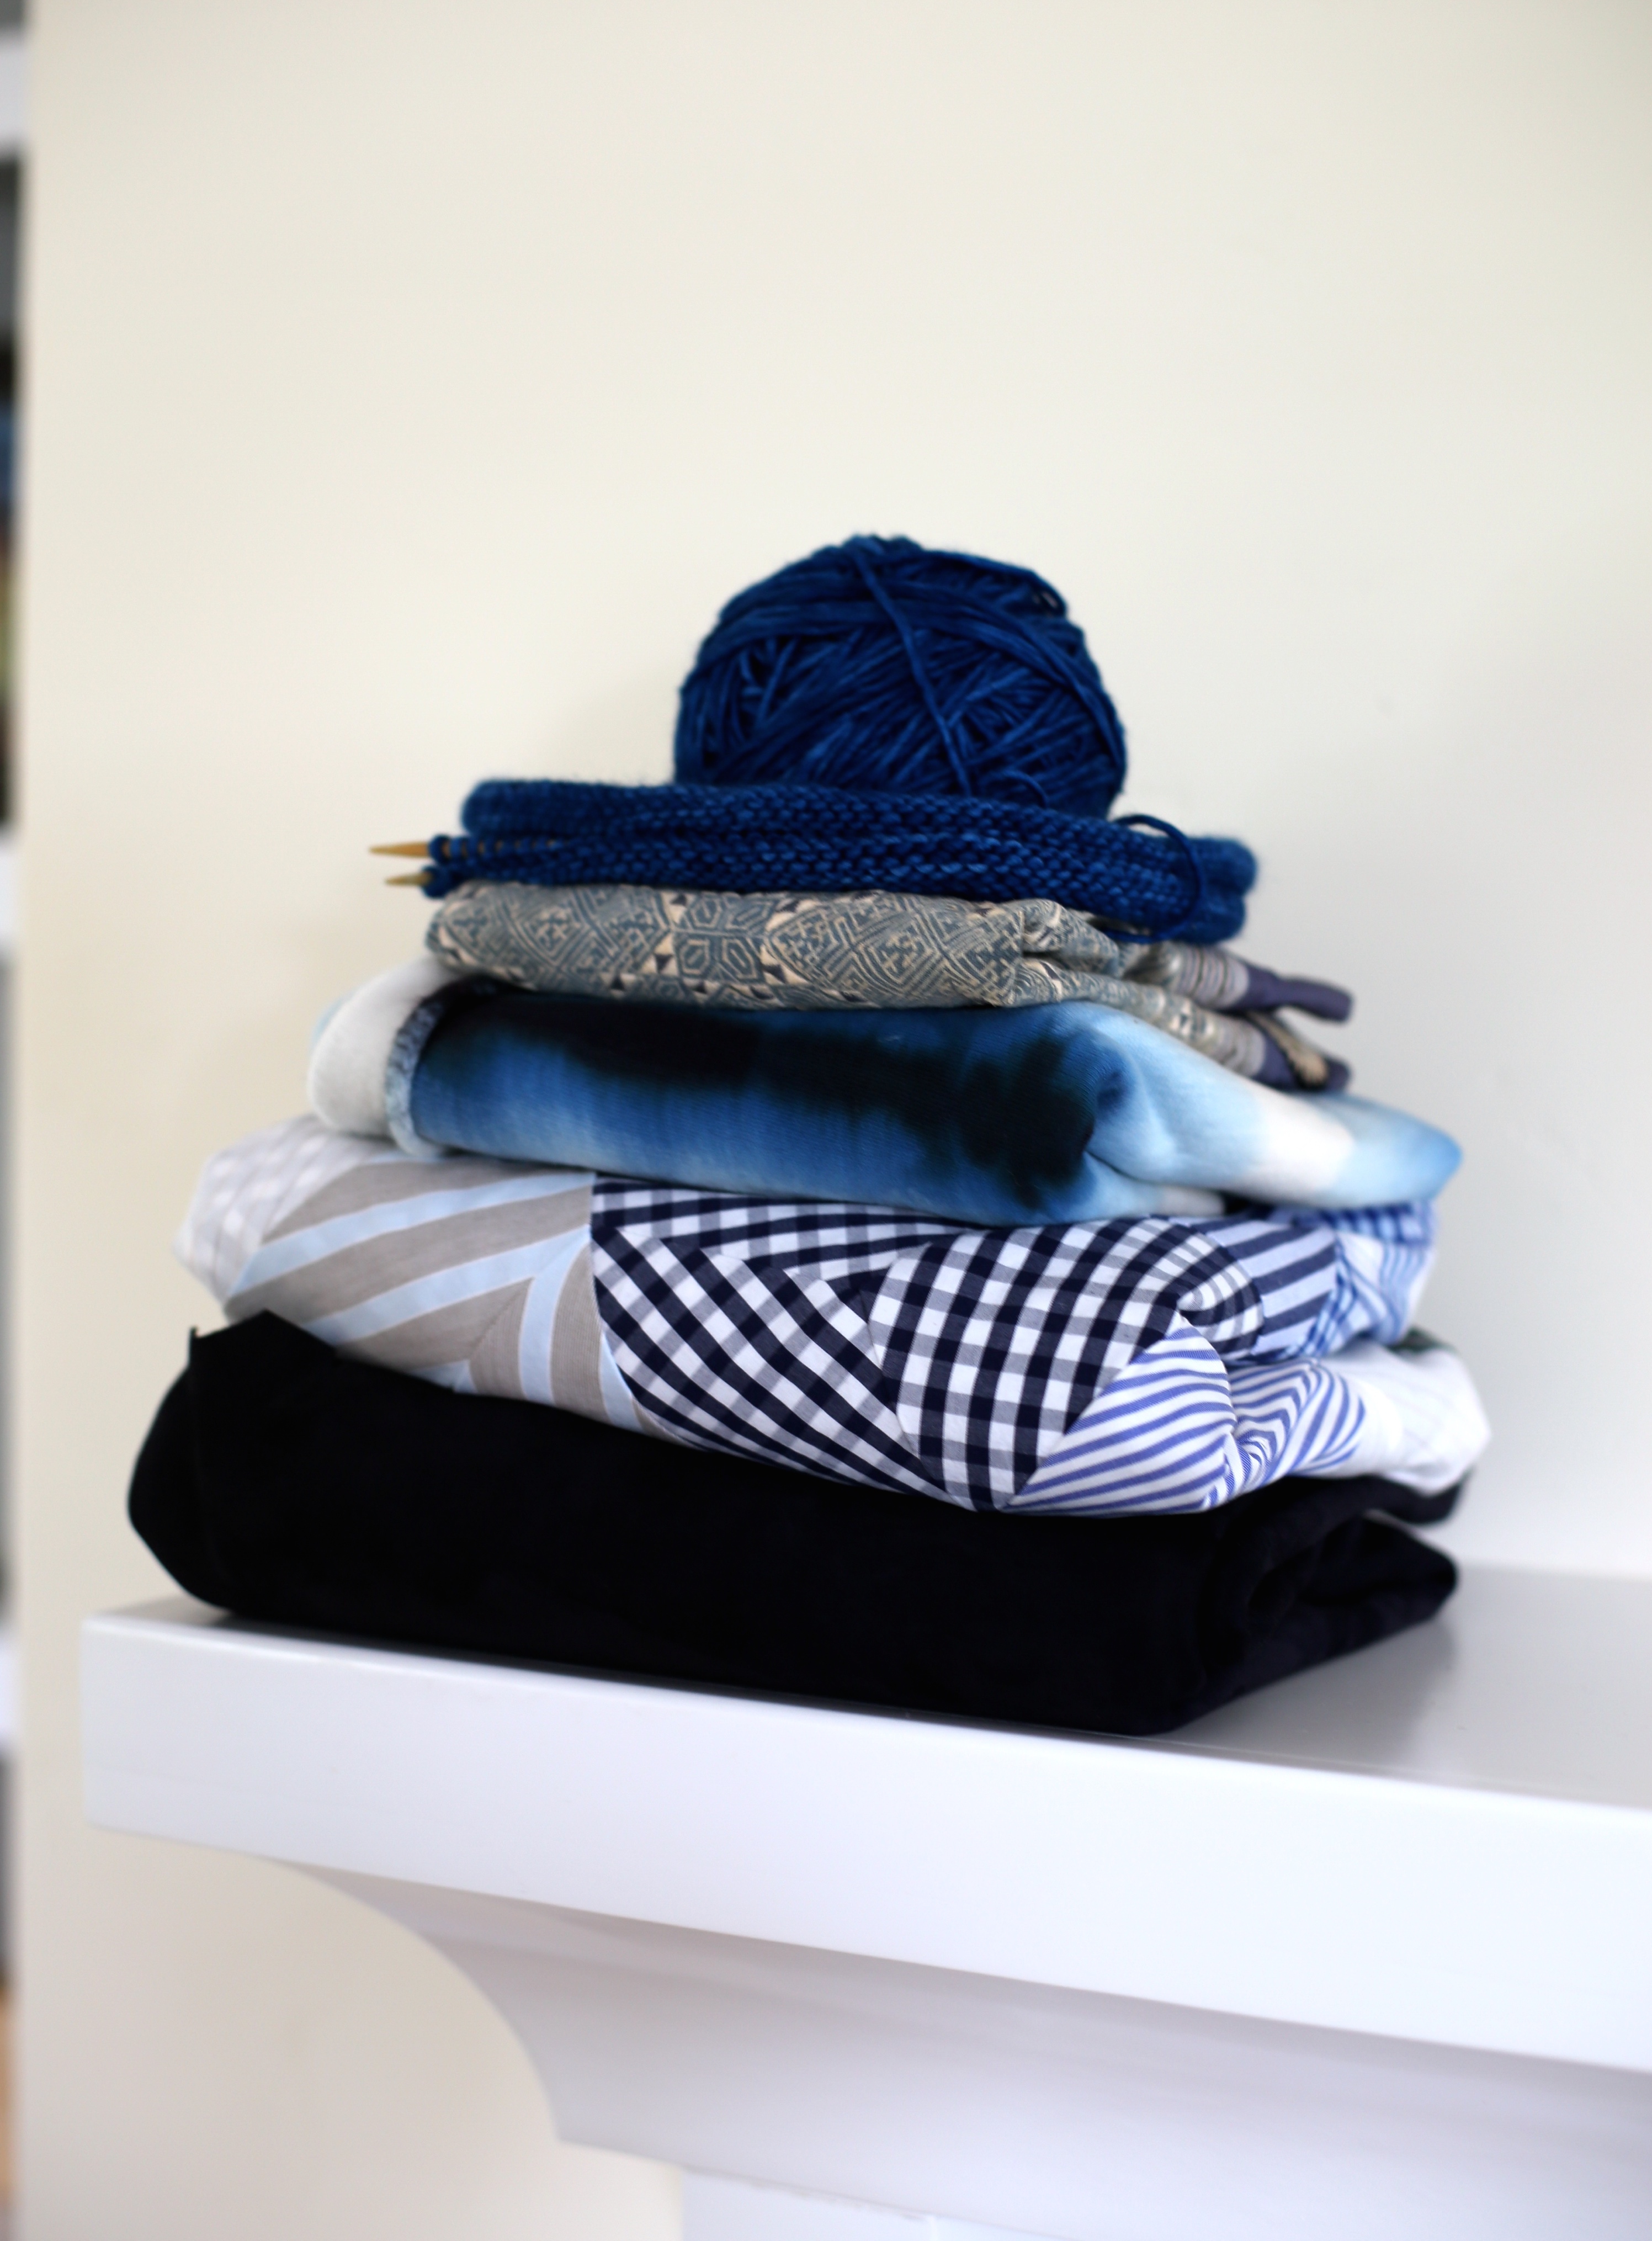
Felted Wool for your Number/Letter/Symbol
Embroidery Thread to match the wool
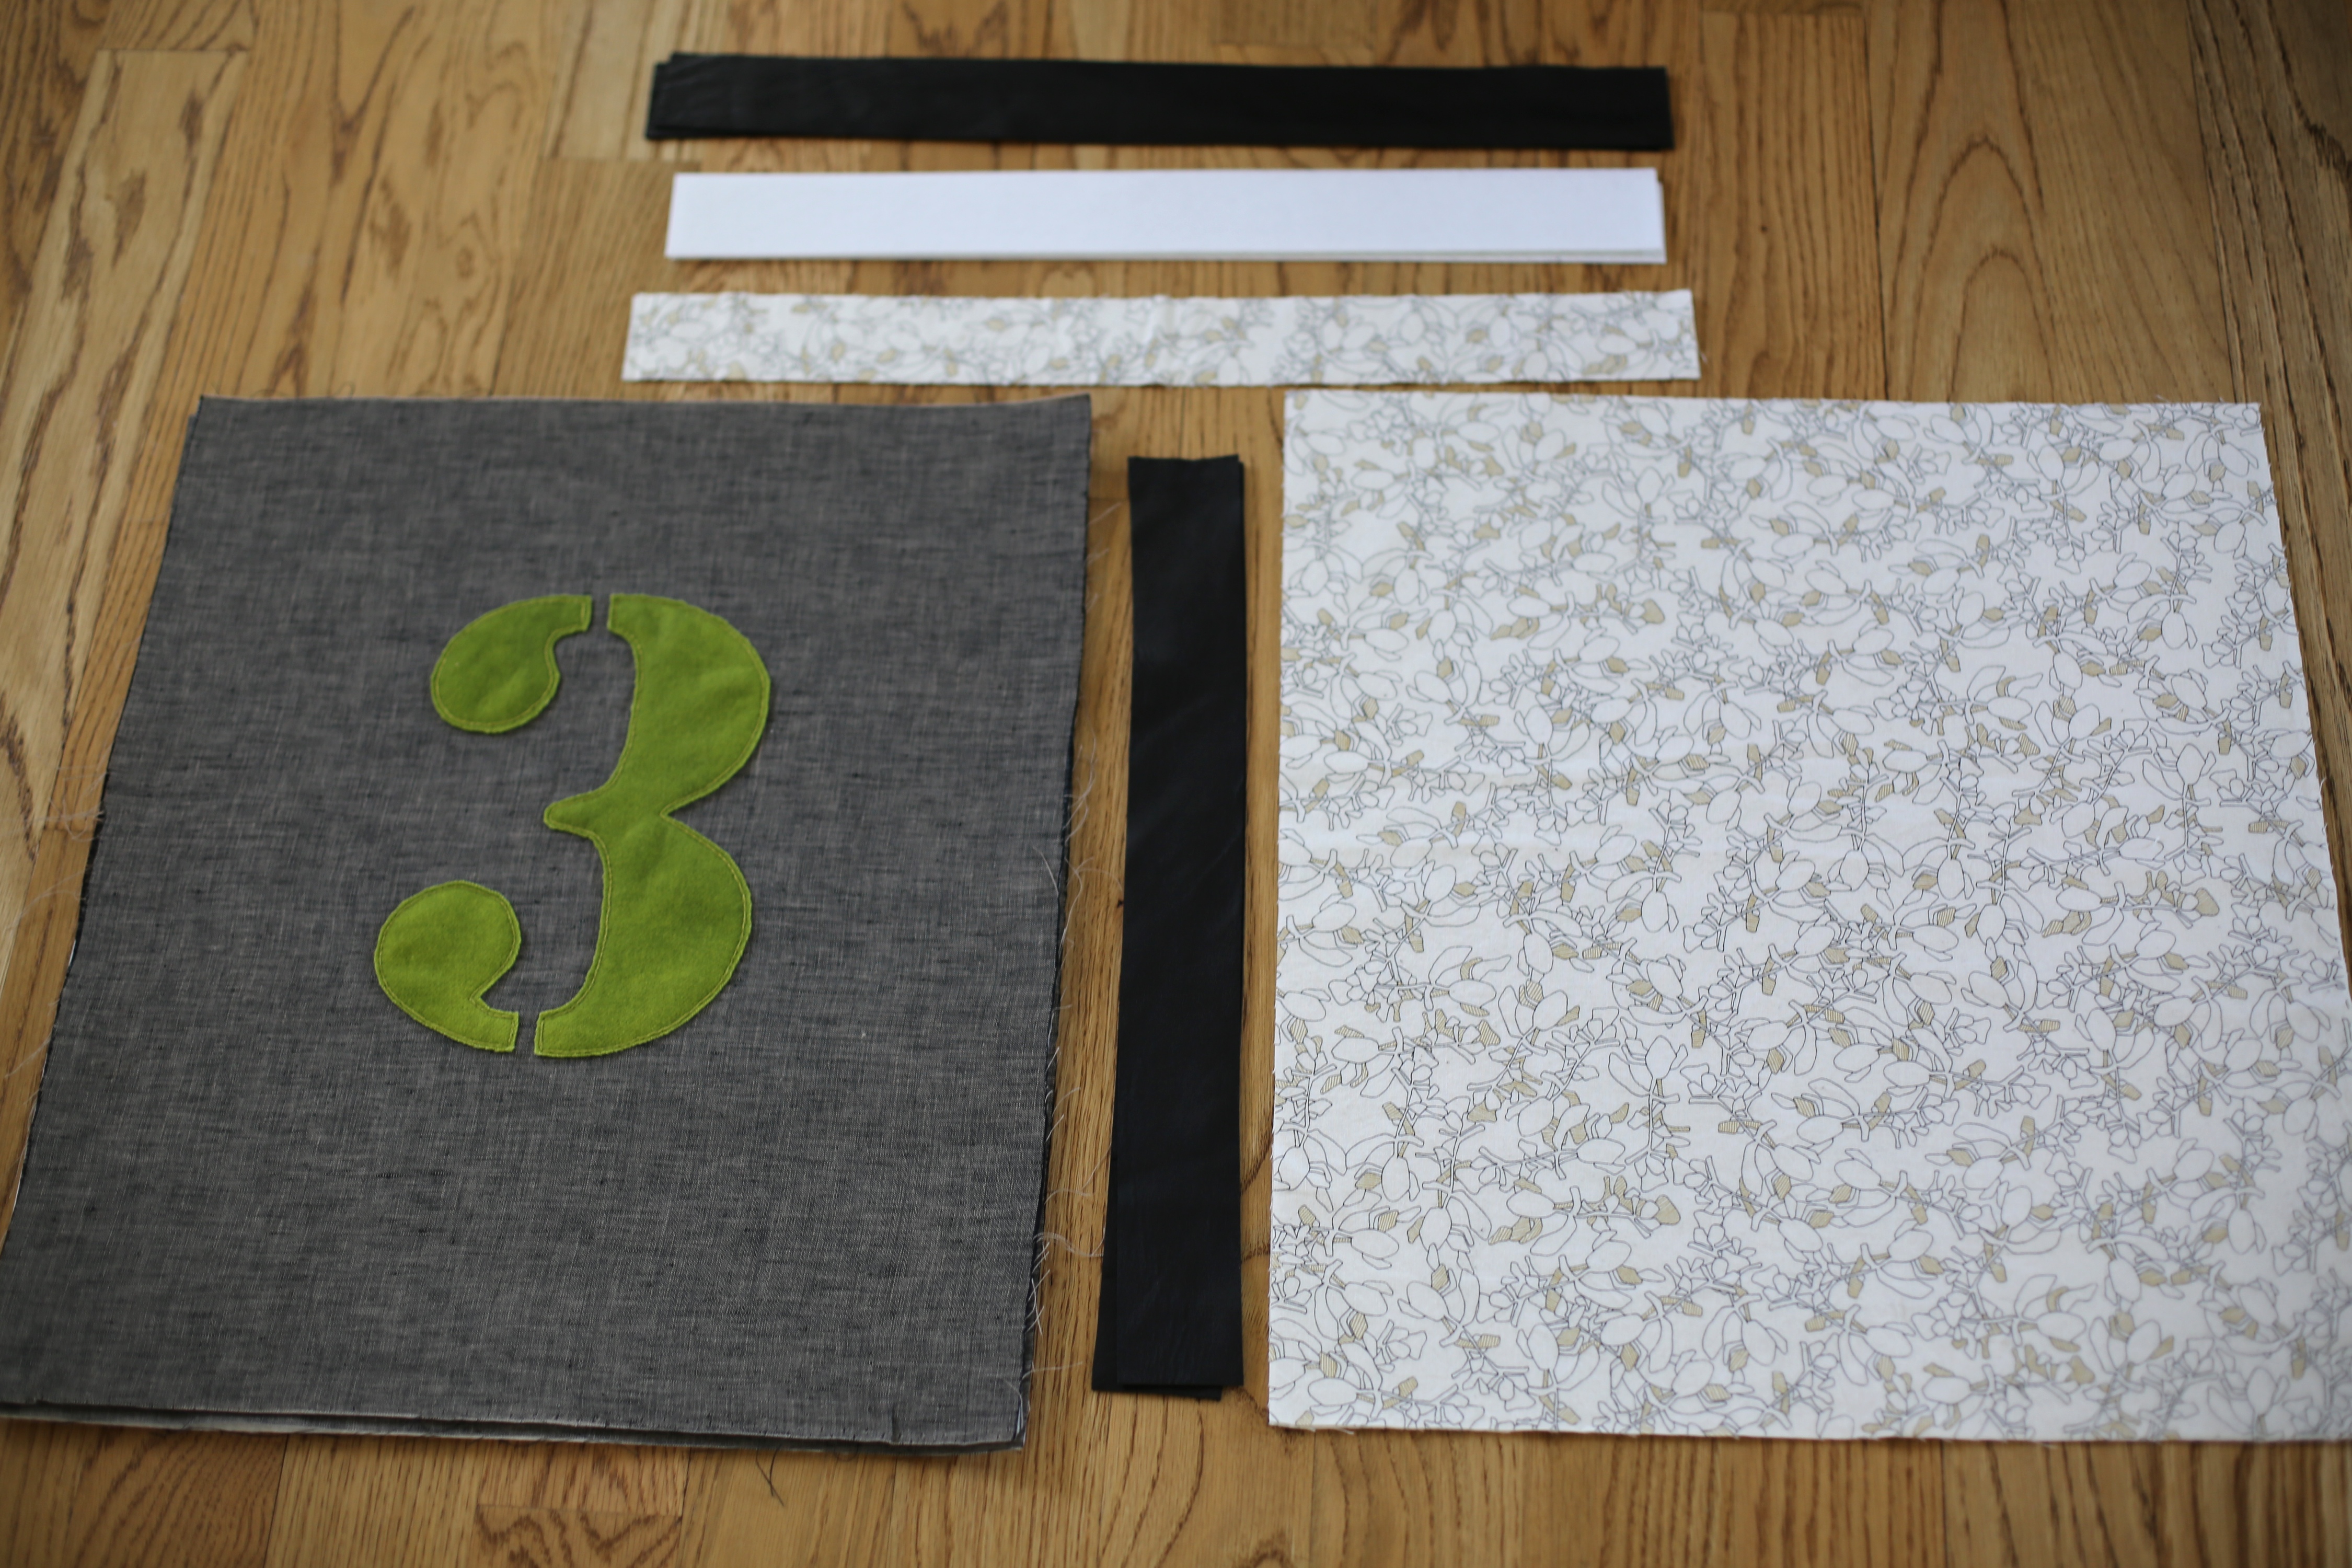
1 yard linen (for the outside bag body) cut into two rectangles (20″x17″)
1 yard cotton (for the bag lining and the inside handles) cut into two rectangles (20″x18″) and two rectangles (20″x2″)
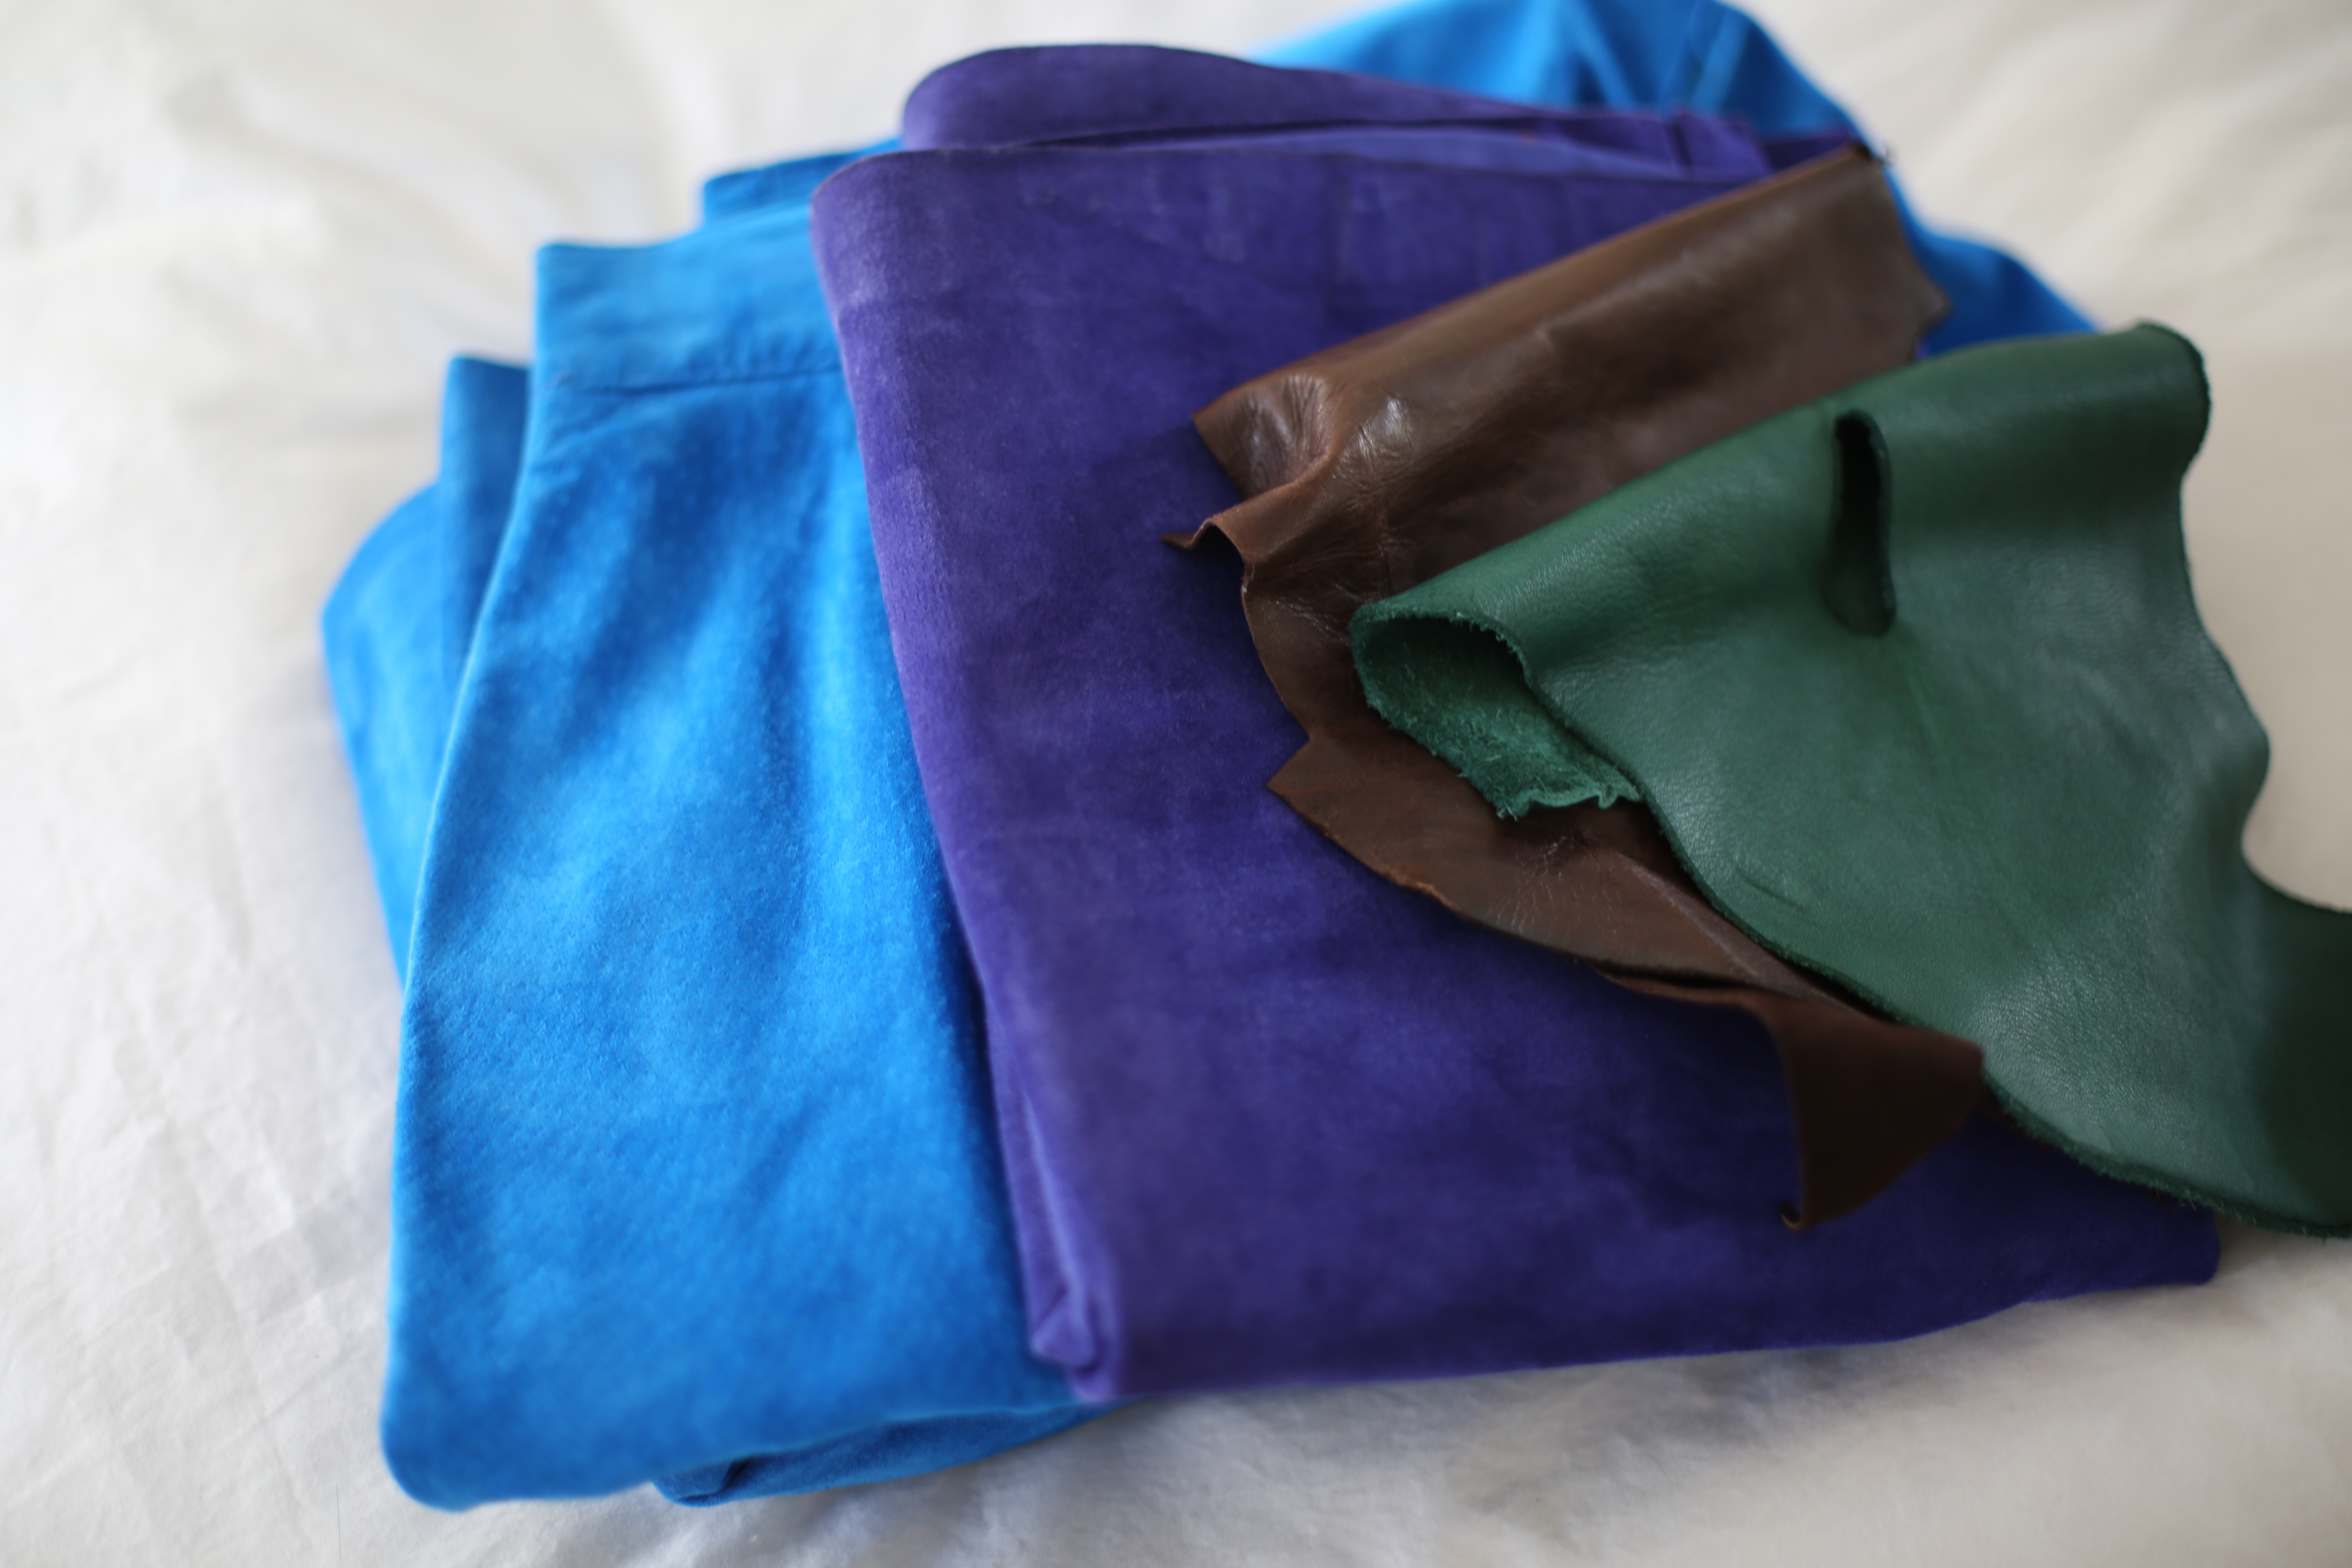
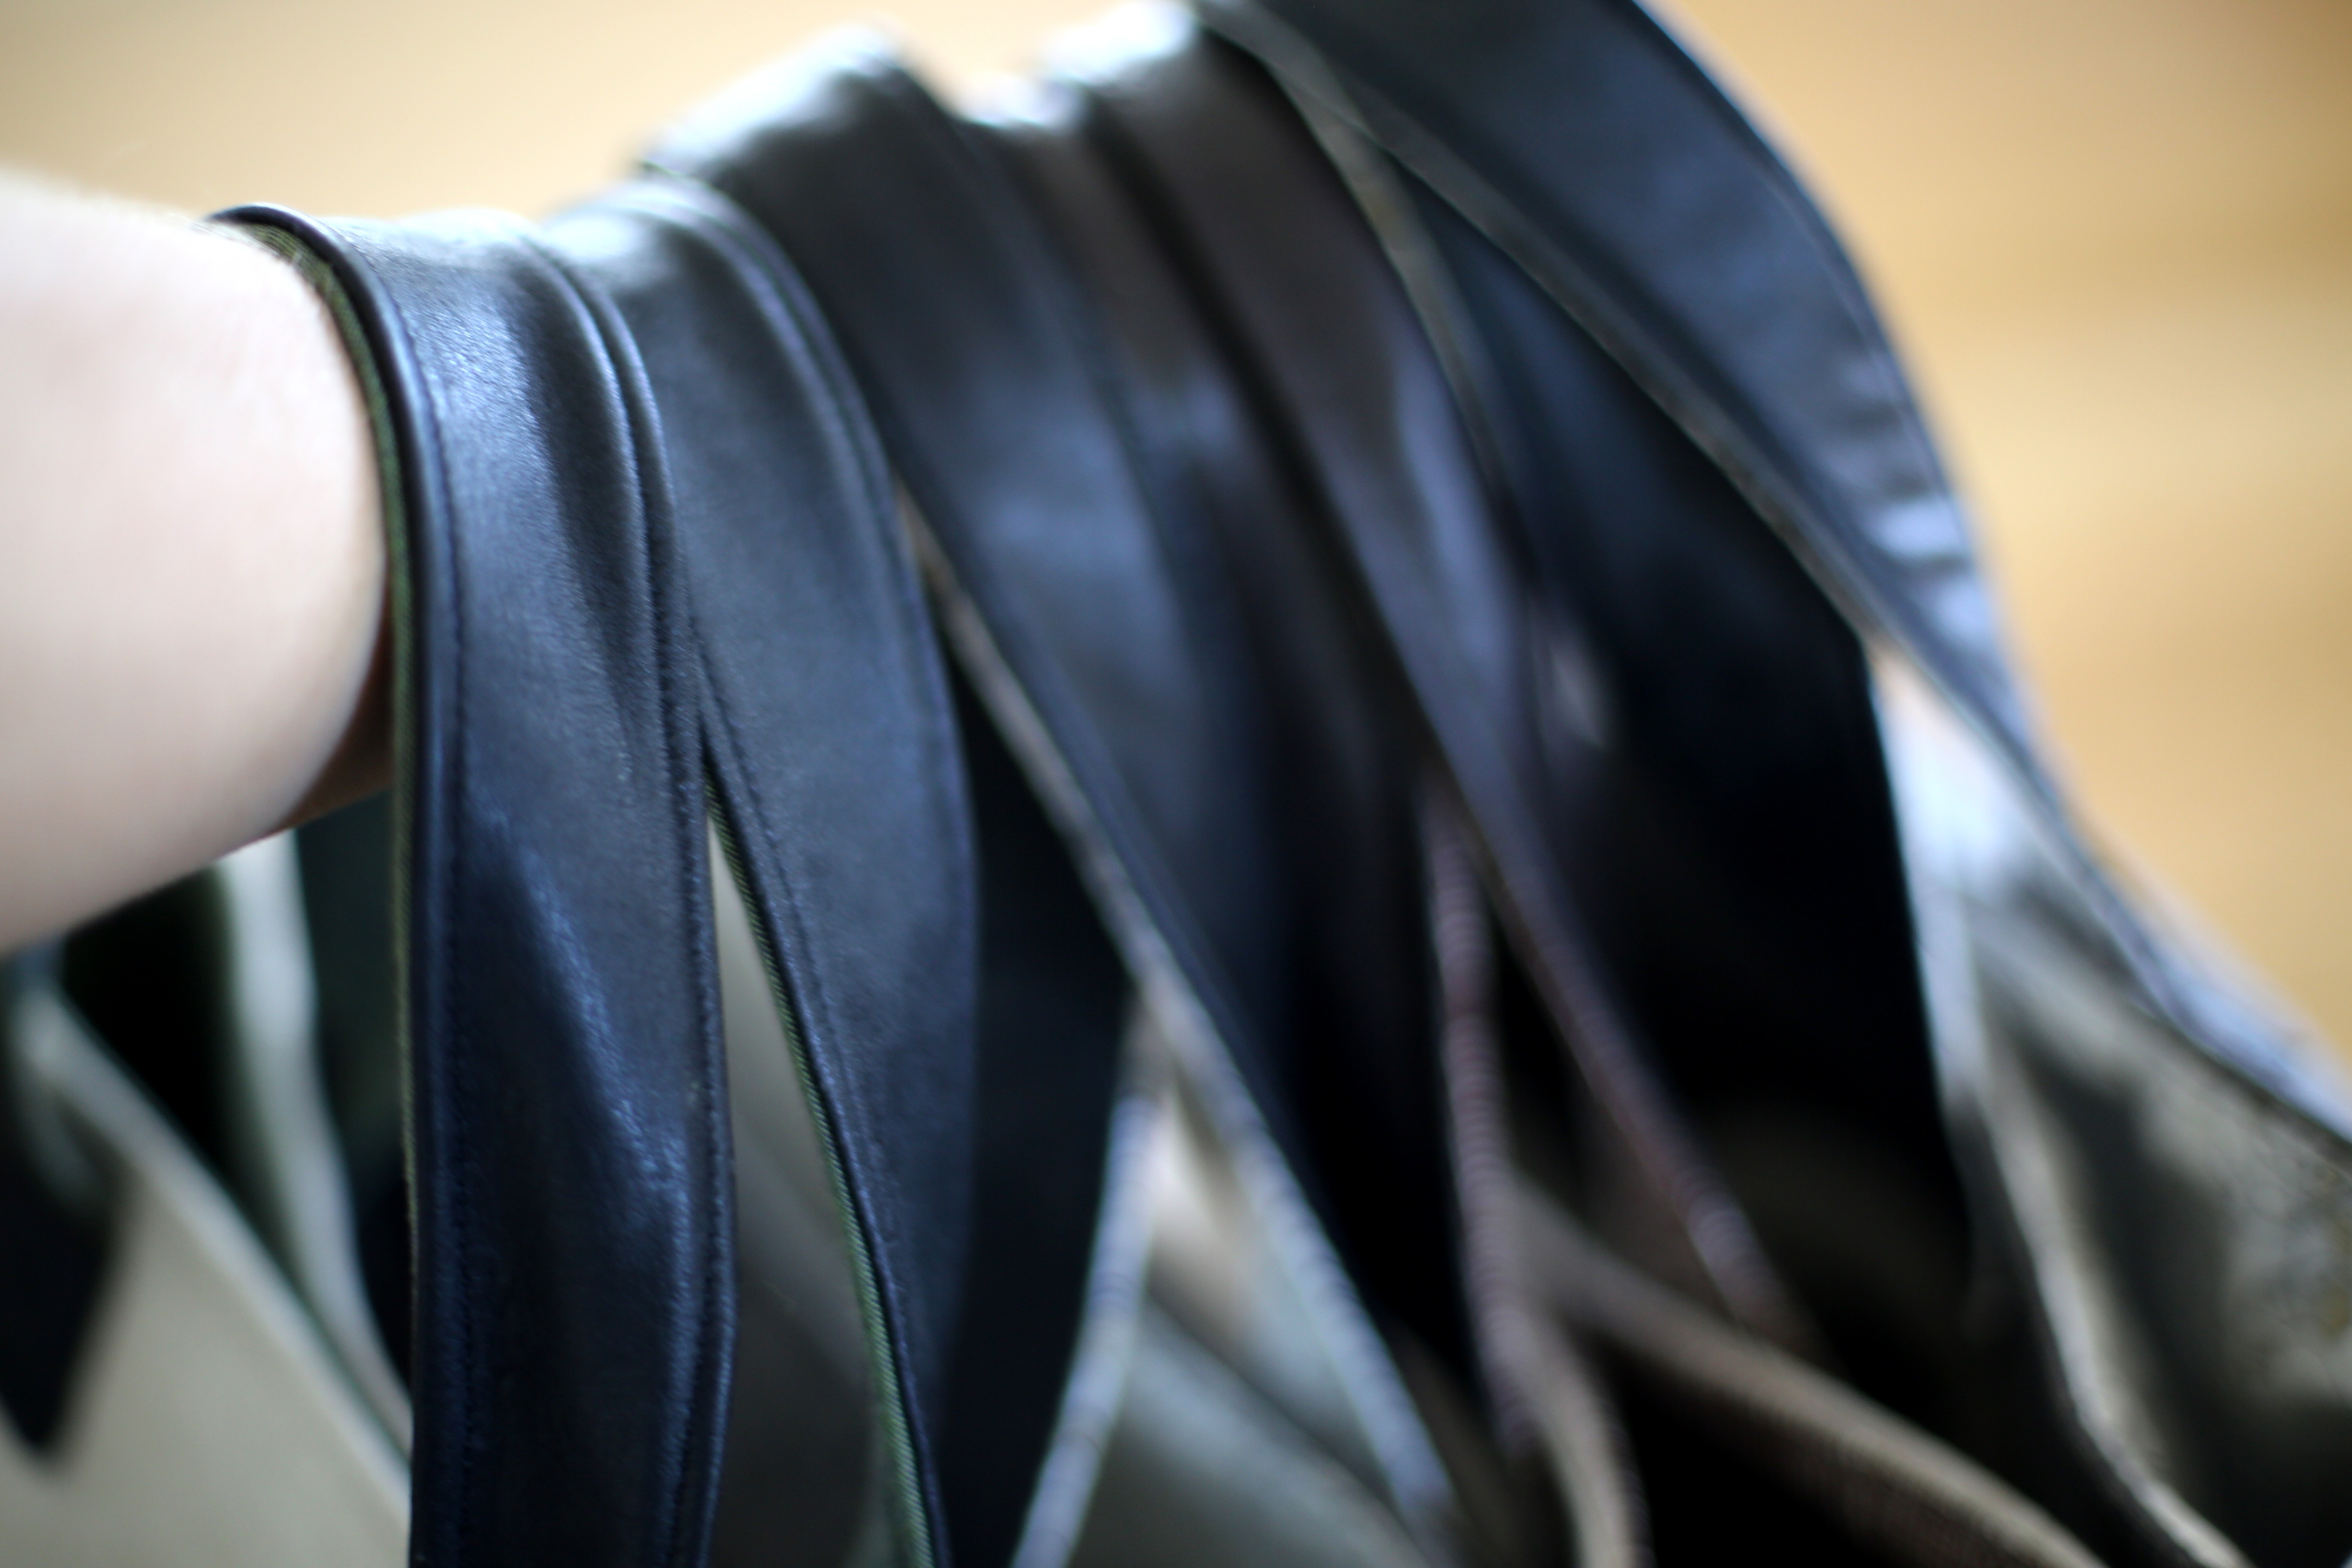
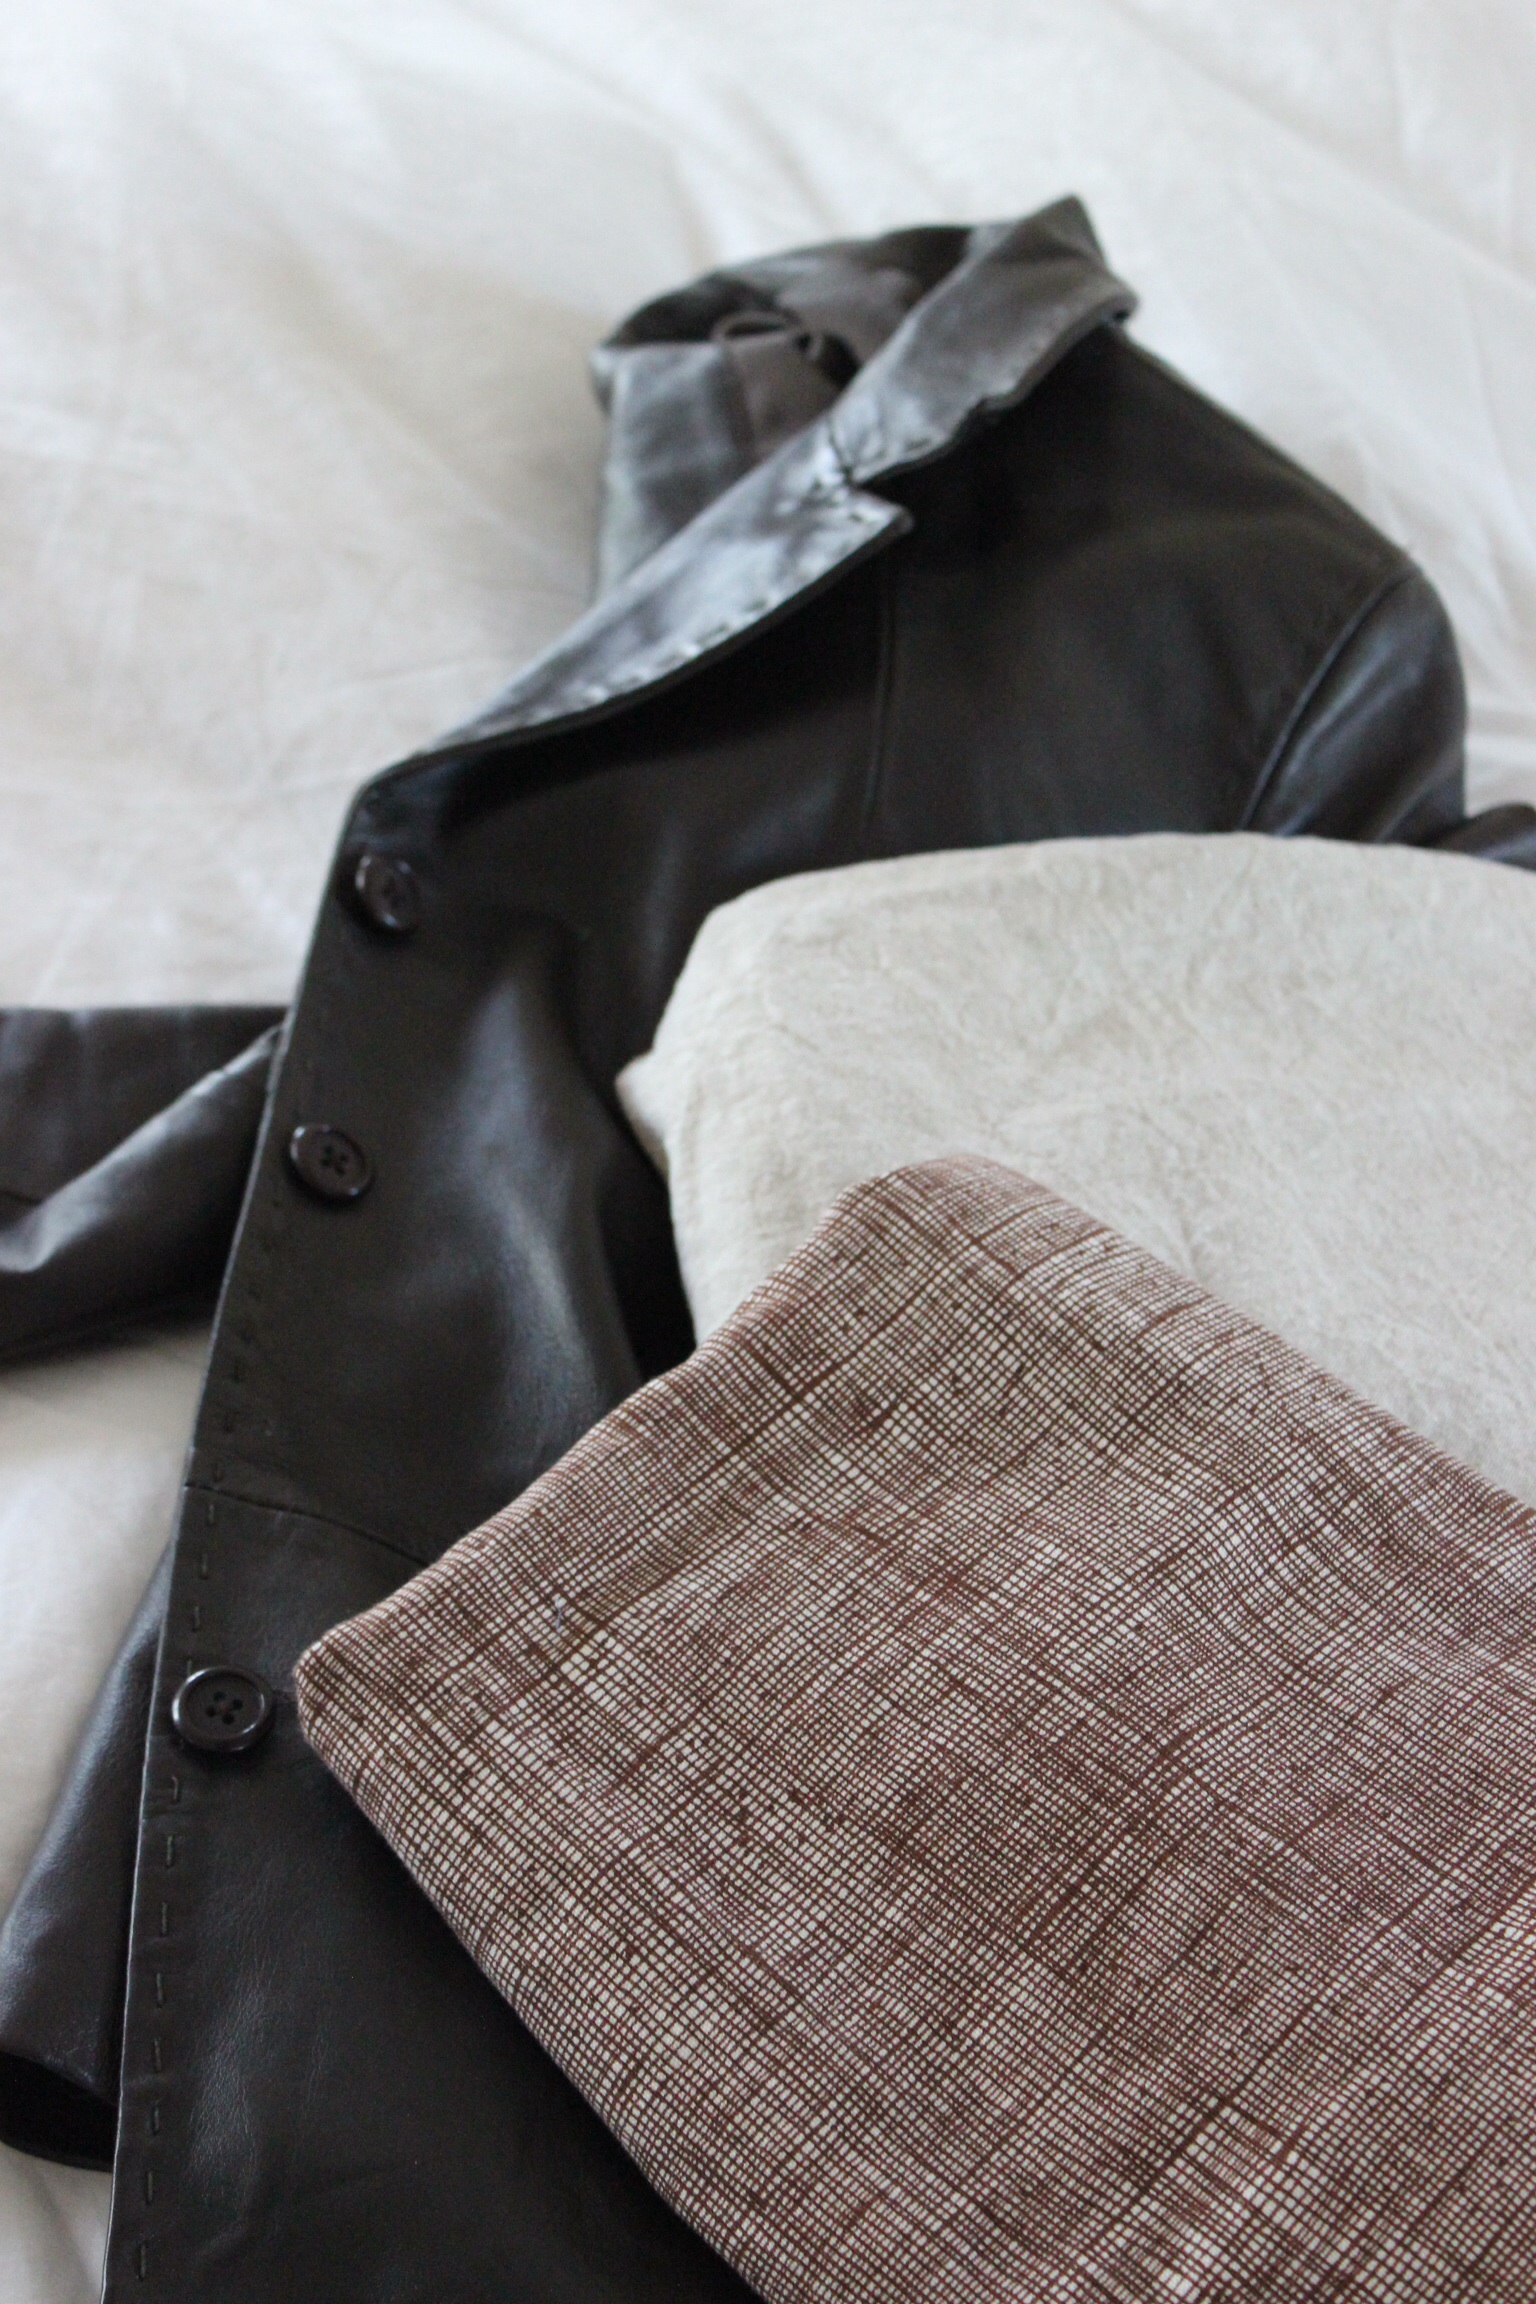
Repurposed Leather (used for the side stripes of the bag and outside handles) cut into two rectangles
(18″x2″) and two rectangles (20″x2″)
1 1/2 yards of Pellon Heavyweight one sided fusible interfacing (for the bag body and handles) cut into two rectangles
(20″x17″)and two rectangles (19″x2″)
Upholstery weight thread
Leather sewing machine needles if using a traditional machine (I used Schmetz #100/16.)
Clover wonder clips (these help so much with sewing leather to prevent needle holes when holding pieces together)
Note: I used a 1/2 inch seam when sewing and a 1/4 inch topstitching unless otherwise noted. RST=Right Sides Together
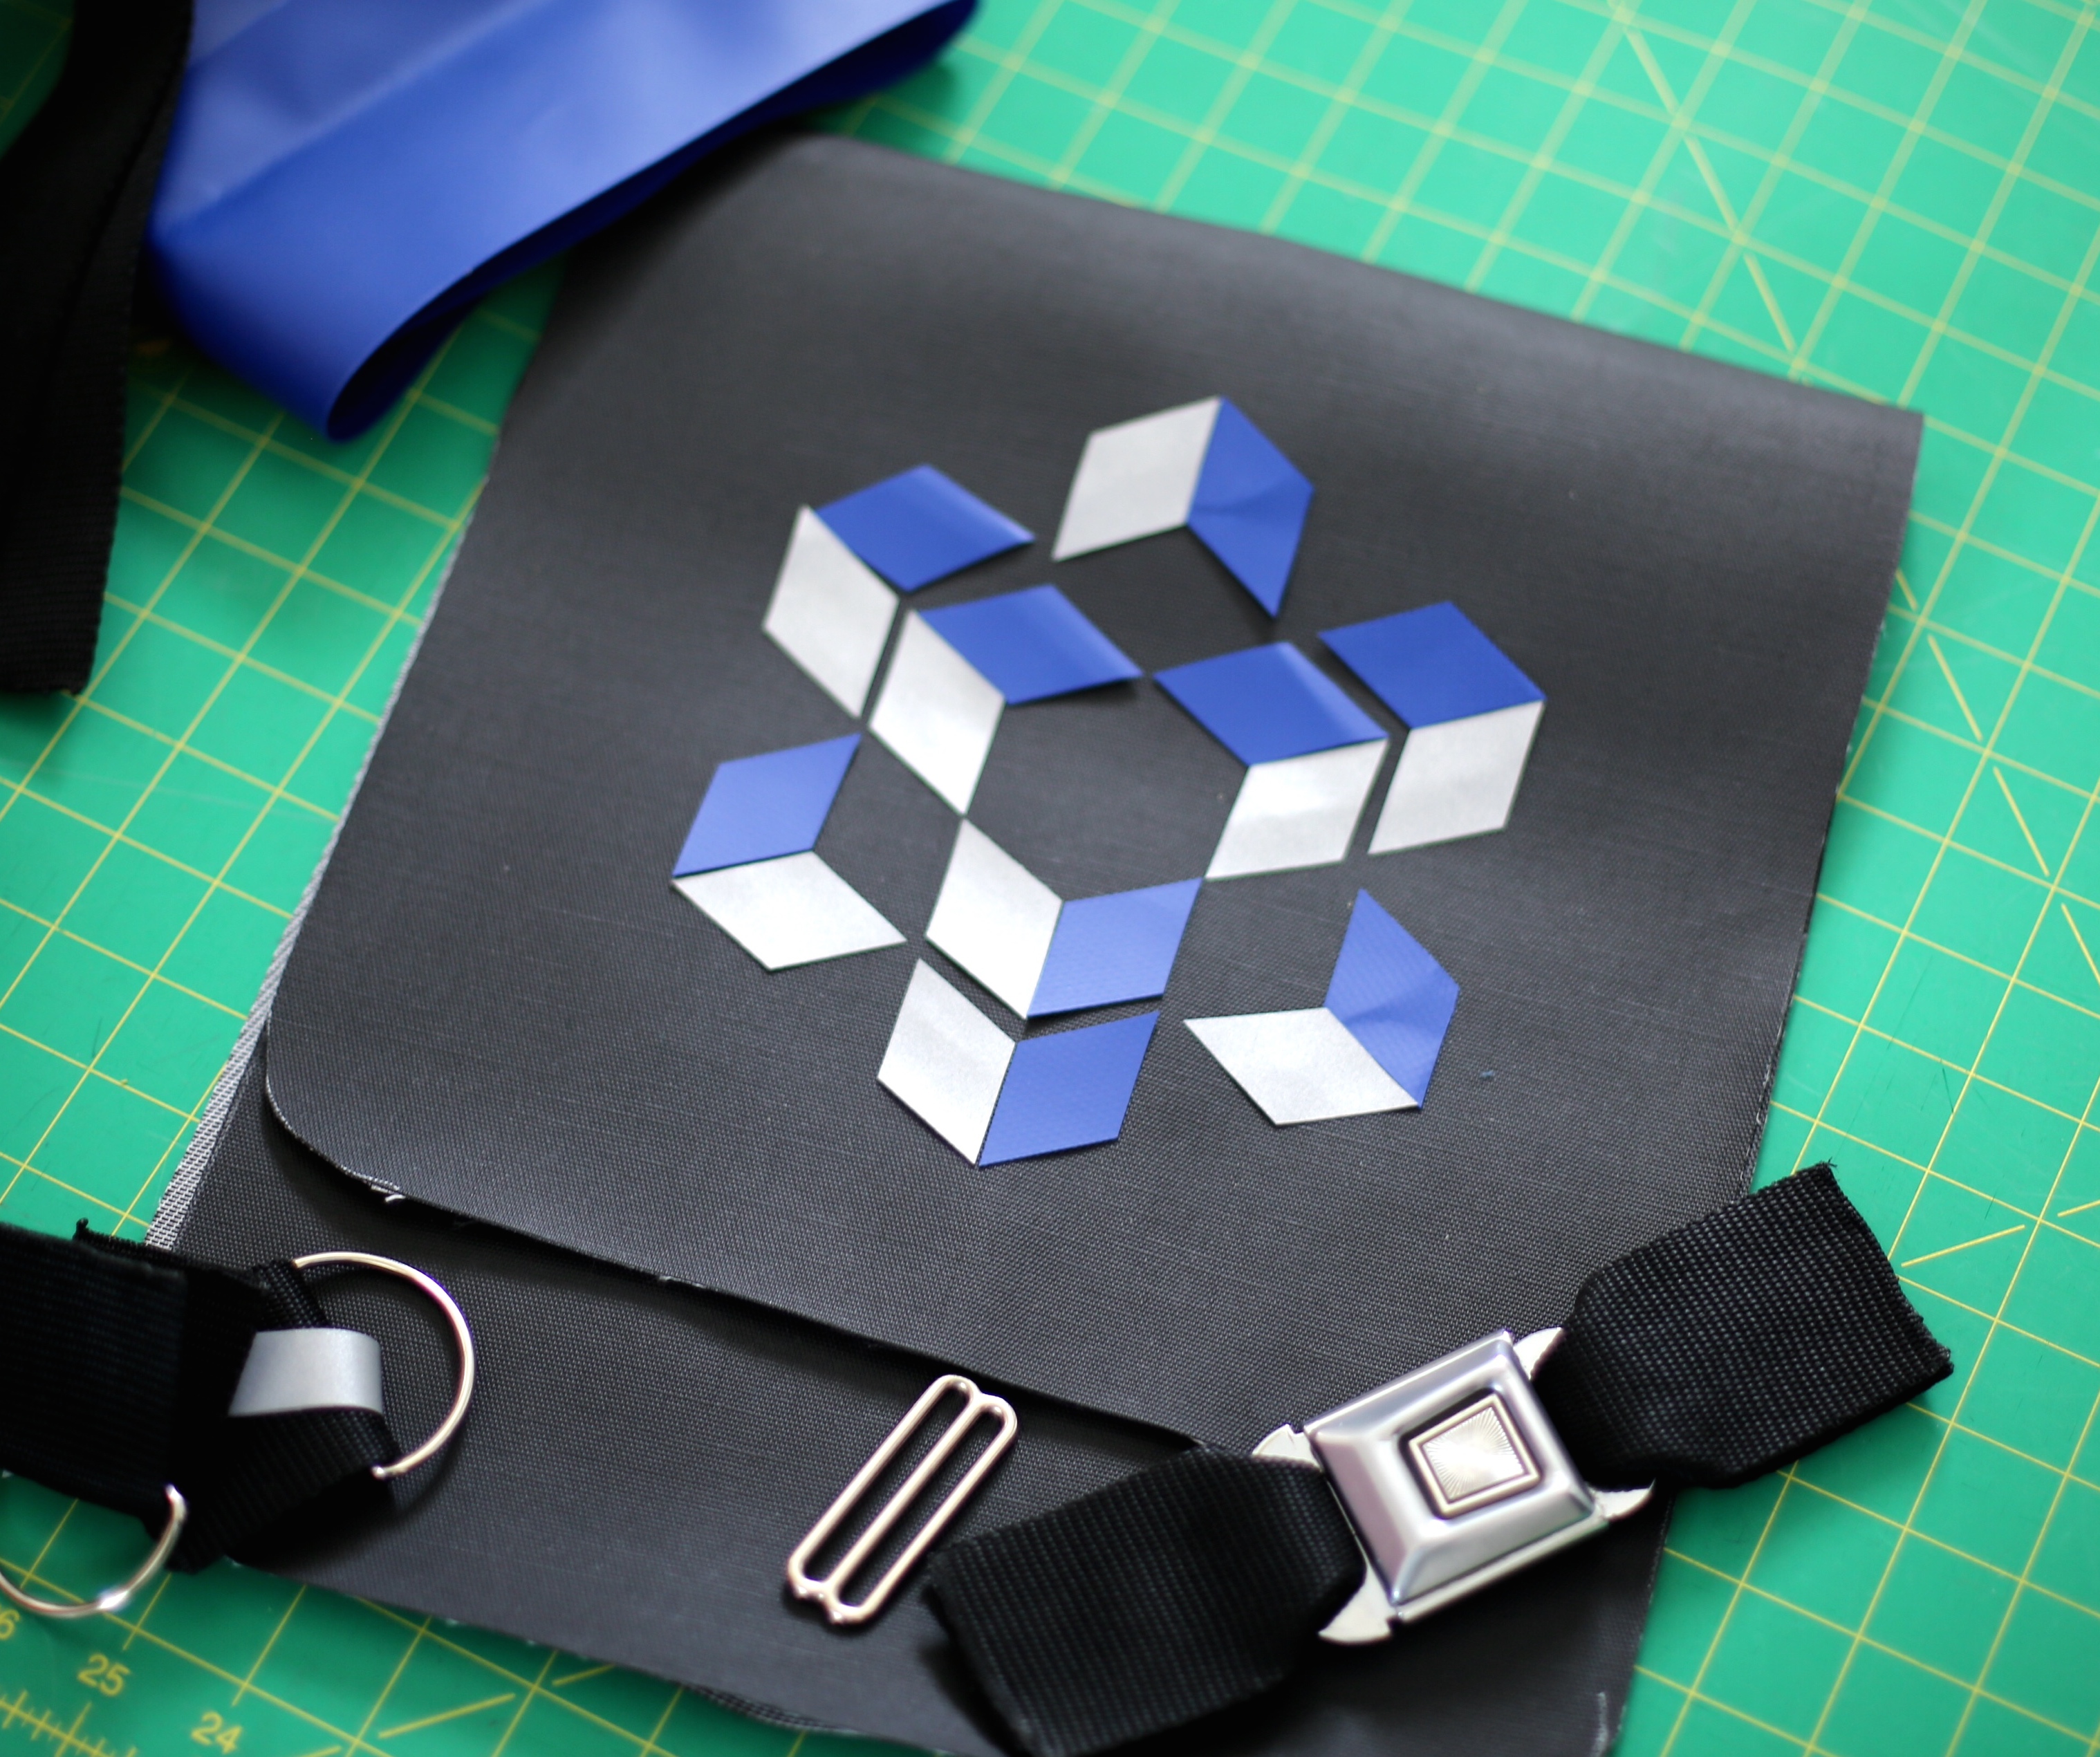
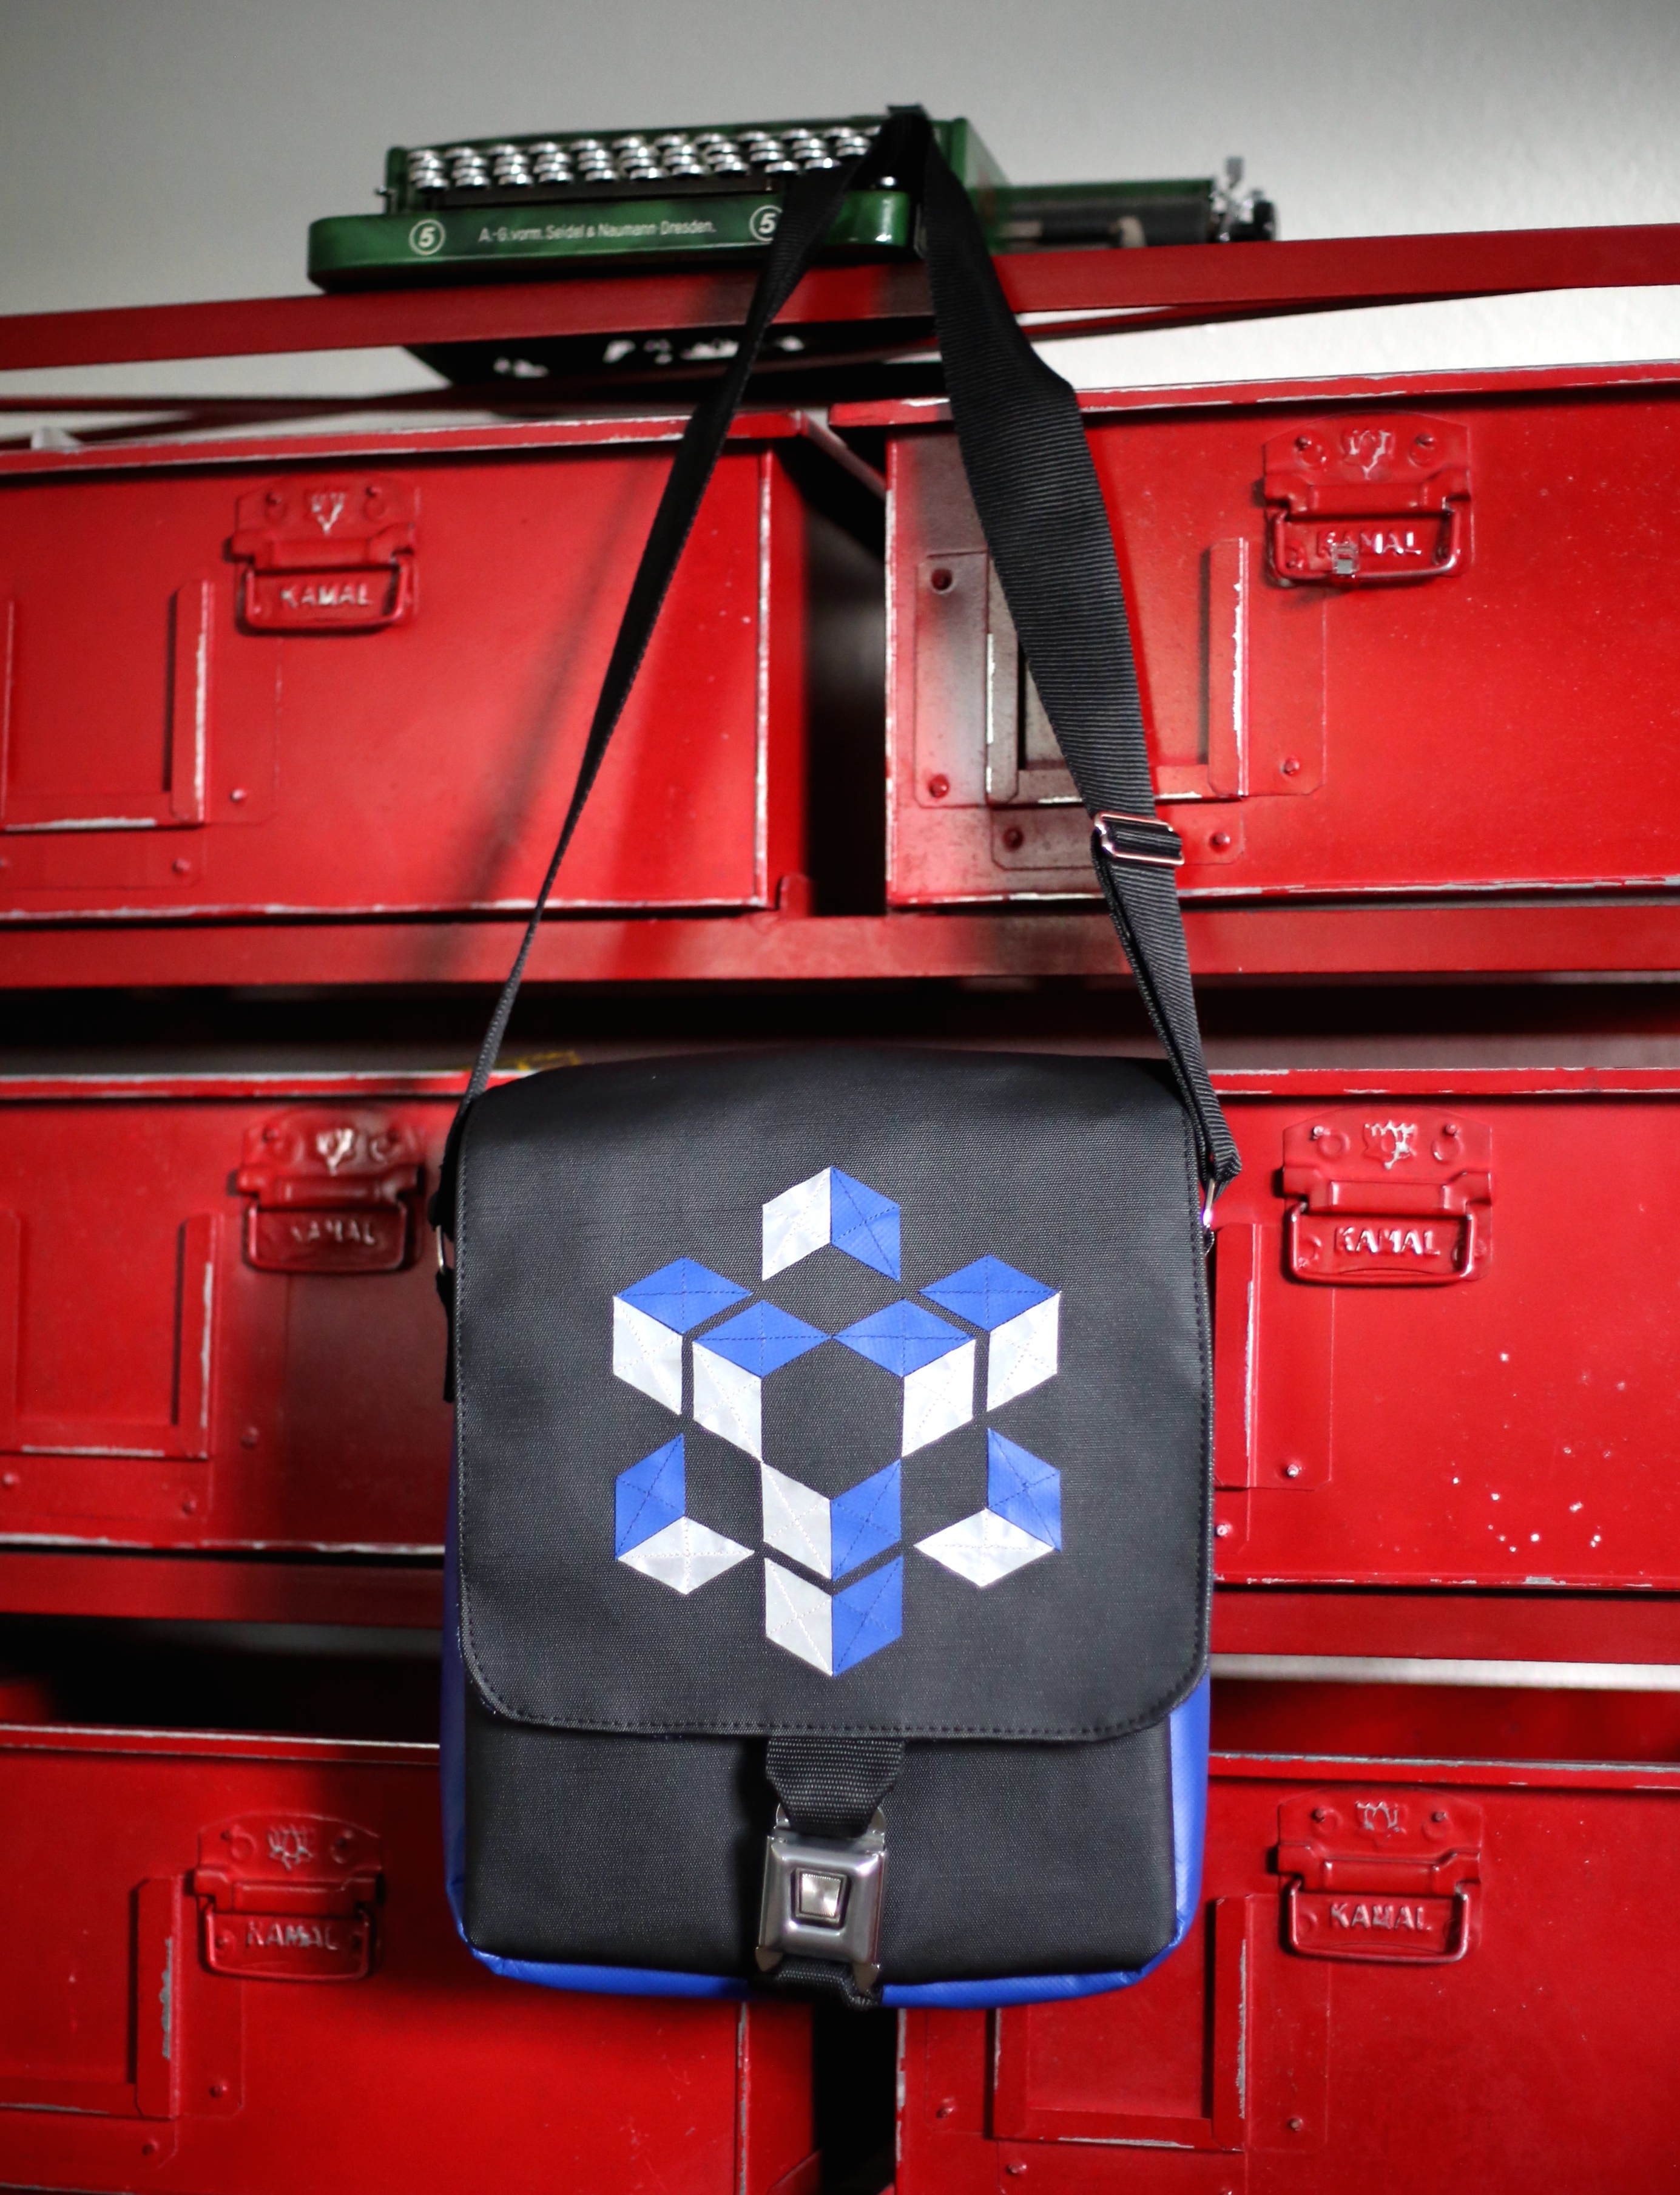
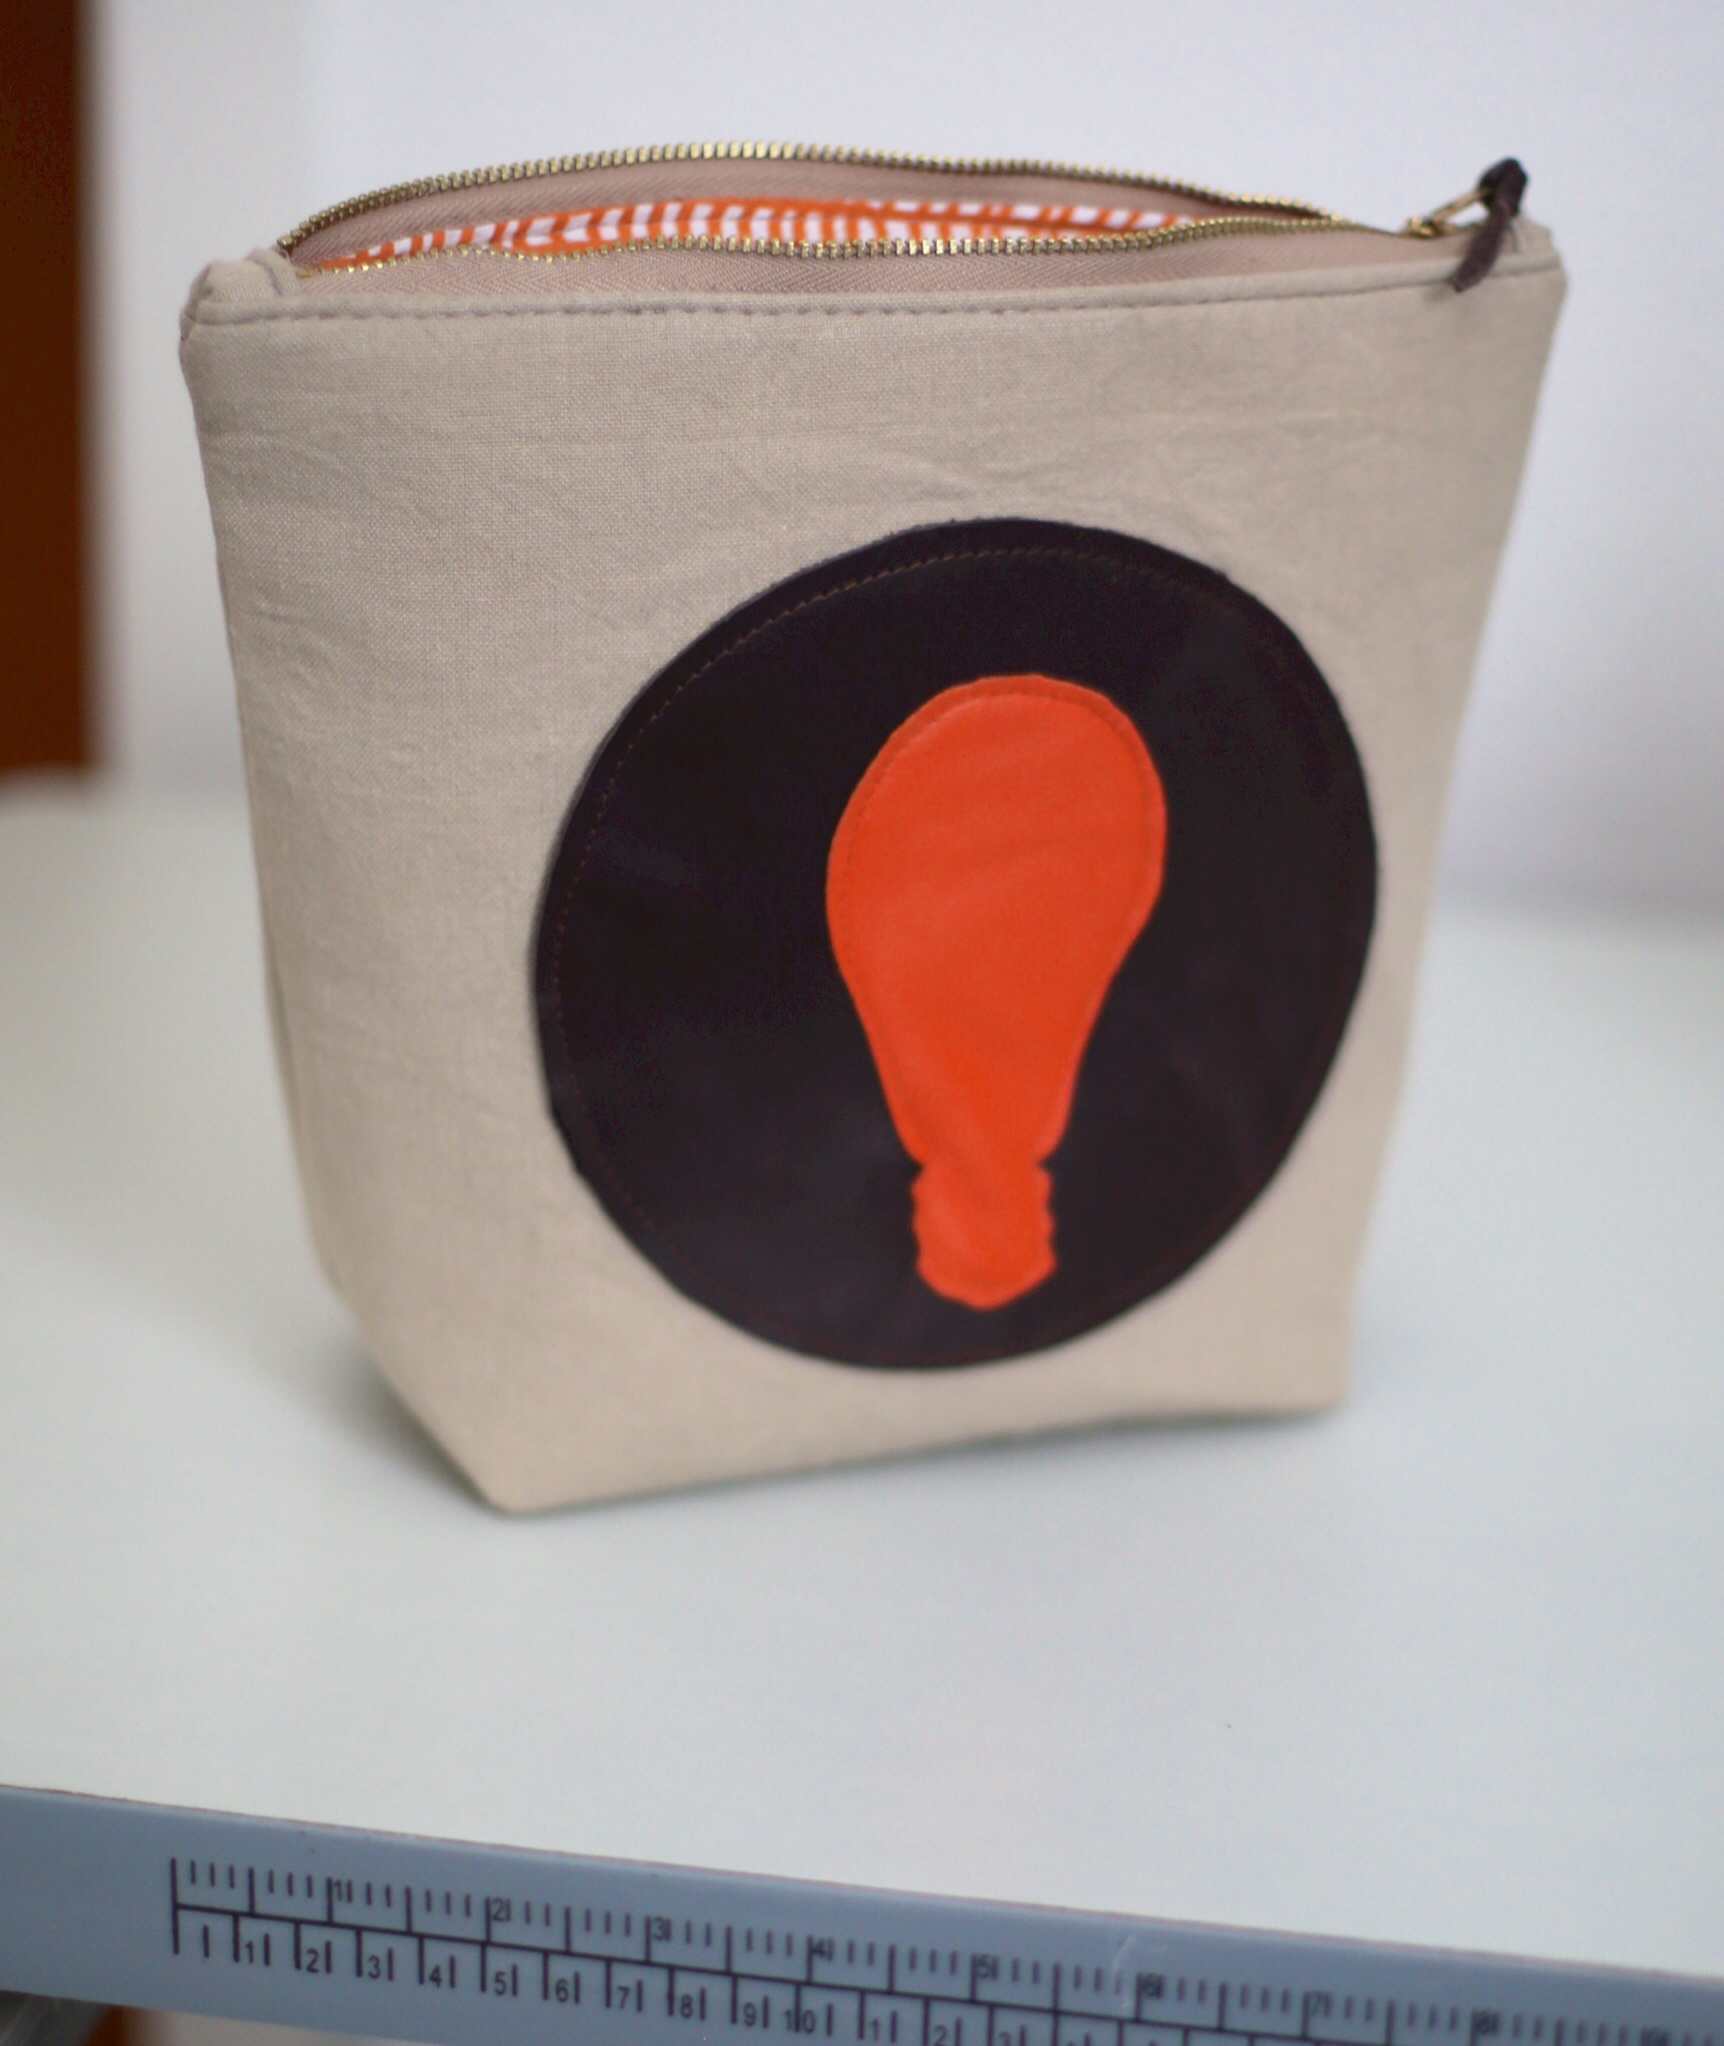
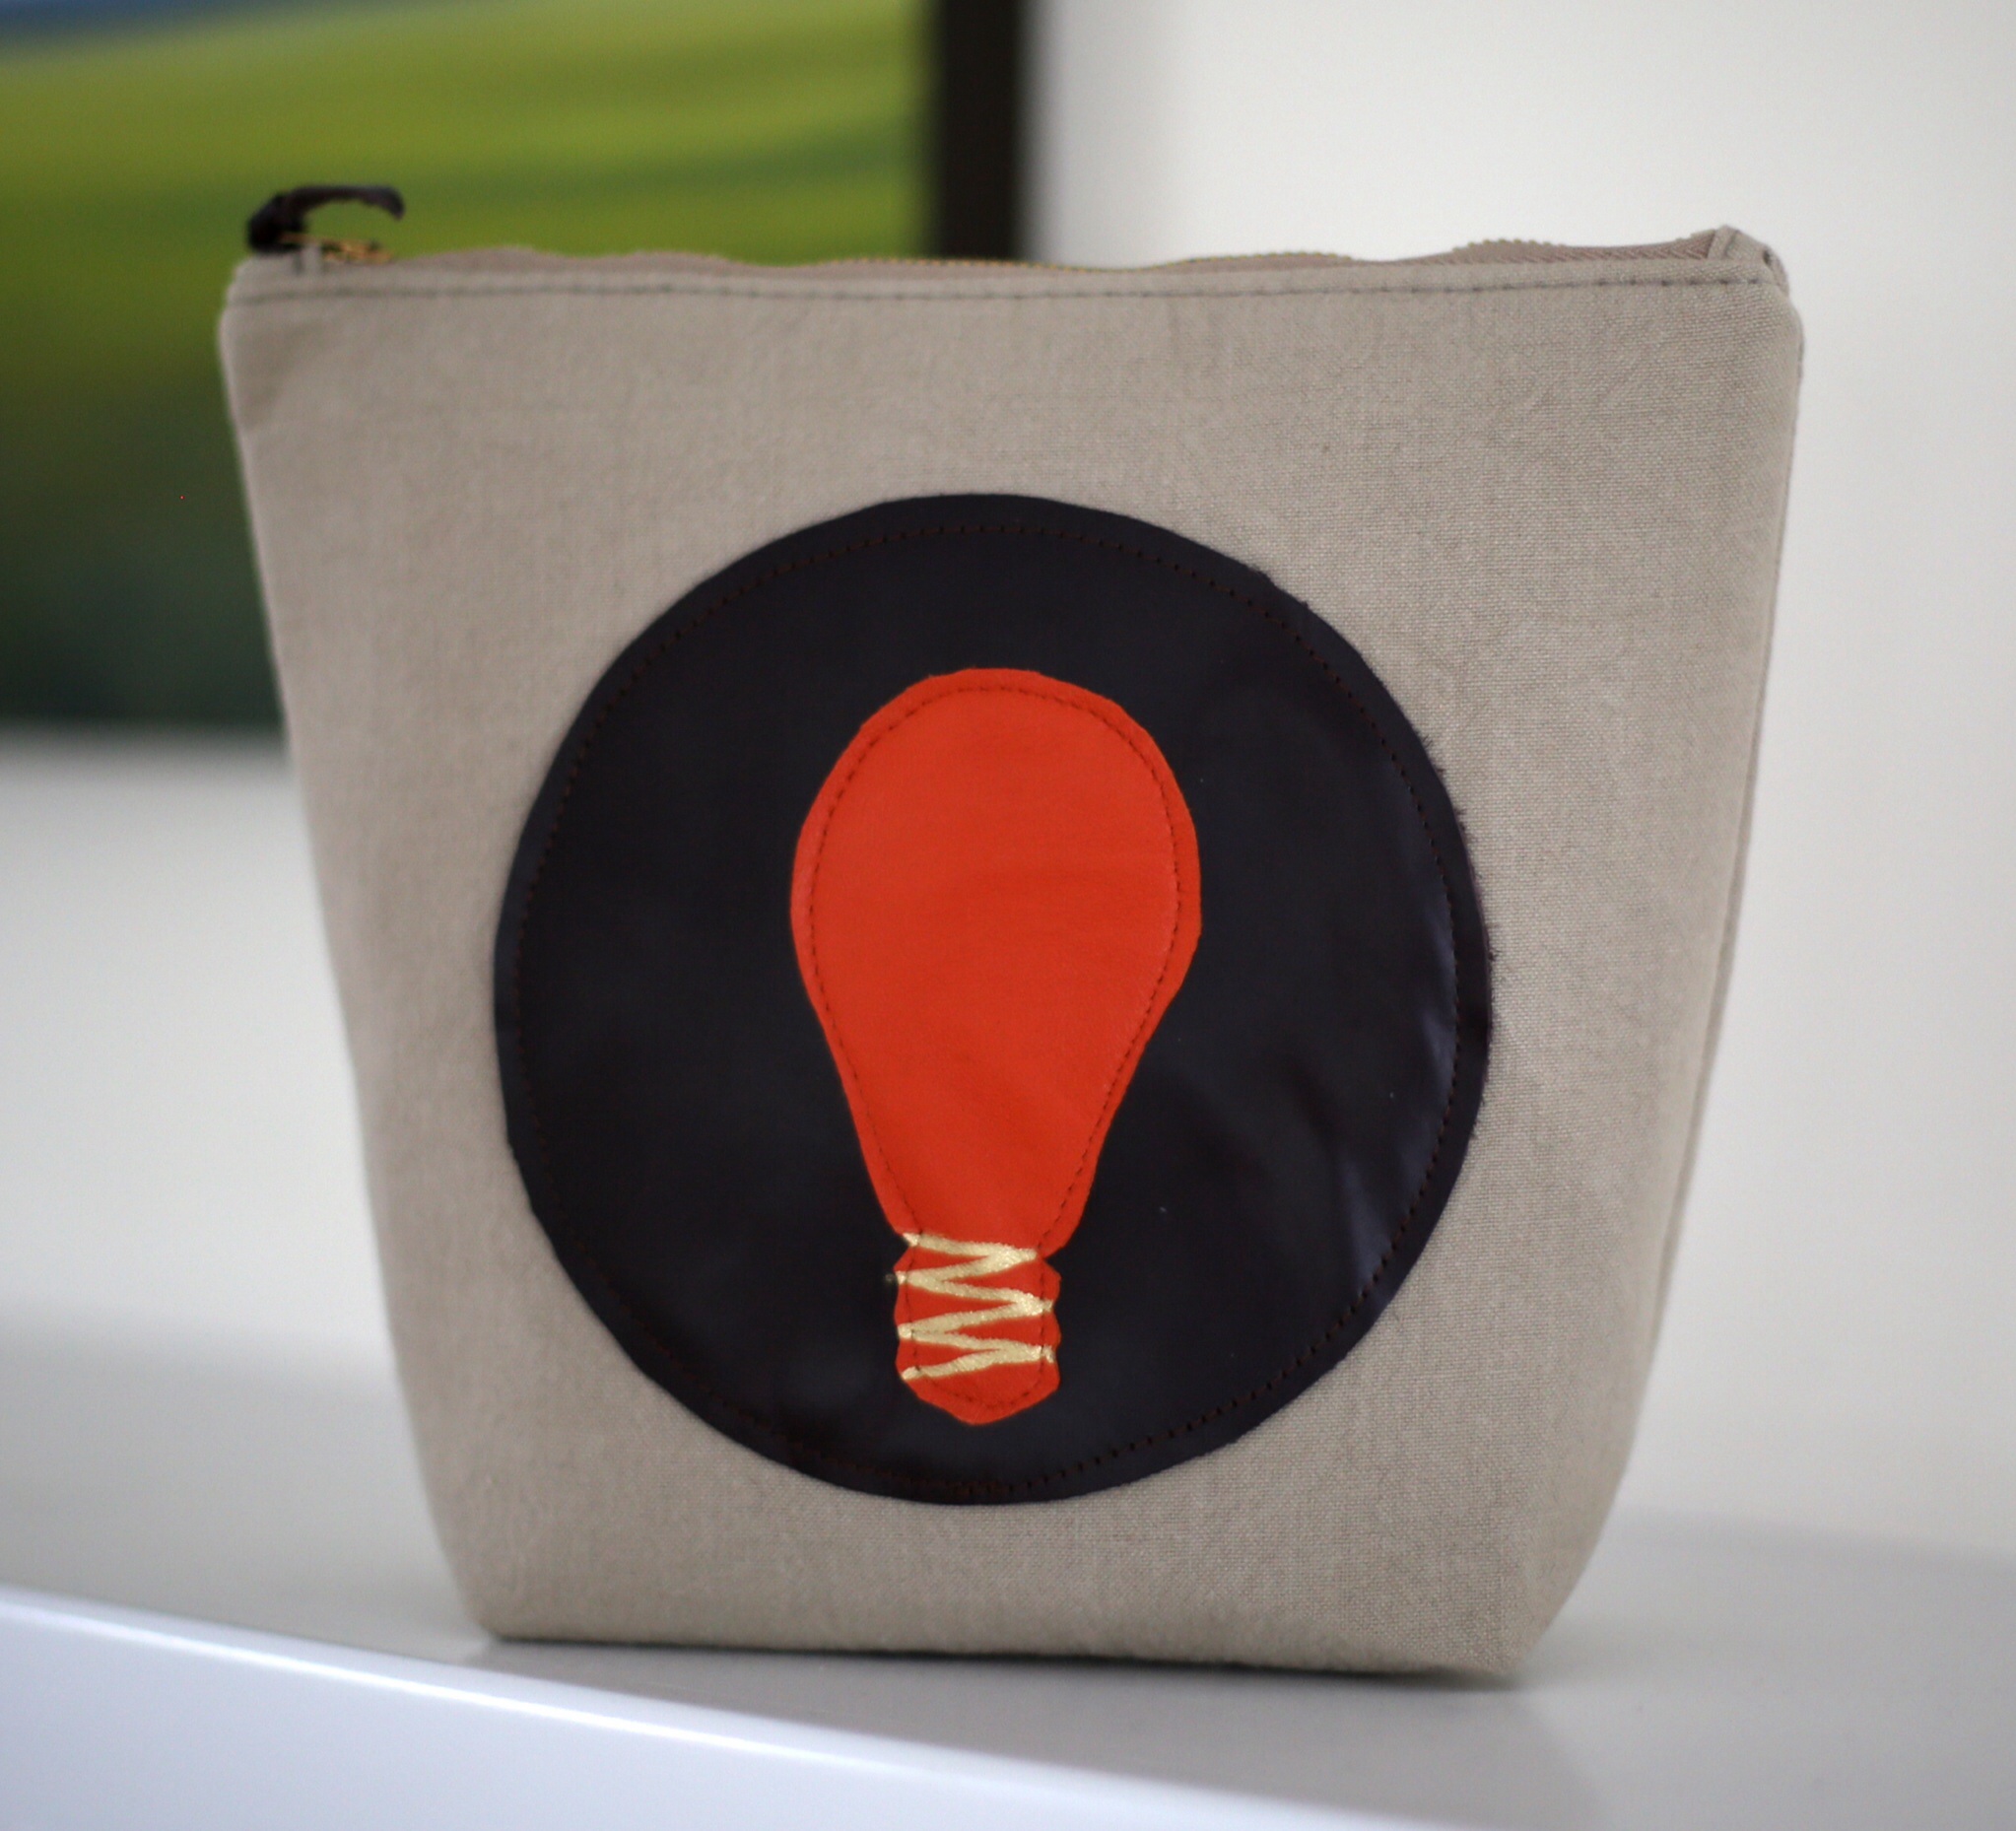
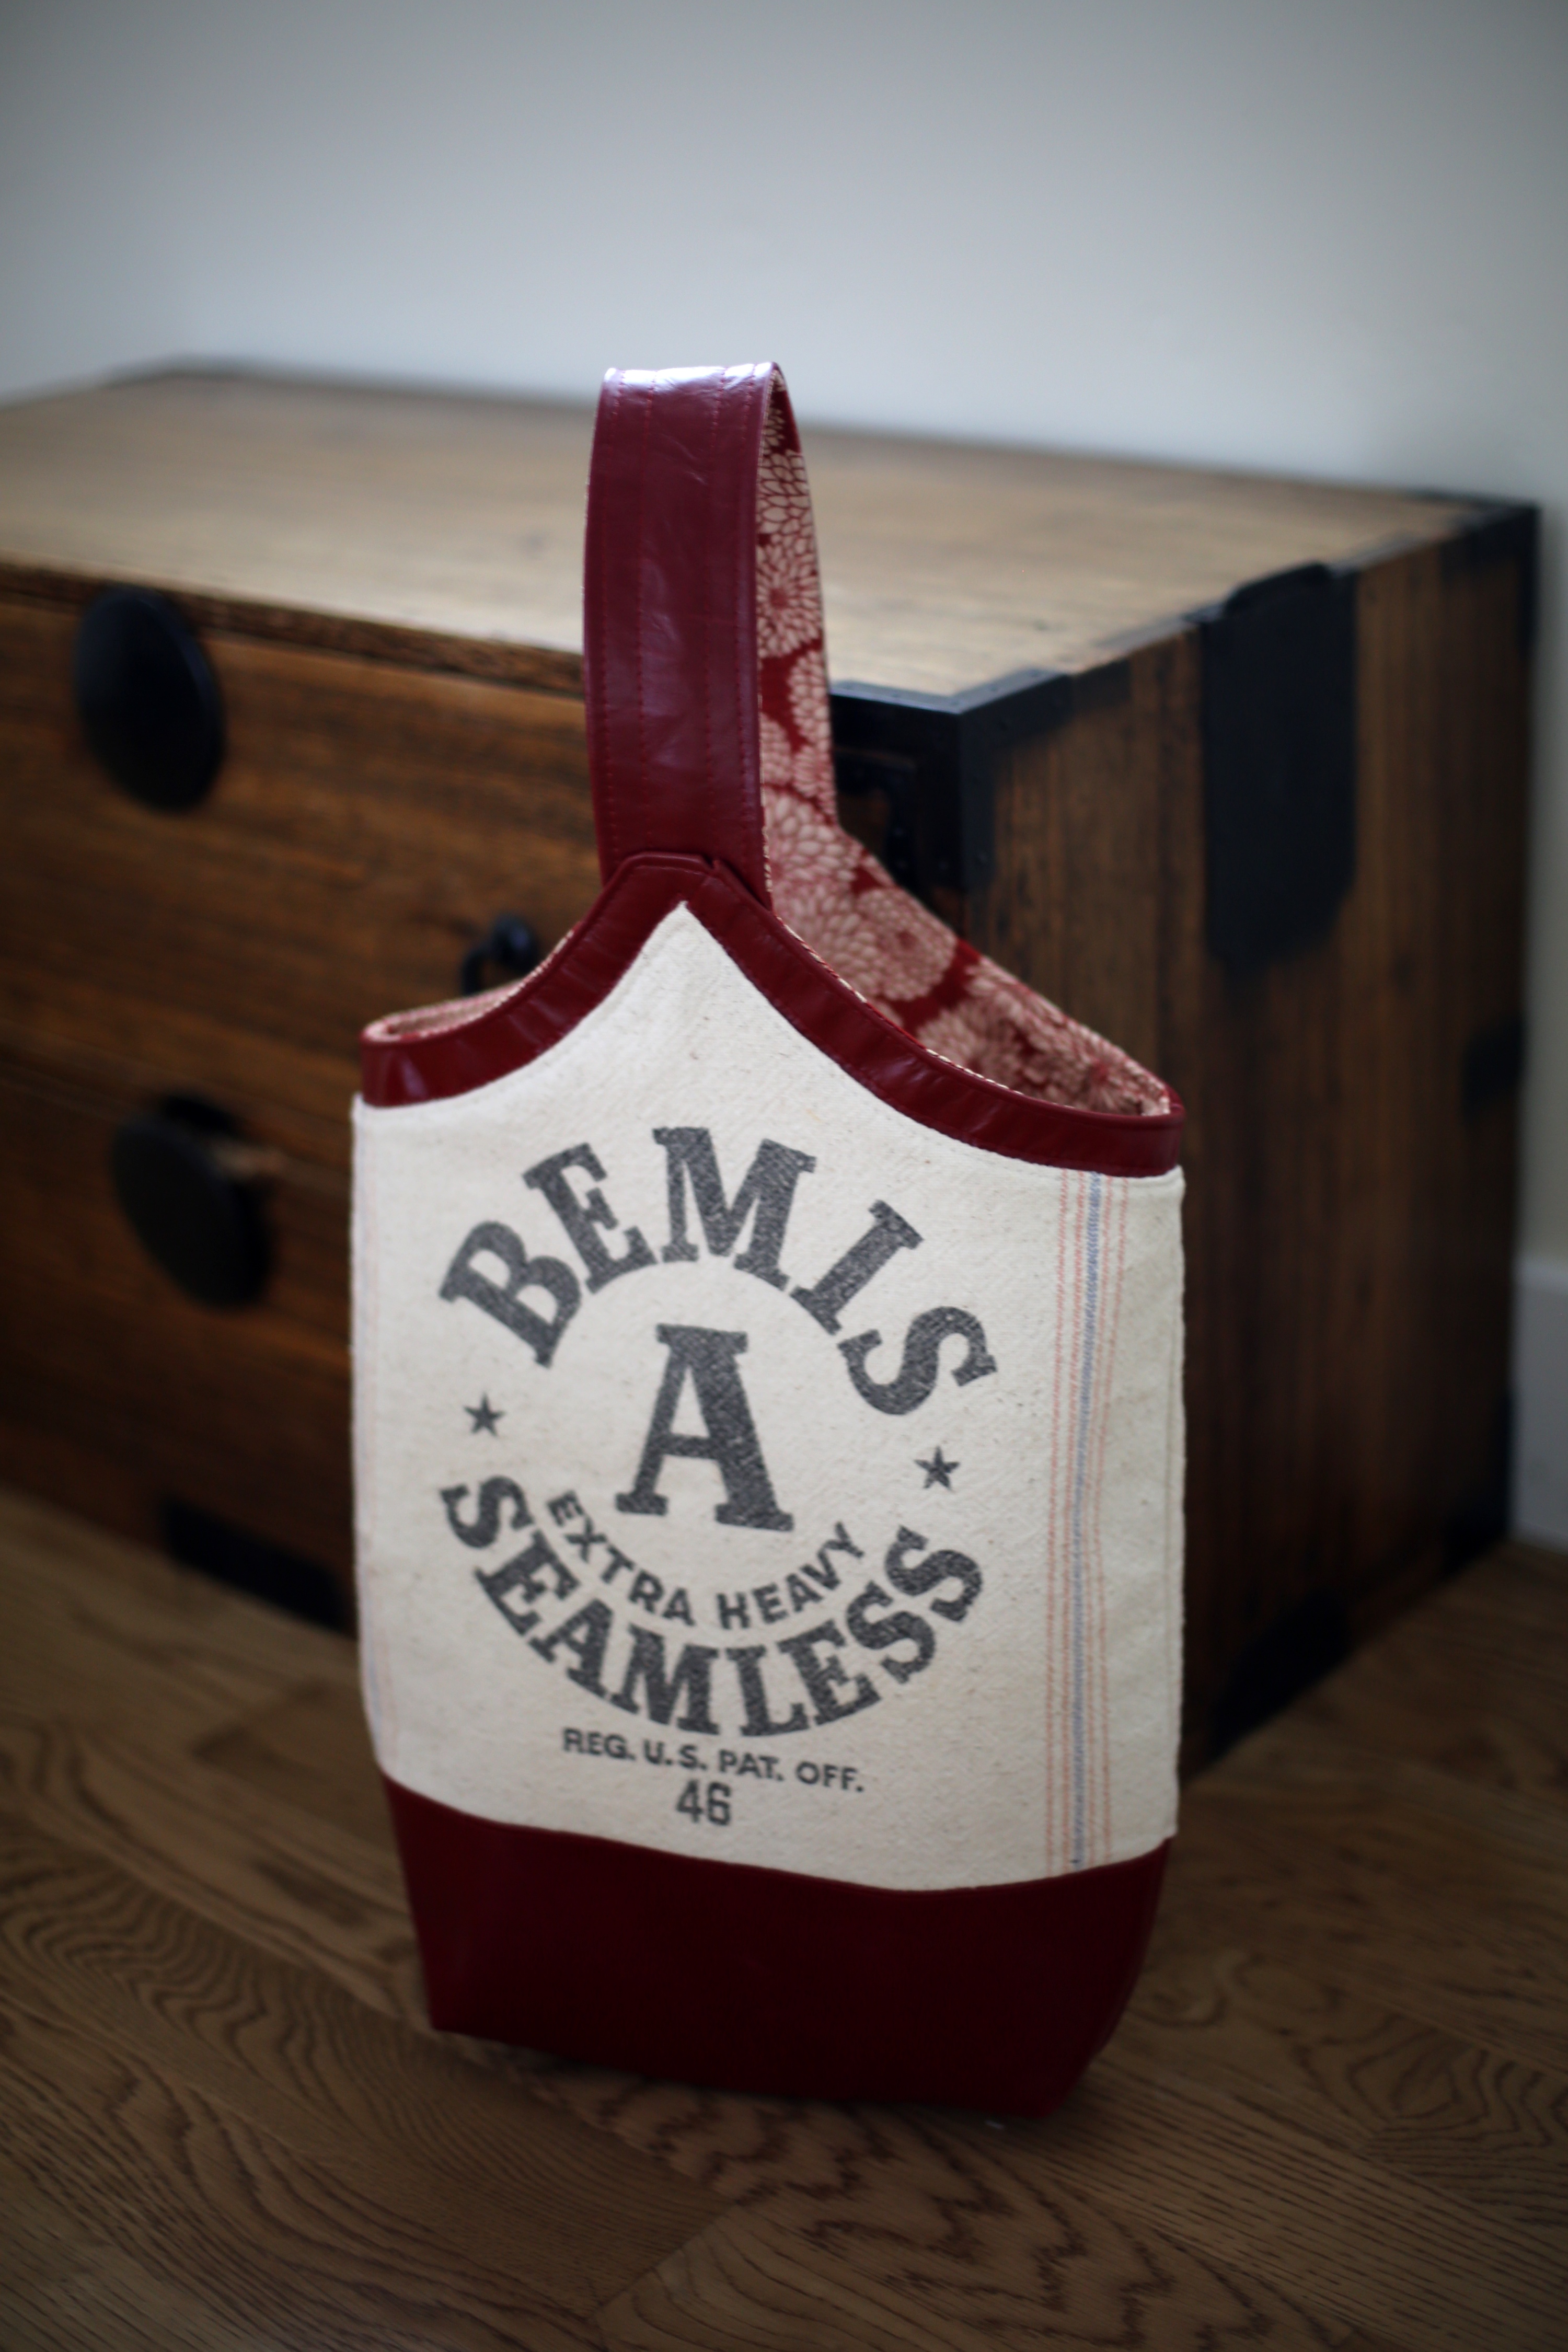
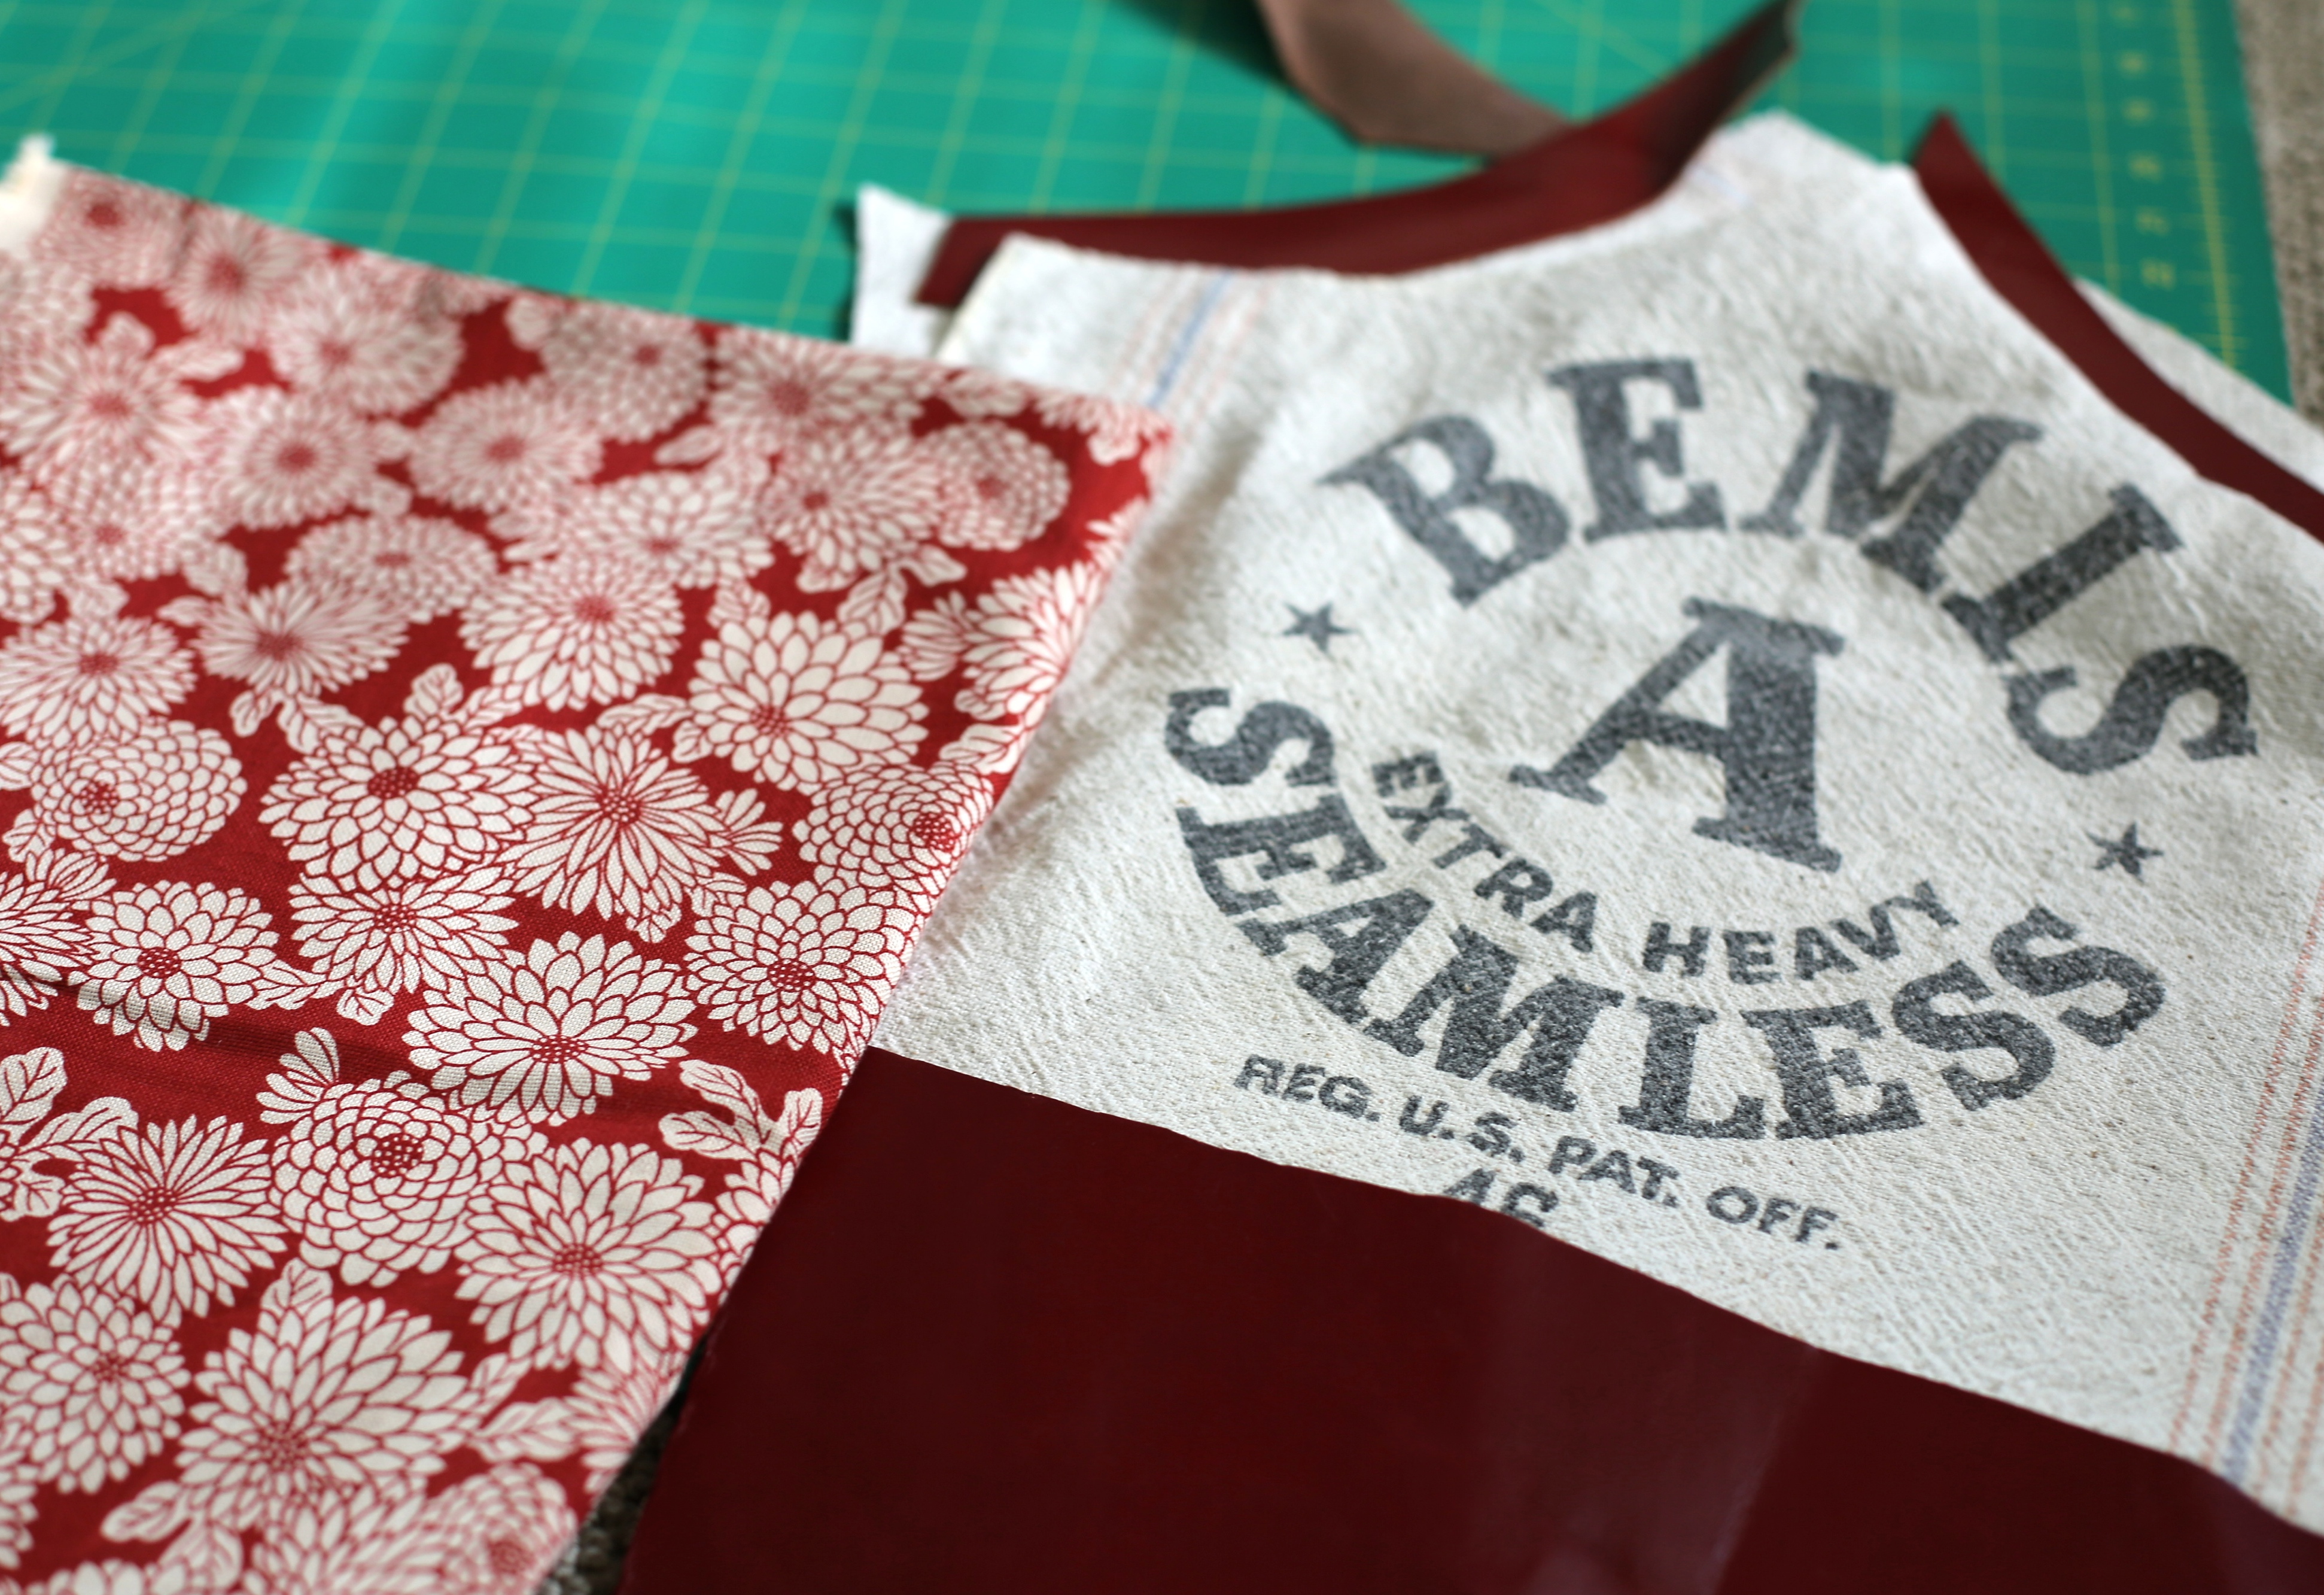
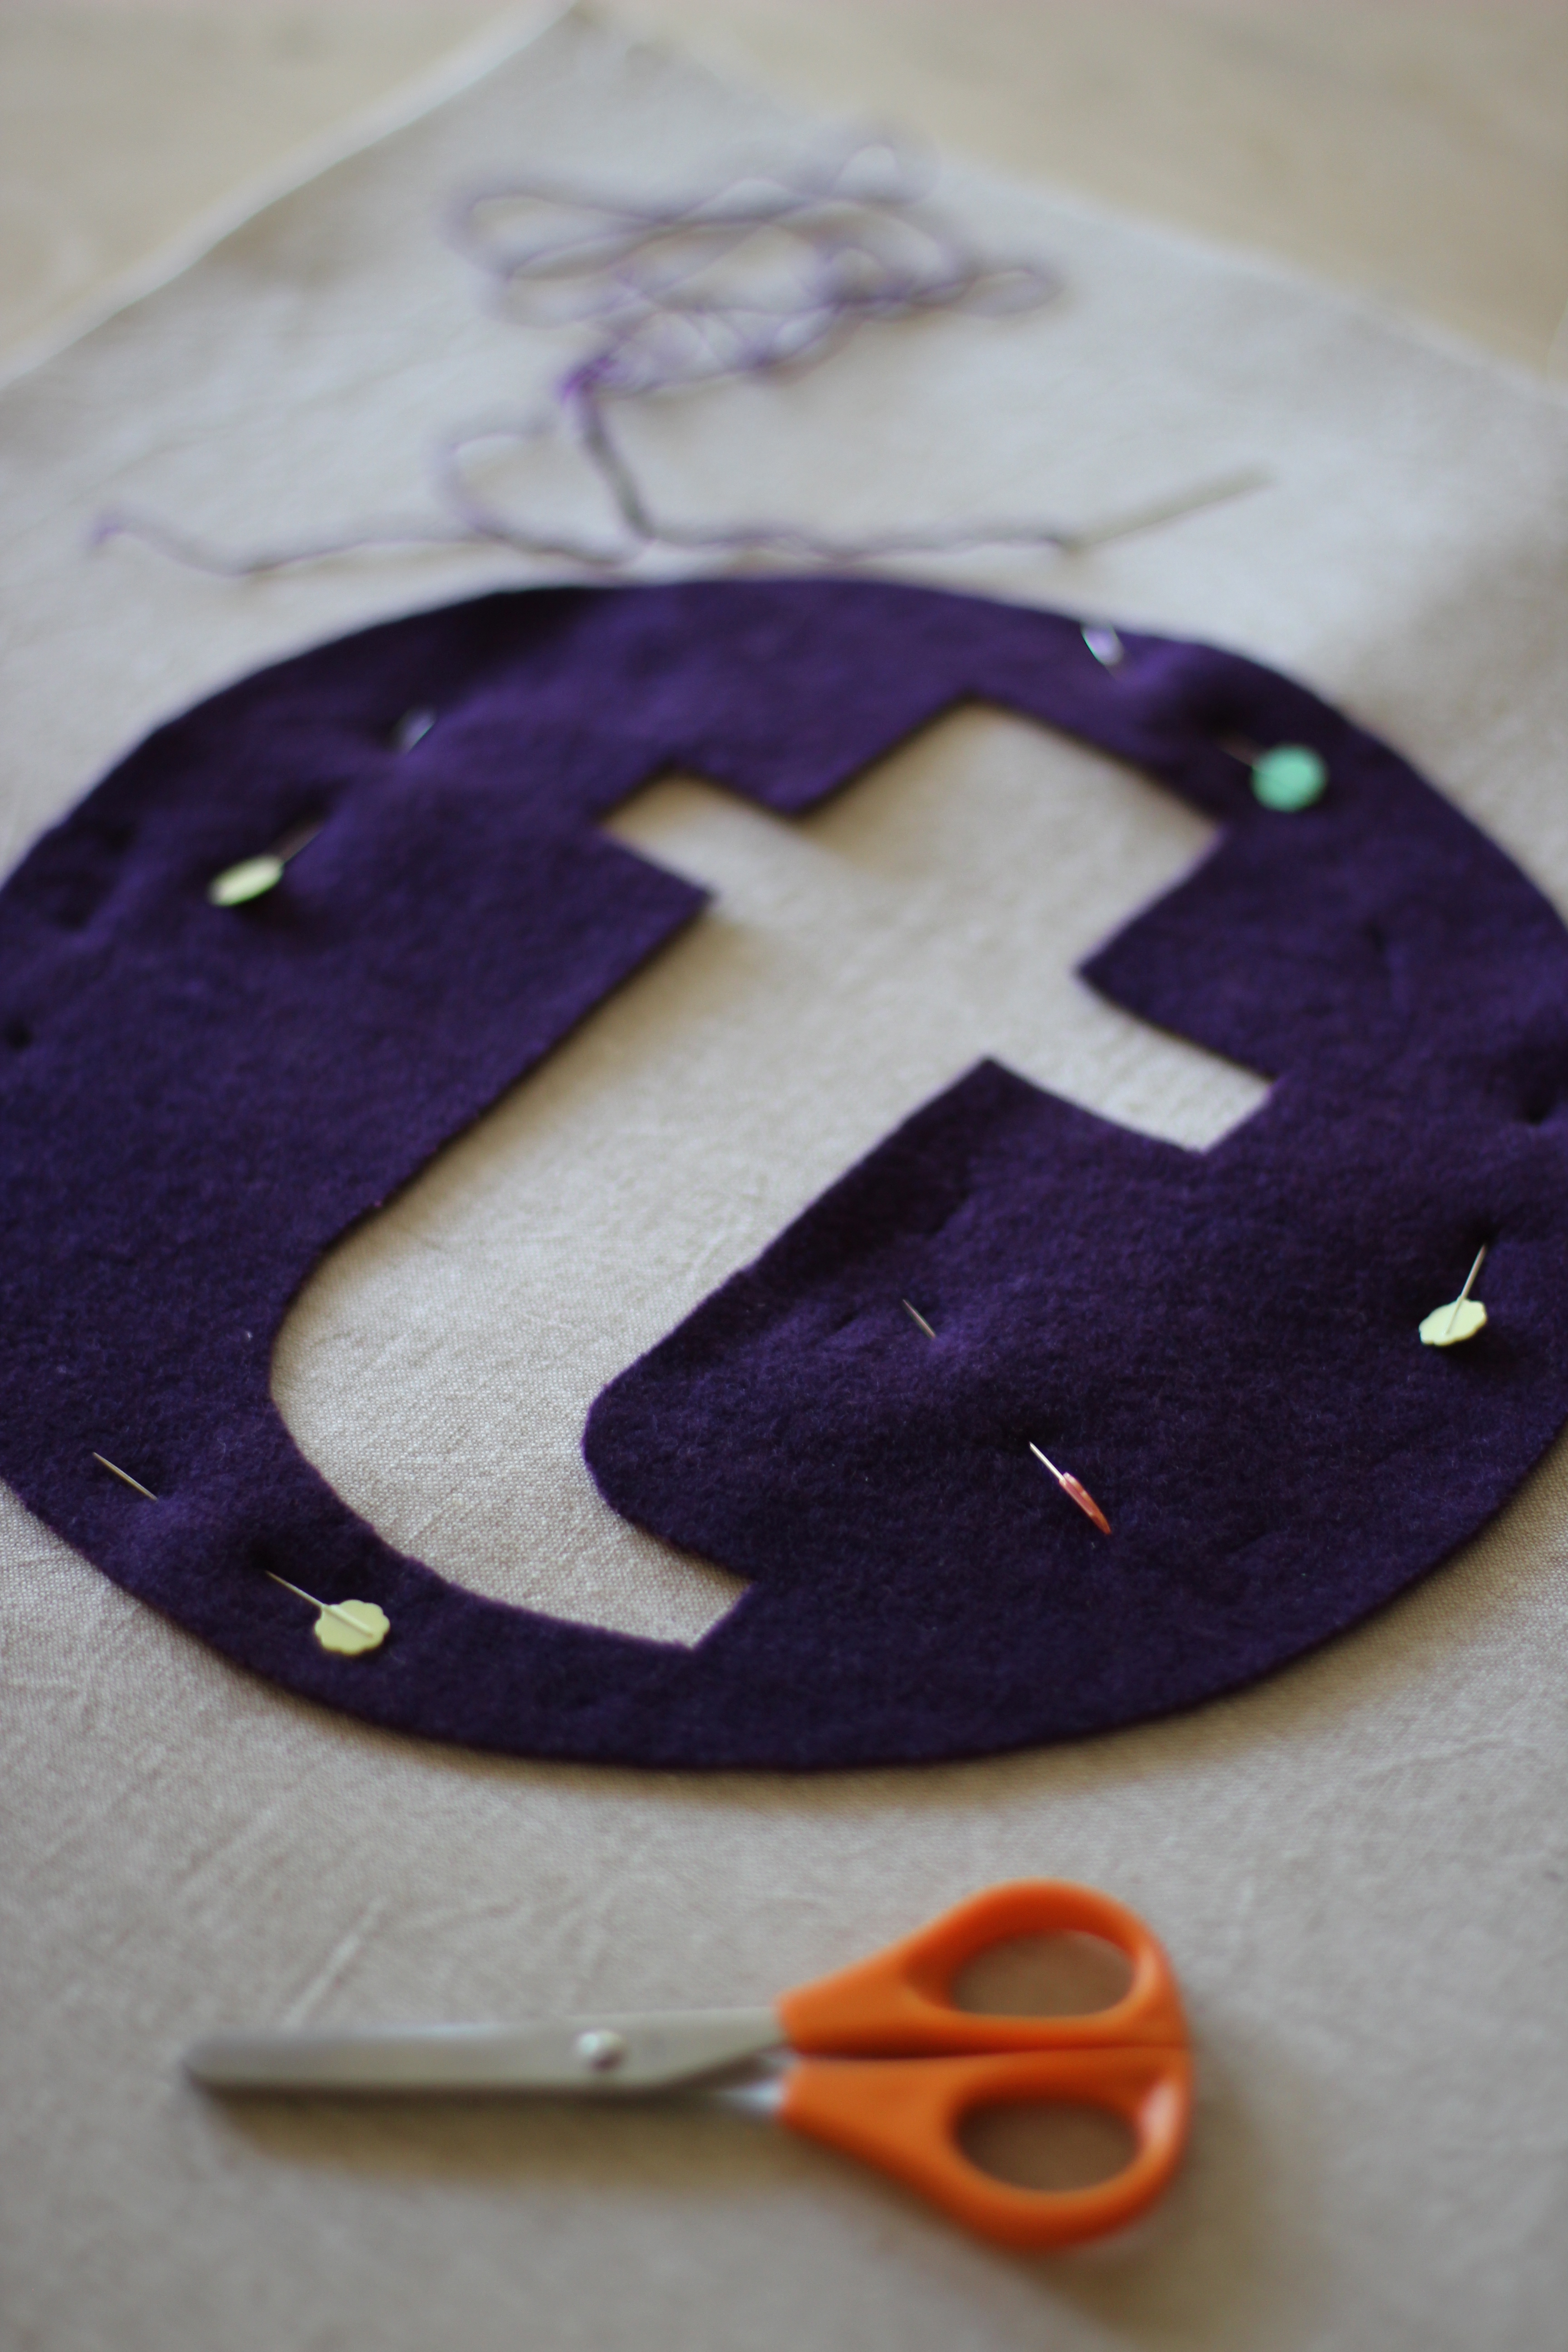
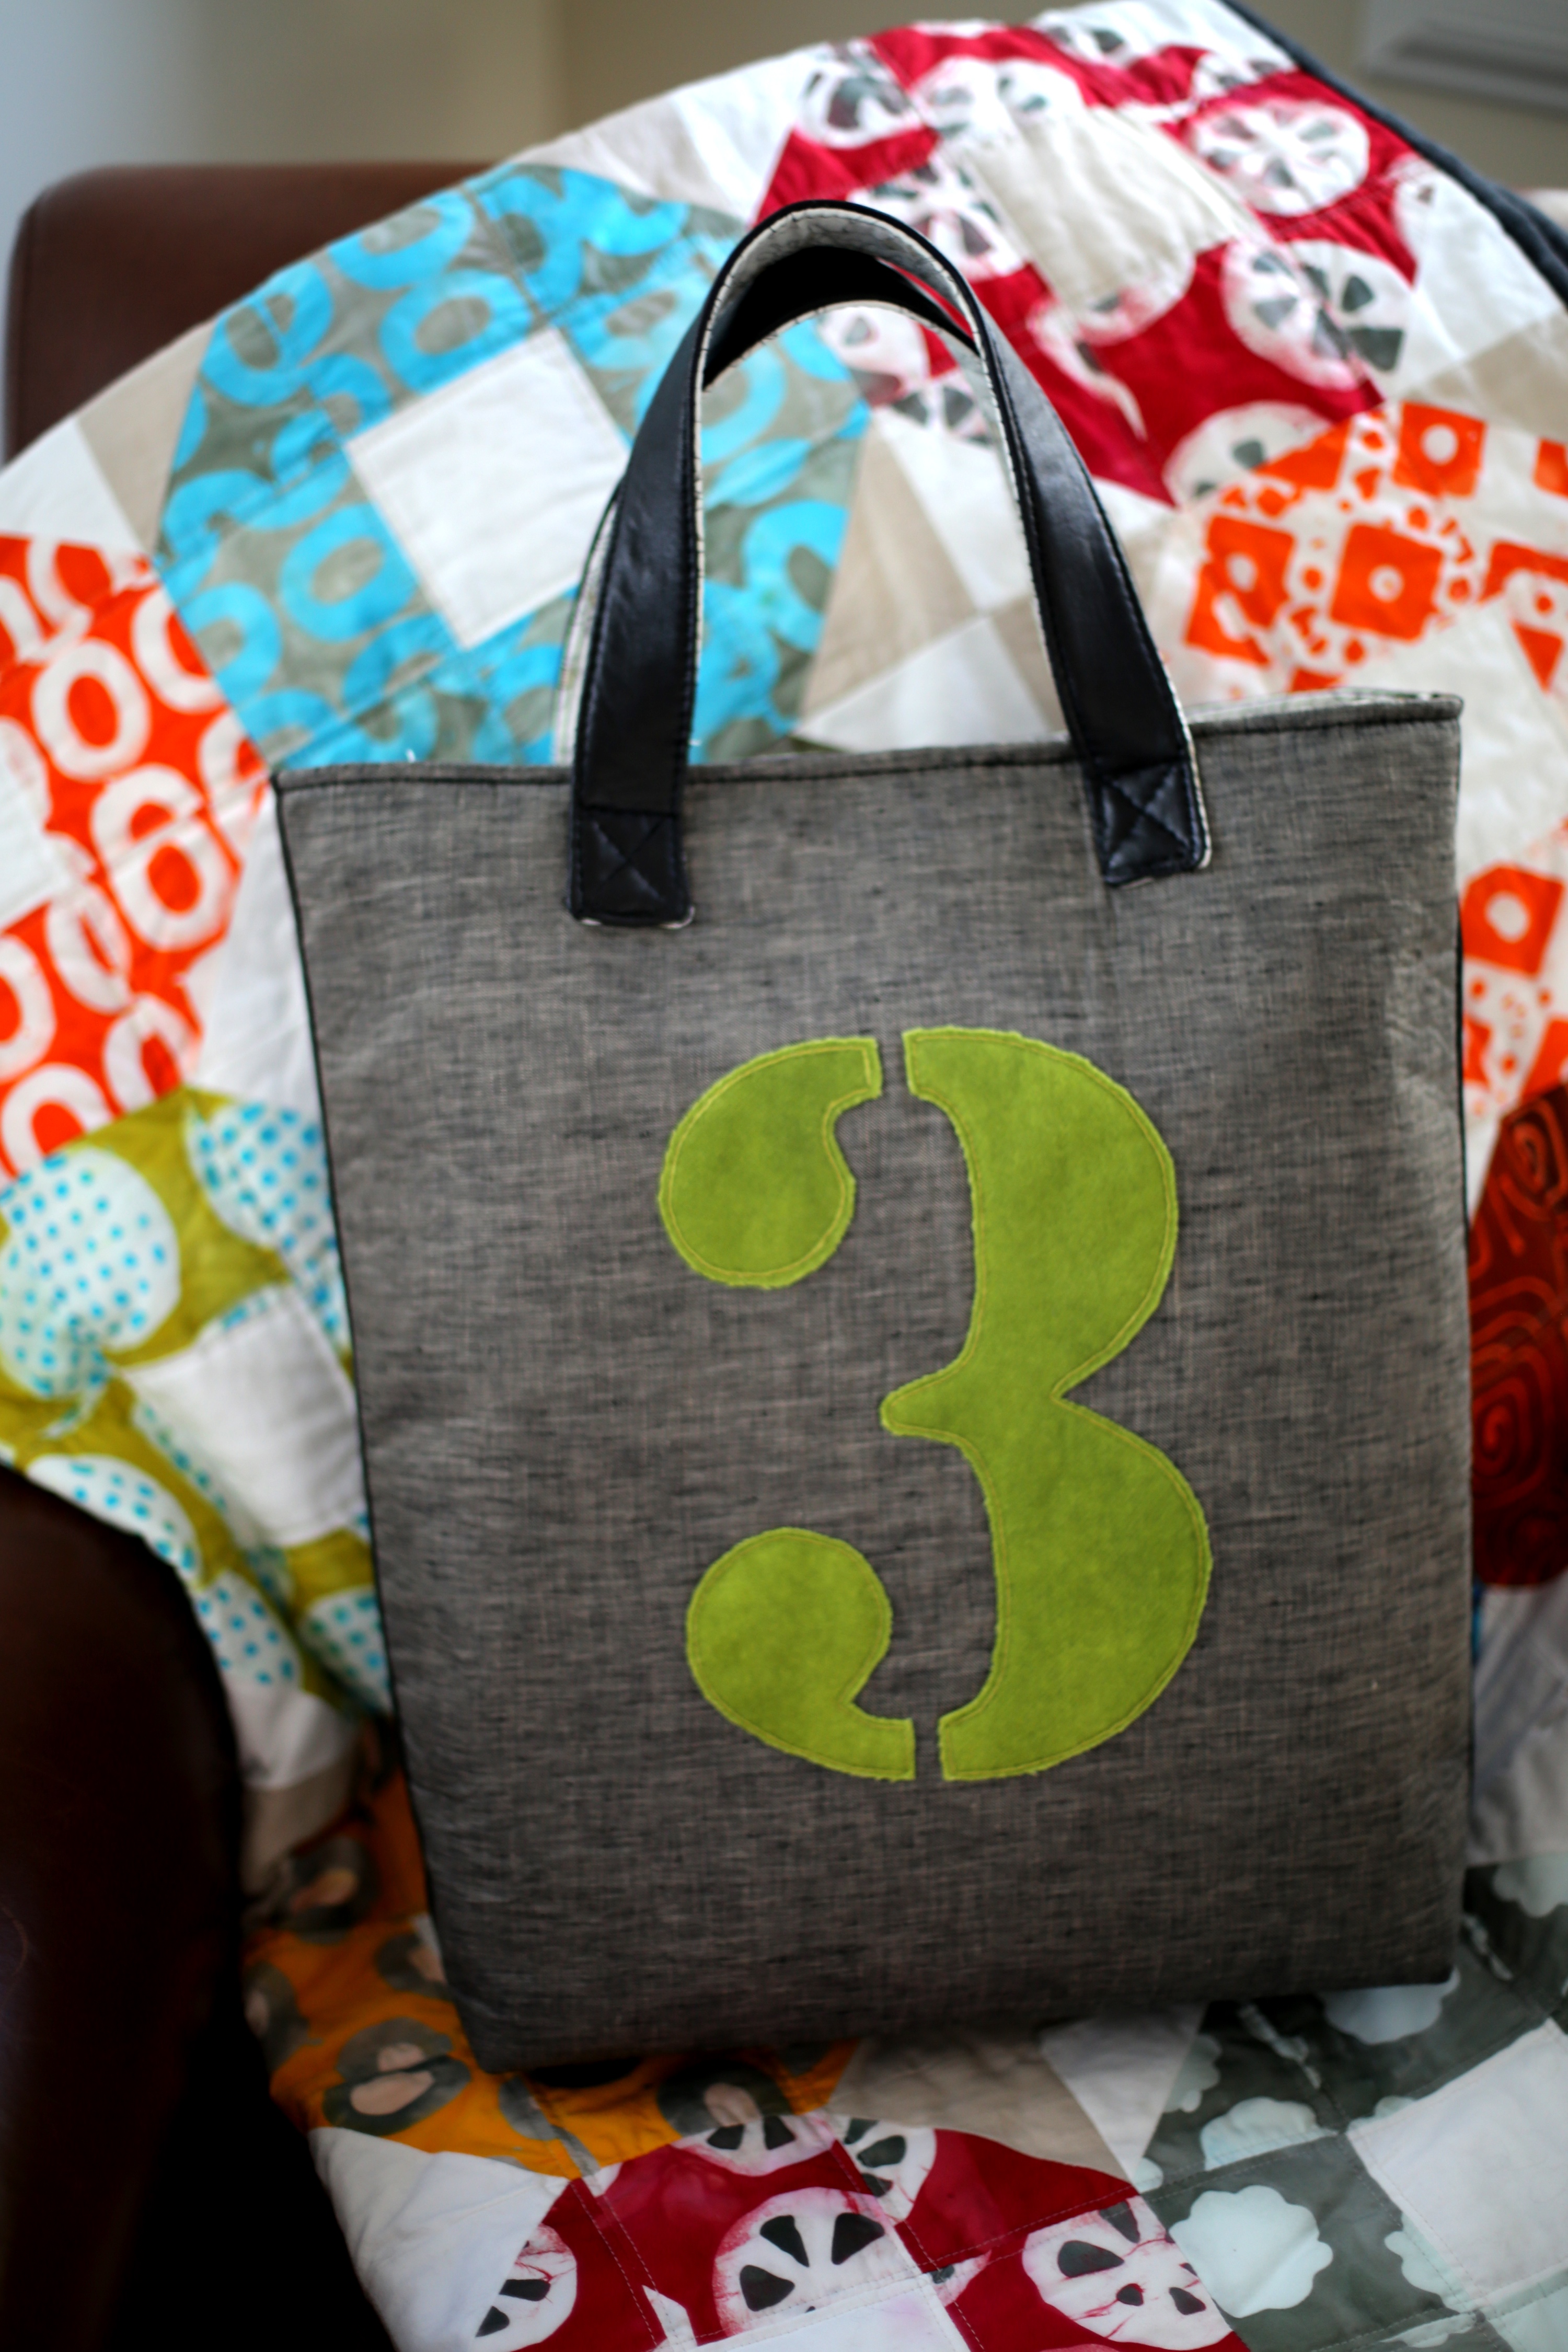
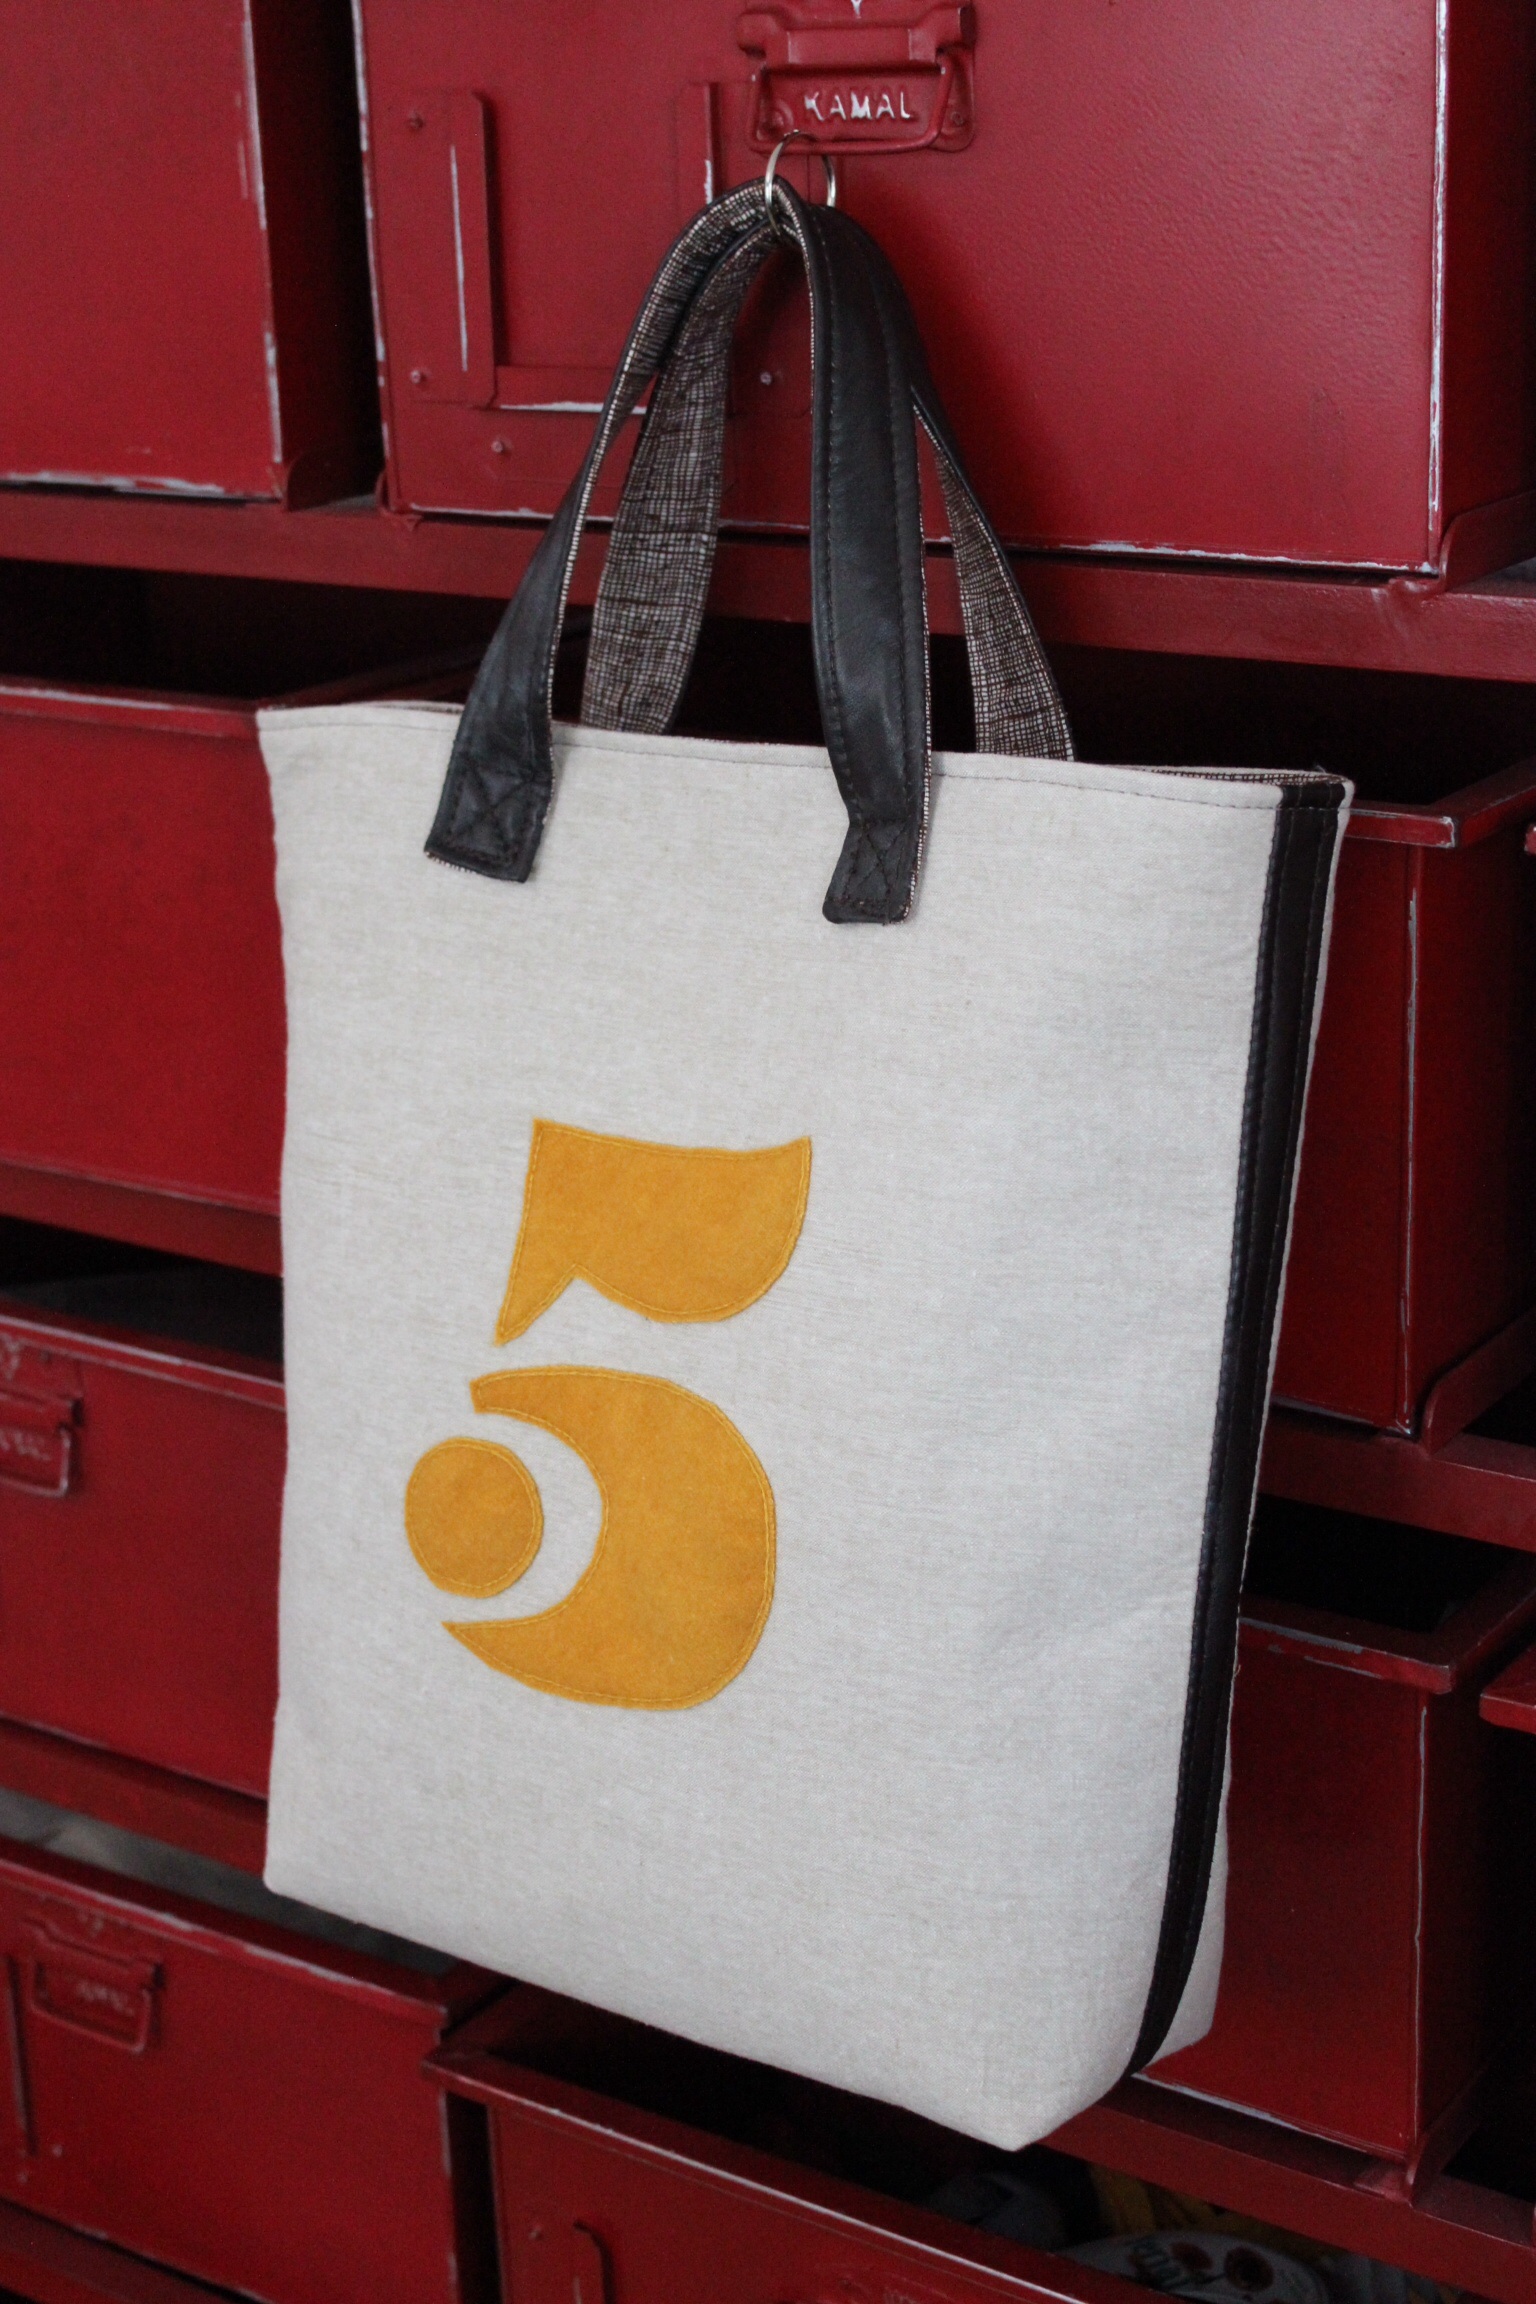
Step One: Cut out and Sew on your Special Letter/Number/Symbol onto the Bag Front
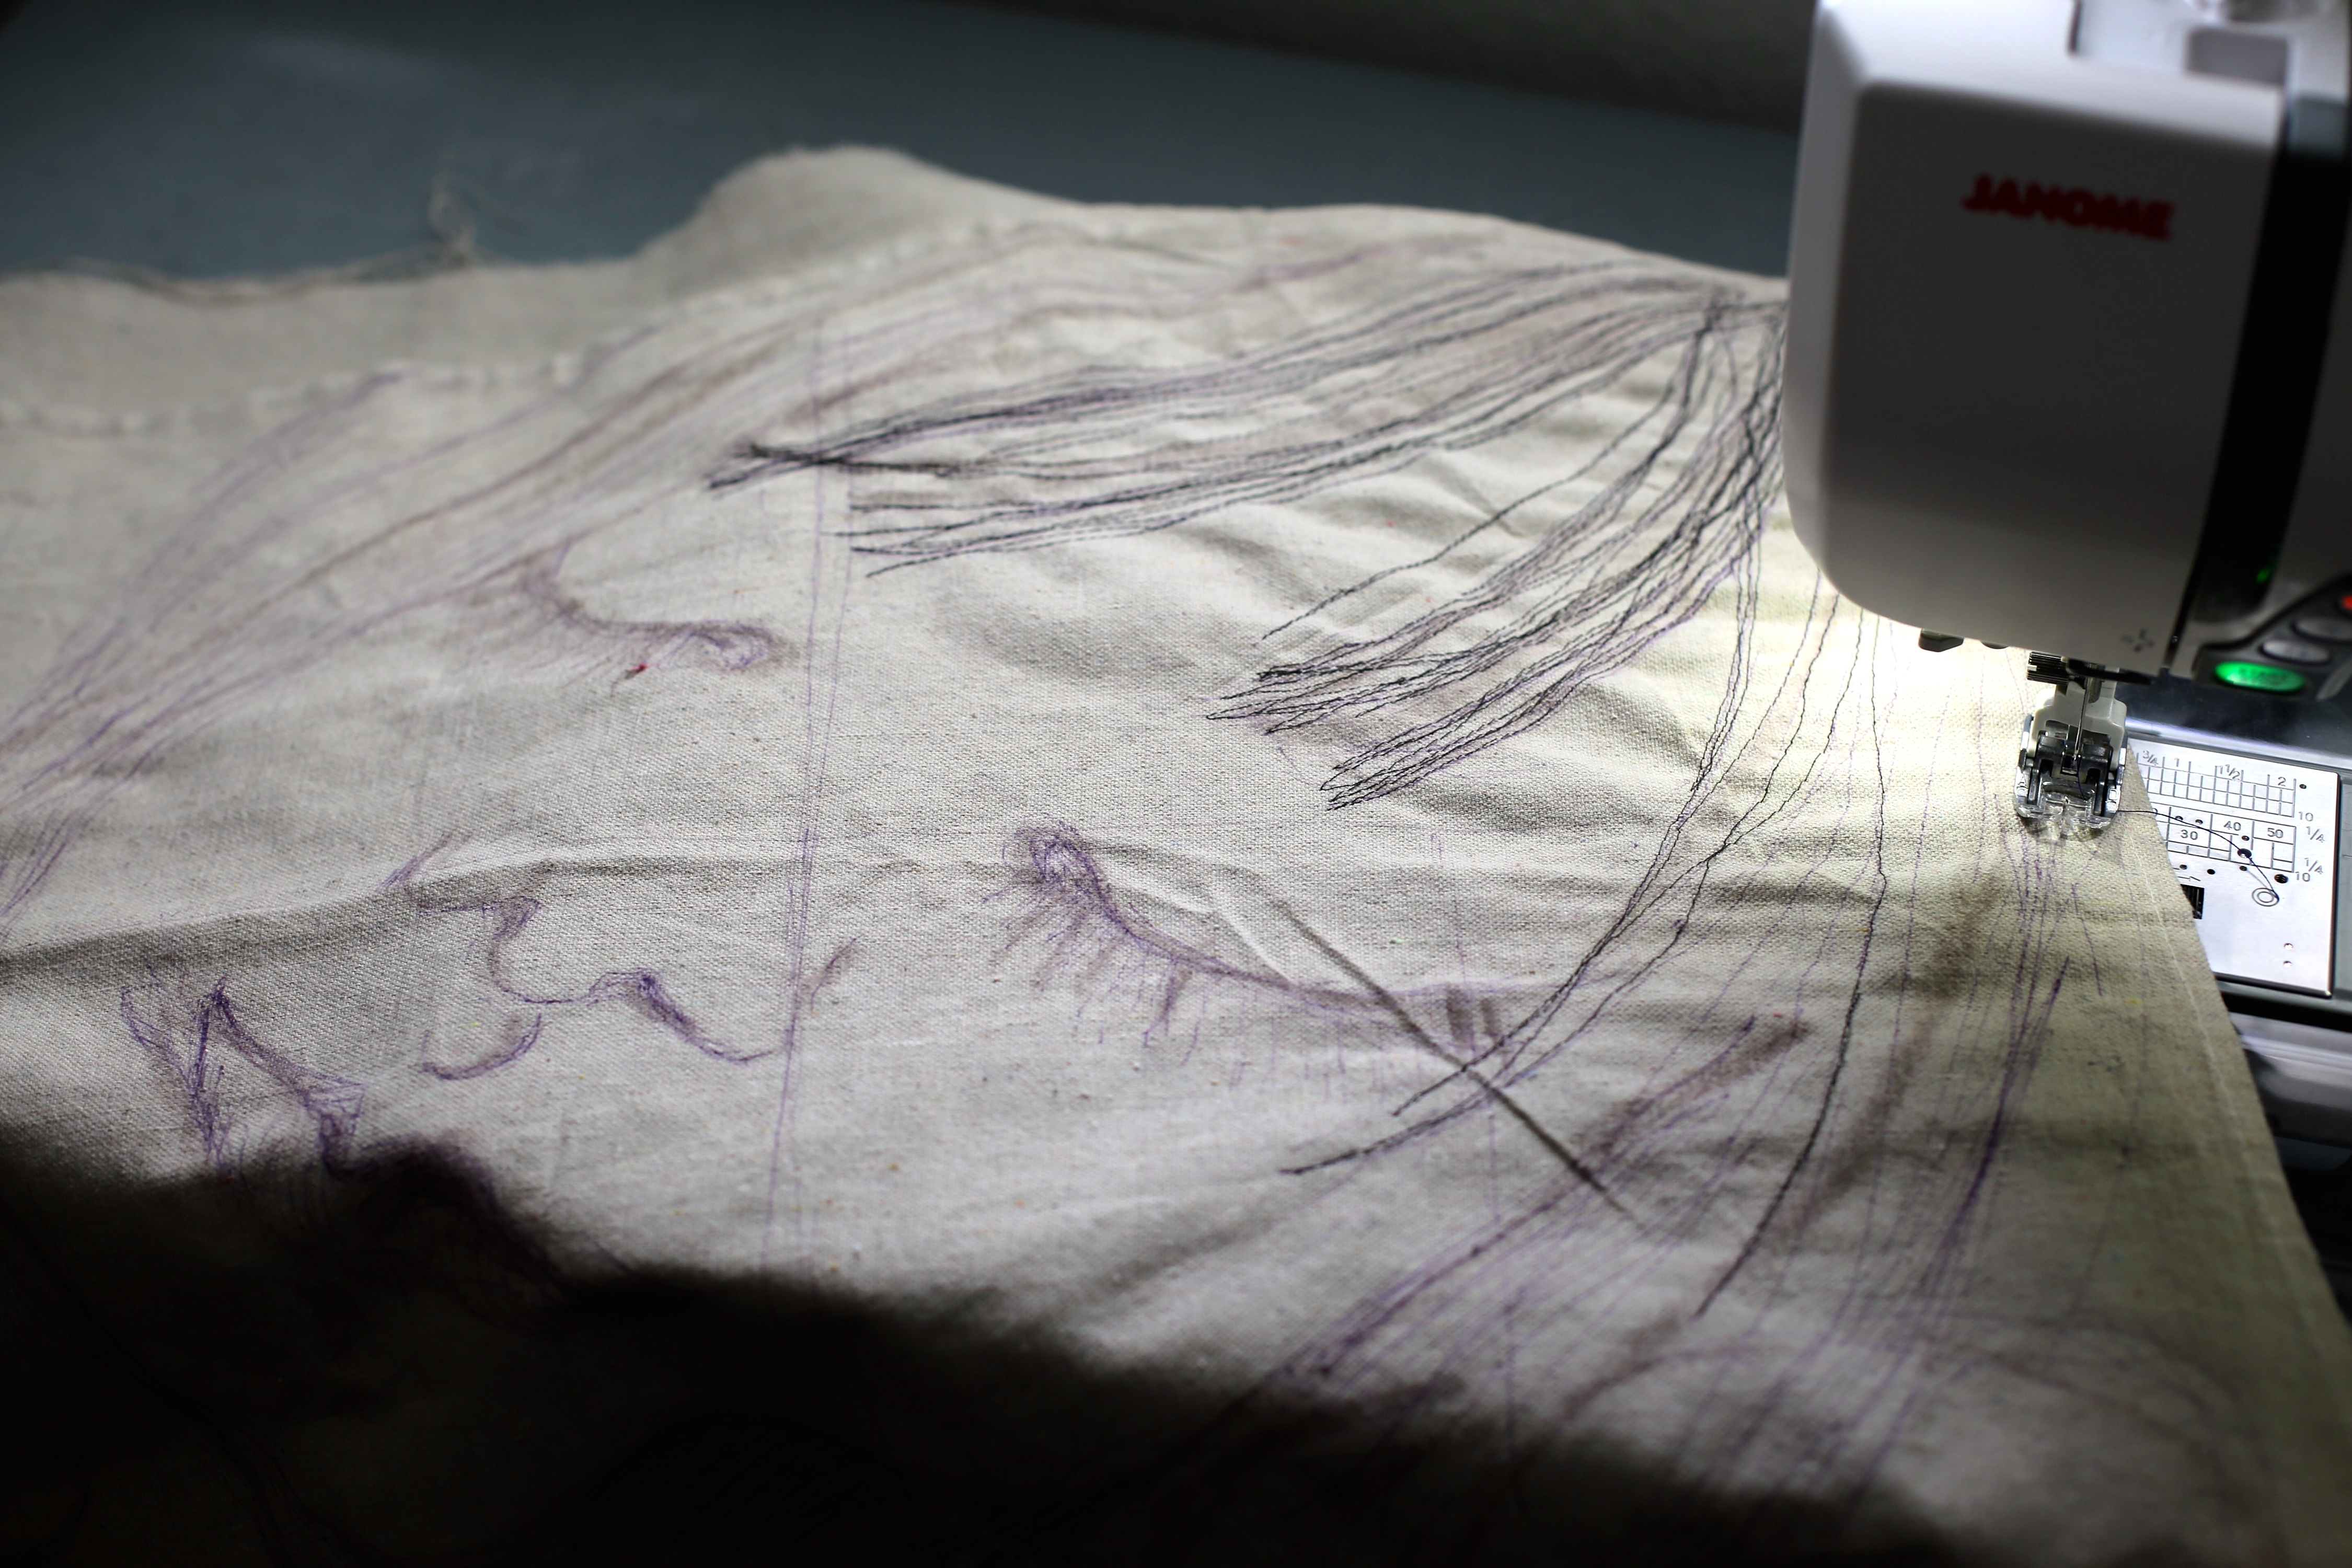
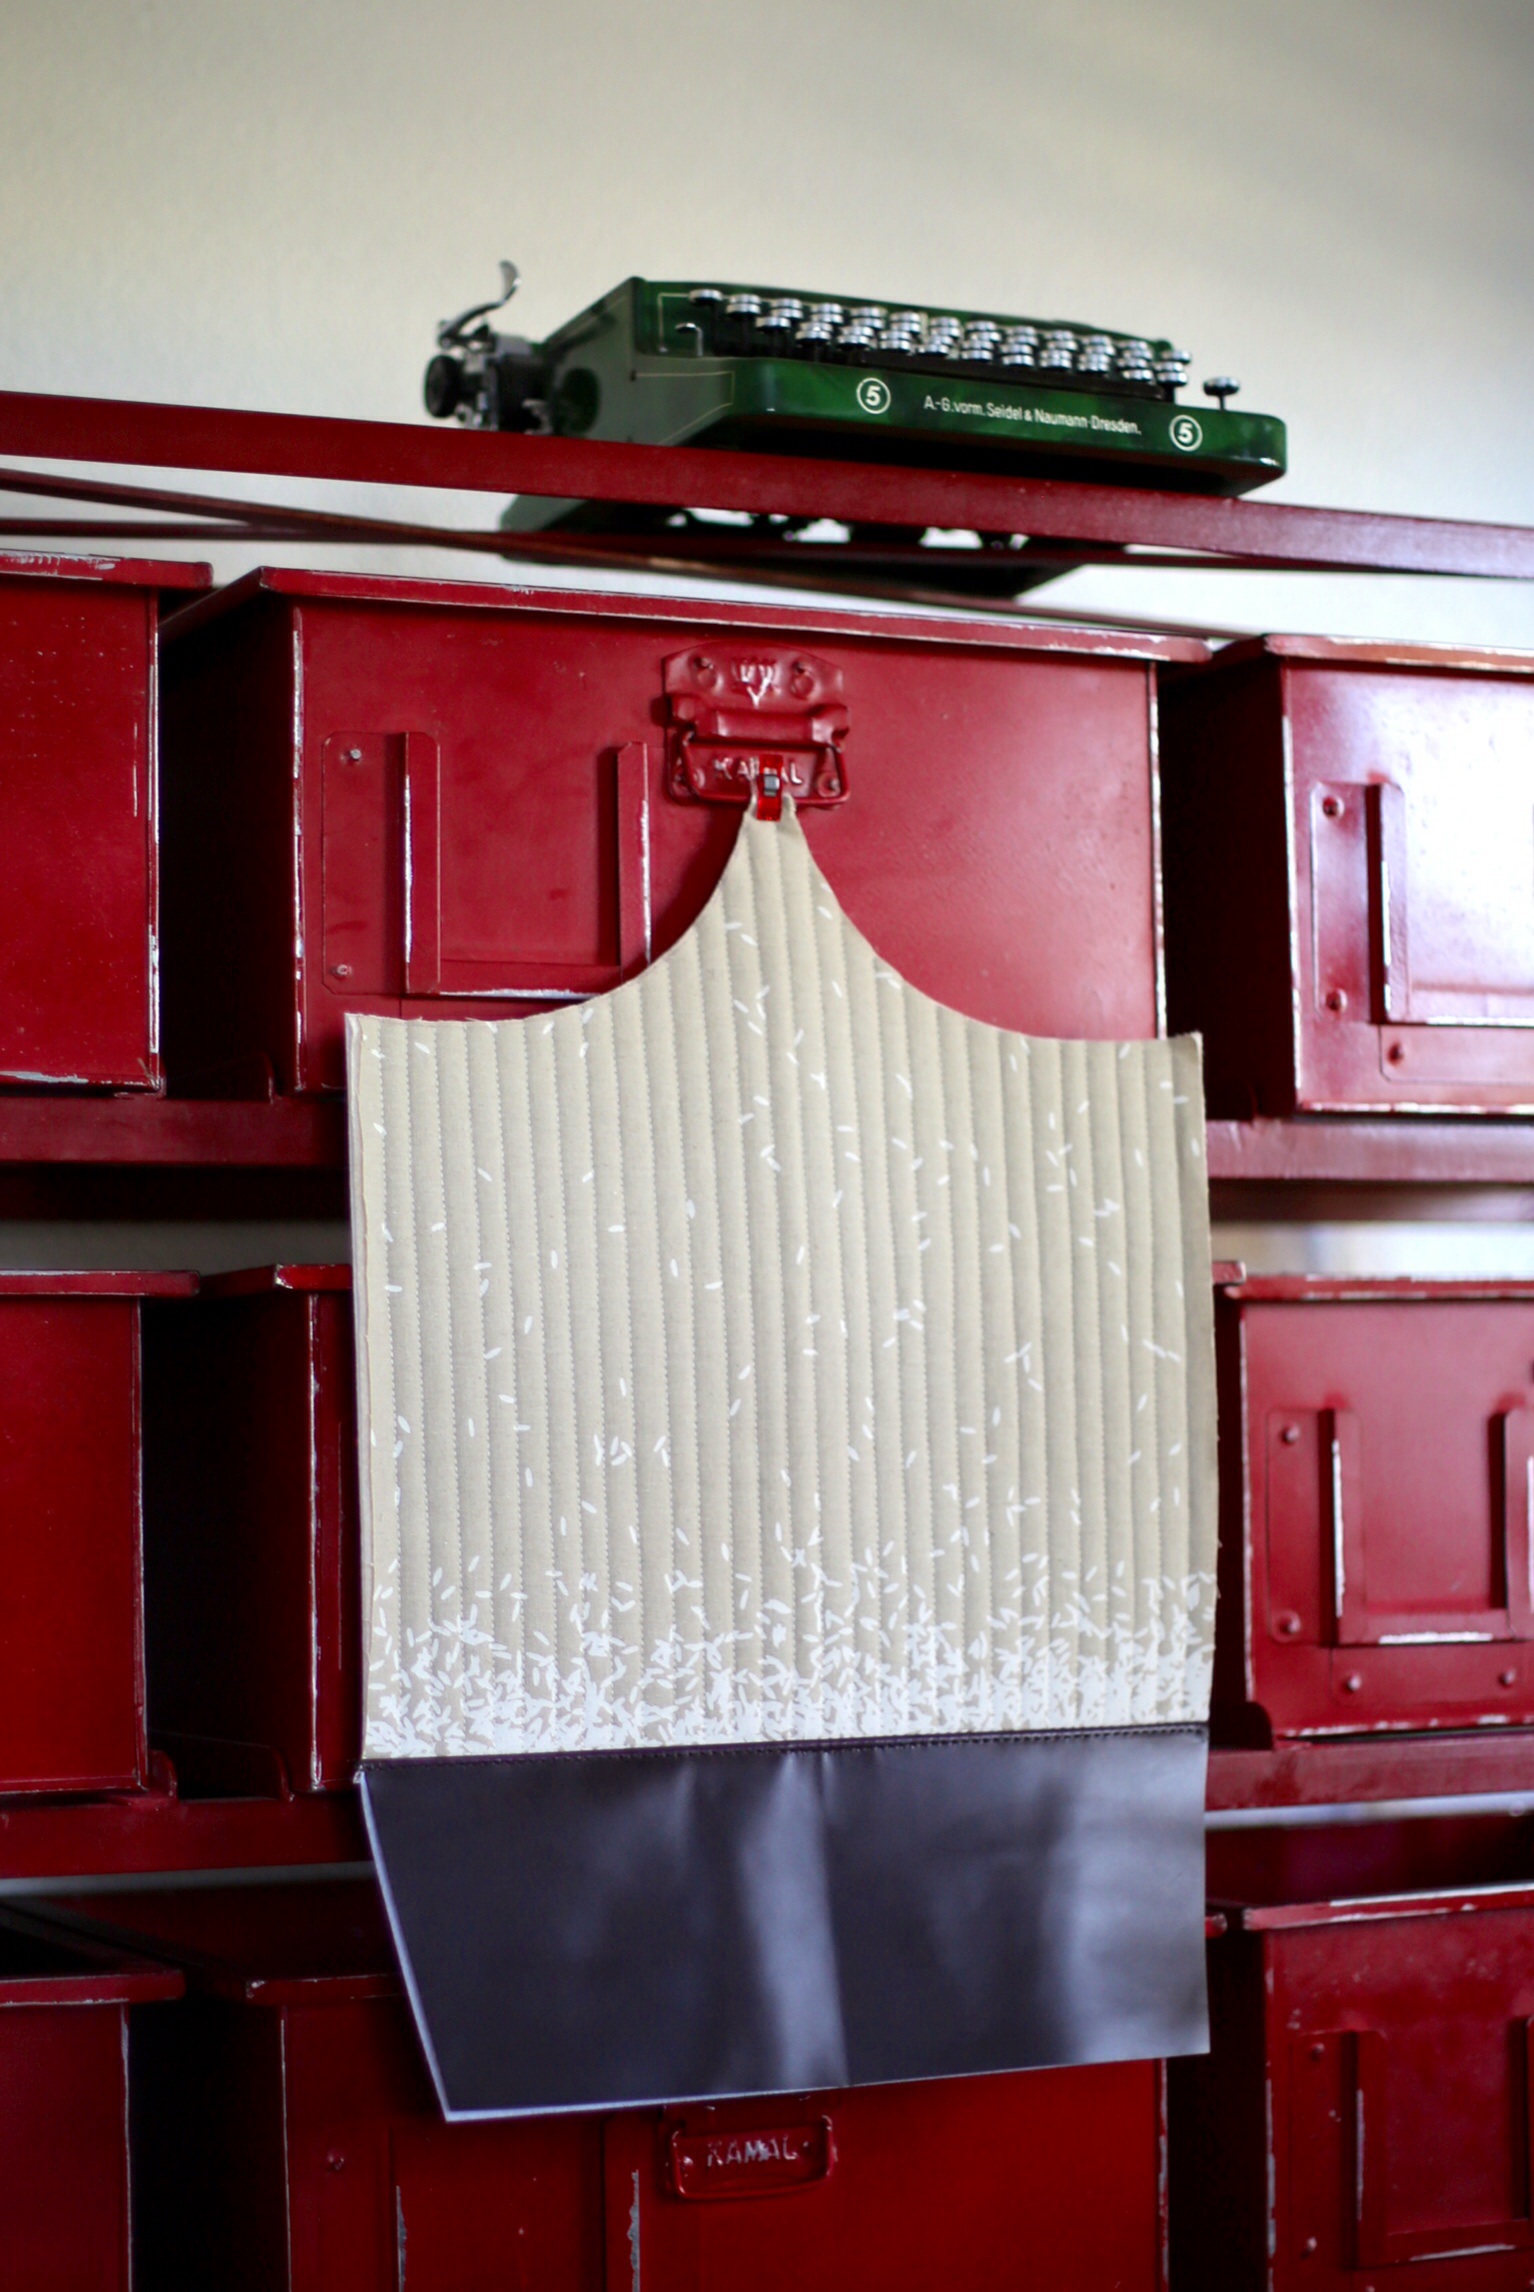
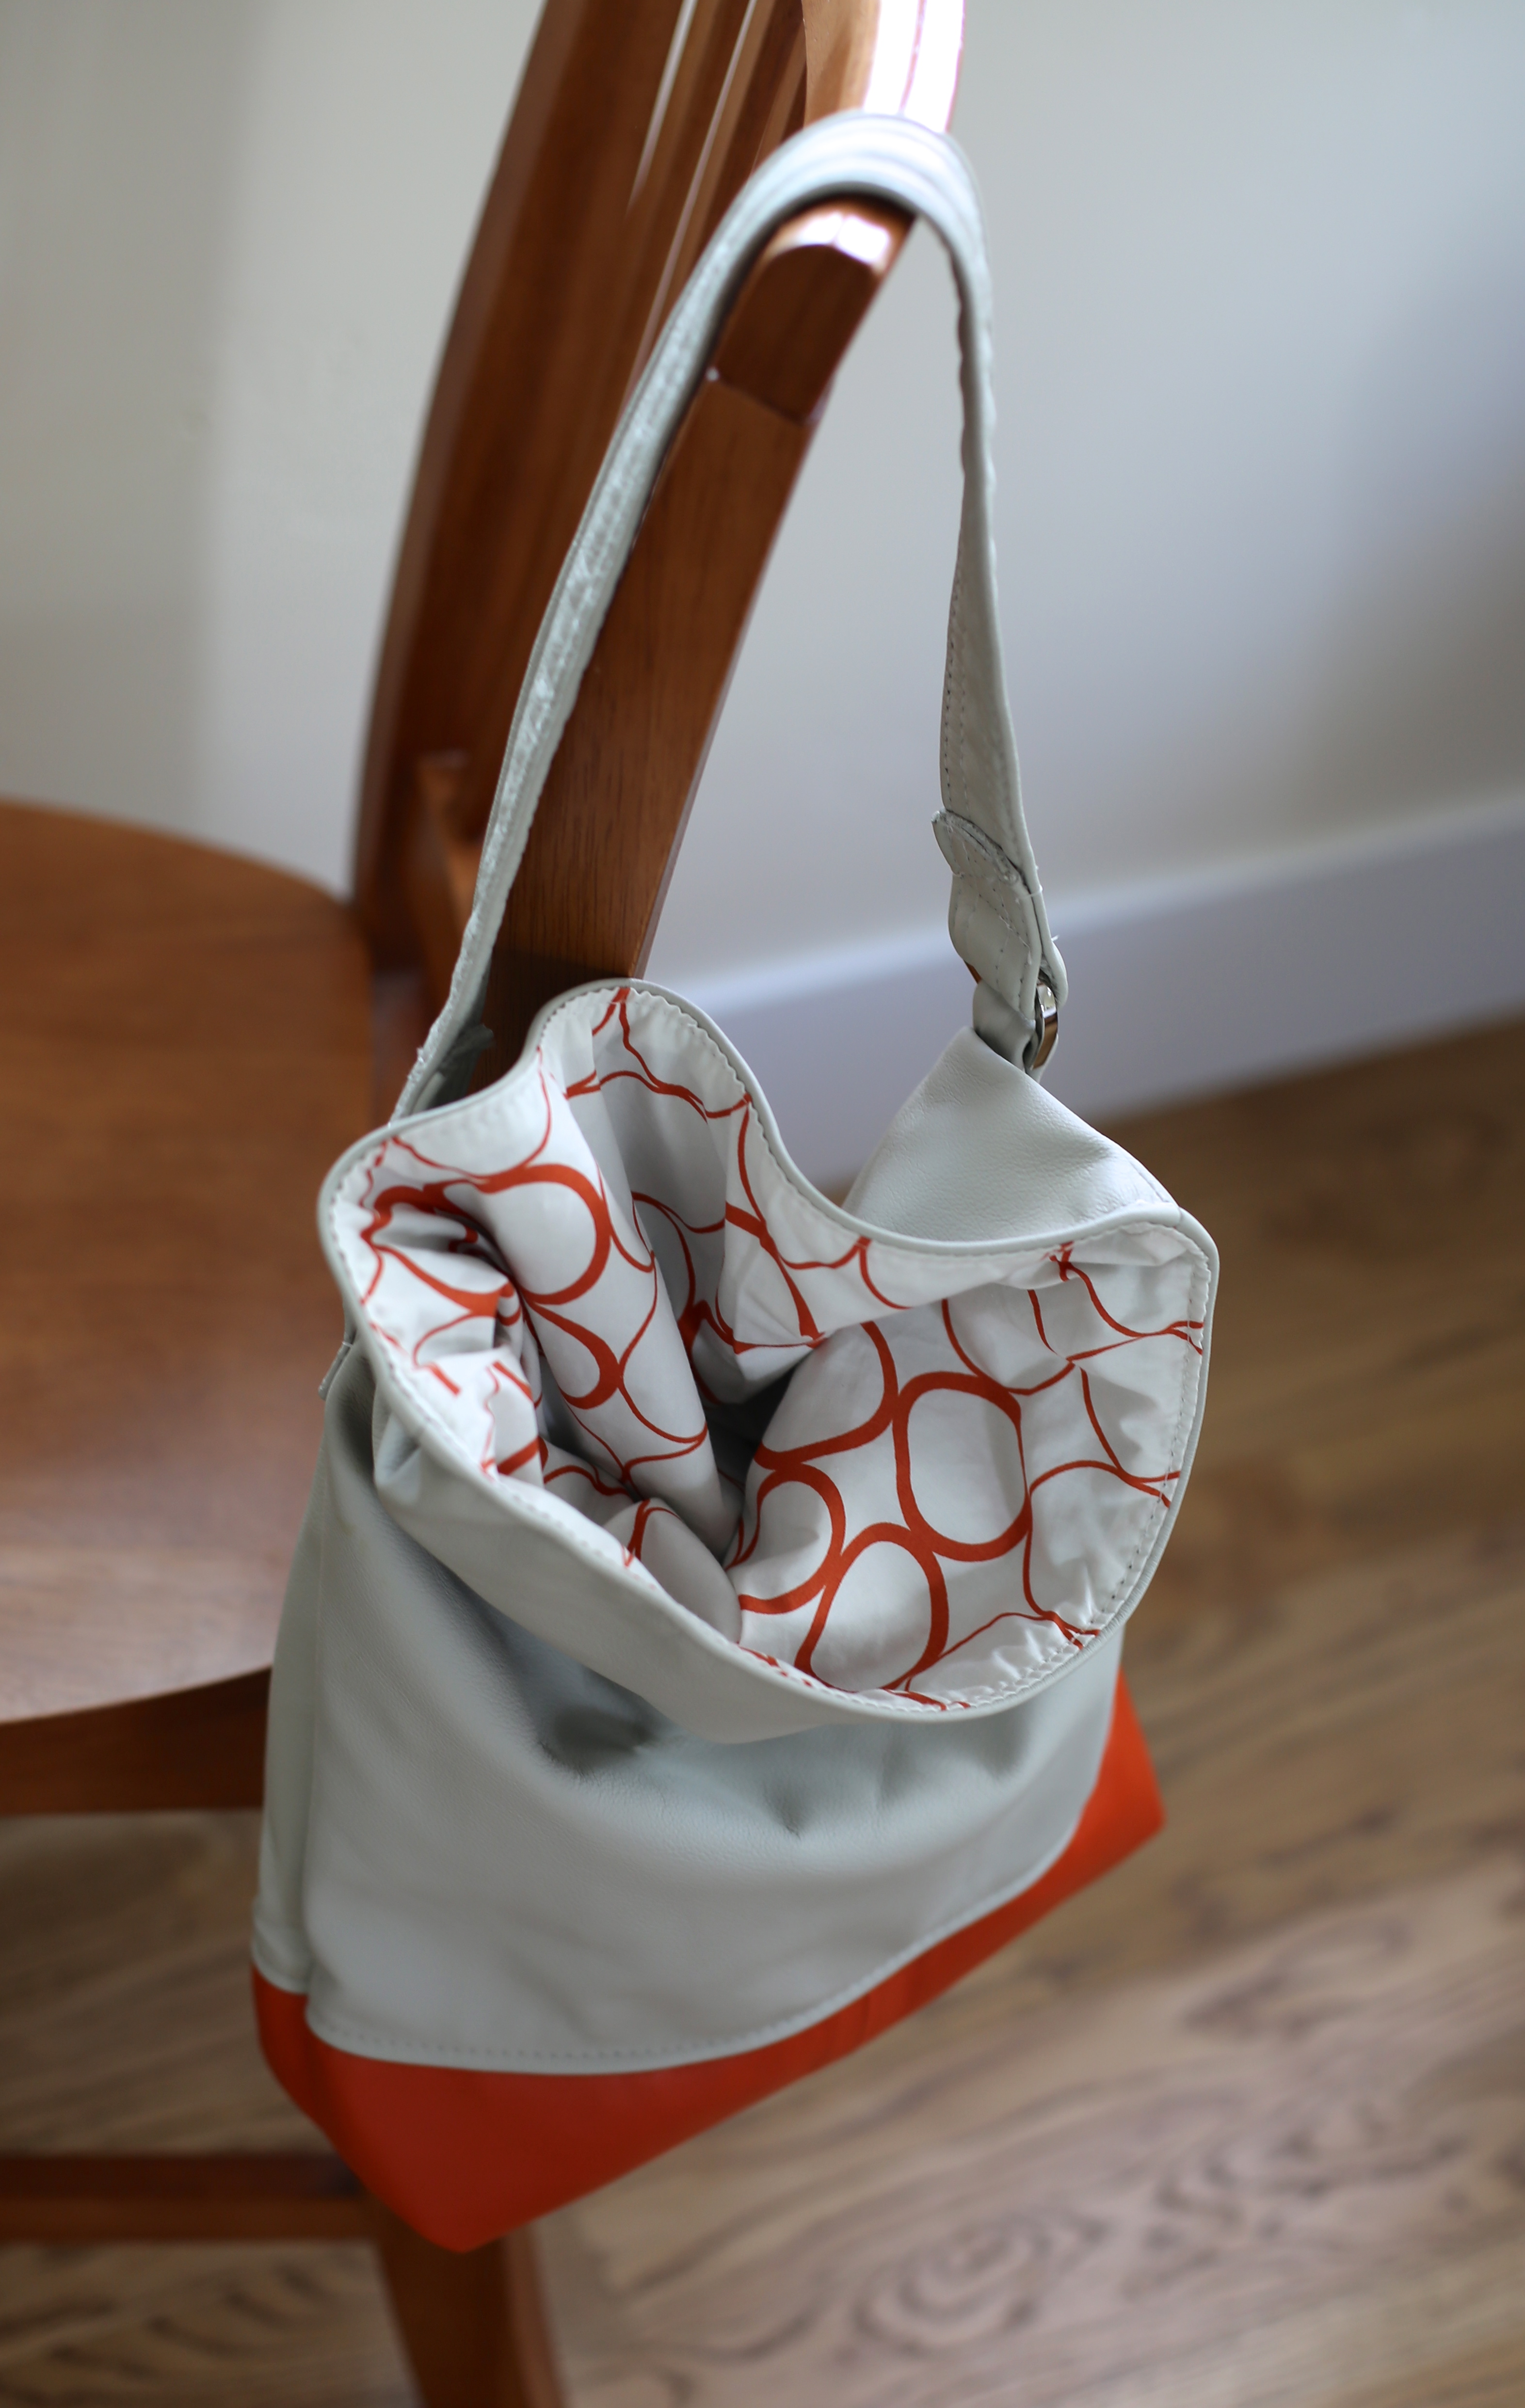
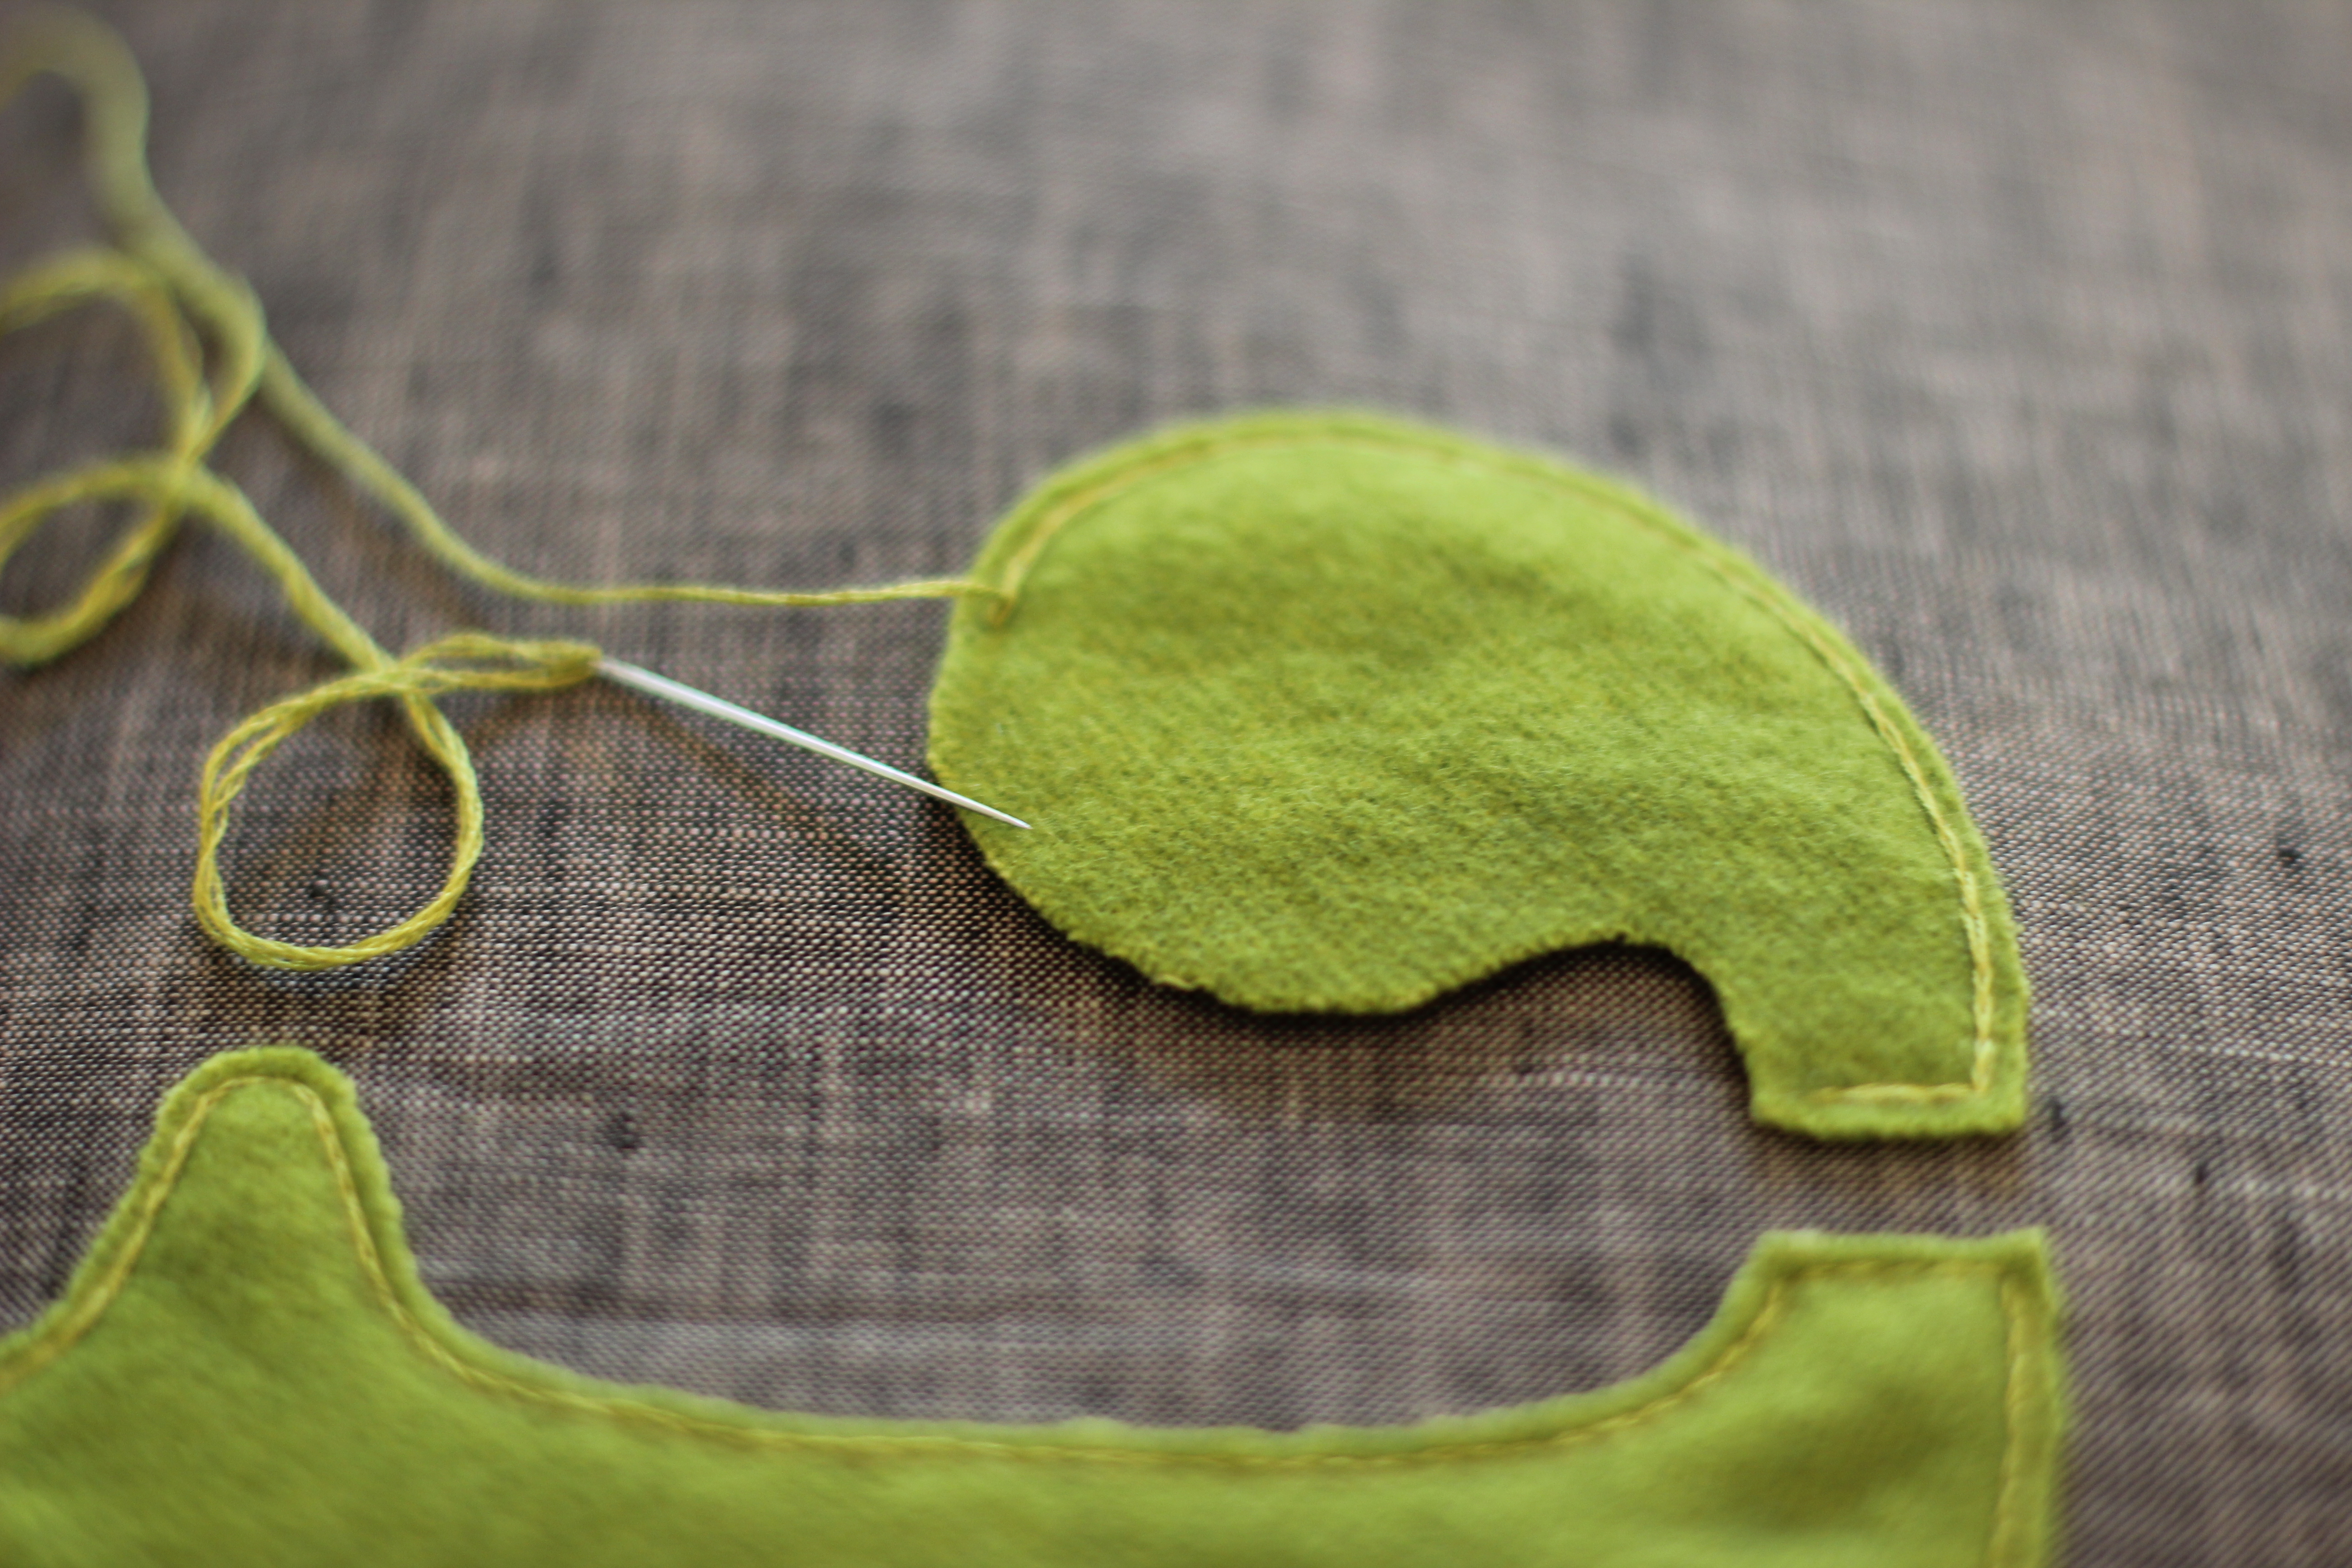
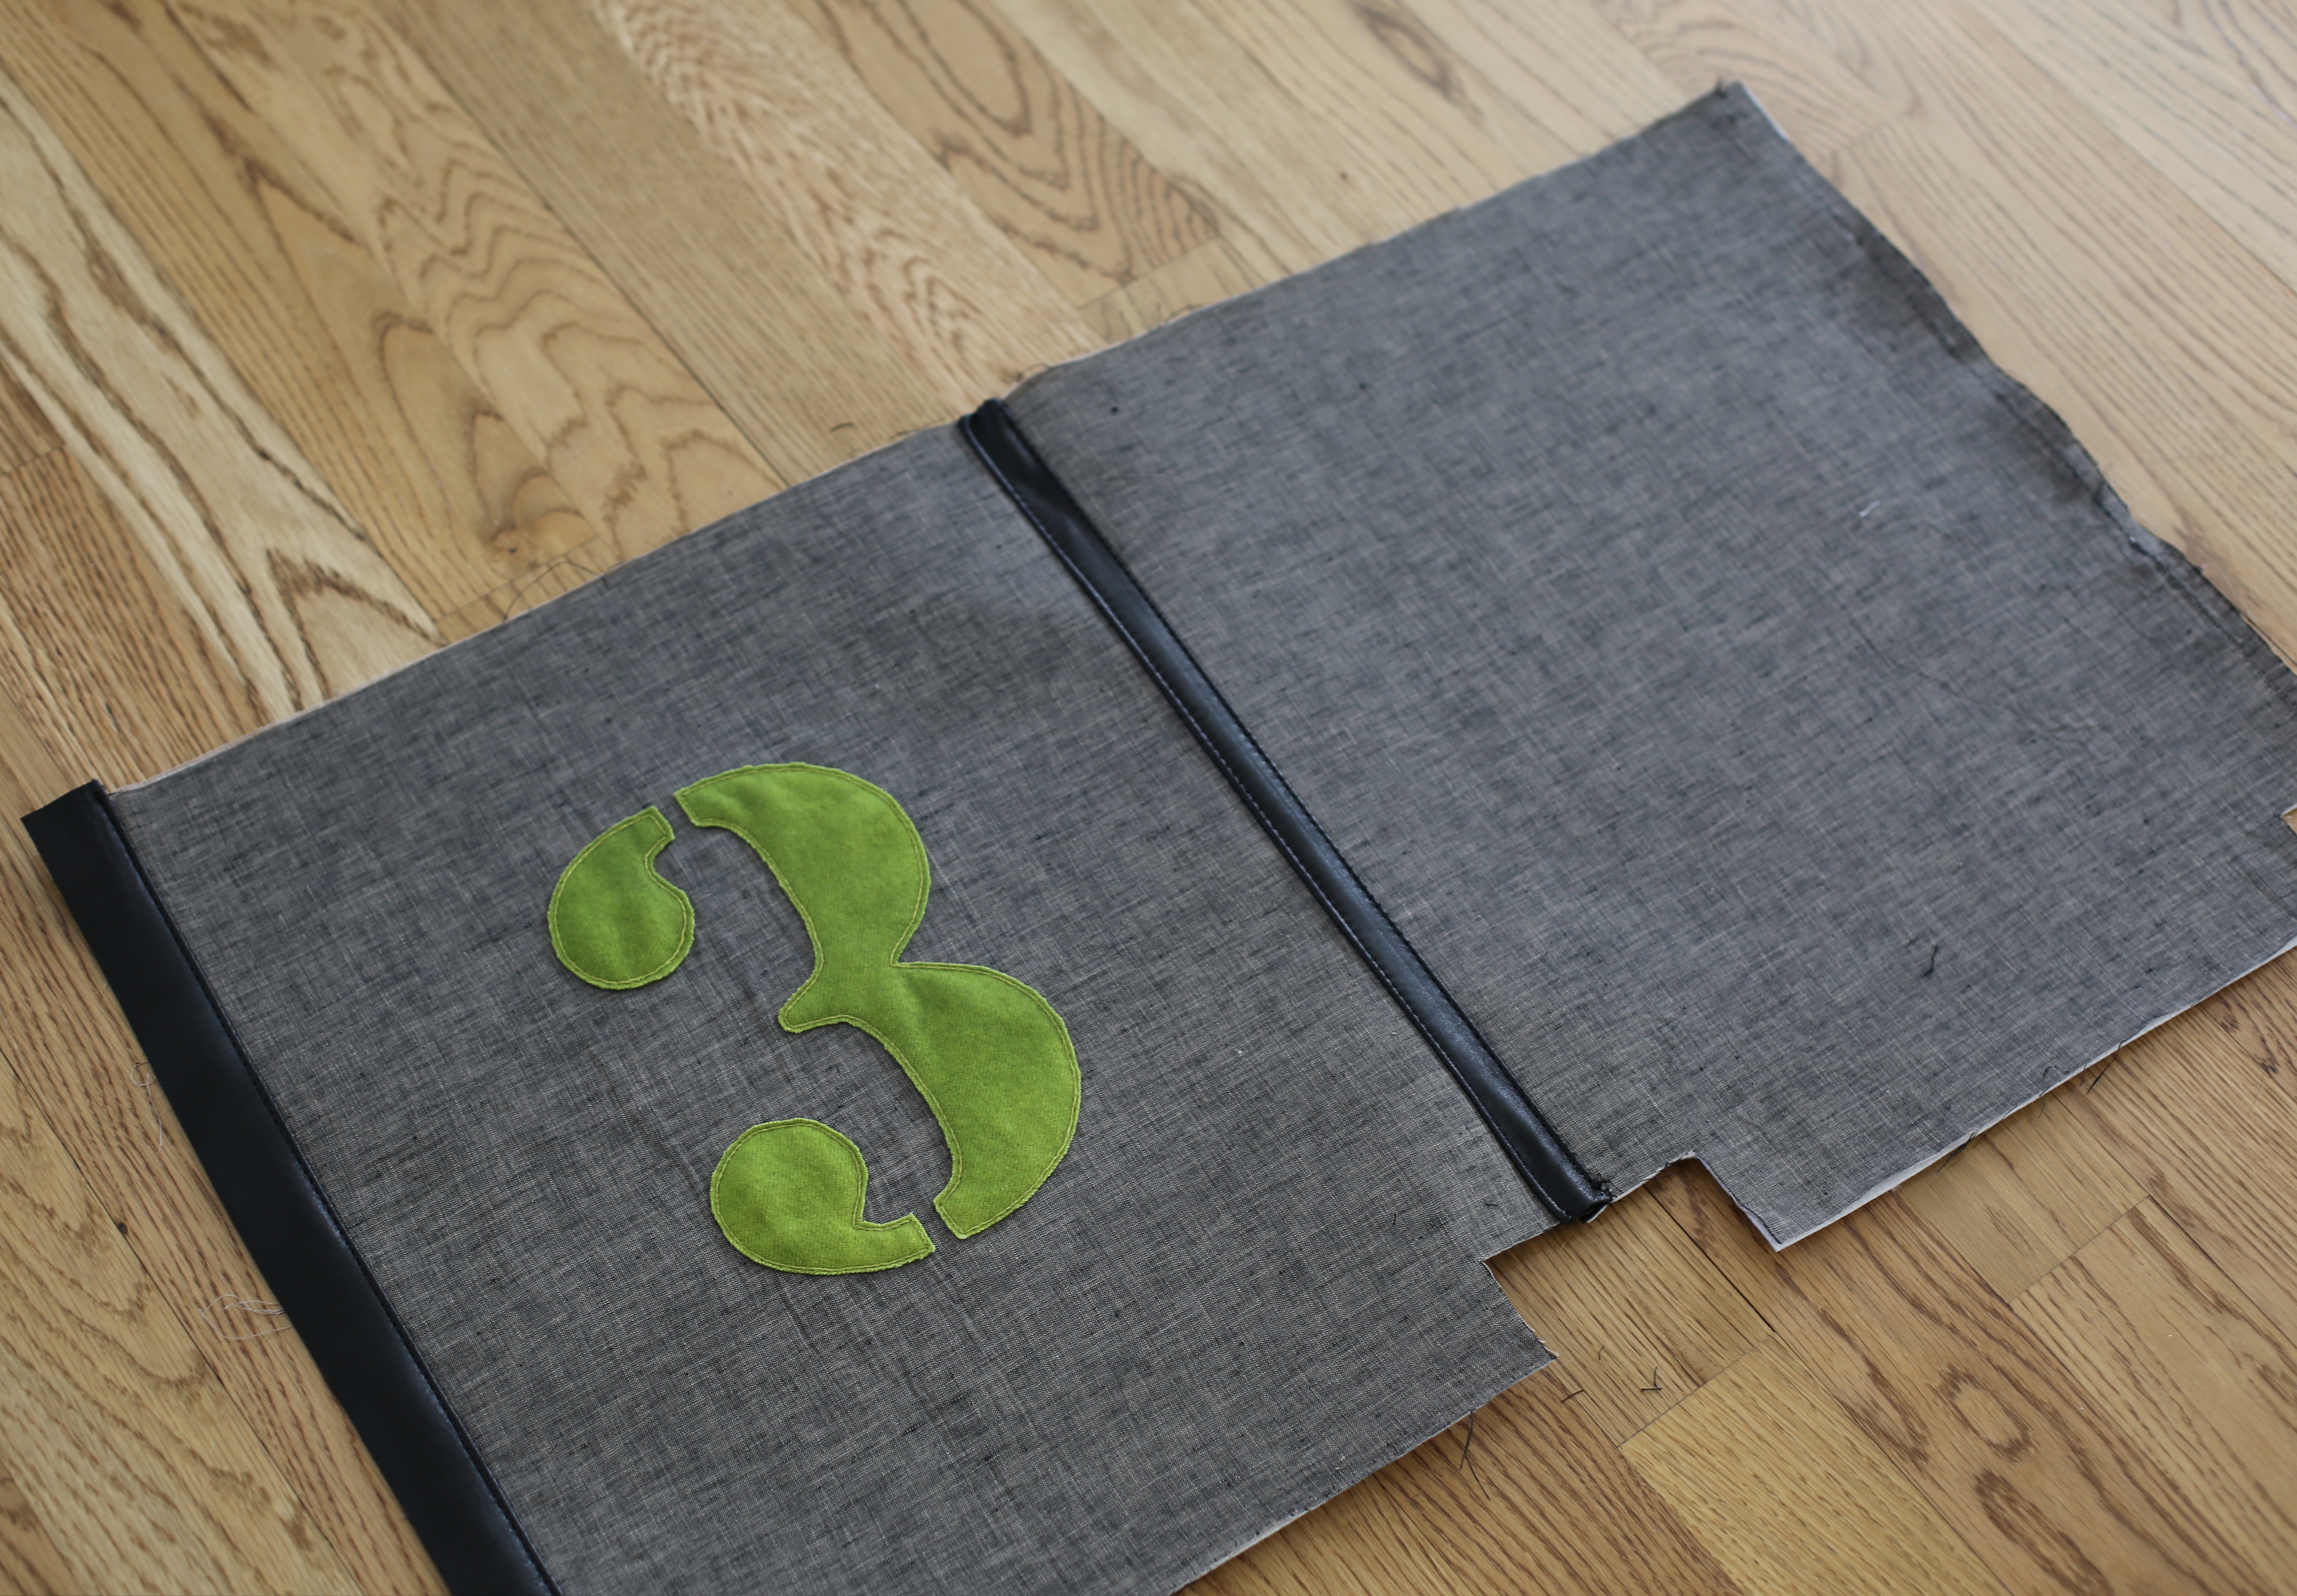
I found several fun fonts on the internet and my computer as well as drawing up some designs on my own. After fusing the front linen pieces(20″x17″) to the Pellon interfacing pieces (20″x17″), I cut out the image I selected in my wool felt and centered it on one of the rectangles allowing an extra 1 1/2 inch at the bottom to account for the bottom fold and top handles. I pinned it to the front and then hand stitched 1/8-1/4 from the sides using three strands of the embroidery thread and a split stitch sewing through both the linen and interfacing.


Step Two: Make the Outside Bag
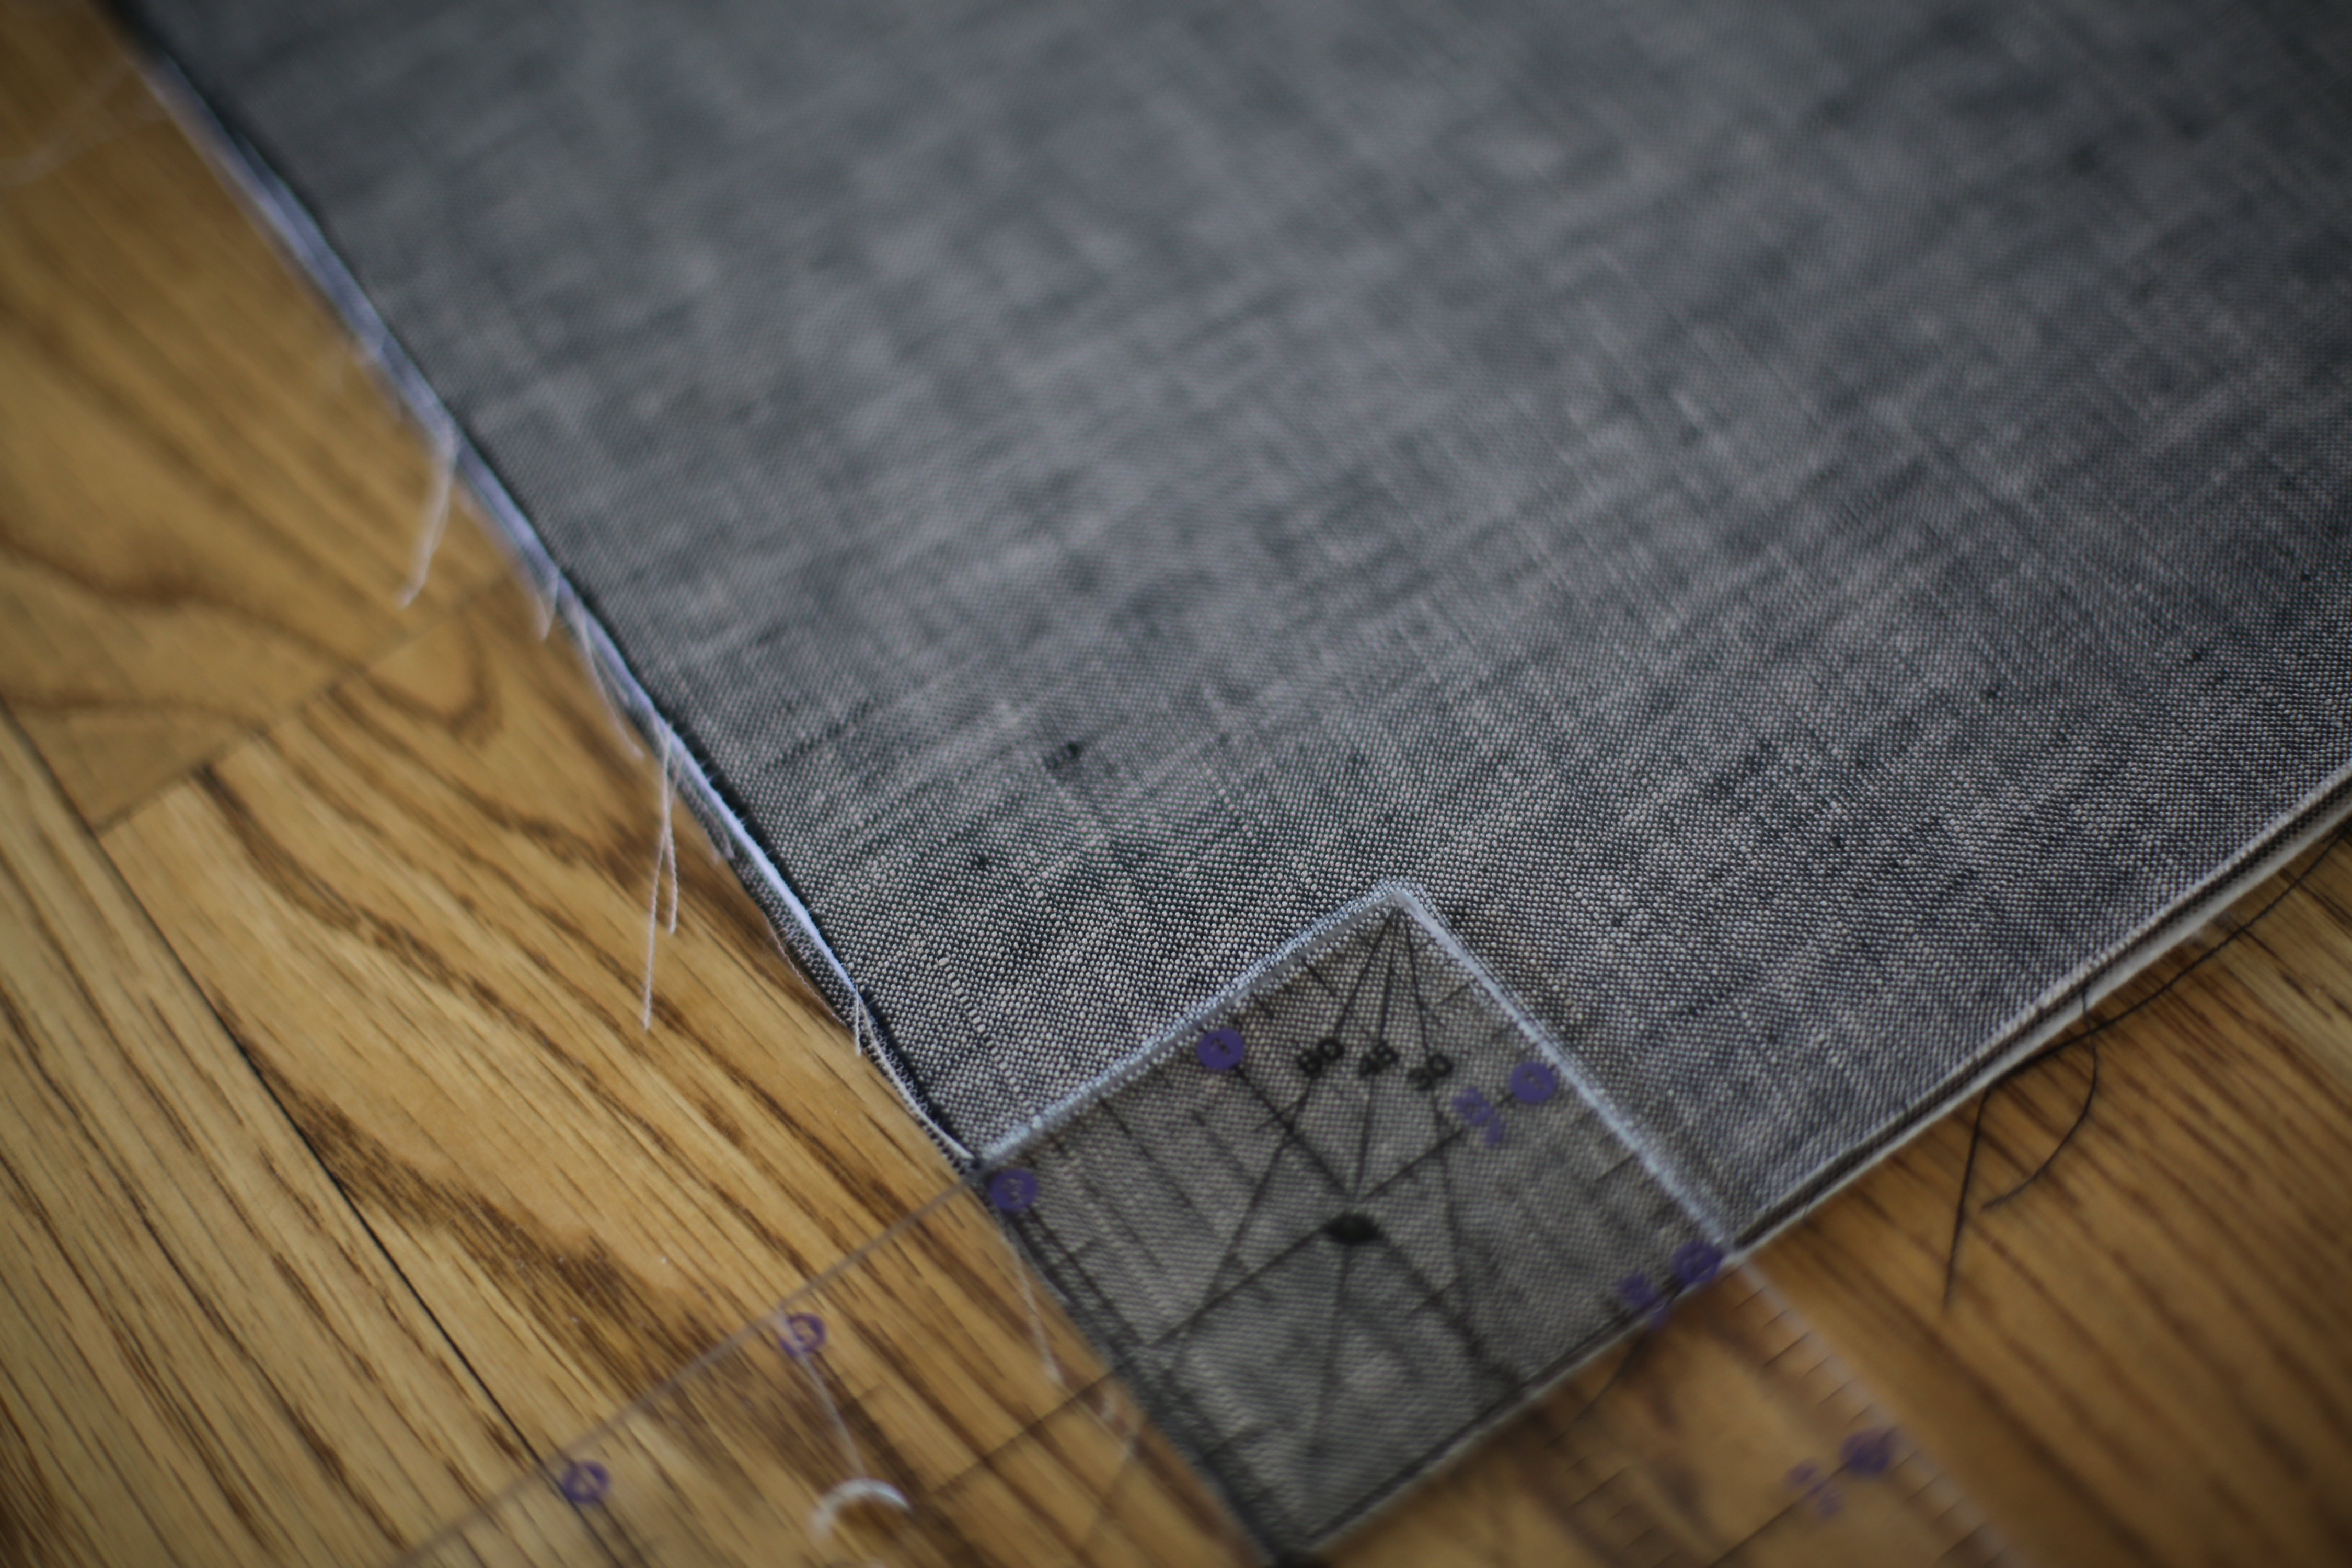
Mark a 2″ square at the bottom of both the front fused linen pieces and the inner cotton lining and cut them out.

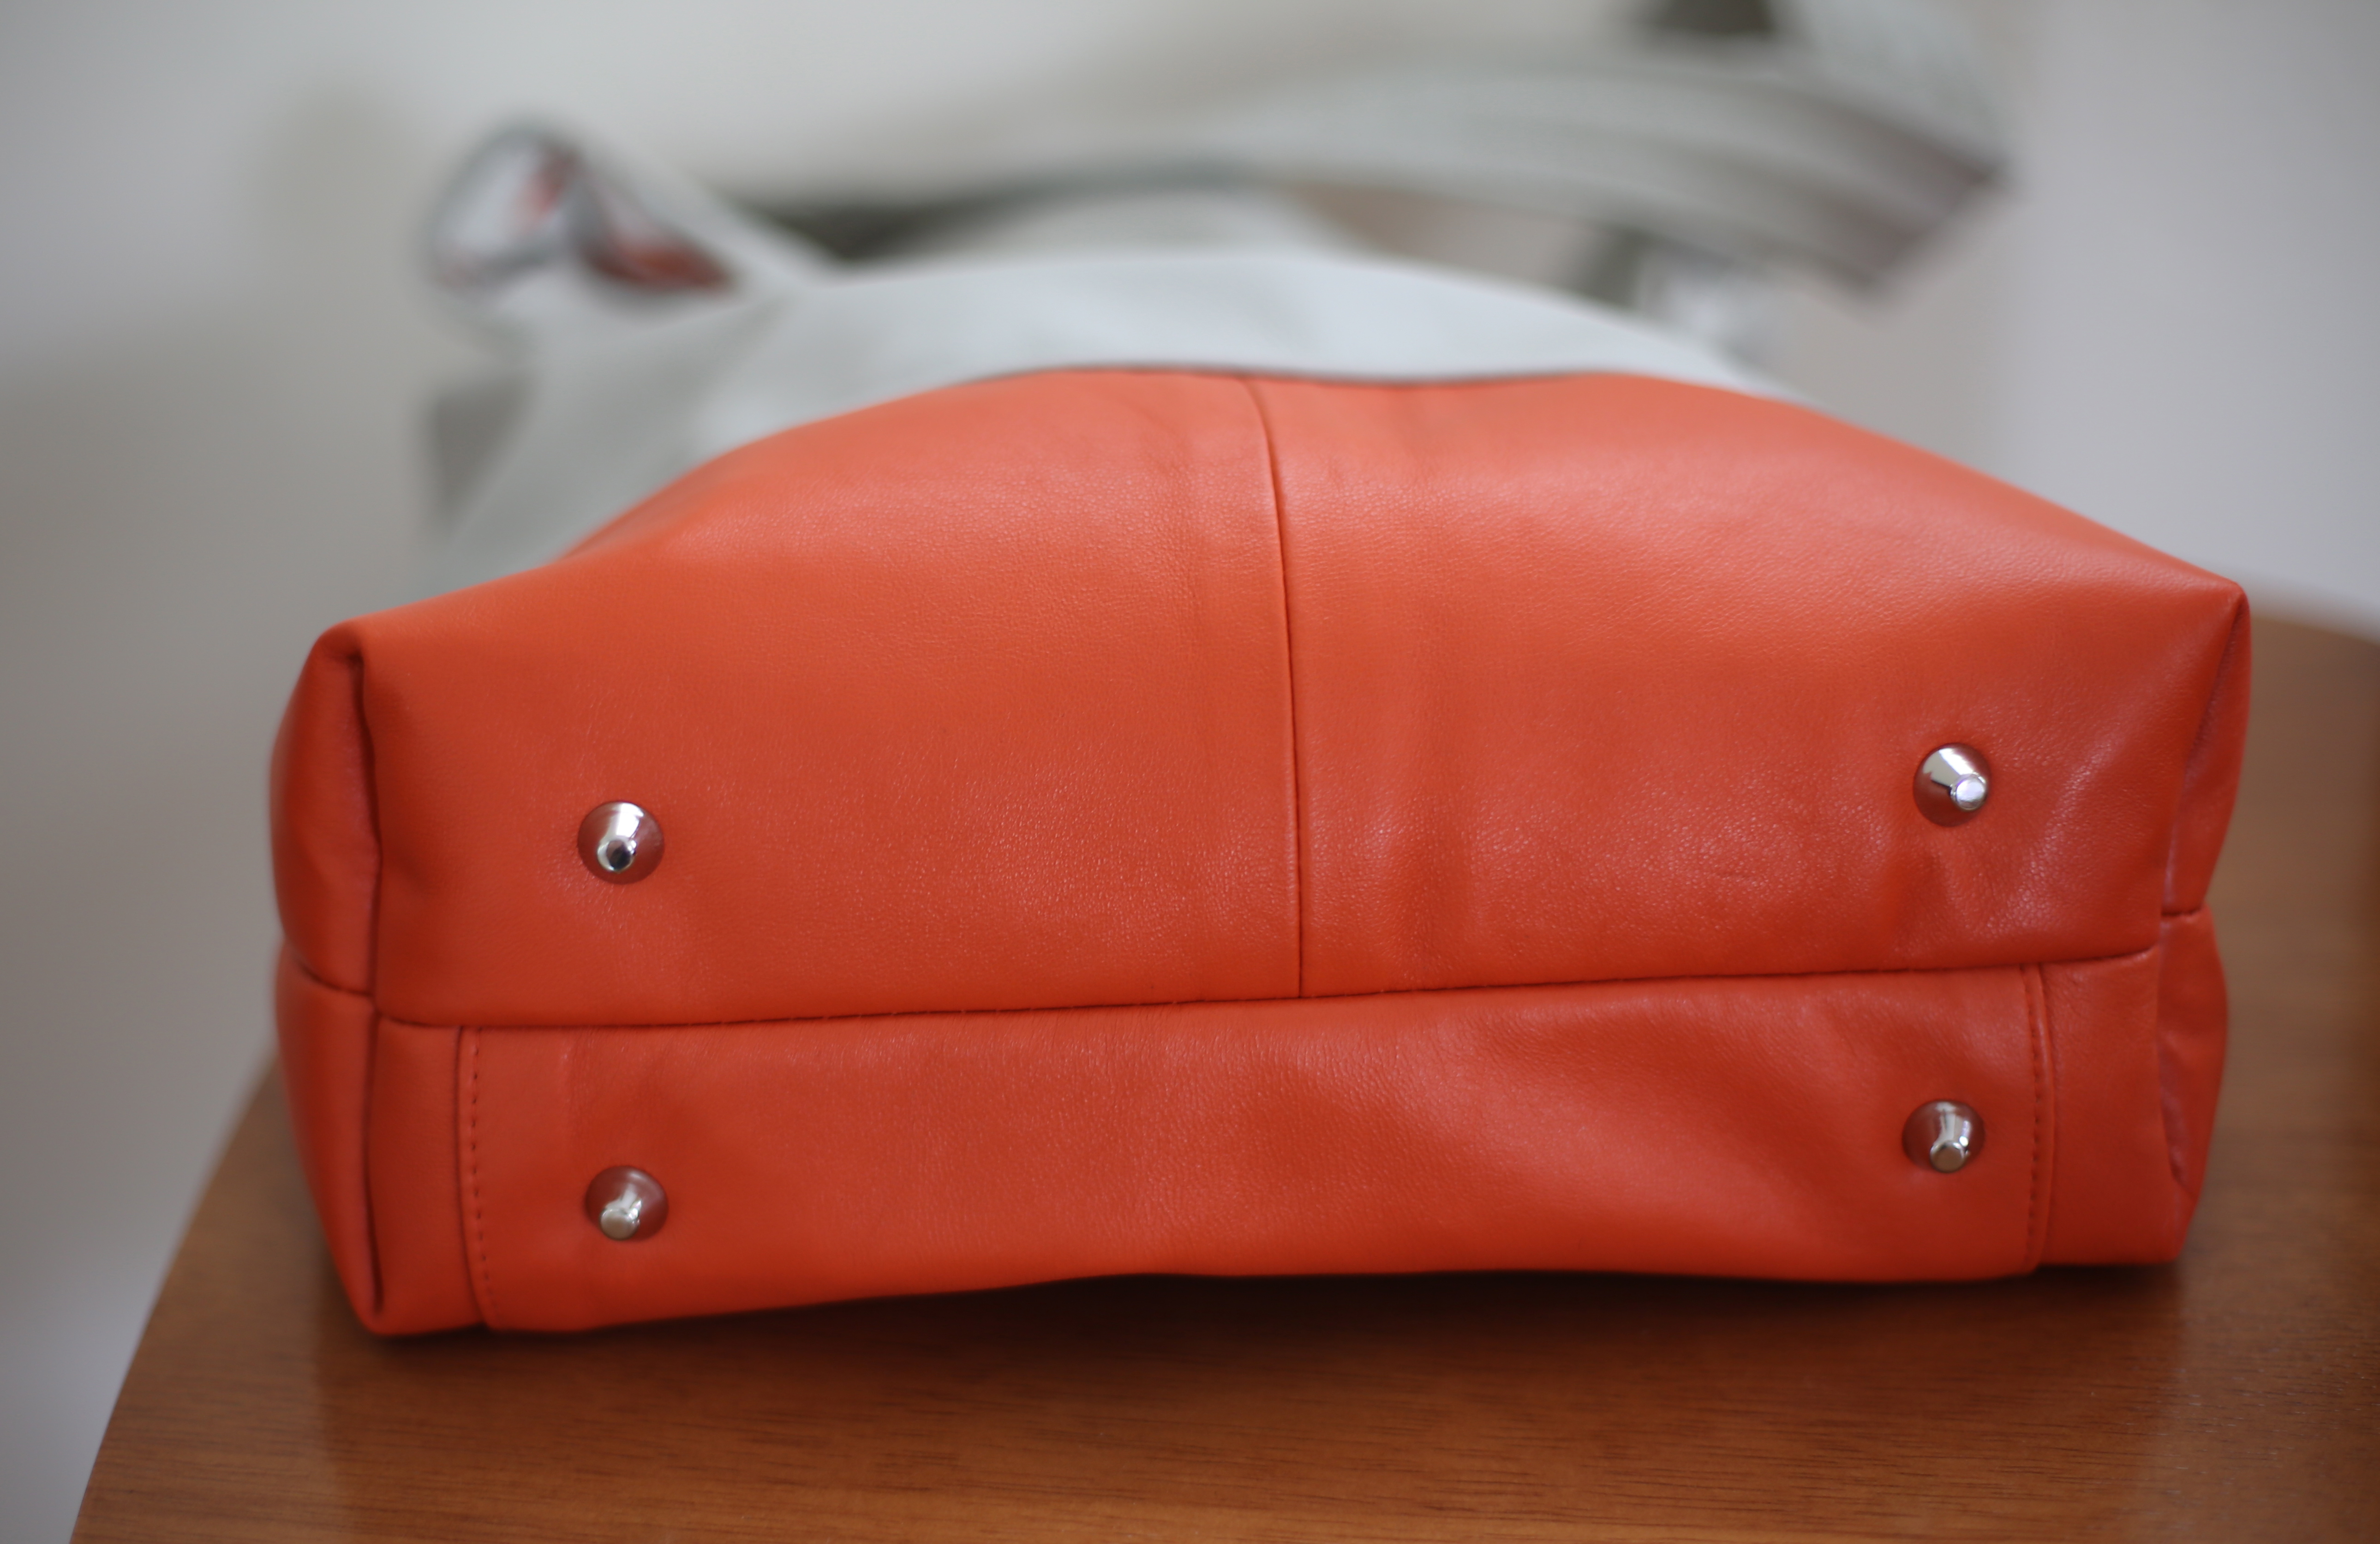
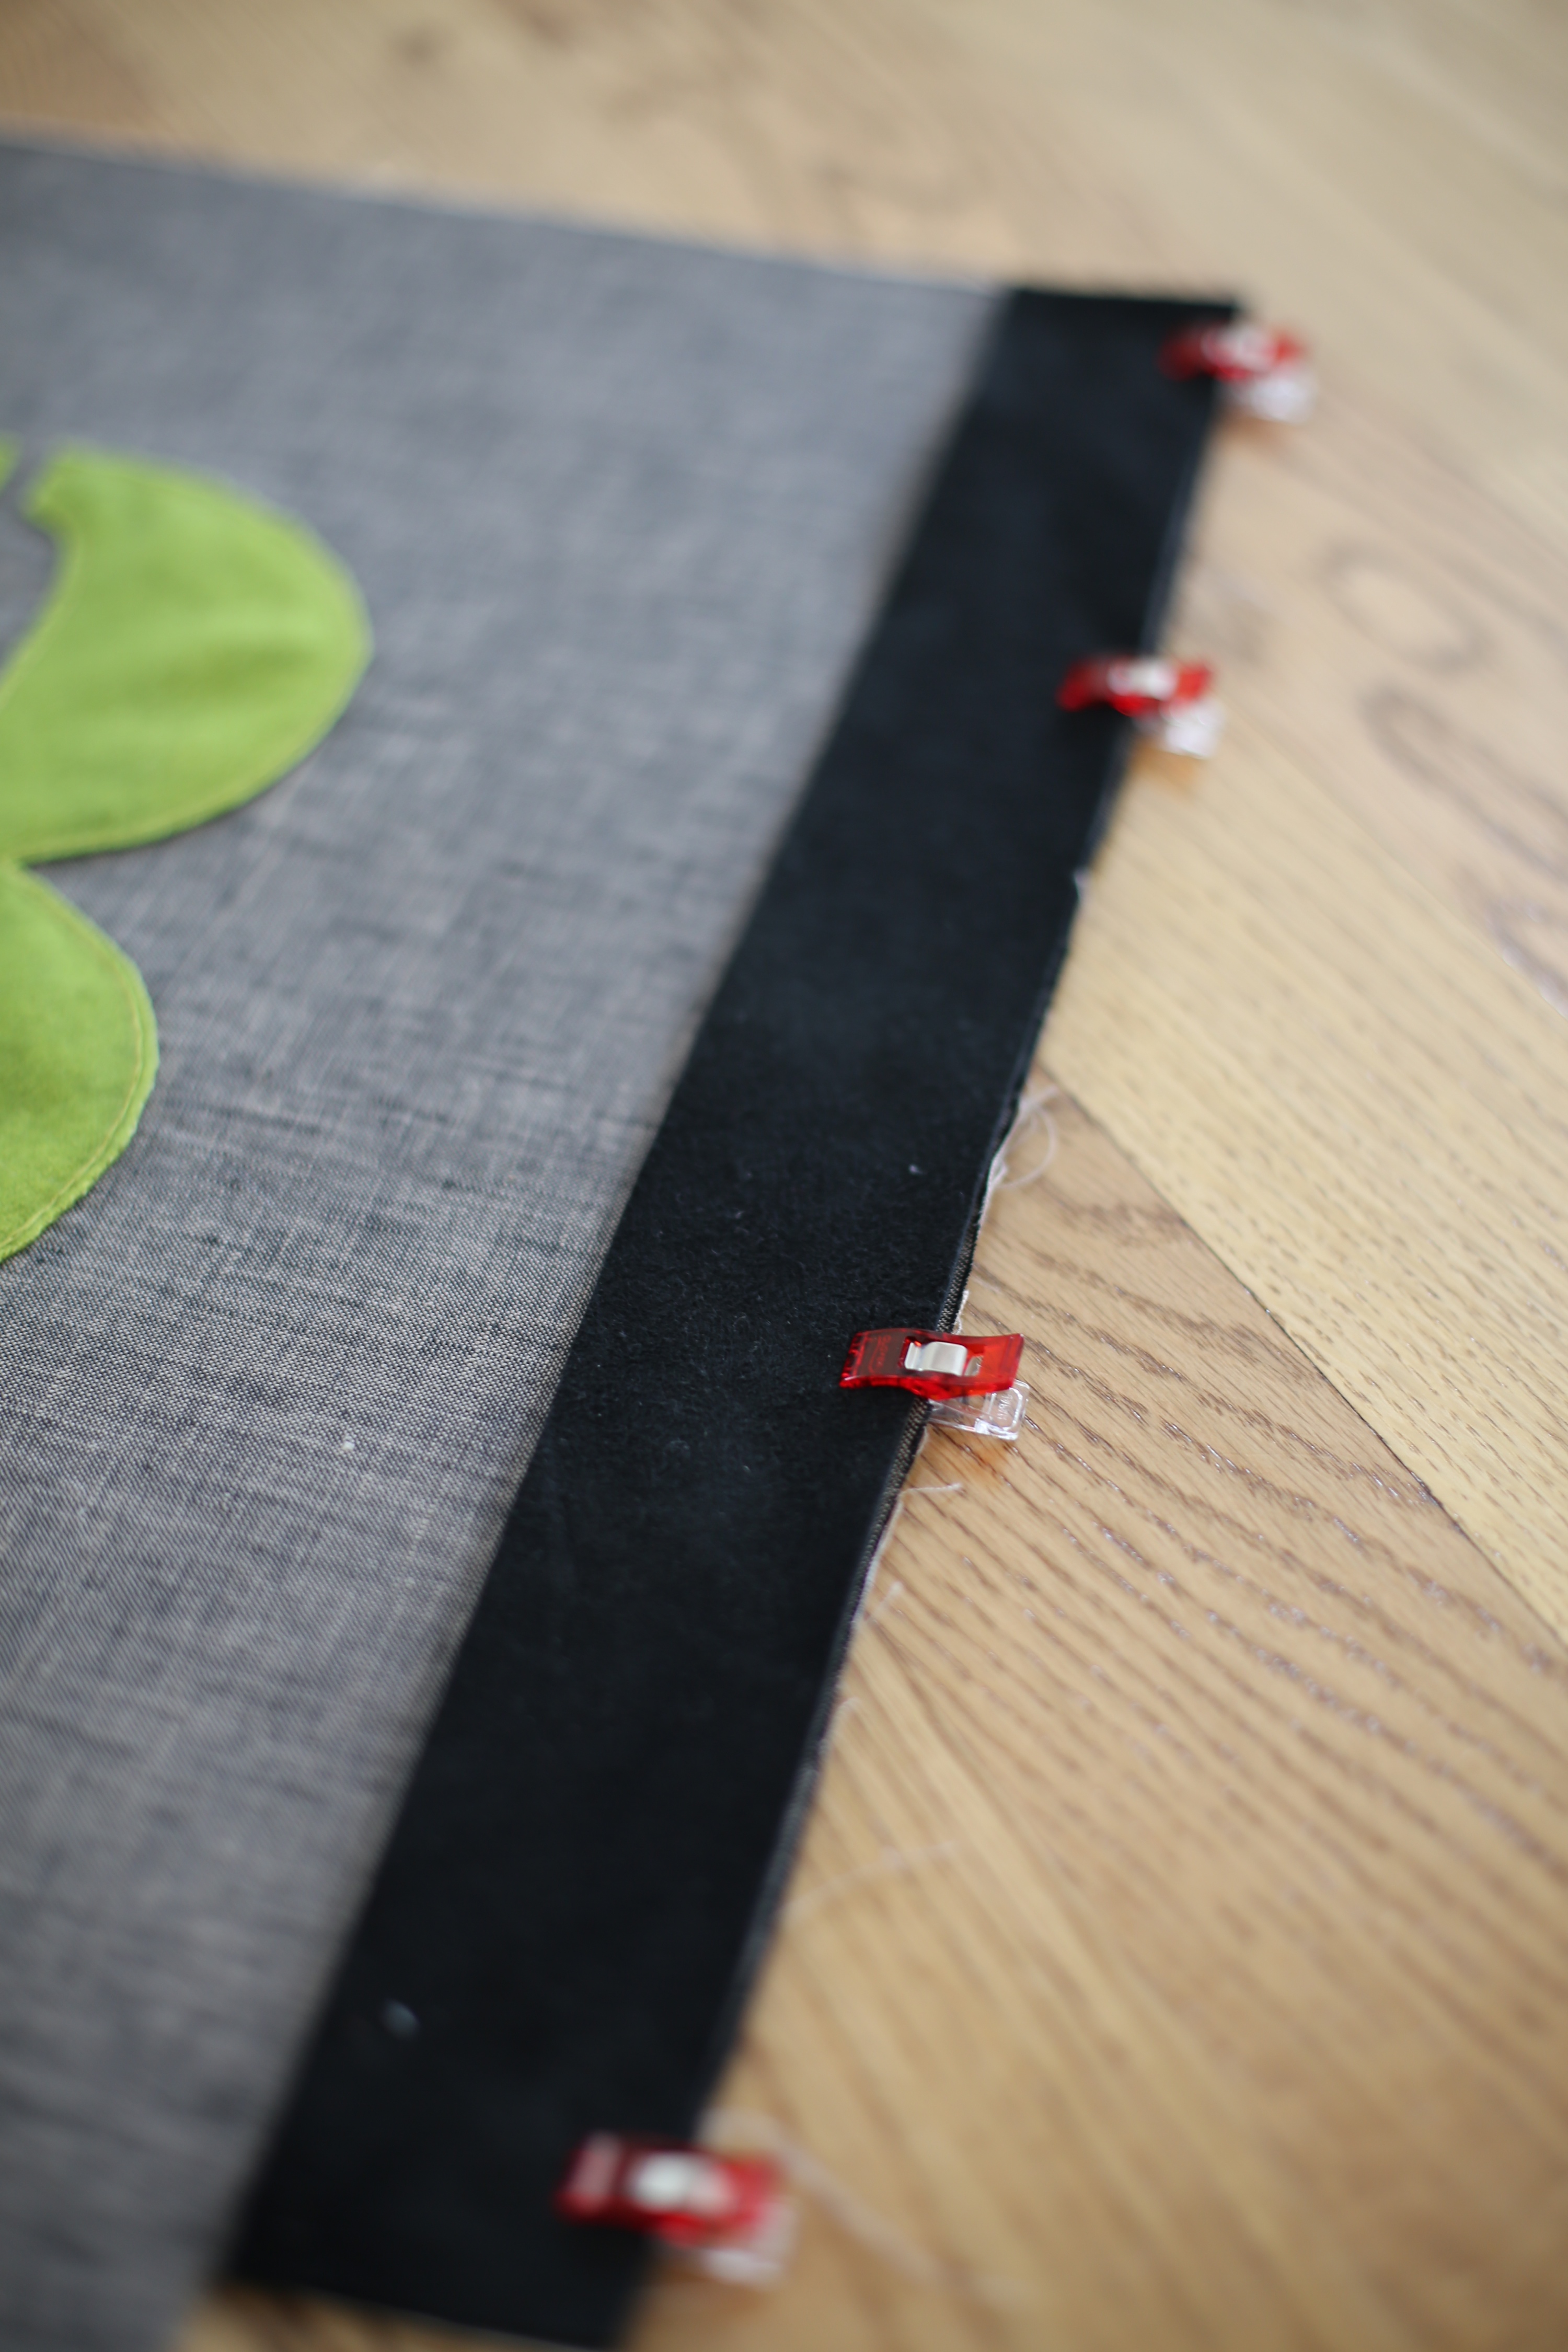
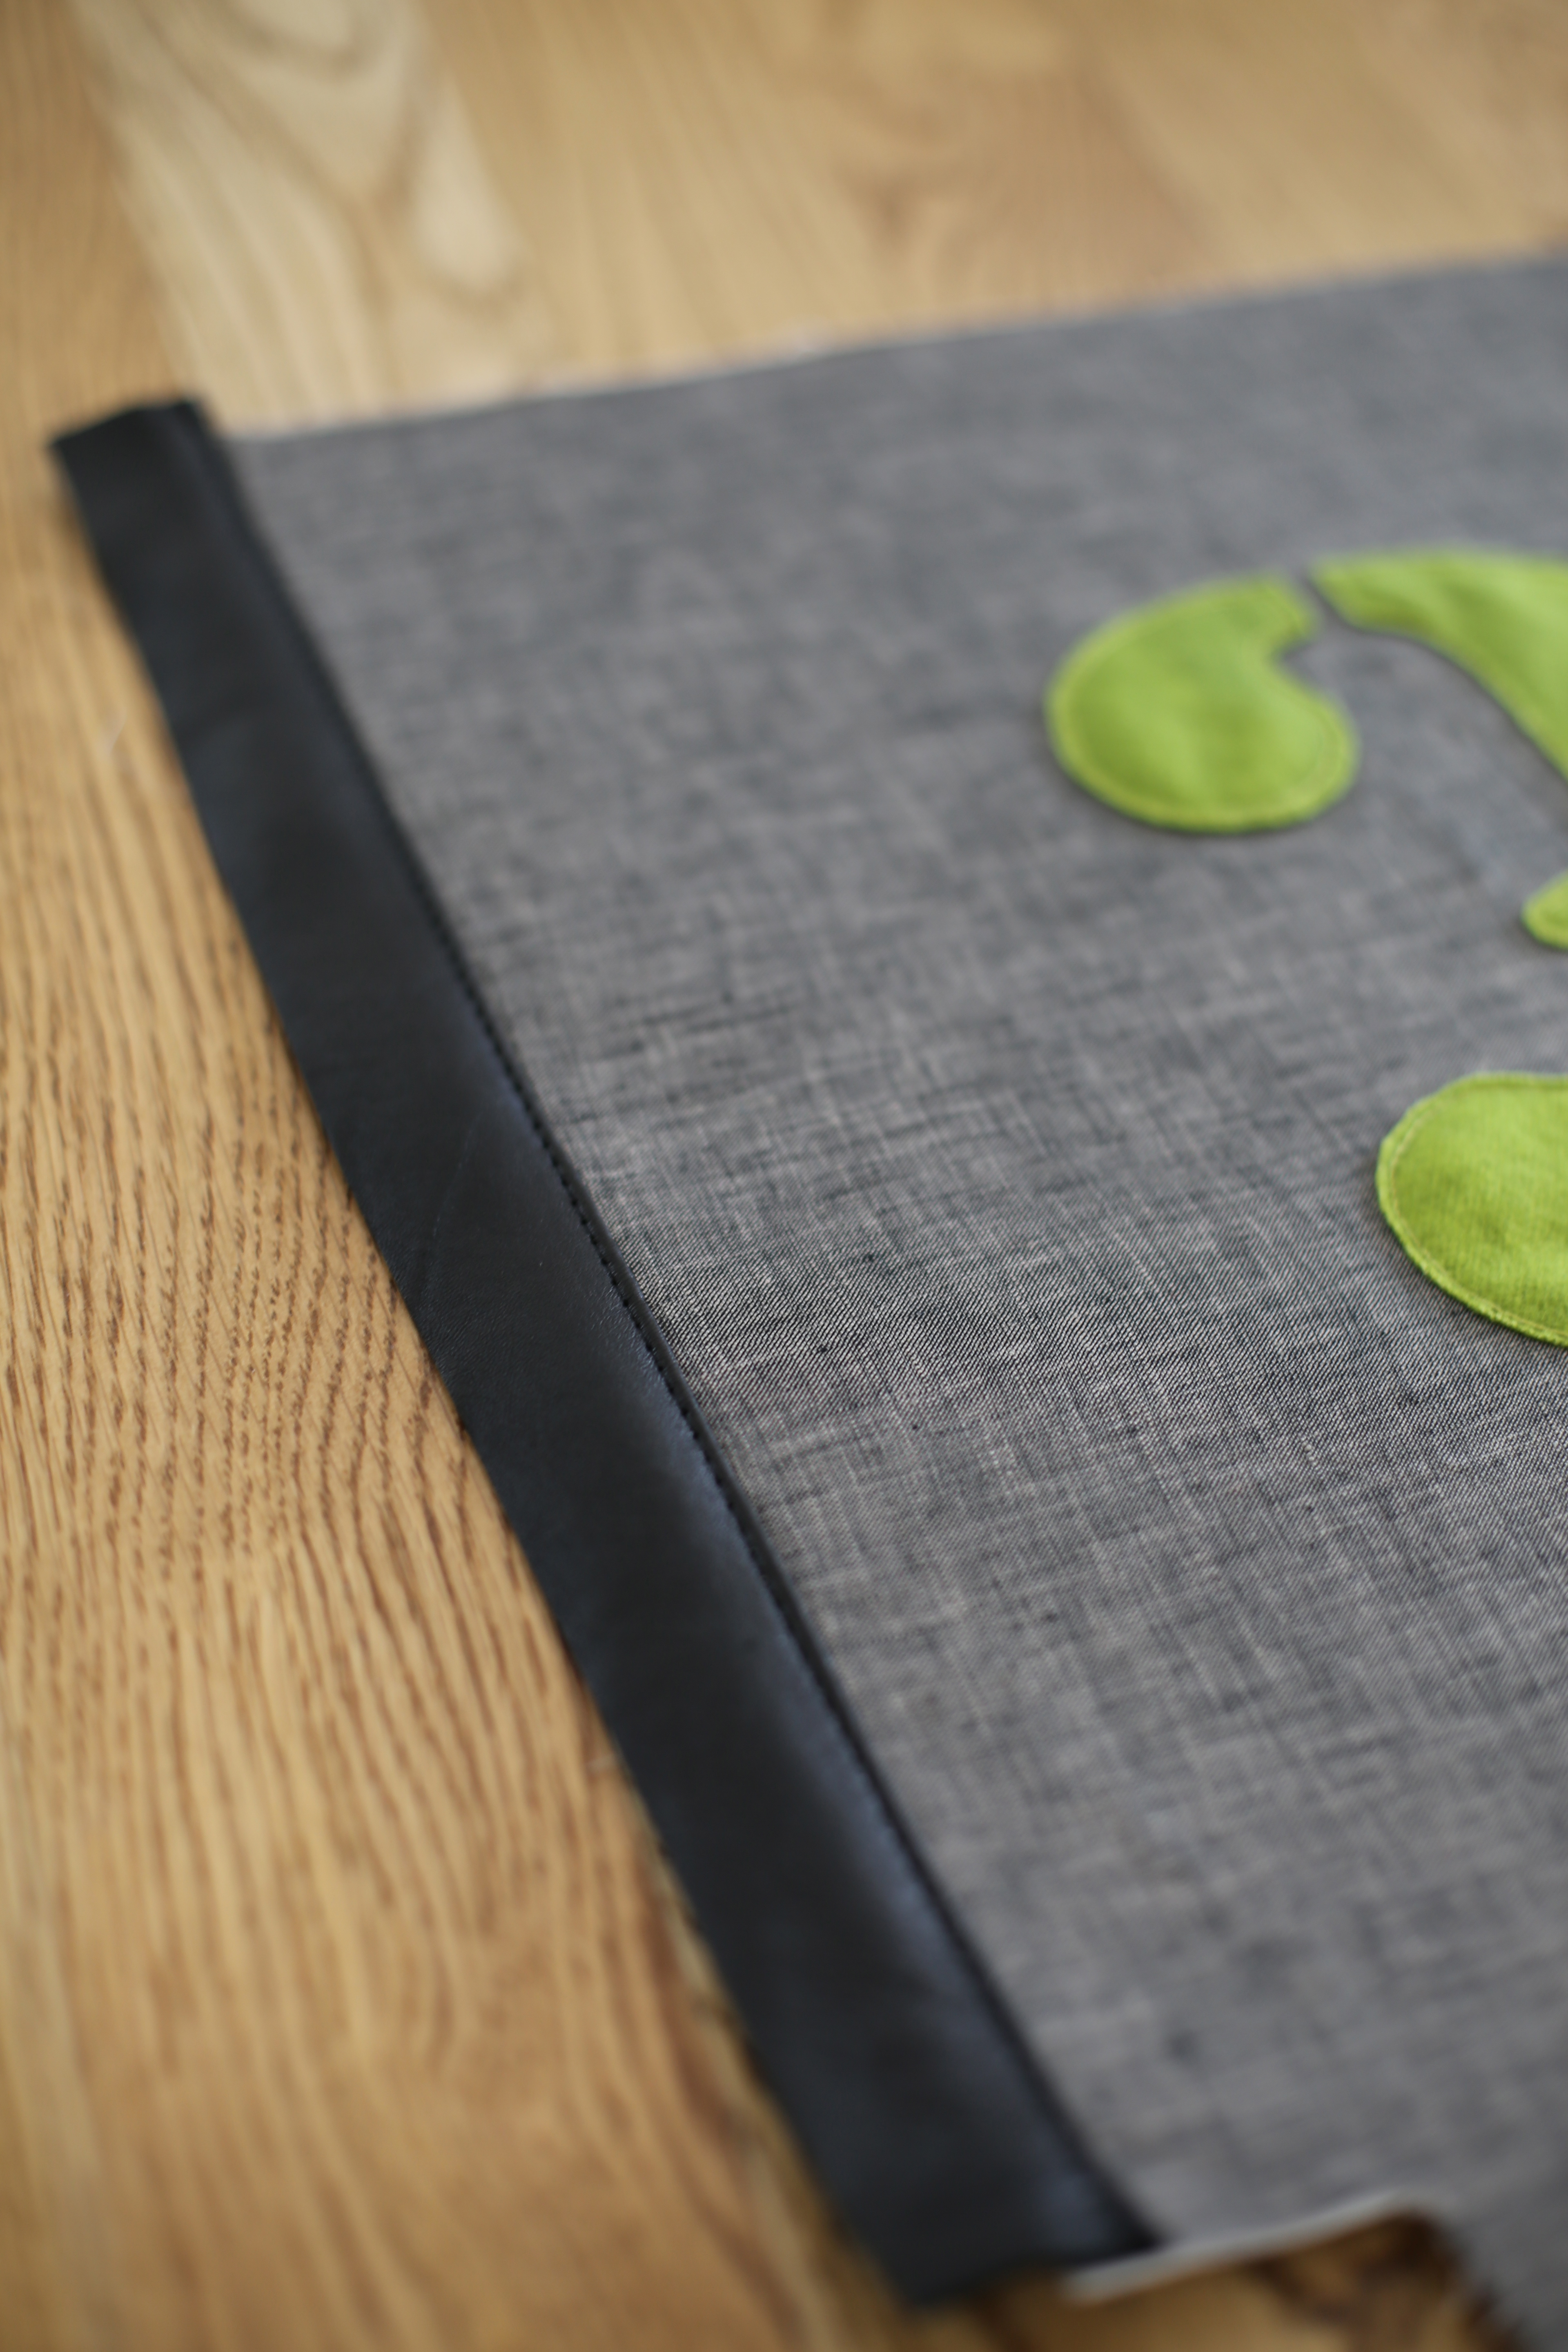
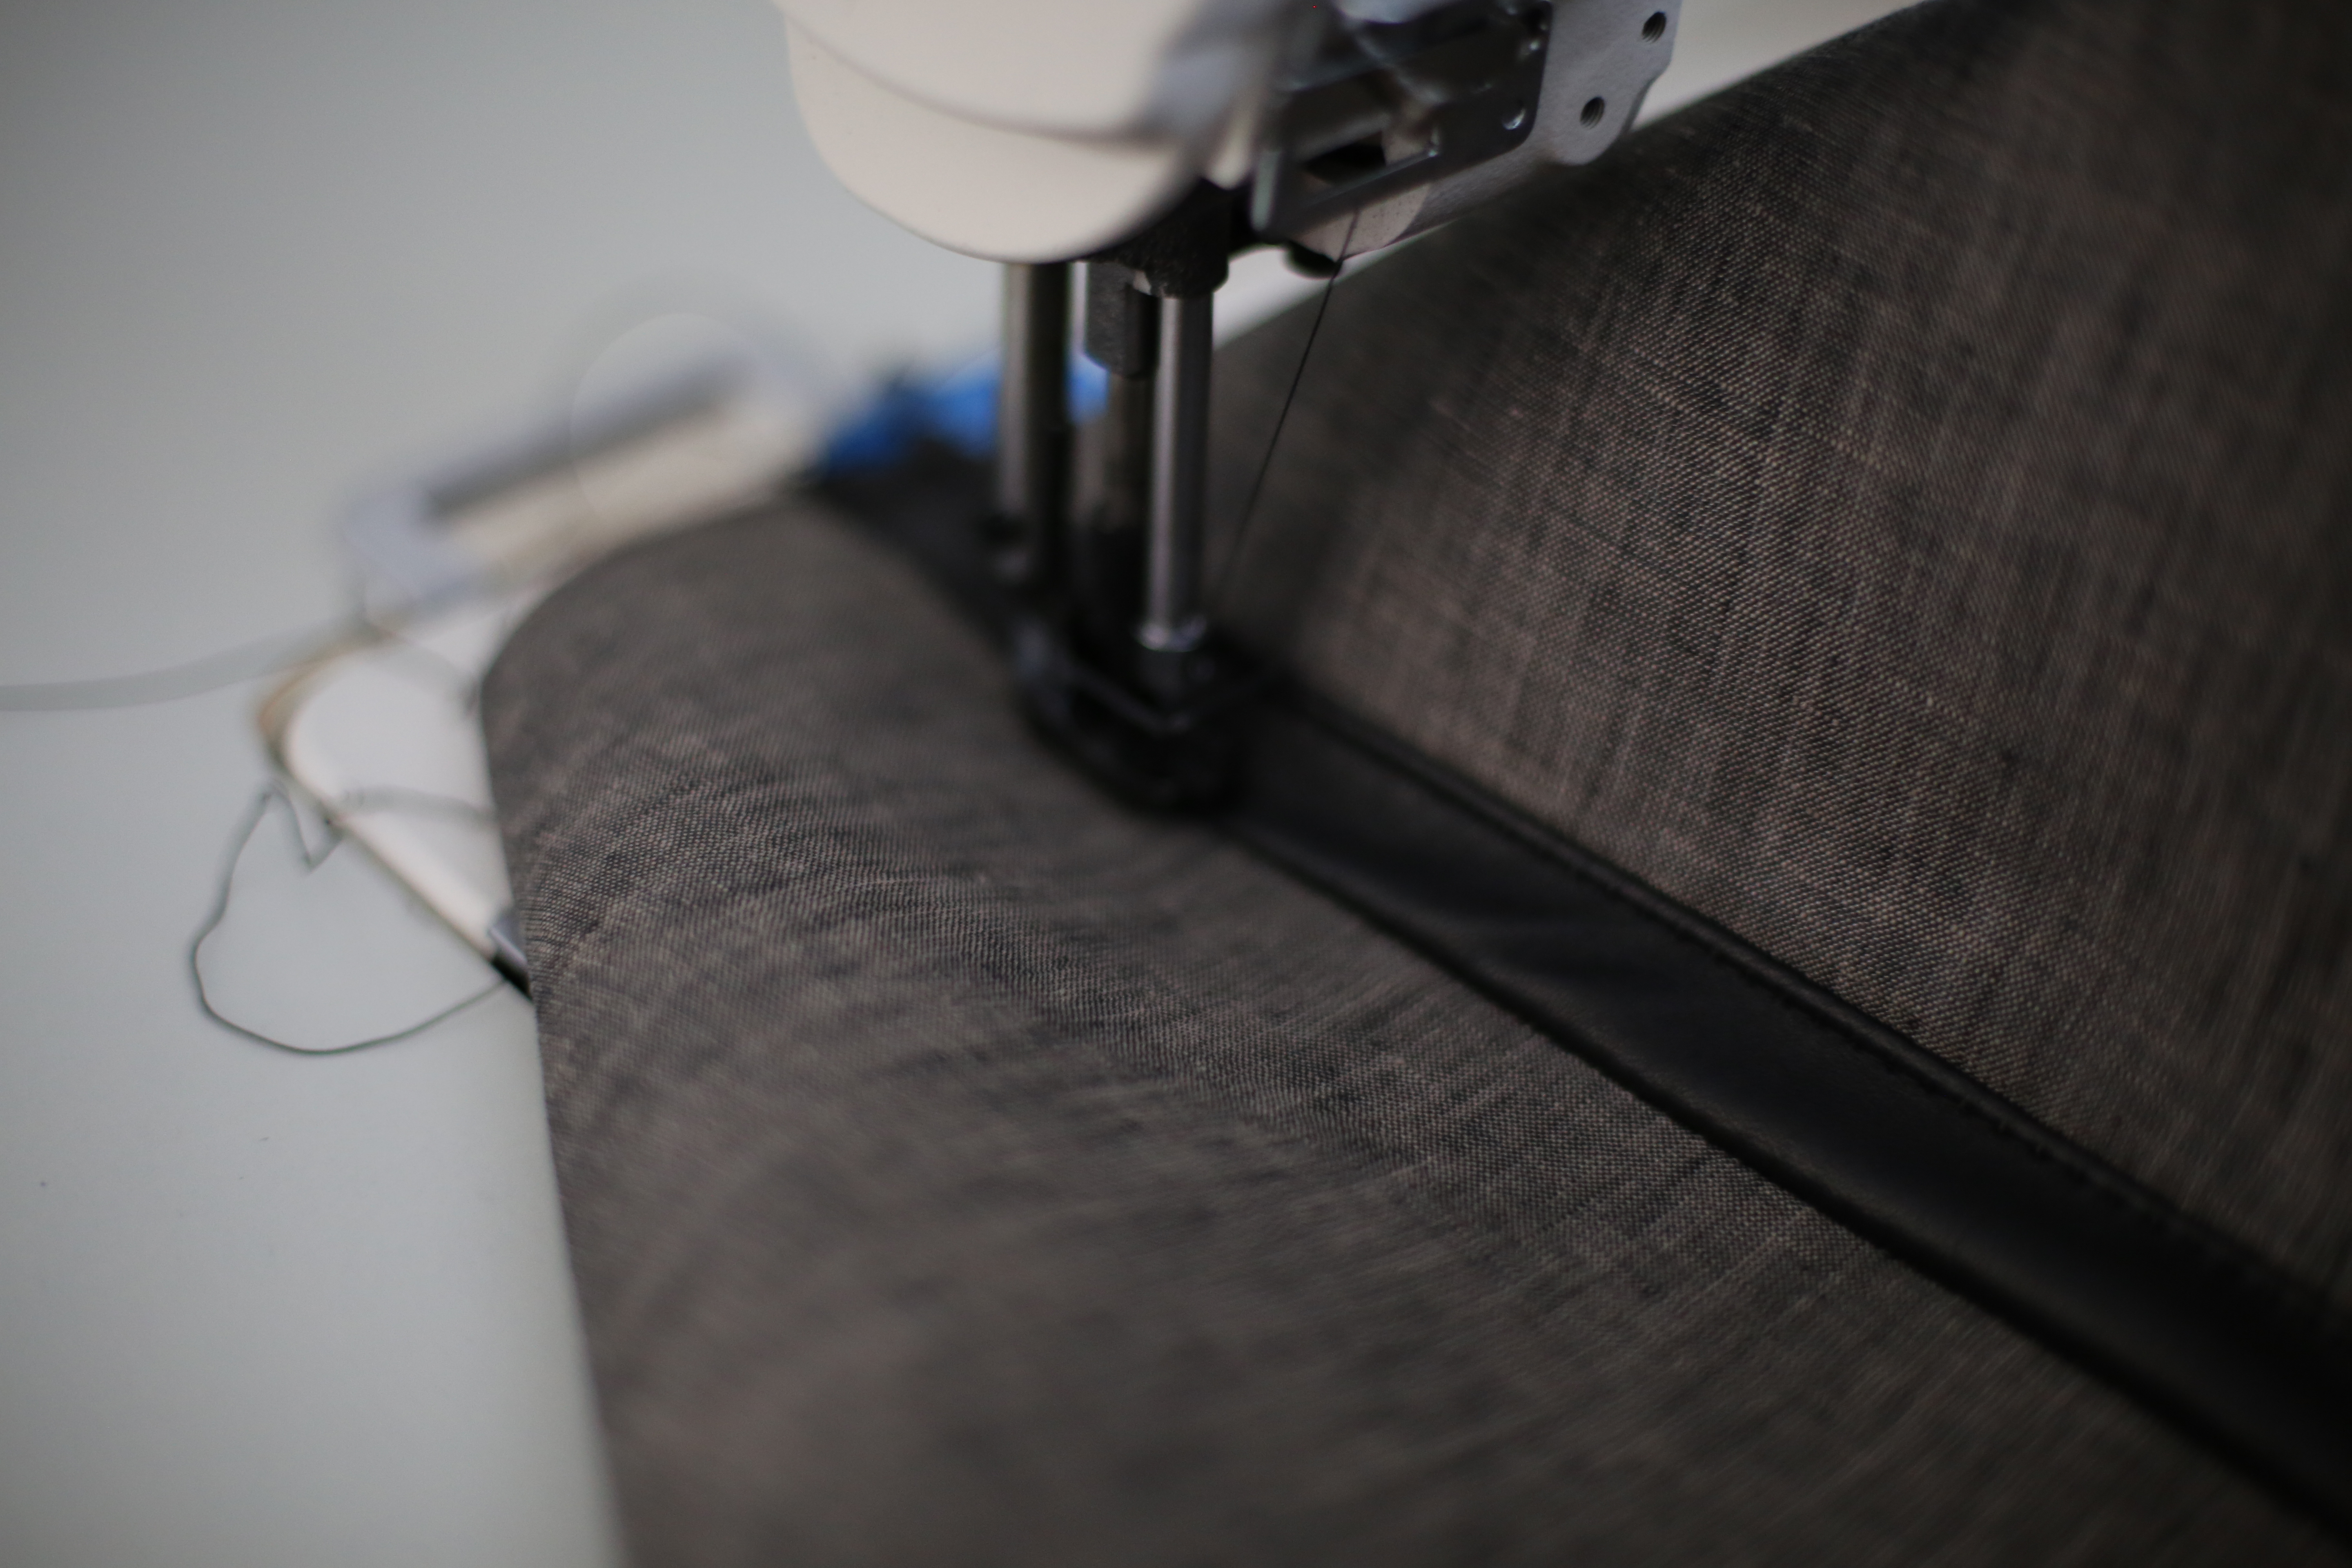
Using the wonder clips, attach one 18″x2″ leather strips to the side front fused linen piece RST and sew together.

Do this on the other side of the bag and fold the seam toward the leather and topstitch it down after you sew each seam.


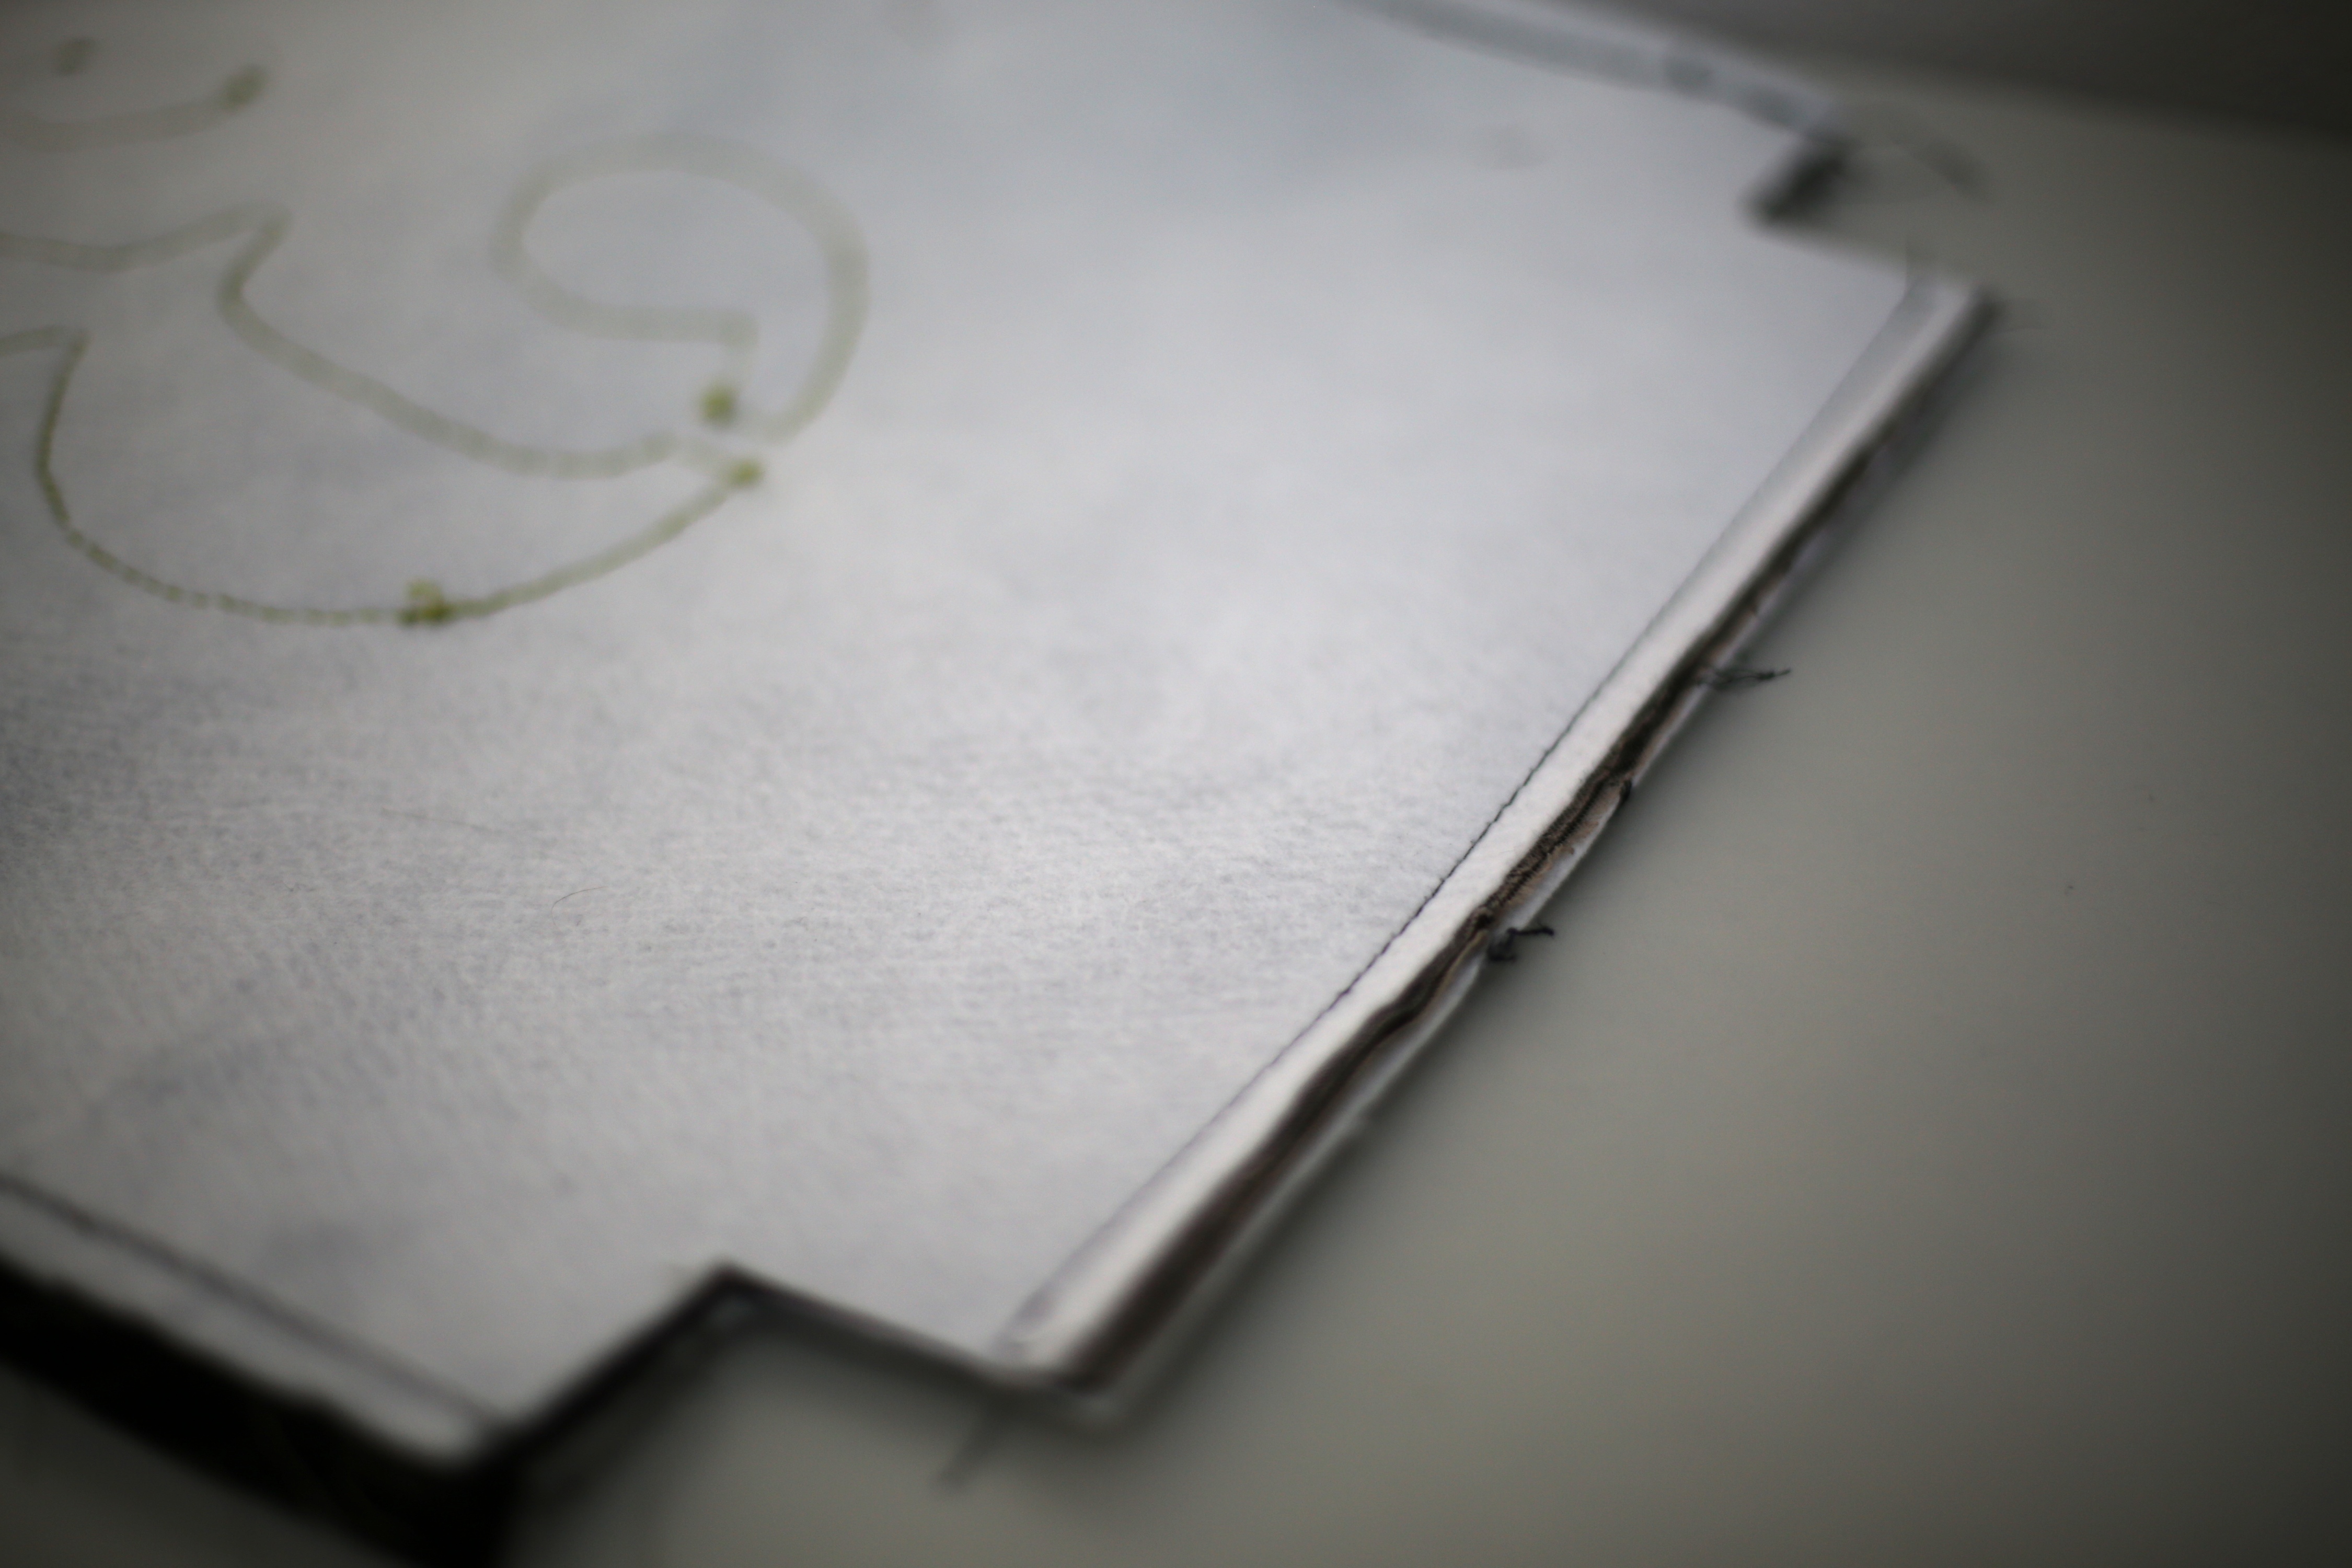
Sew the side leather strip to the back so that you have made a bag tube. Turn inside out and topstitch the last leather seam. (This is the hardest part of making this bag as you have to push the other side of the bag tube out of the way while sewing to prevent accidentally sewing the tube together.)

Flip the tube inside out again and sew the bottom seam together.

Next, fold the lines made by cutting out the bottom squares together, matching the center side leather strip to the bottom bag seam and sew these two seams on each side to close the outside bag.

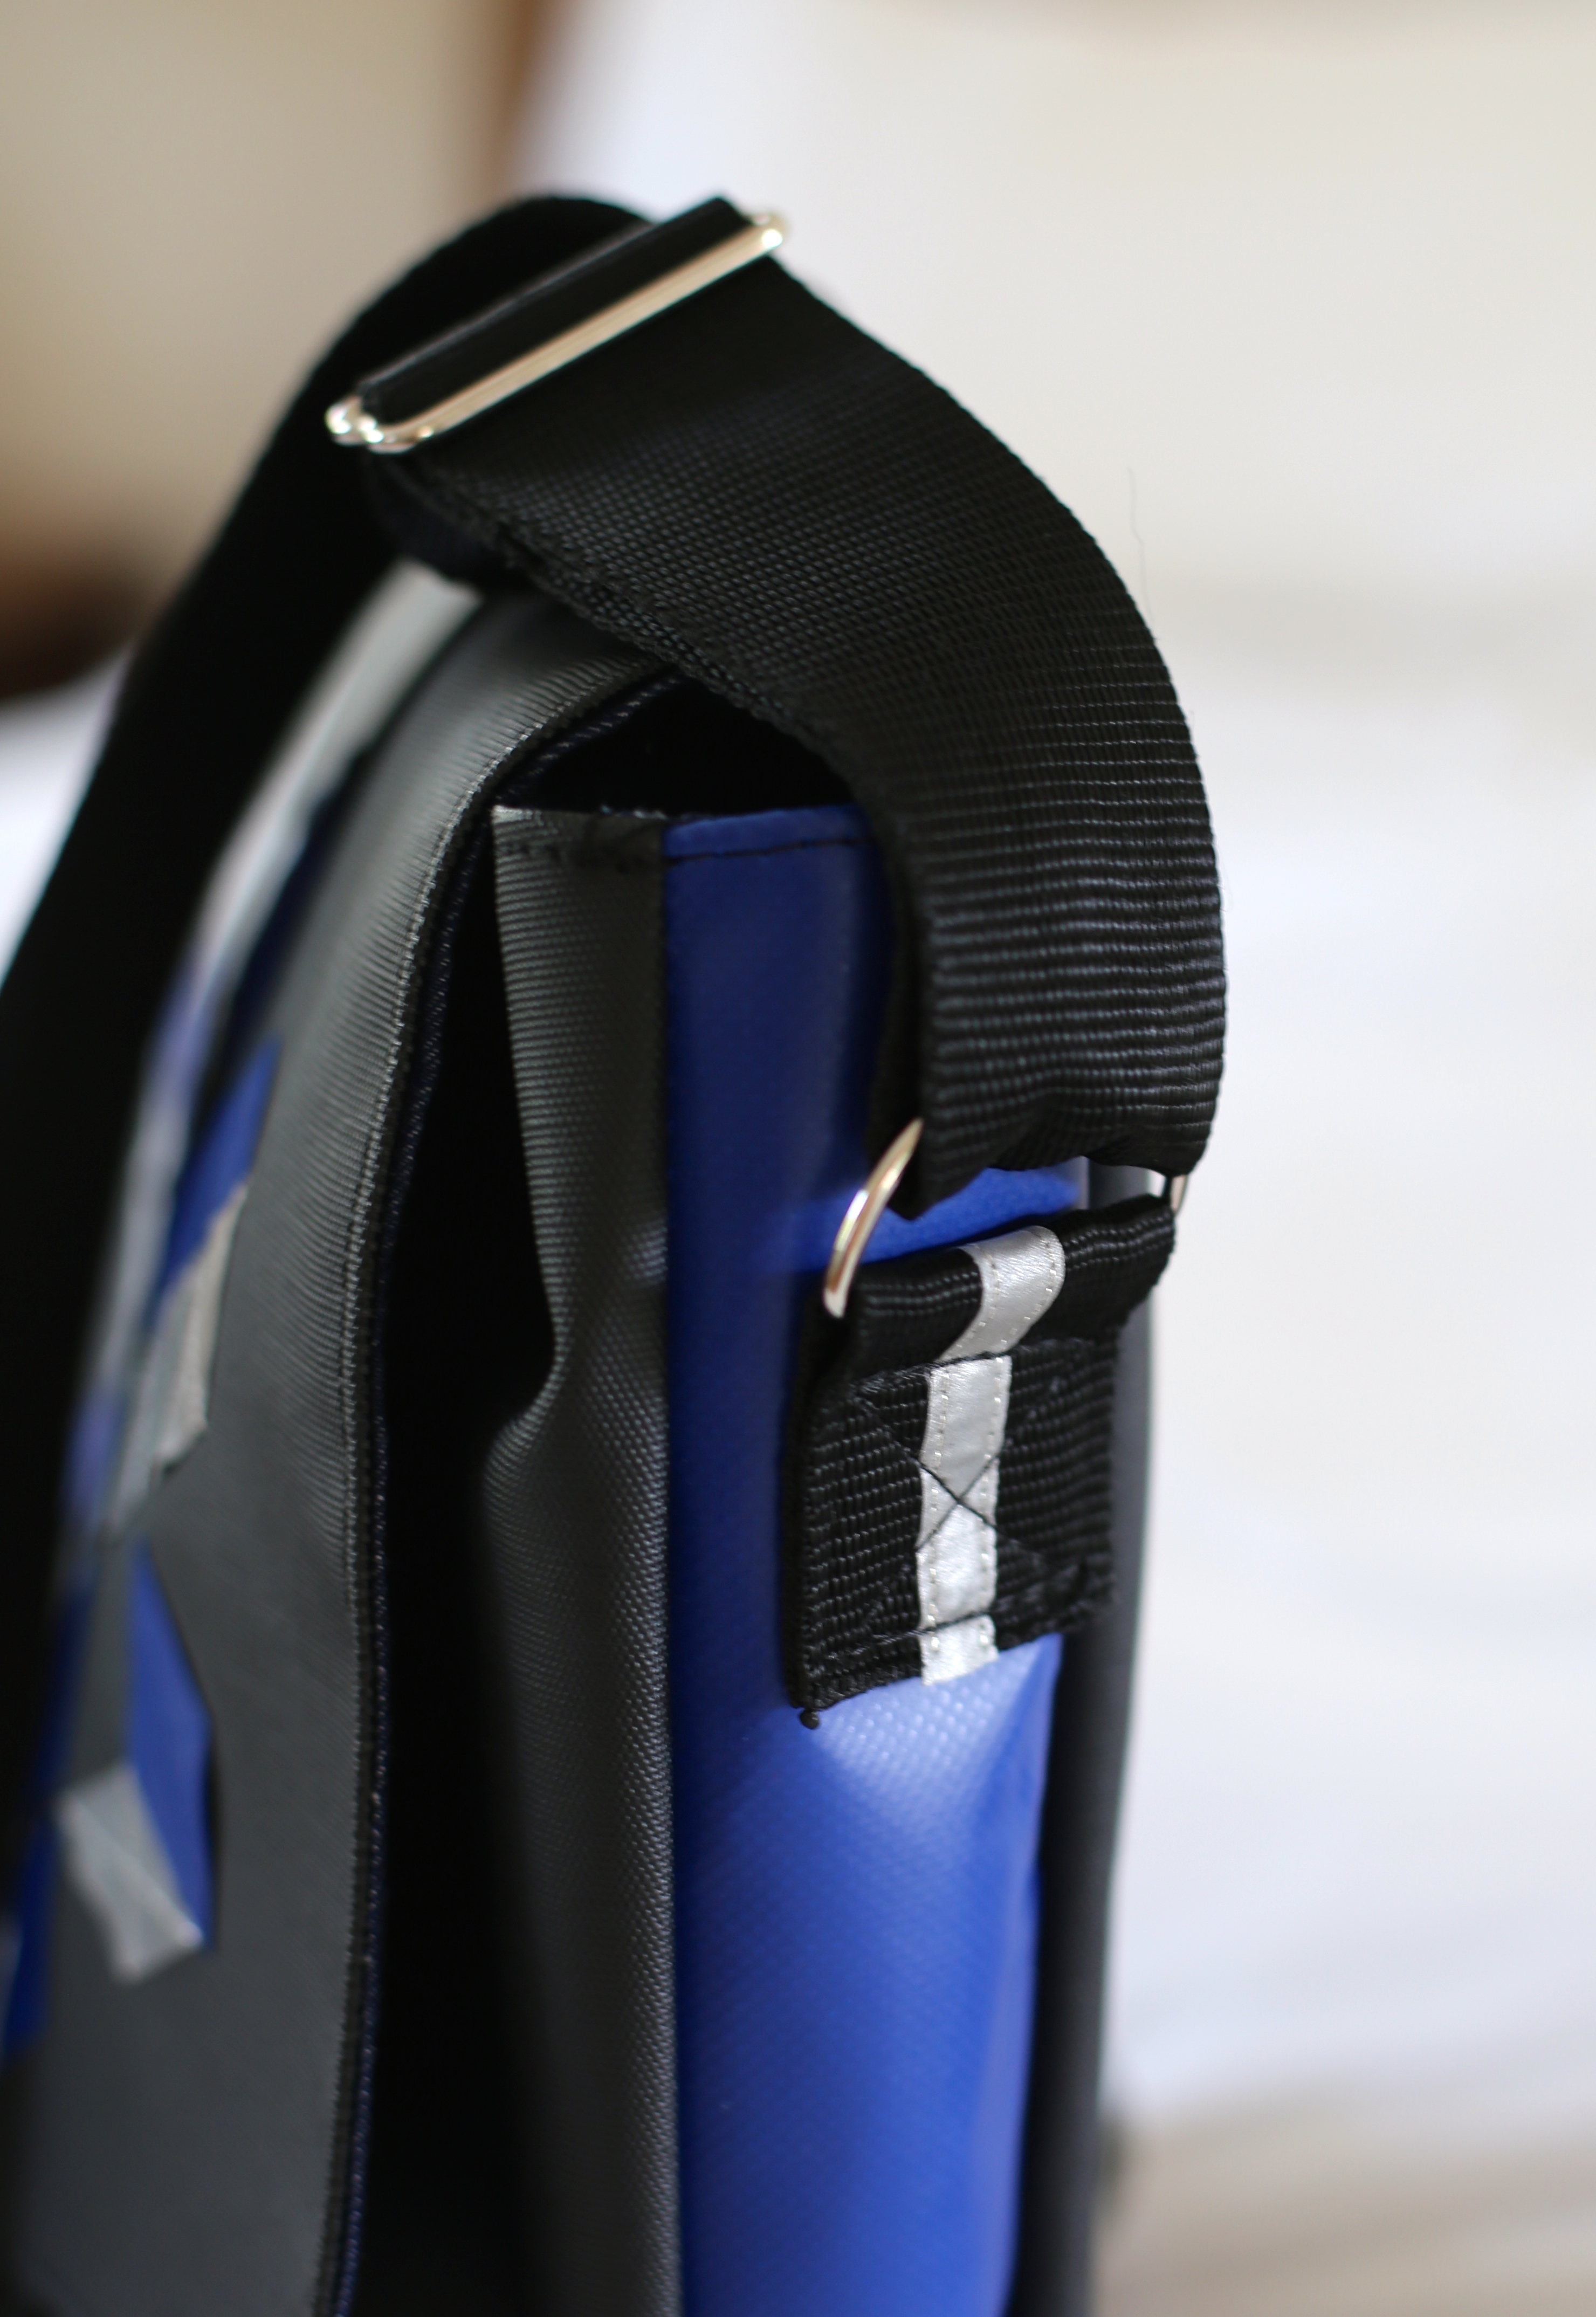
Step Three: Make and Attach the Handles
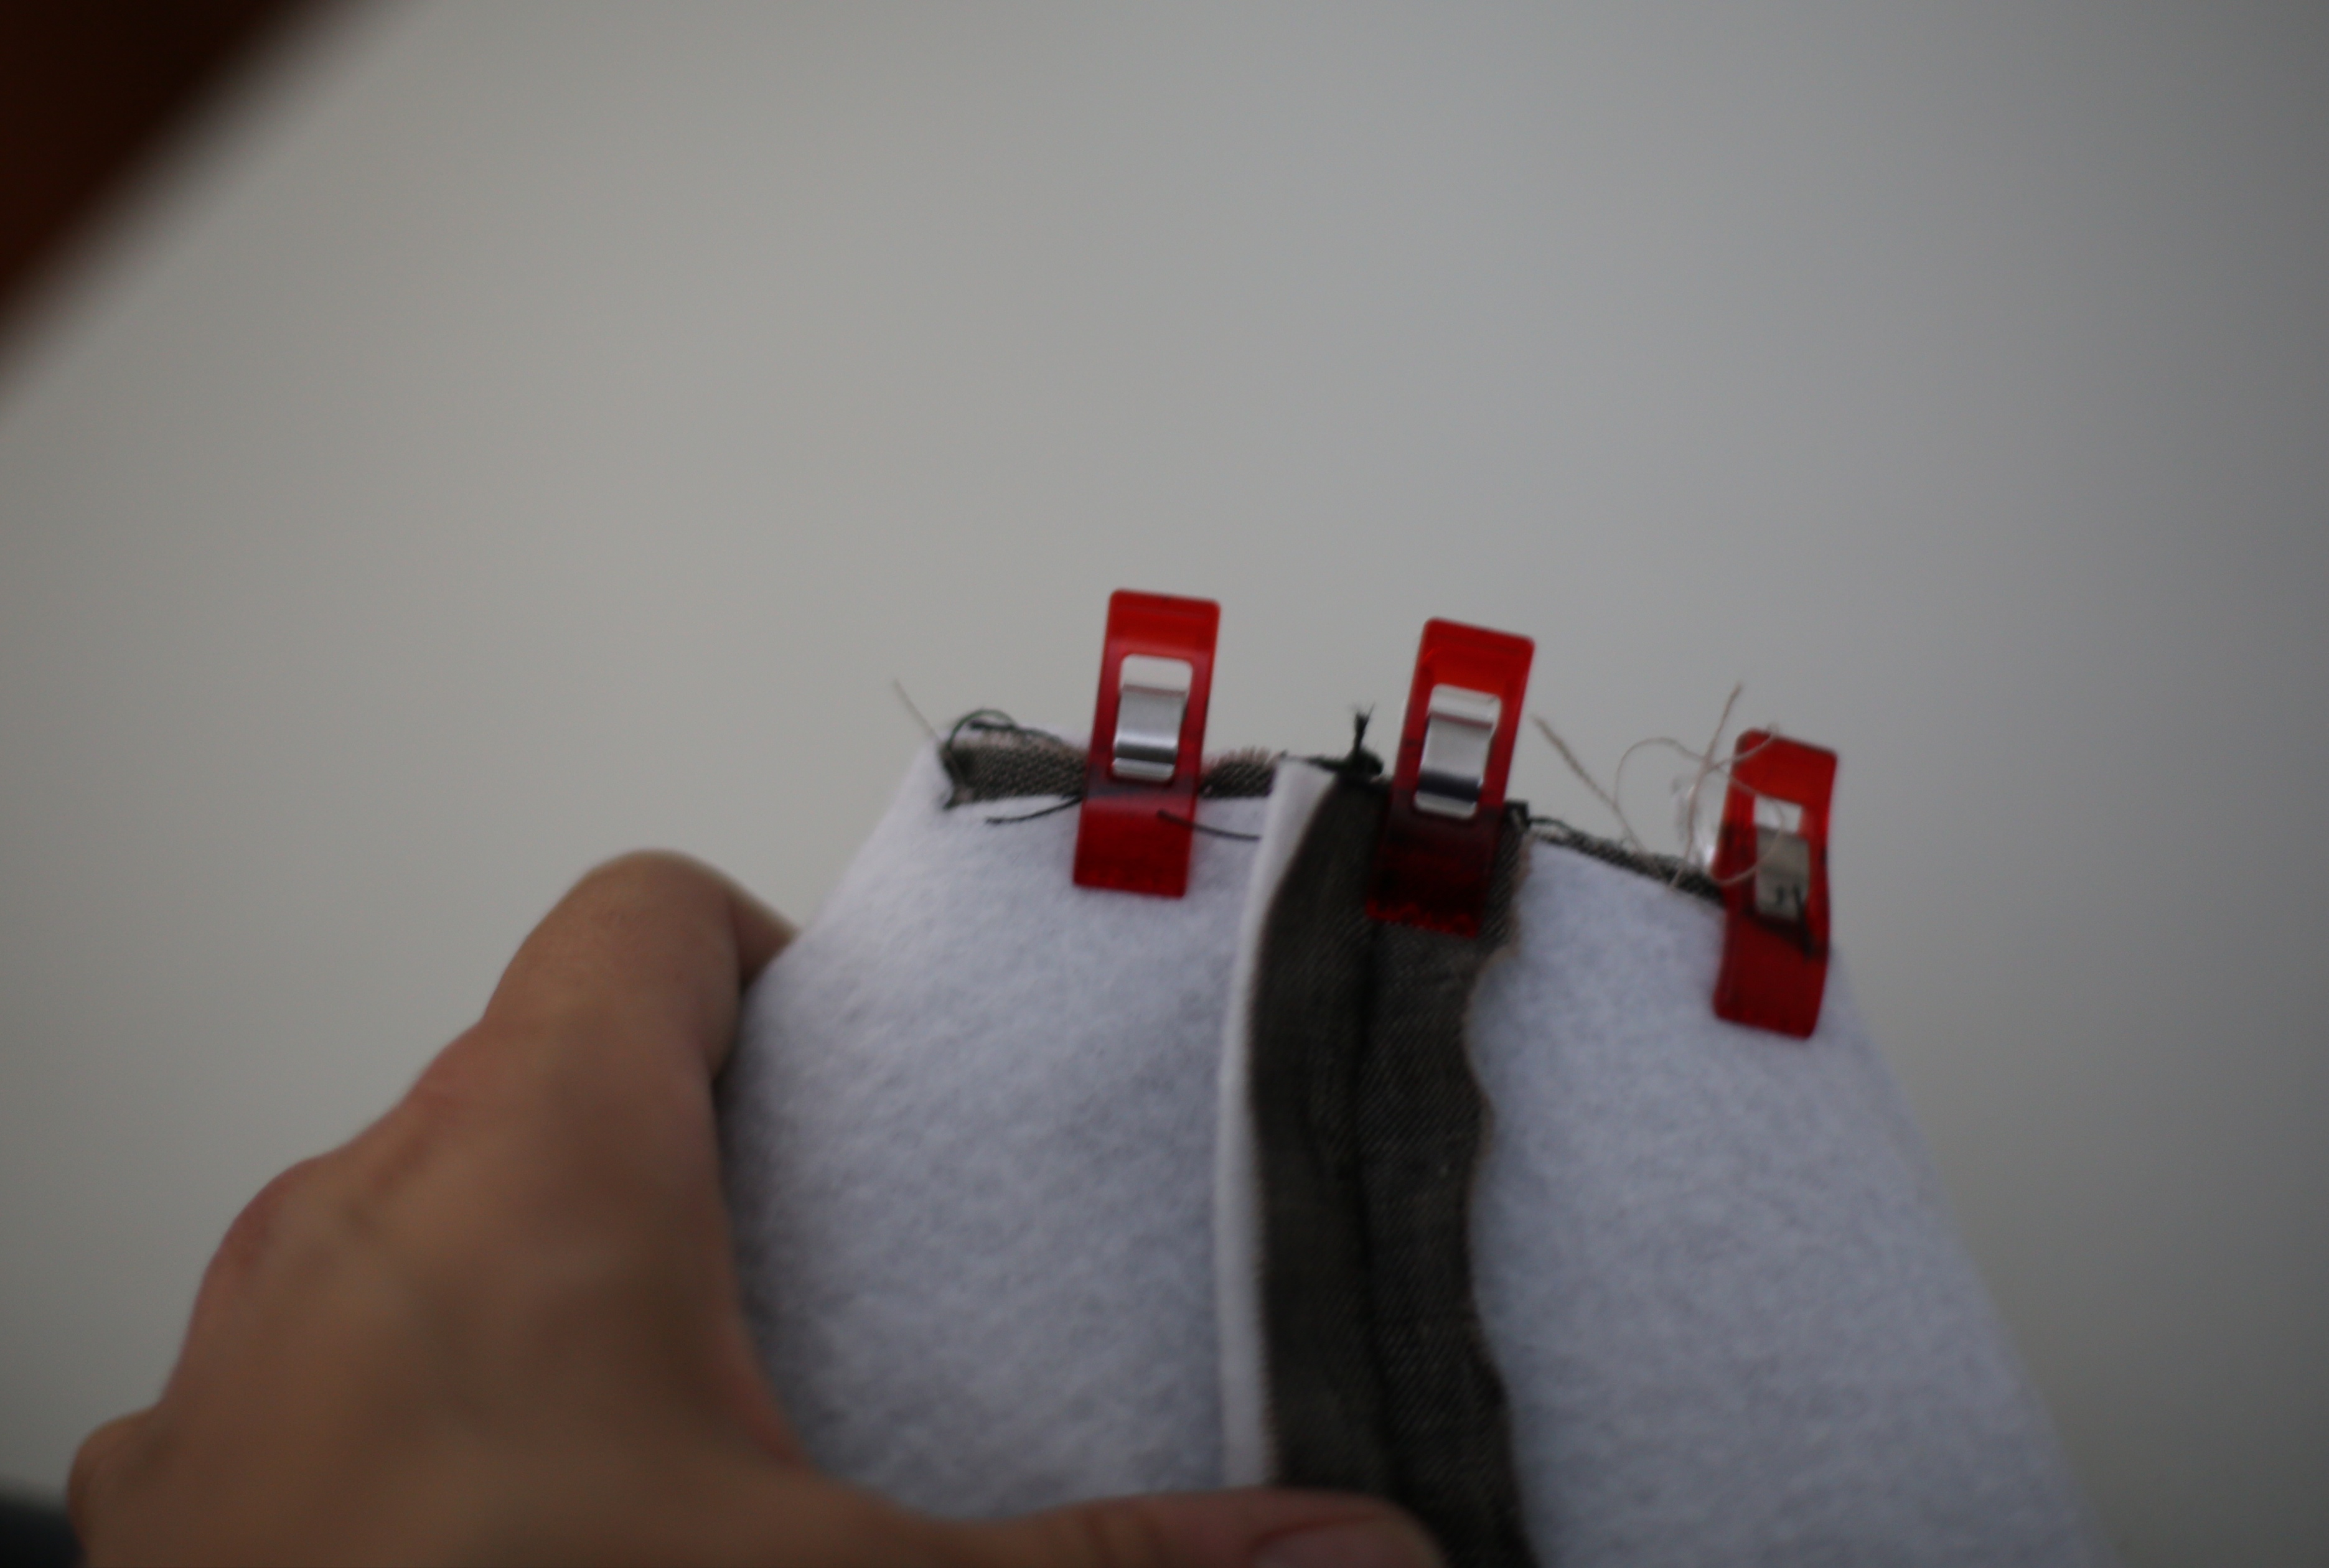
Fuse the 20″x2″ cotton rectangles to the heavyweight interfacing rectangles 19″x2″ leaving 1/2″ overlap of the cotton on each side.

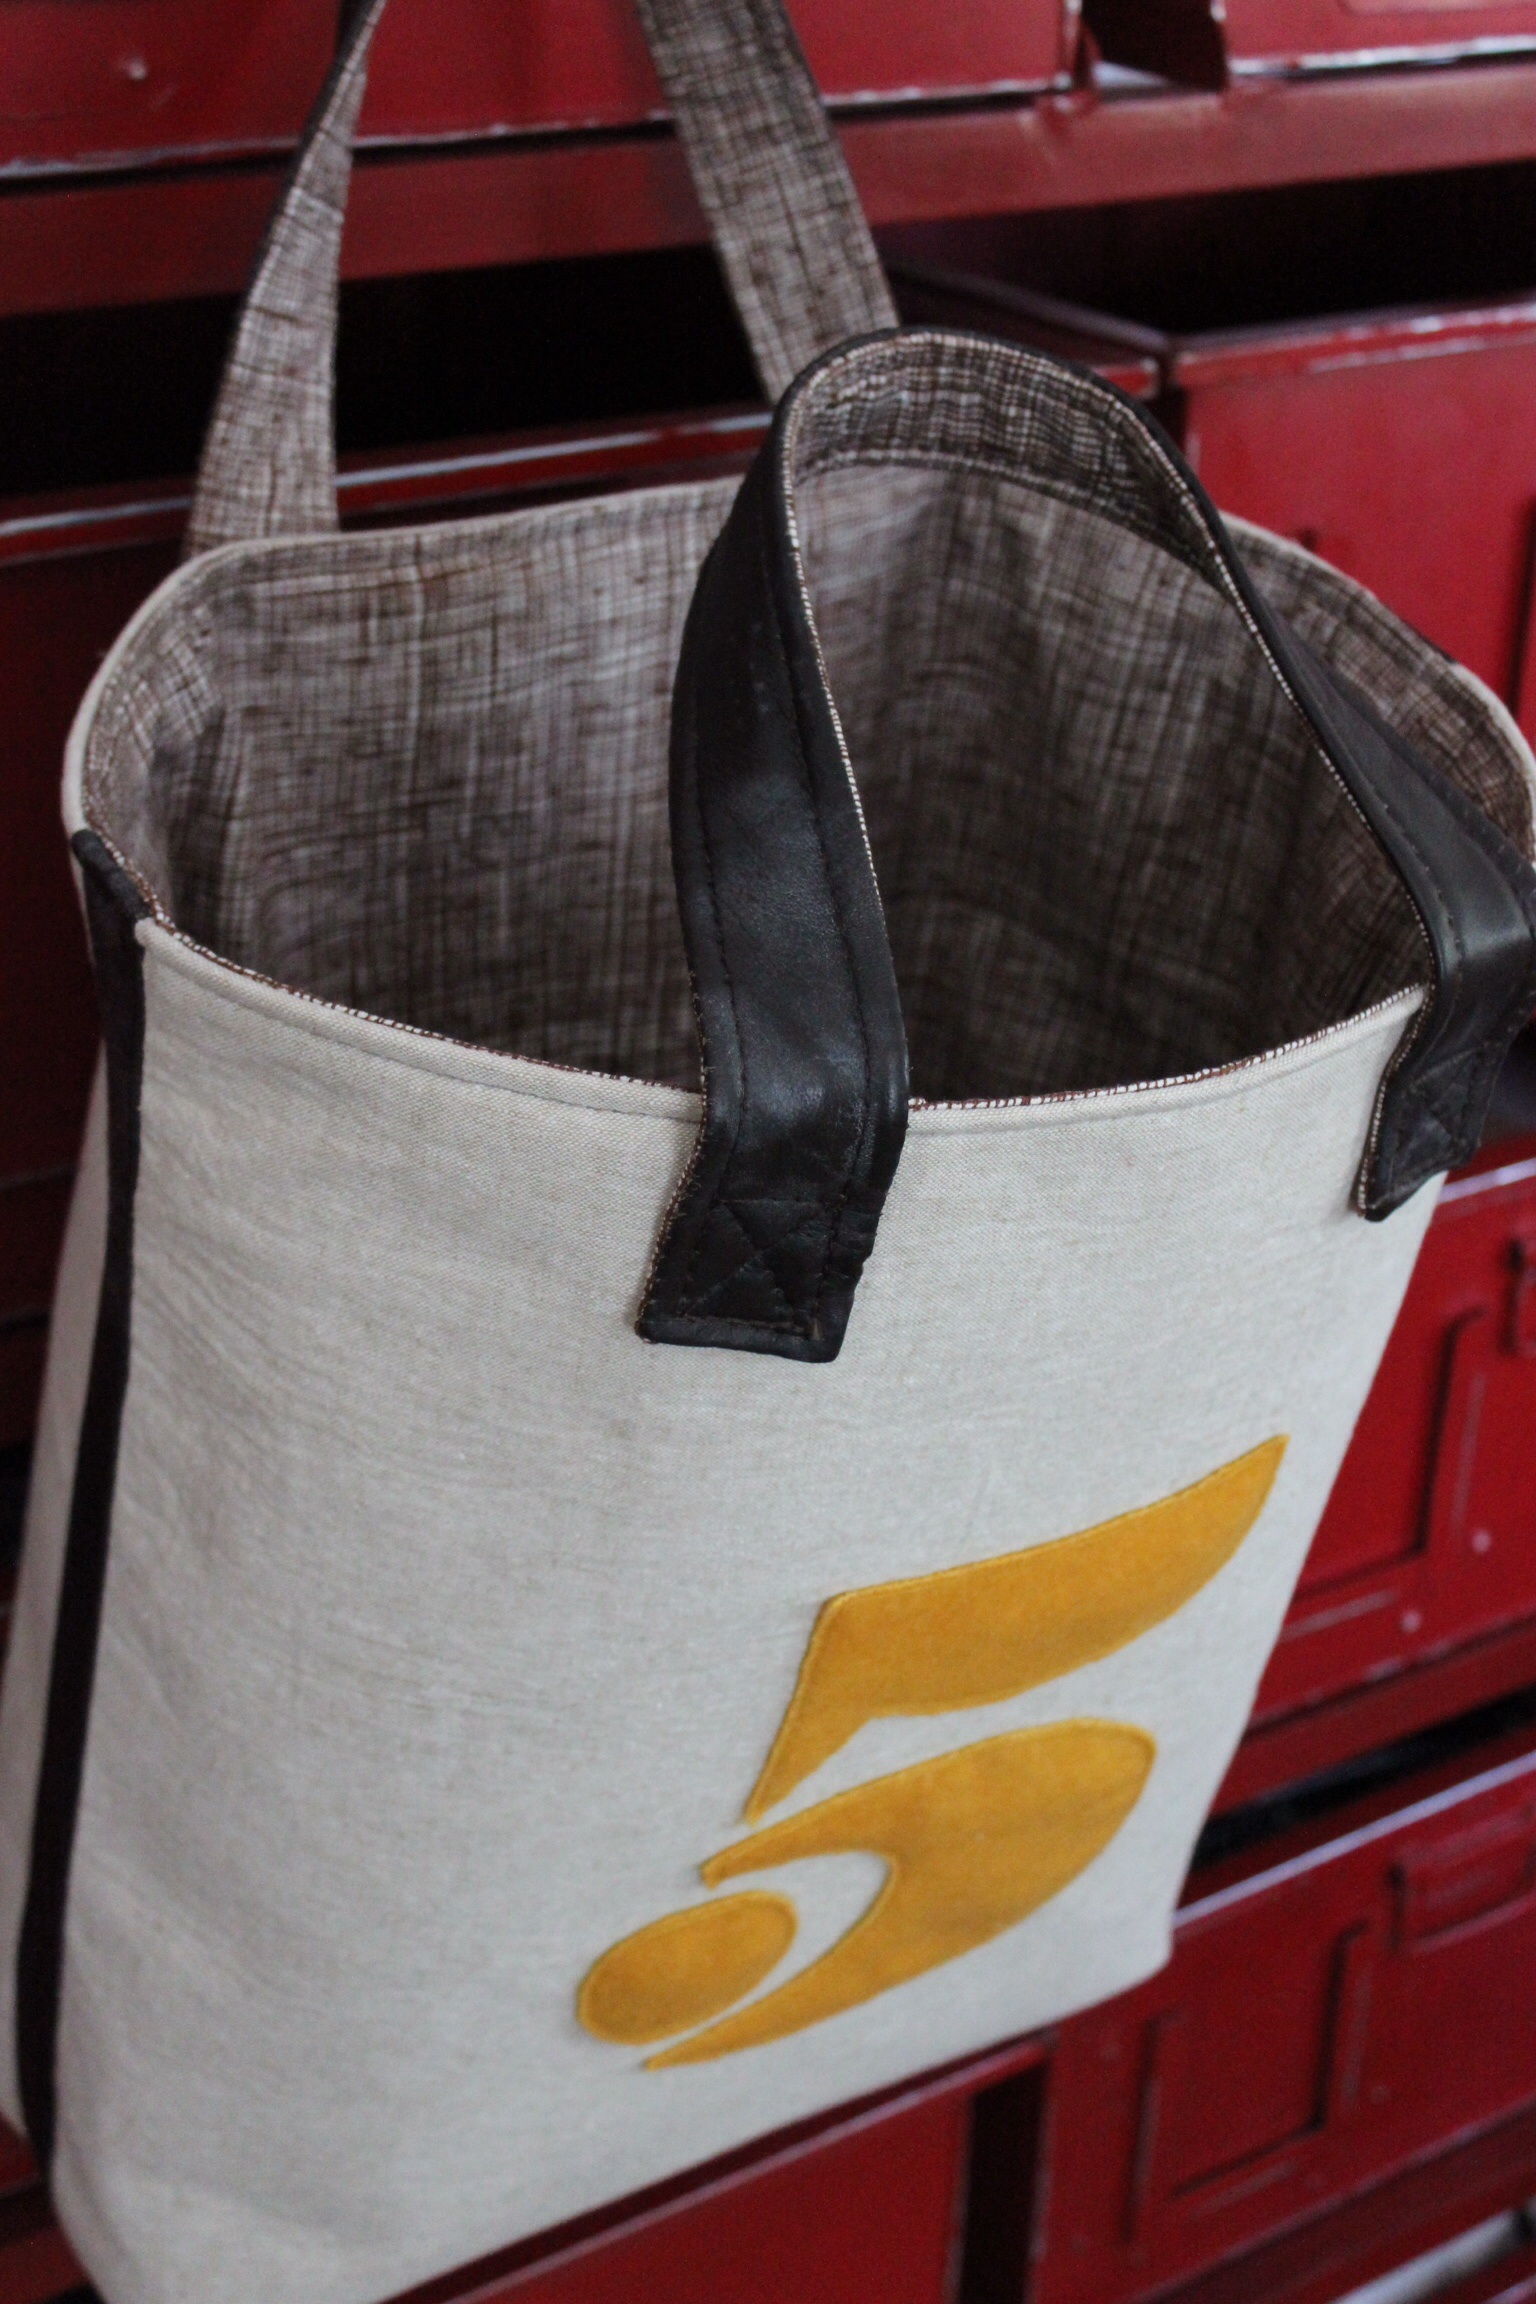
Set the 20″x2″ leather rectangle on top of the 20″x2″ fused cotton rectangle RST. Hold together with the wonder clips and sew a 1/4″ seam along the two long 20″ sides. Turn the tube inside out. At both ends, turn under the leather and cotton by 1/2″ back into the tube and hold with a wonder clip.

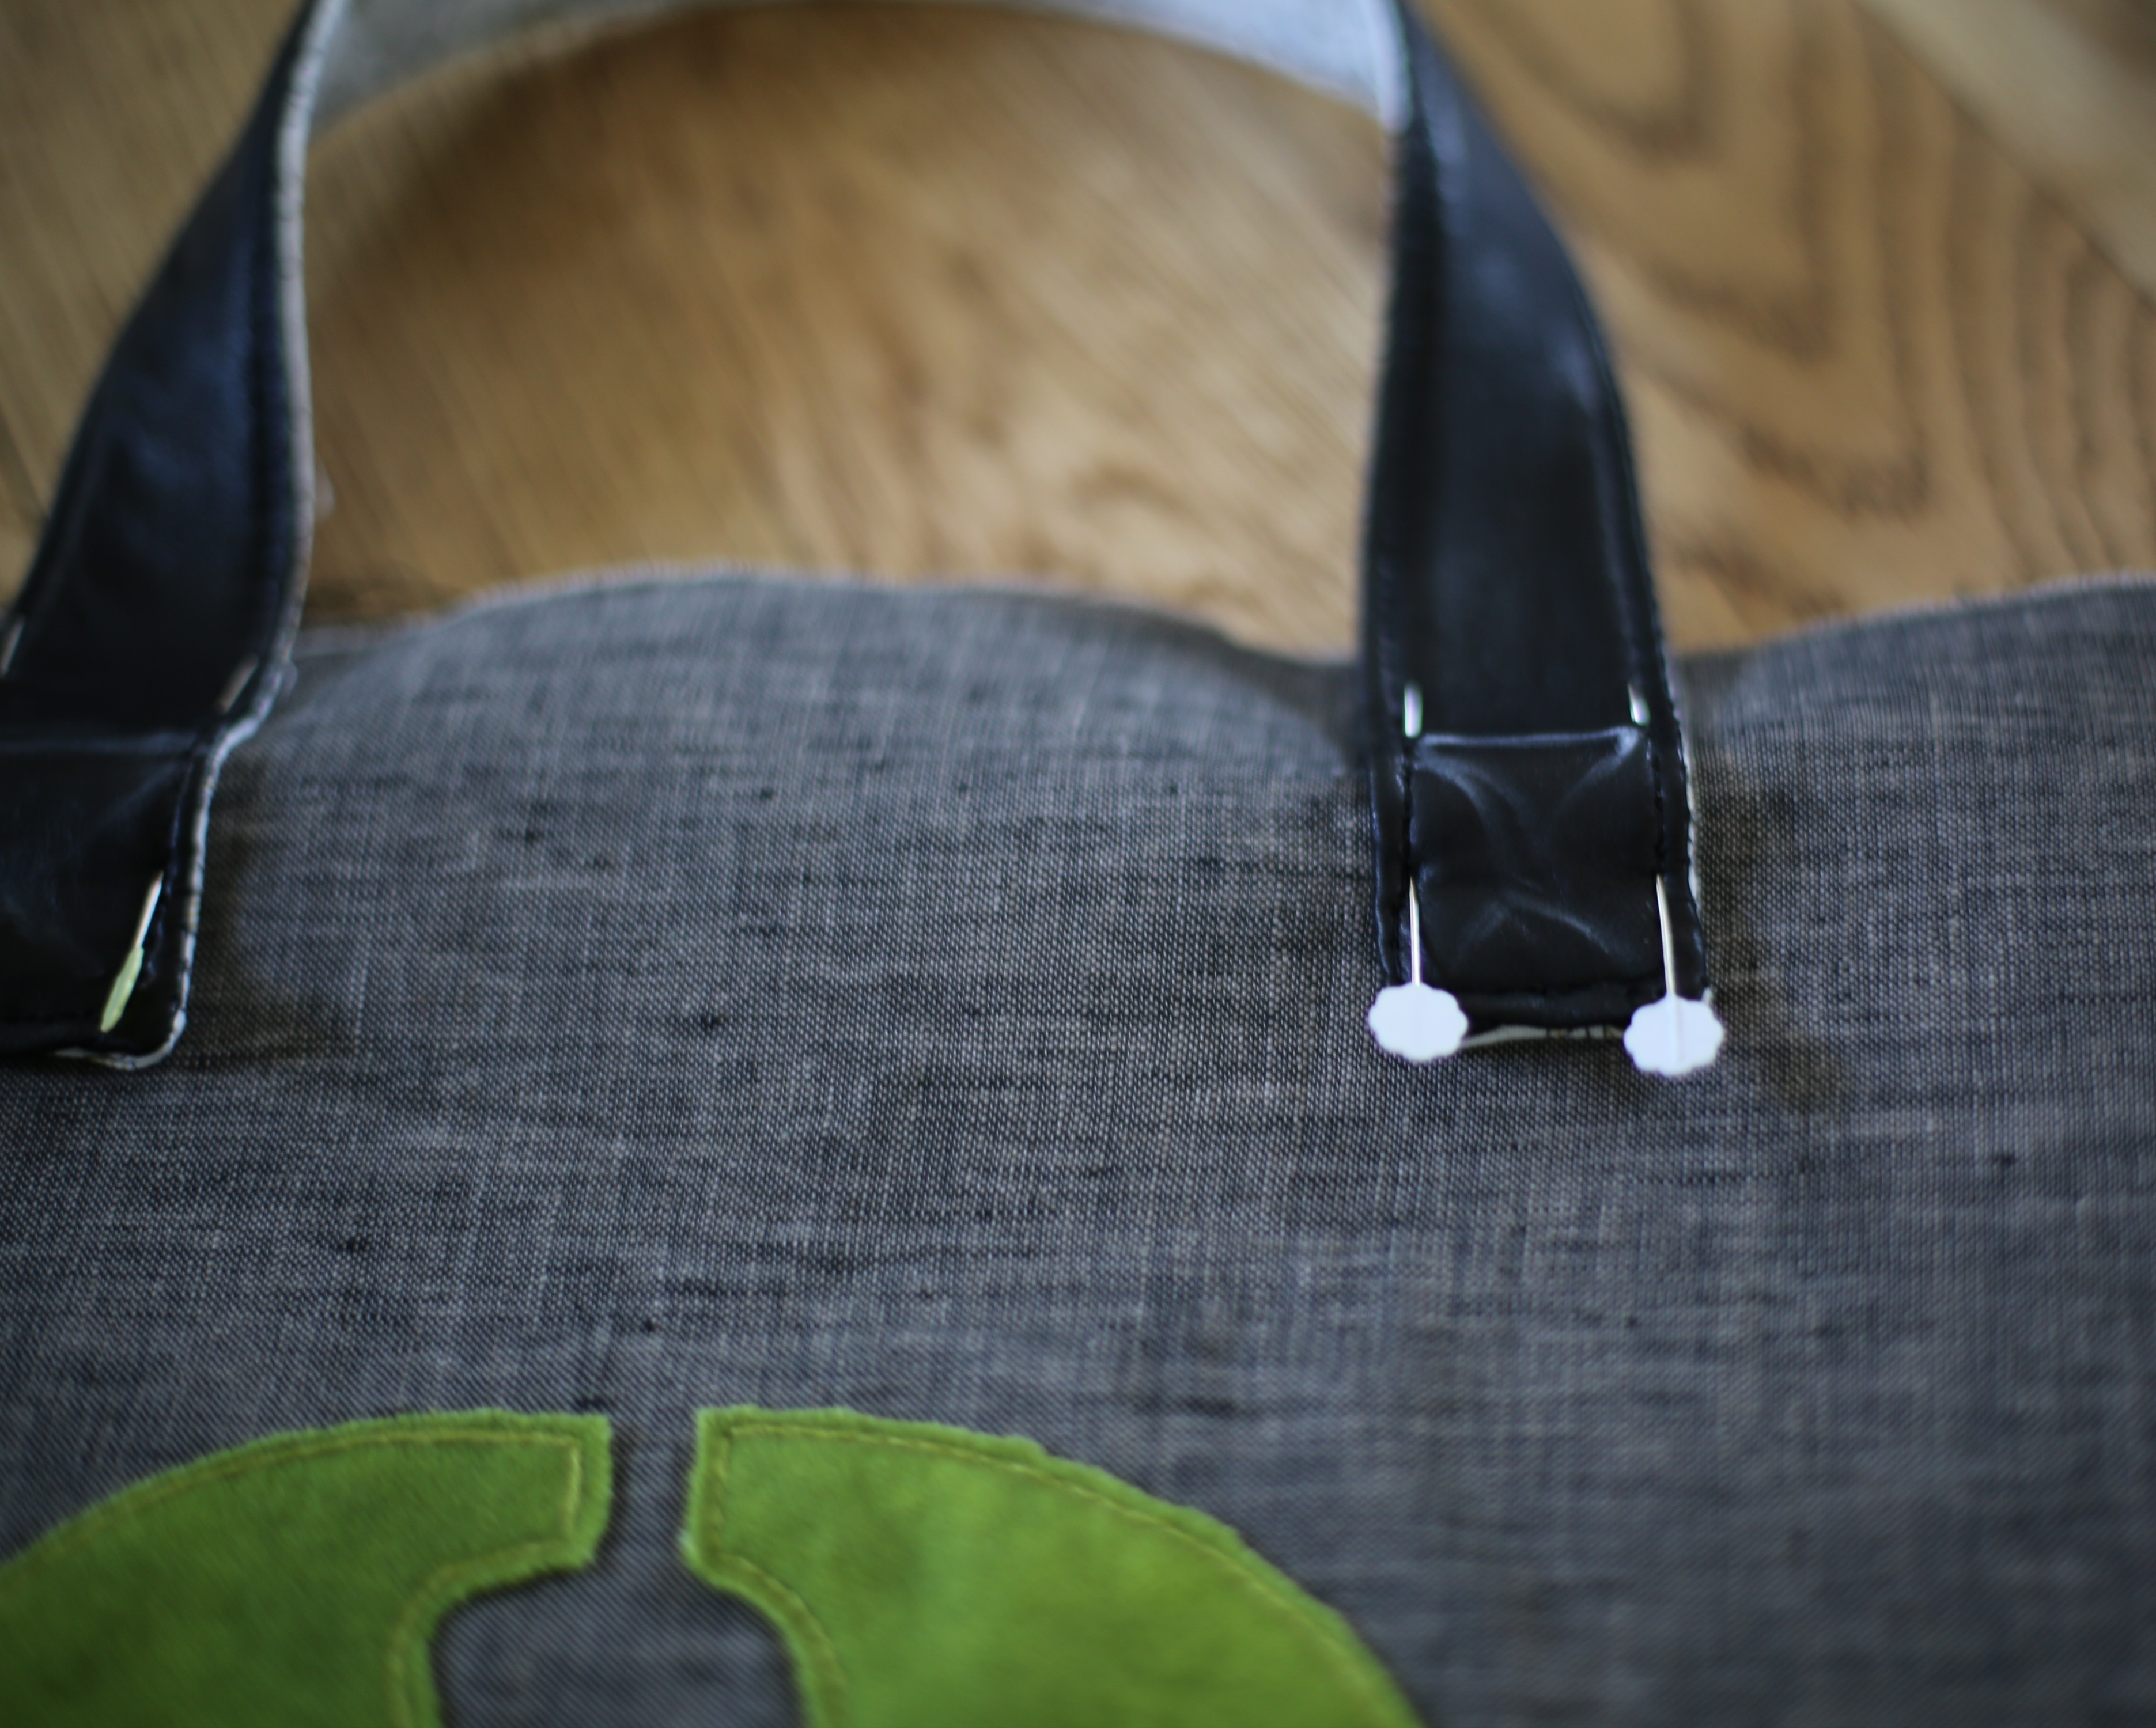
Top stitch along all sides of the handle closing up the ends. Repeat for the other handle. Now you have two handles to attach to your bag front and back.
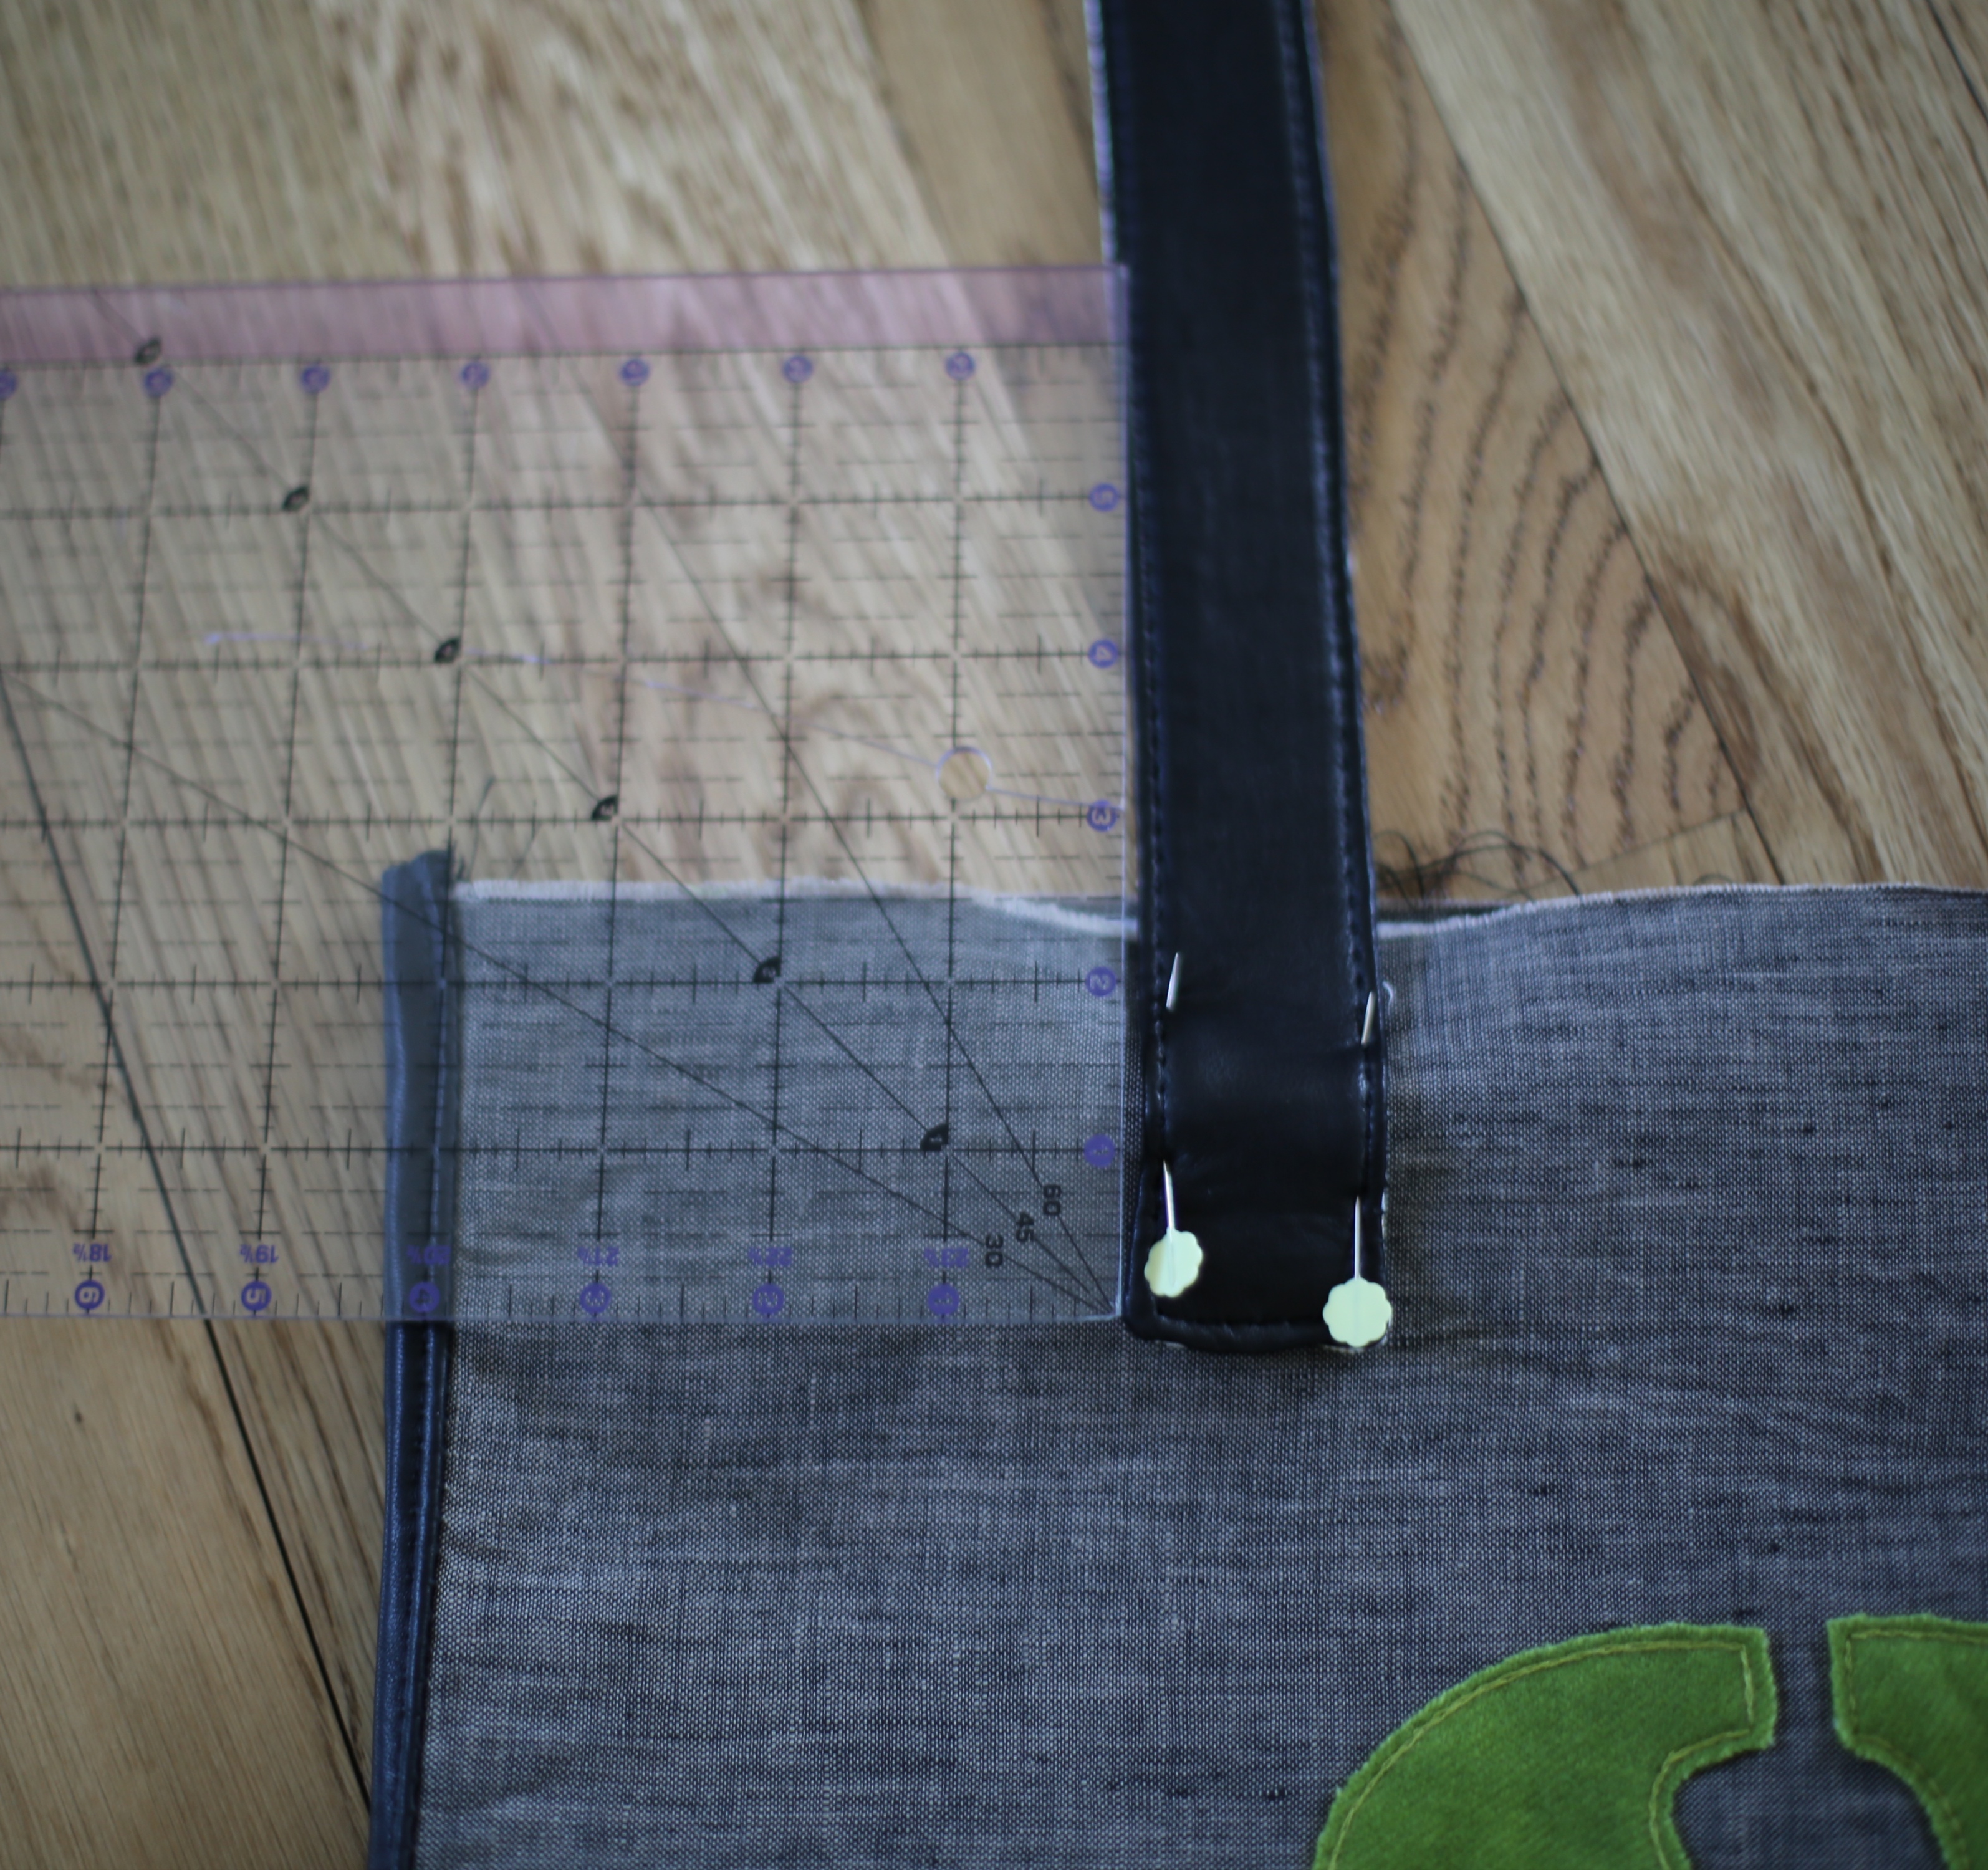
Measure 4″ from each side and 2 1/2″ down from the top to mark the outside edge of your handles. Topstitch a 1″ square and X at the handle bottoms to secure the handles to the bag.


Step Four: Finish the bag
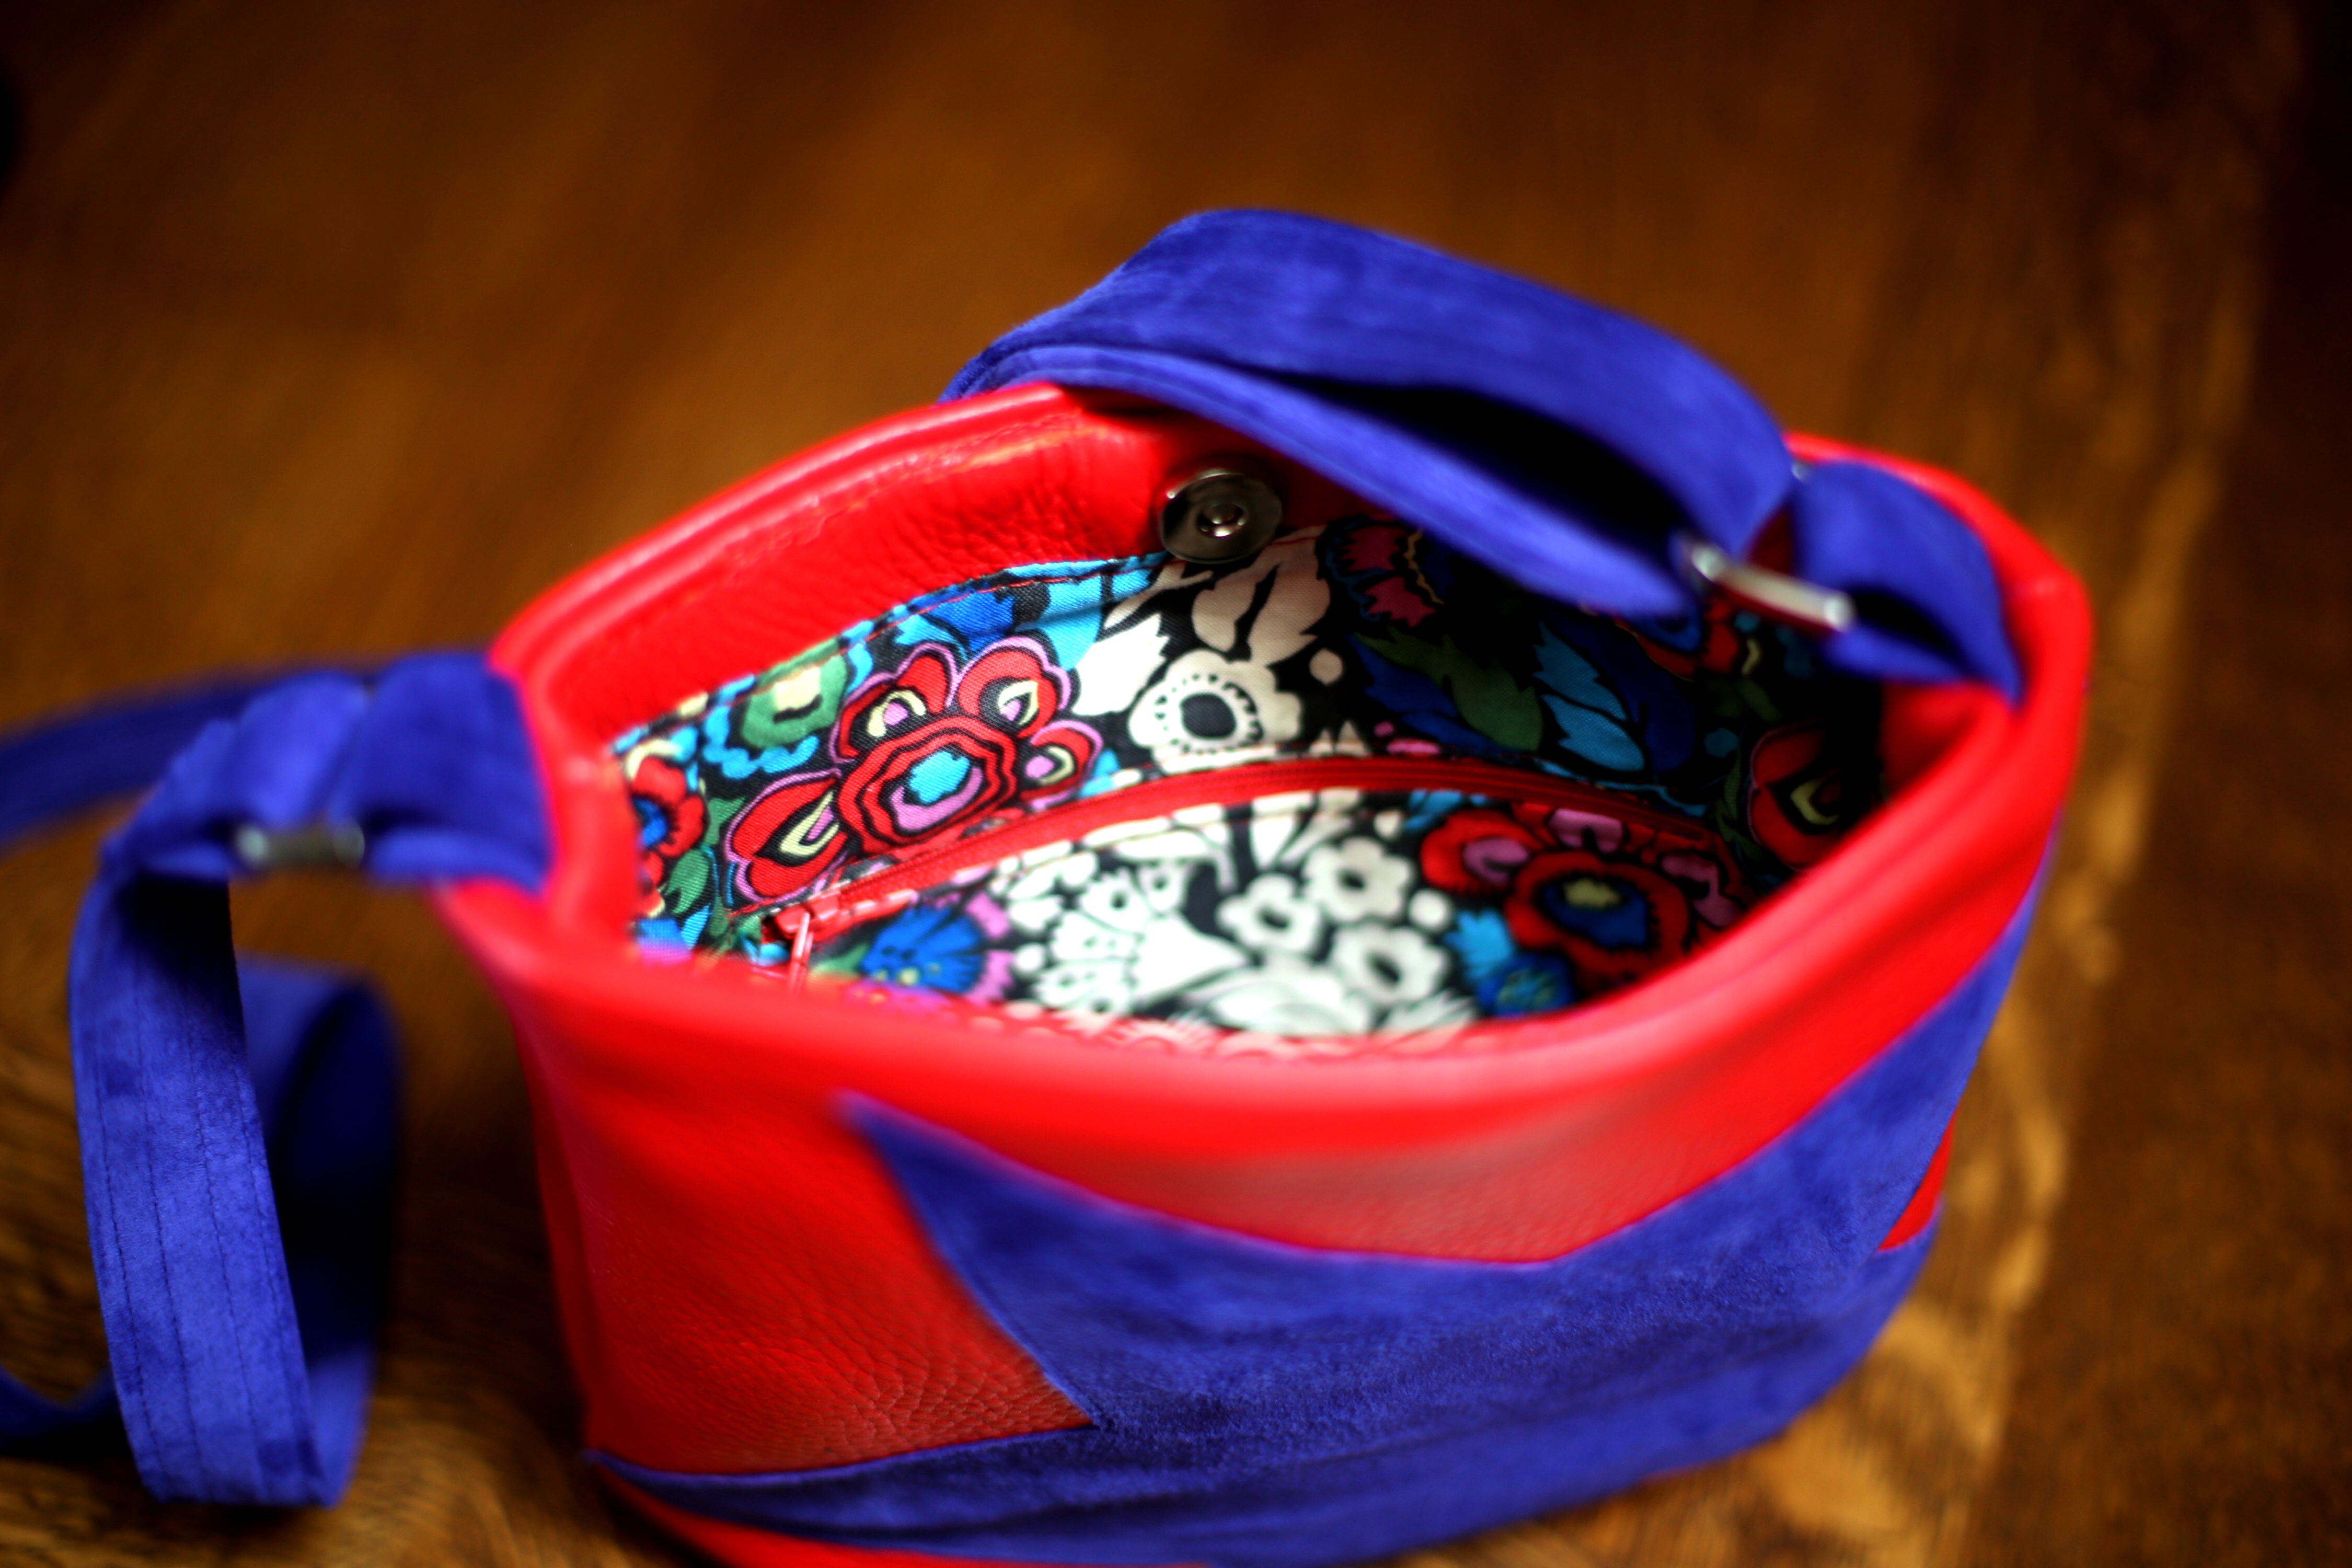
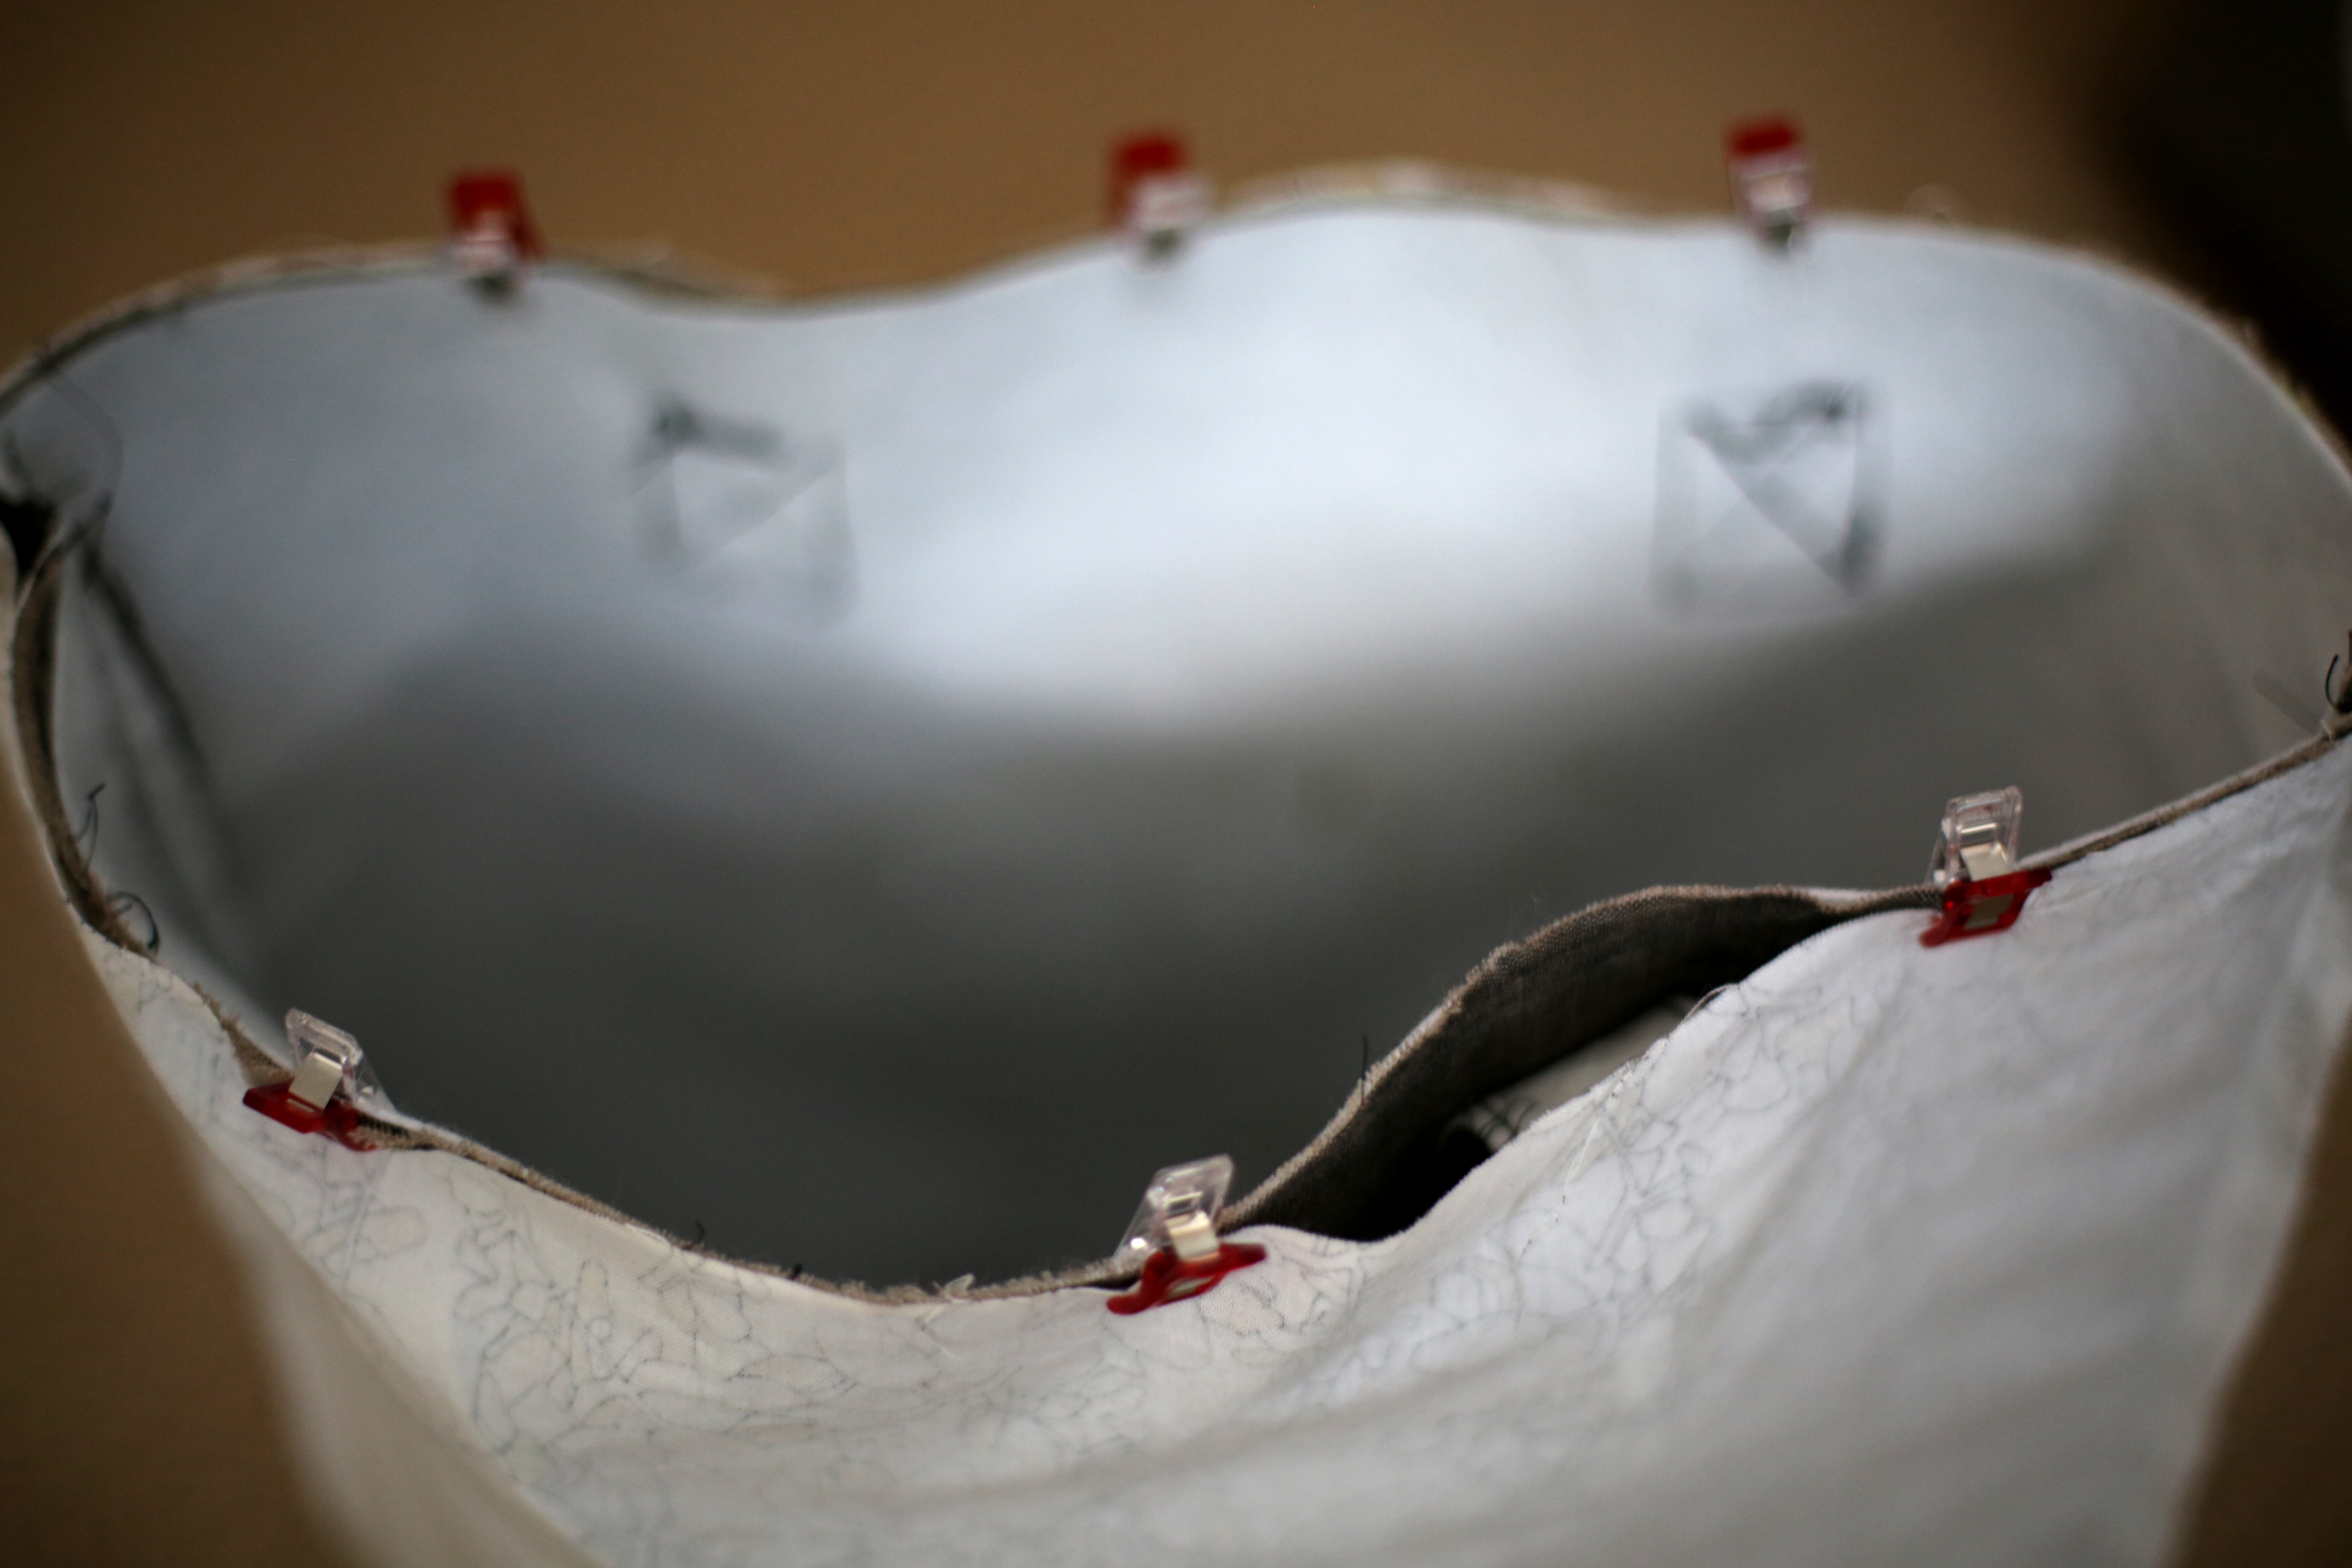
RST, sew the cotton lining pieces (20″x18″ cotton rectangles) together along the sides and bottom, leaving a 4 inch opening at the center bottom. Then sew the bottom side square openings together as you did on the front piece. Slip the lining RST and attach with wonder clips at the top to the main bag piece making sure to keep the handles out of the way. Sew the main bag and lining together at the top.

Pull the main bag through the opening in the bottom of the bag lining and push the lining into place. Top stitch along the bag at top. Finally sew by hand or machine the bottom opening in the lining together and you are done!

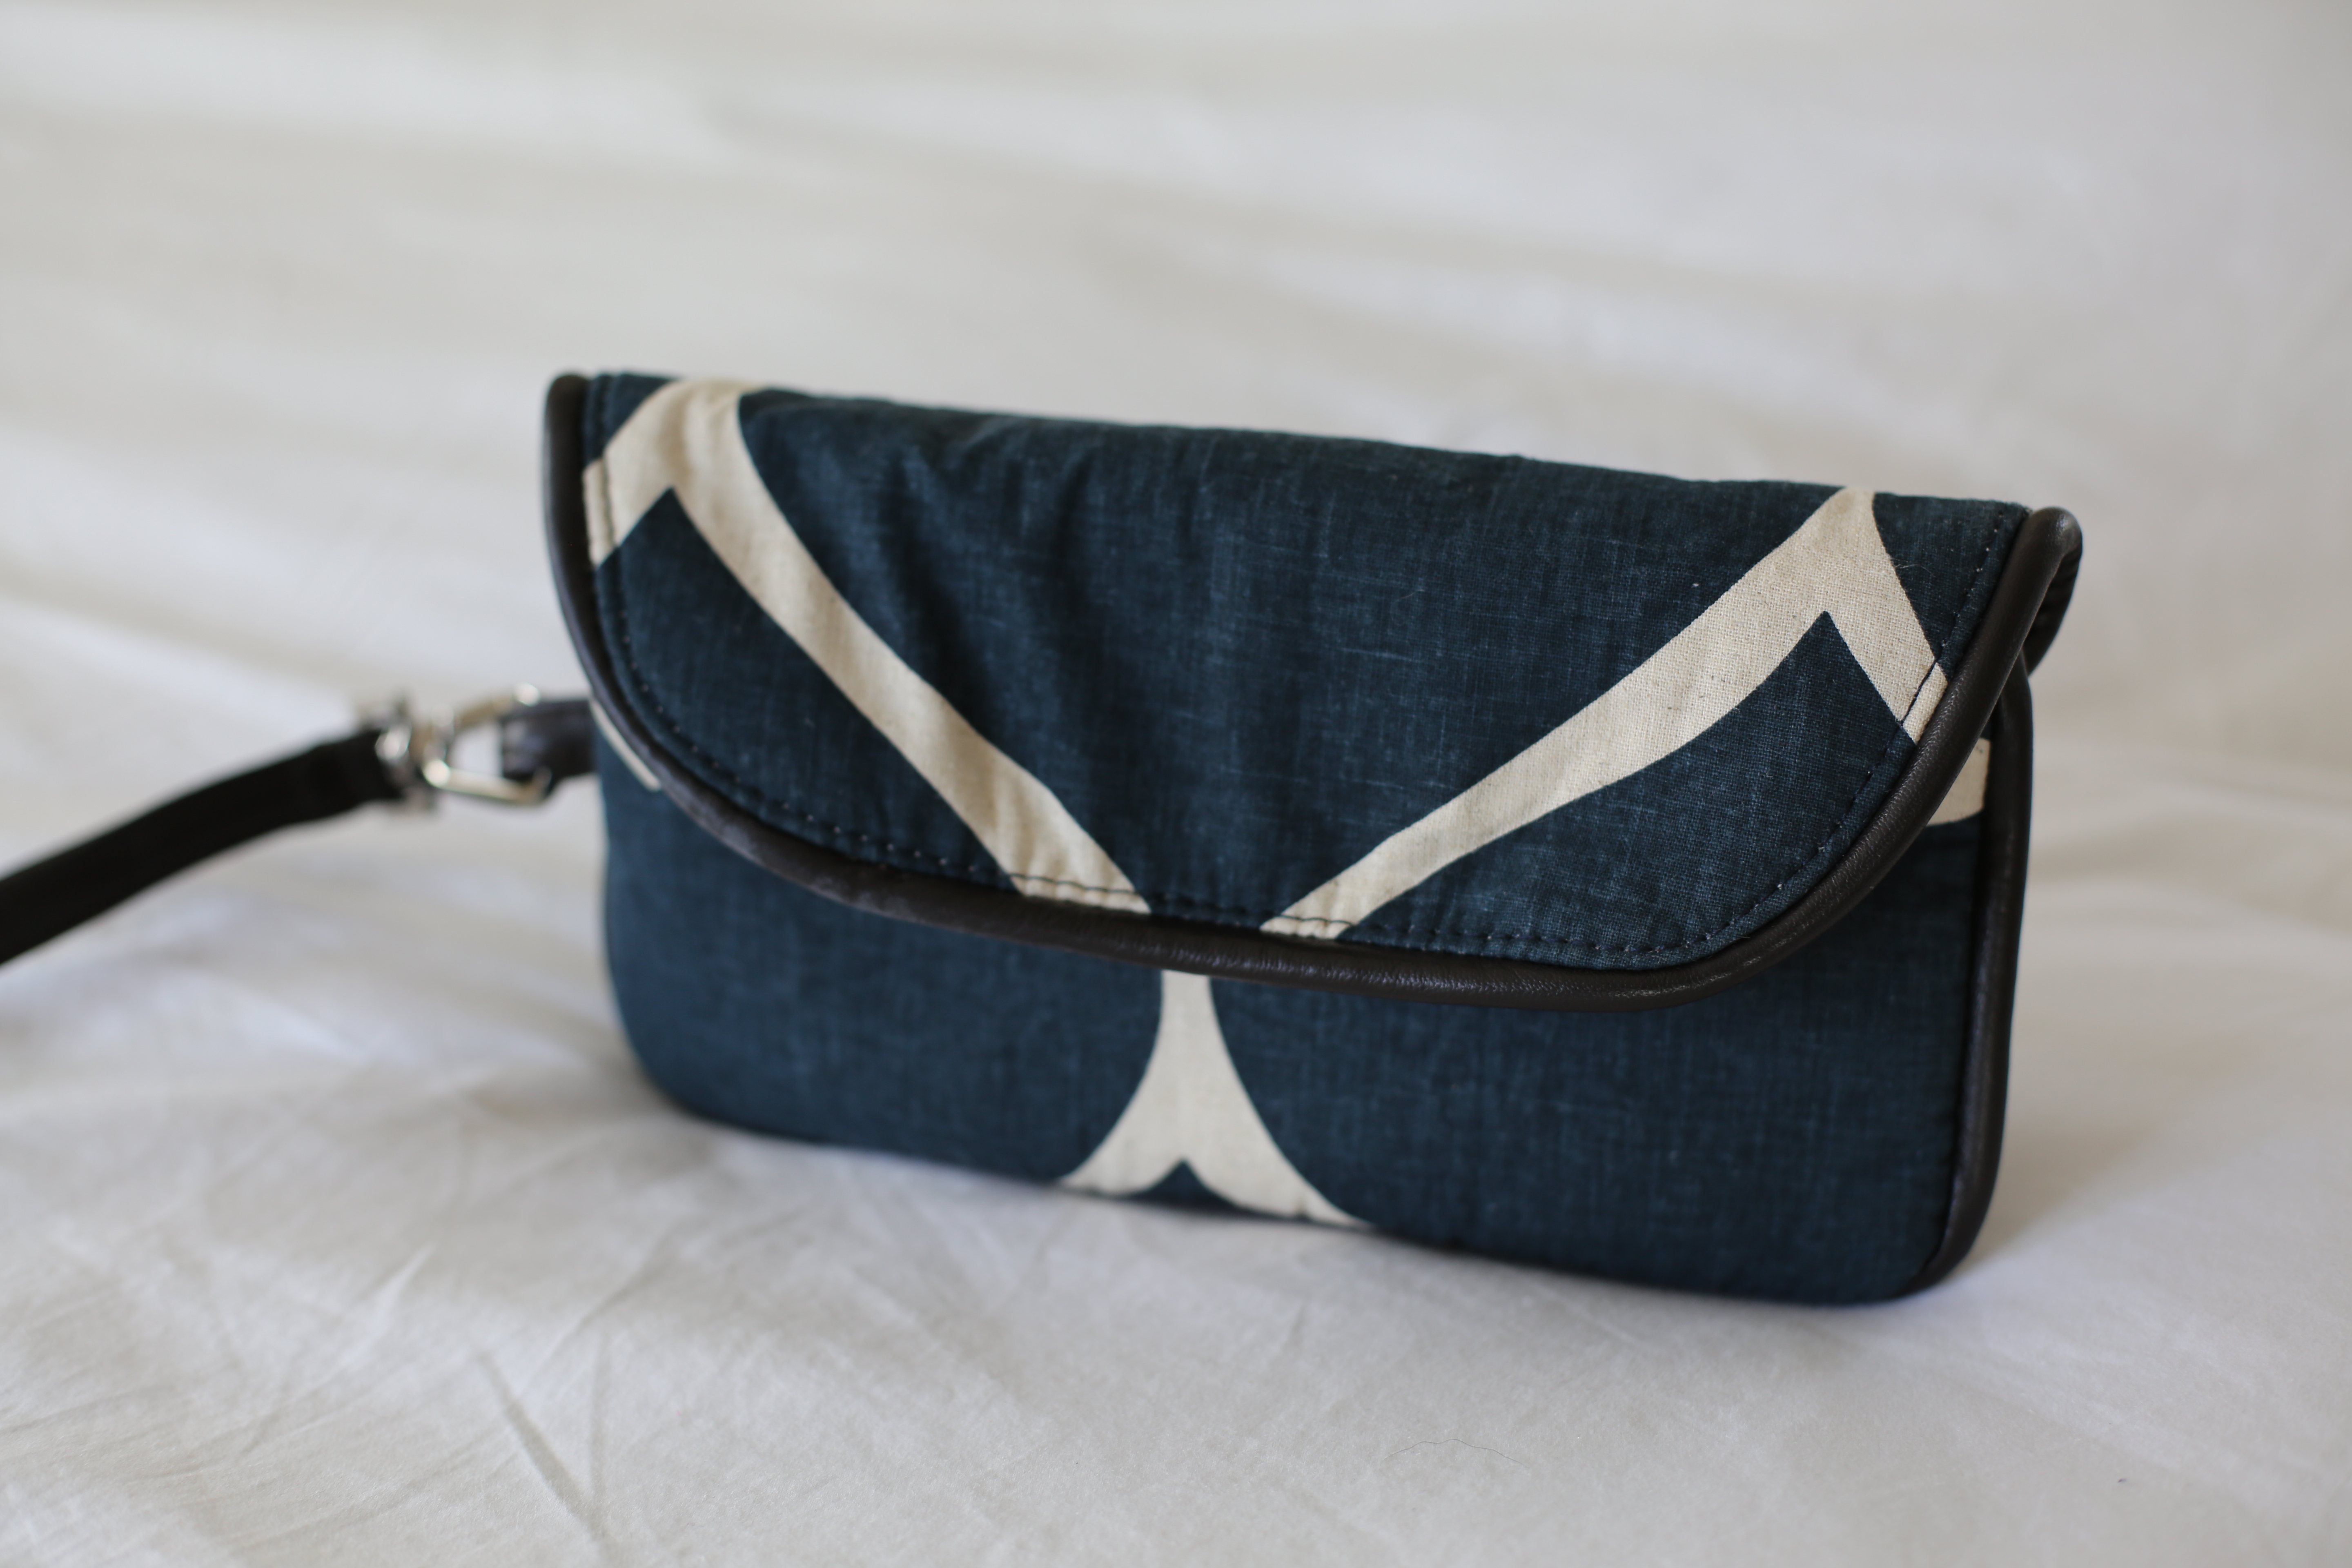
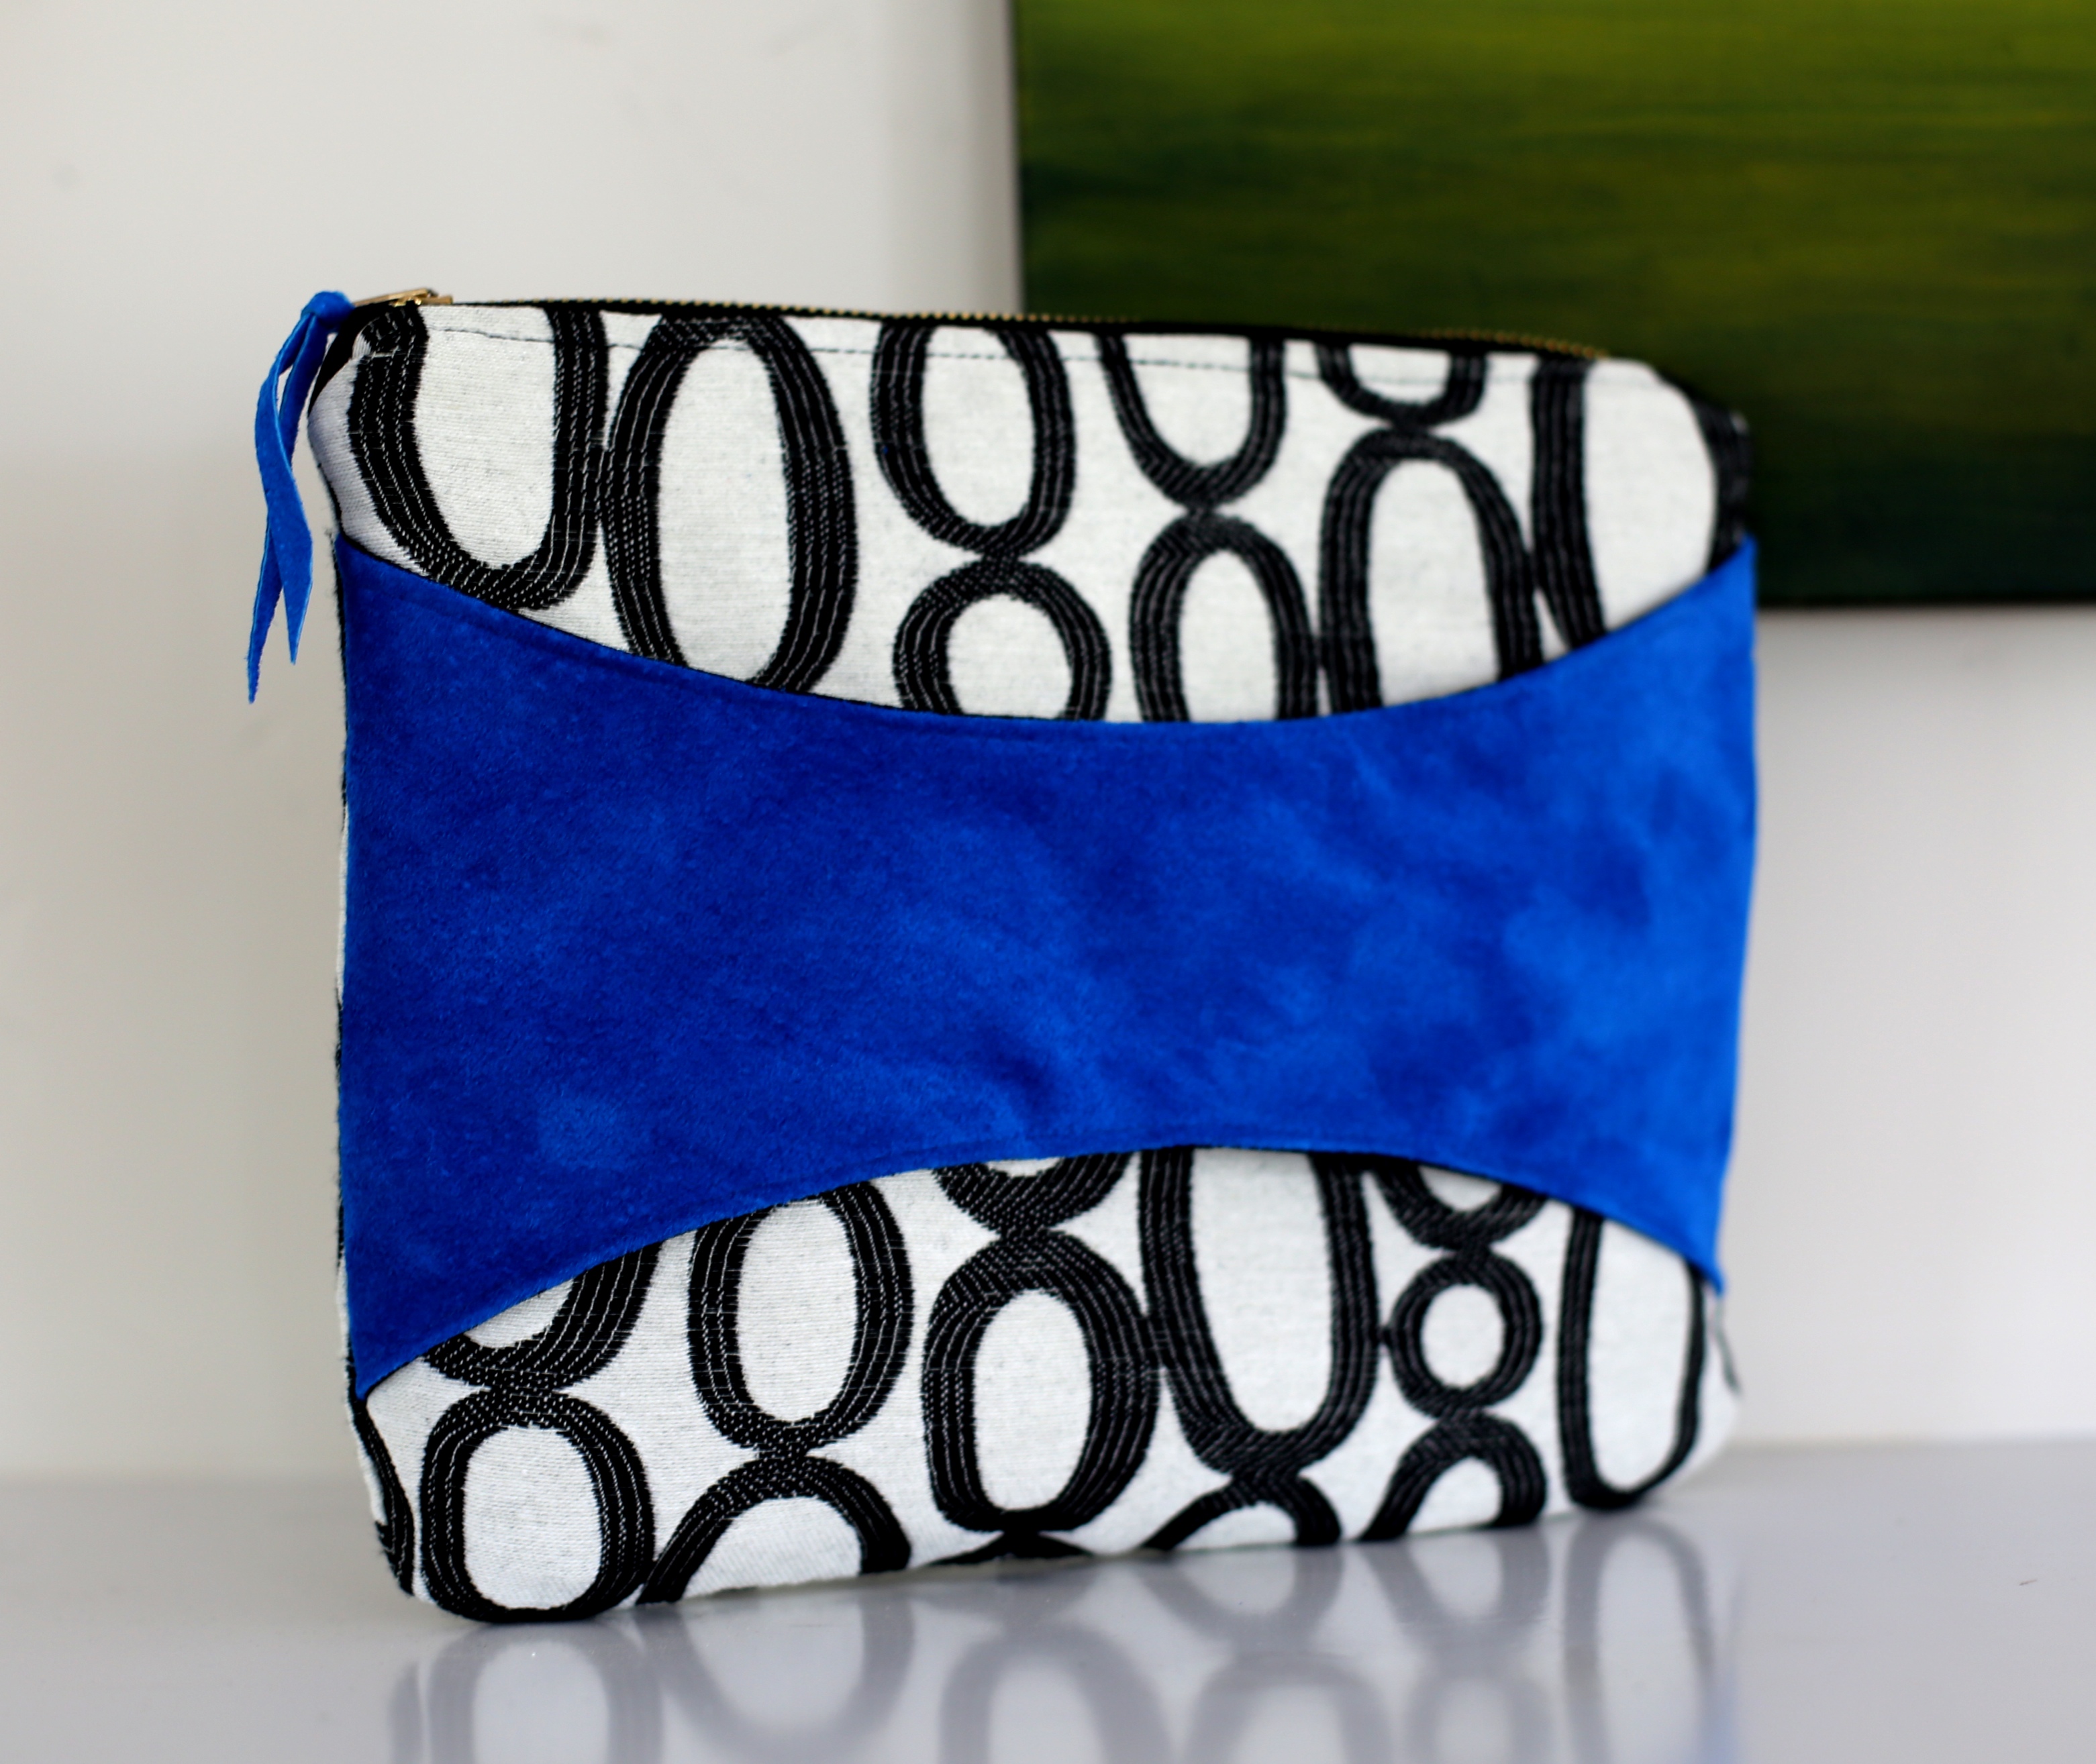
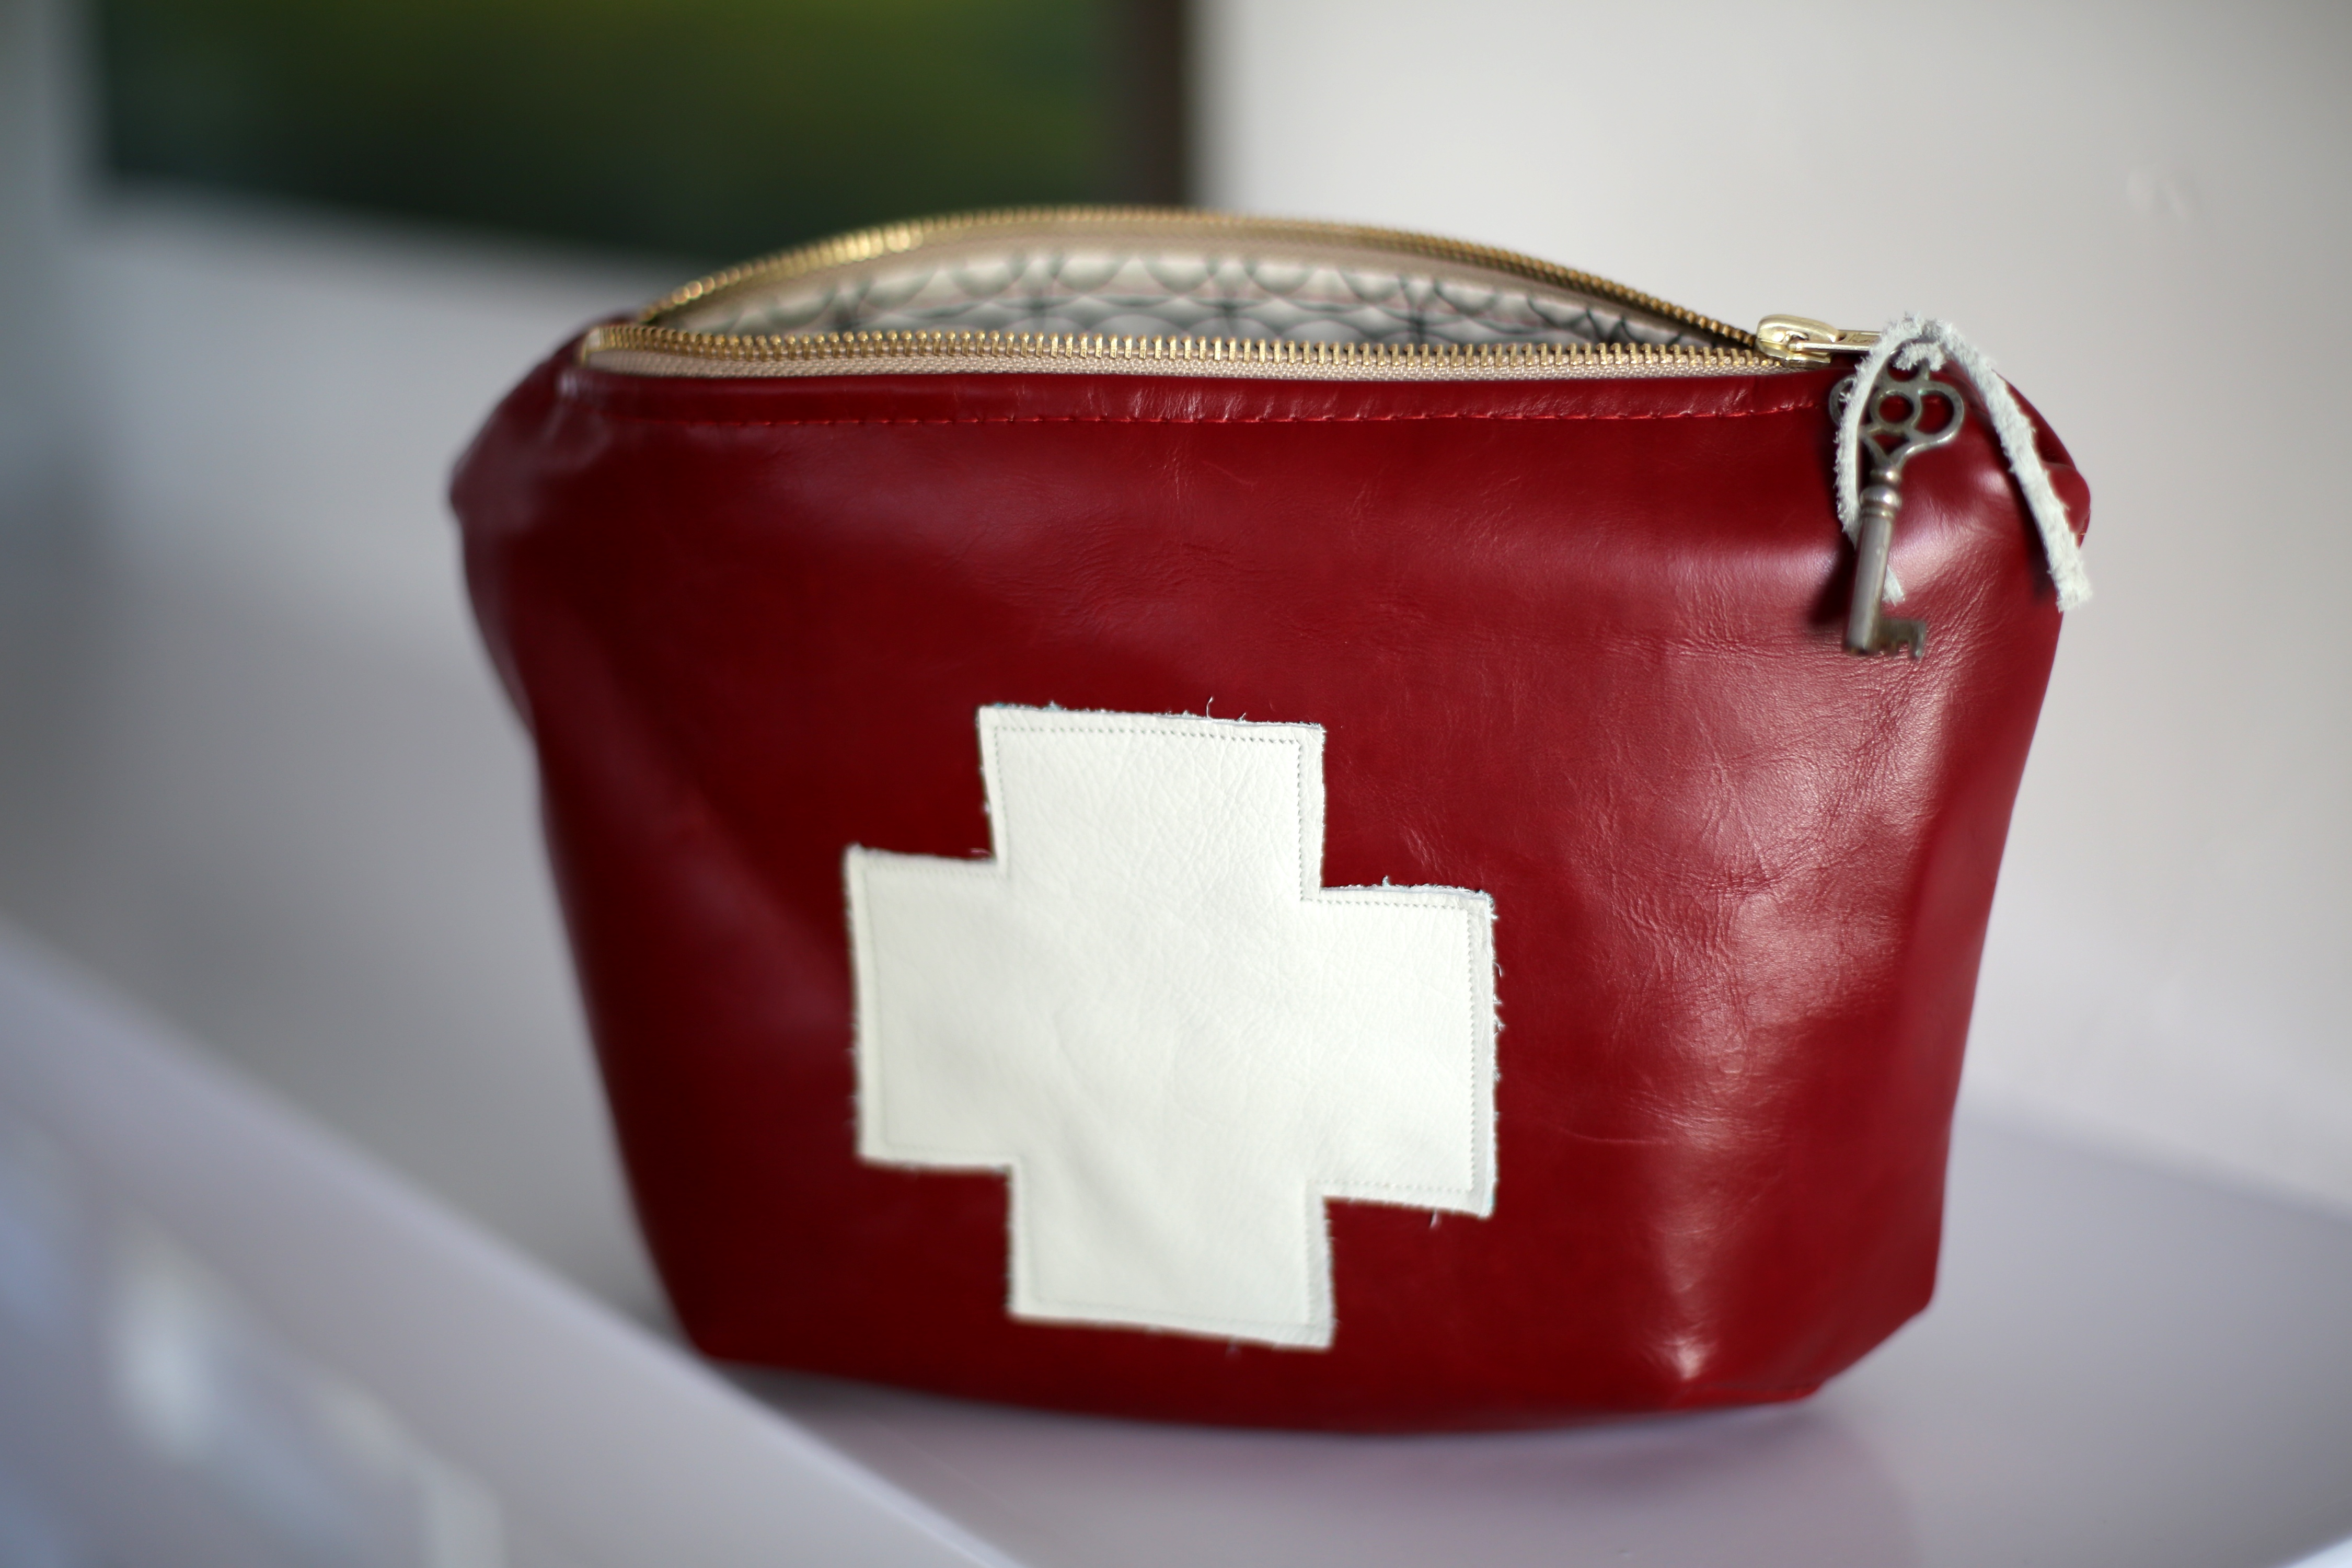
Although I think I’m done with these bags for a bit, I am by no means done with the idea of leather repurposing. Check out some of the other repurposed leather projects I have completed:
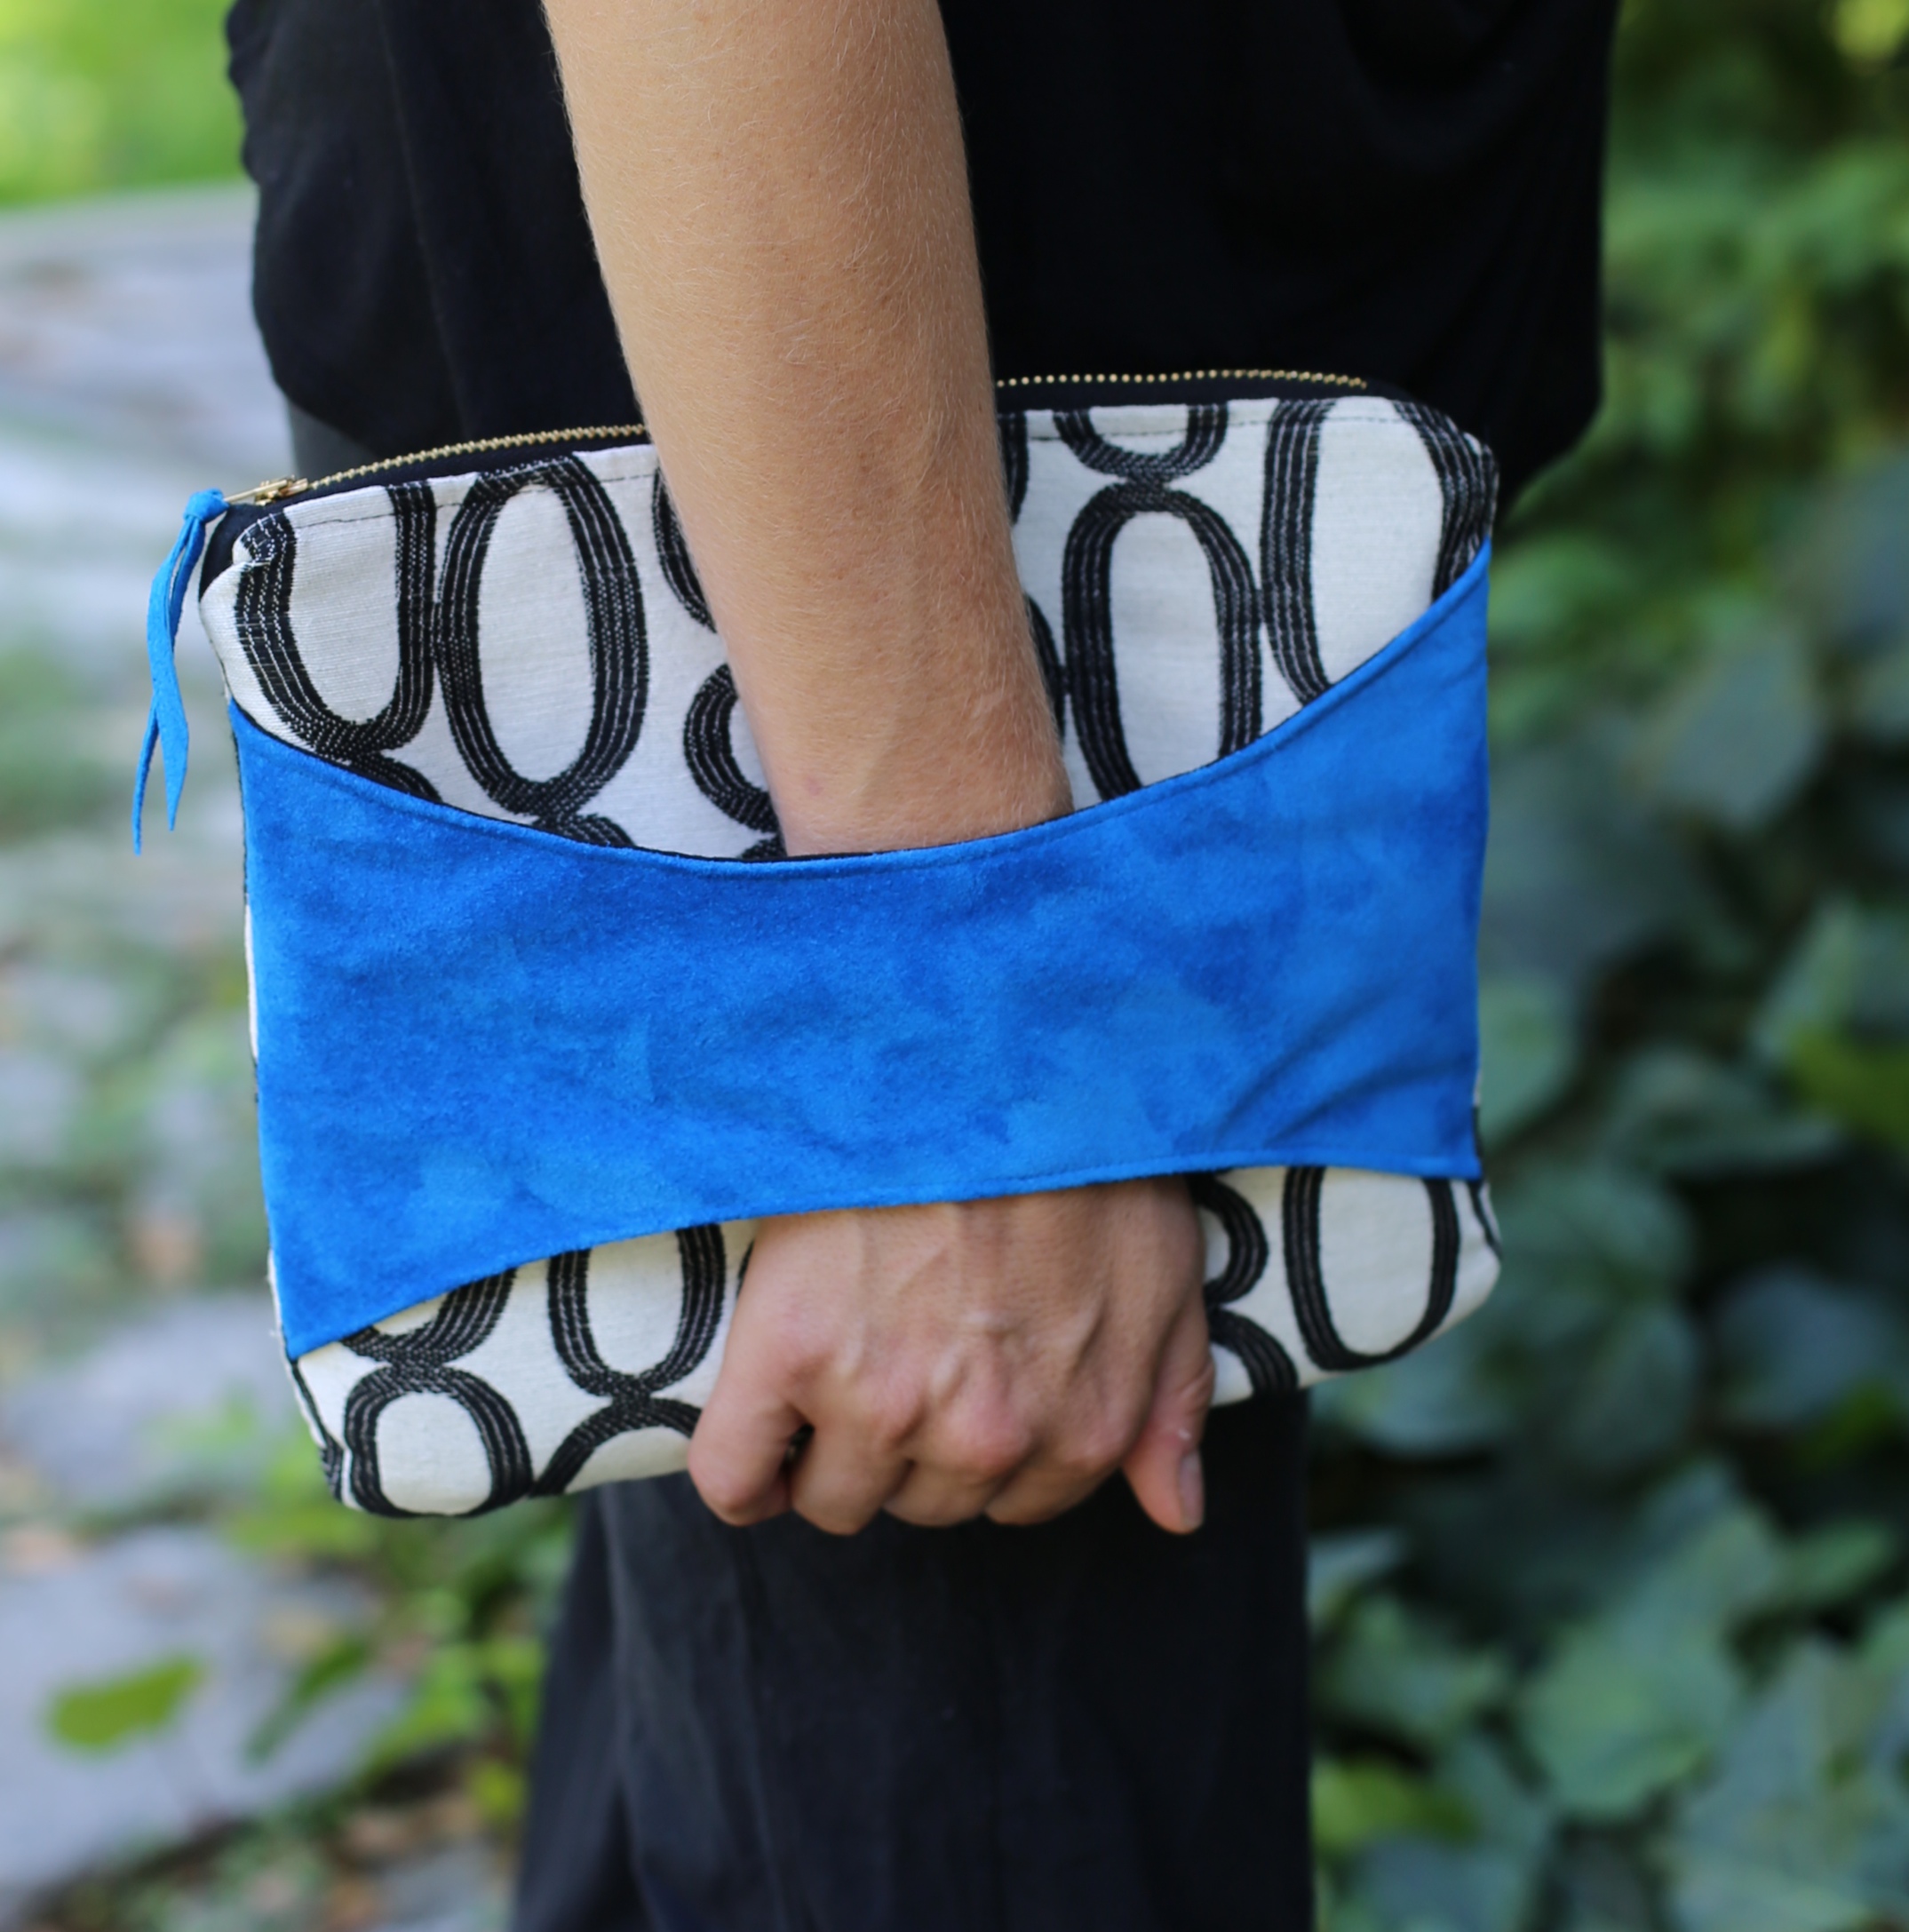
Recycled Leather Clutch | Entropy Always Wins.
A Birthday Present for My Guy | Entropy Always Wins.
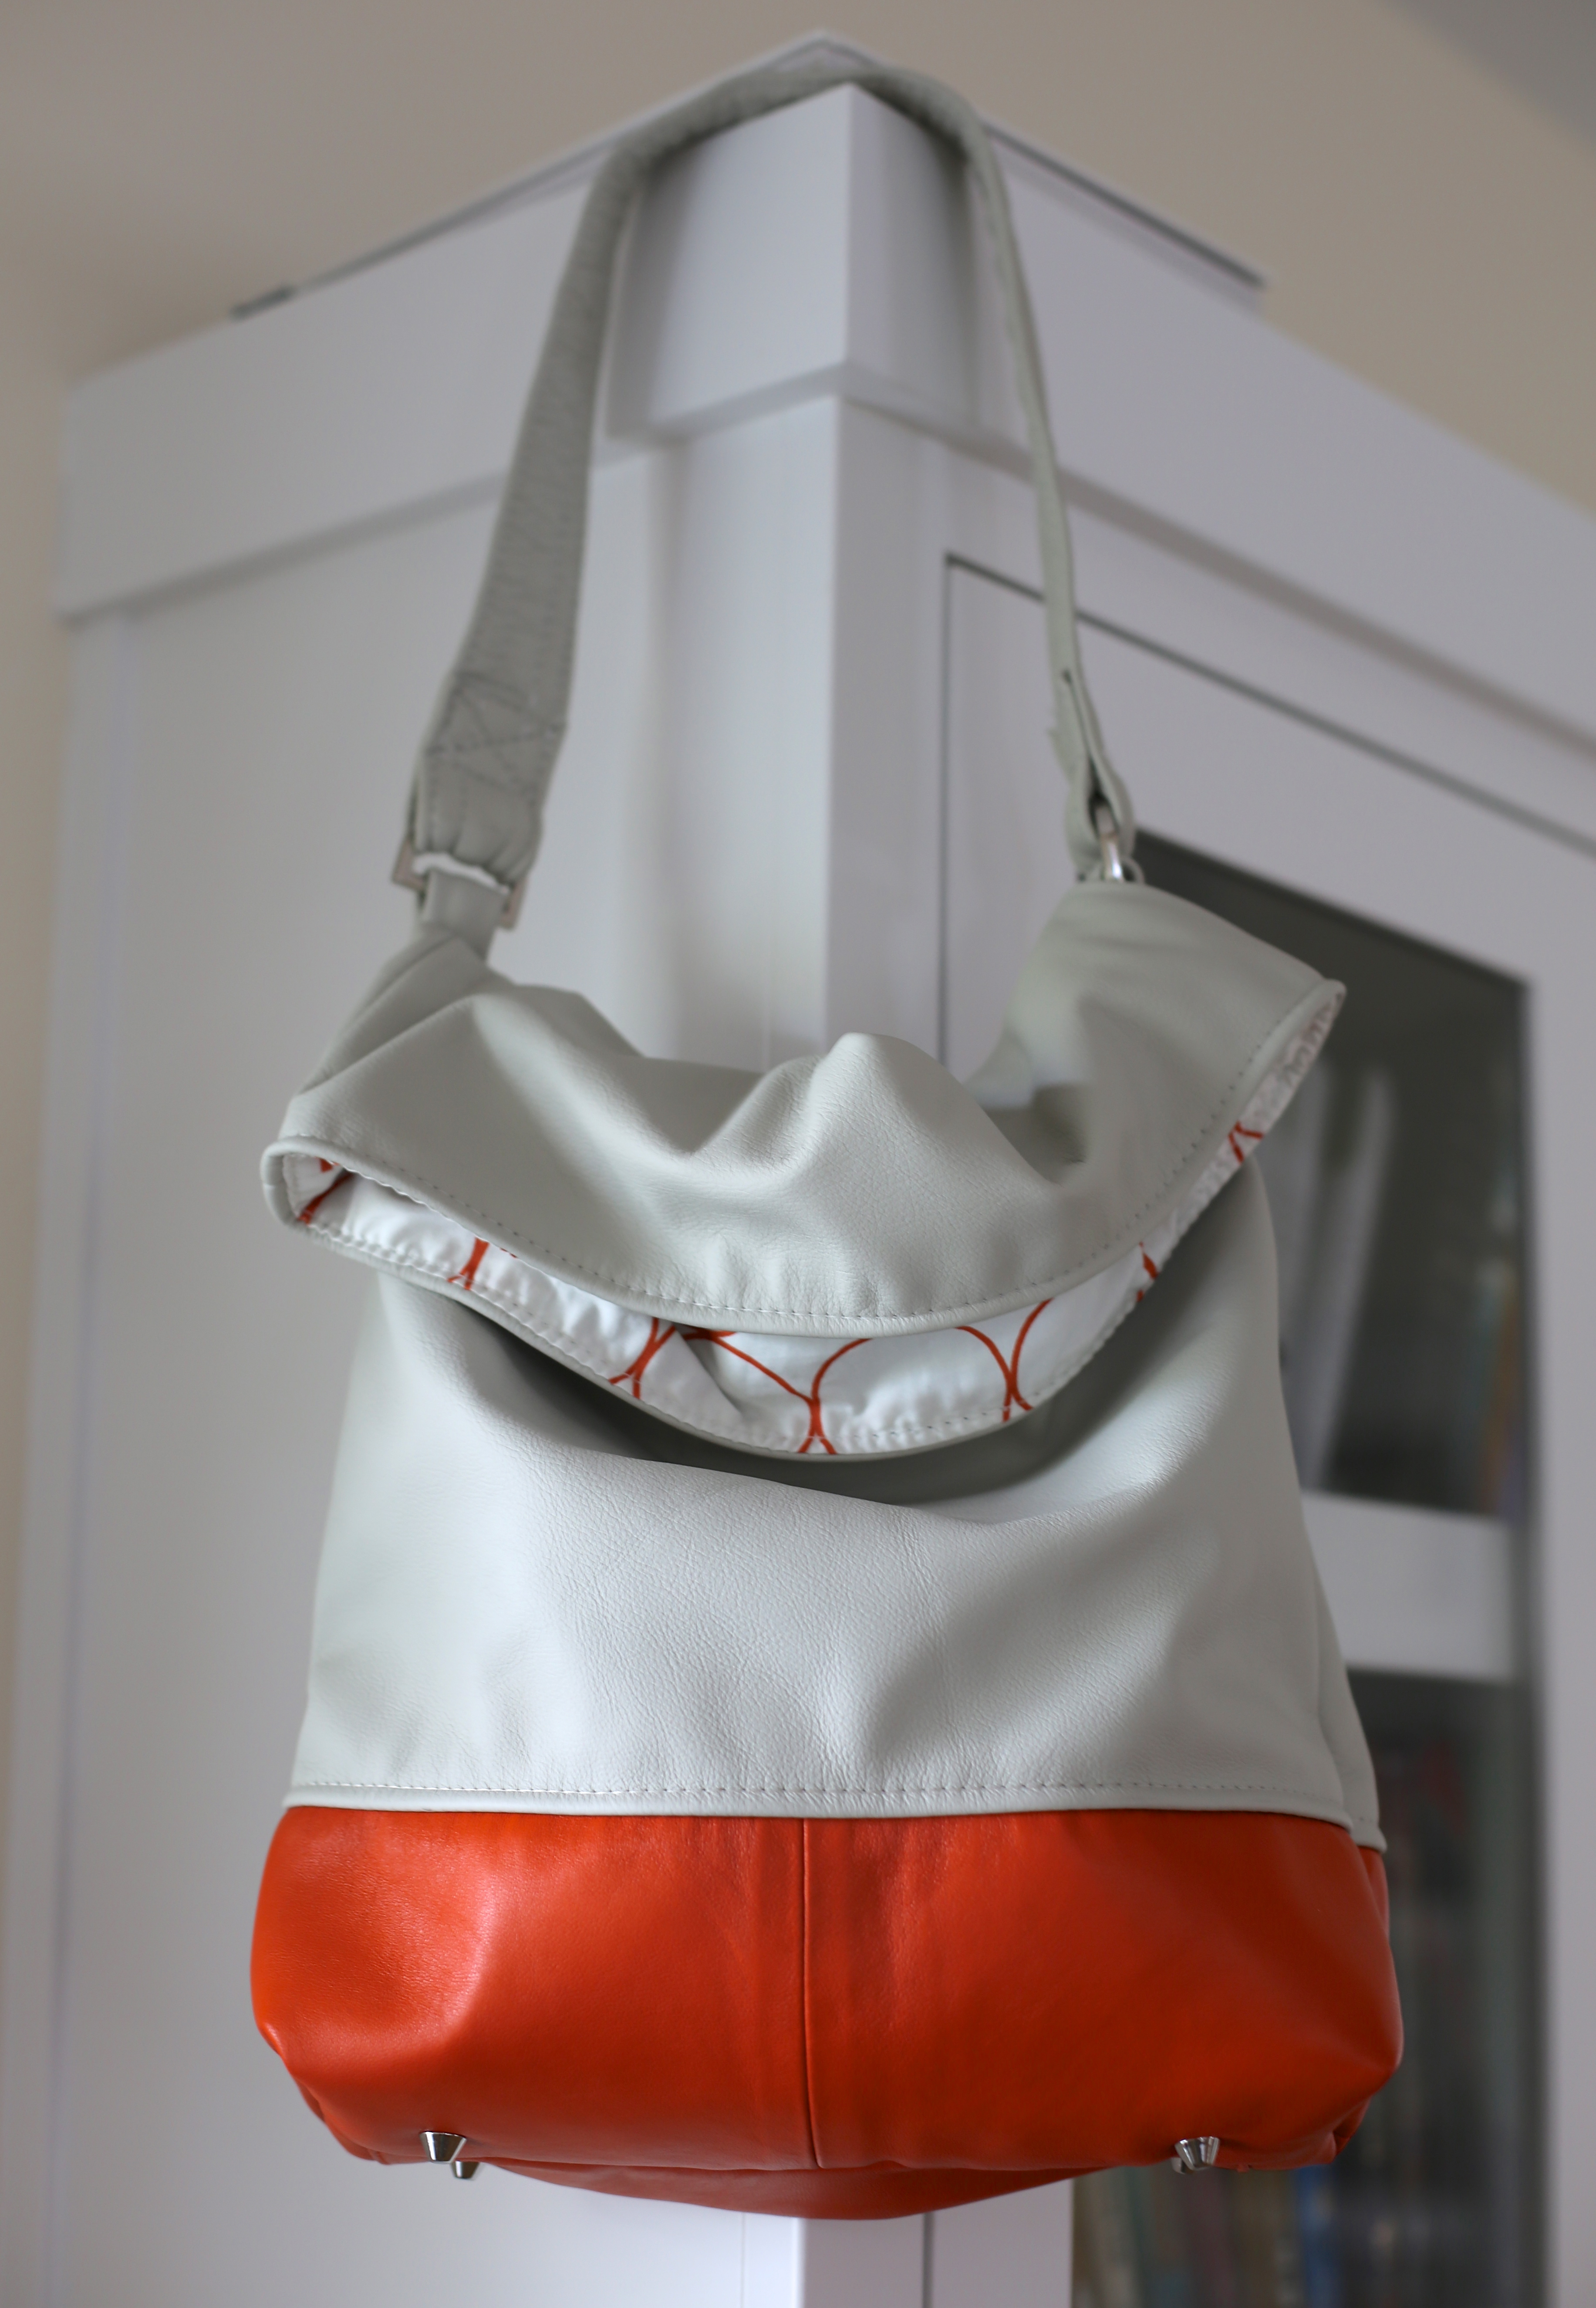
A Tote for my Cargo | Entropy Always Wins.
The Bianca Clutch | Entropy Always Wins.
Ok, Just One More . . . | Entropy Always Wins.
I WOULD LOVE, LOVE, LOVE TO SEE WHAT YOU COME UP WITH IN THIS BAG DESIGN. IF YOU MAKE UP ONE OF THESE BAGS, SHOOT ME AN EMAIL OR POST IT ON INSTAGRAM AND USE THE HASHTAG #foncy. (You can find me there @entropyalwayswinsblog.)
I hope you have a wonderful week. We are off to the Seattle area to visit friends and family.
Hillary