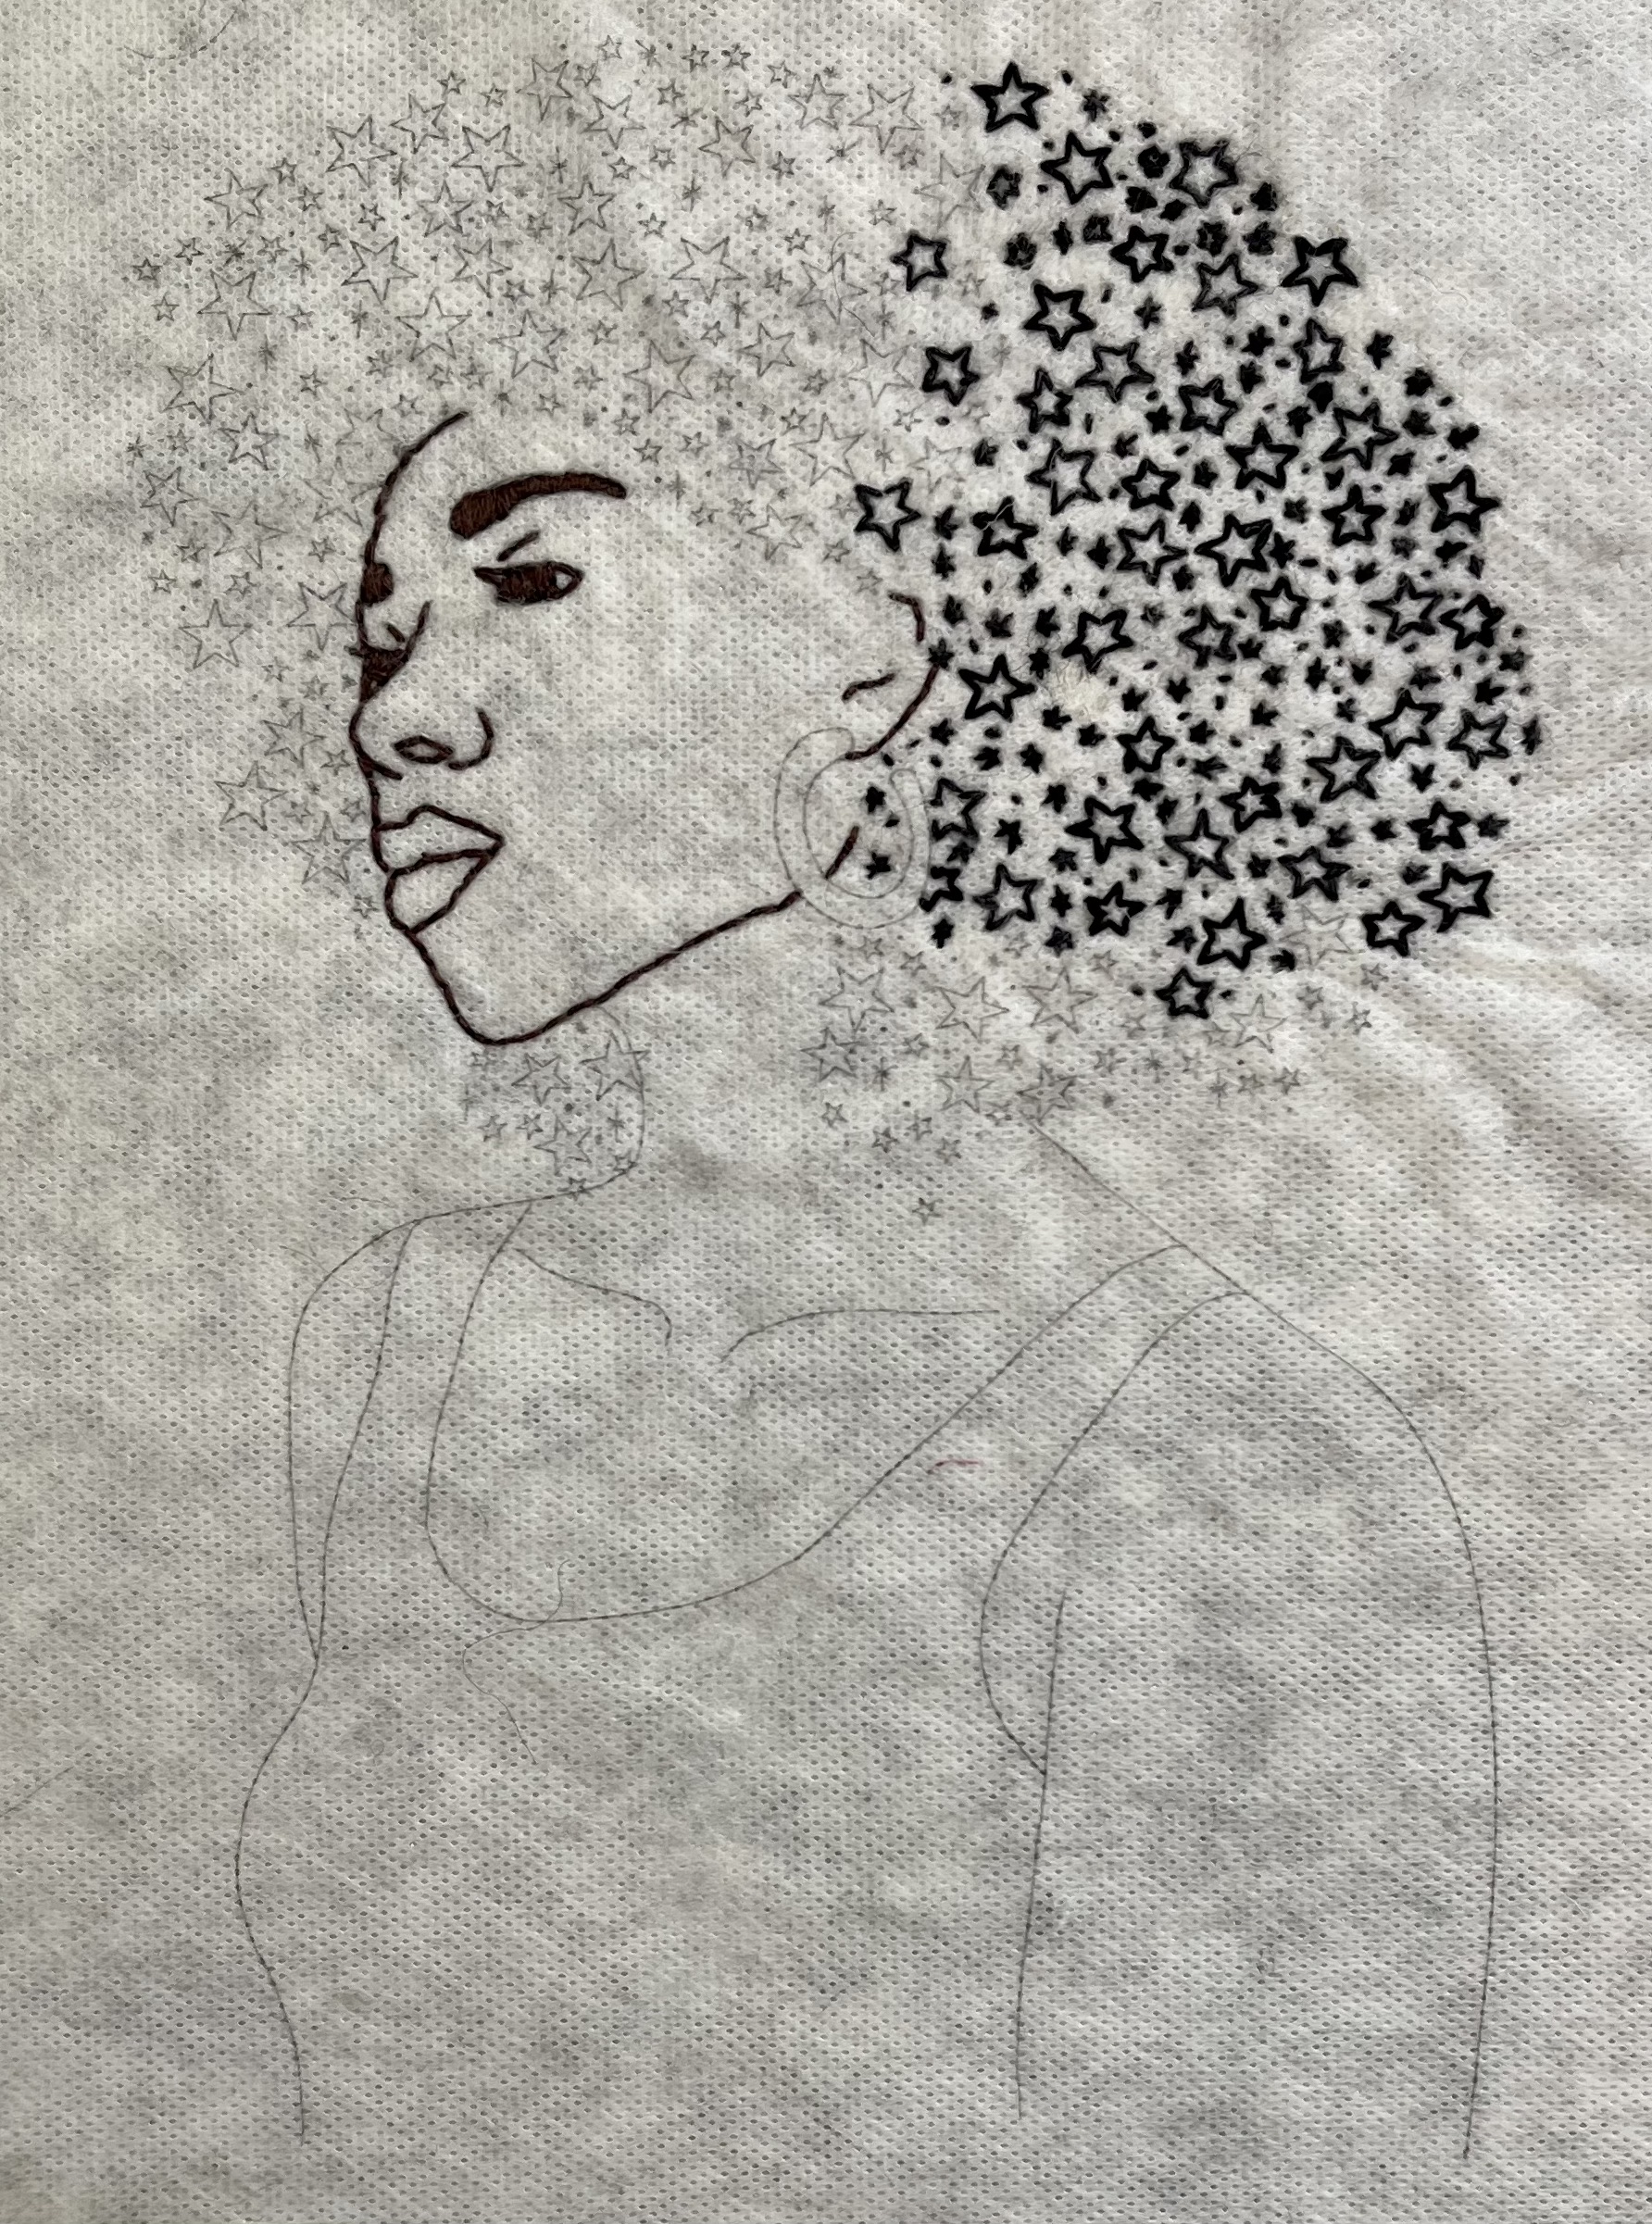
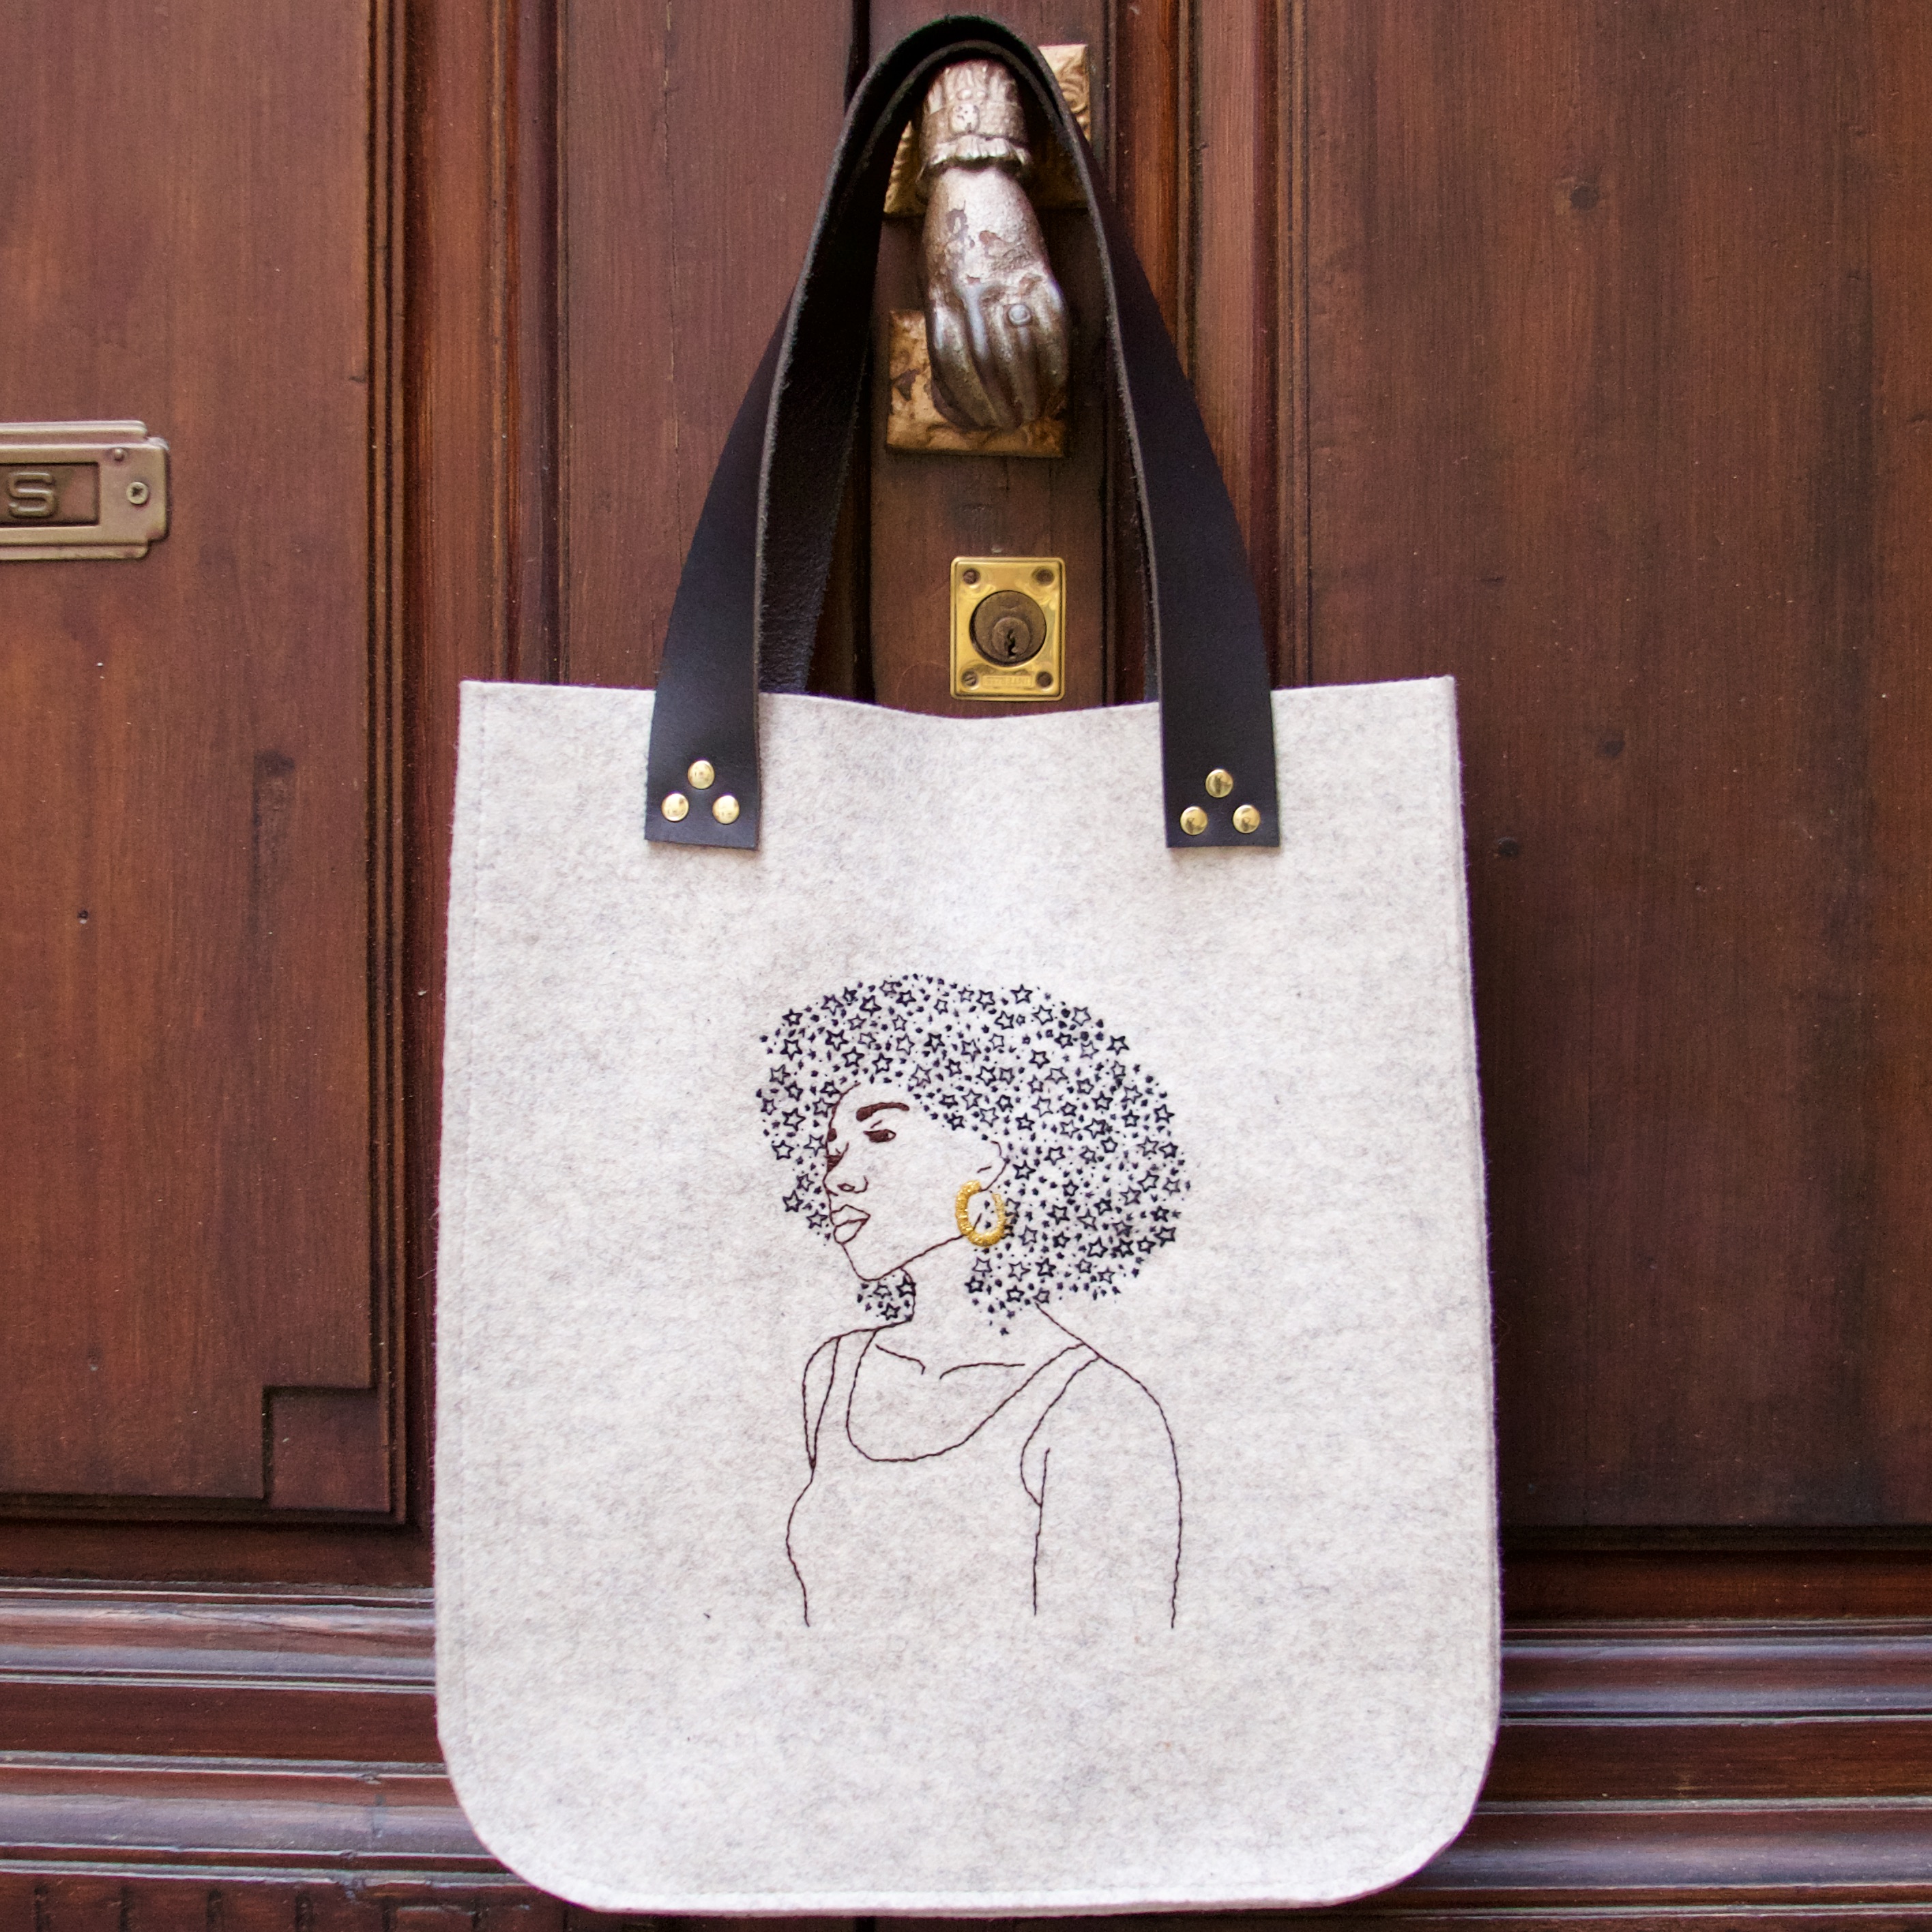
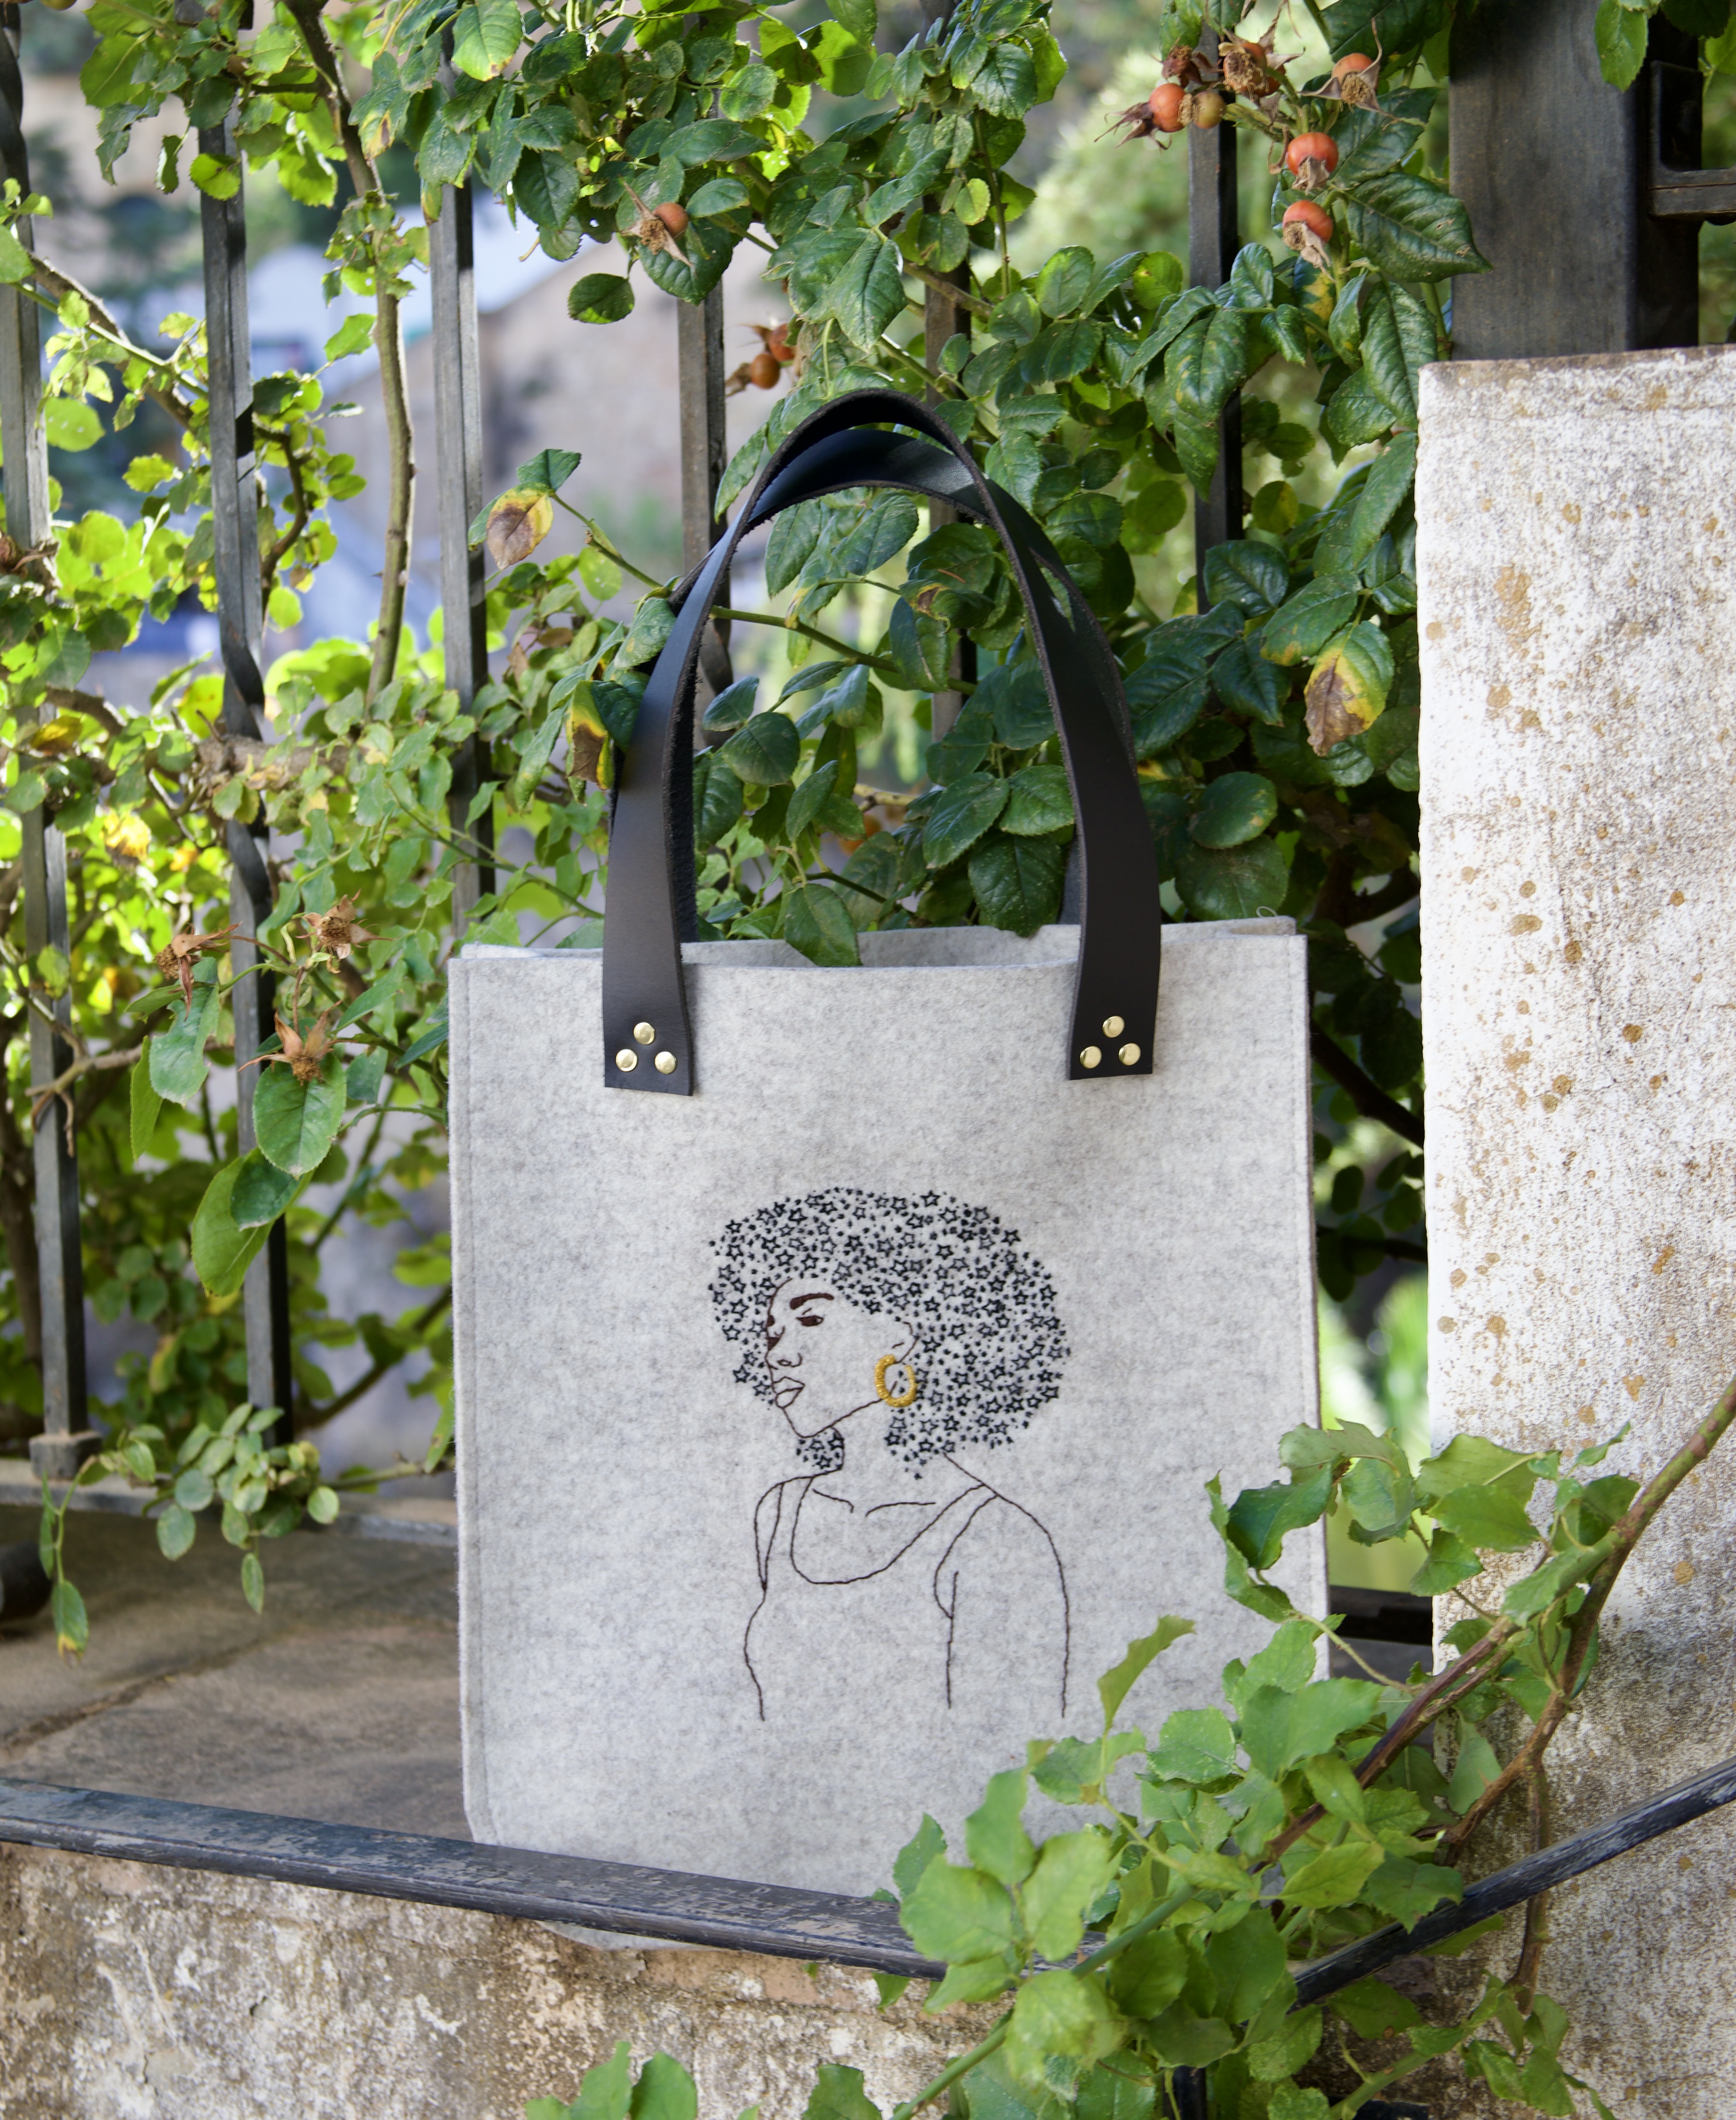
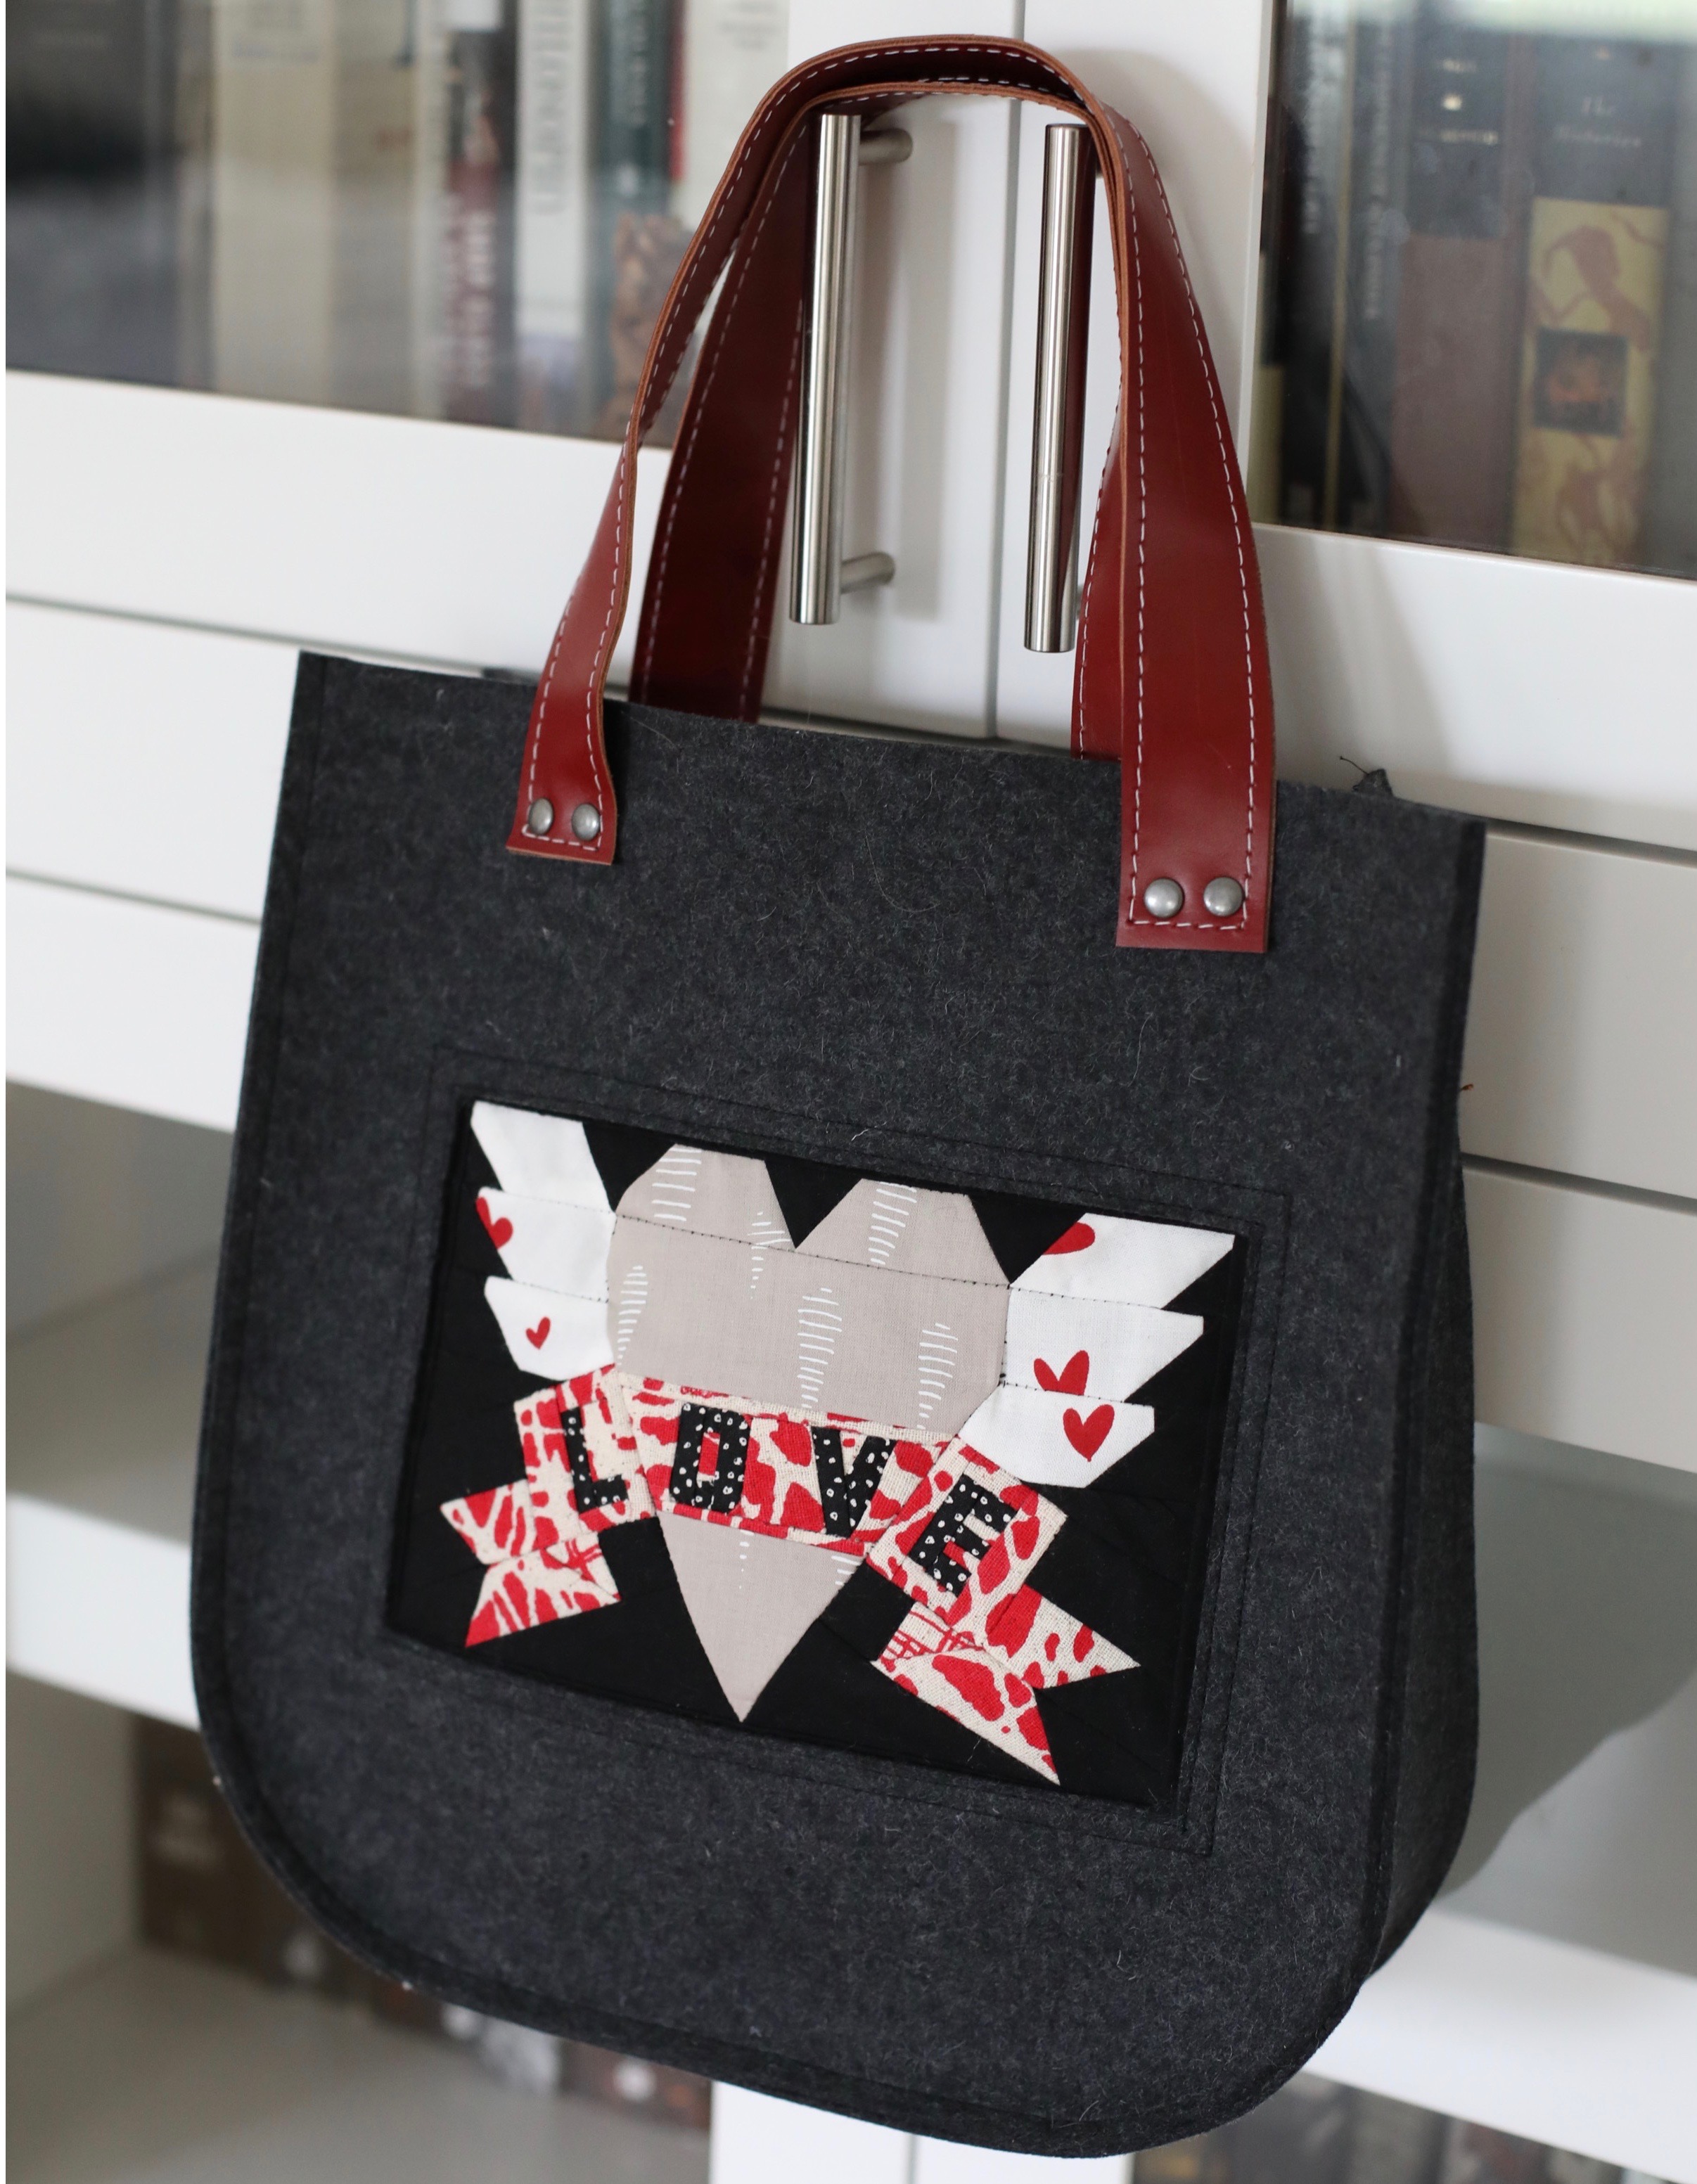
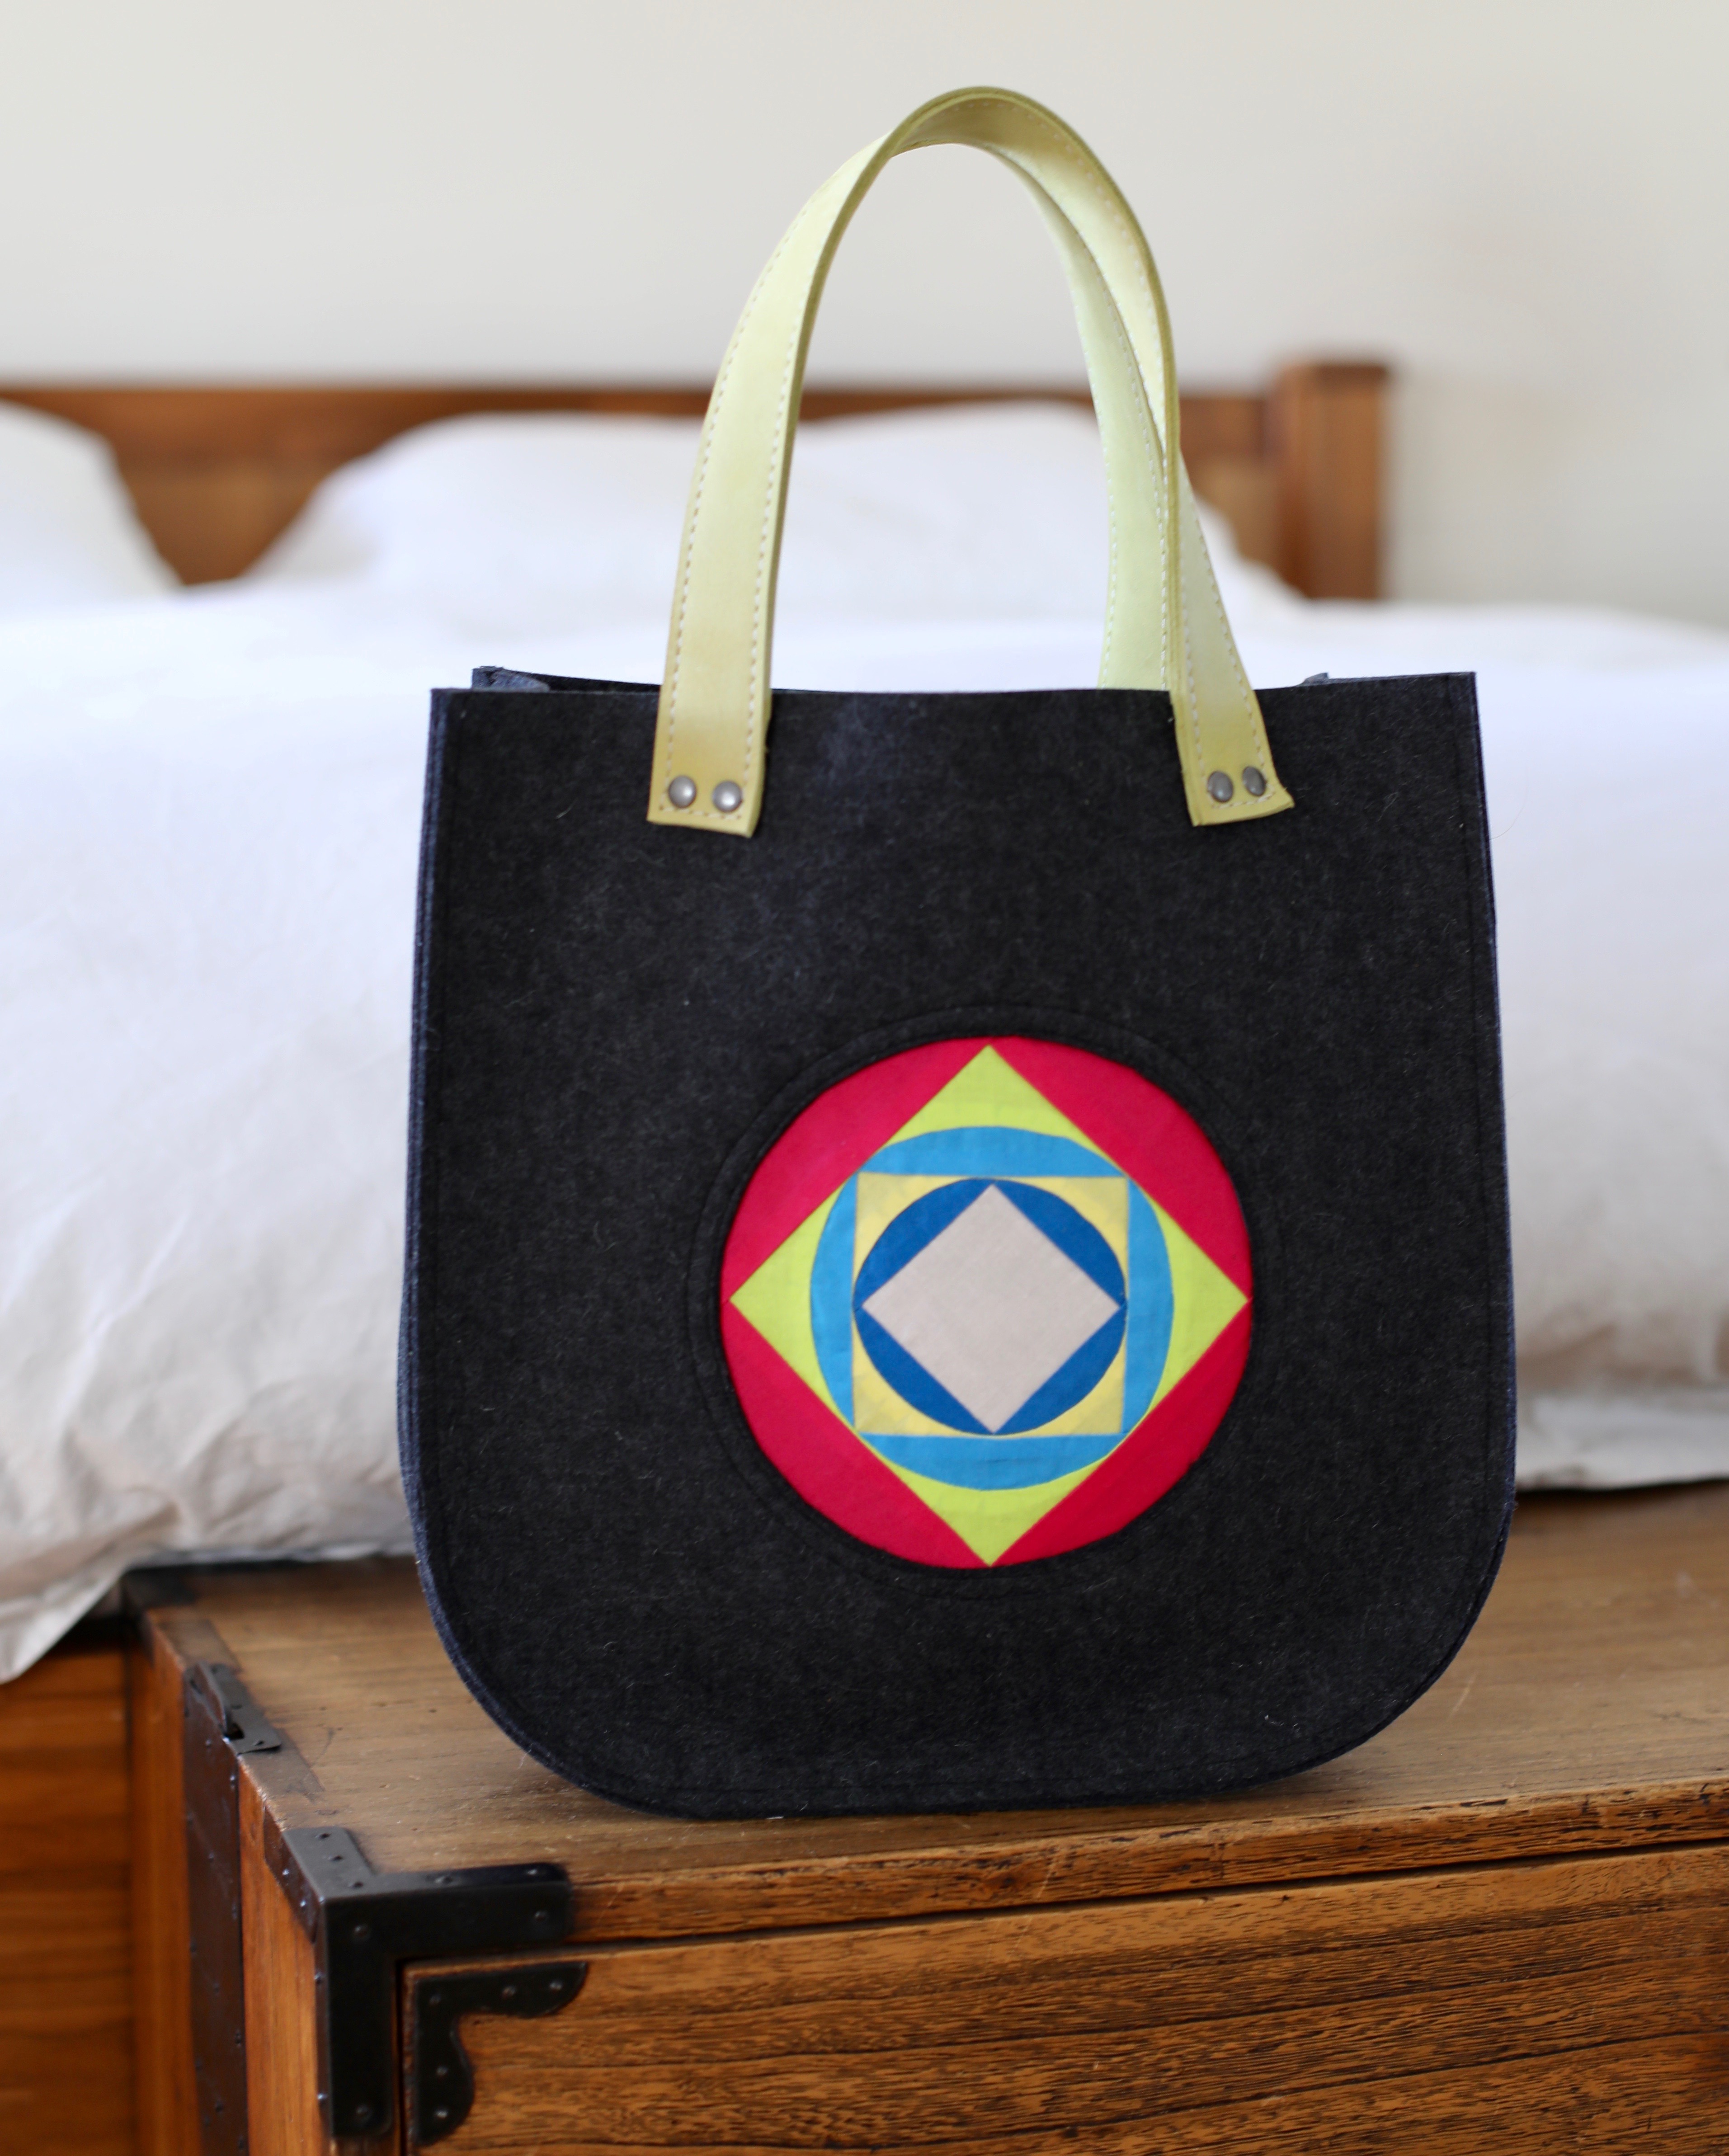
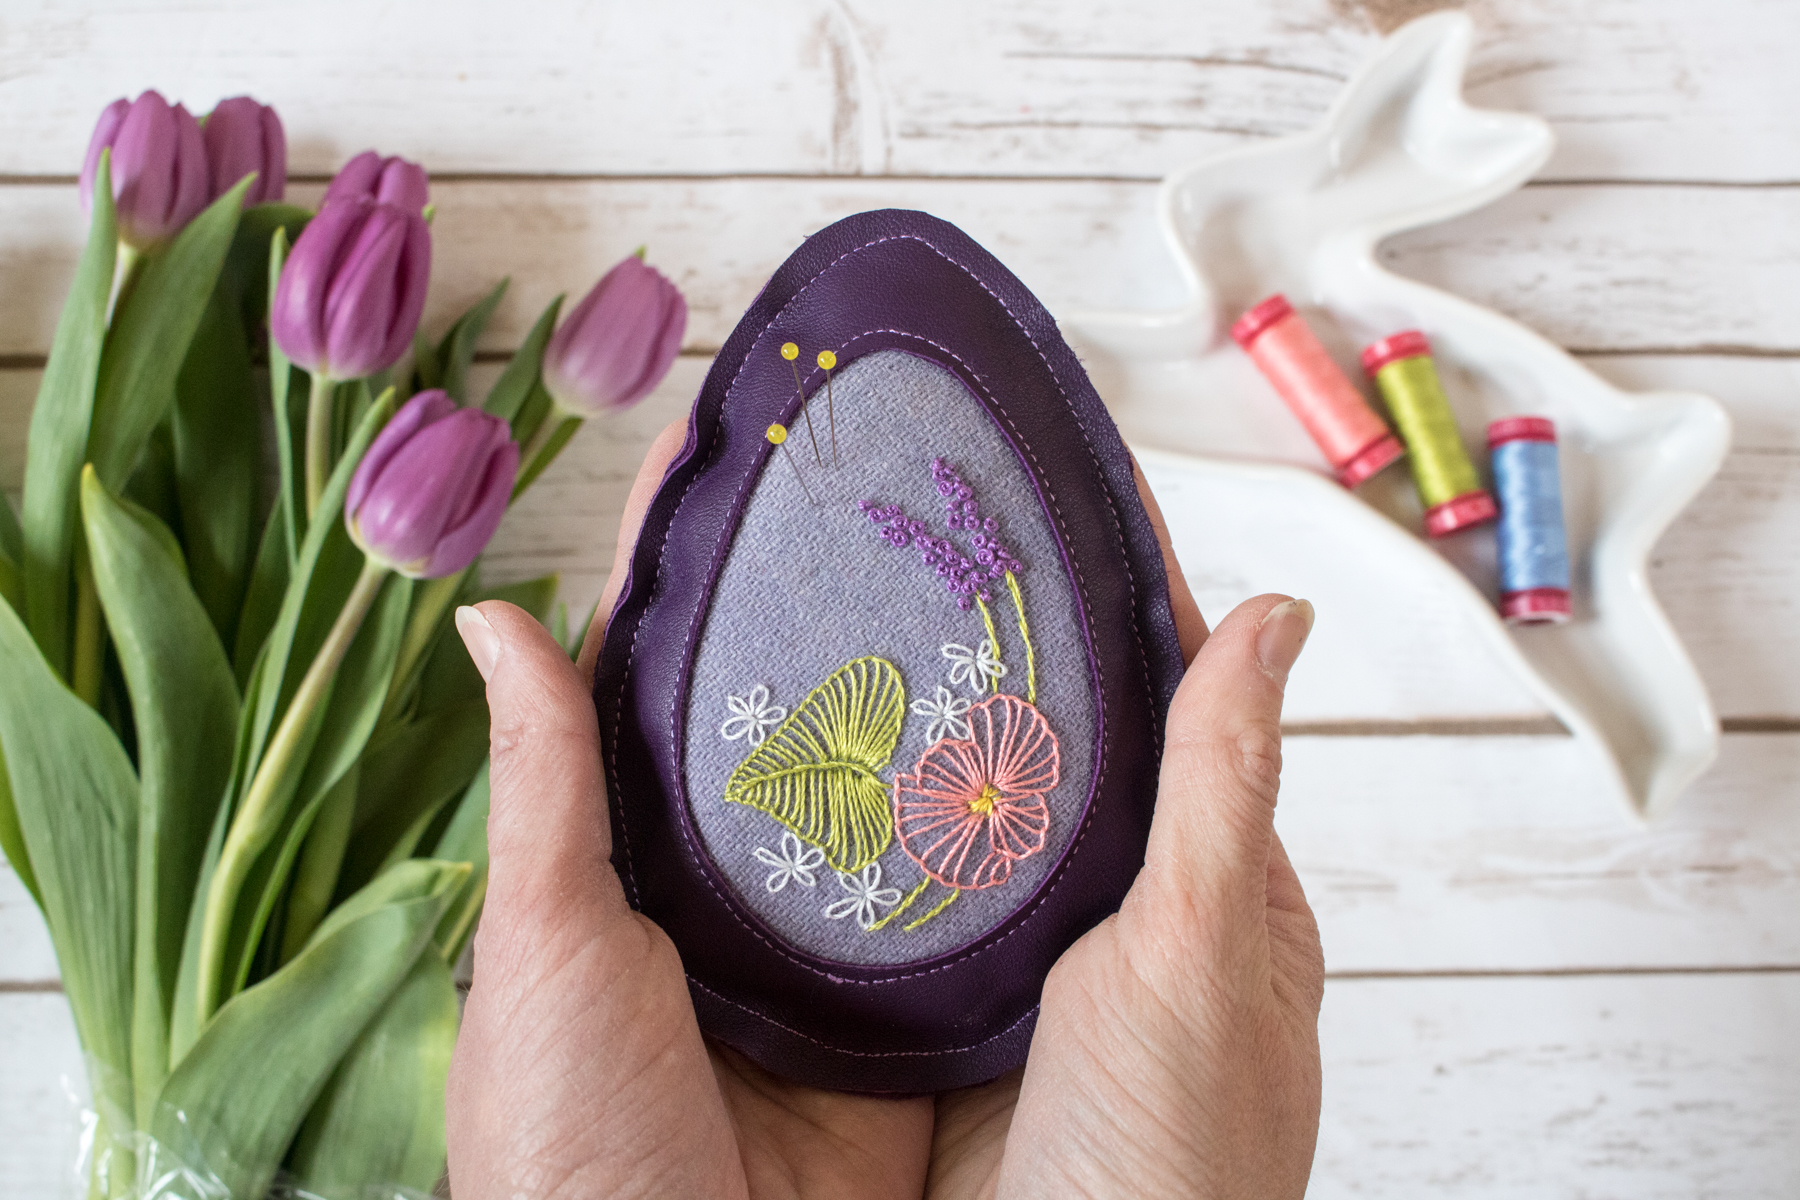
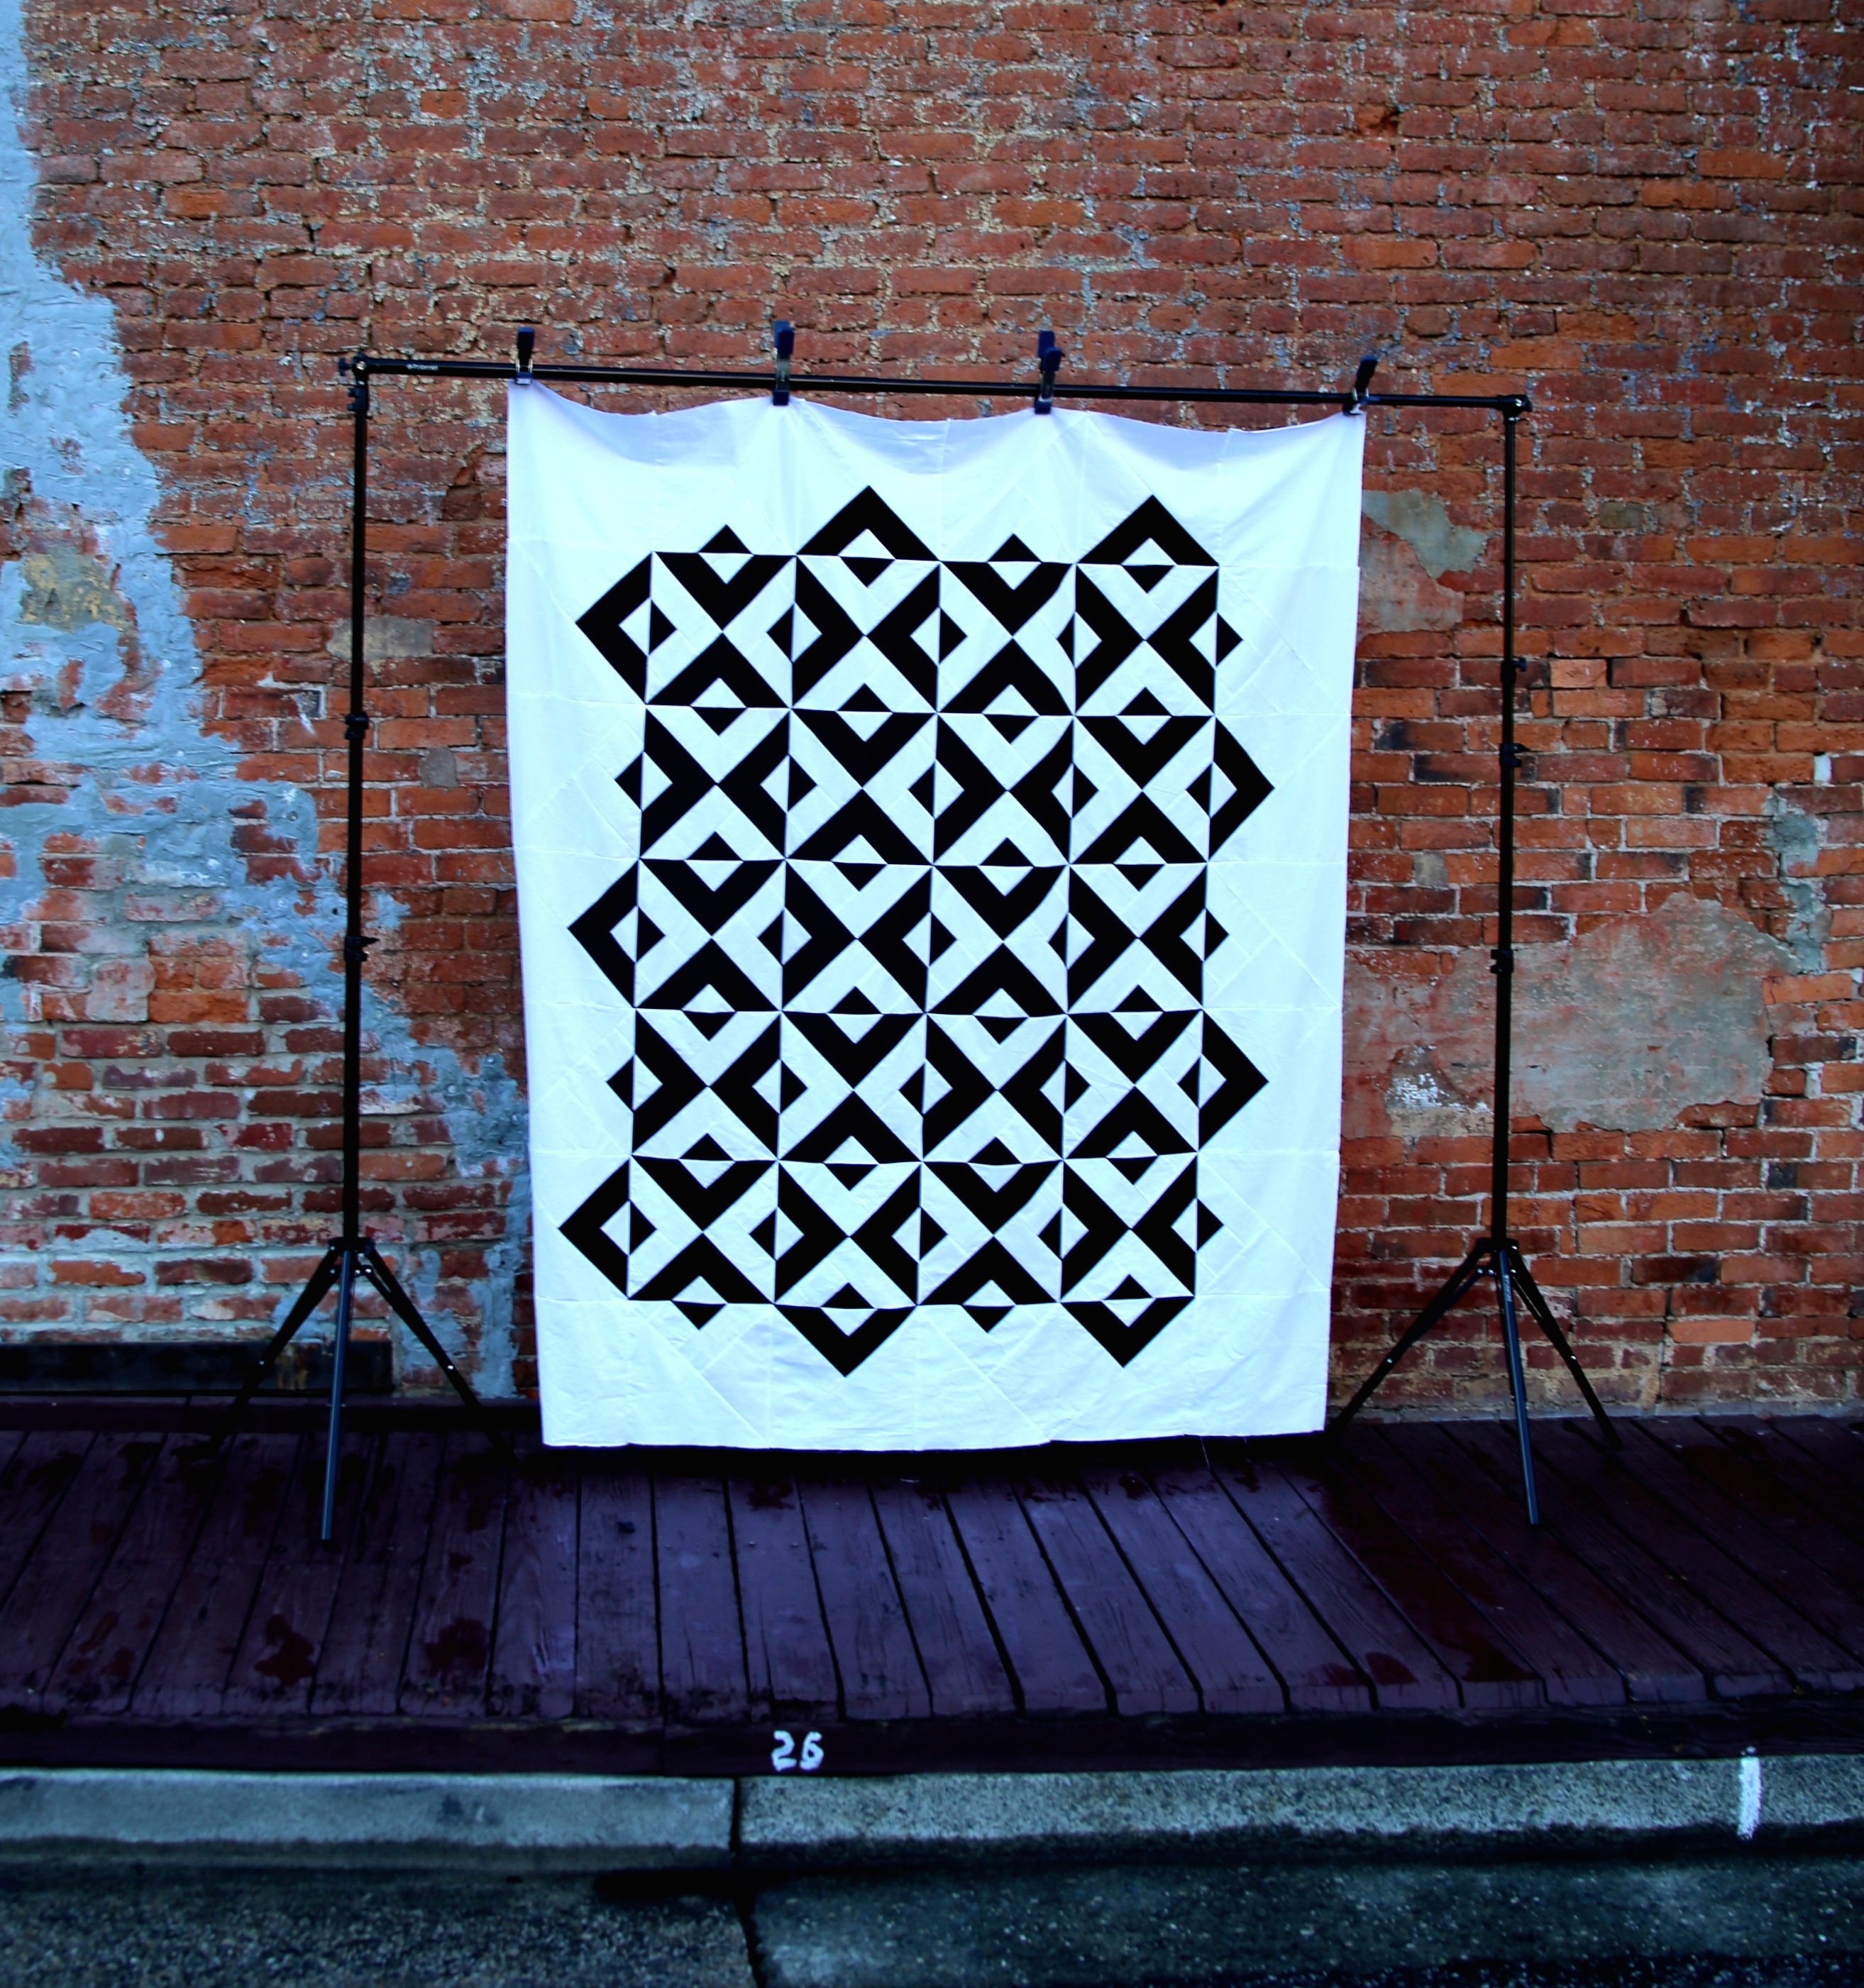
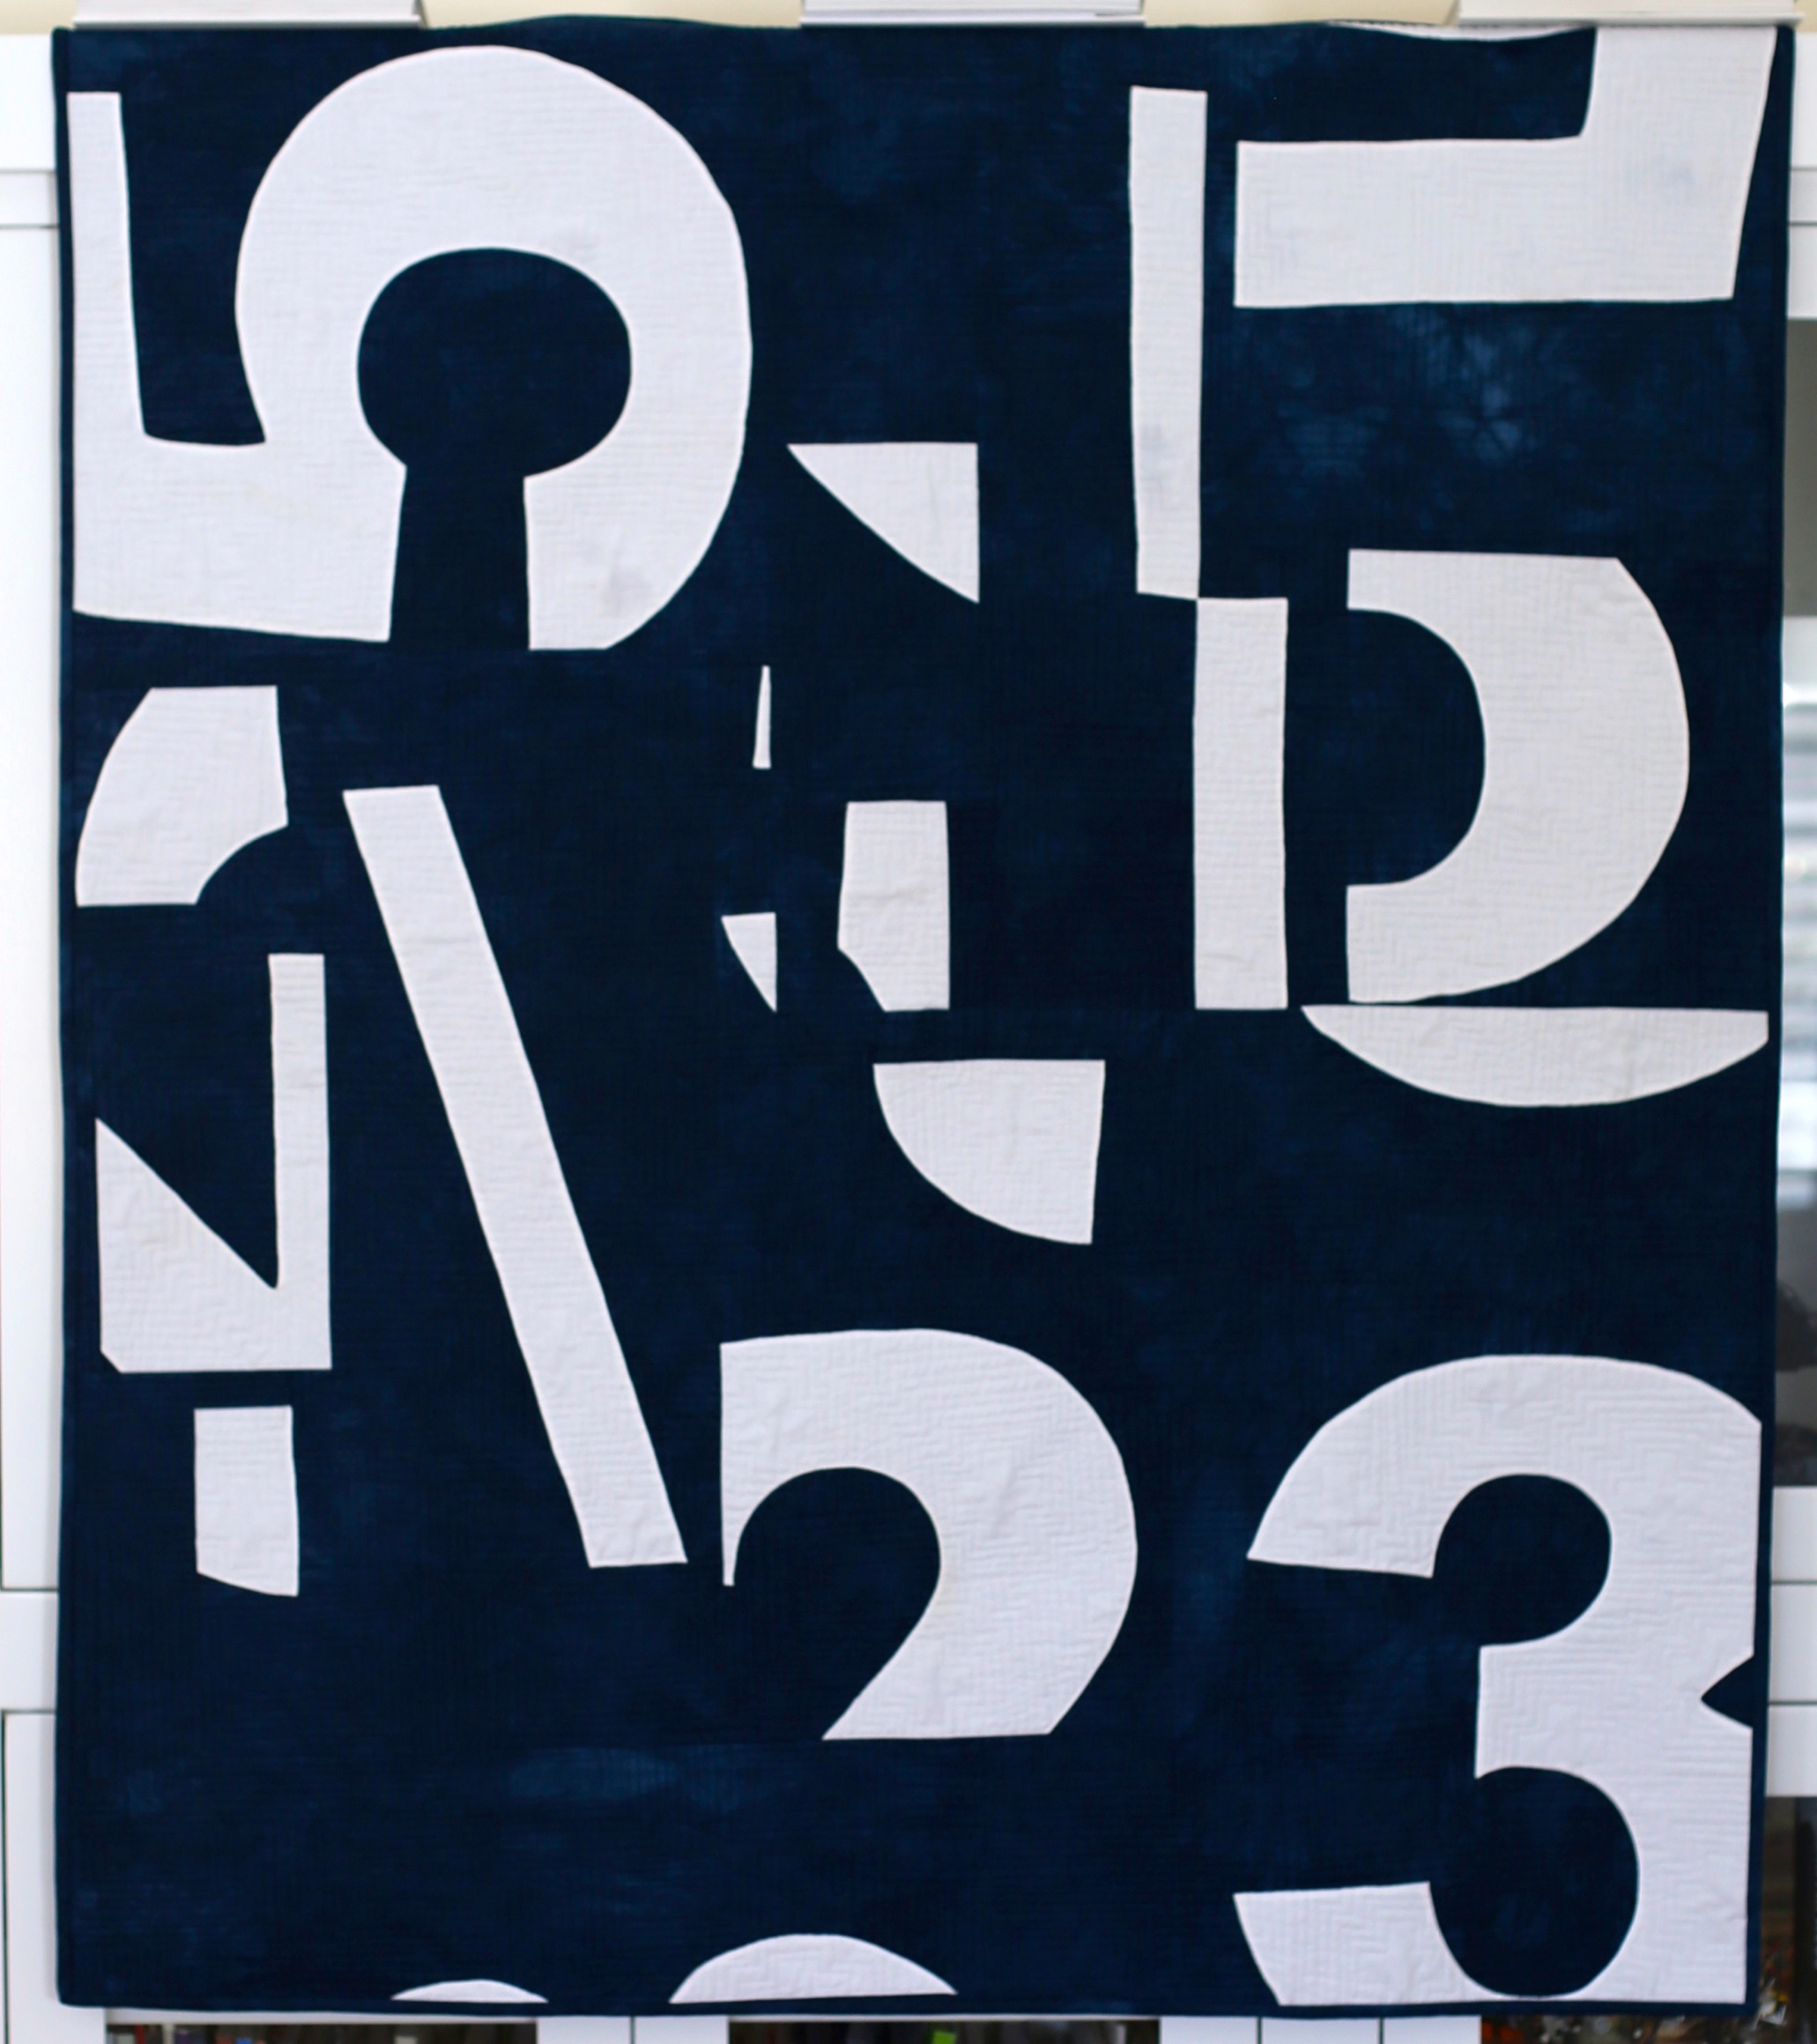
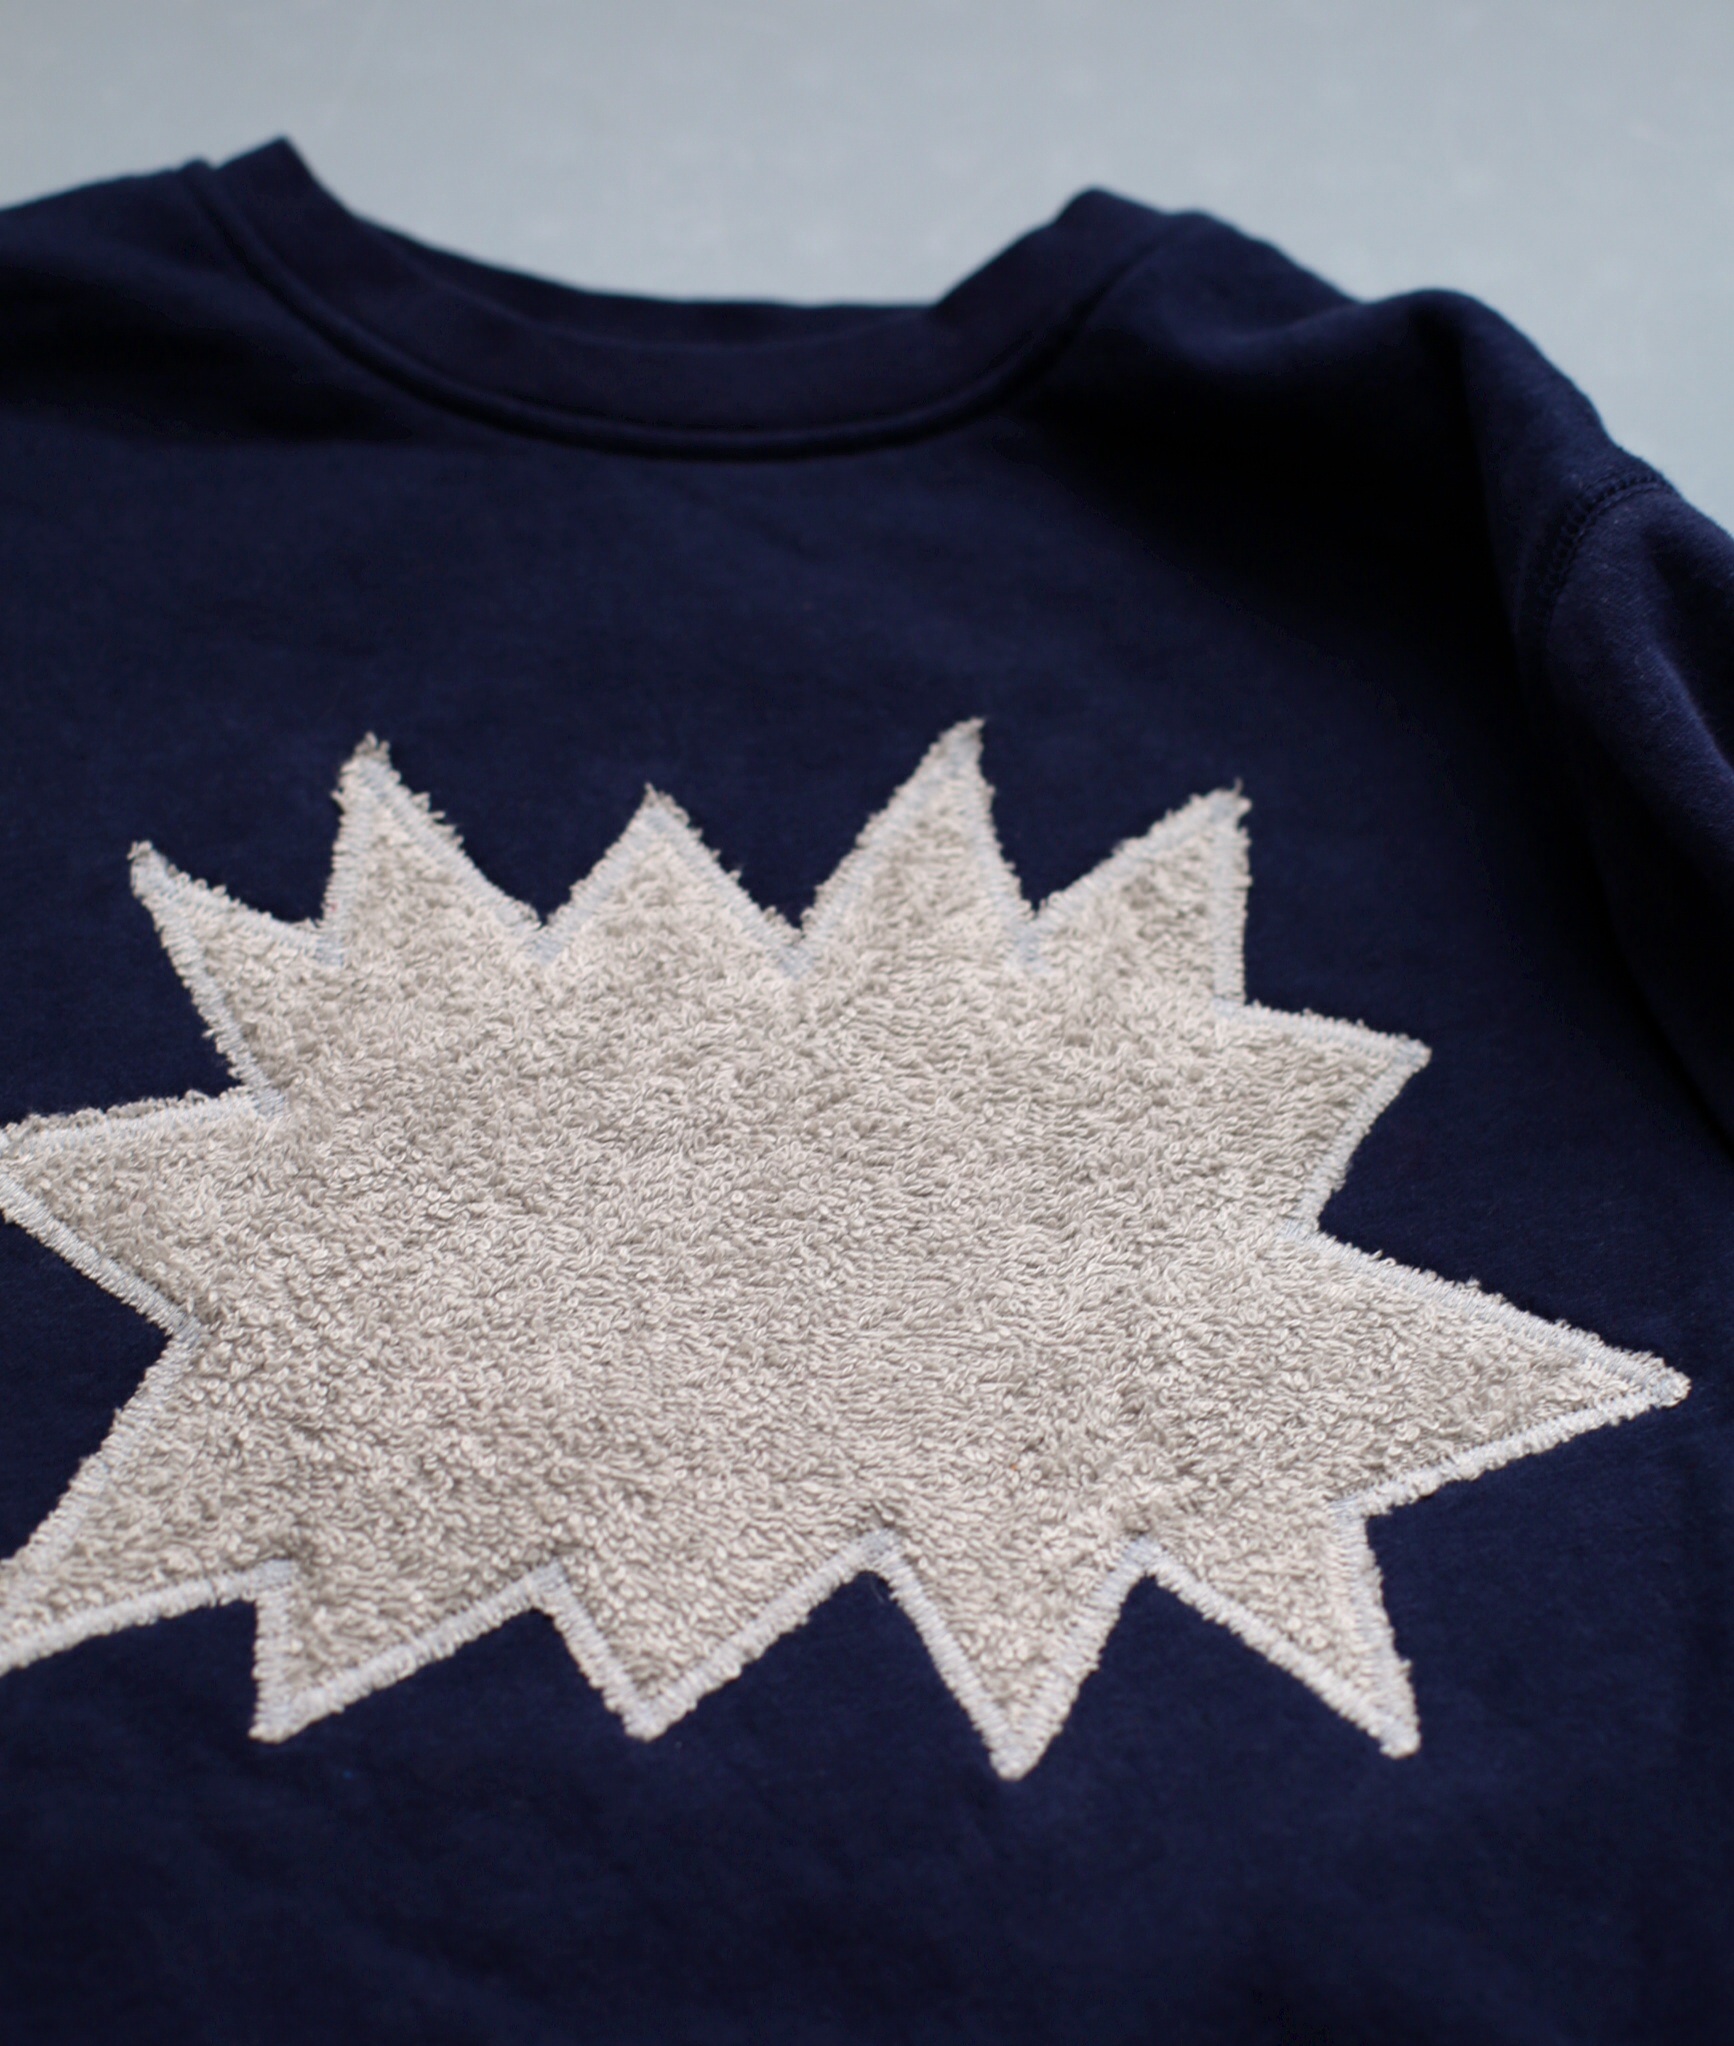
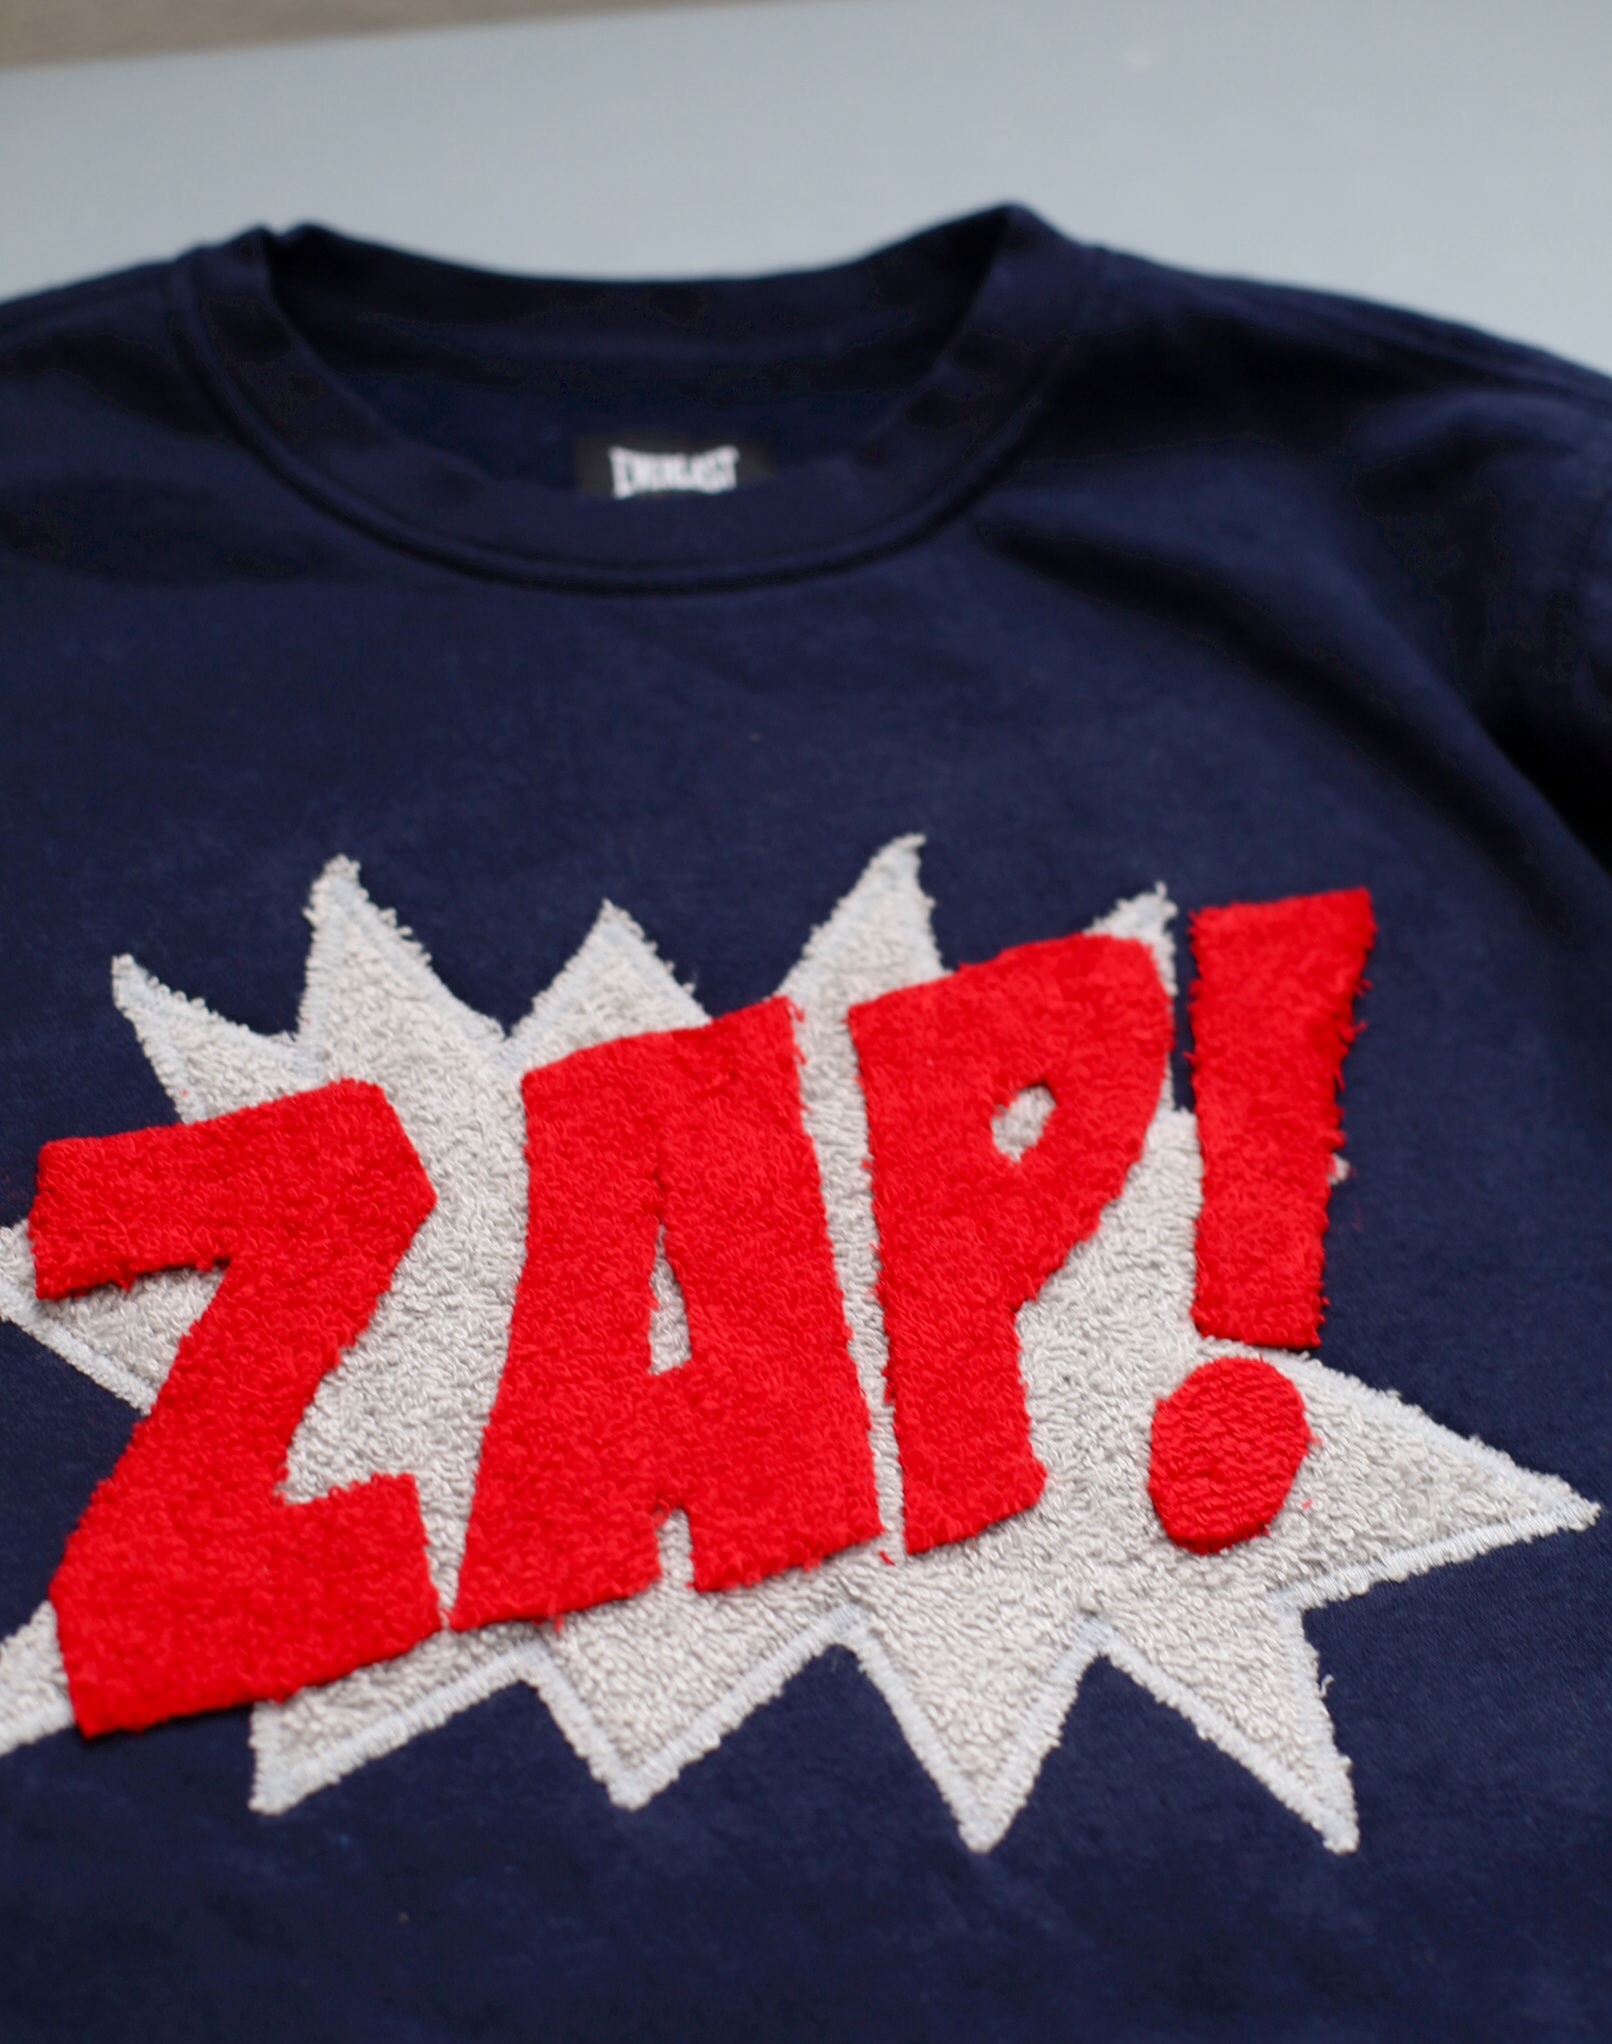
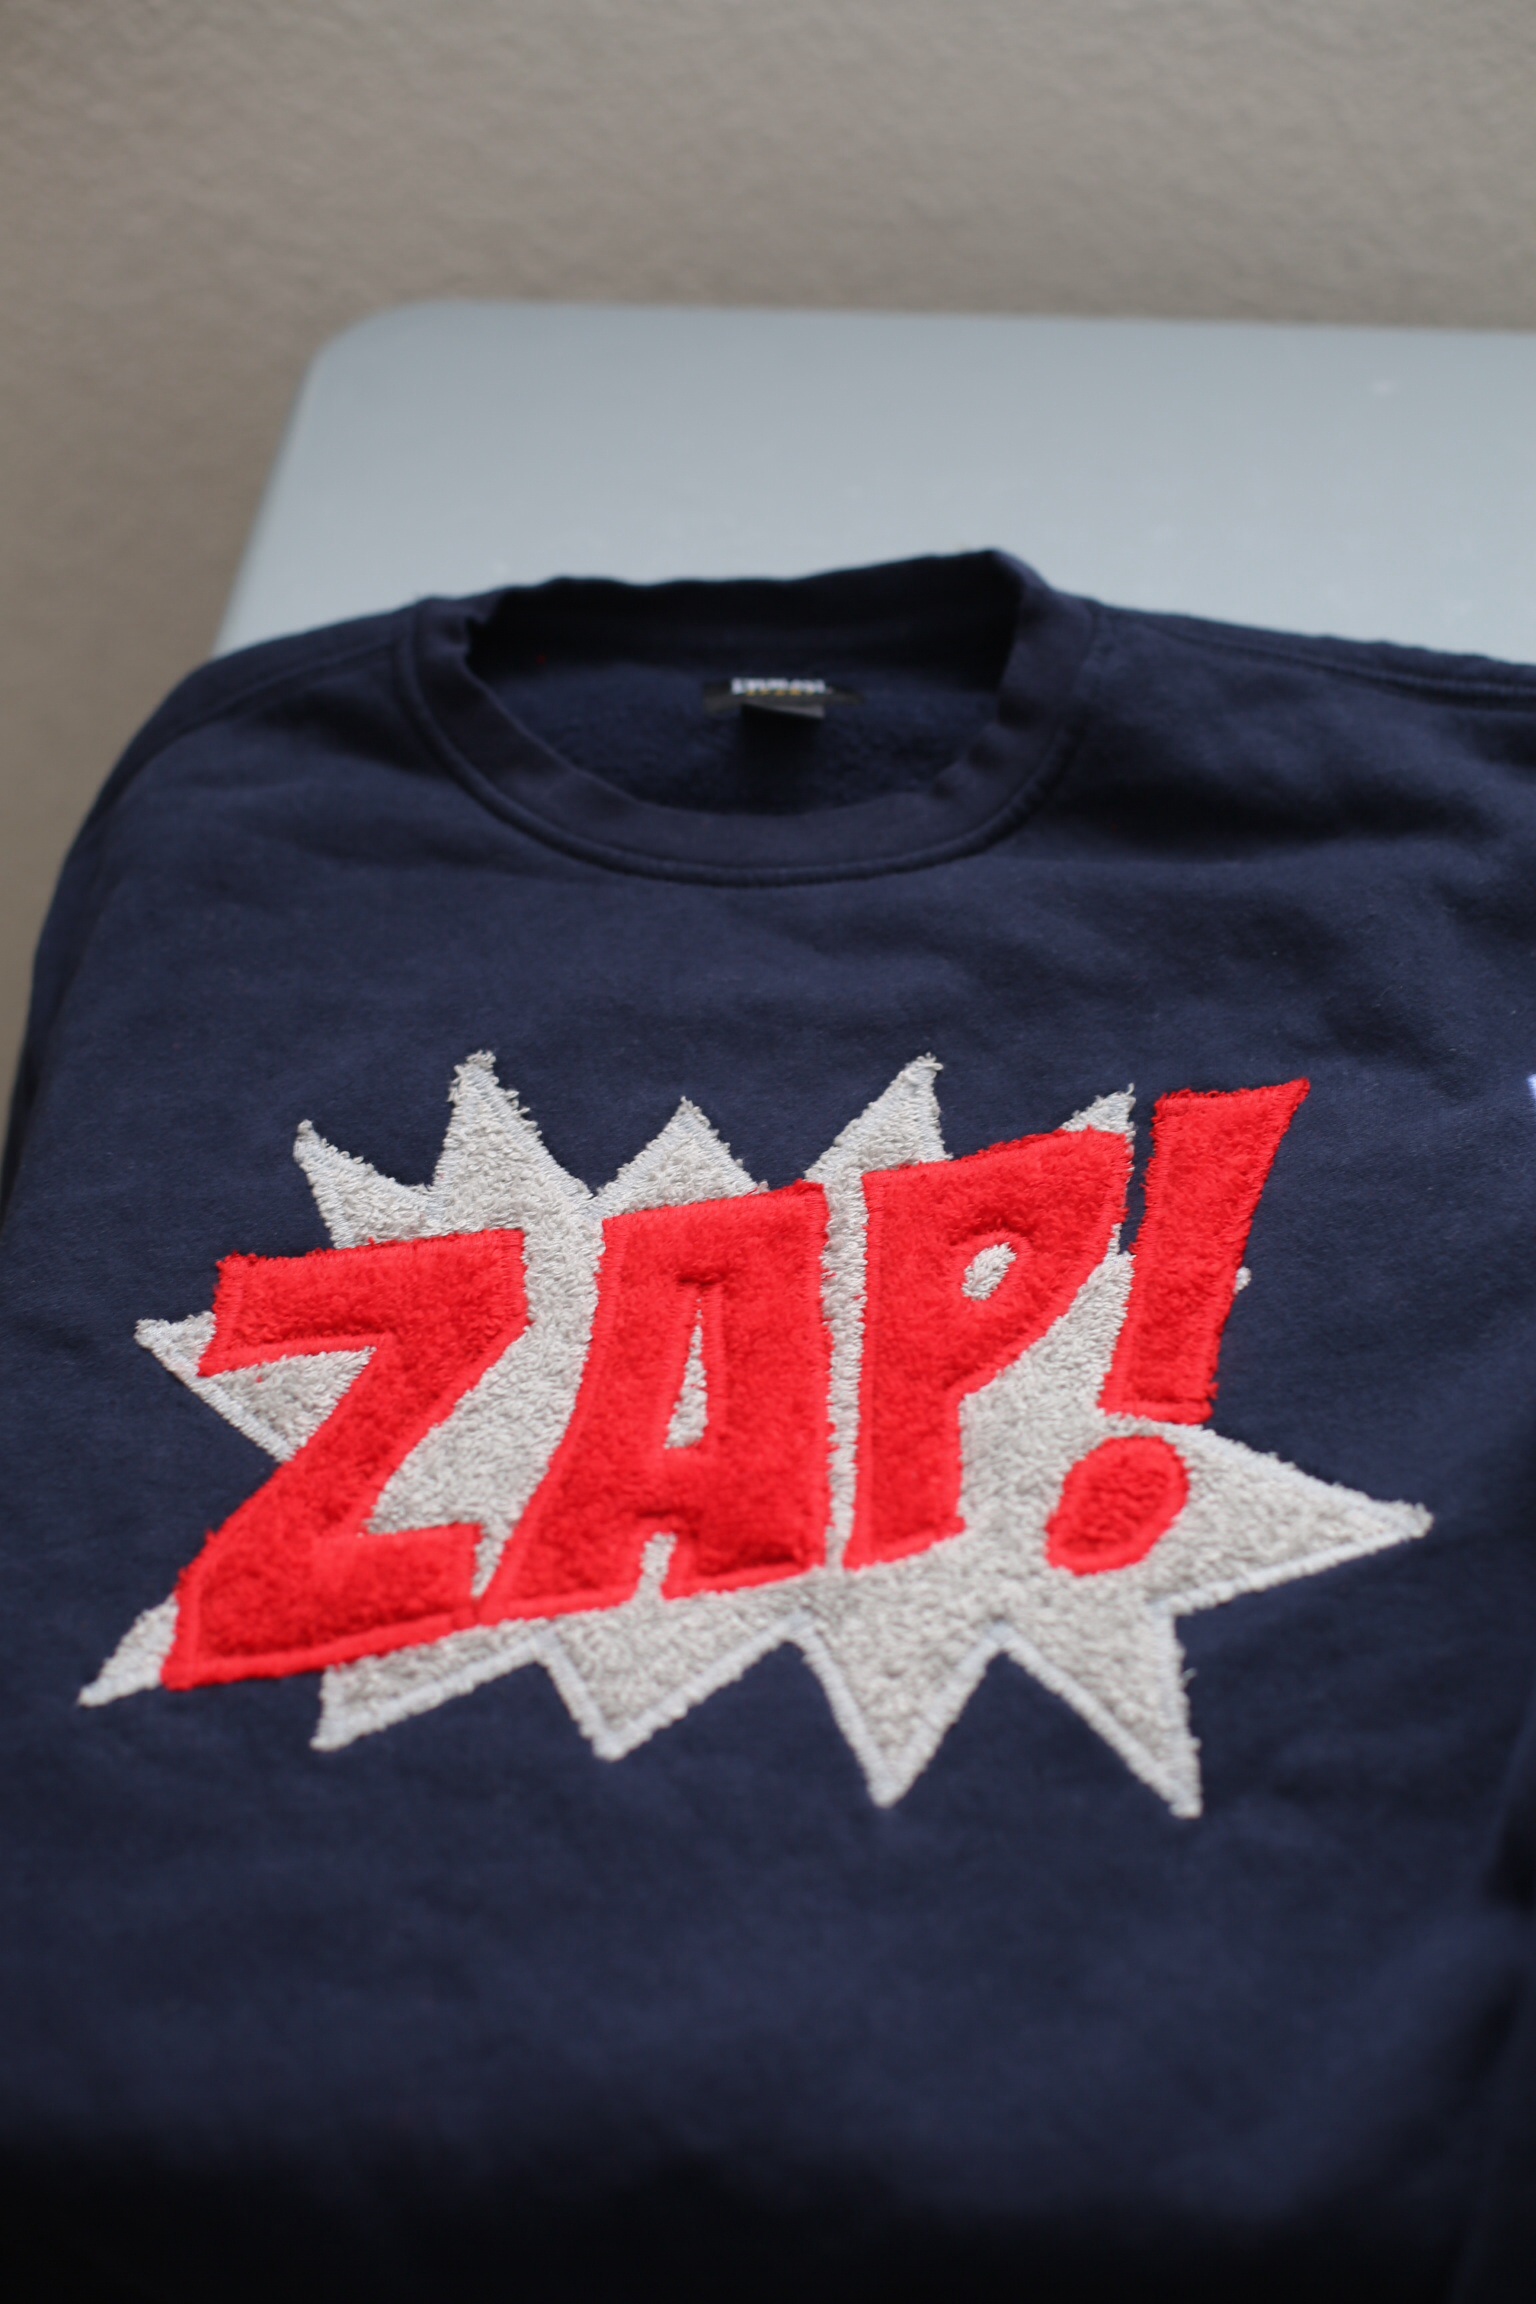
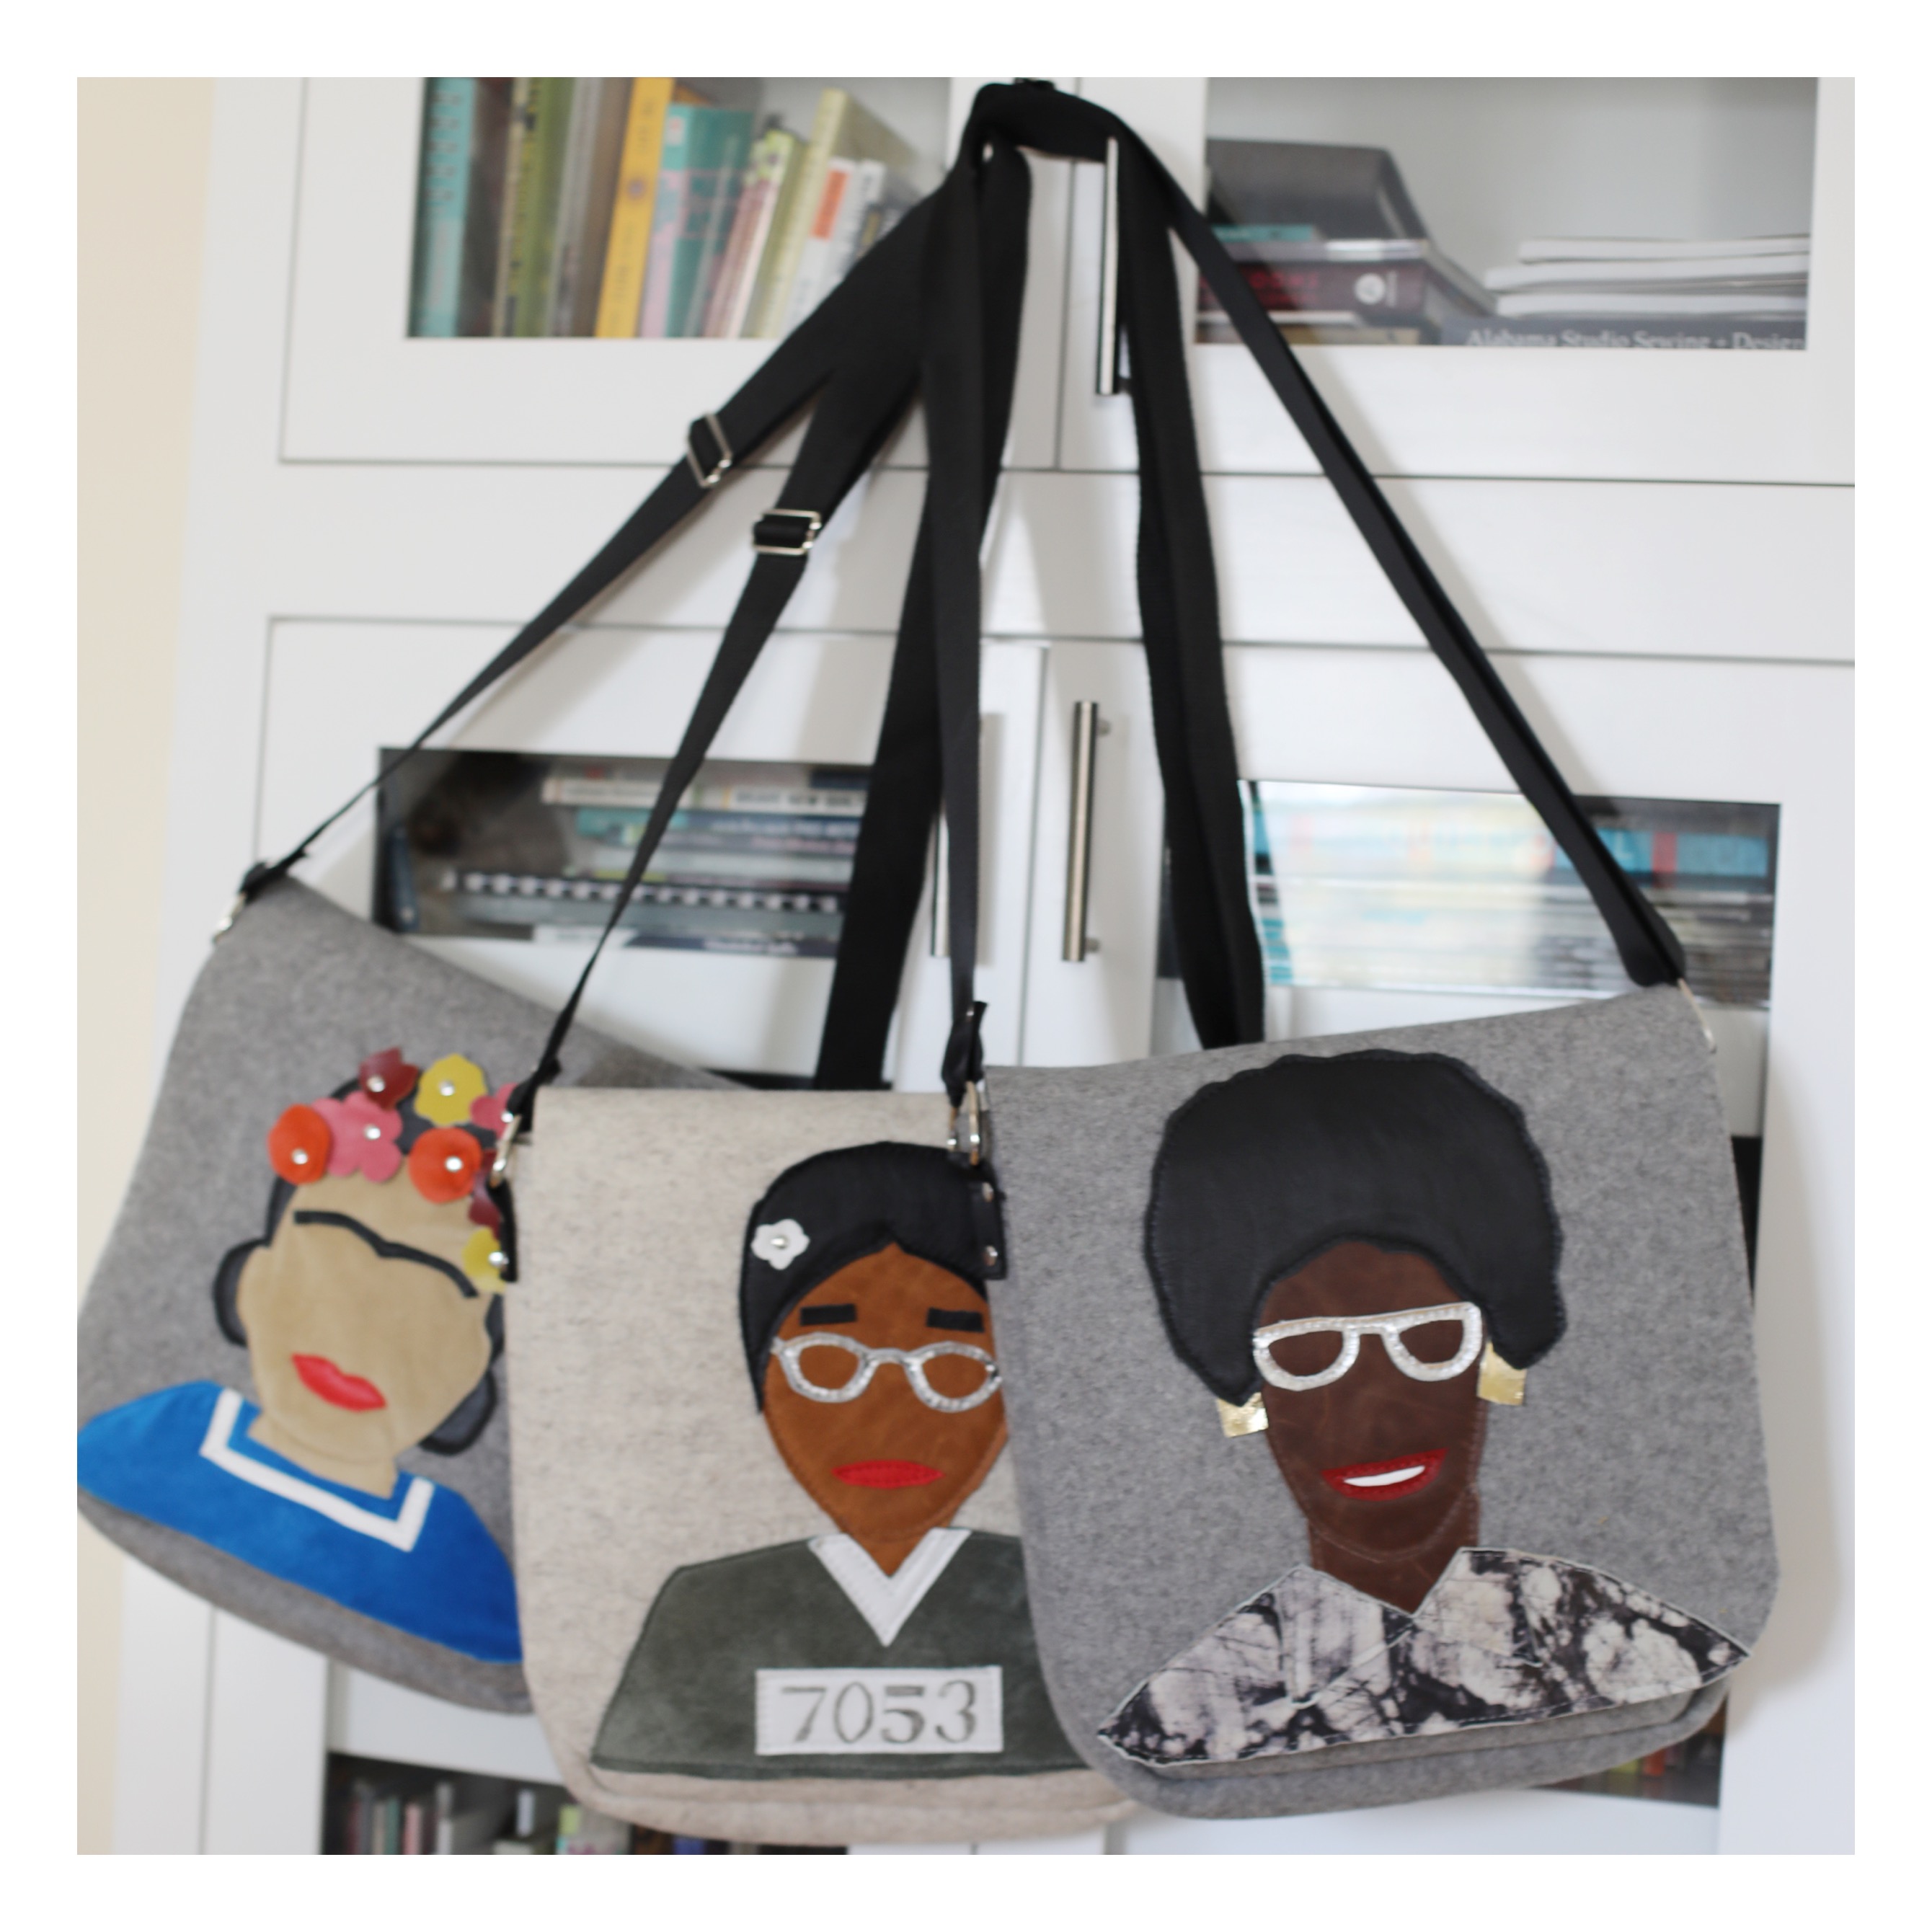
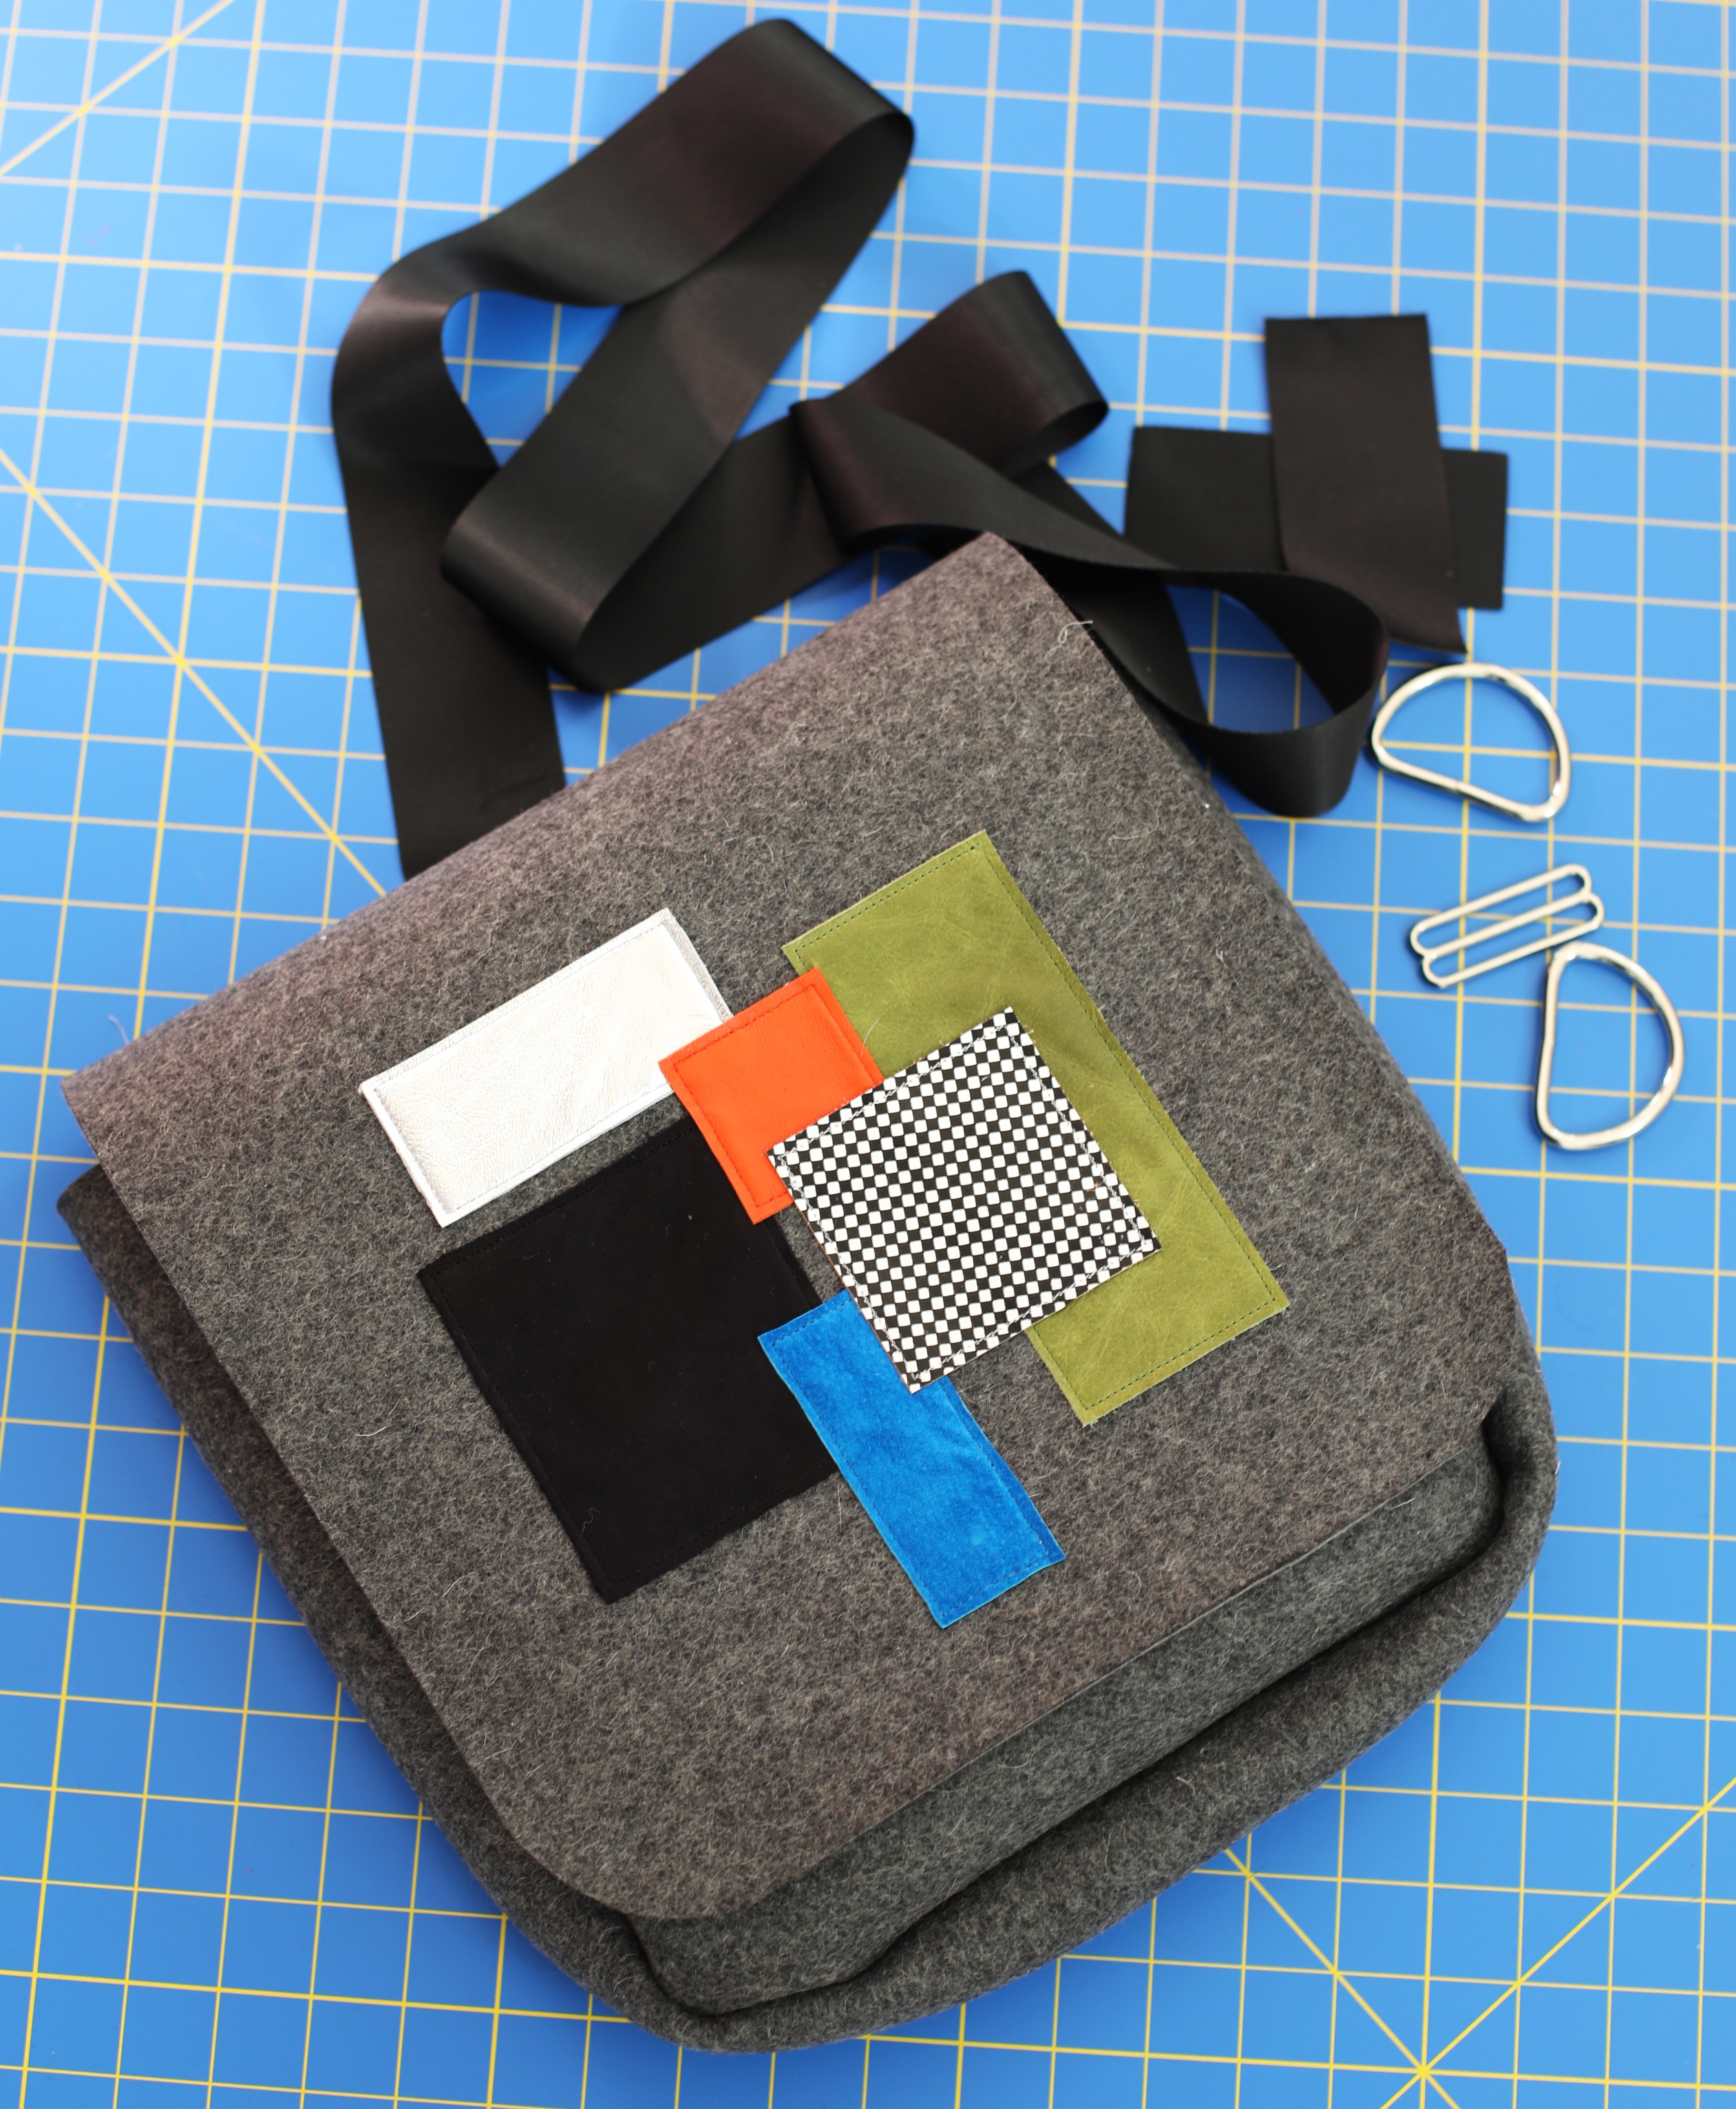
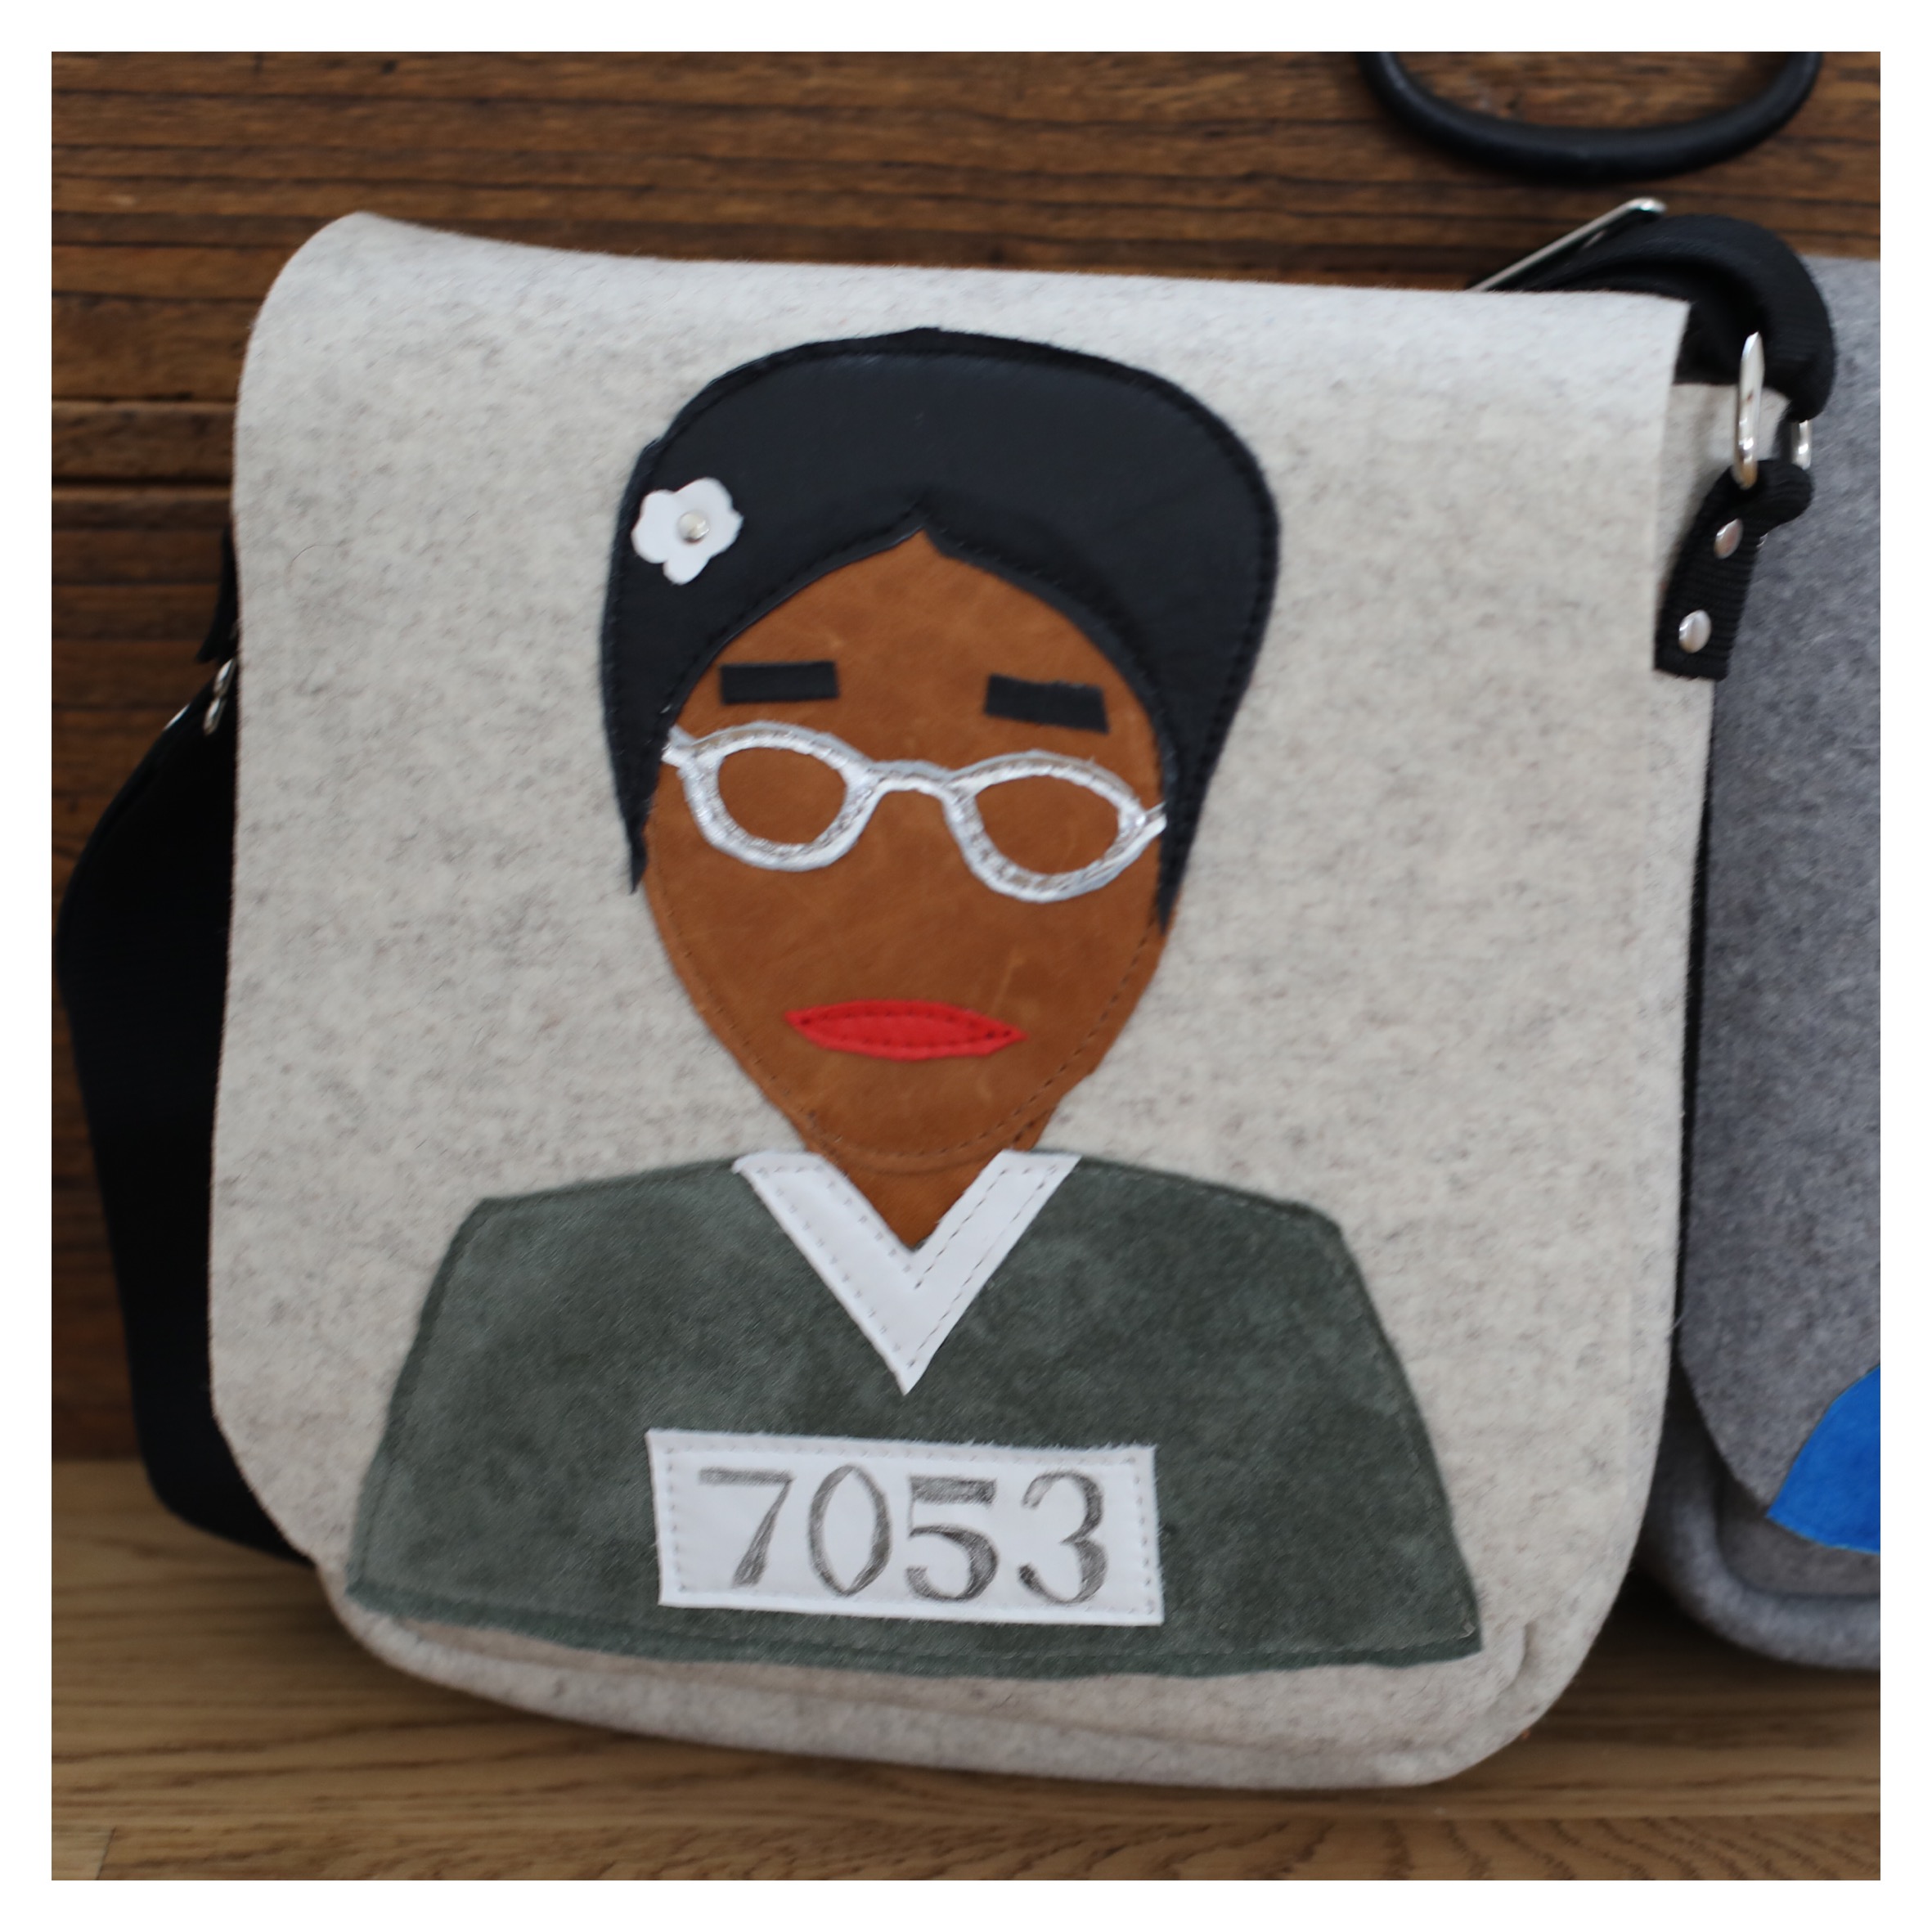
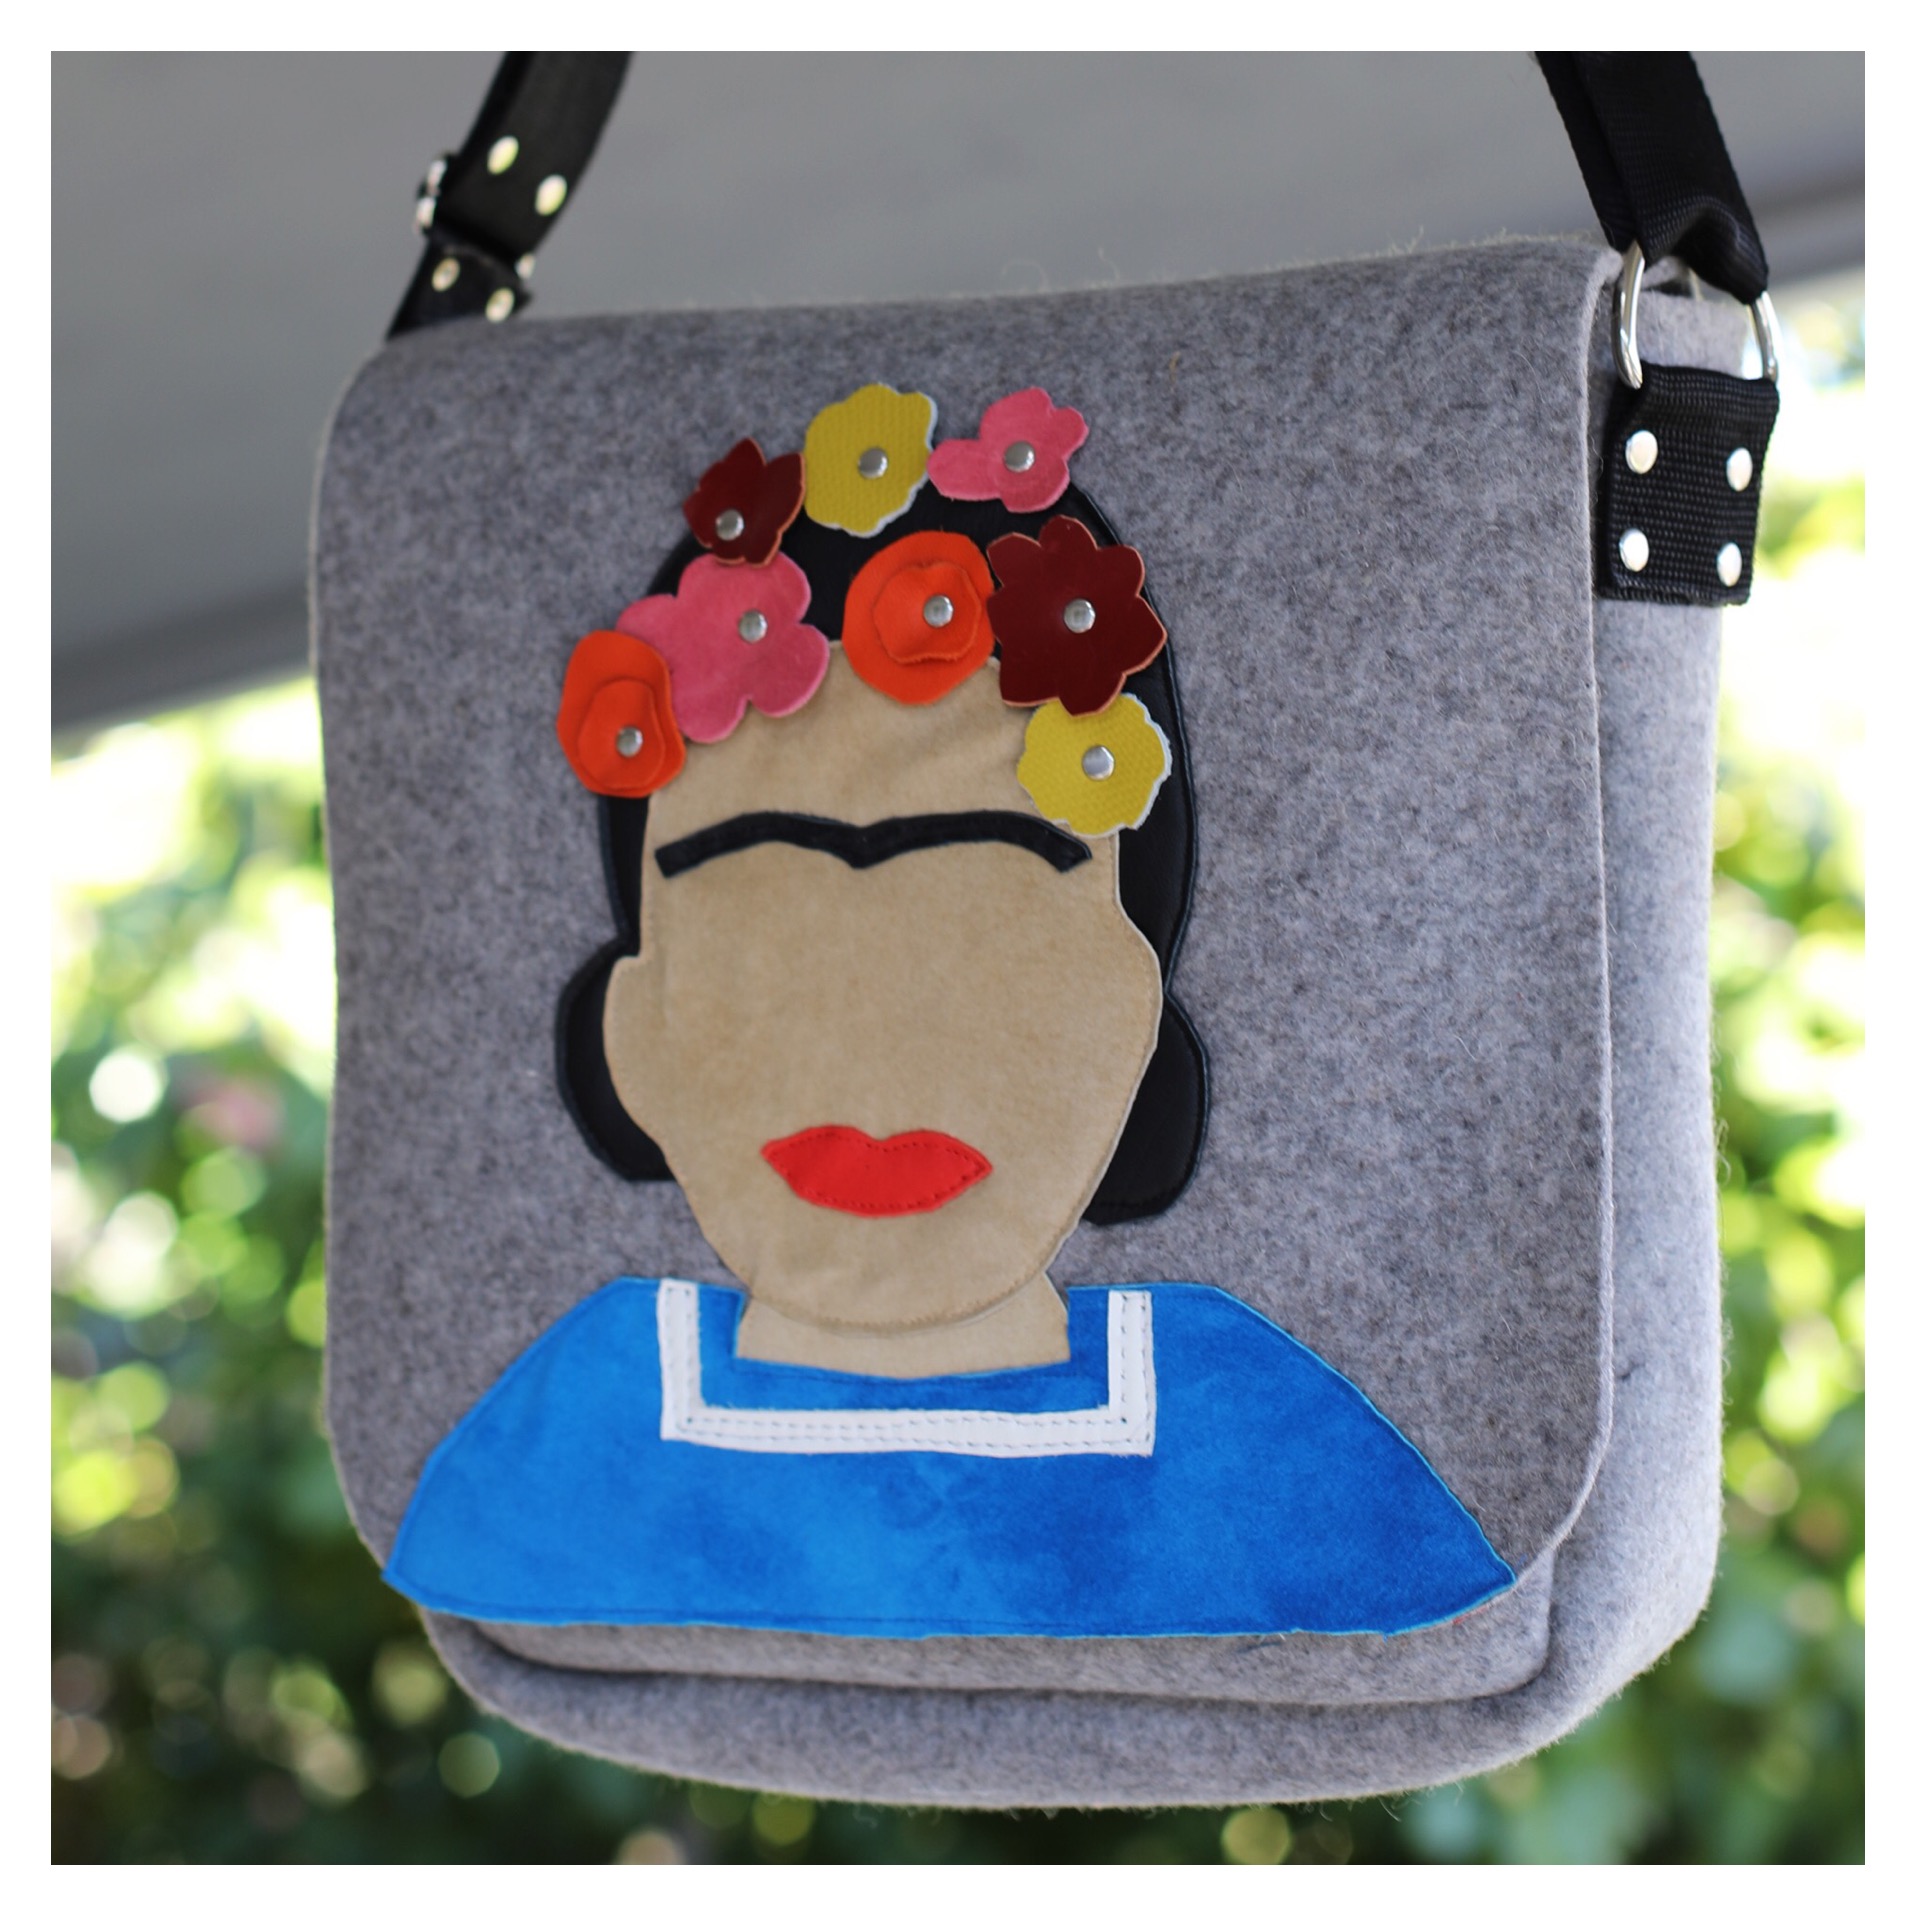
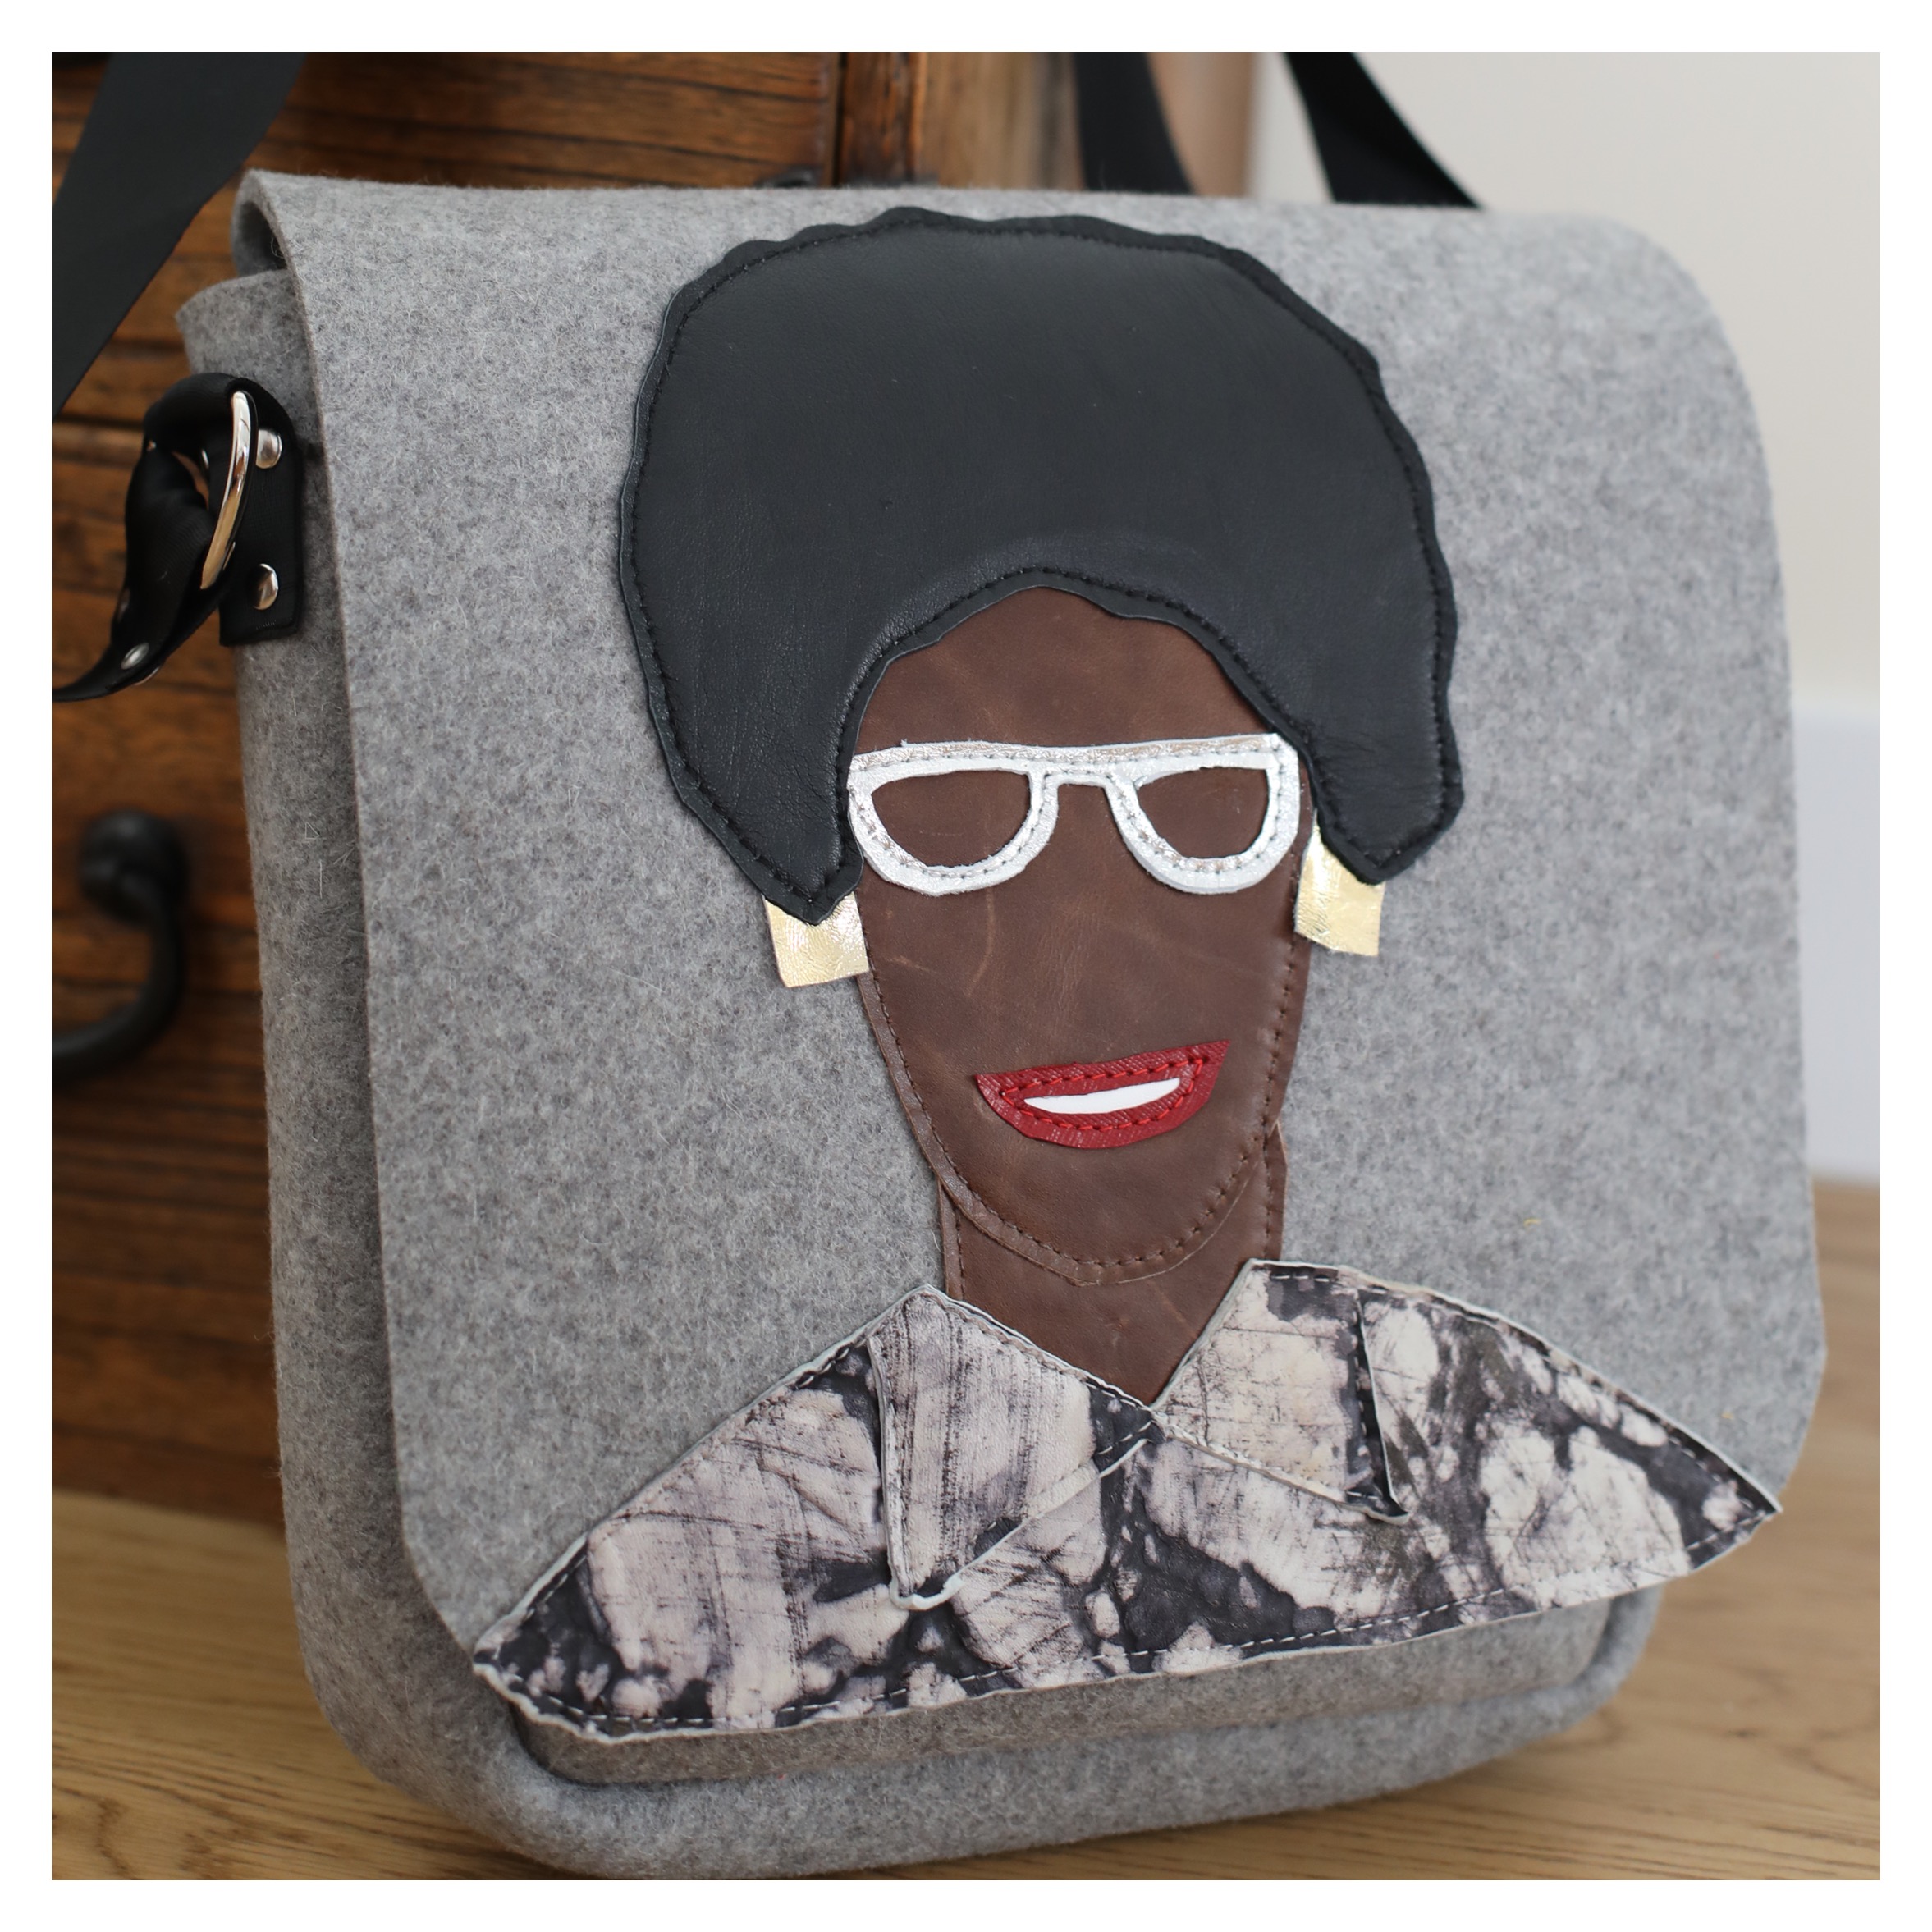
Over the last couple of years I have been playing with a messenger bag design of my own imagining. I have come to love thick wool felt as bag medium and have been using the design to pay tribute to important women using leather appliqué. In hopes of inspiring others to do the same I wanted to share my methods. My demonstration bag is an abstract design. There are a ton of possibilities.
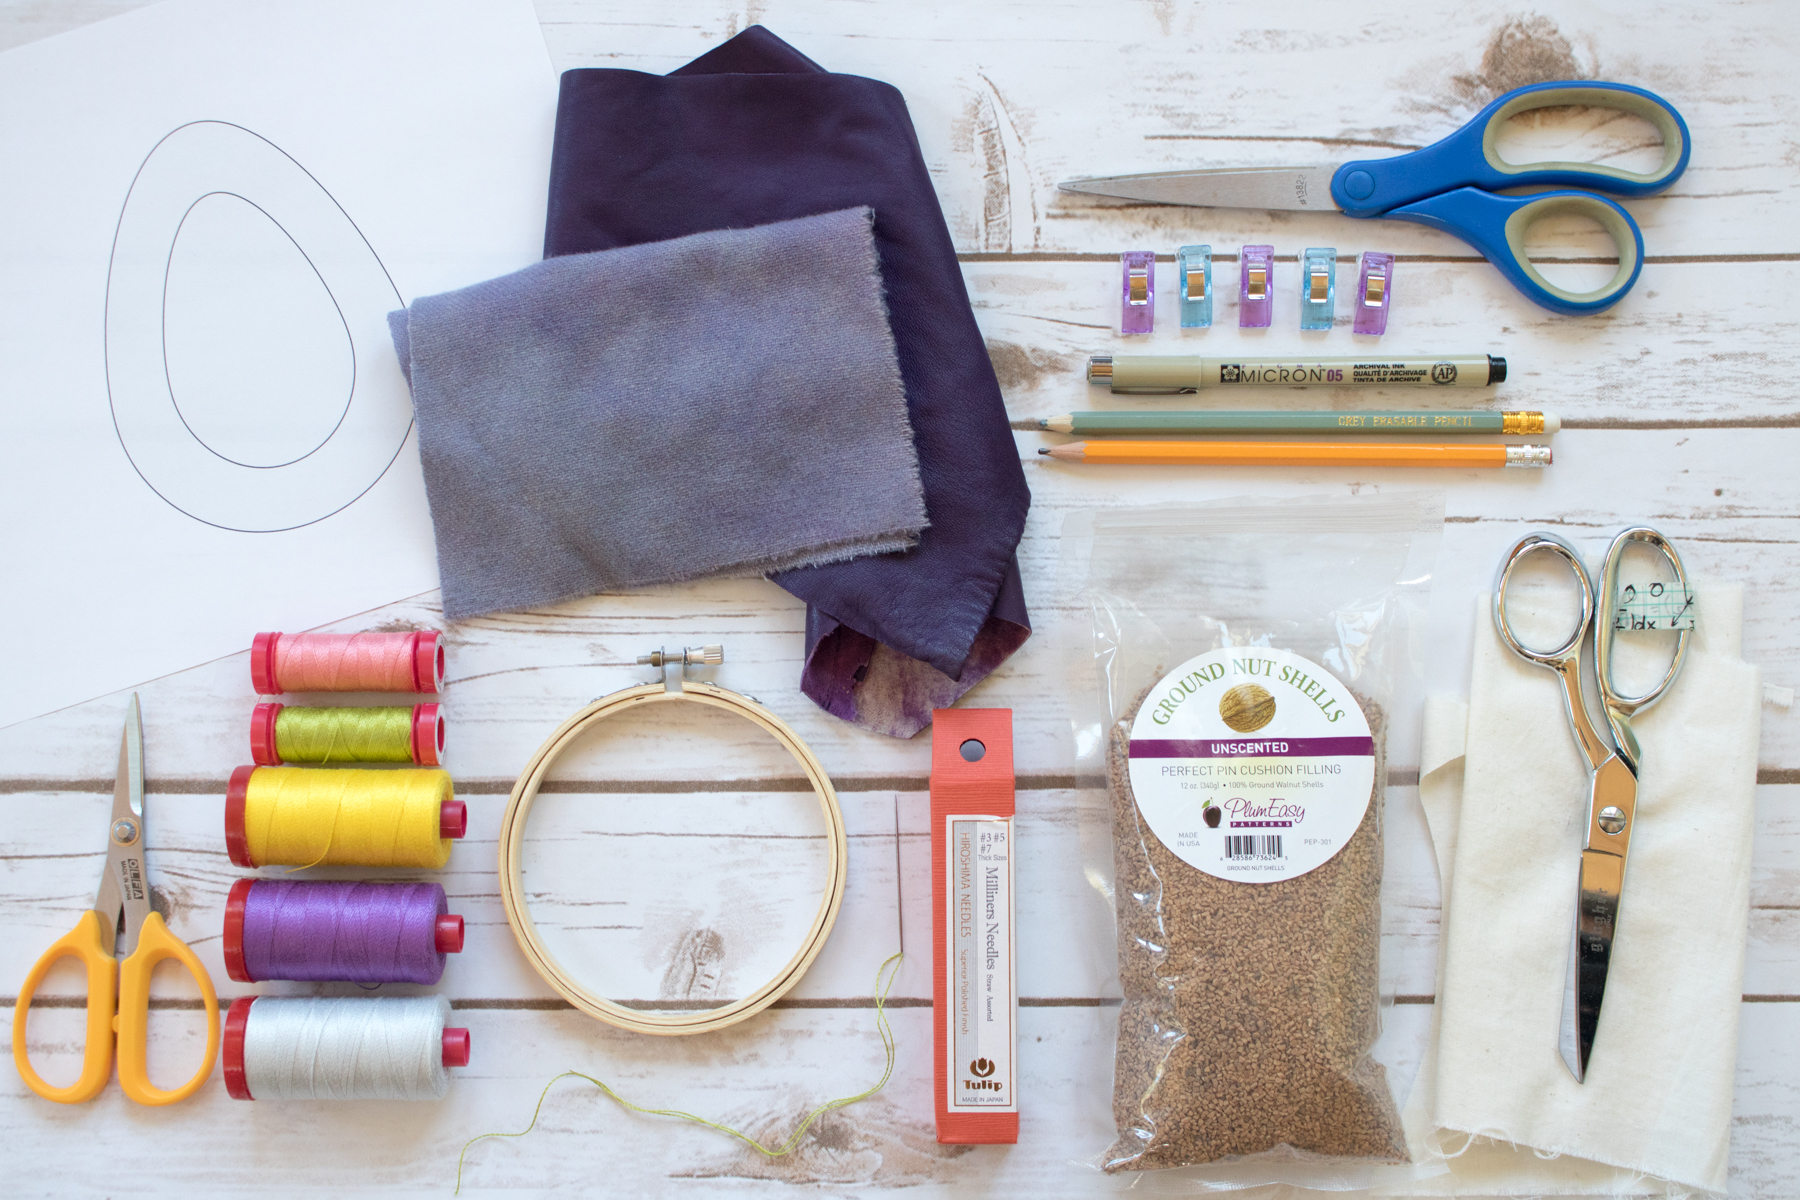
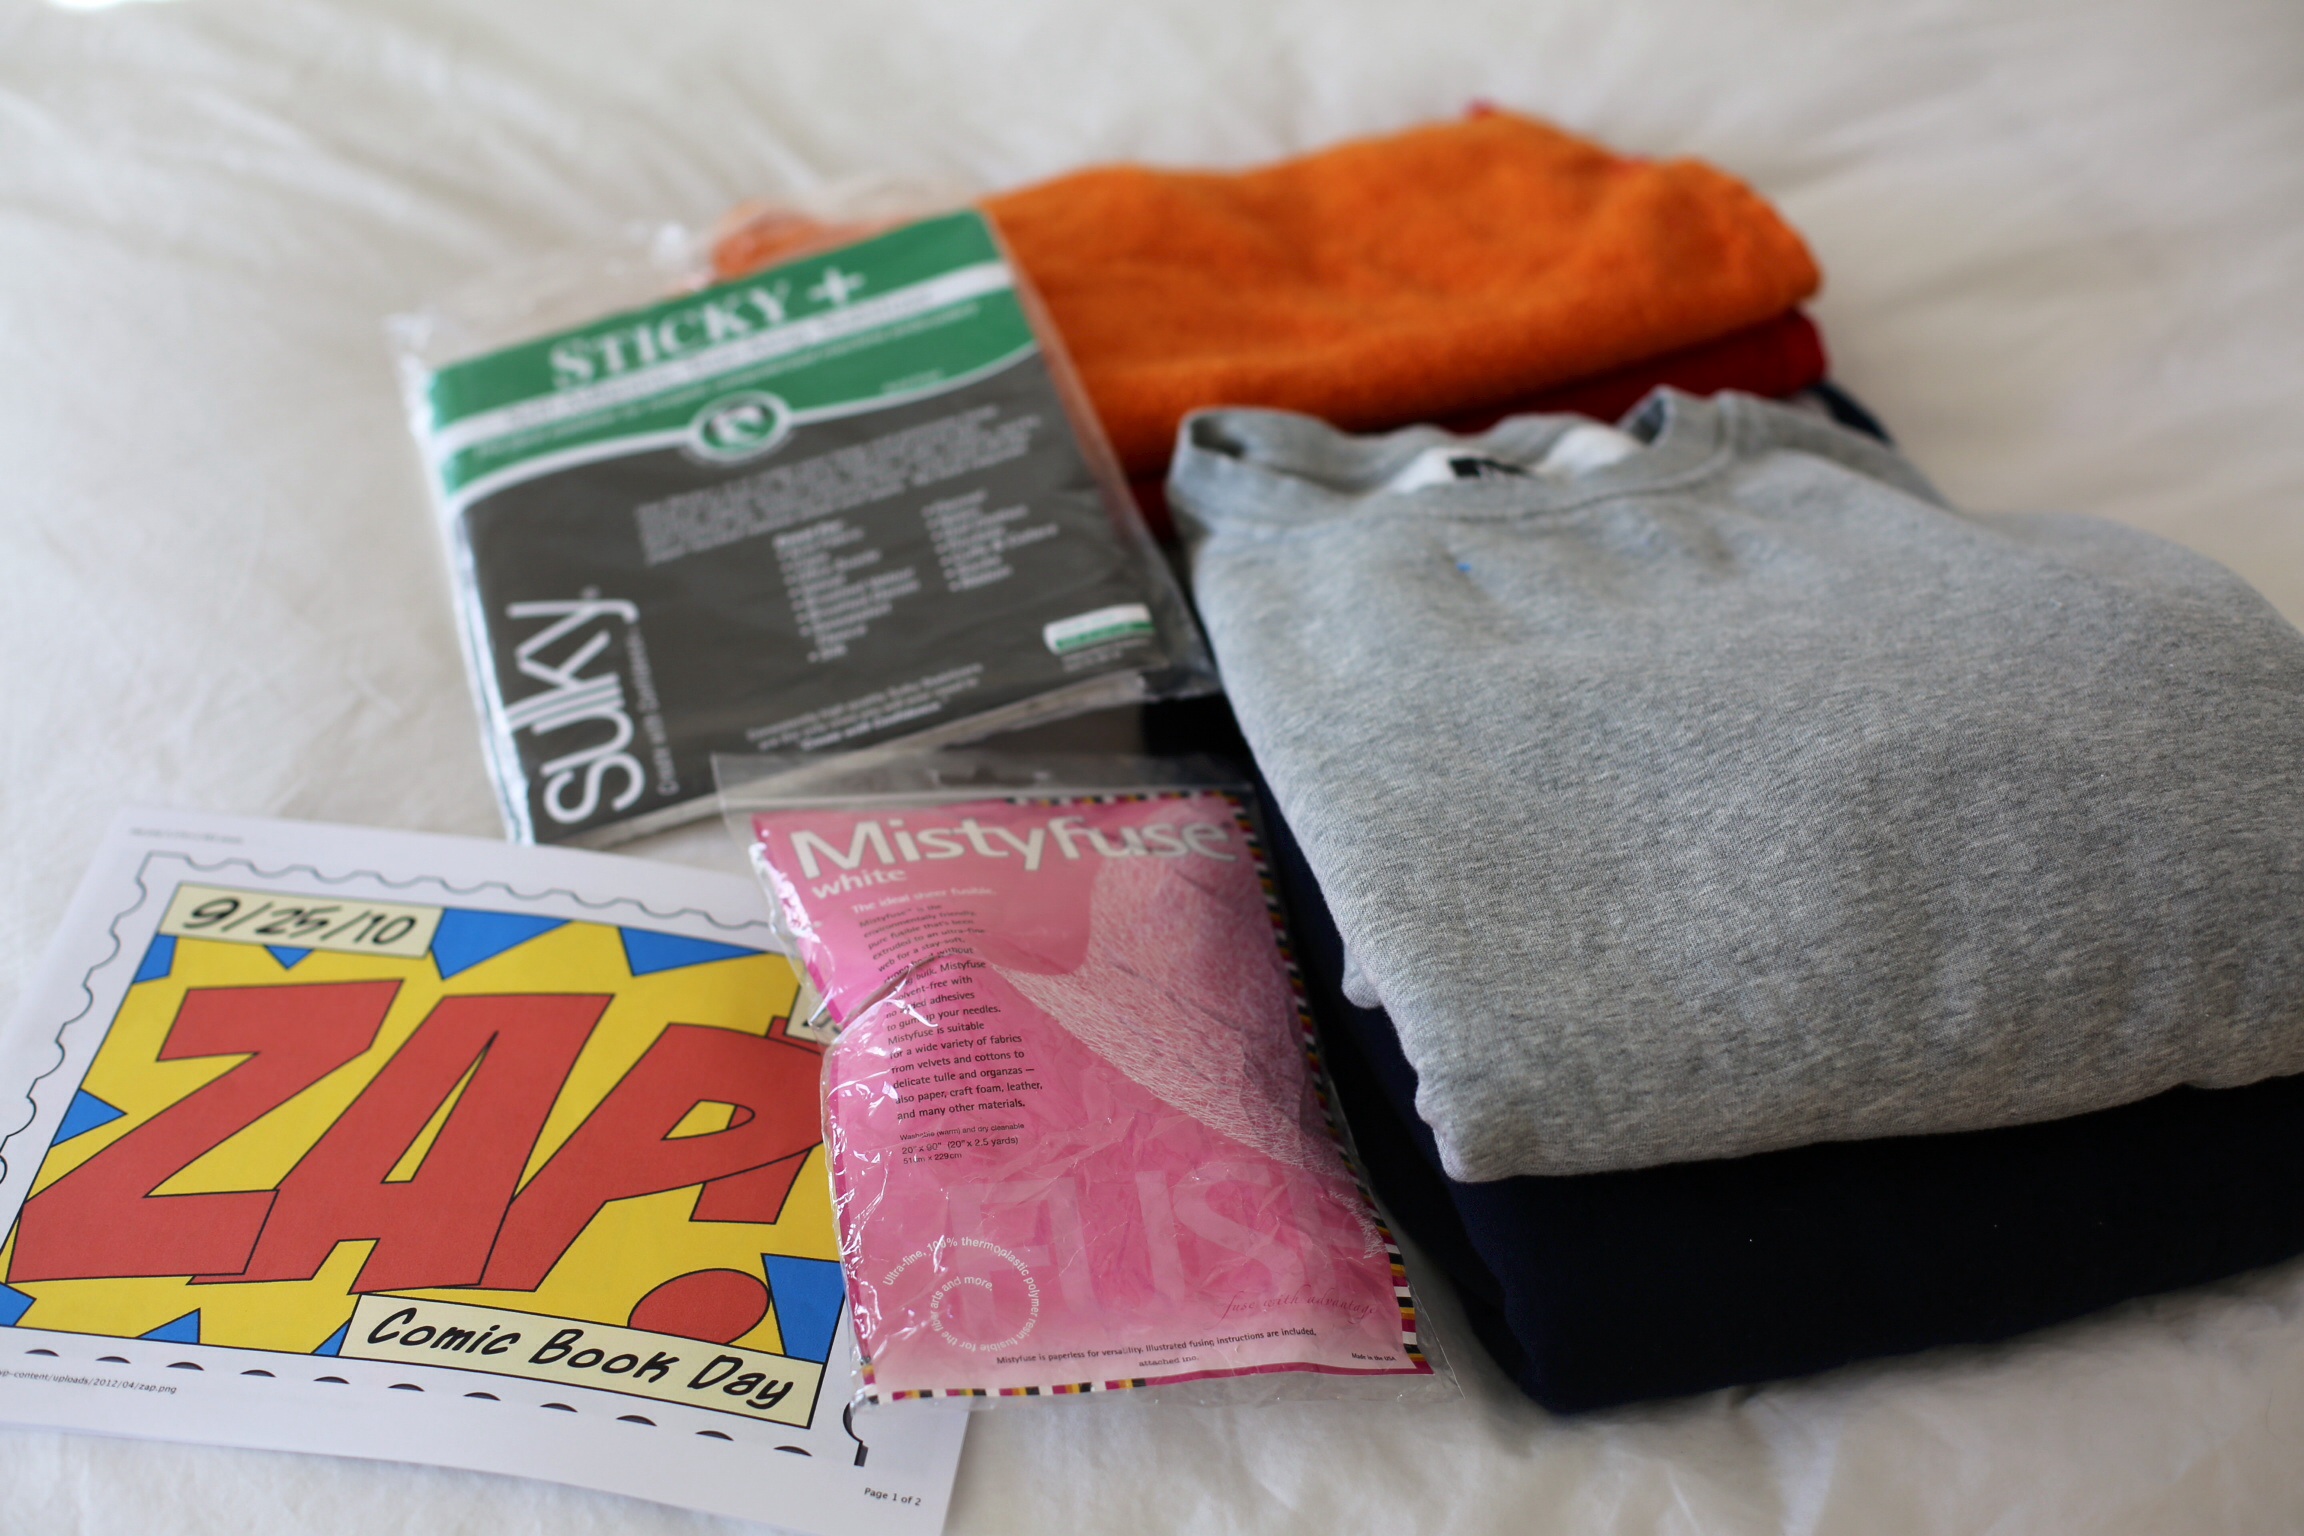
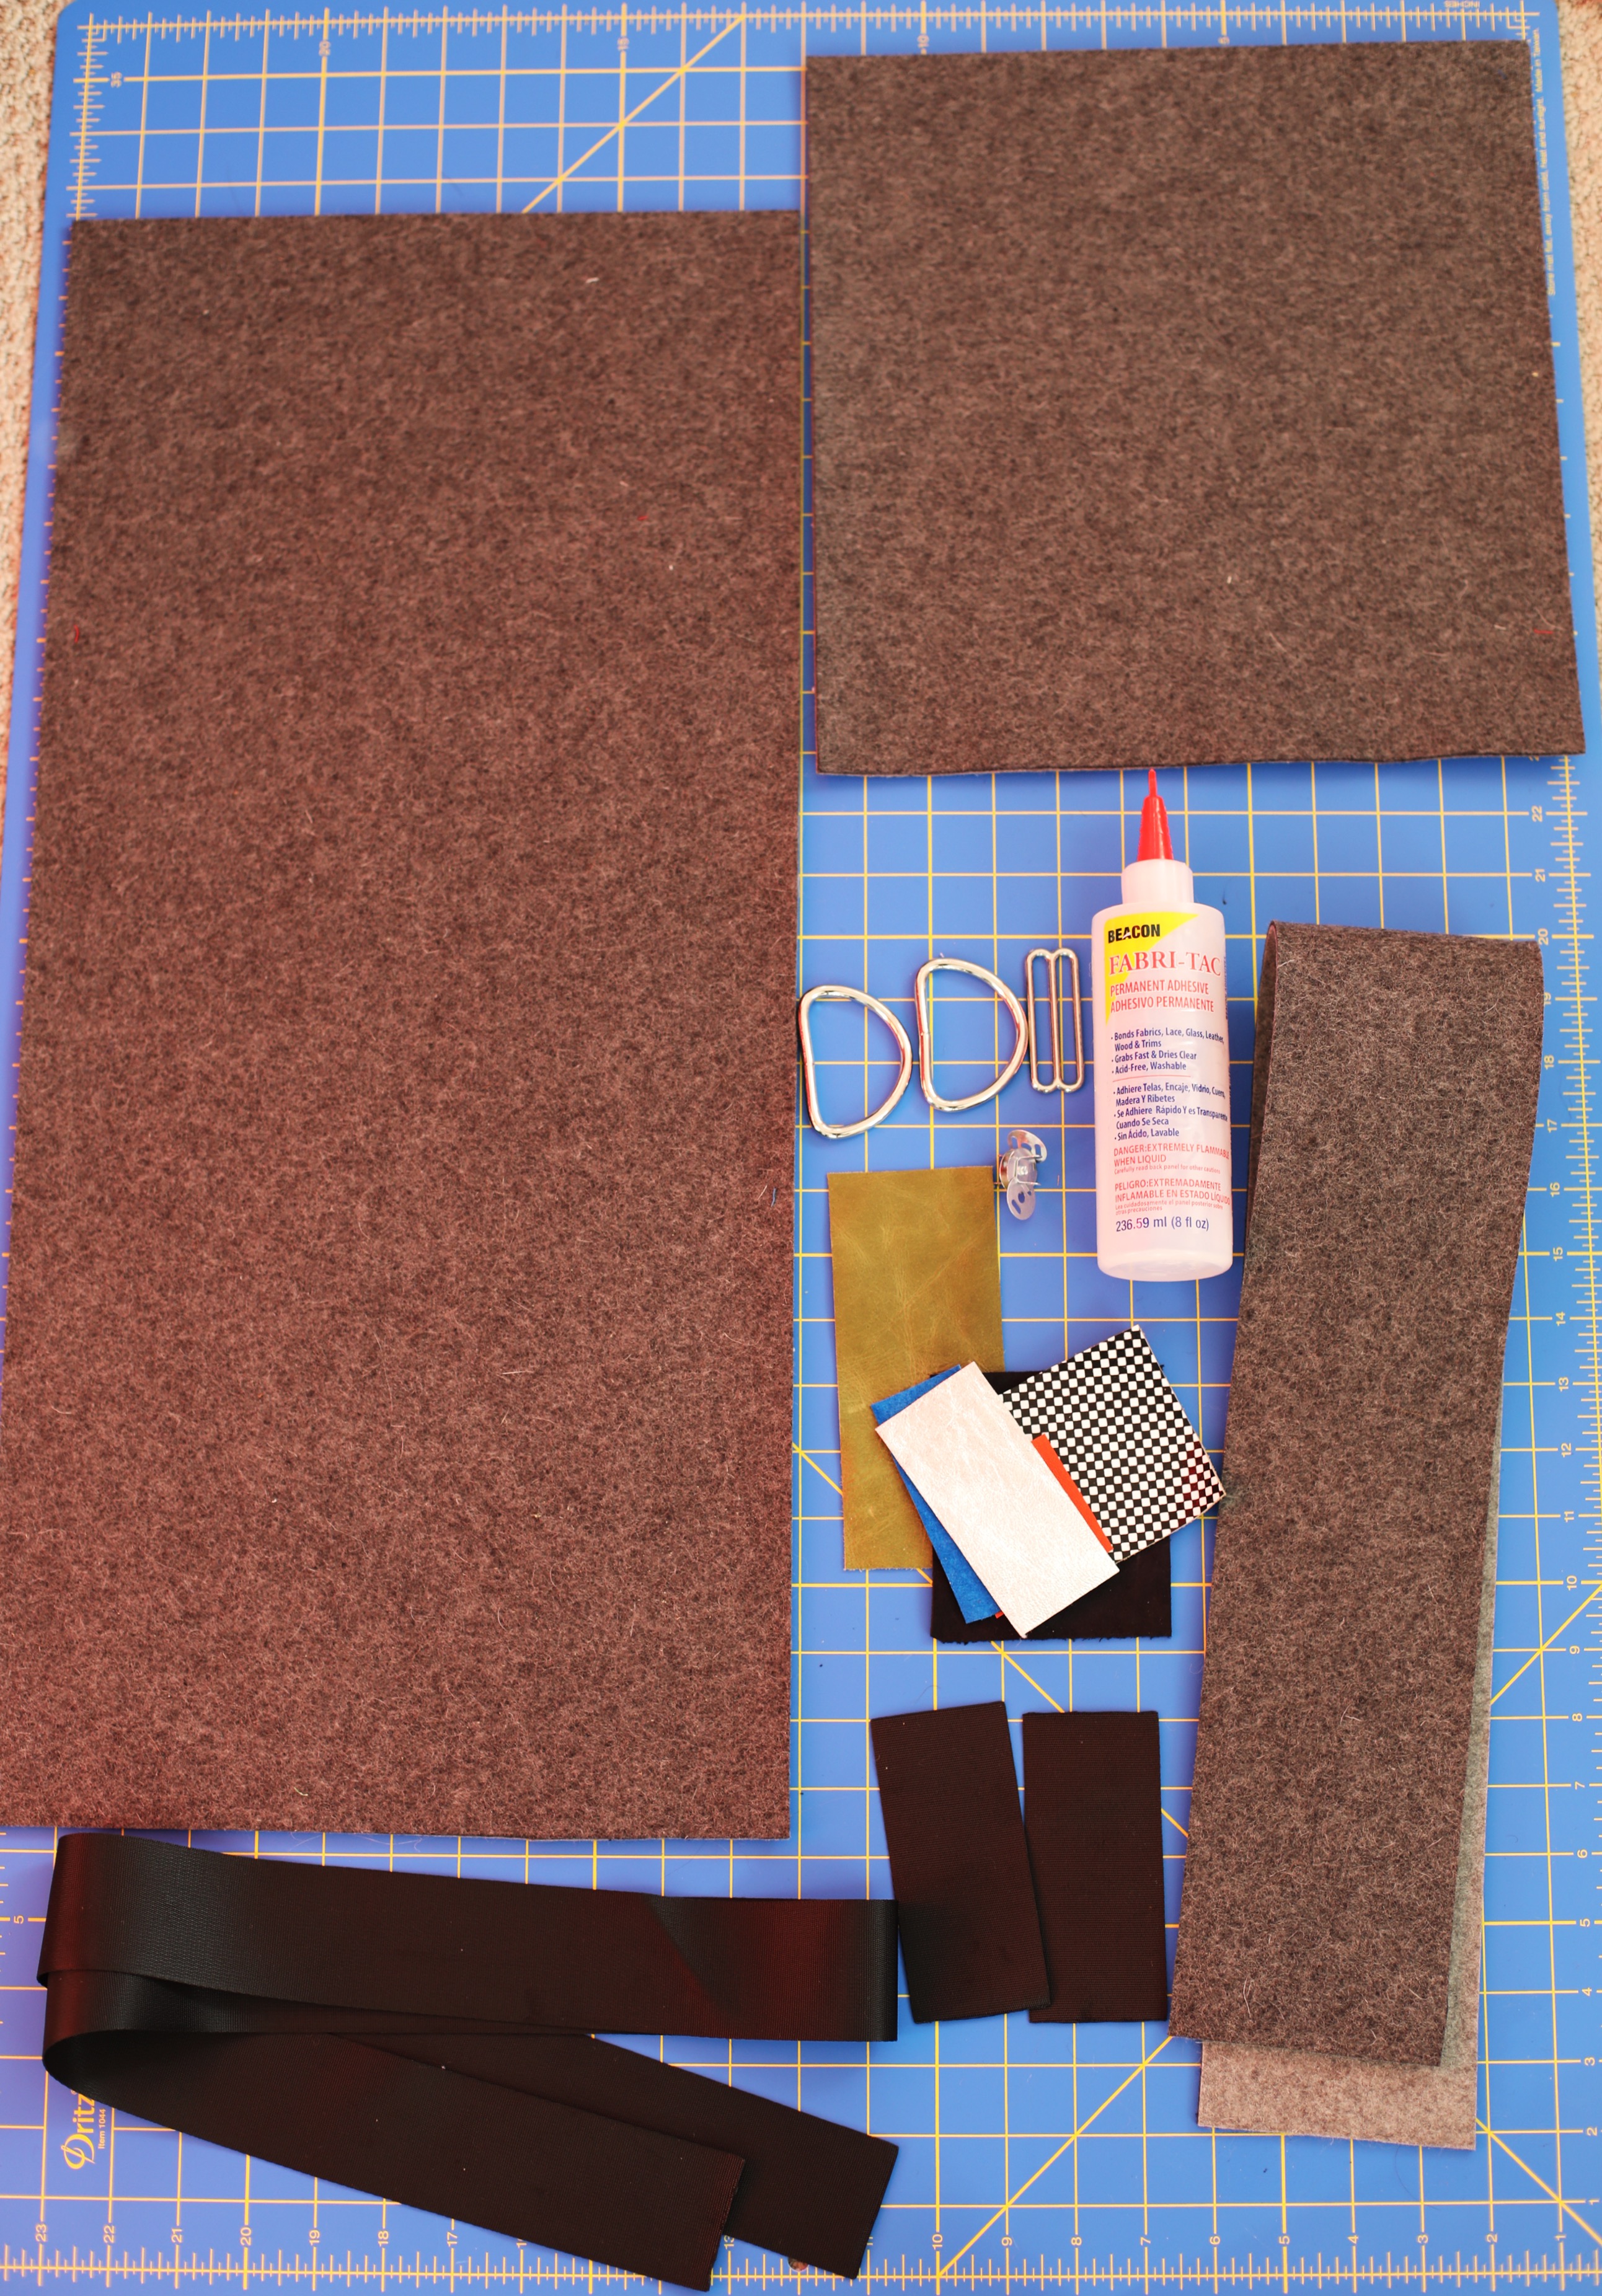
Supplies
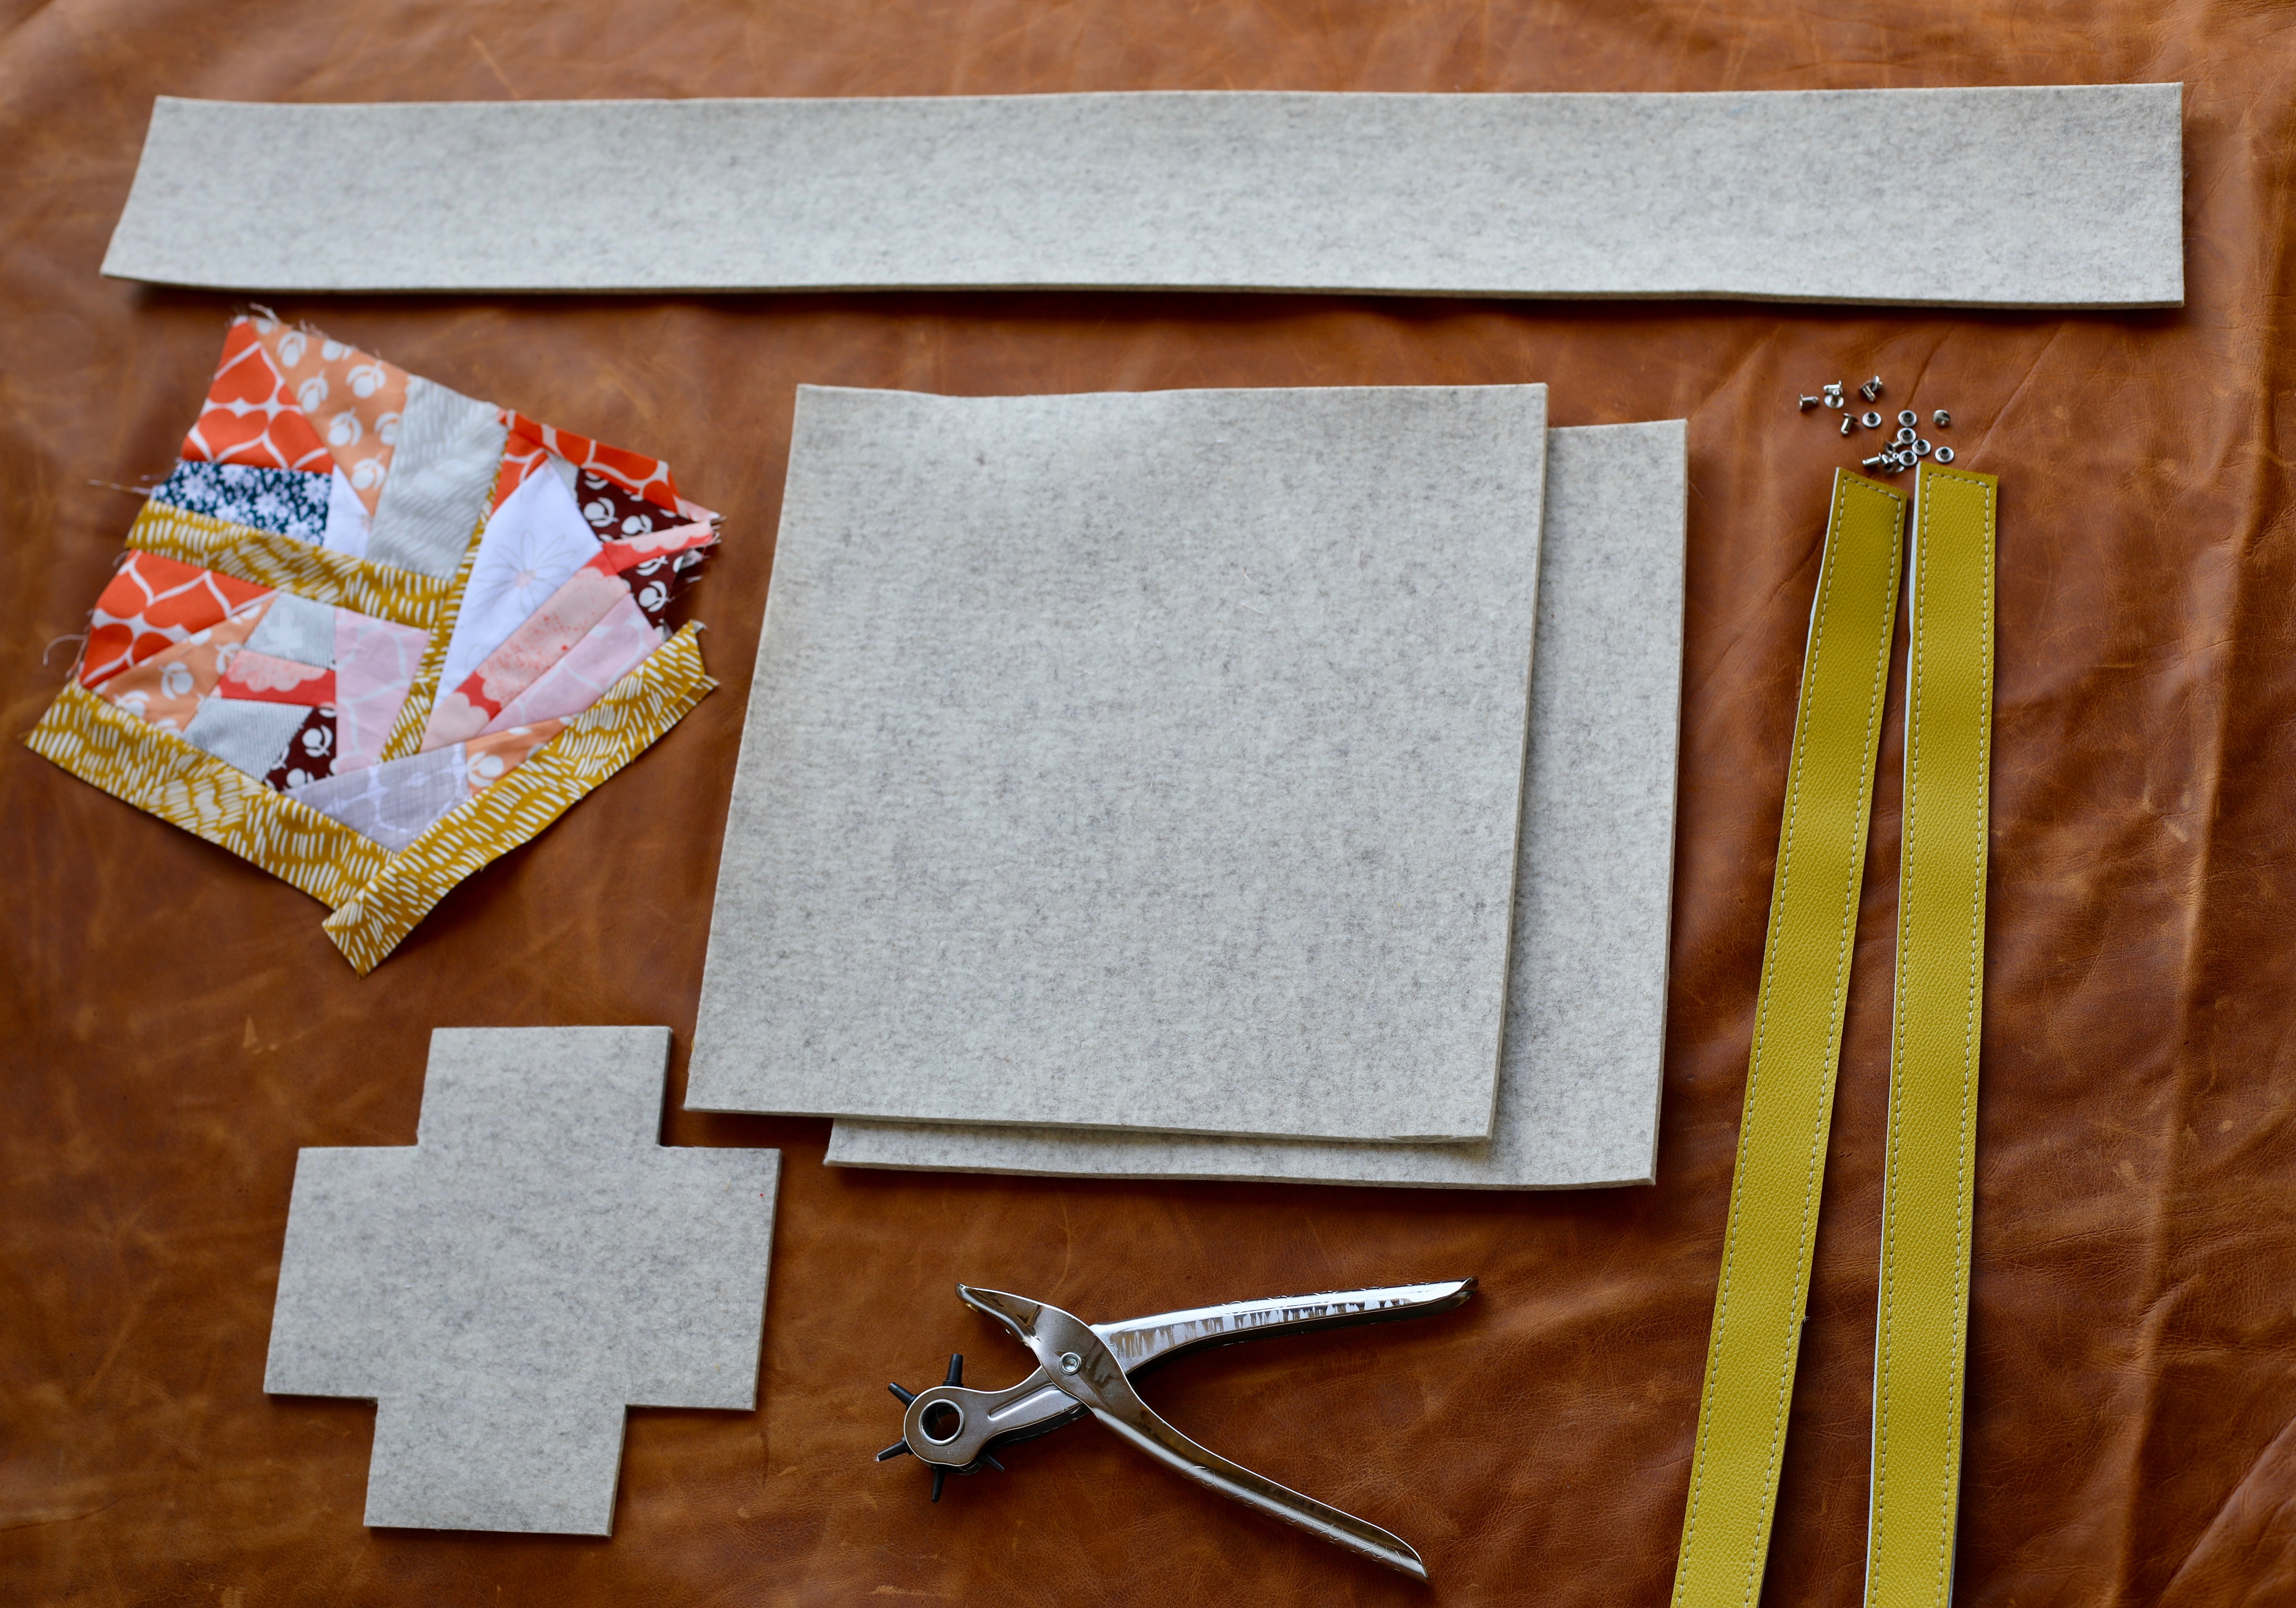
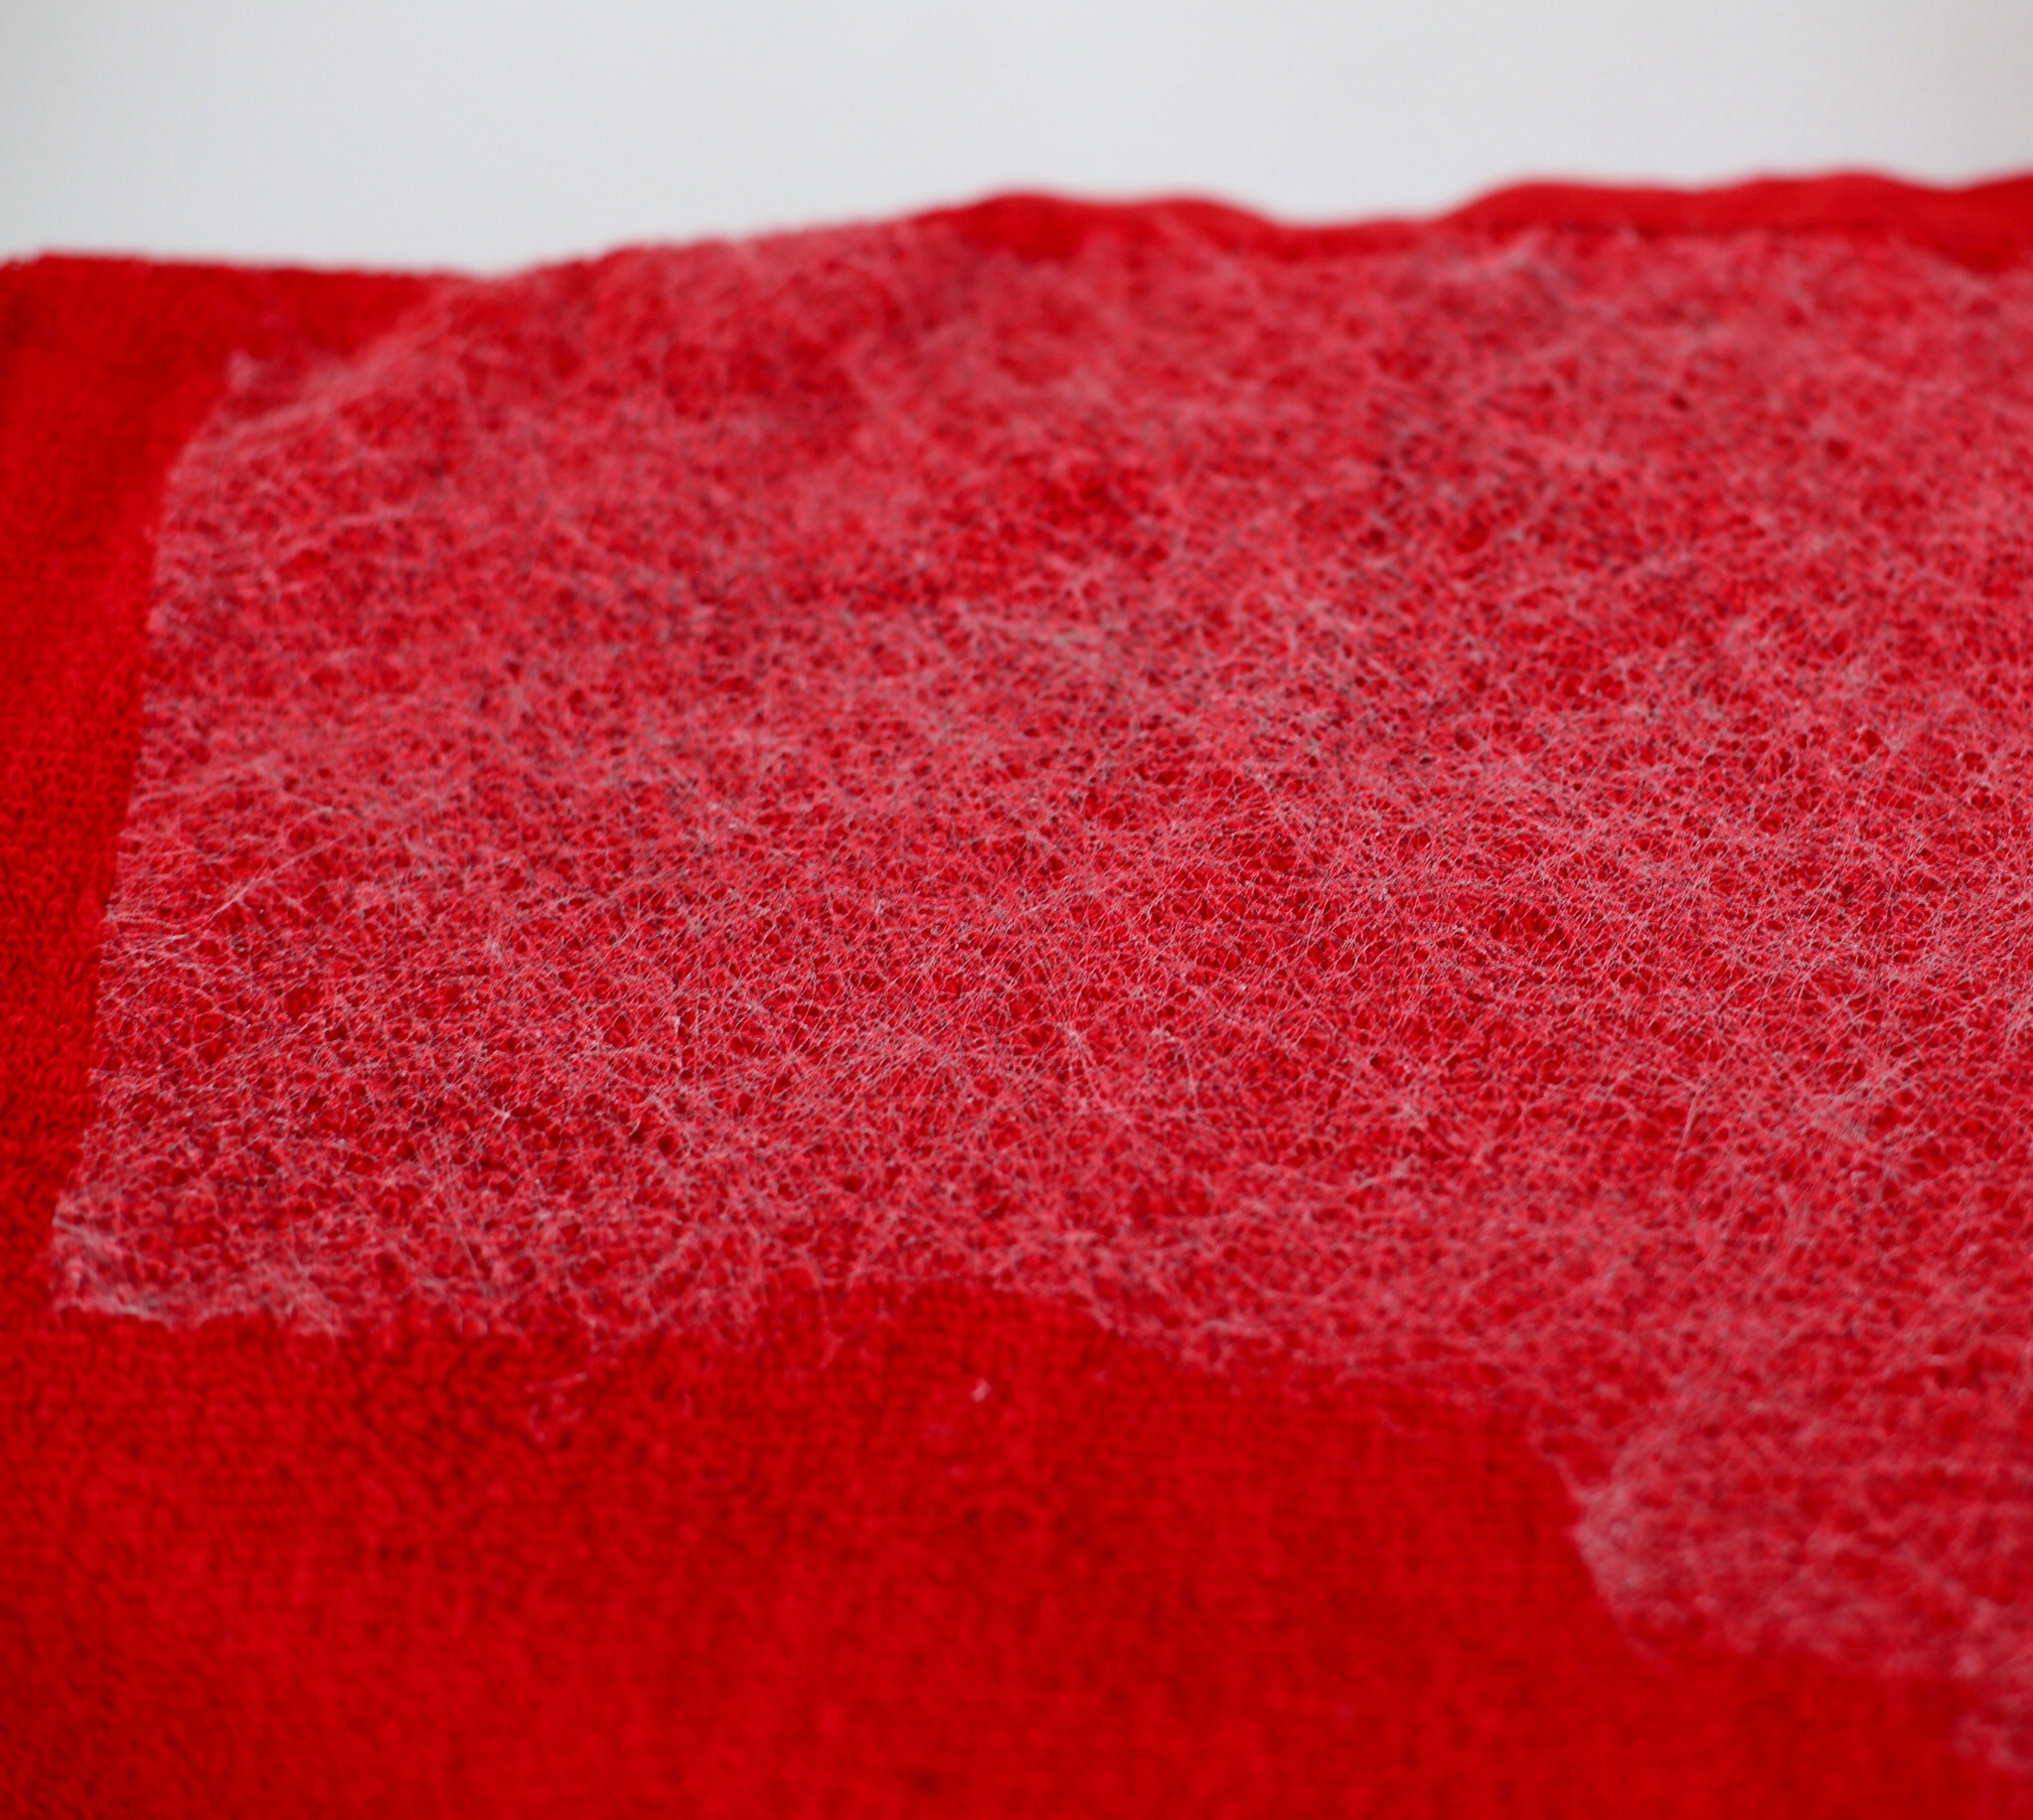
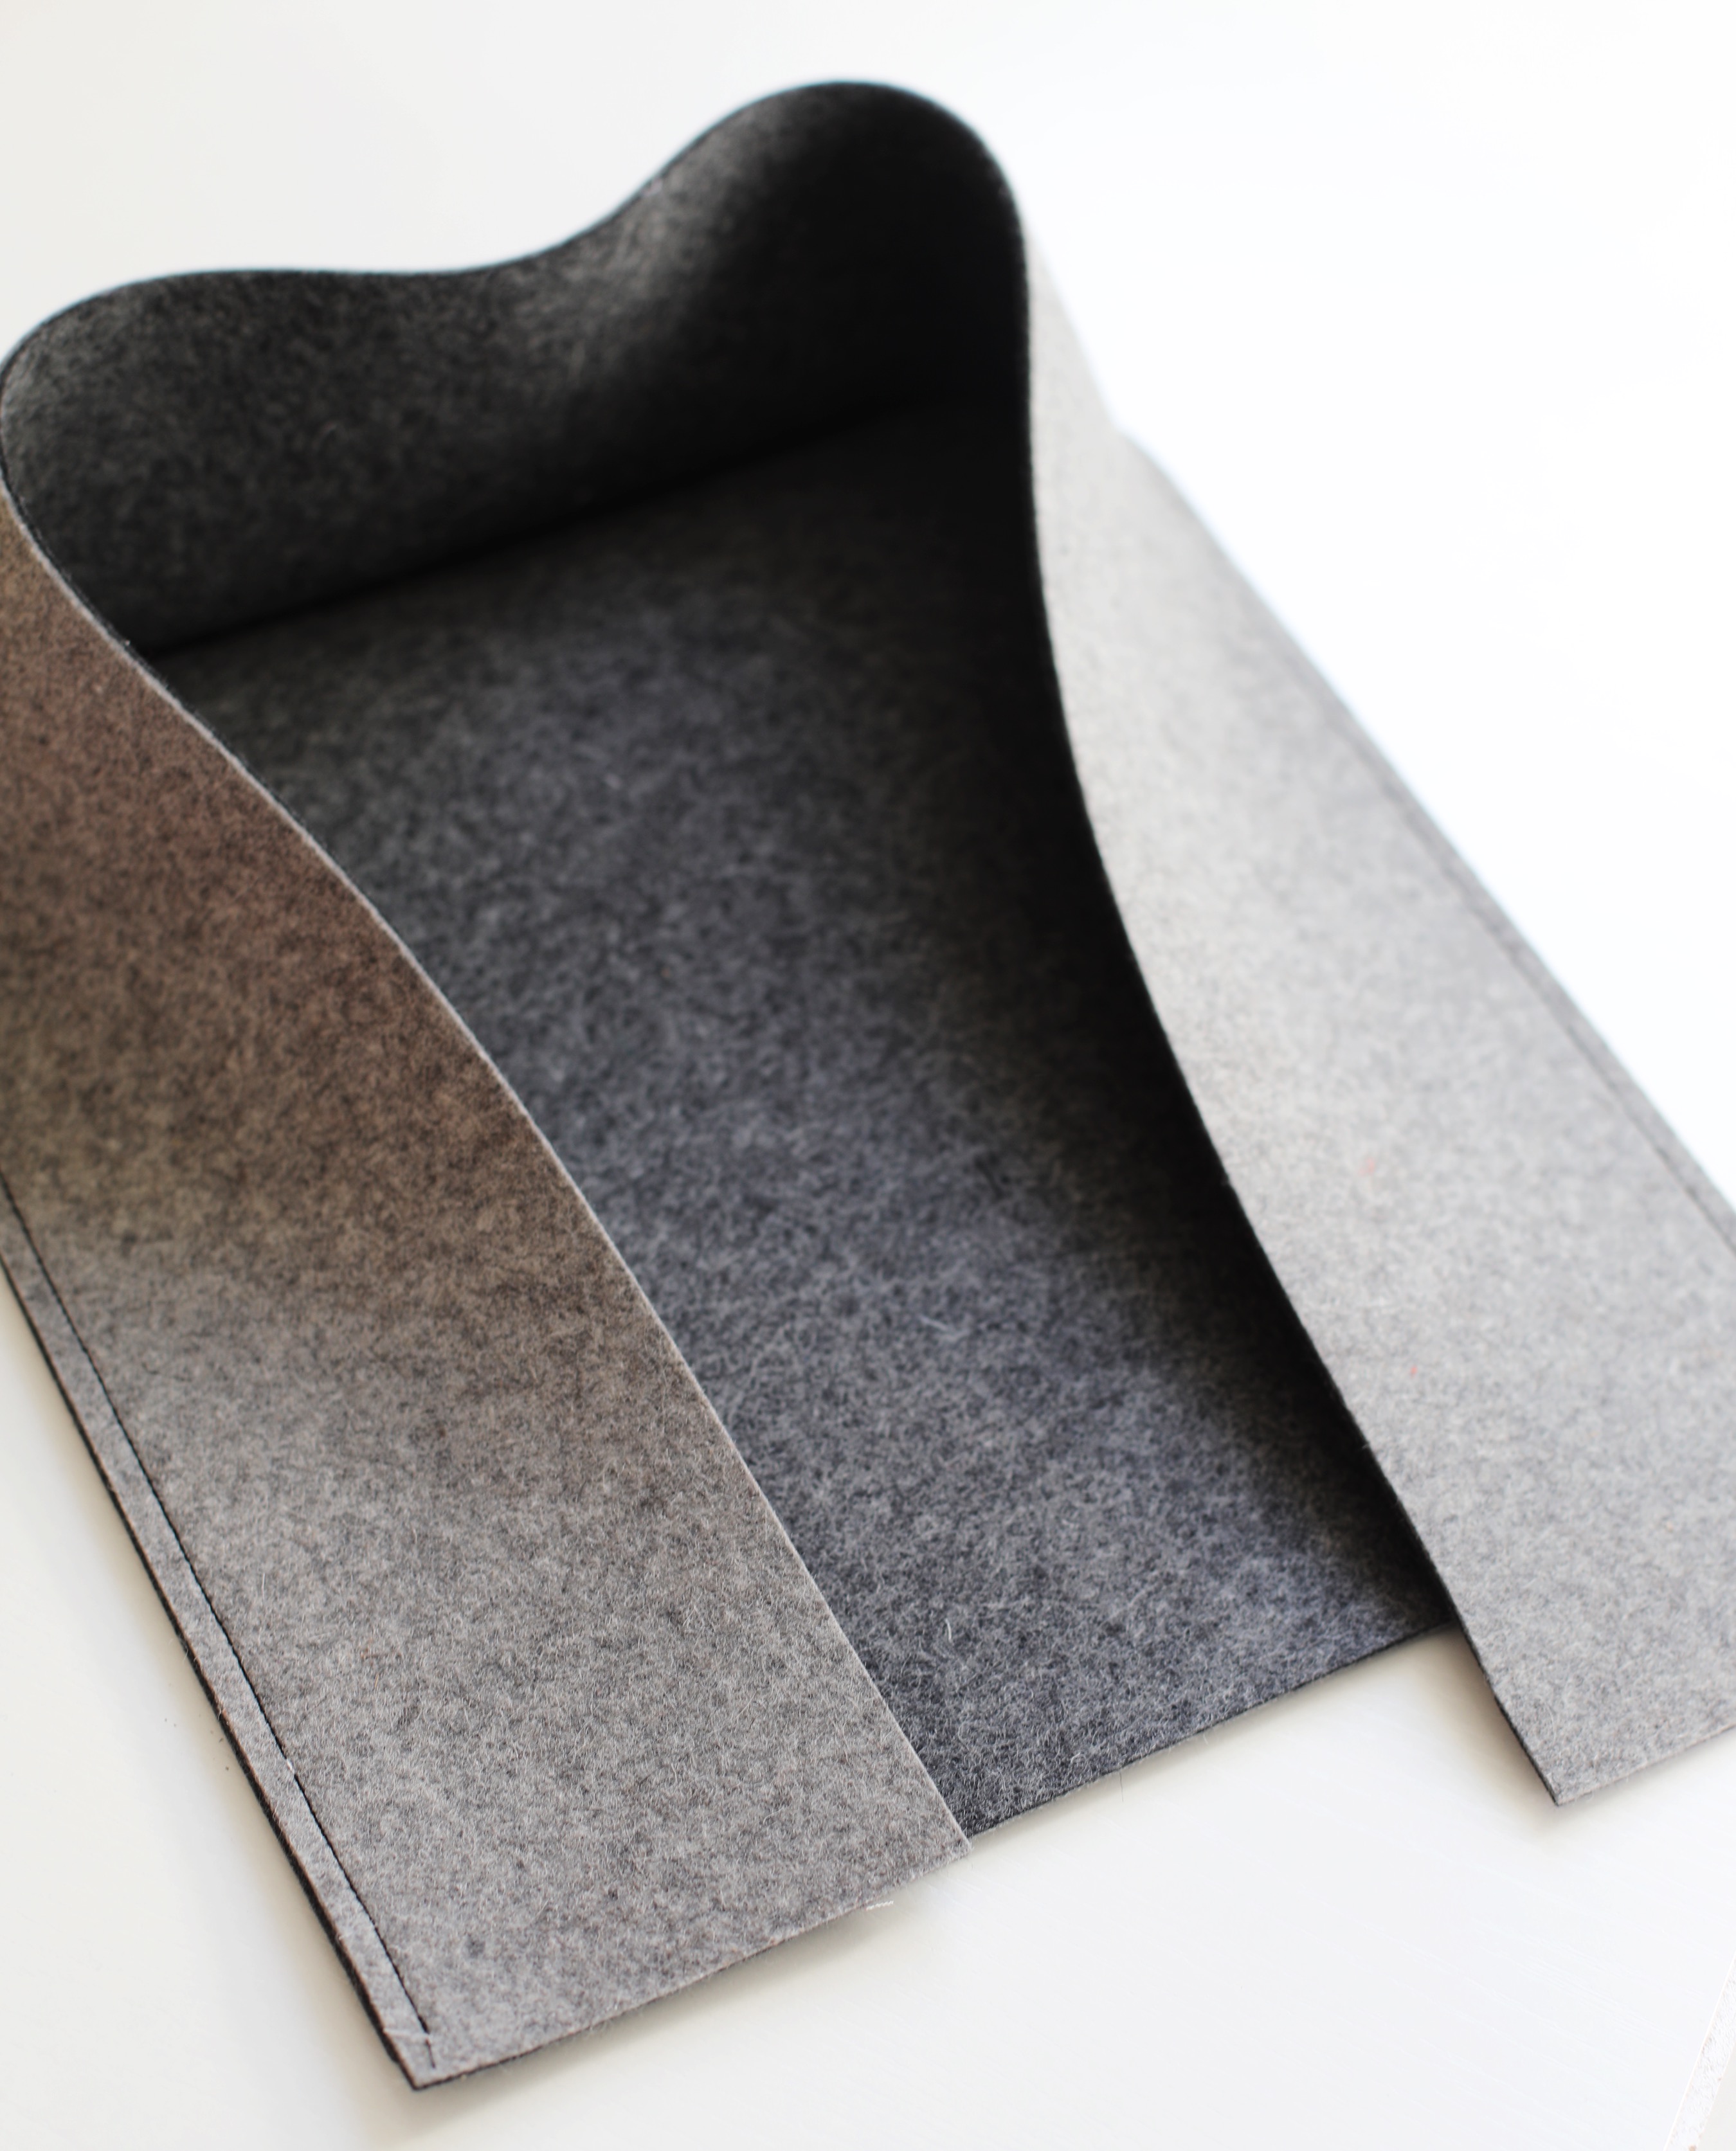
3 mm Felt ( I purchased mine from Aetna Felt www.aetnafelt.com . One 72” wide yard makes 2 1/2 bags. You can also use 5 mm felt but it is much harder on a domestic machine)
Pieces of thin scrap leather to use as adornment (It is important to use very thin suede or leather to make sewing on a domestic machine easier)
Fabric Marker (I like Dritz Disappearing Ink pen or chalk pencils)
Quilter’s Ruler
Rotary Cutter
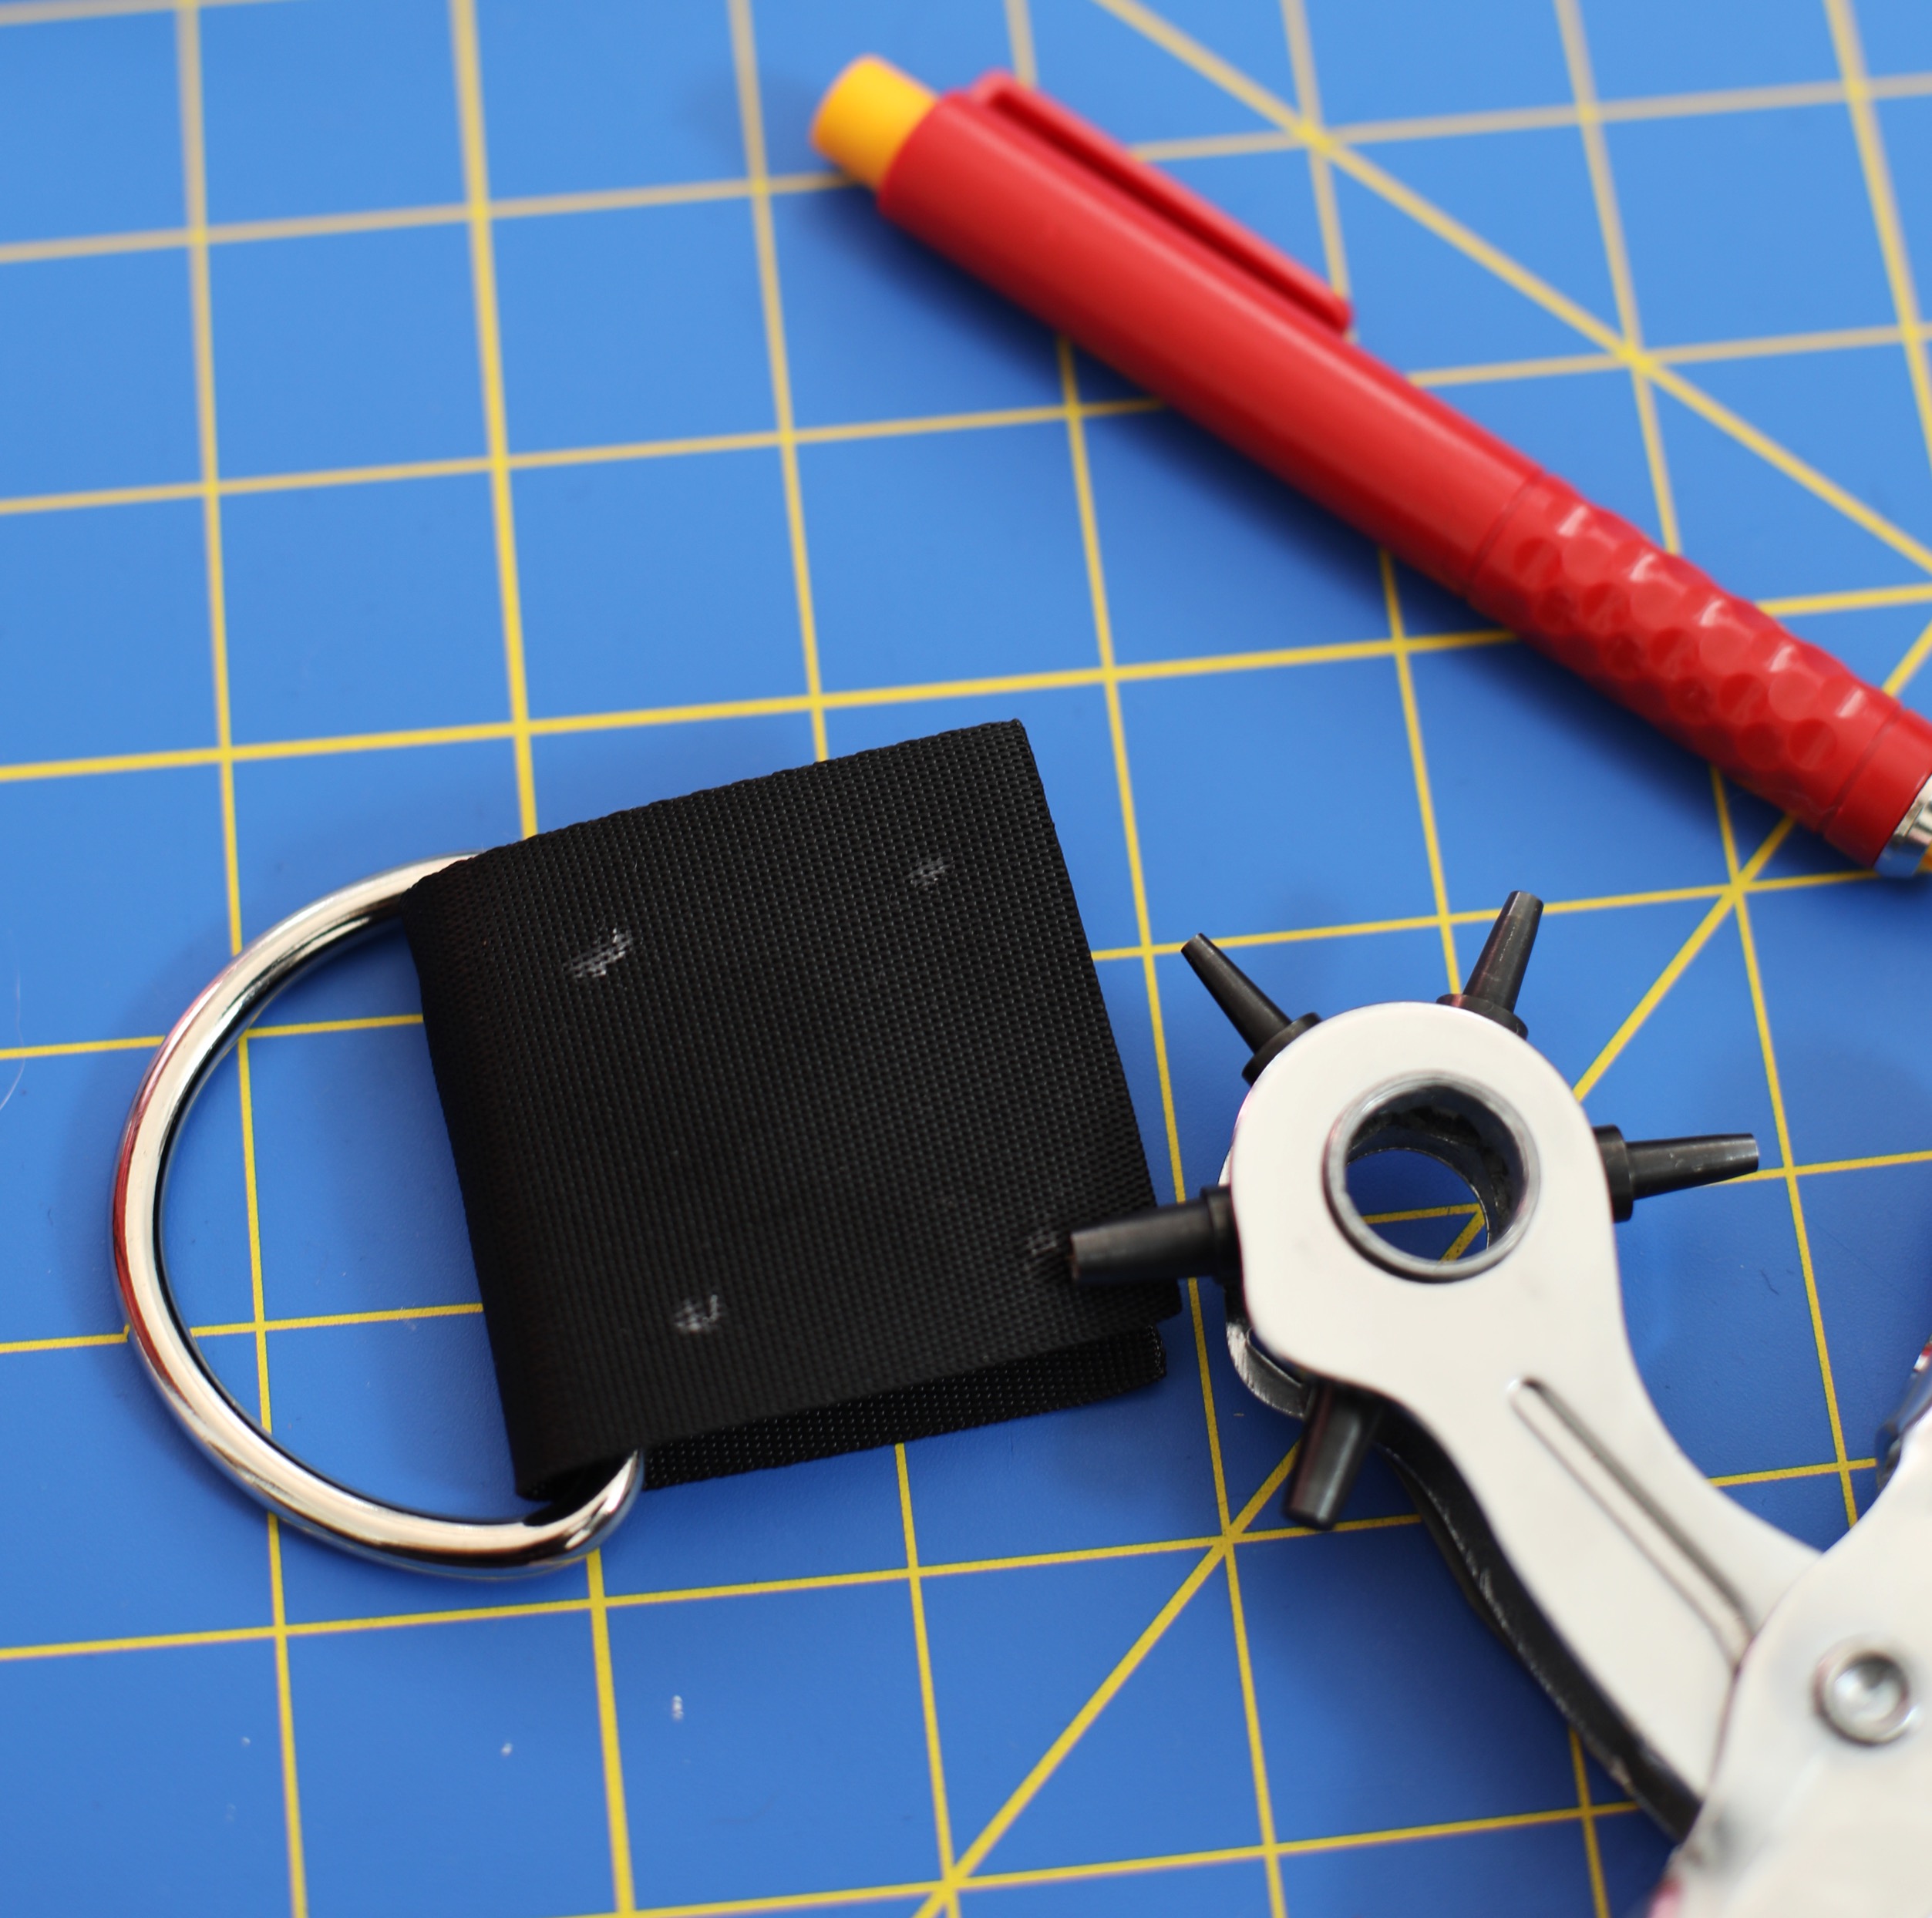
Leather Hole Punch
Small Sized Rivets and Rivet Setter(If you are uncomfortable with rivet setting, screw in rivets are a nice alternative and if you chose to use 5mm thick wool, I recommend medium sized rivets)
Thread (thick upholstery thread is ideal but I honestly use what I have around)
Fabric-Tac Glue
Two 2 inch metal D rings
One 2 inch metal Slide Adjuster
2 yards of 2 inch Black Nylon Webbing
One magnetic bag closure set
Leather Needle and Walking Foot or Teflon Foot for your Machine
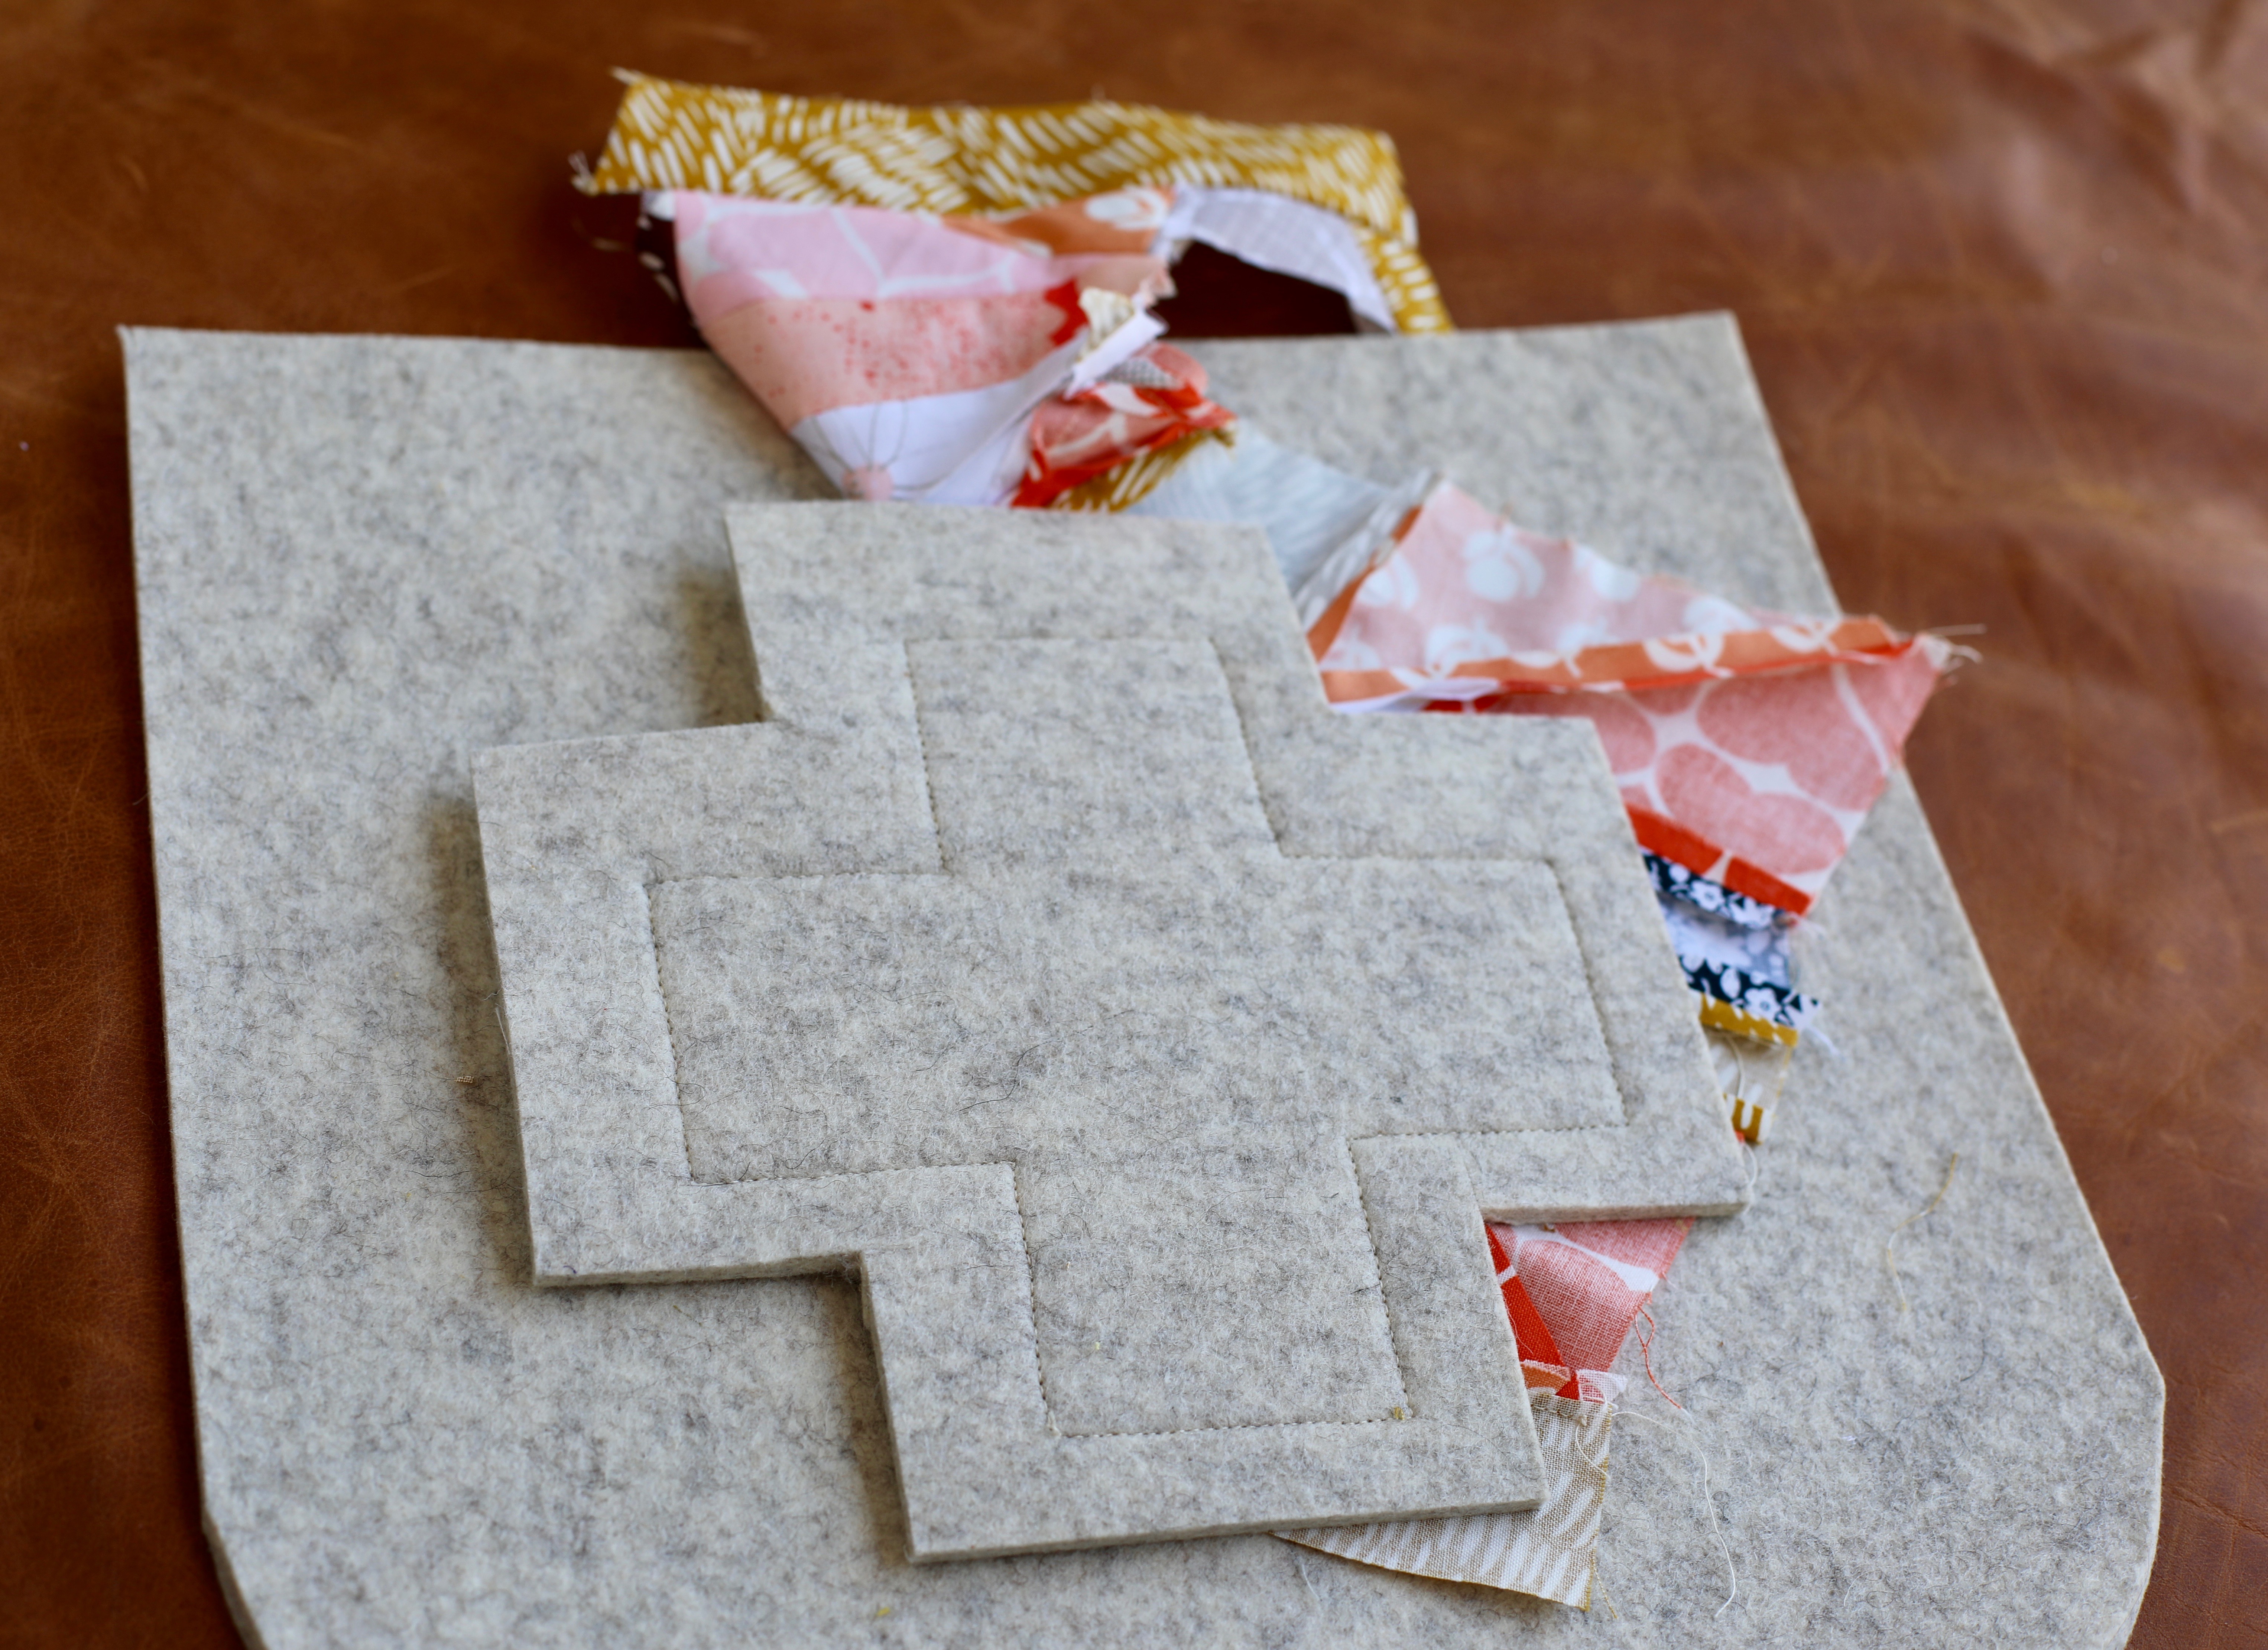
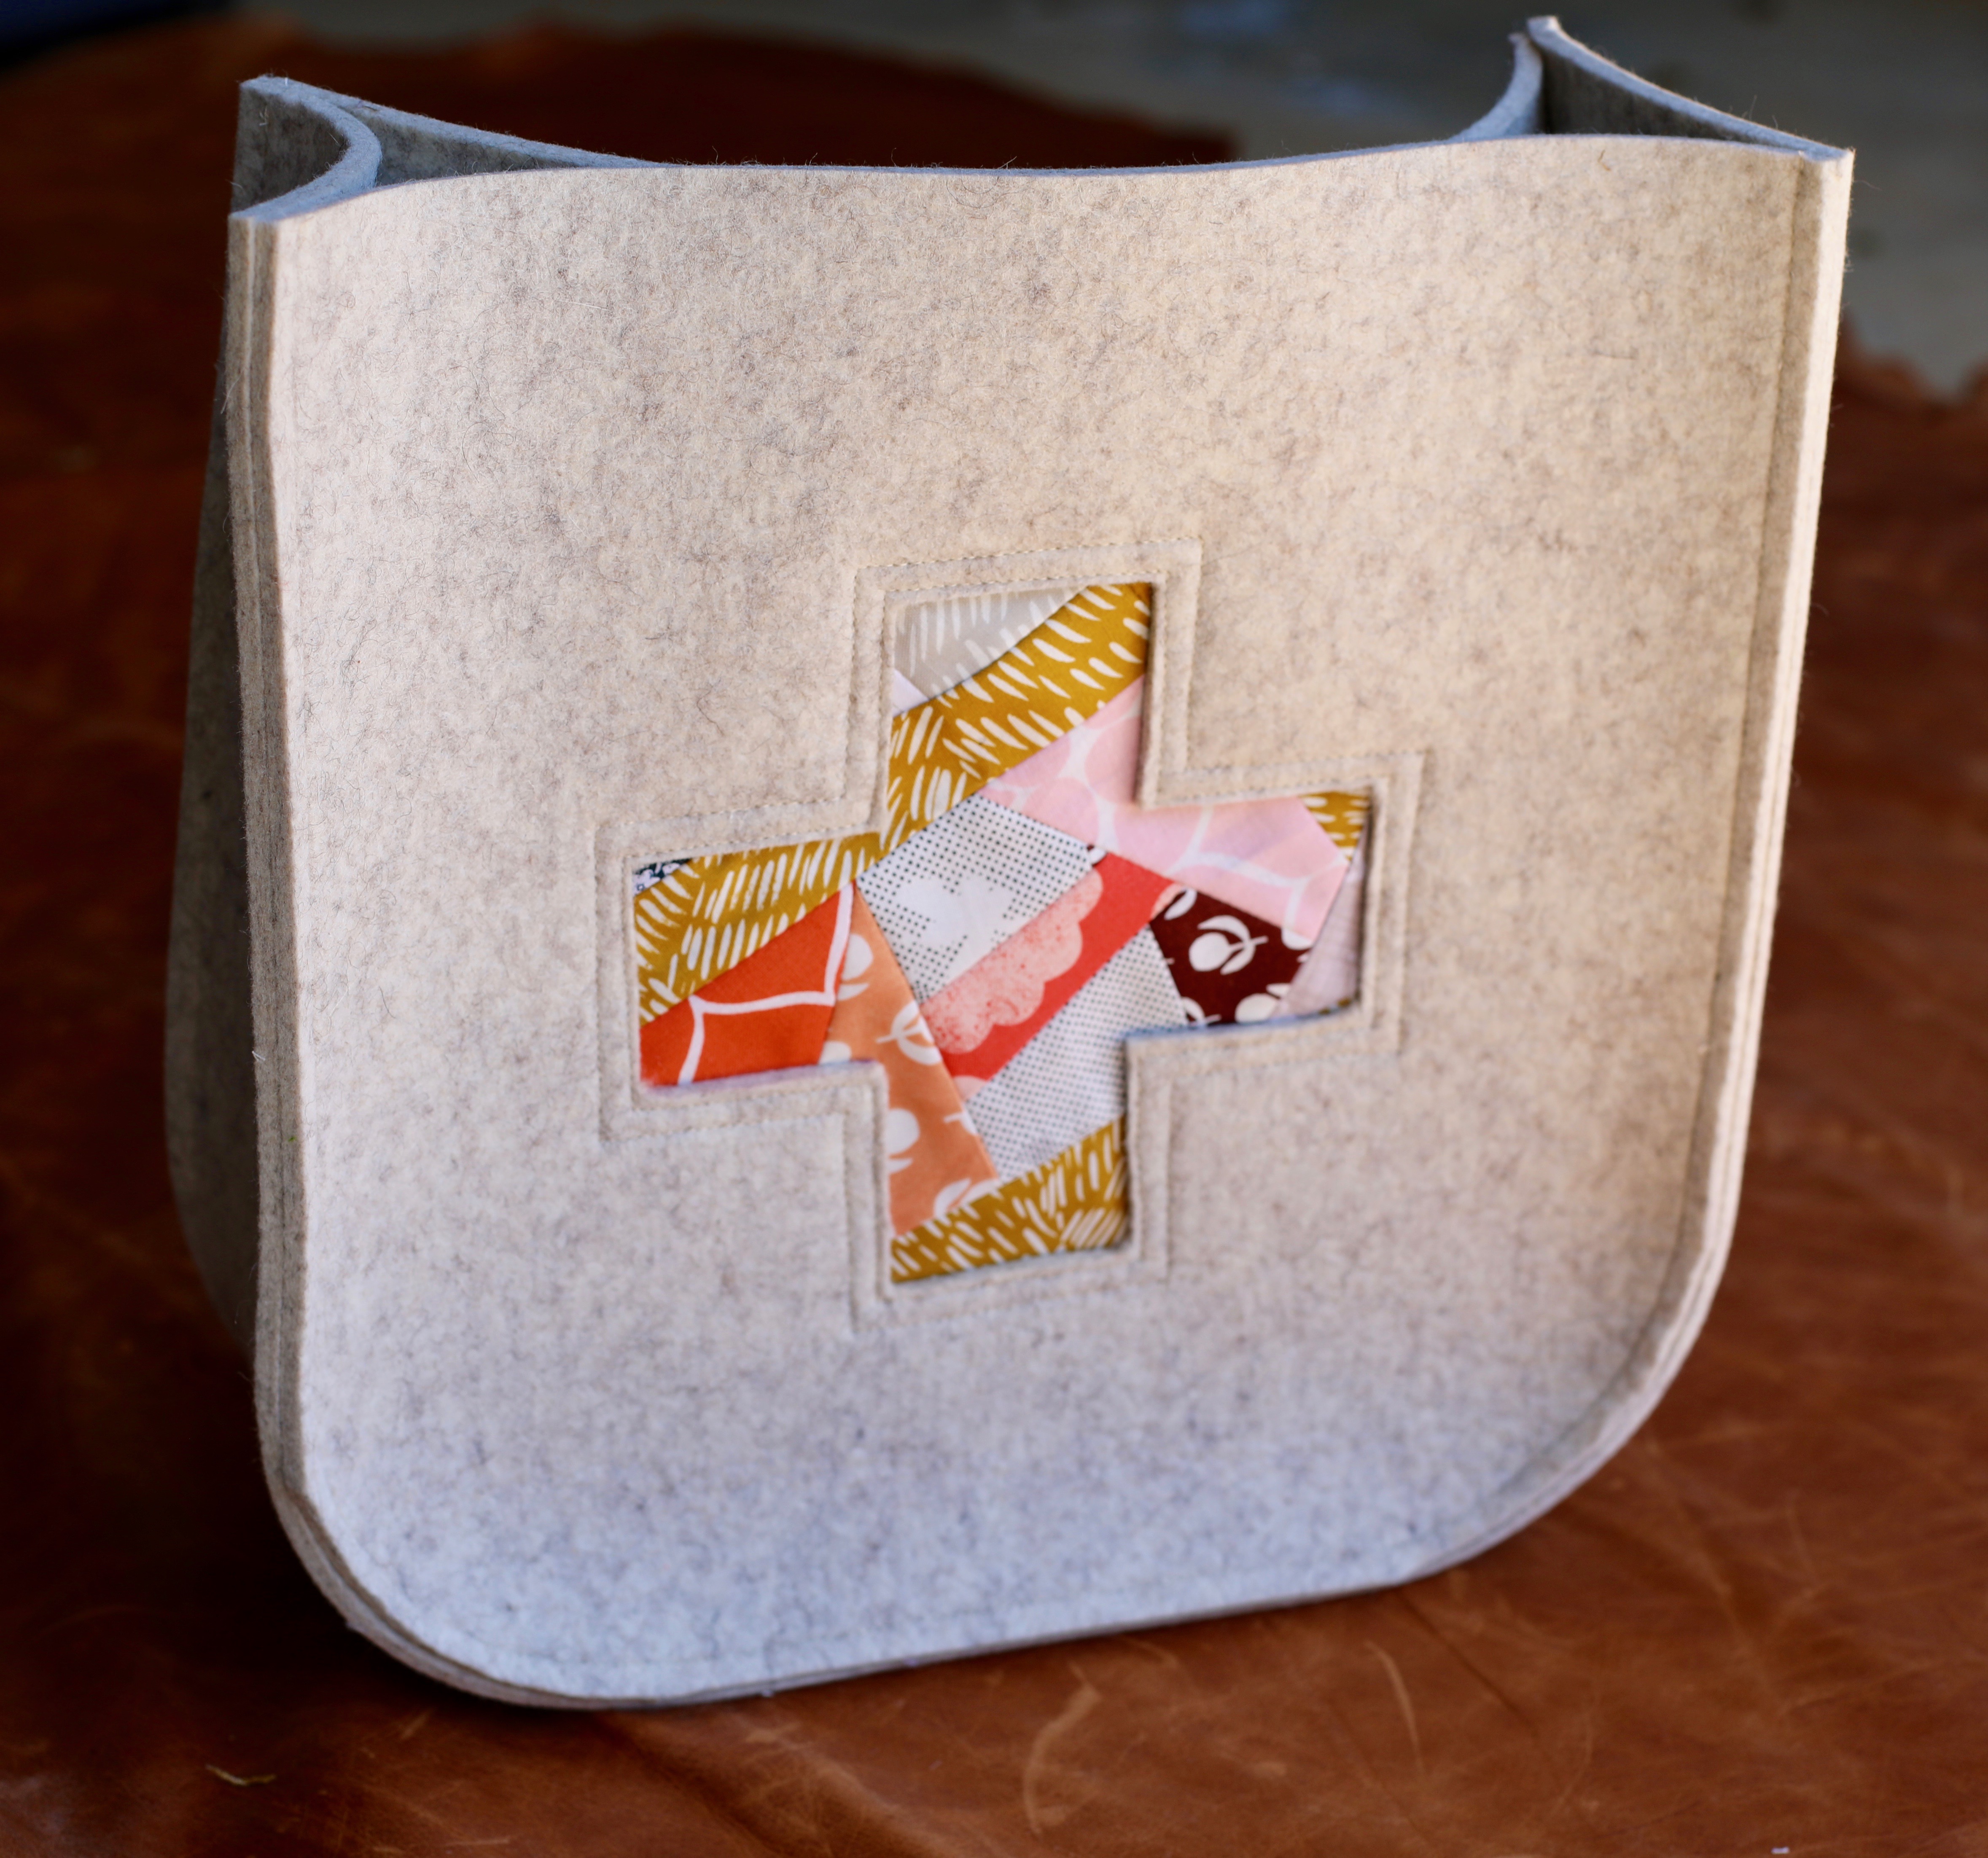
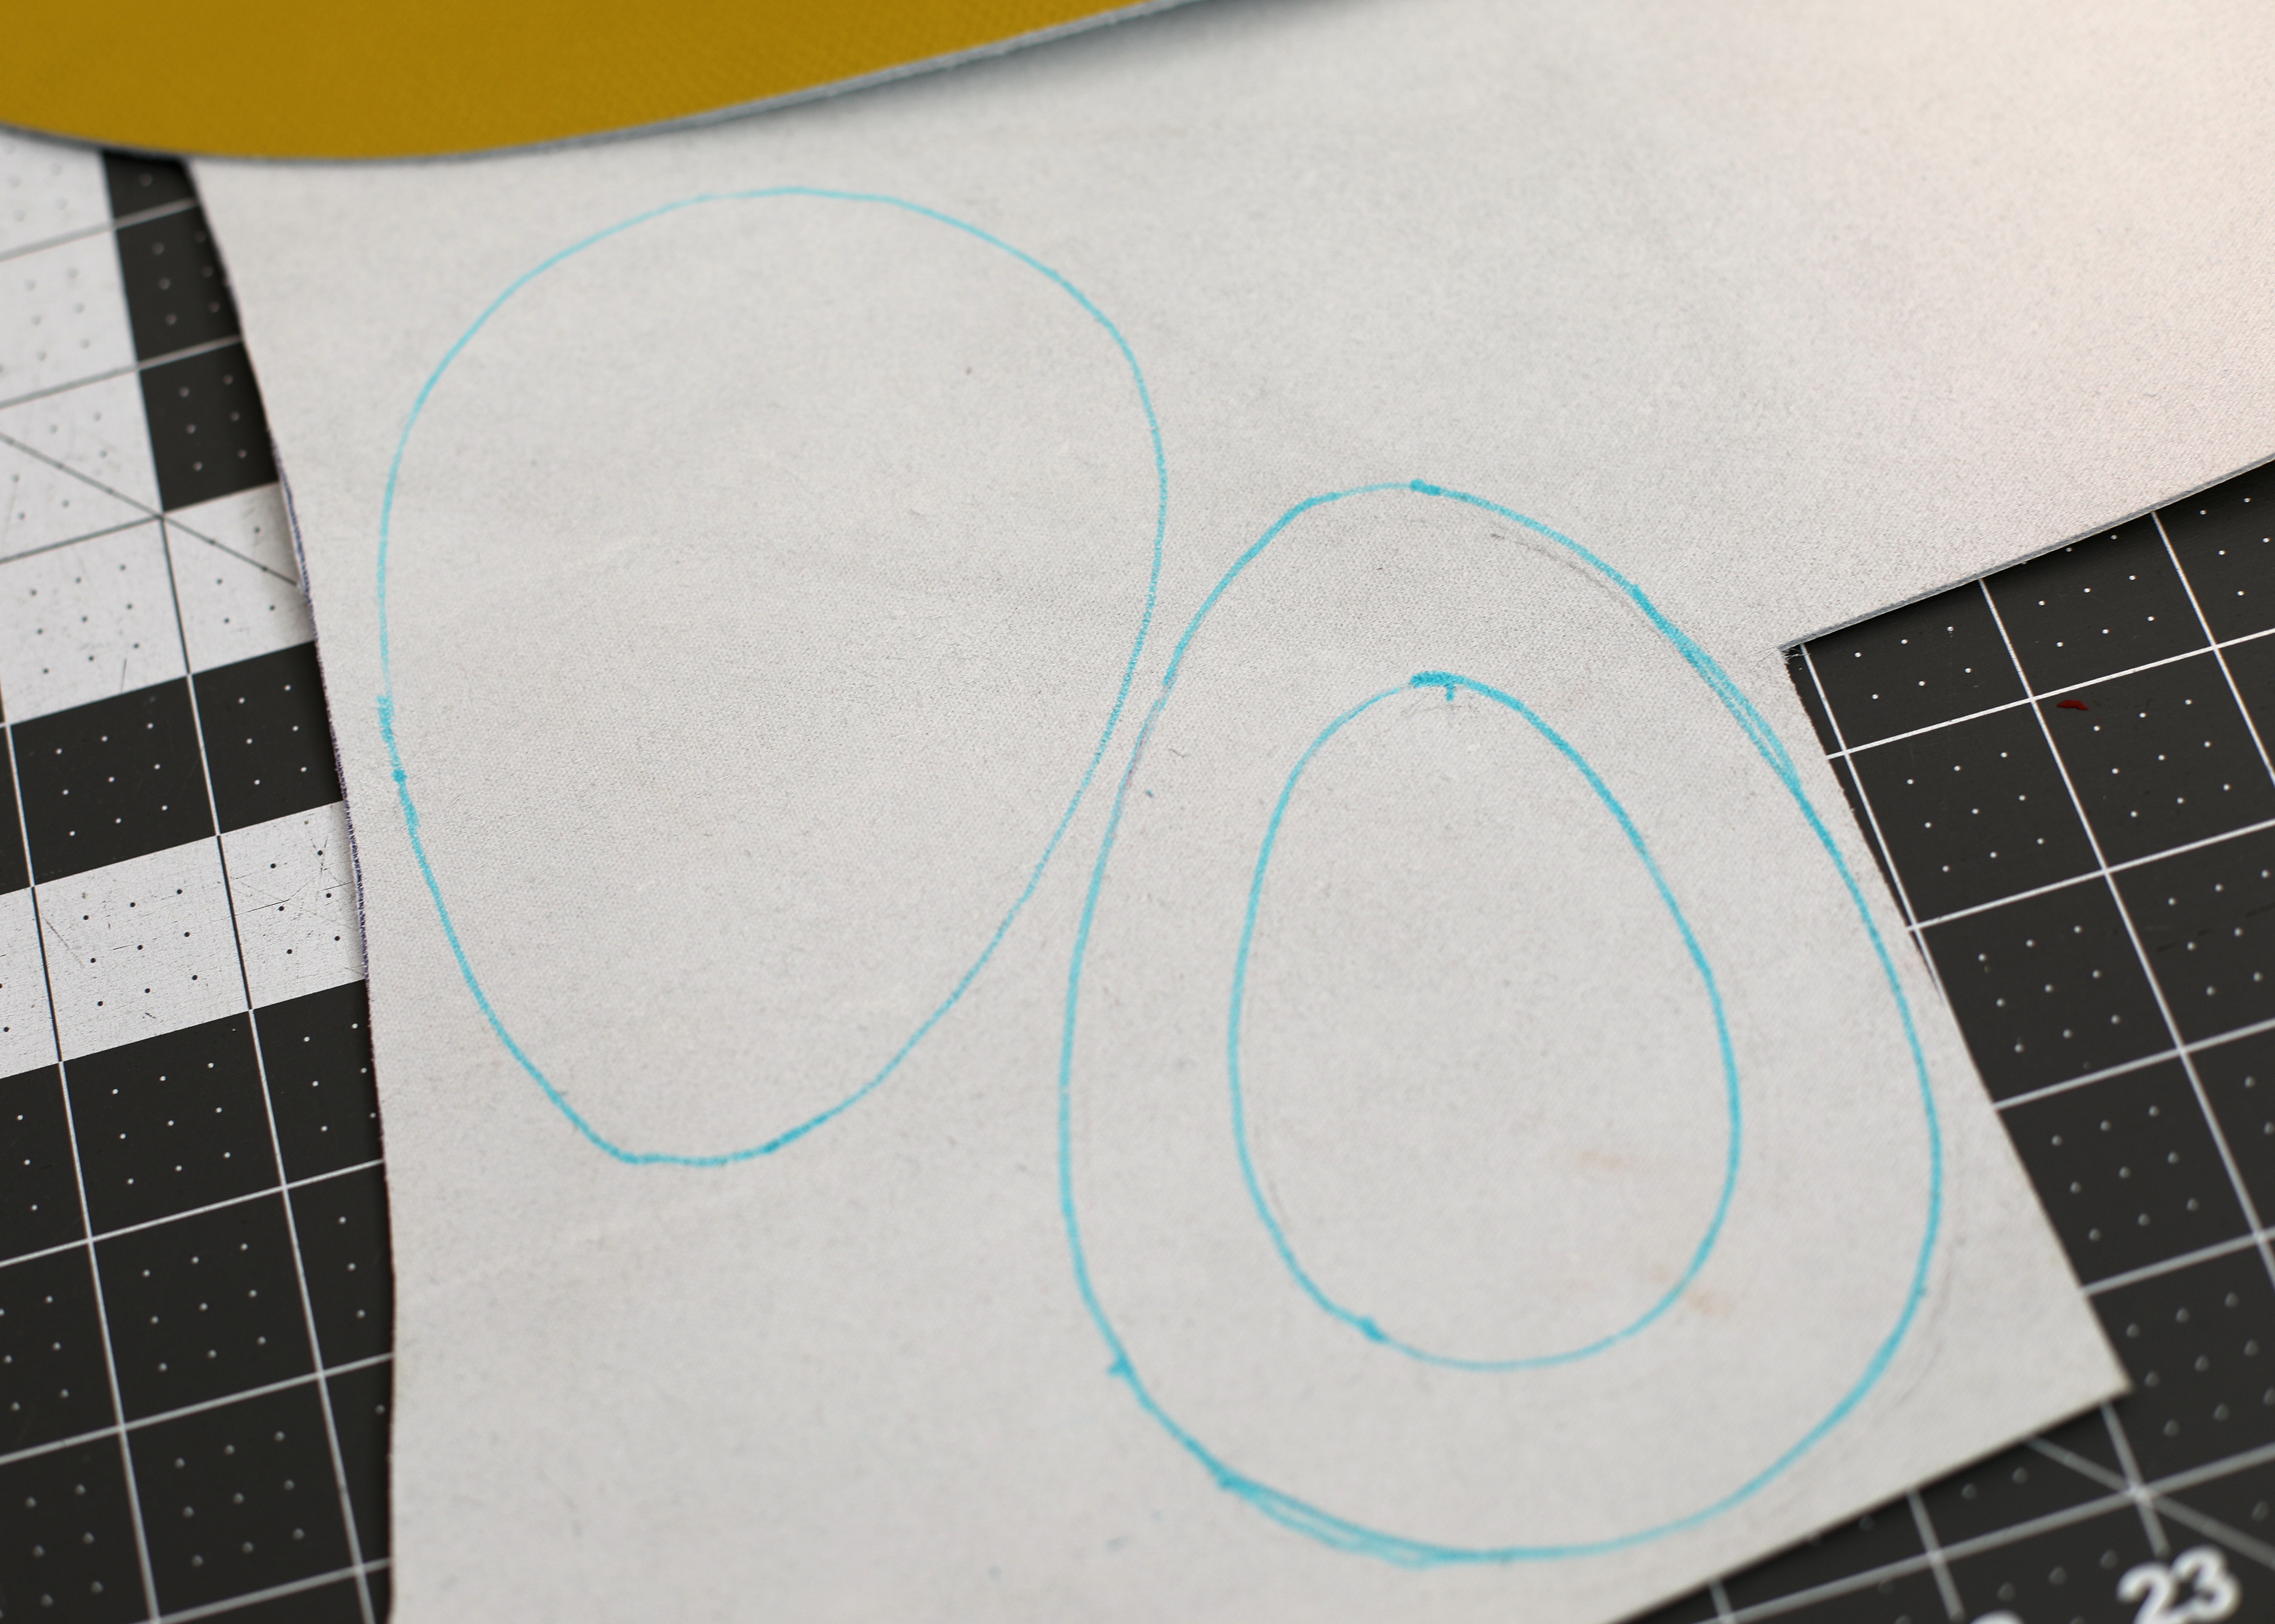
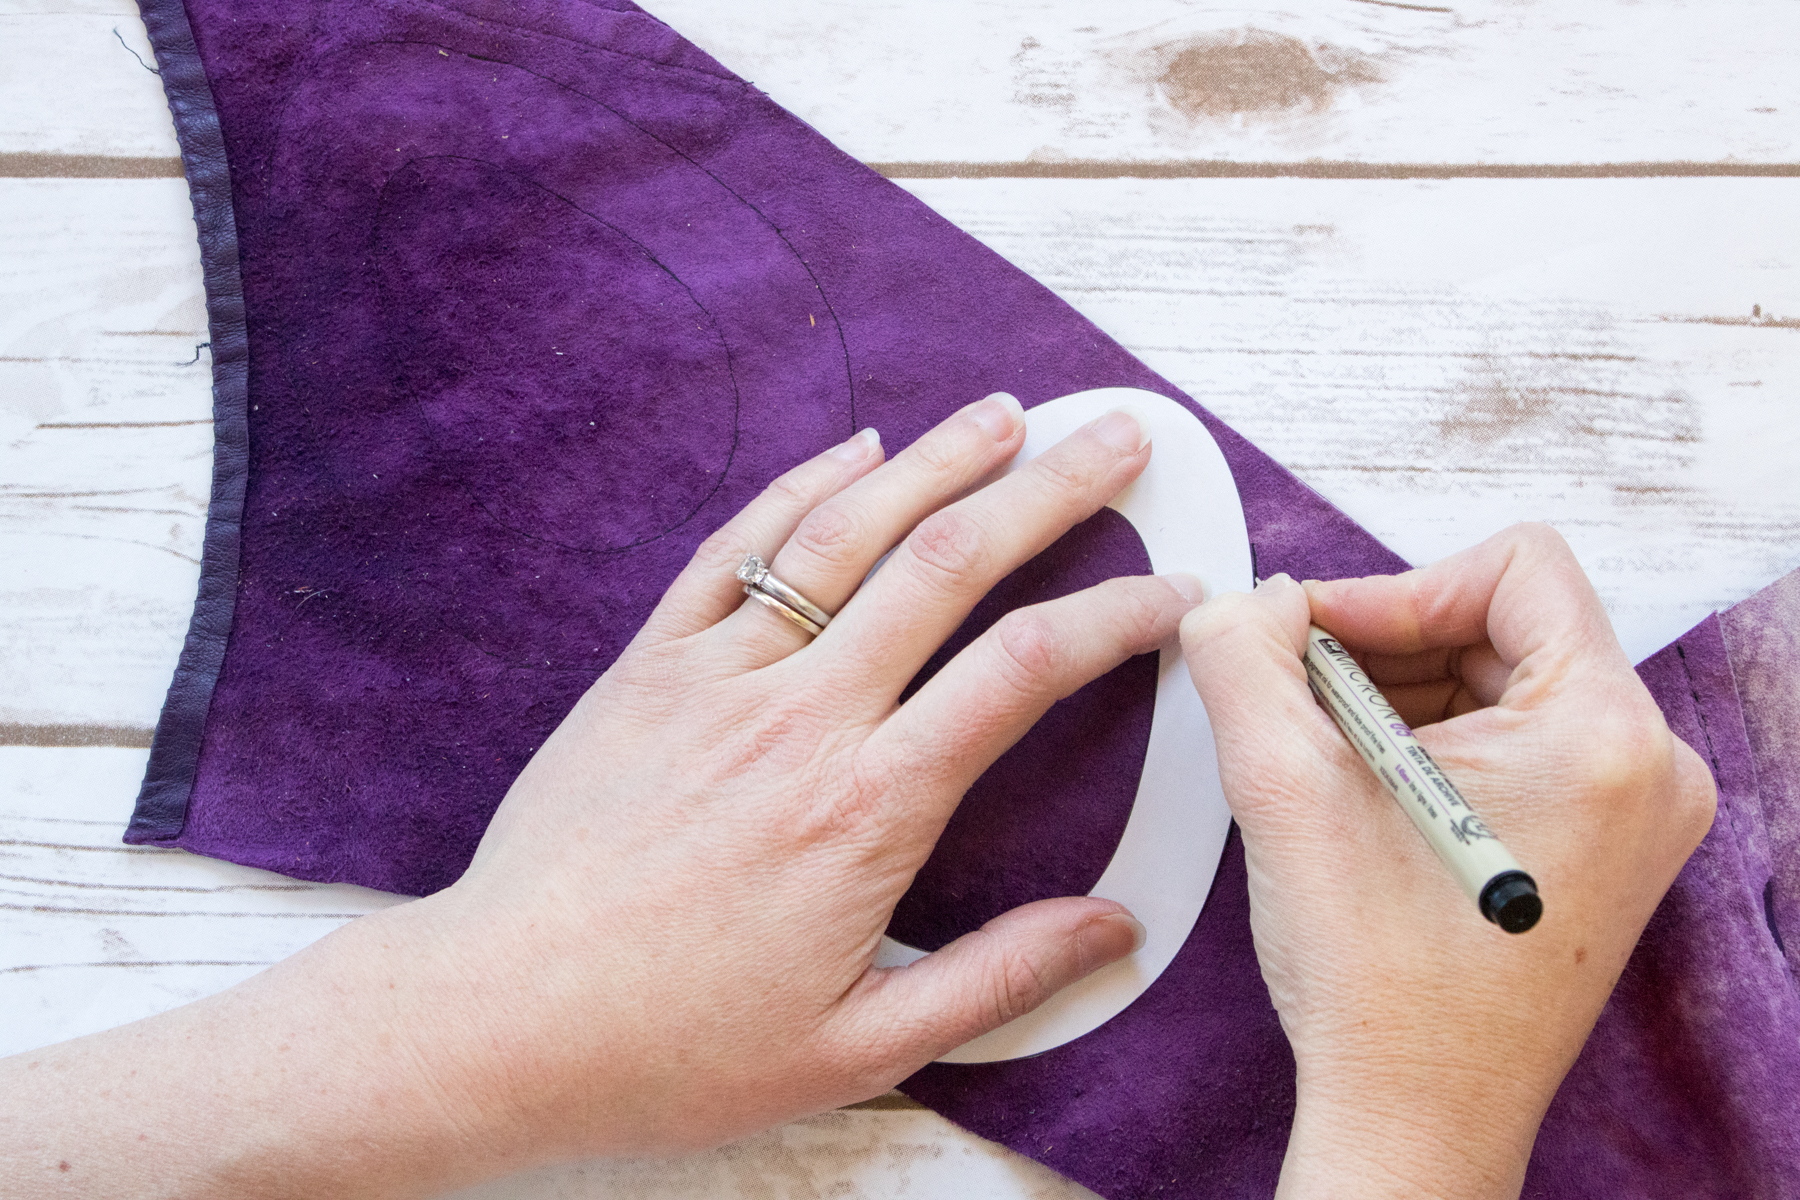
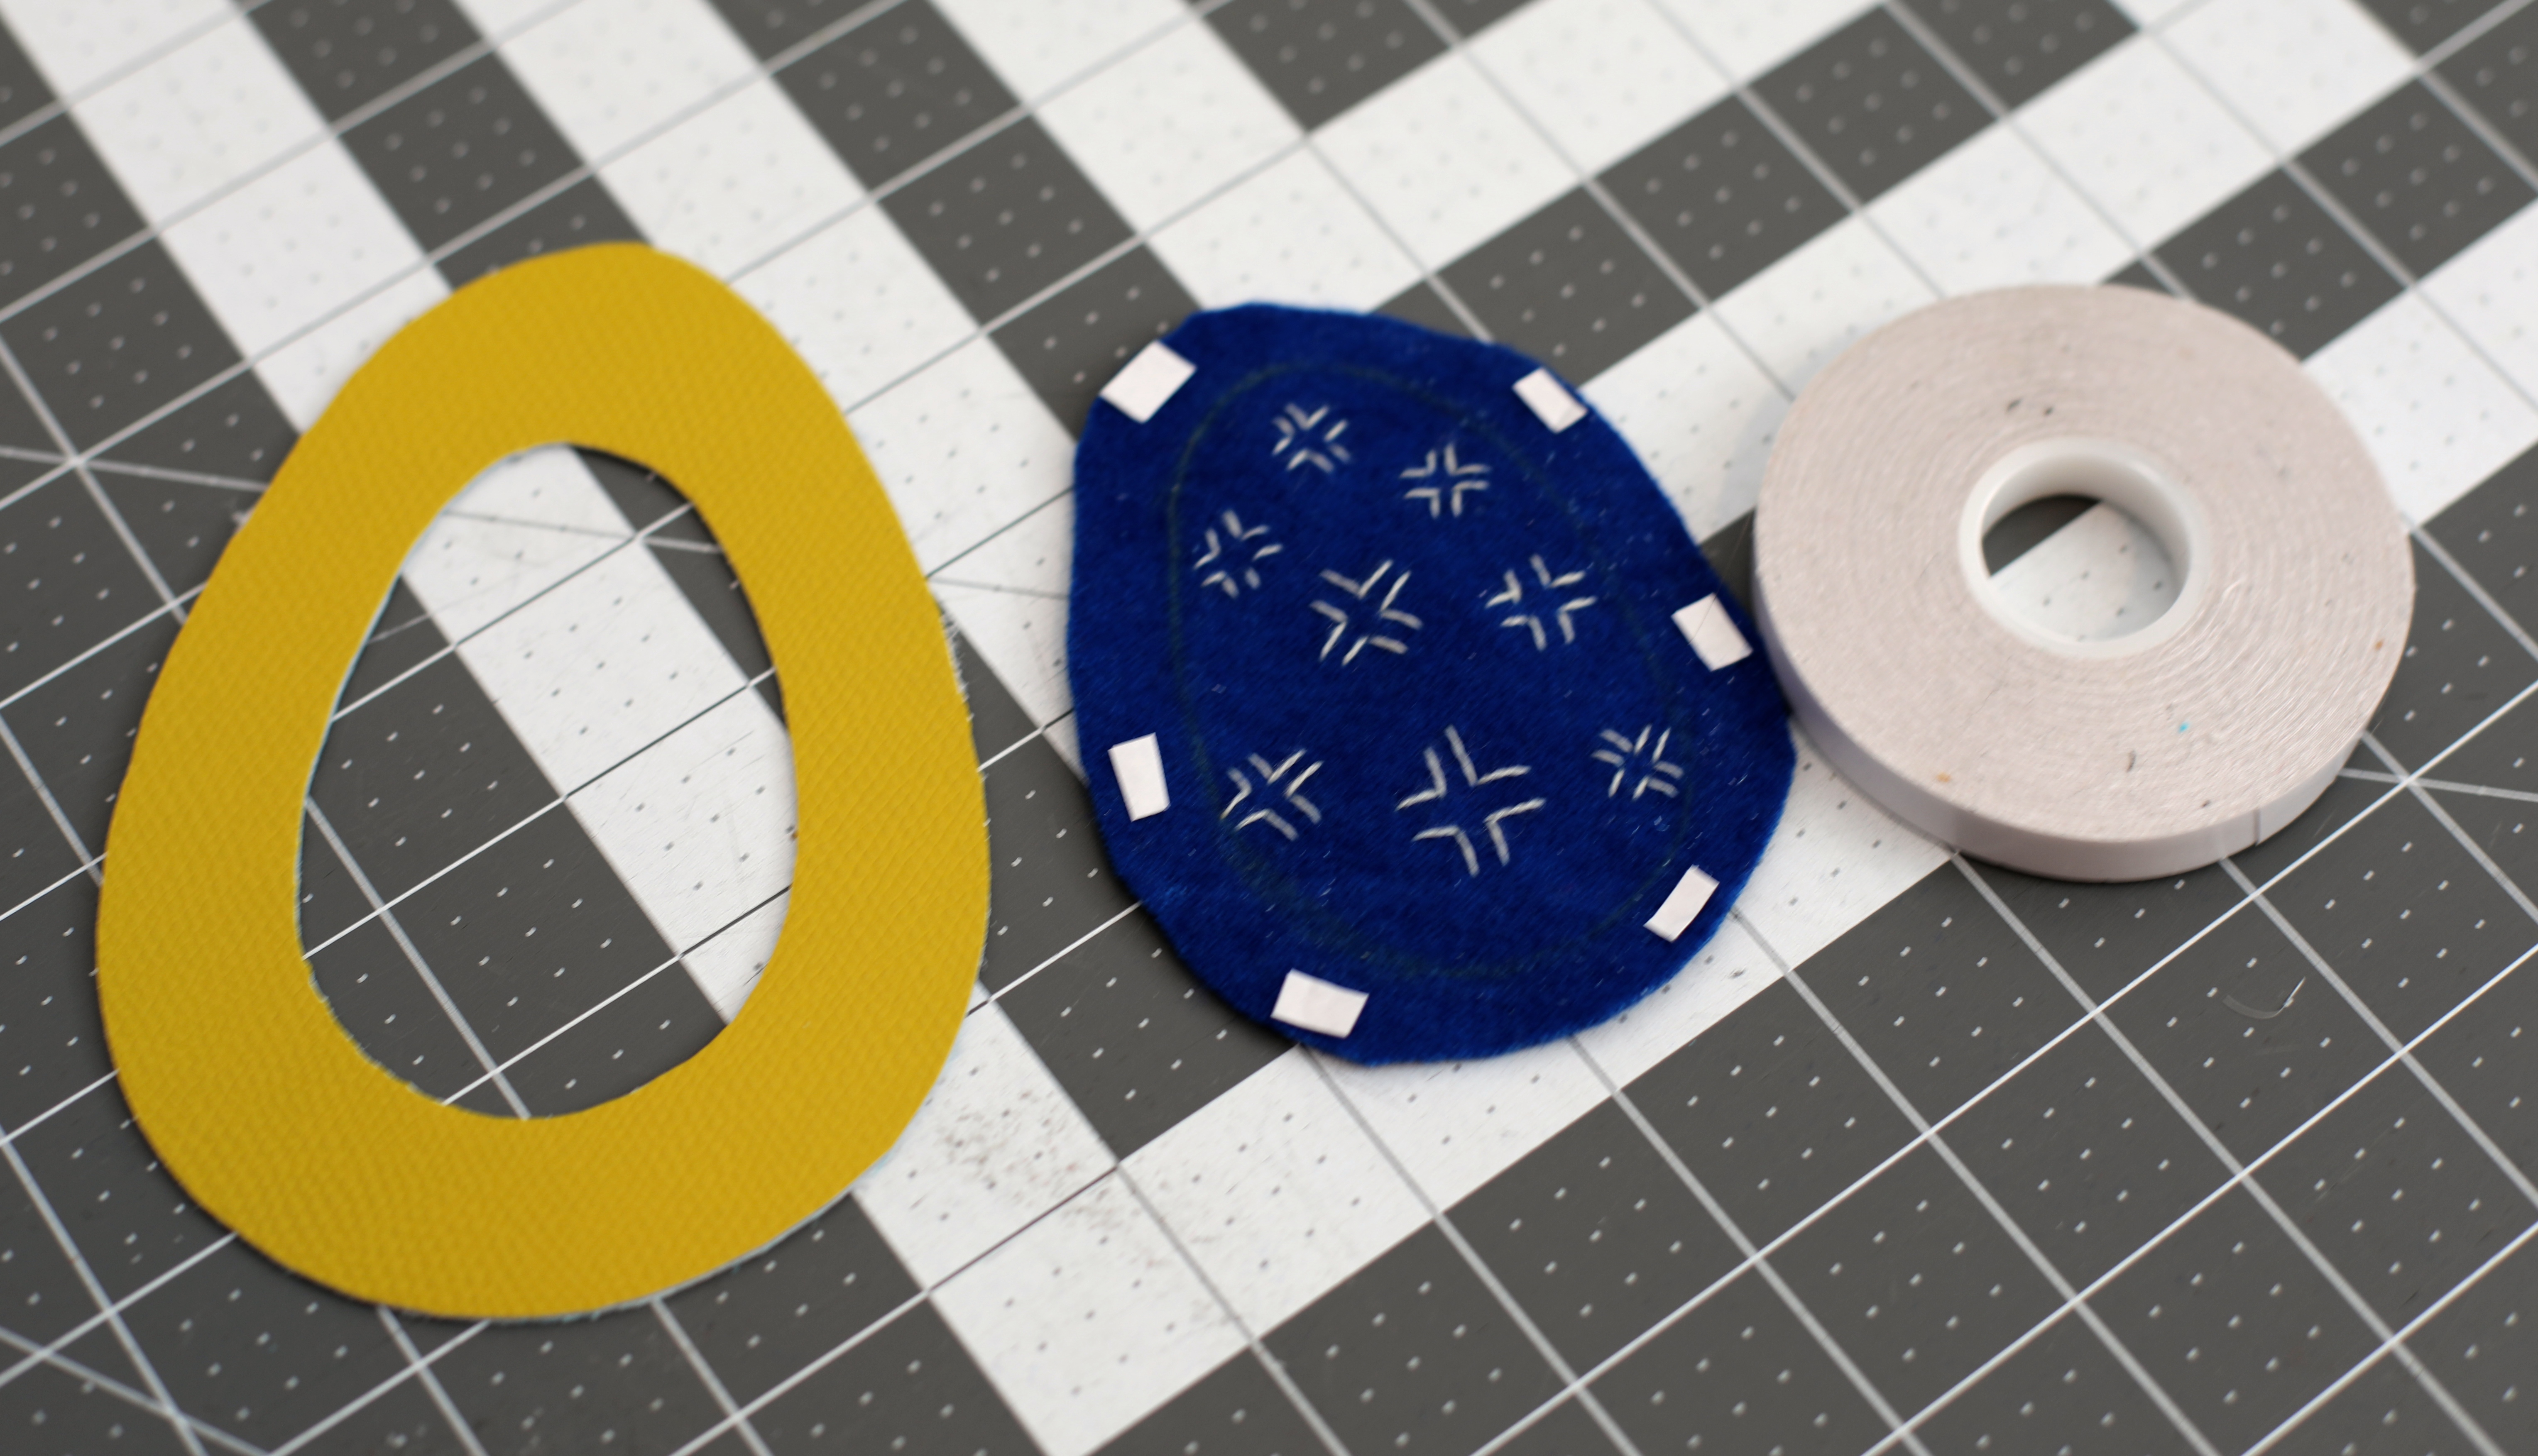
Step One: Prepare your leather design and cut out your Felt Pieces
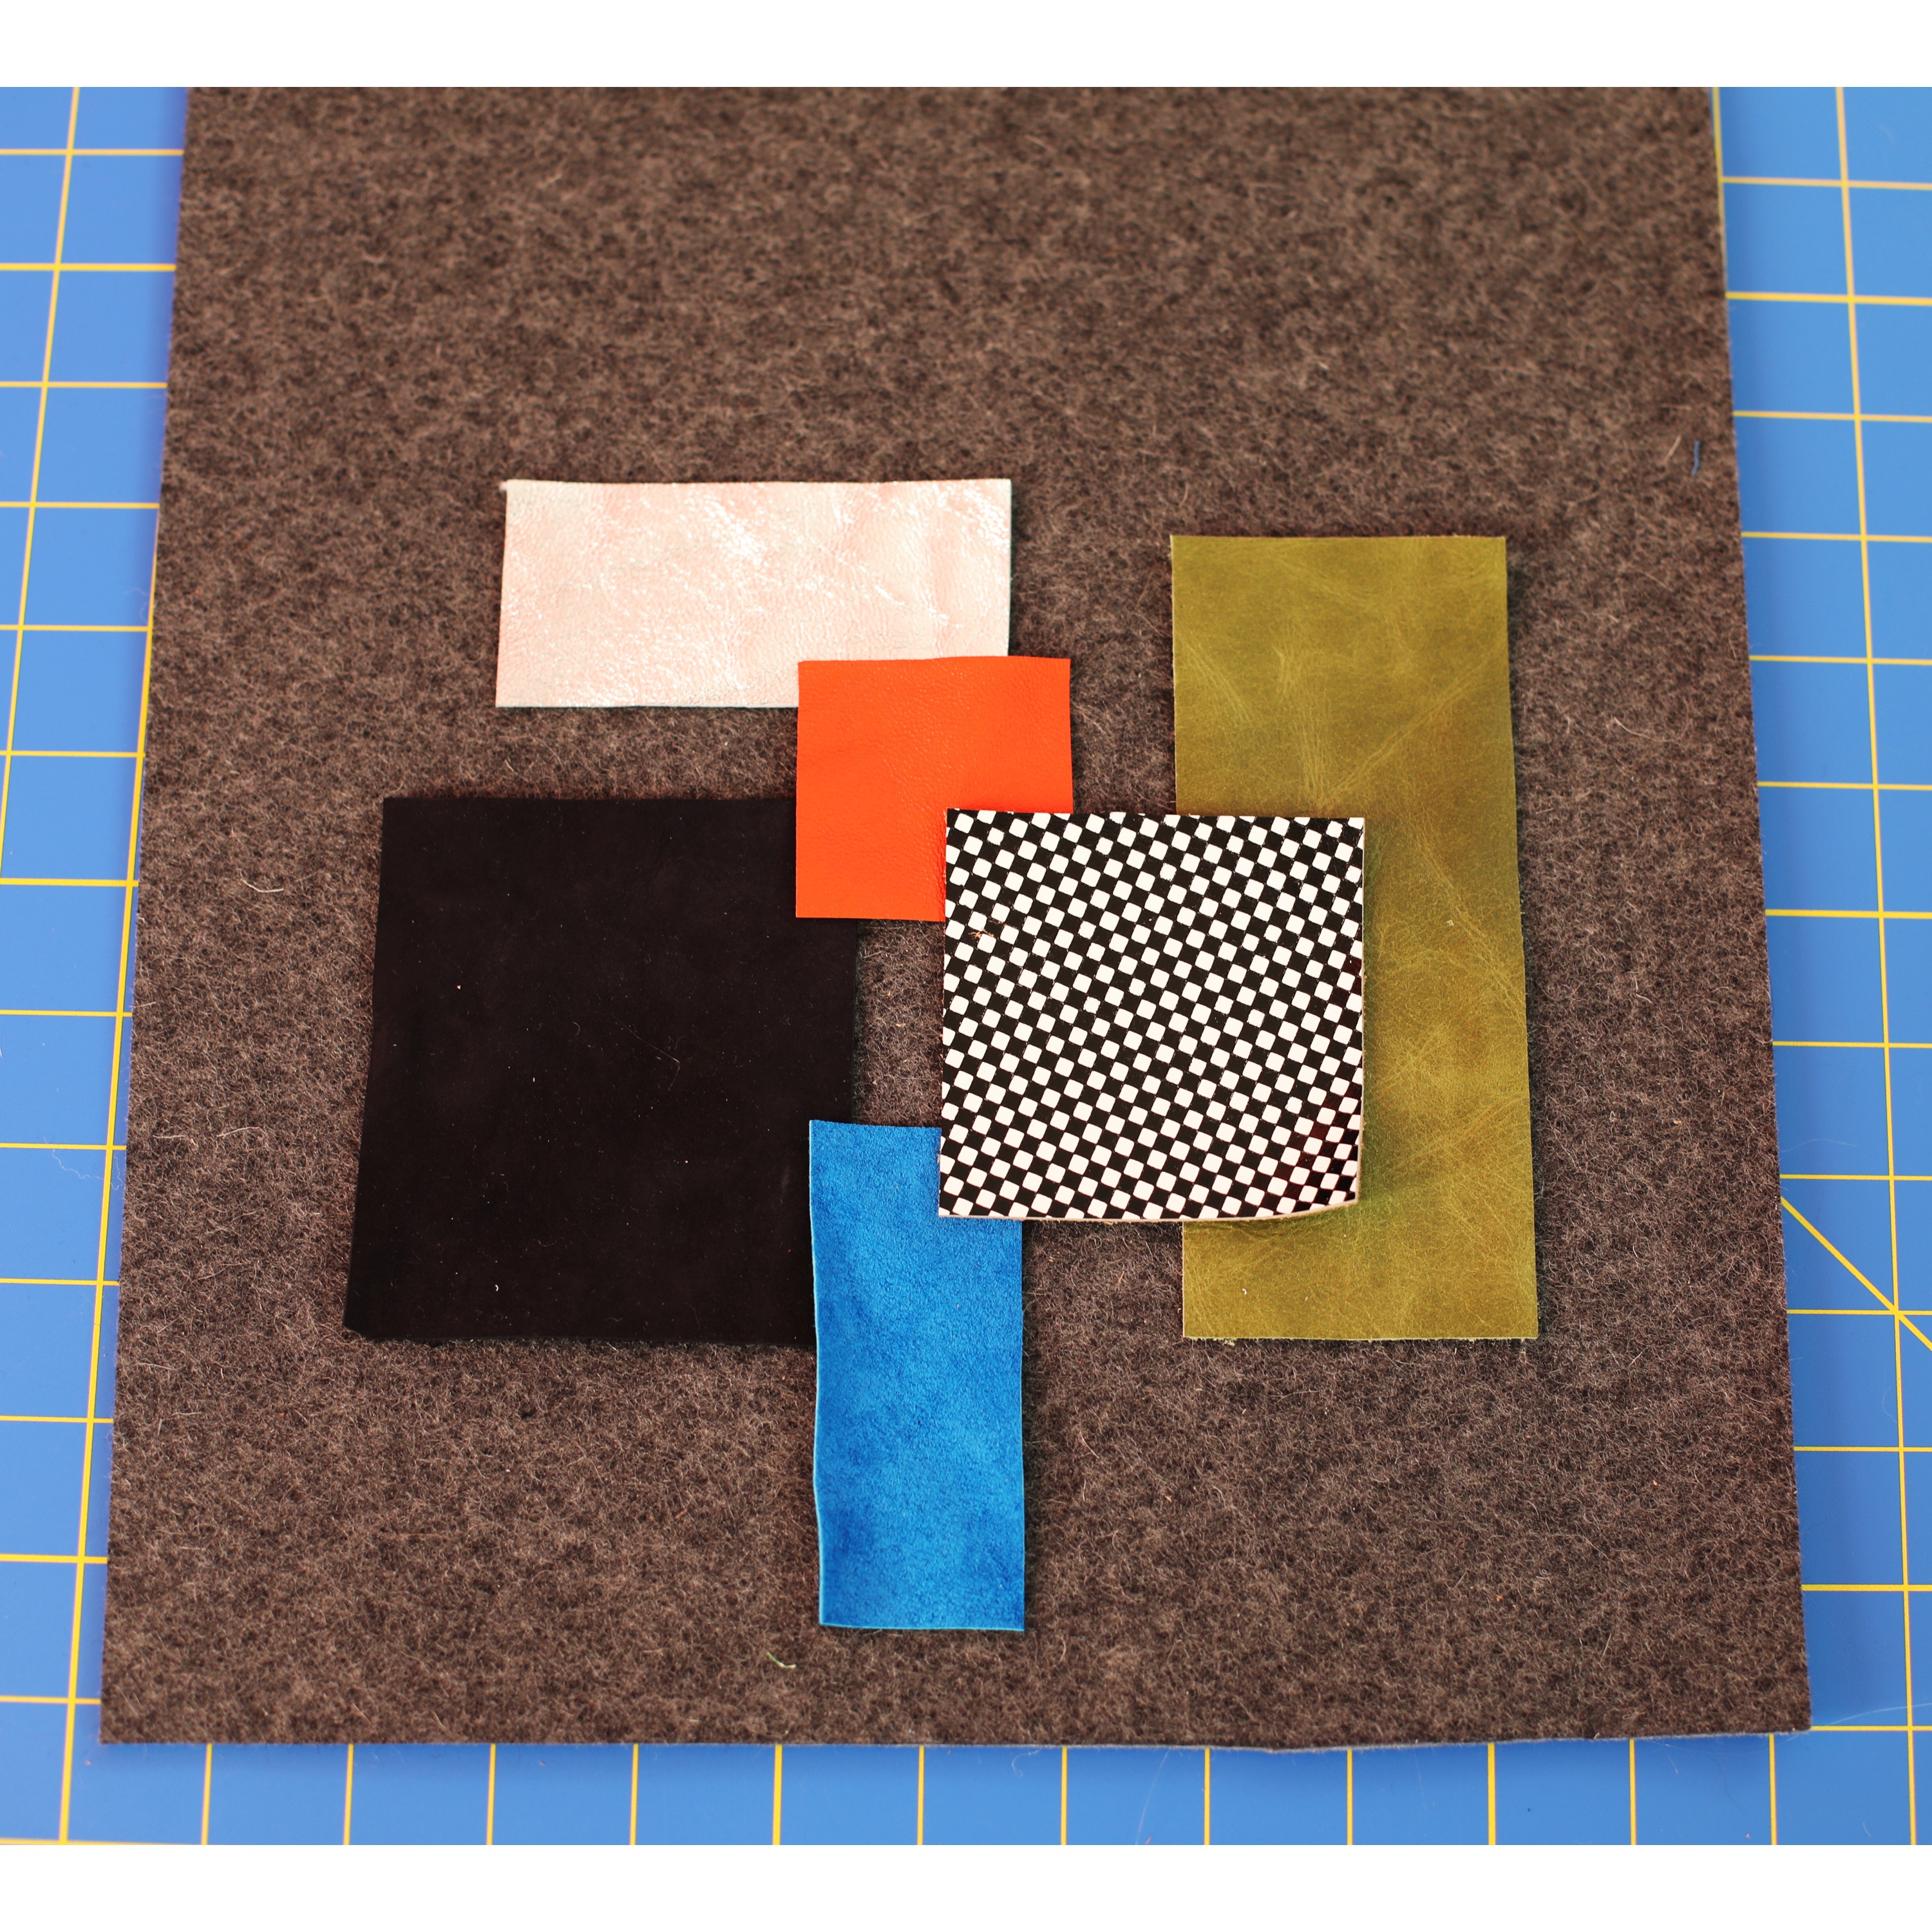
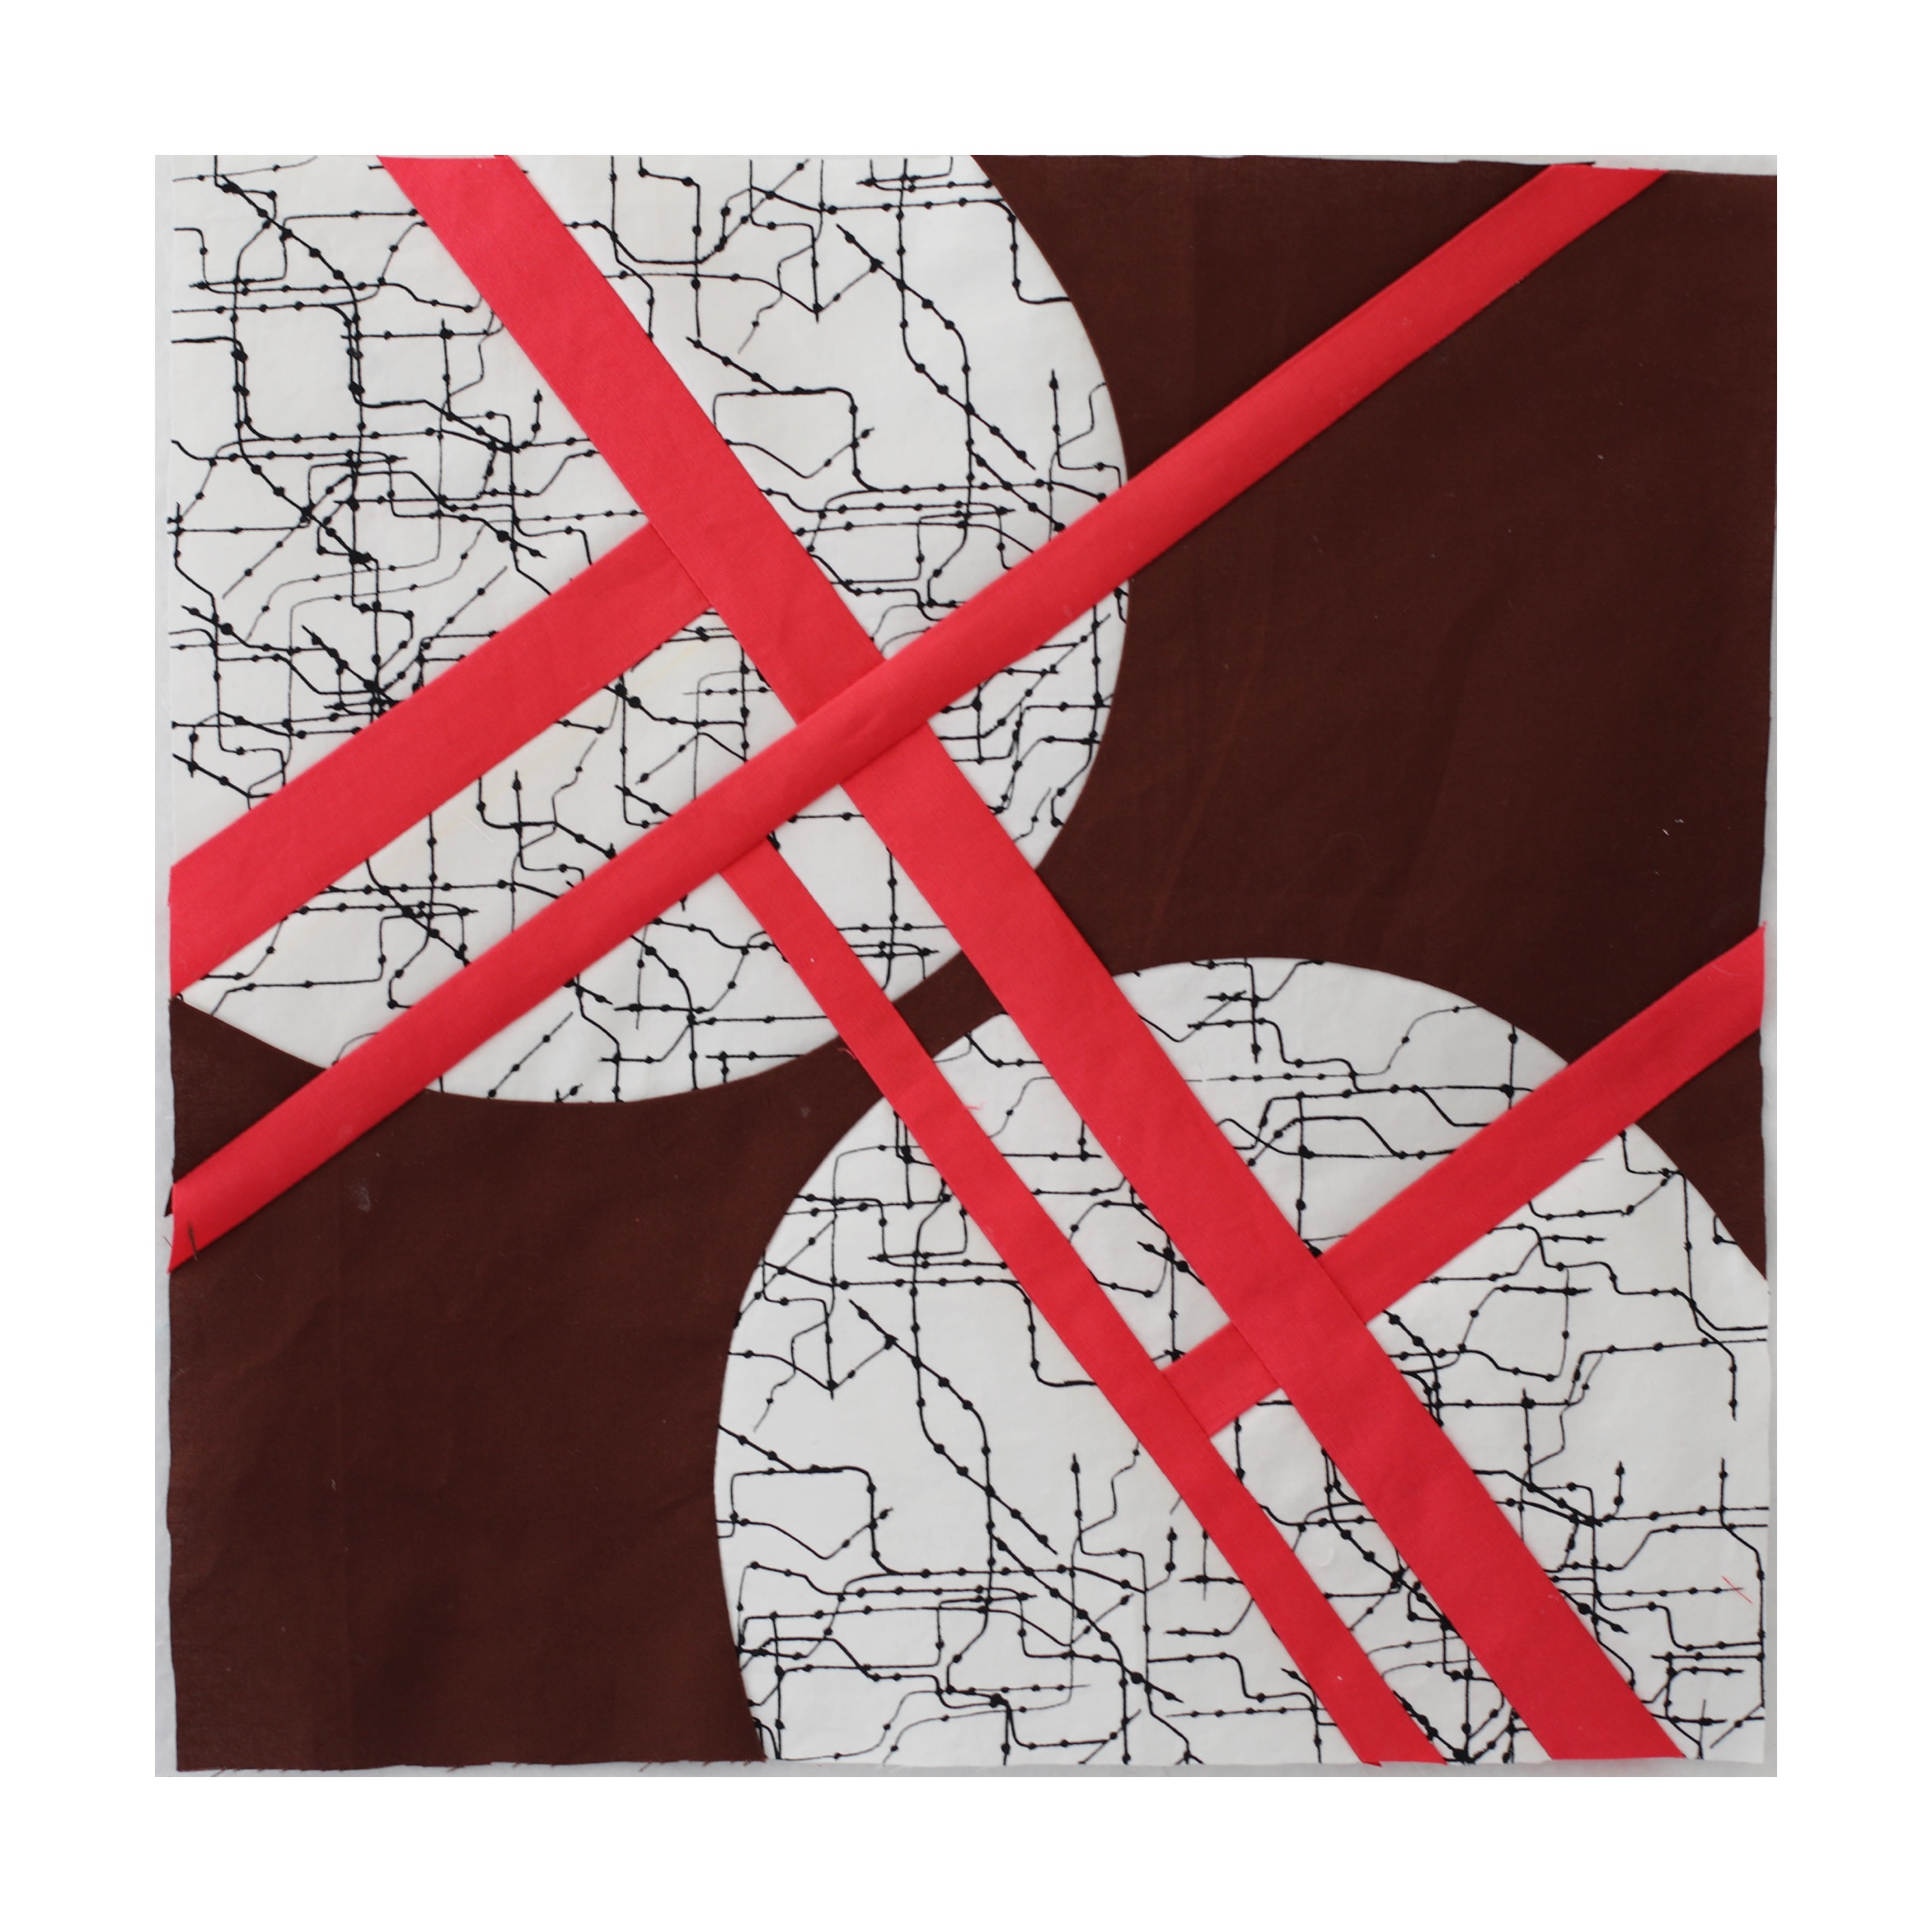
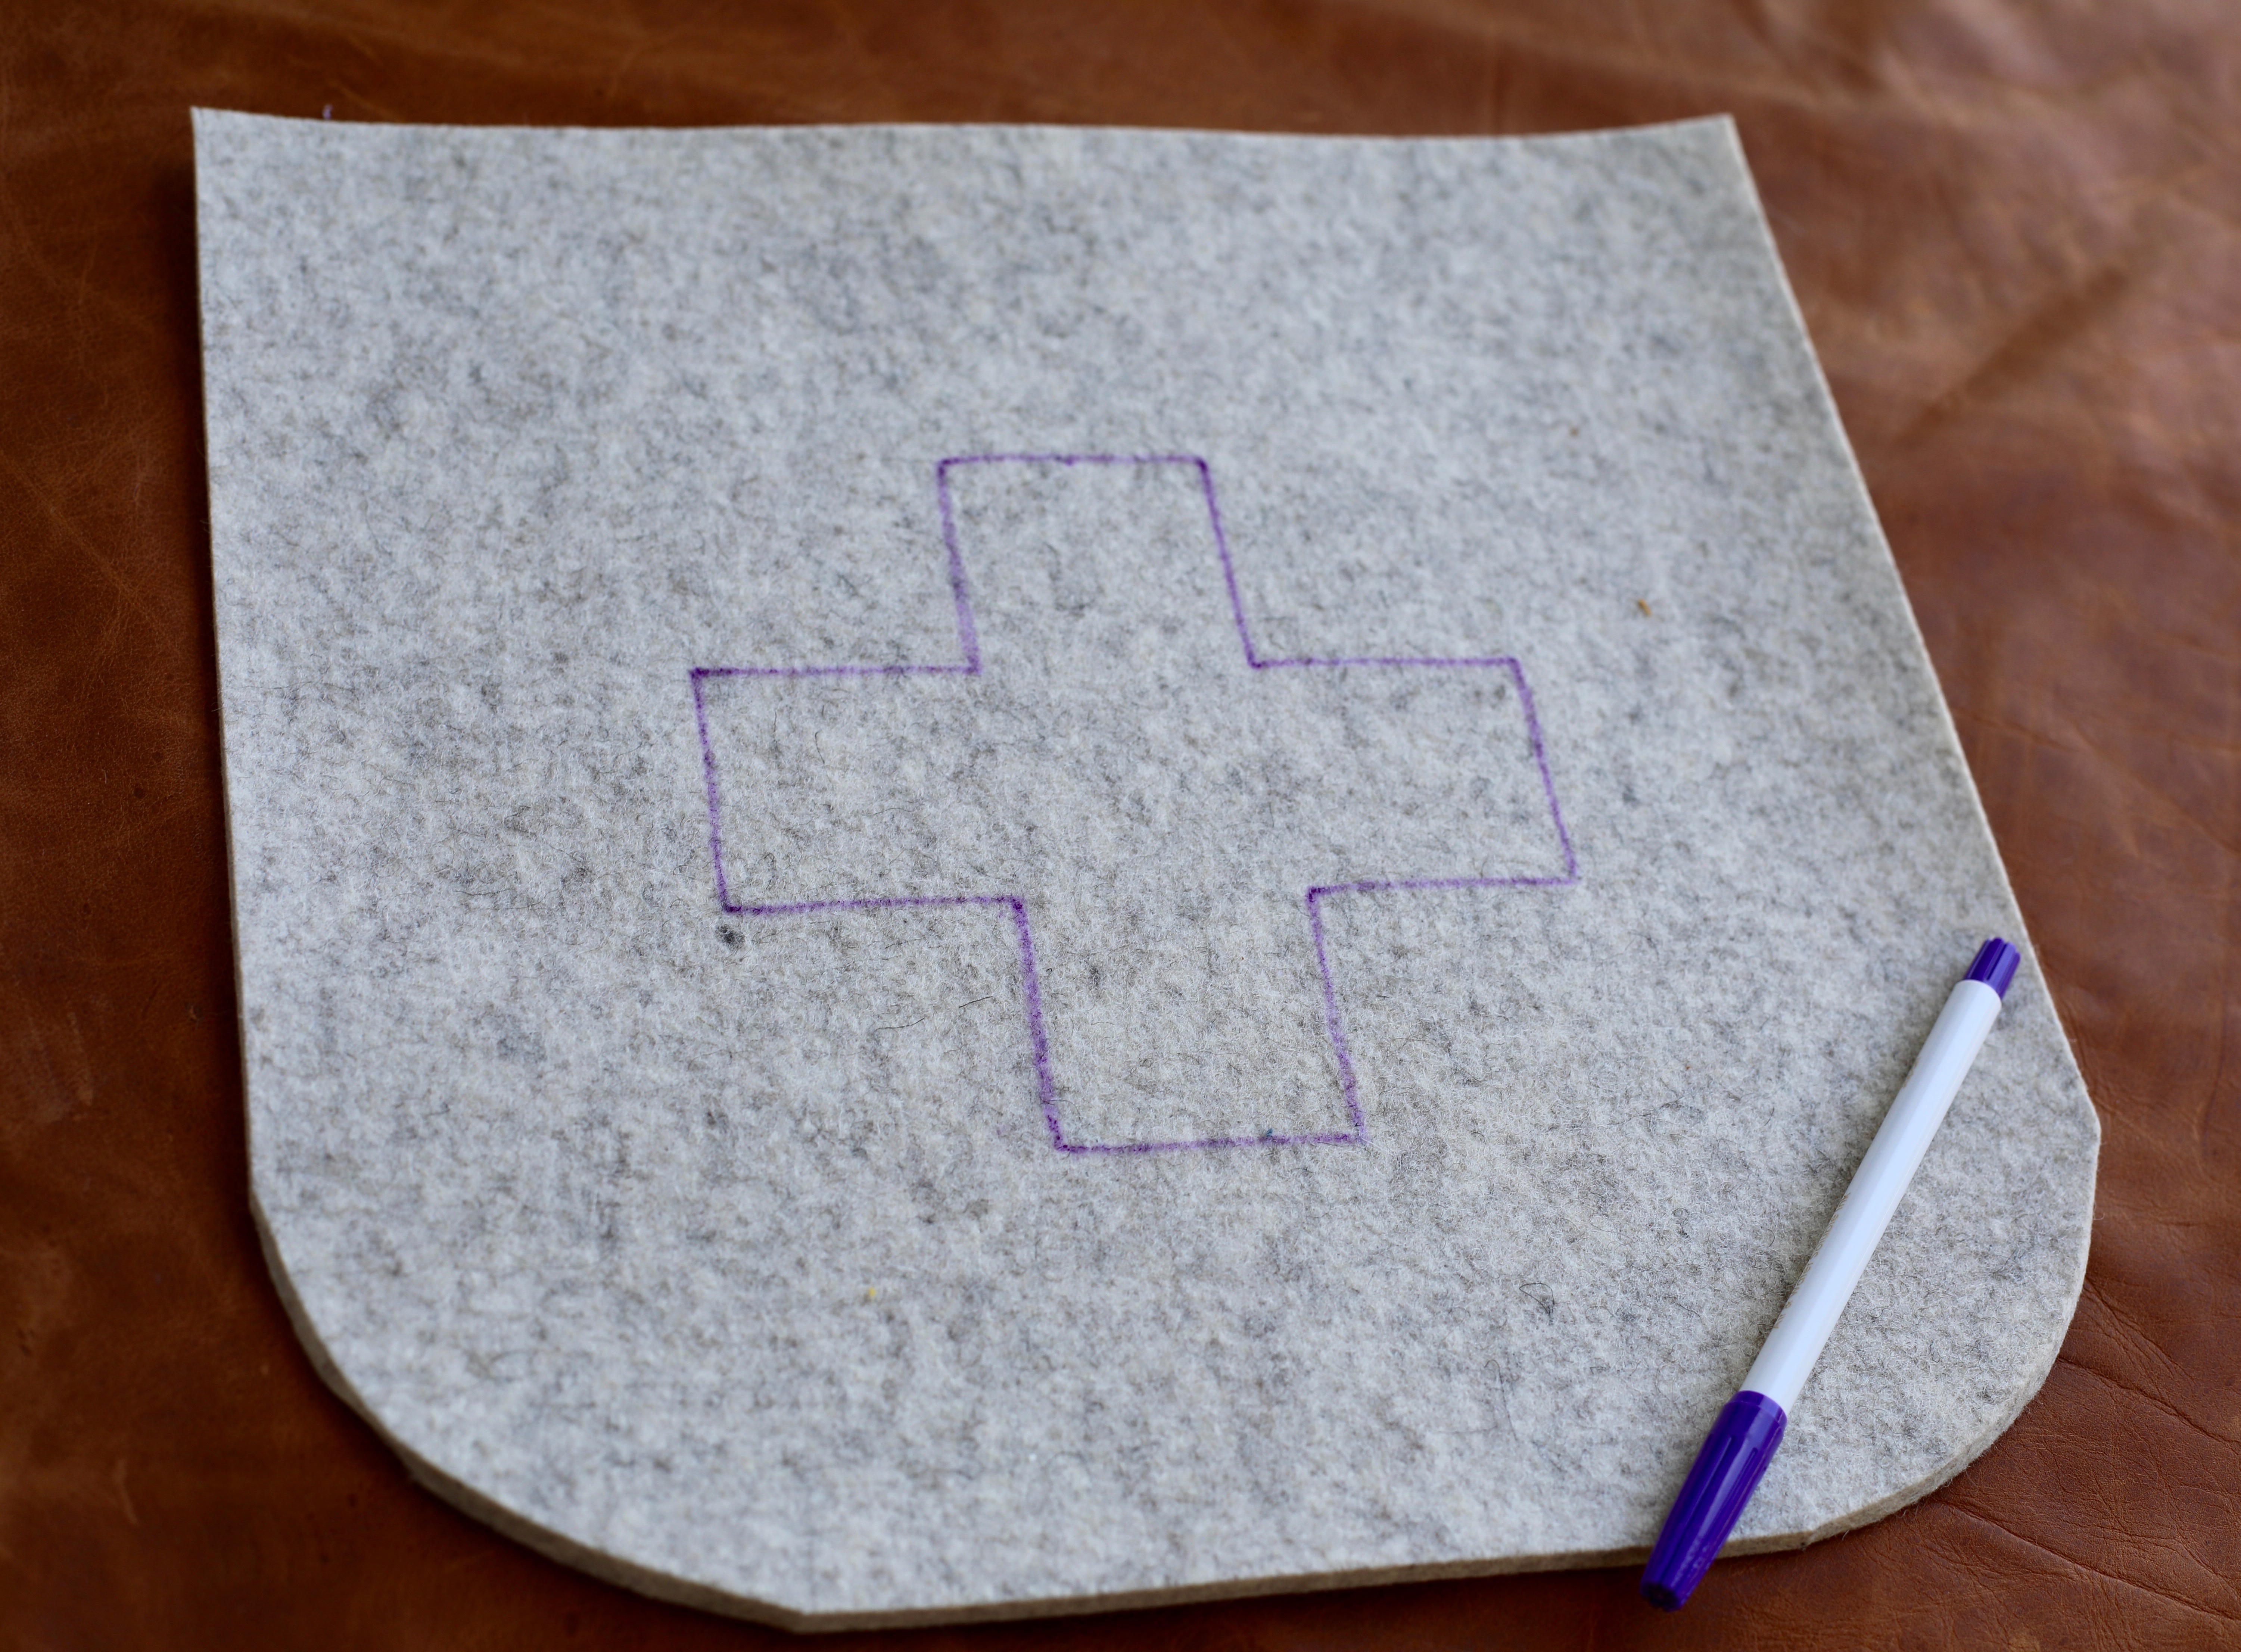
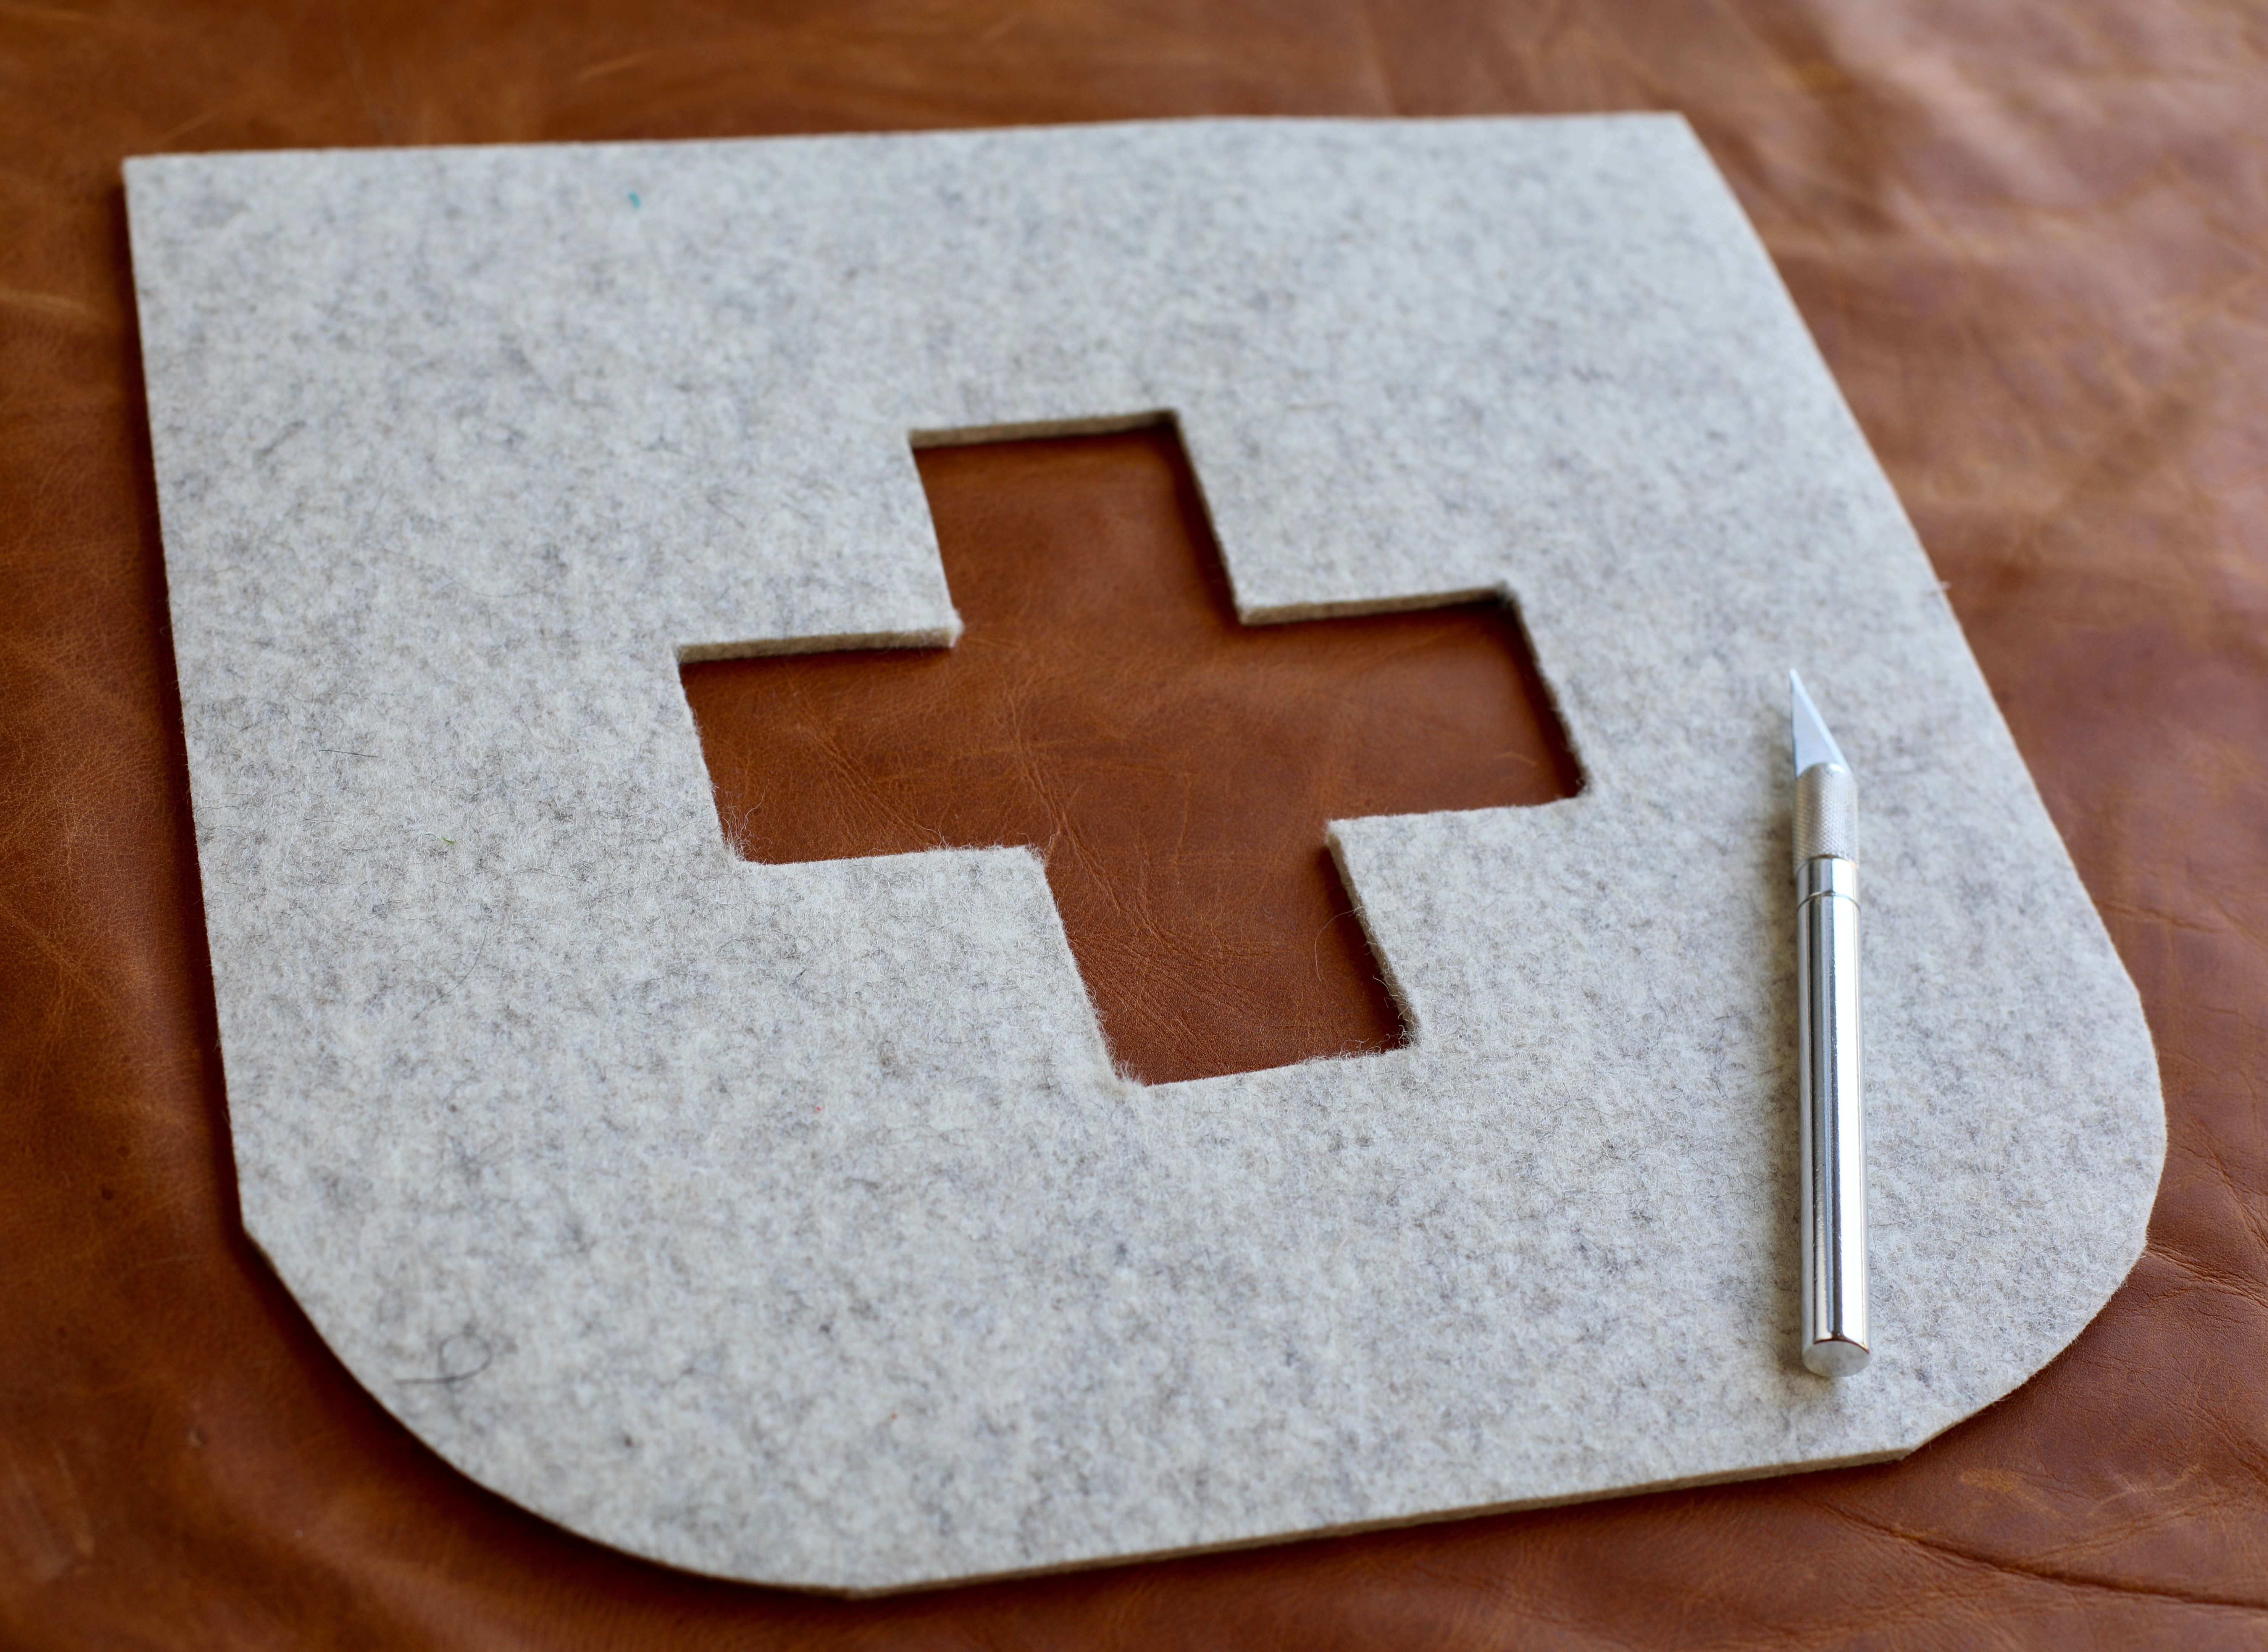
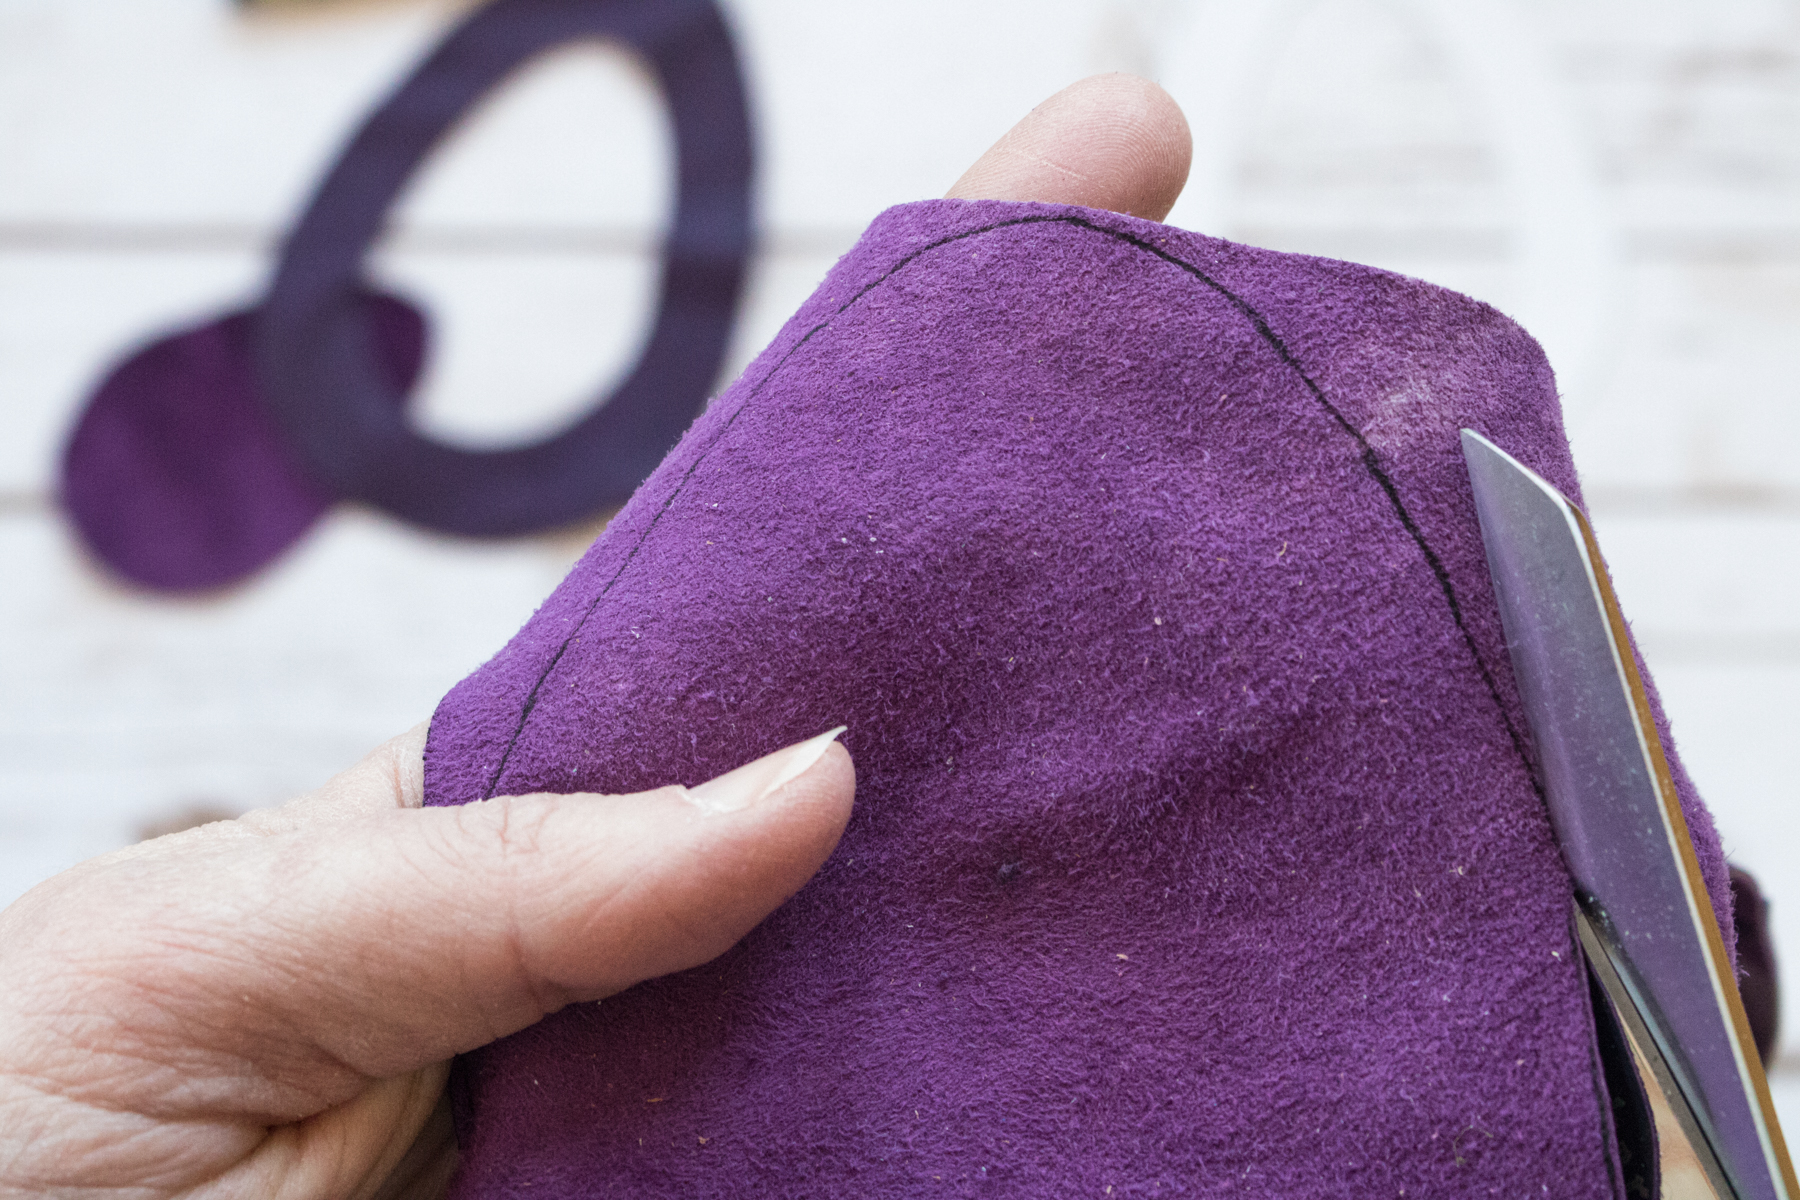
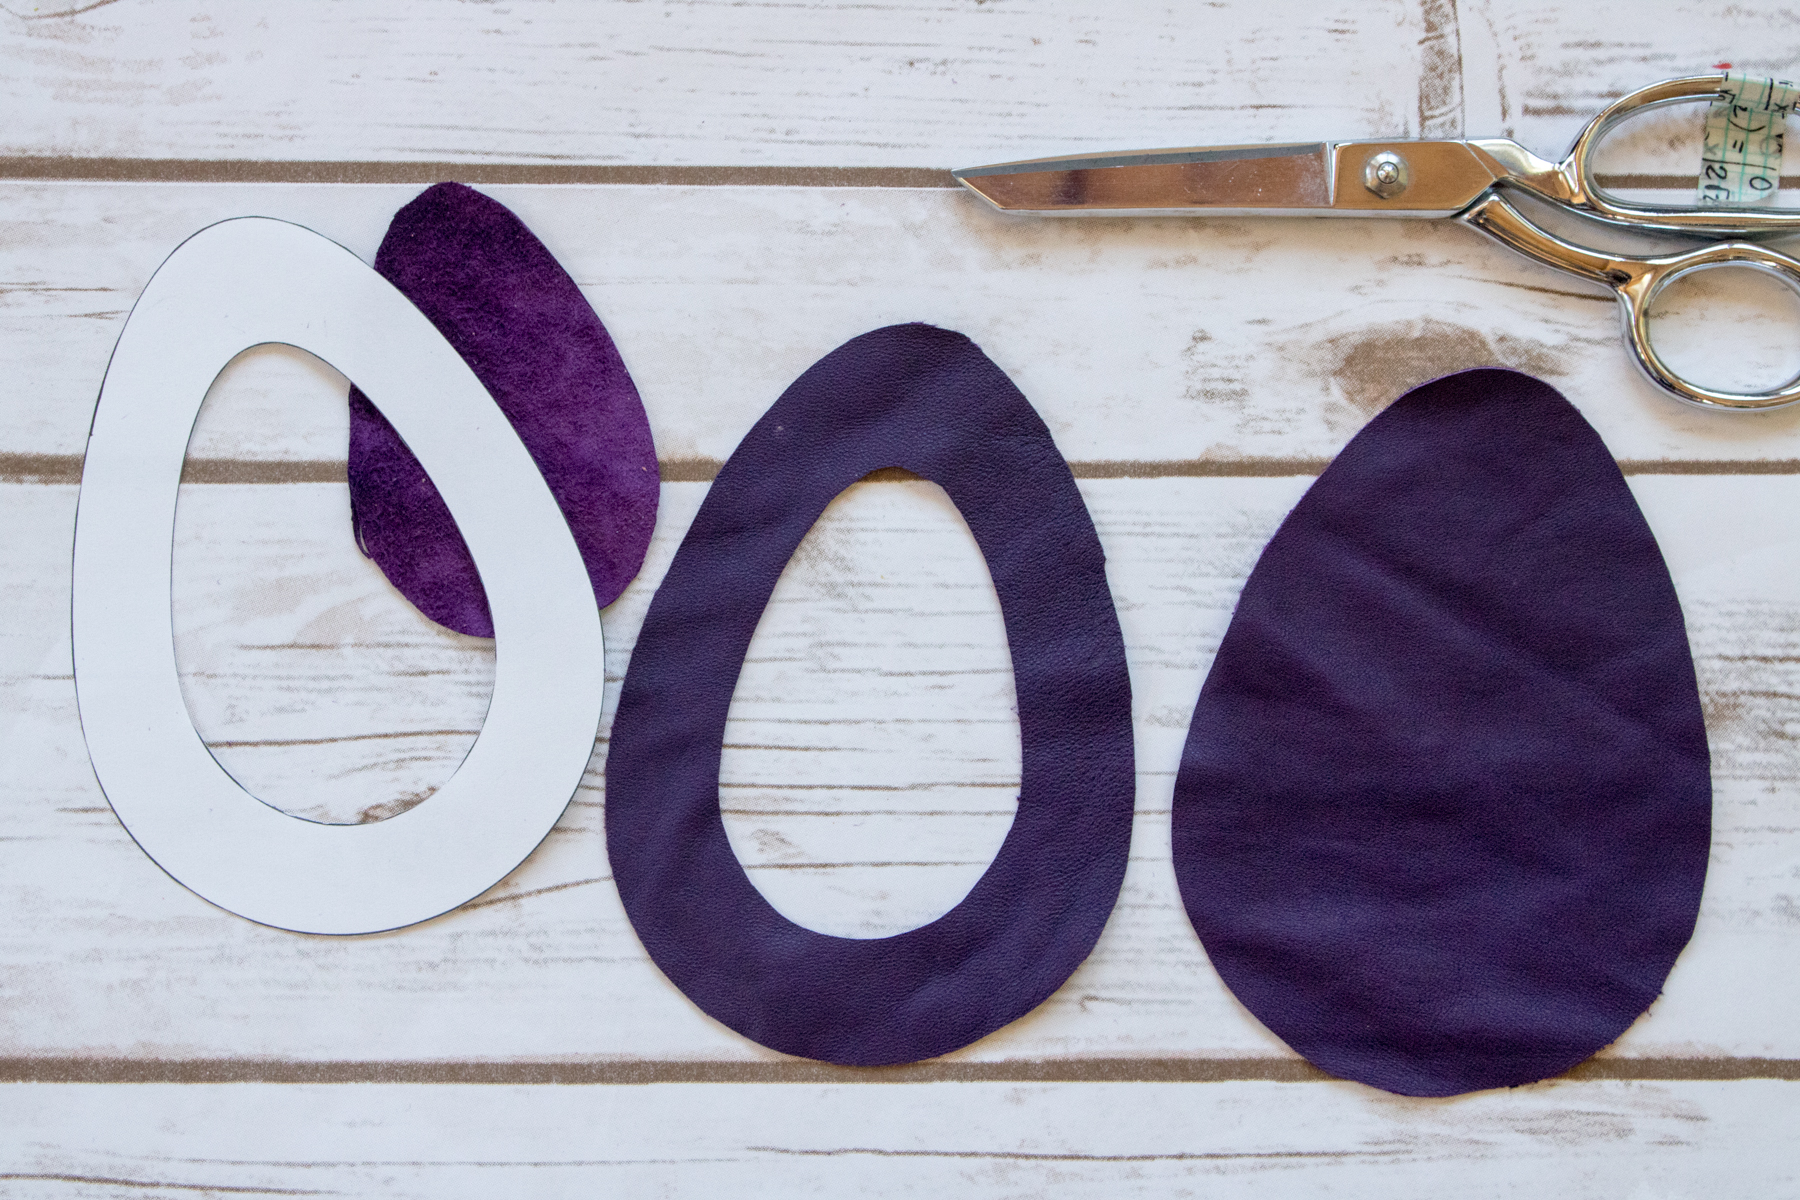
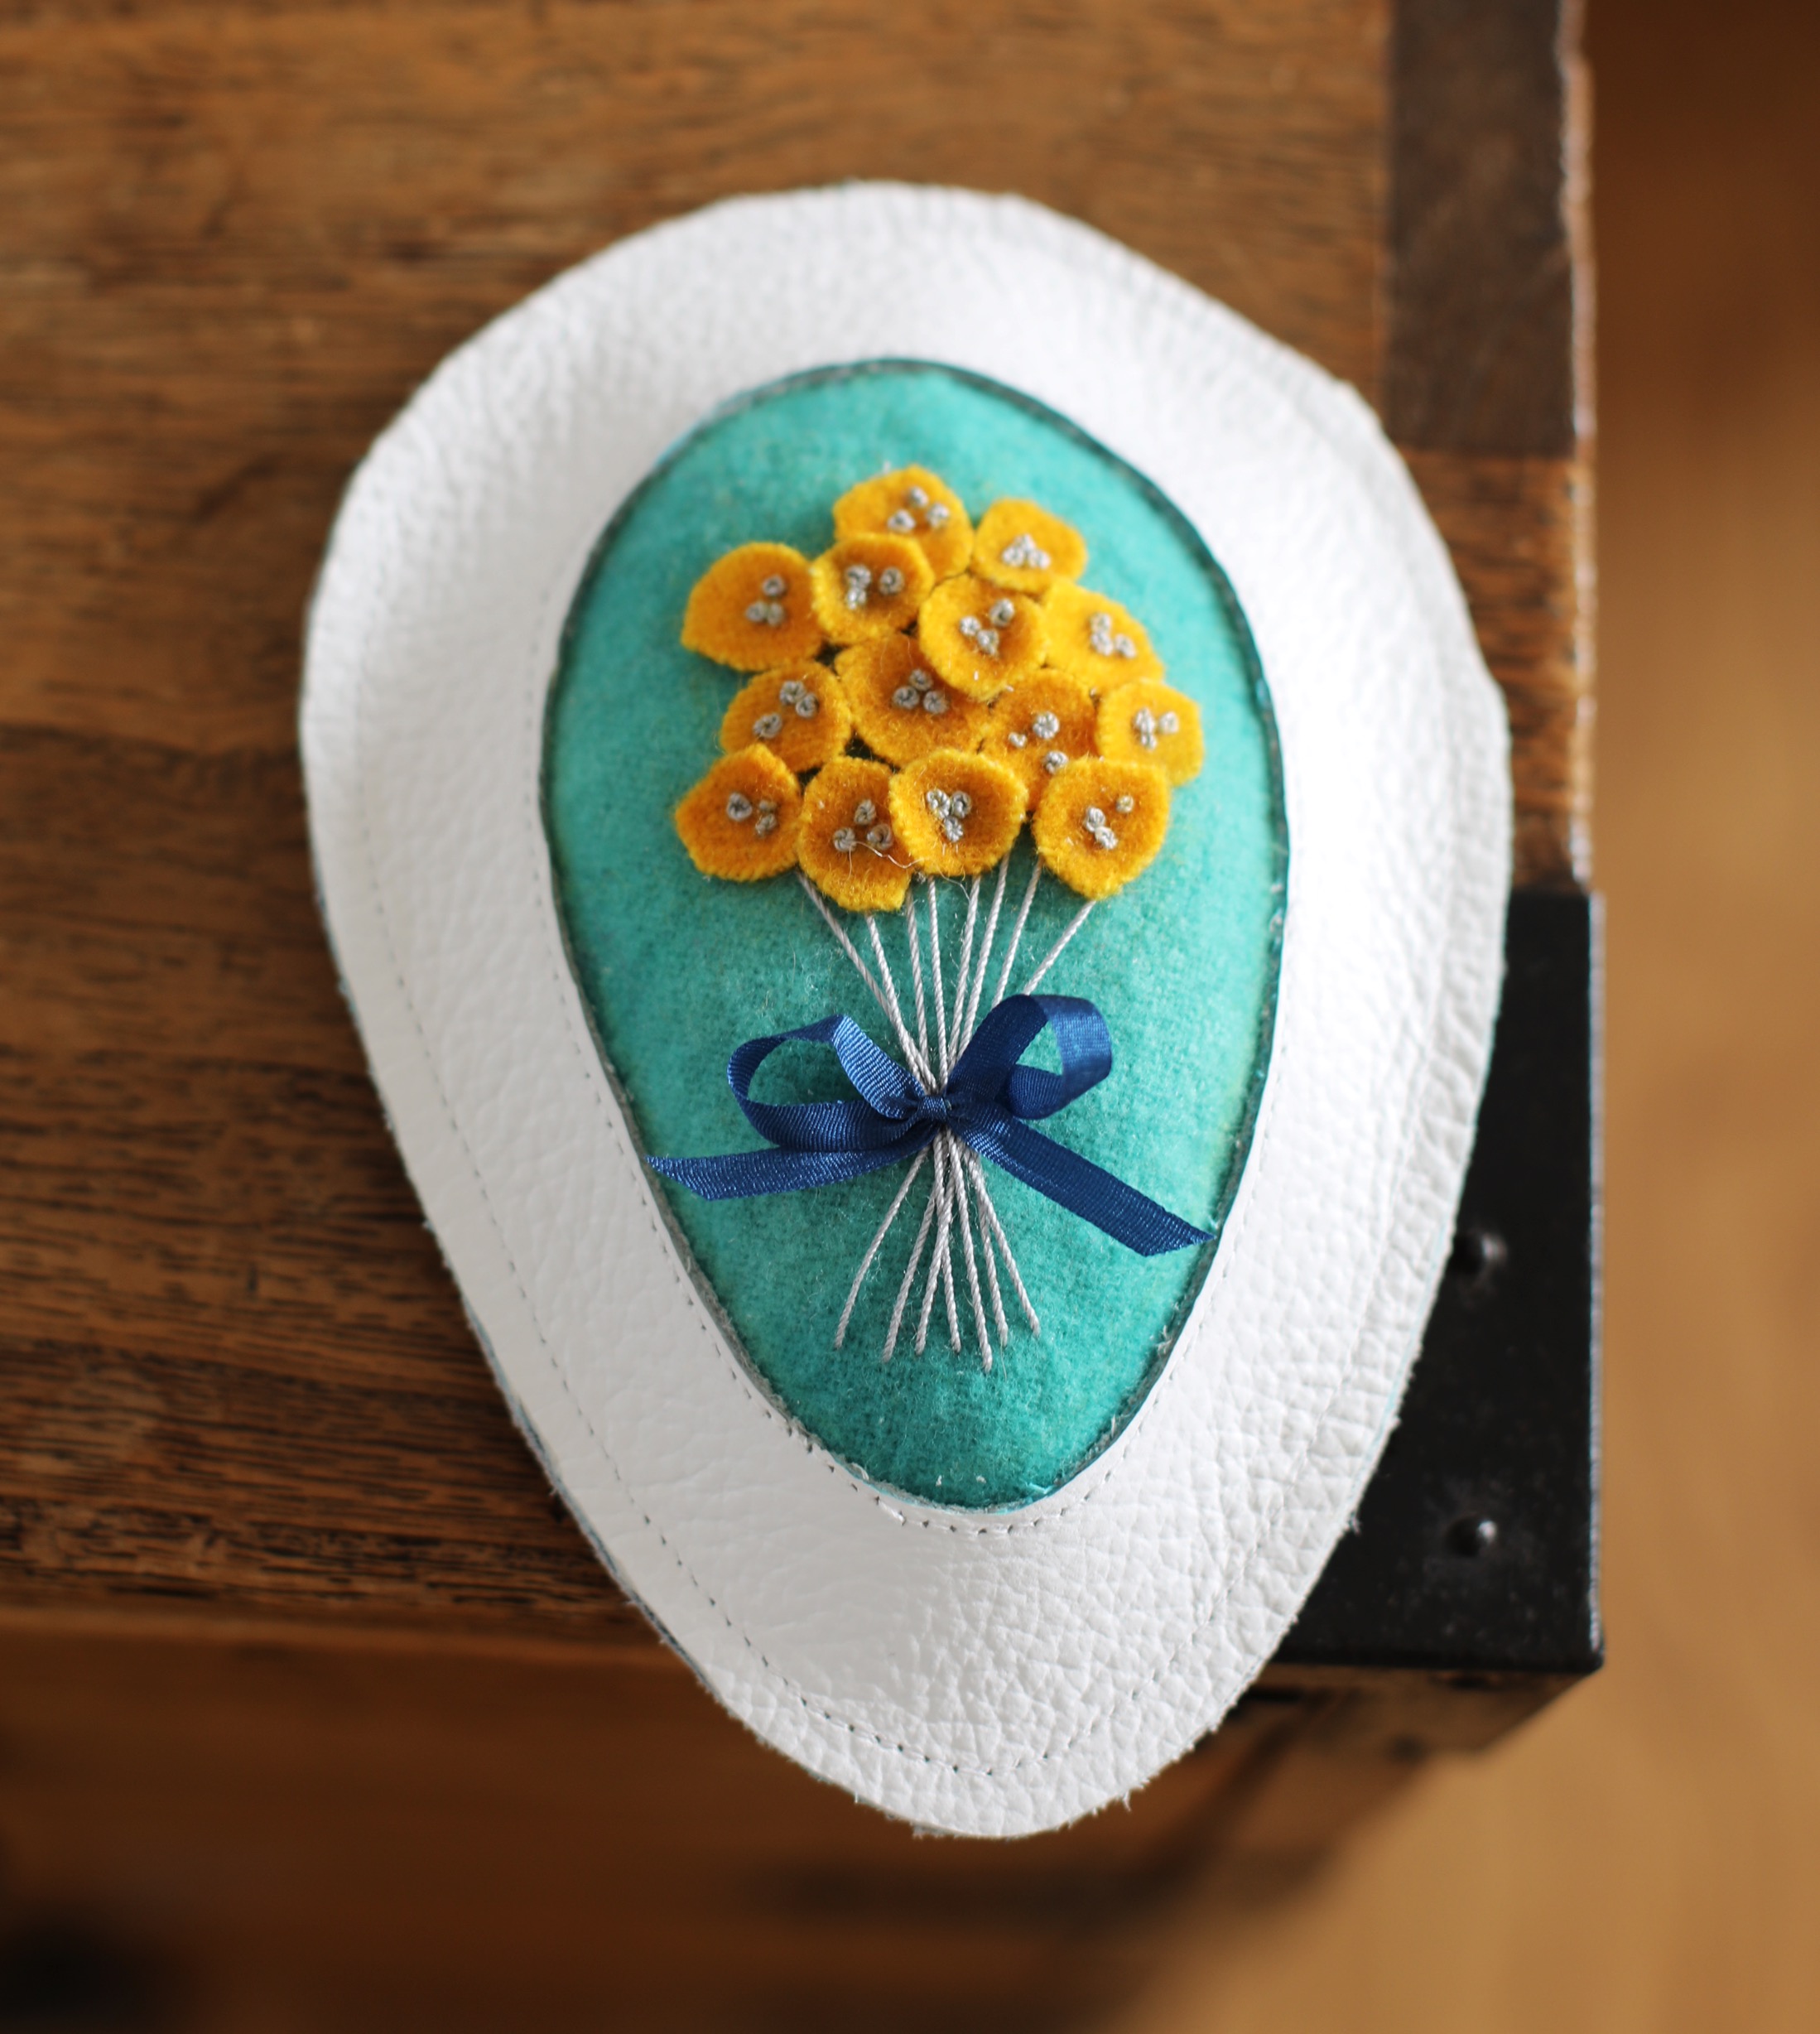
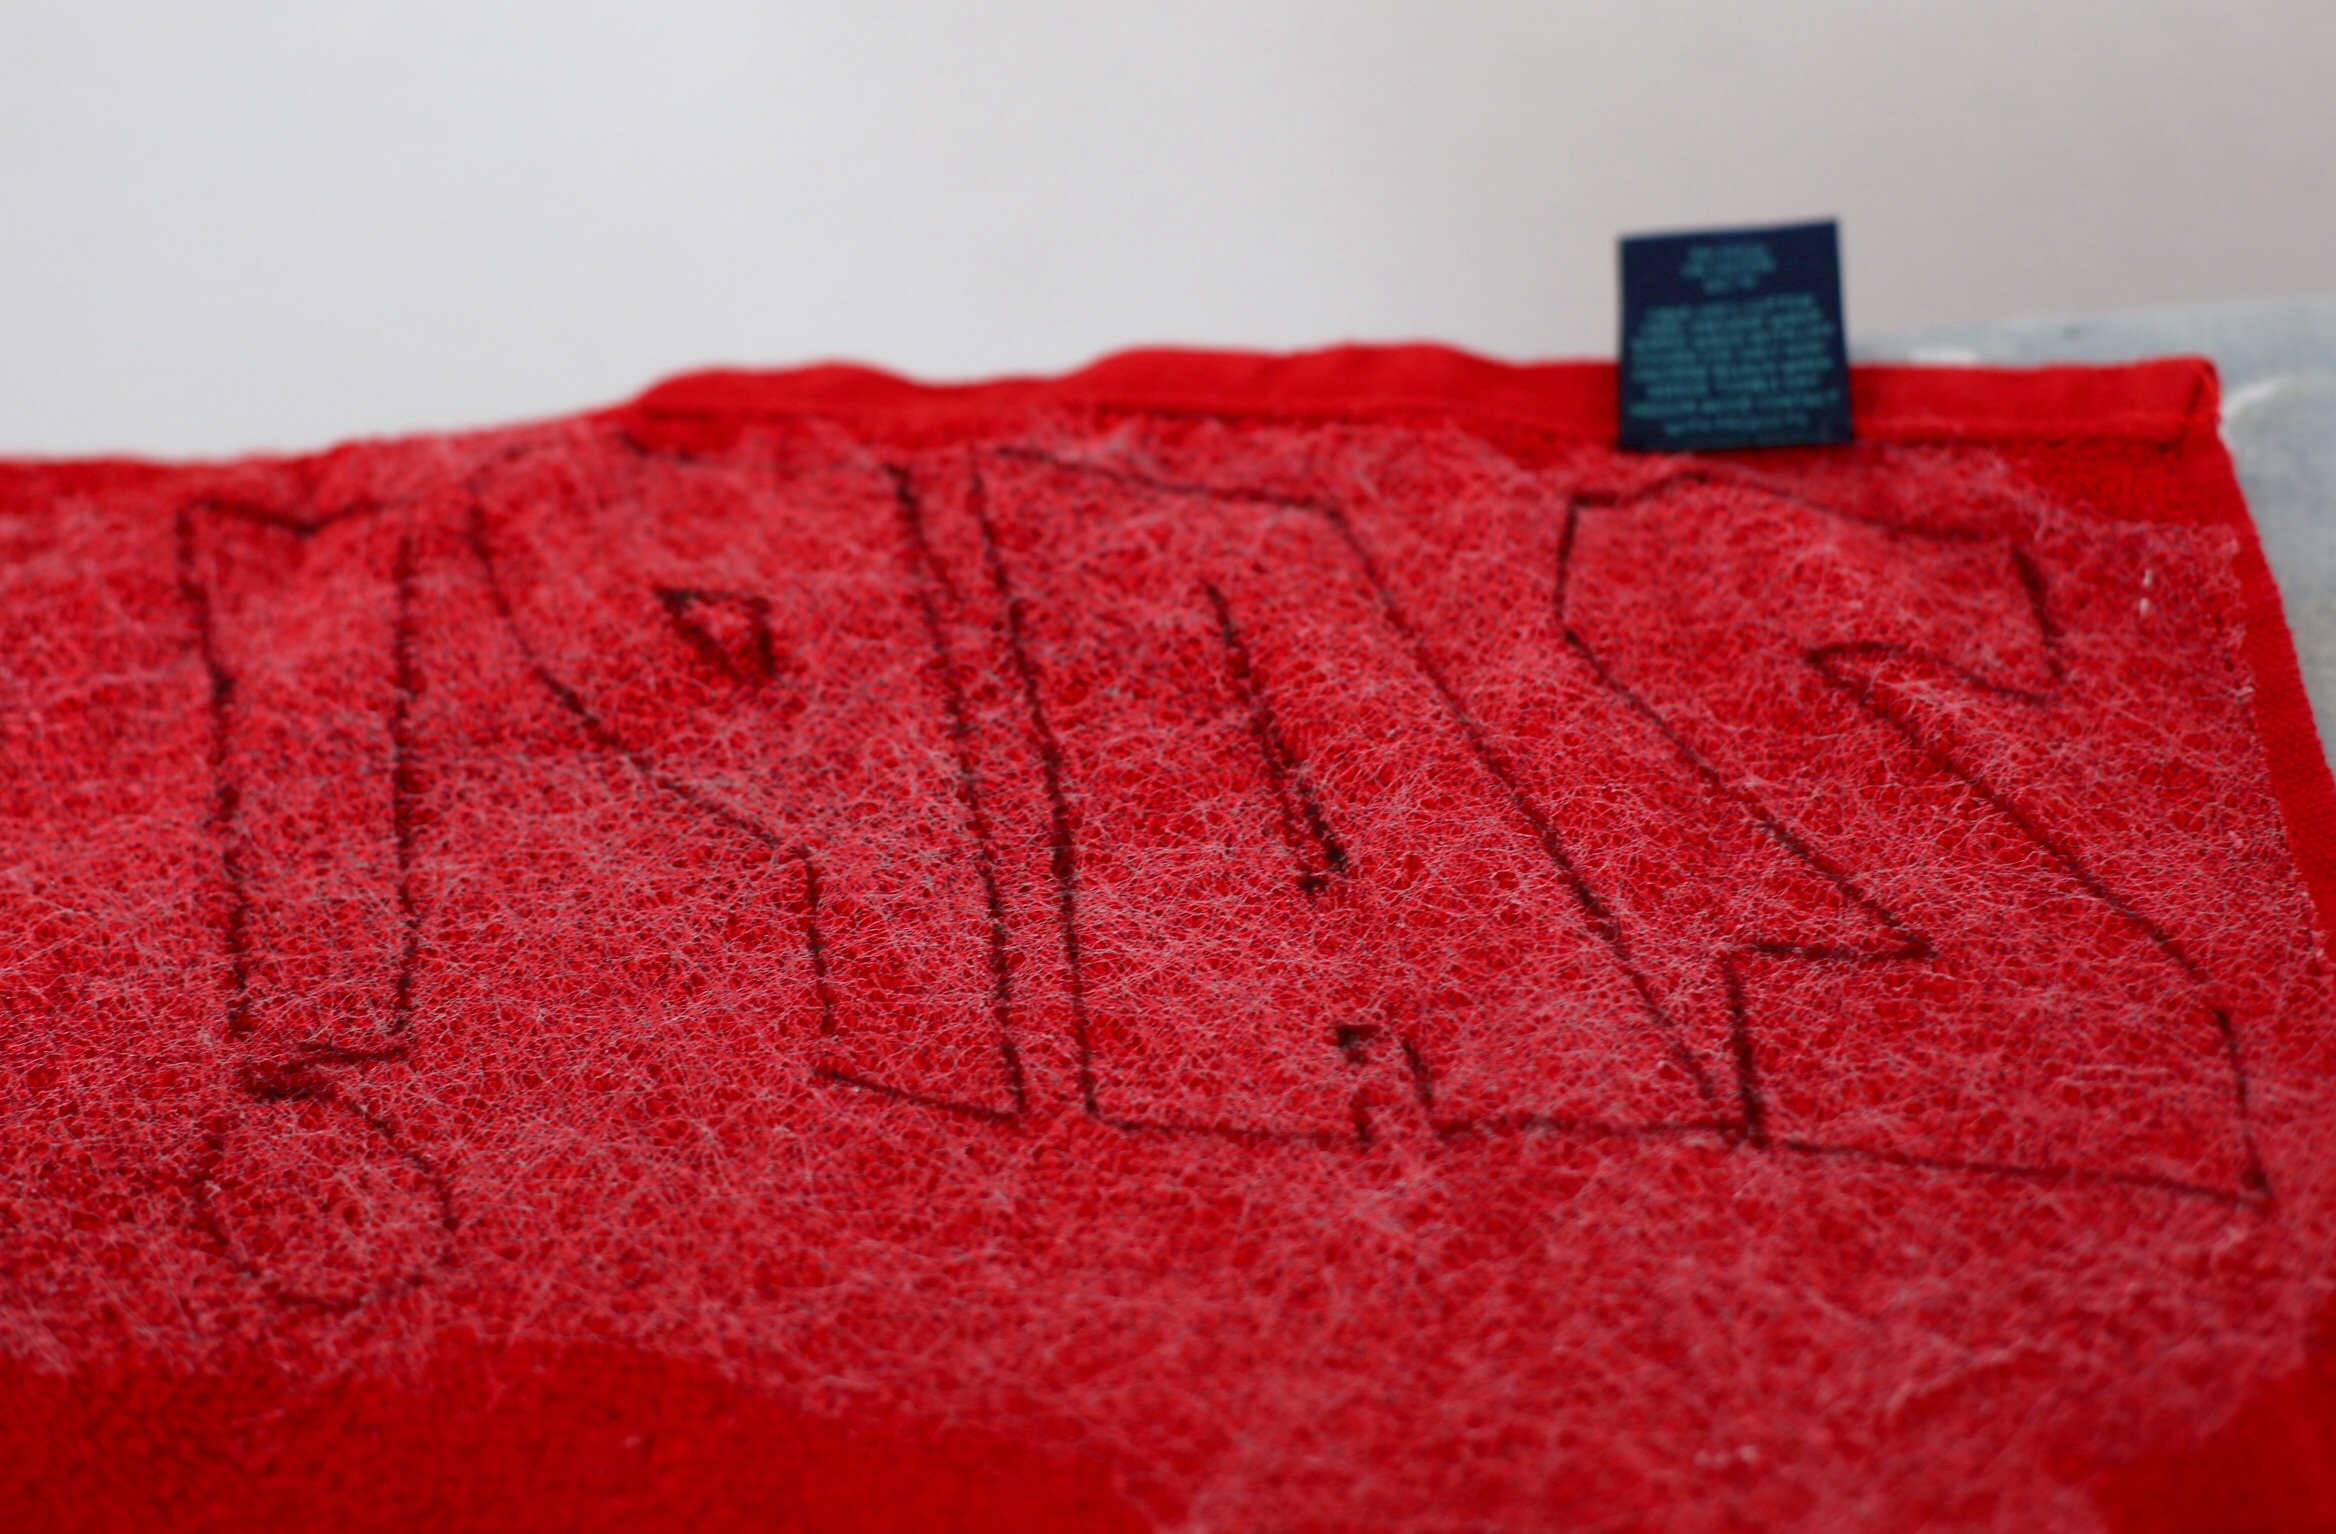
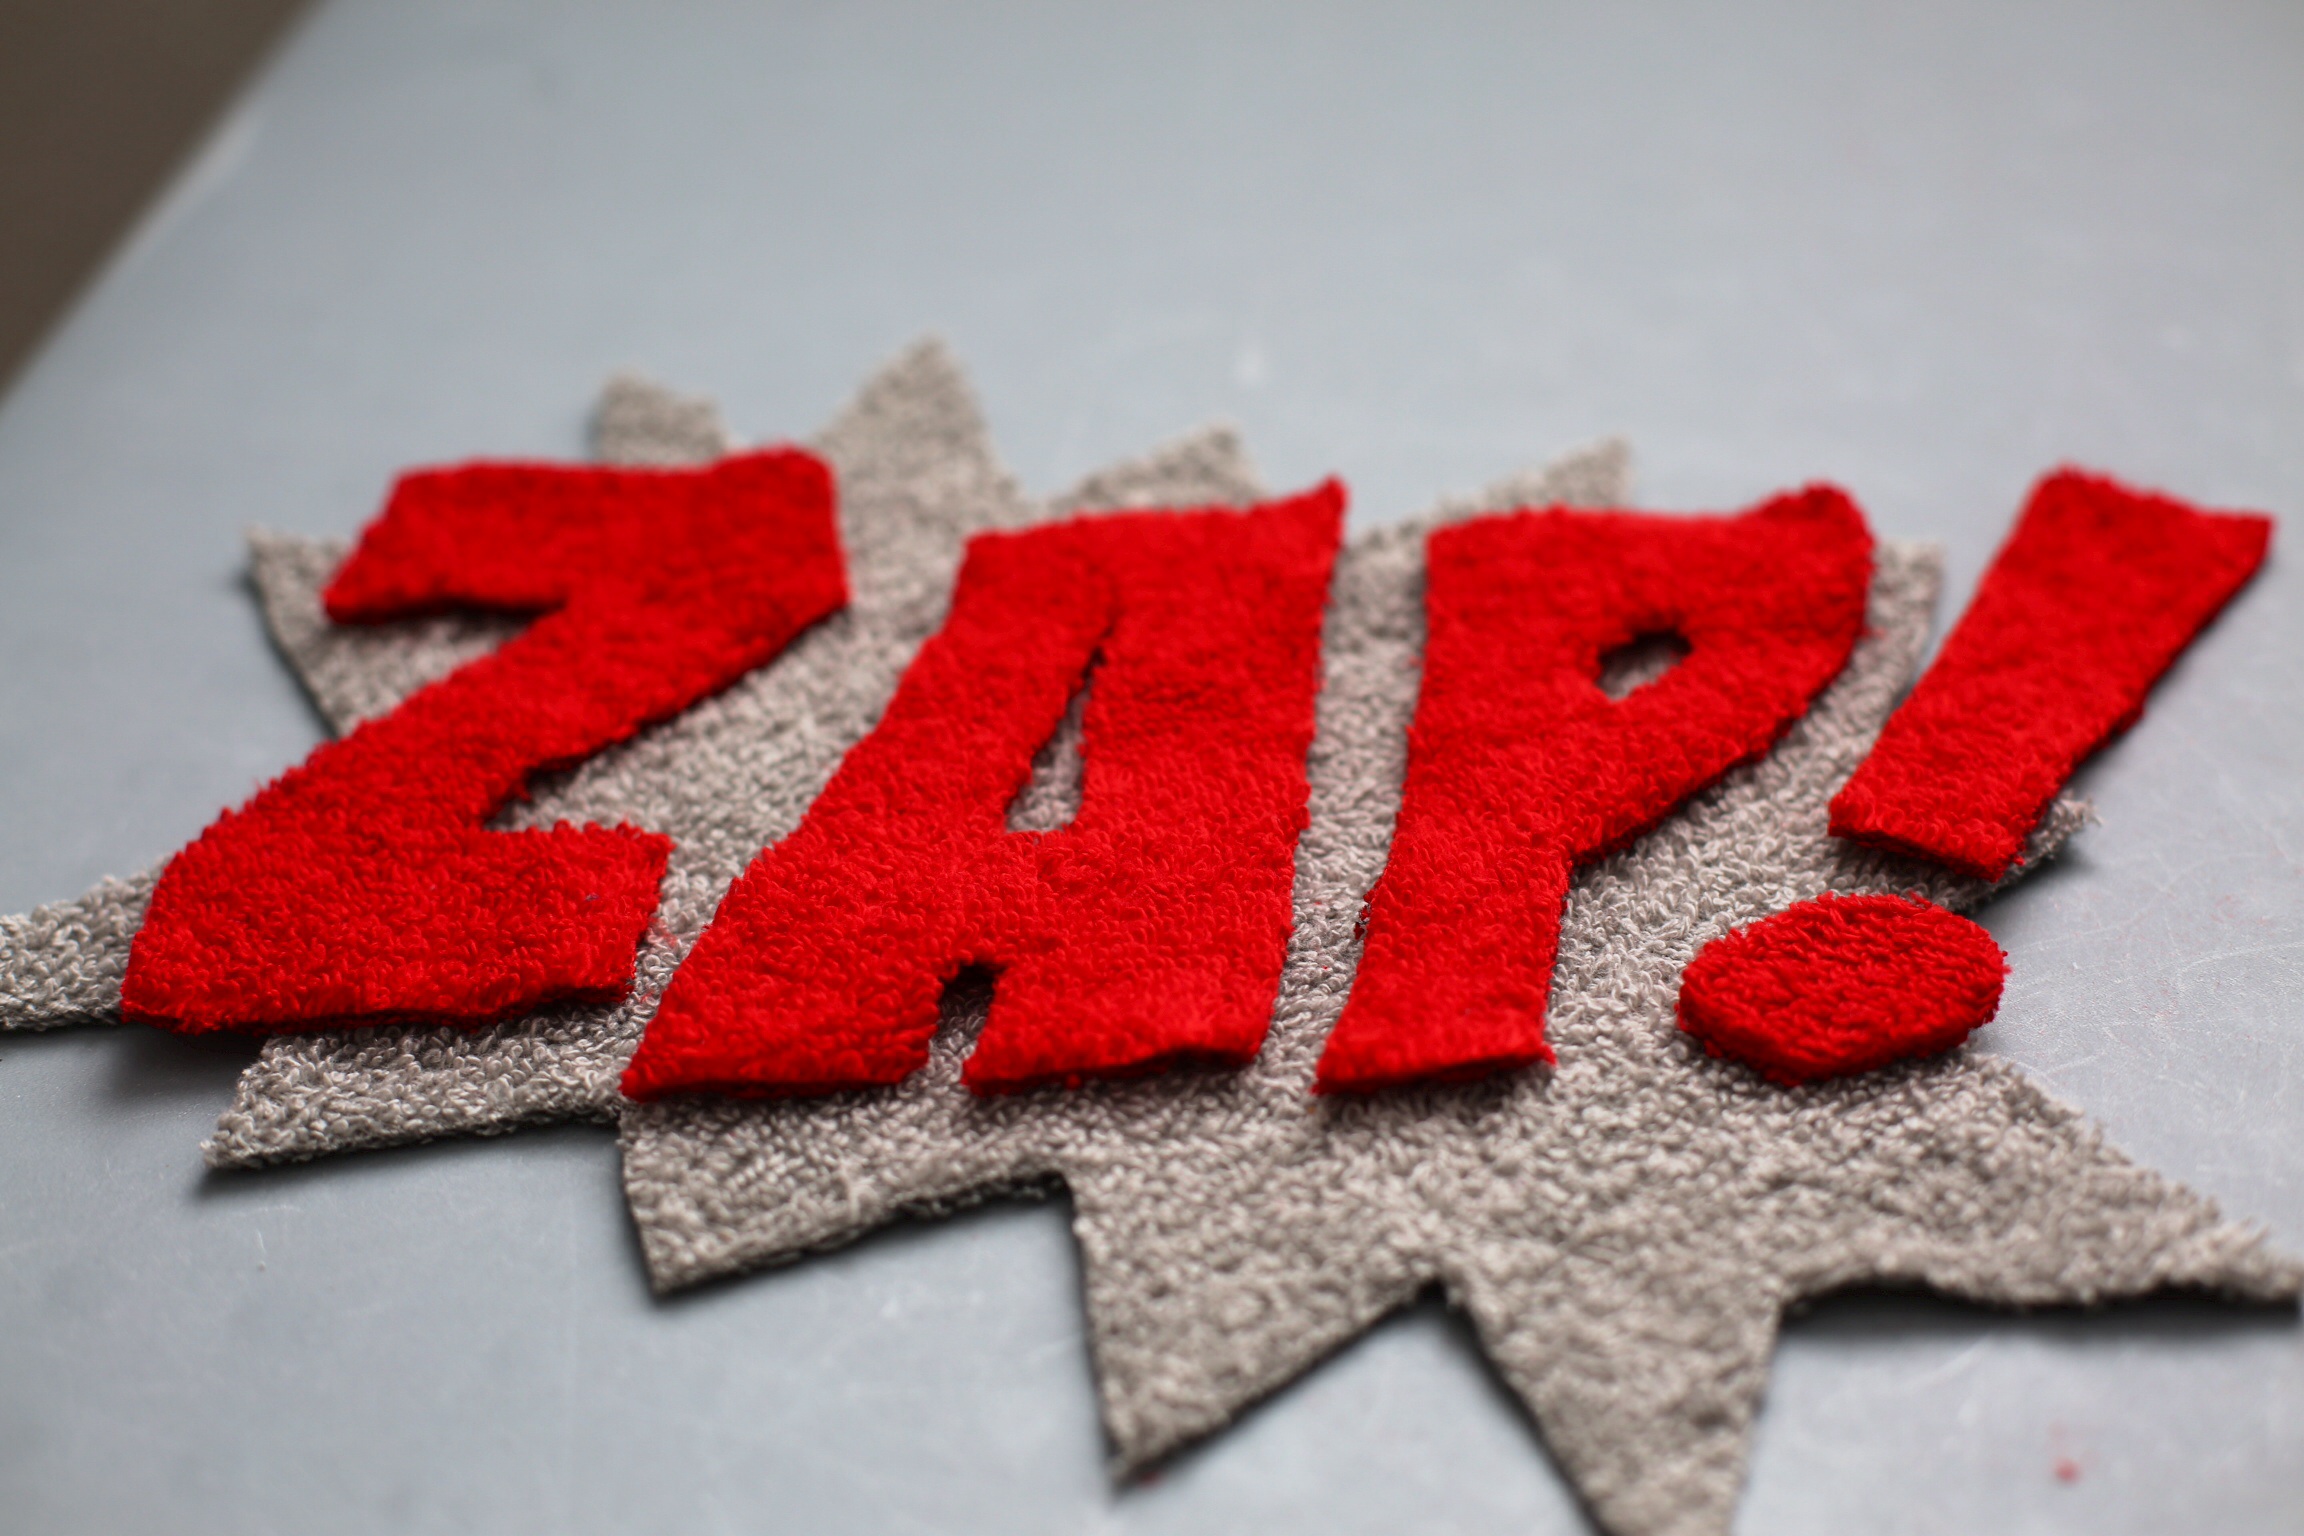
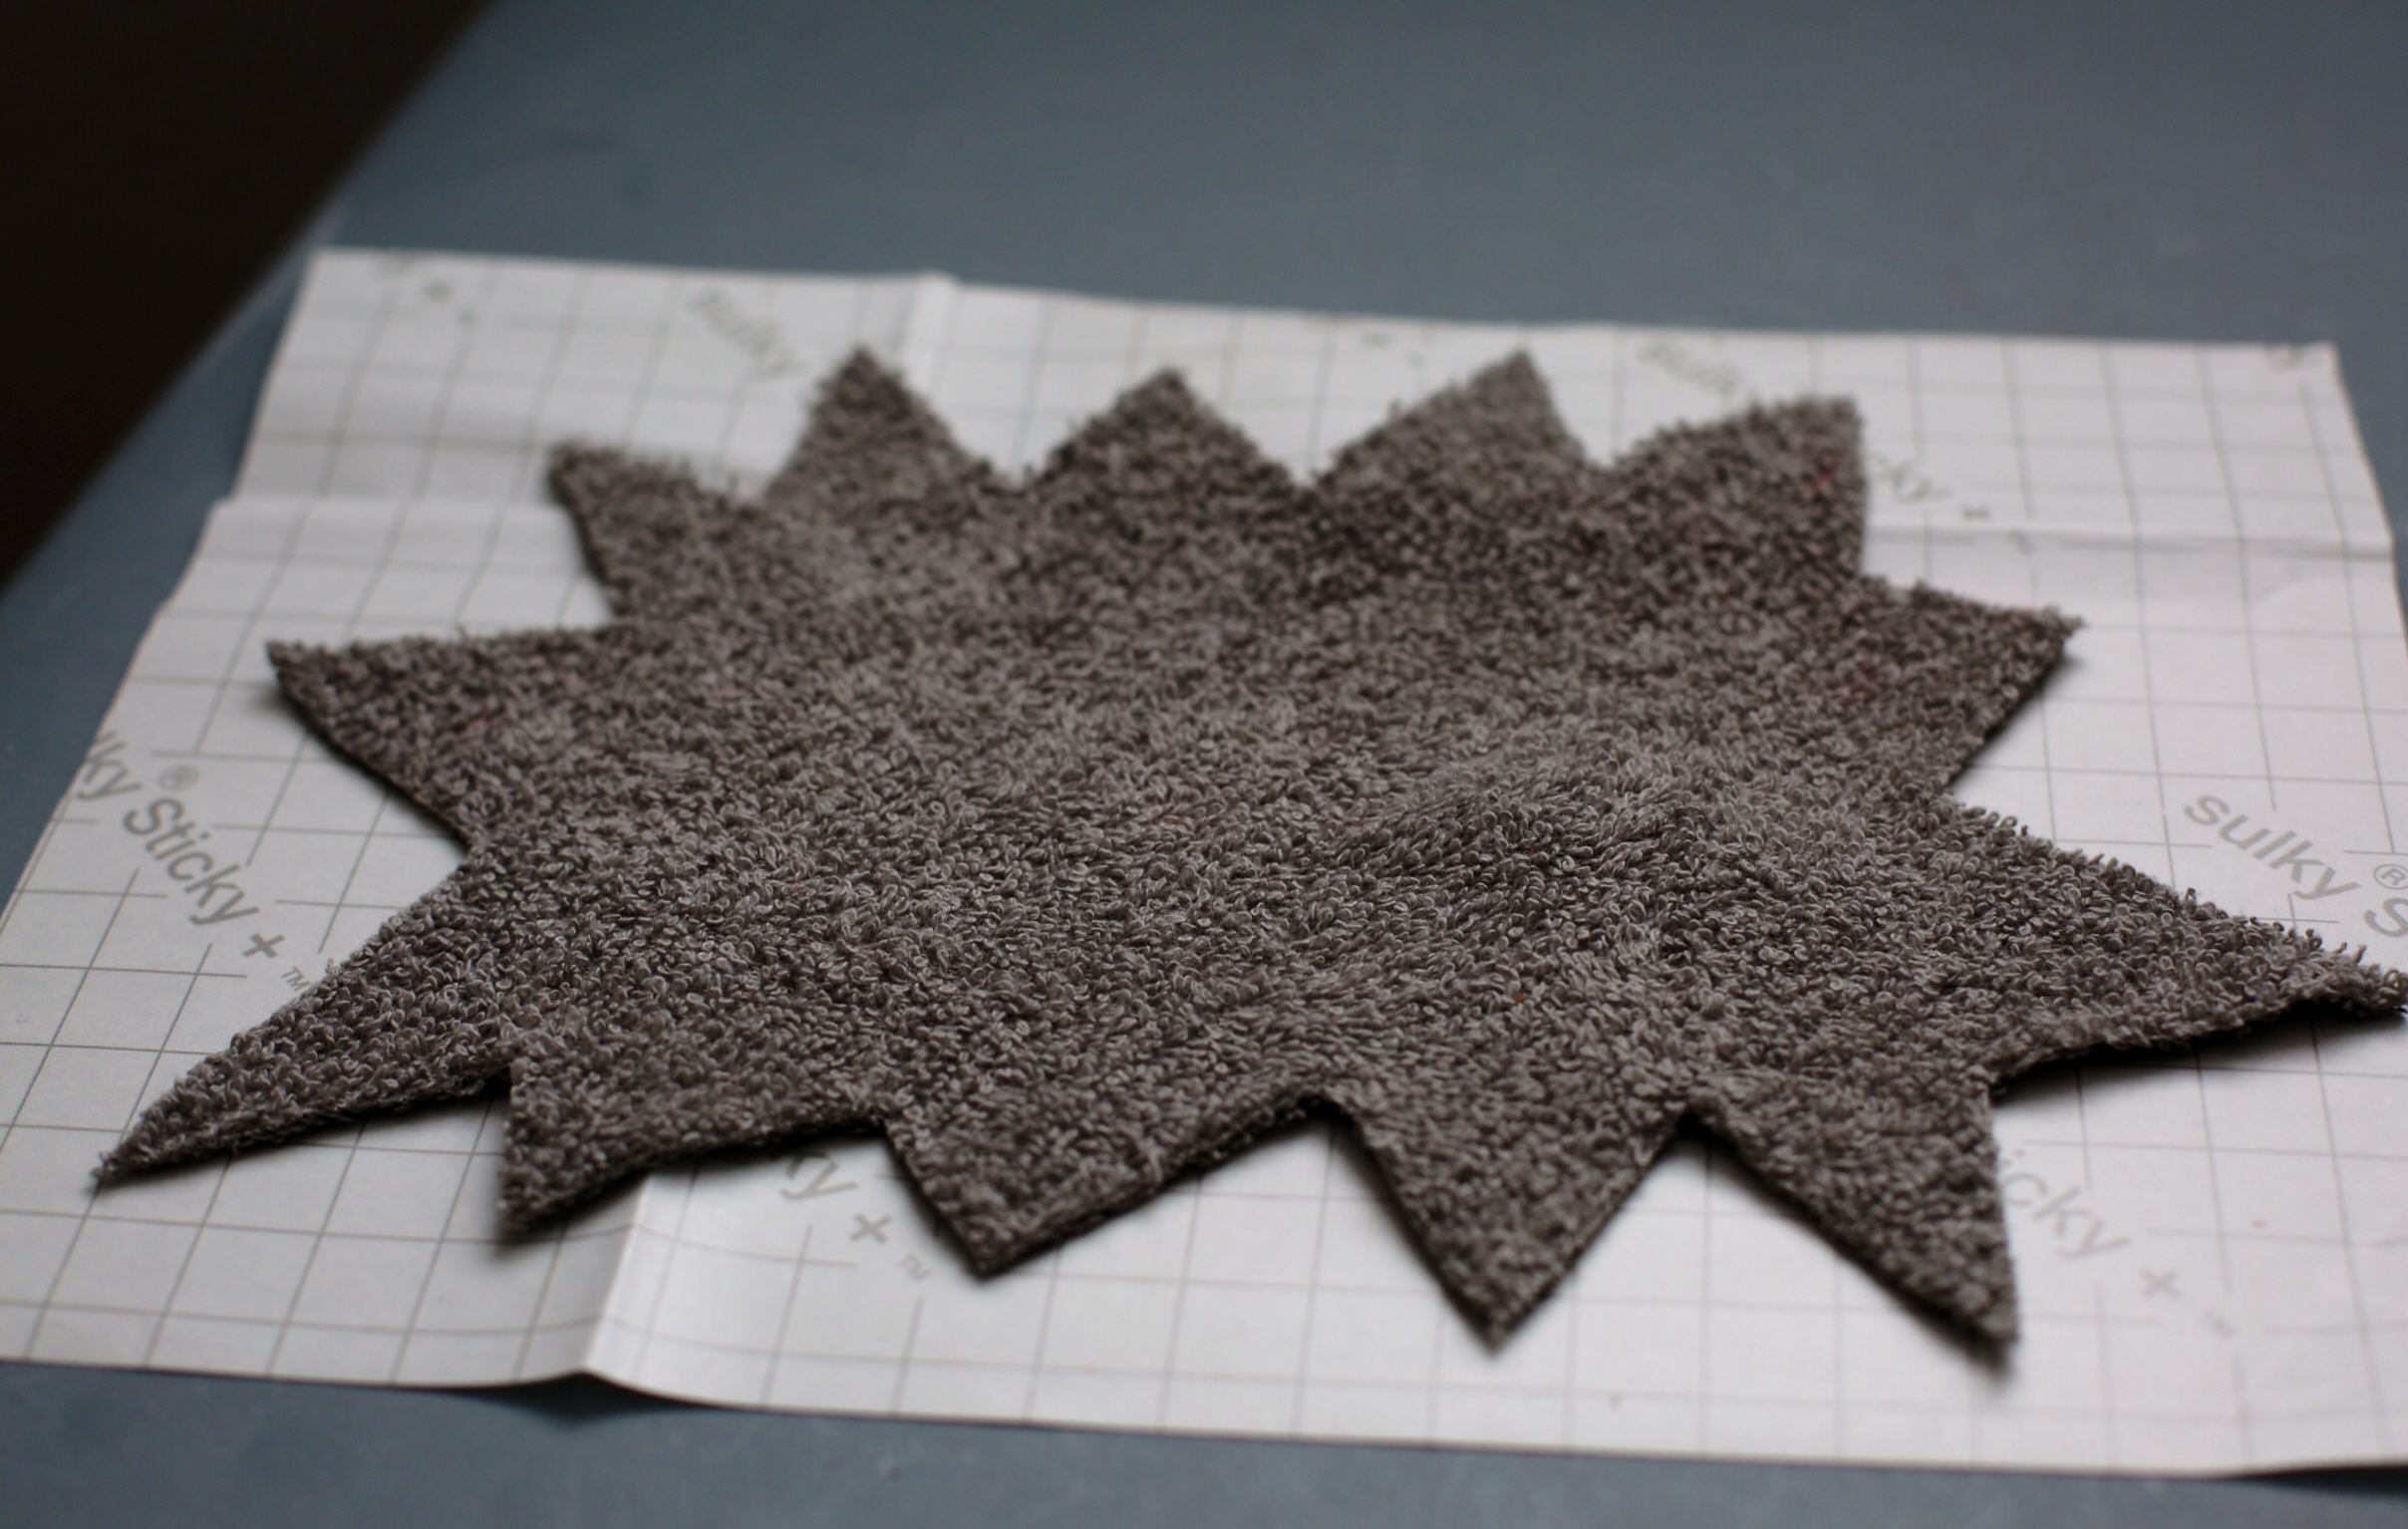
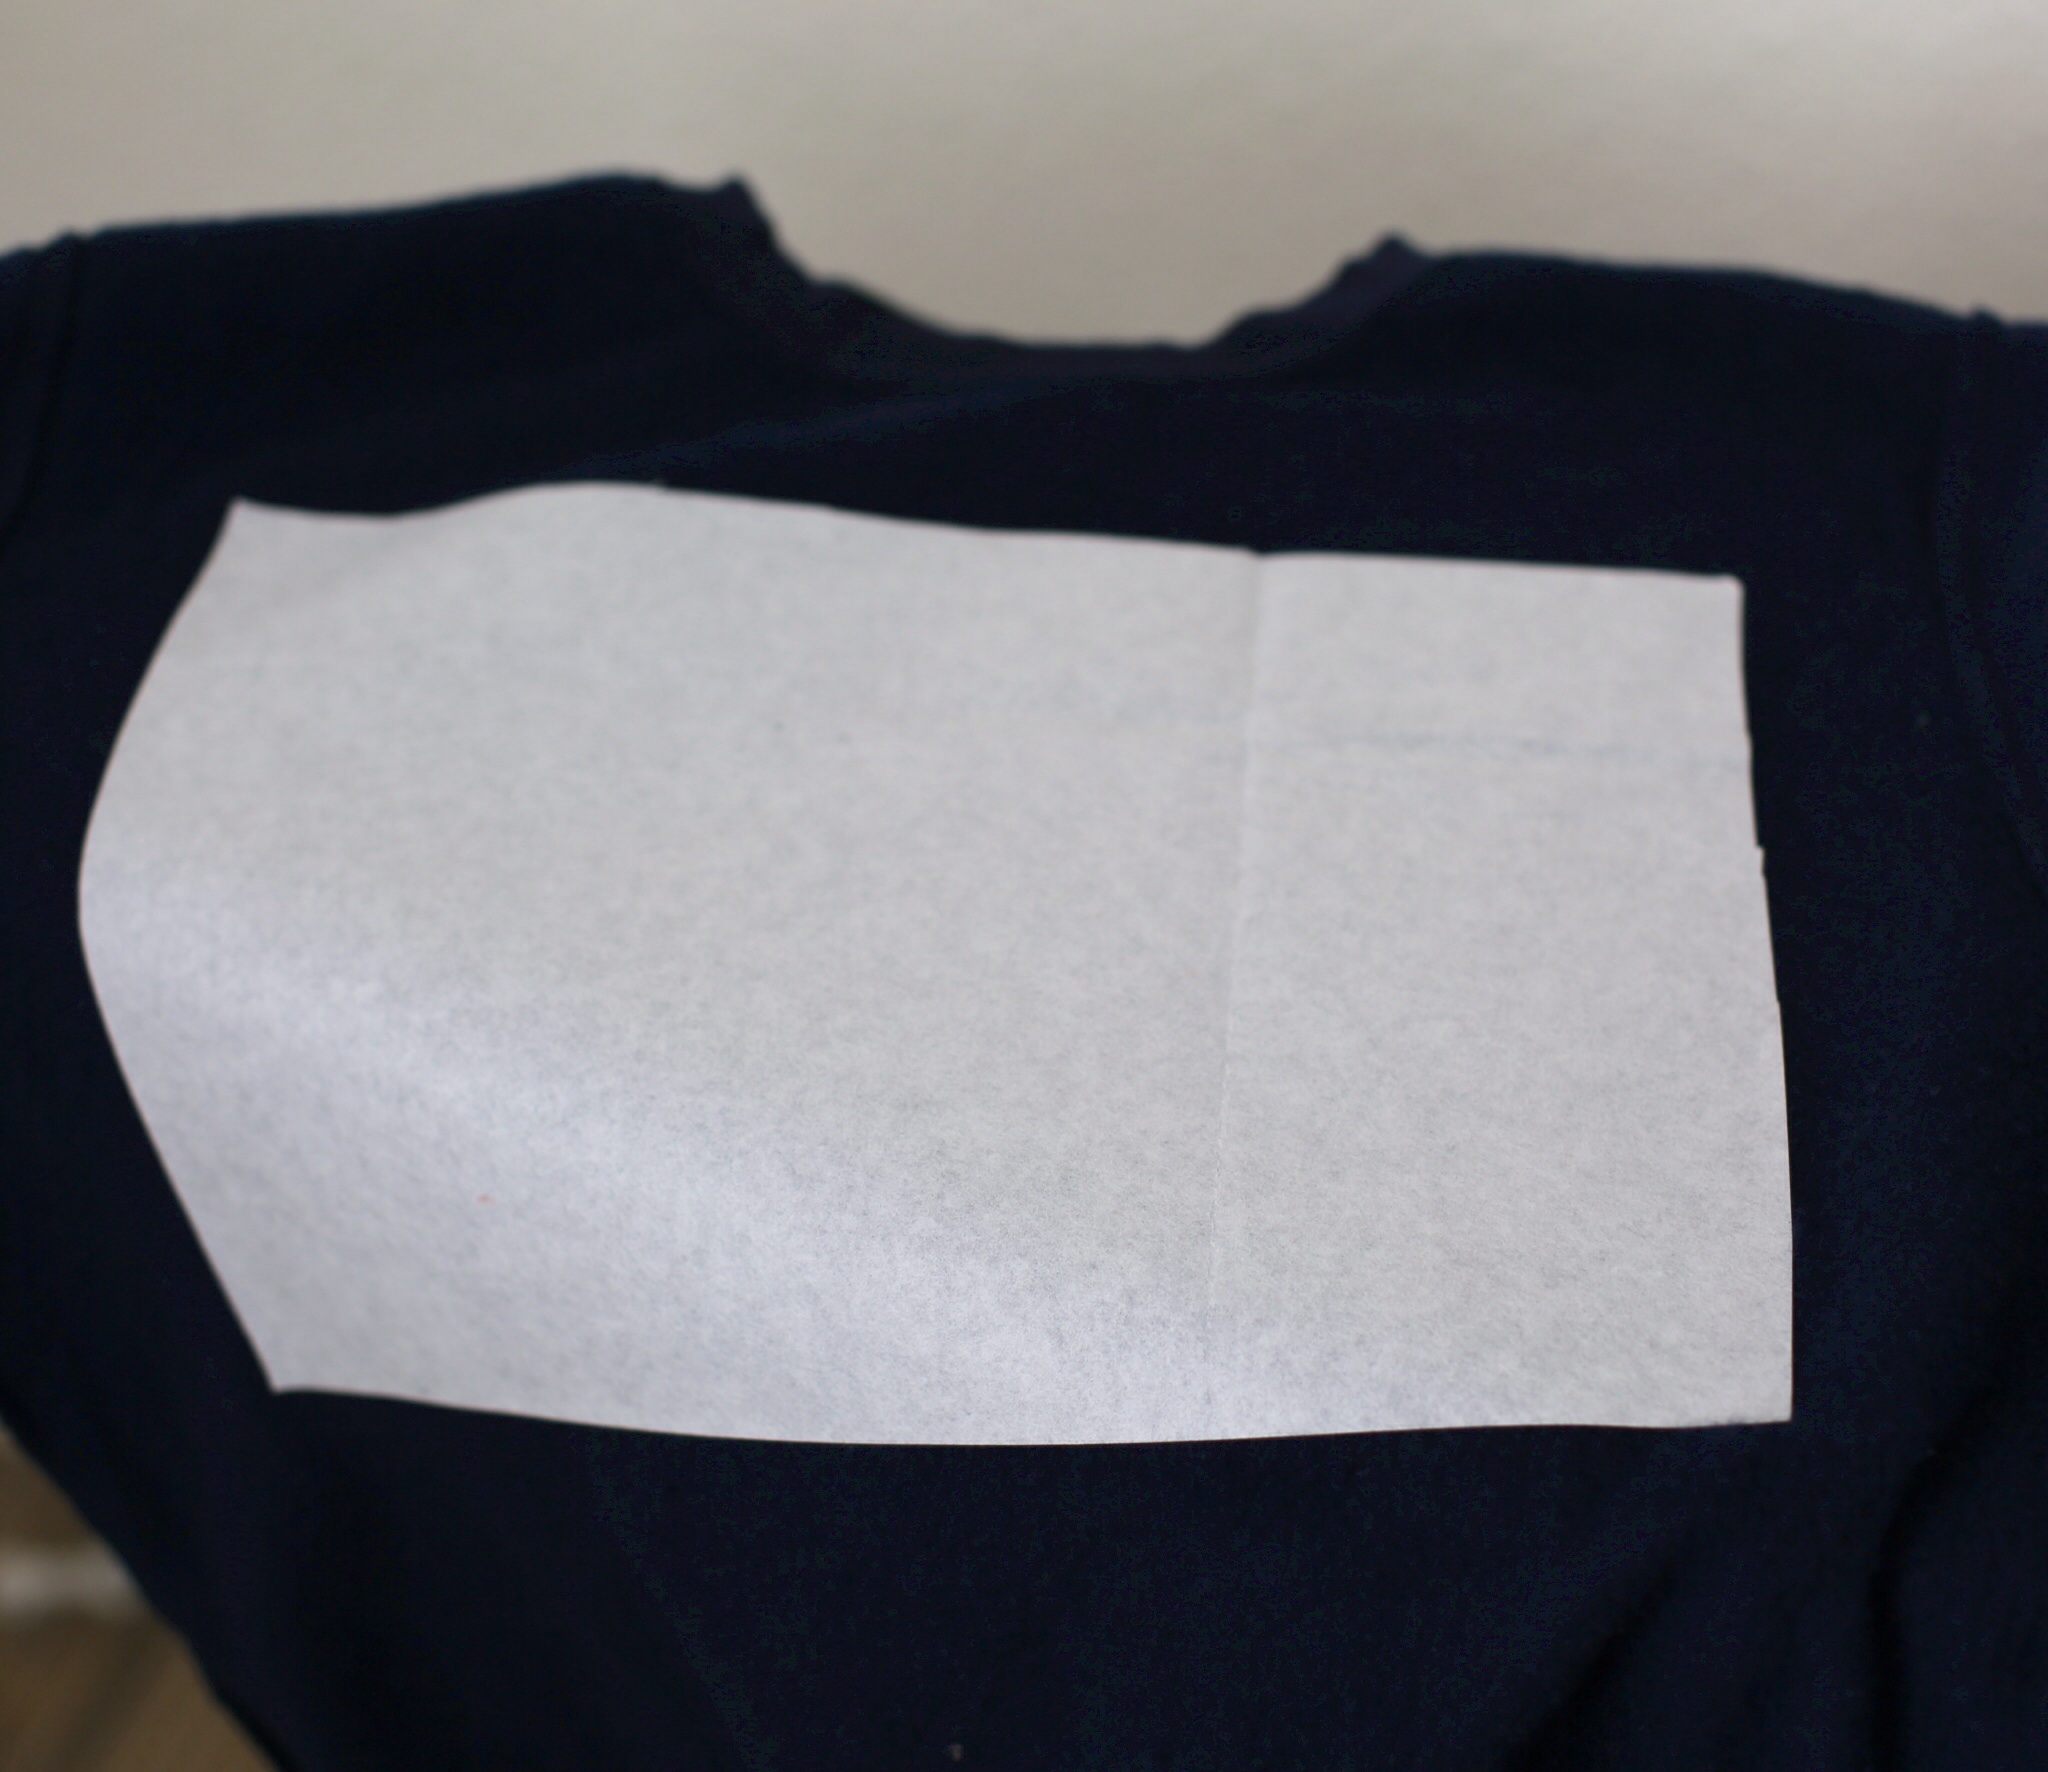
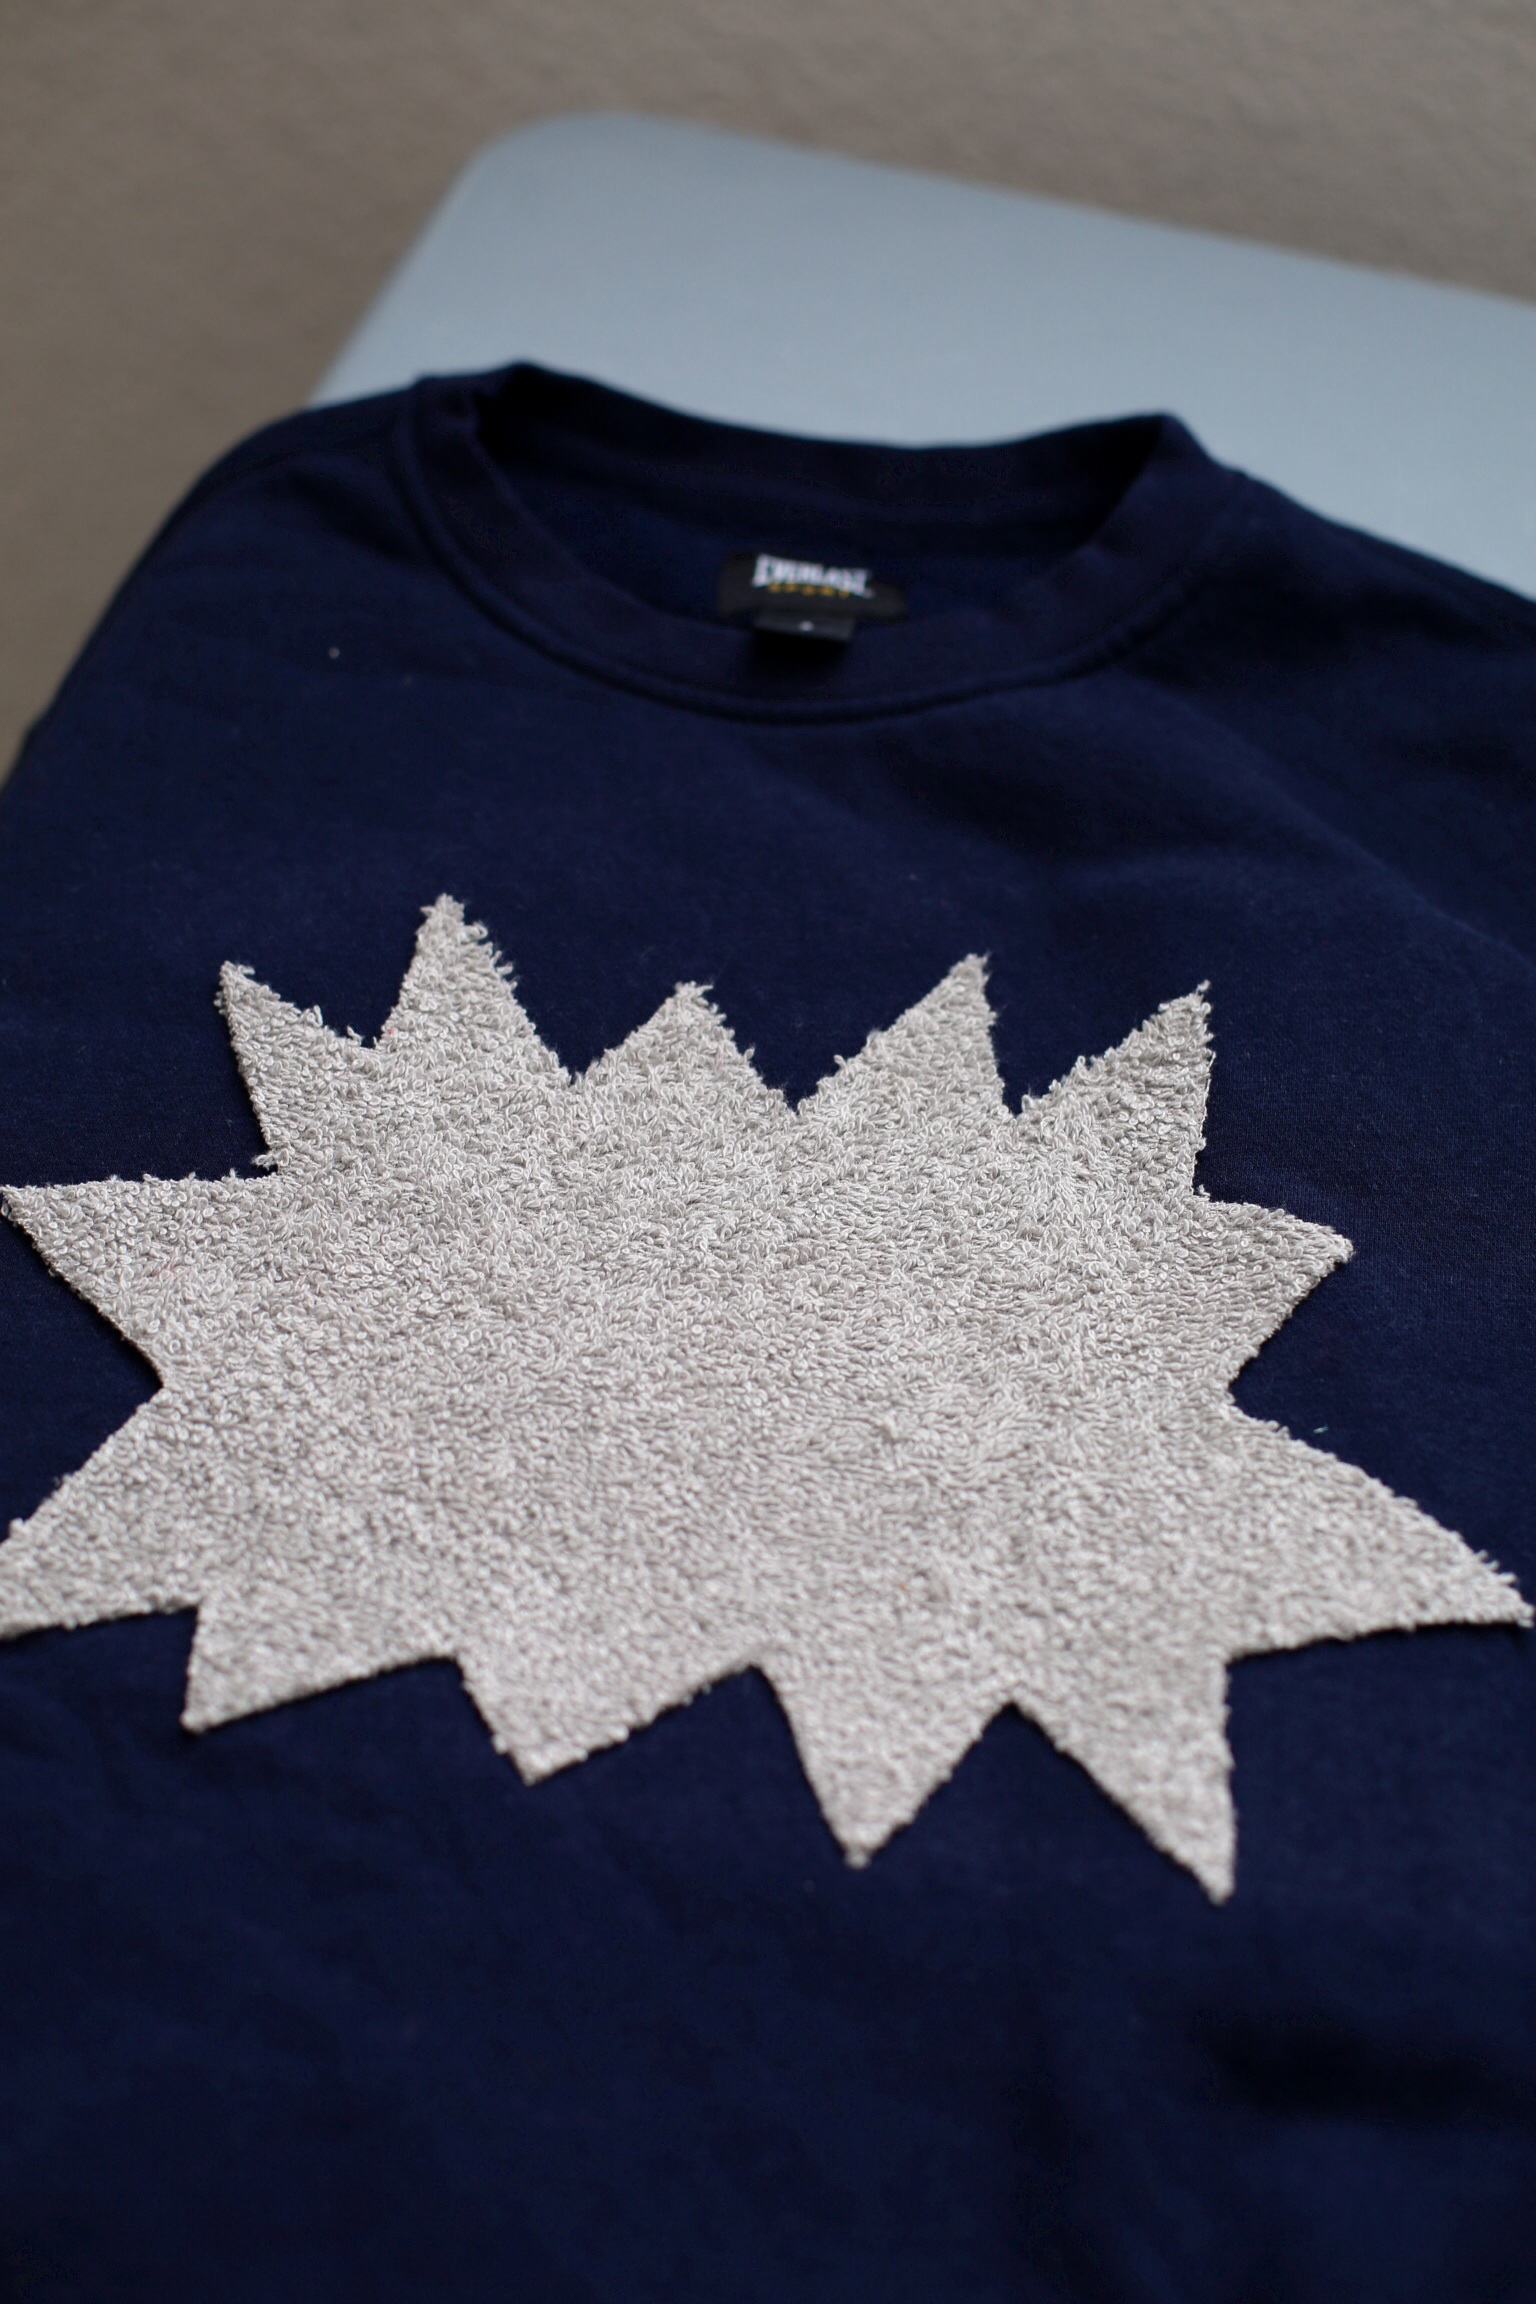
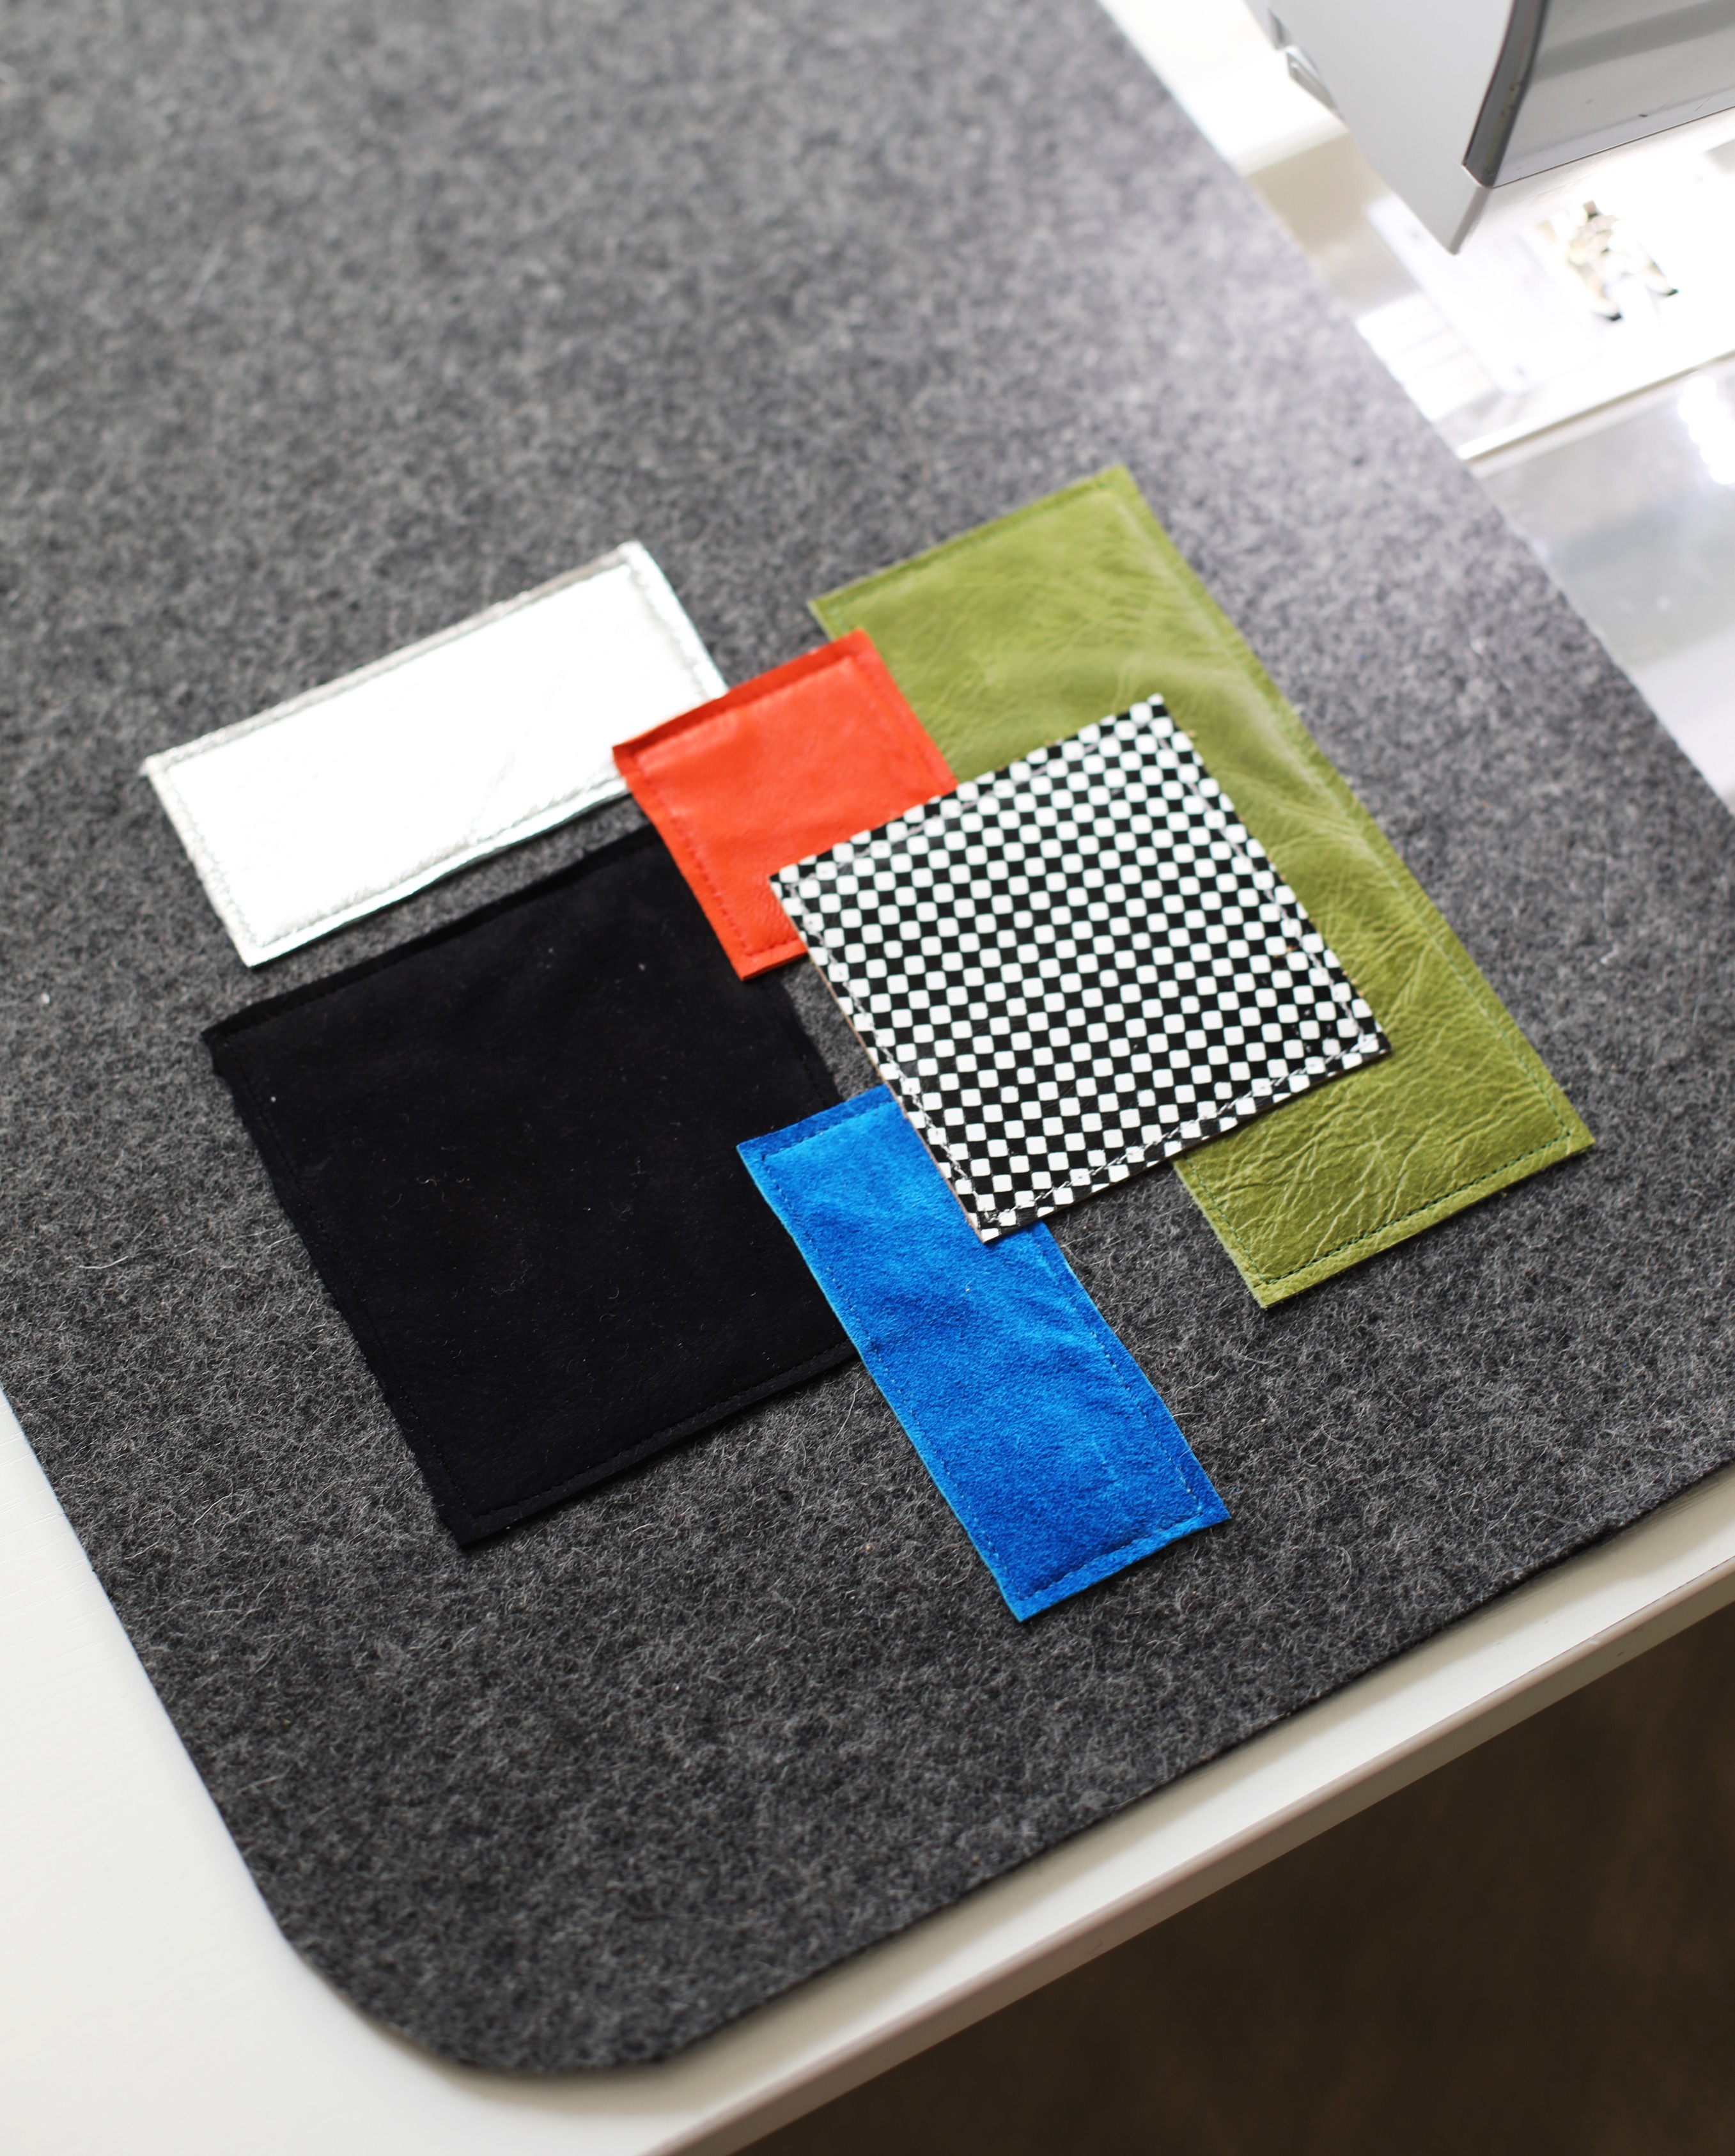
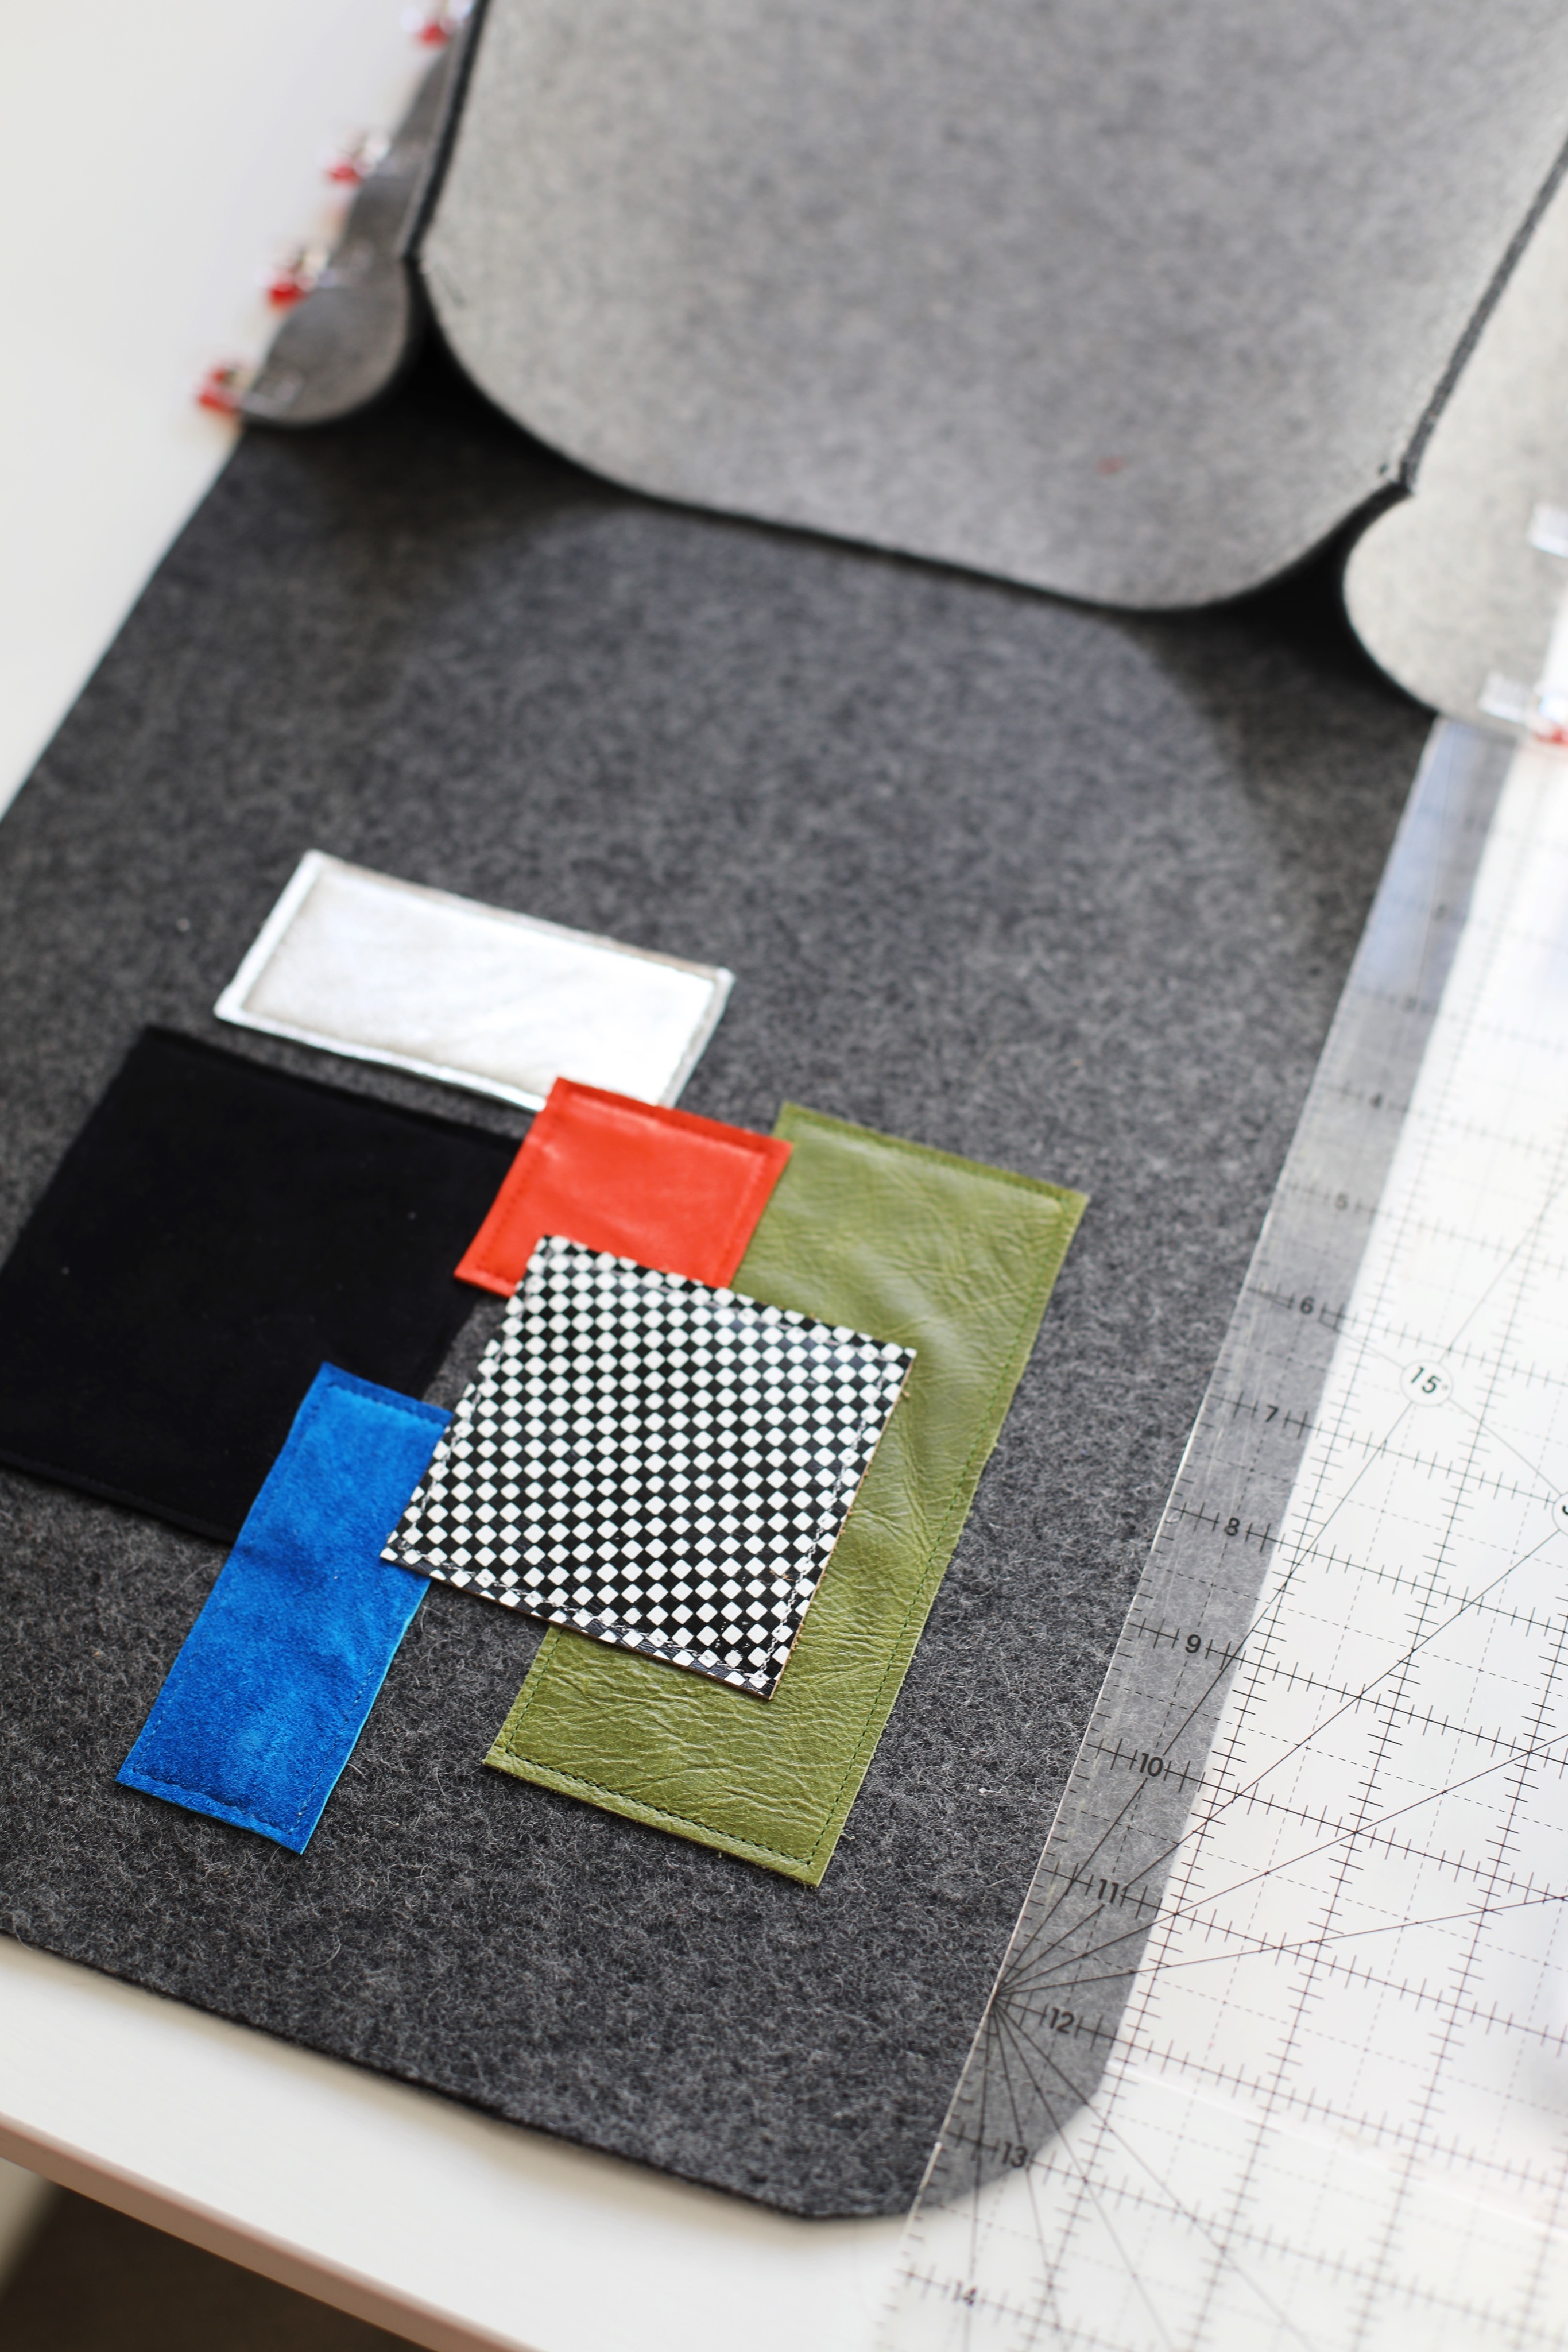
-Draw out a design and then cut pieces of leather or suede to match that design
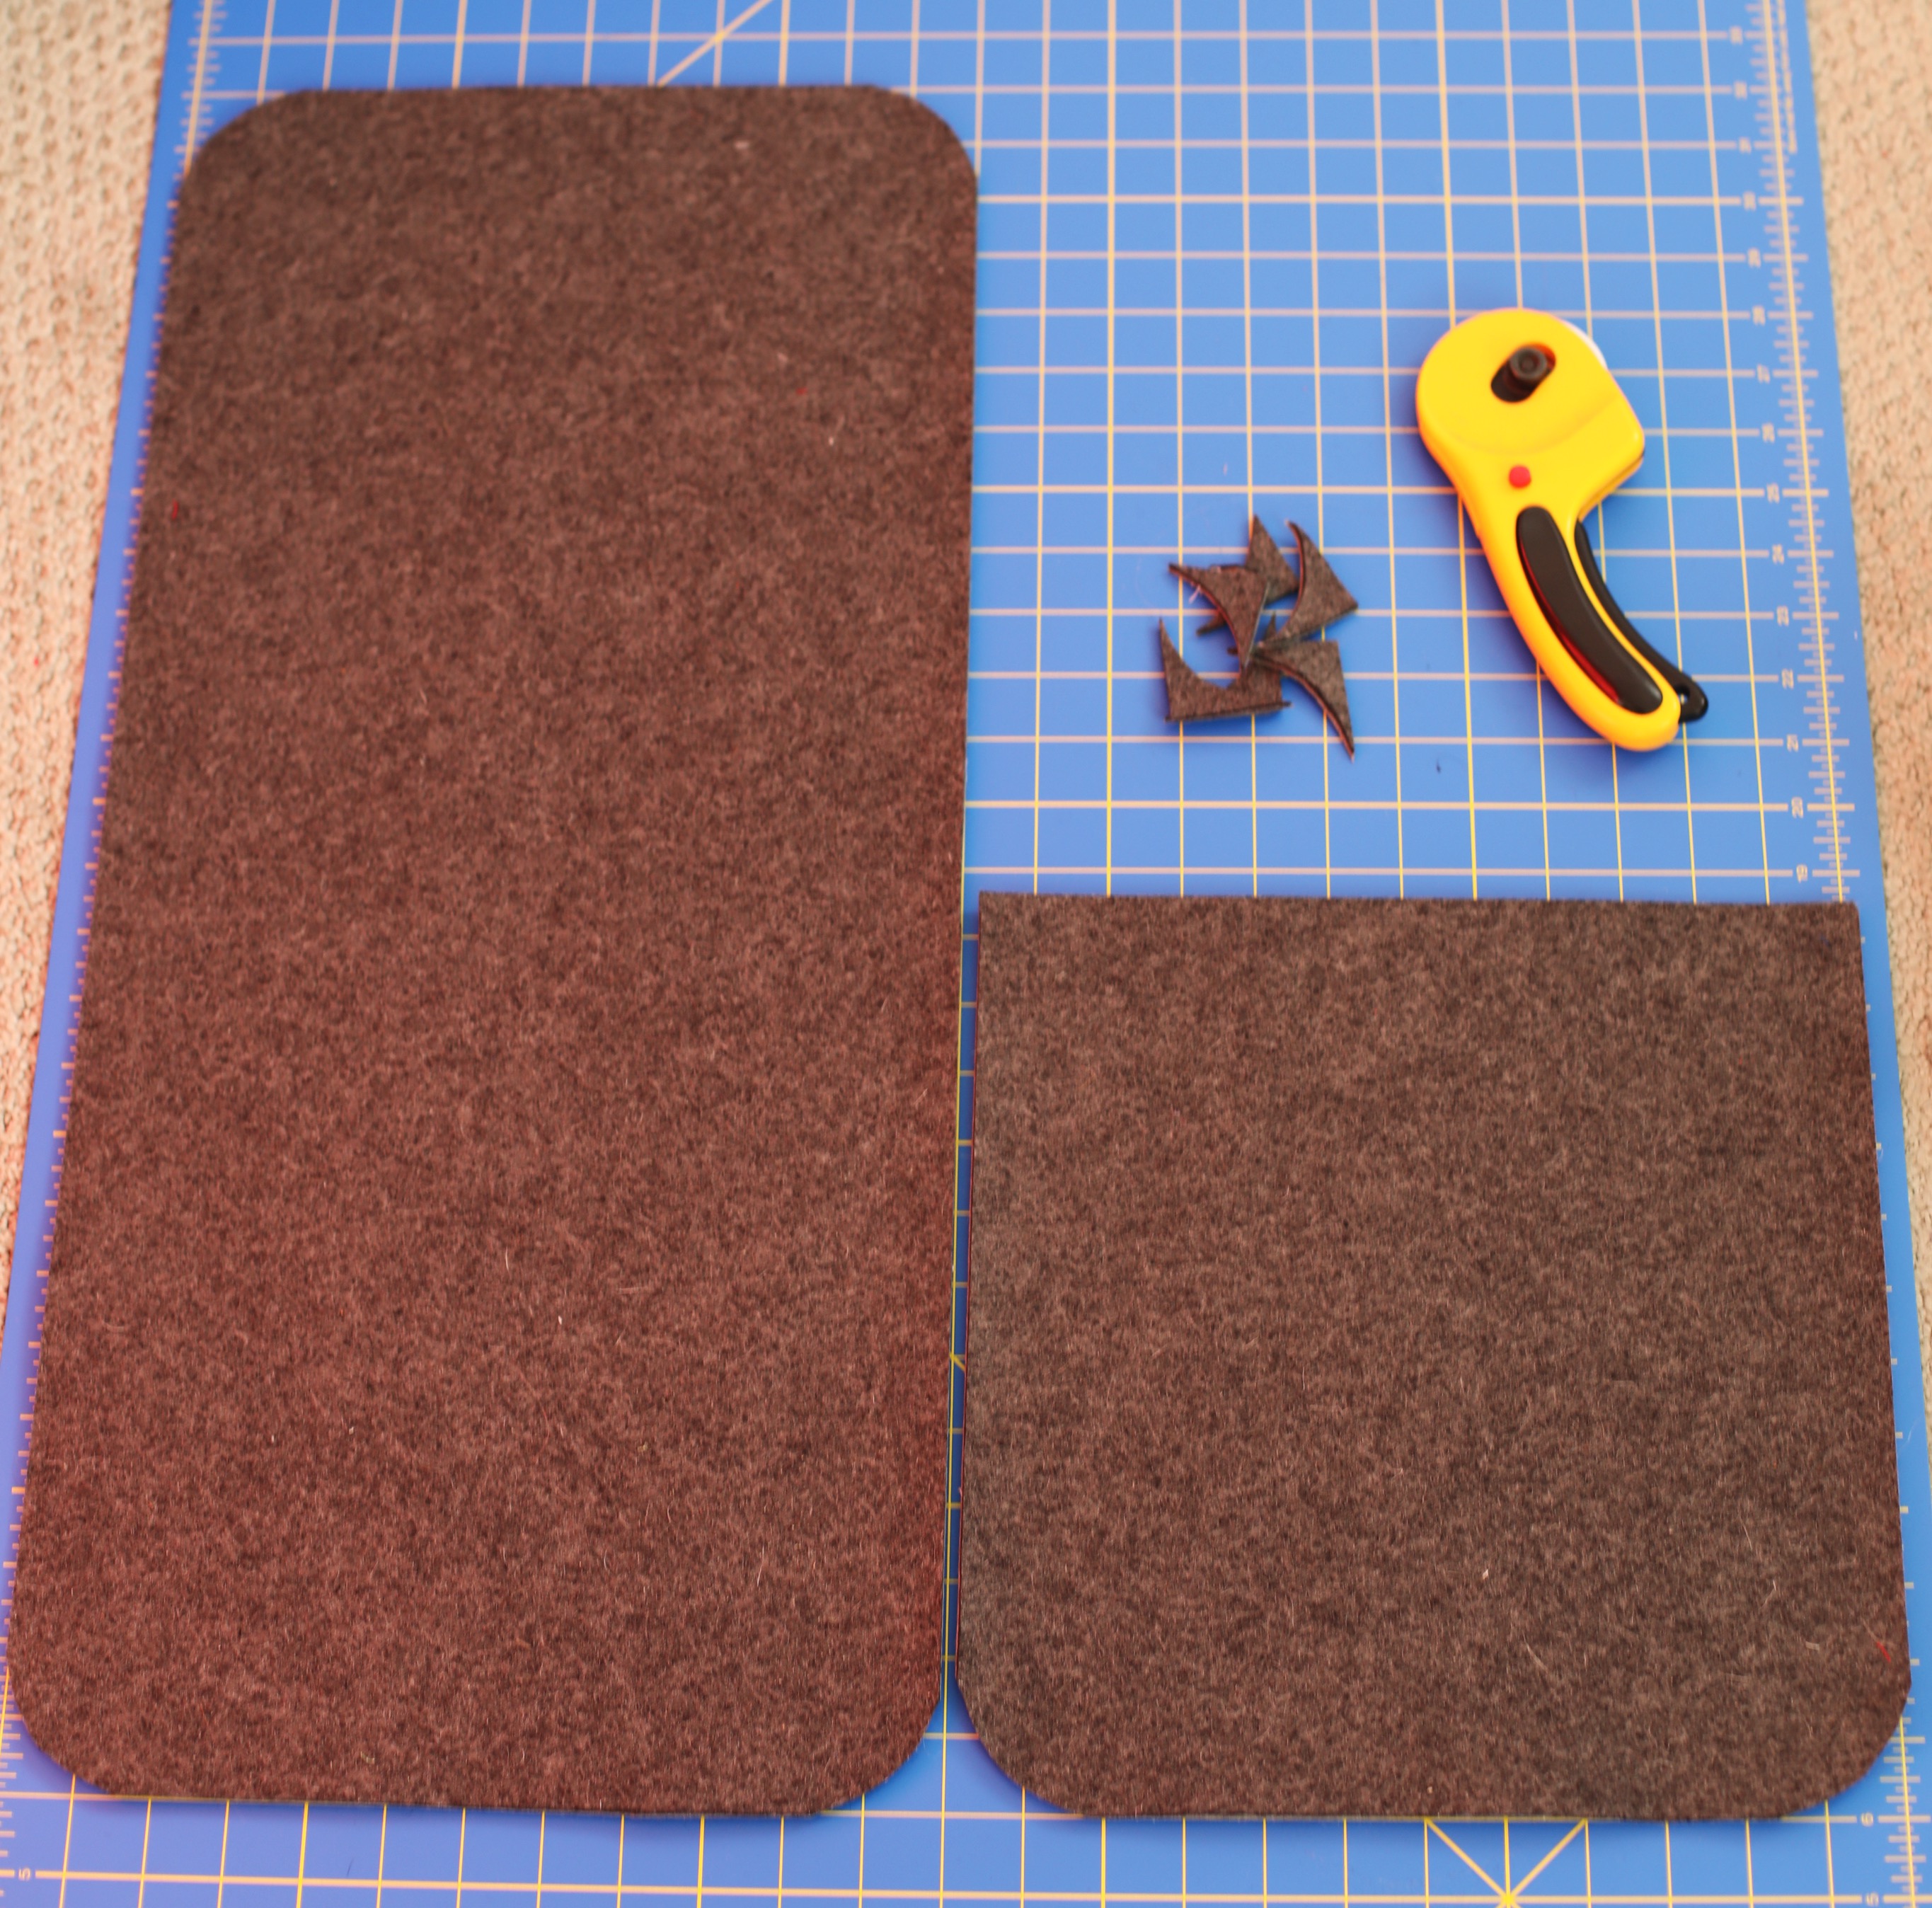
-Cut one Front/bottom piece 12 x 12.5 inches
-Cut one Back/top piece 12 x 26 inches
-Cut one Side piece 4 x 36 inches
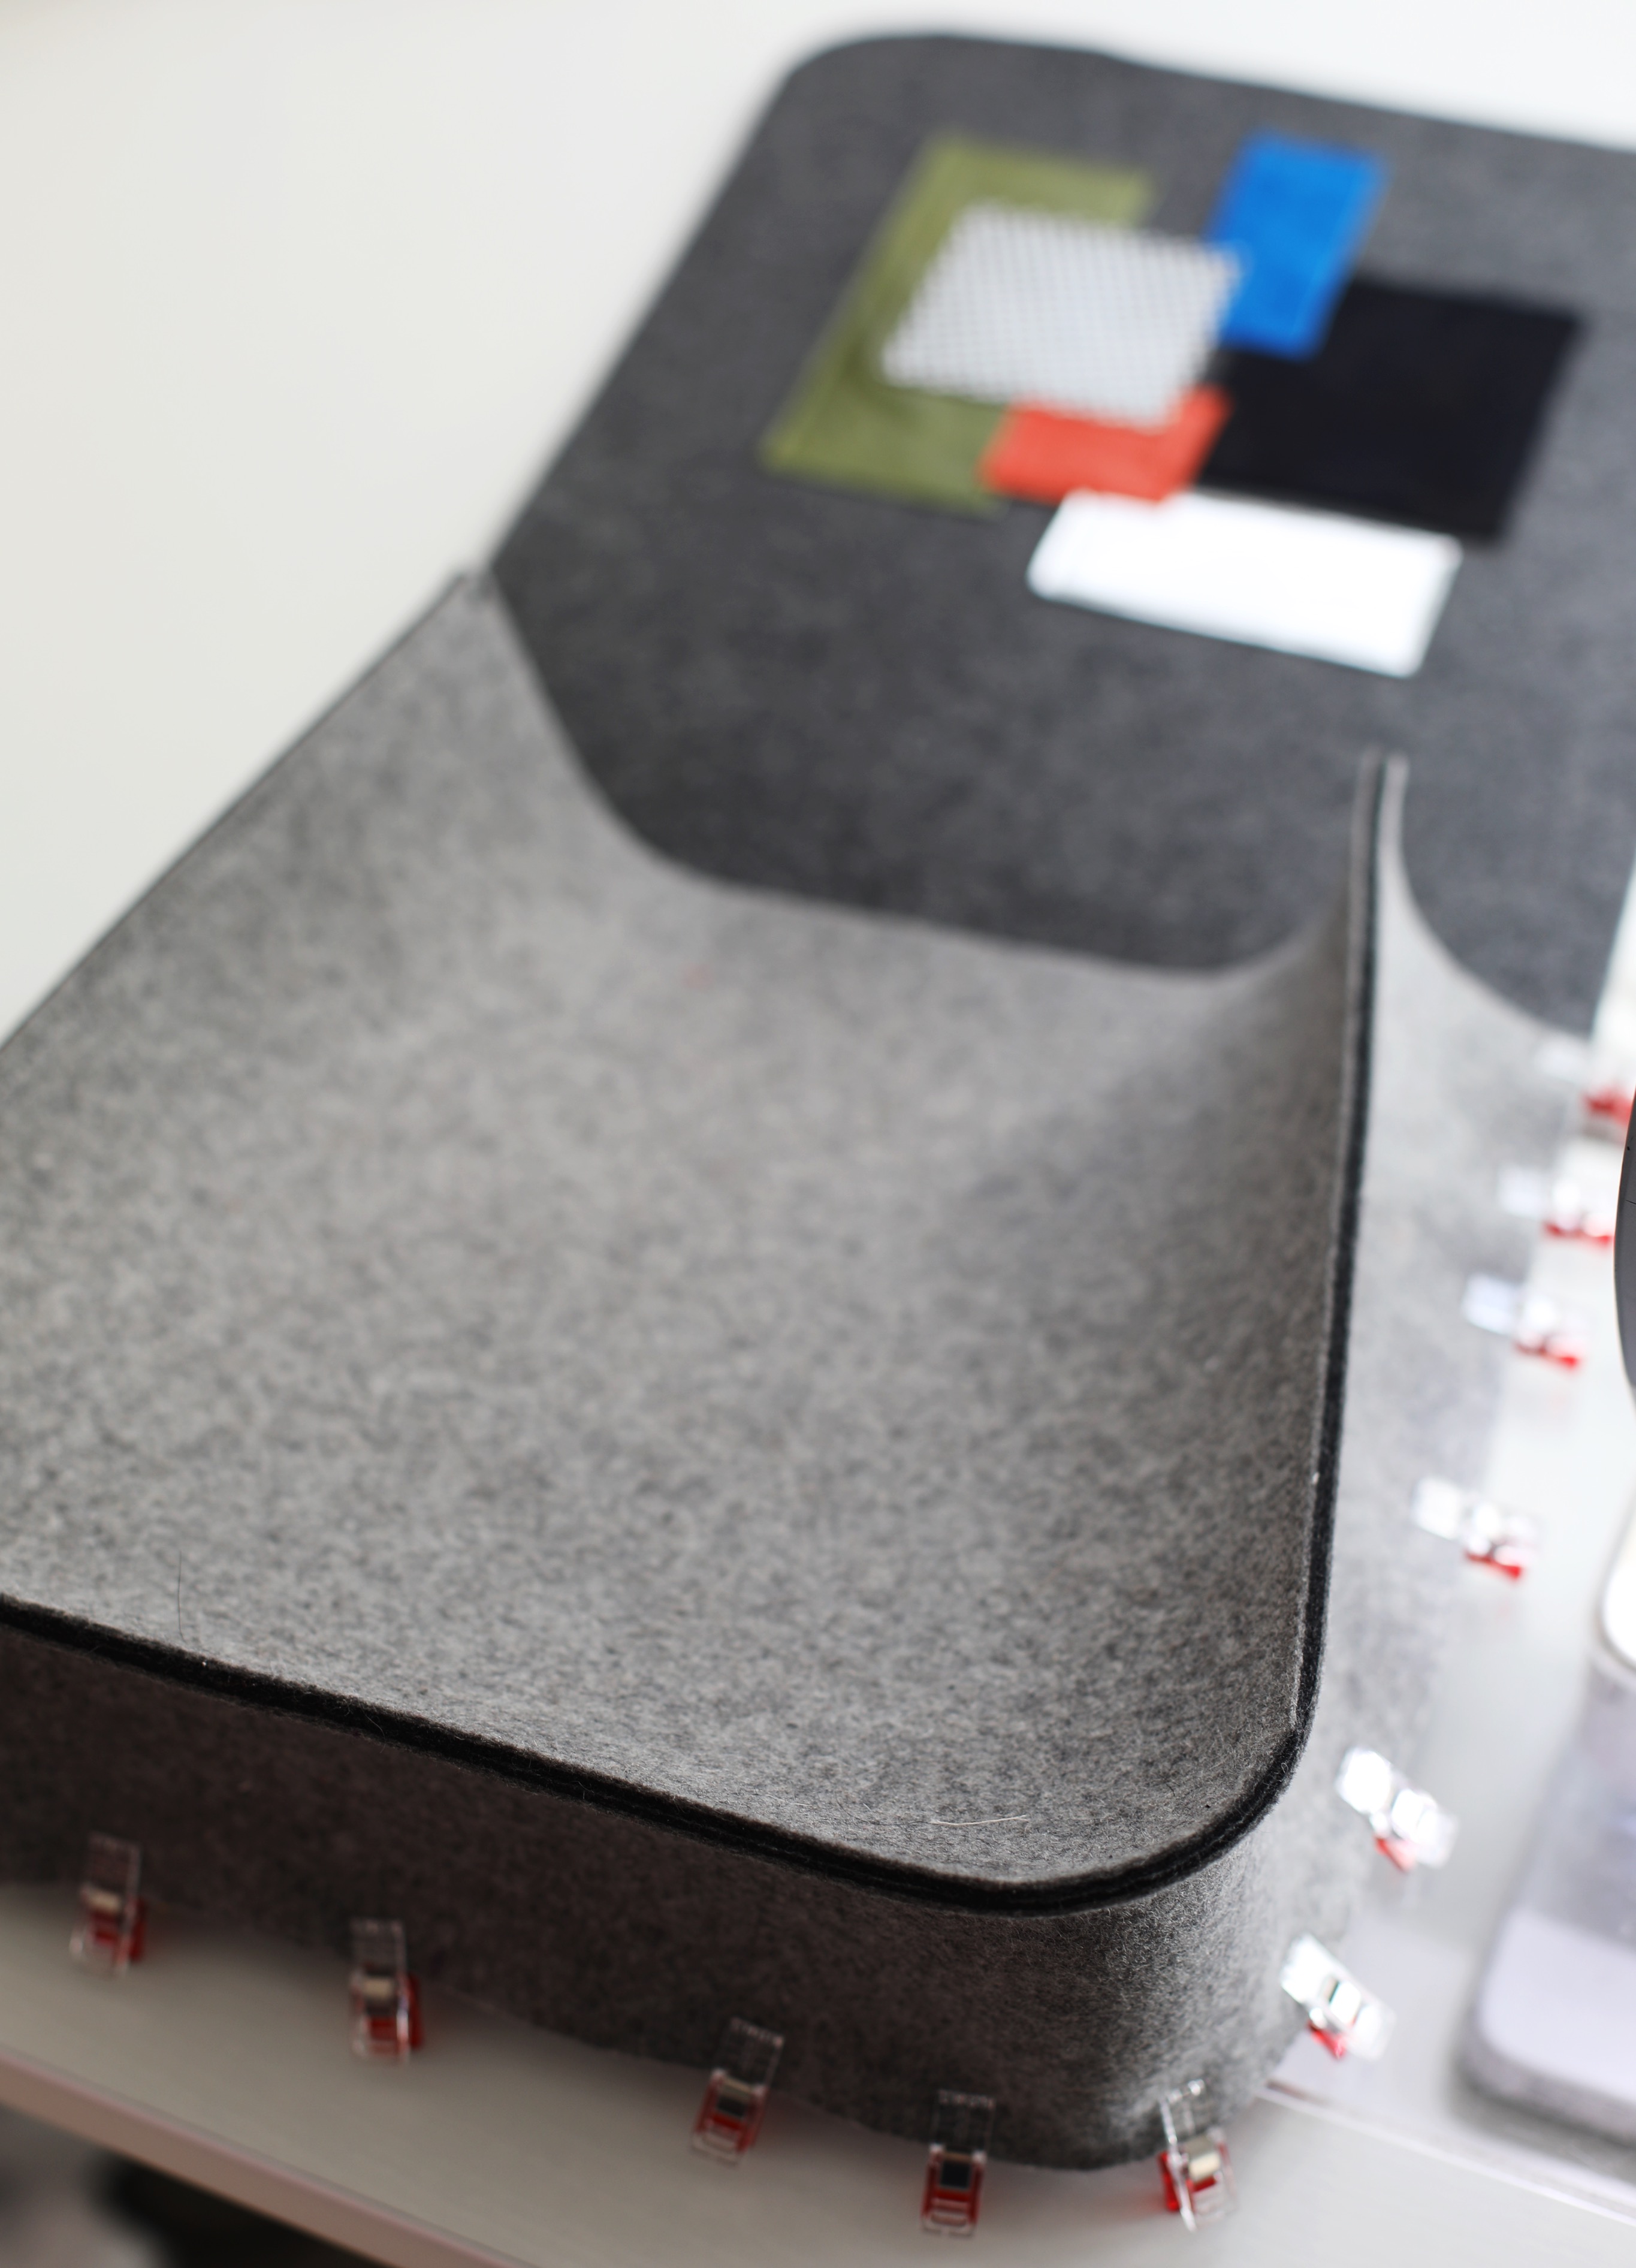
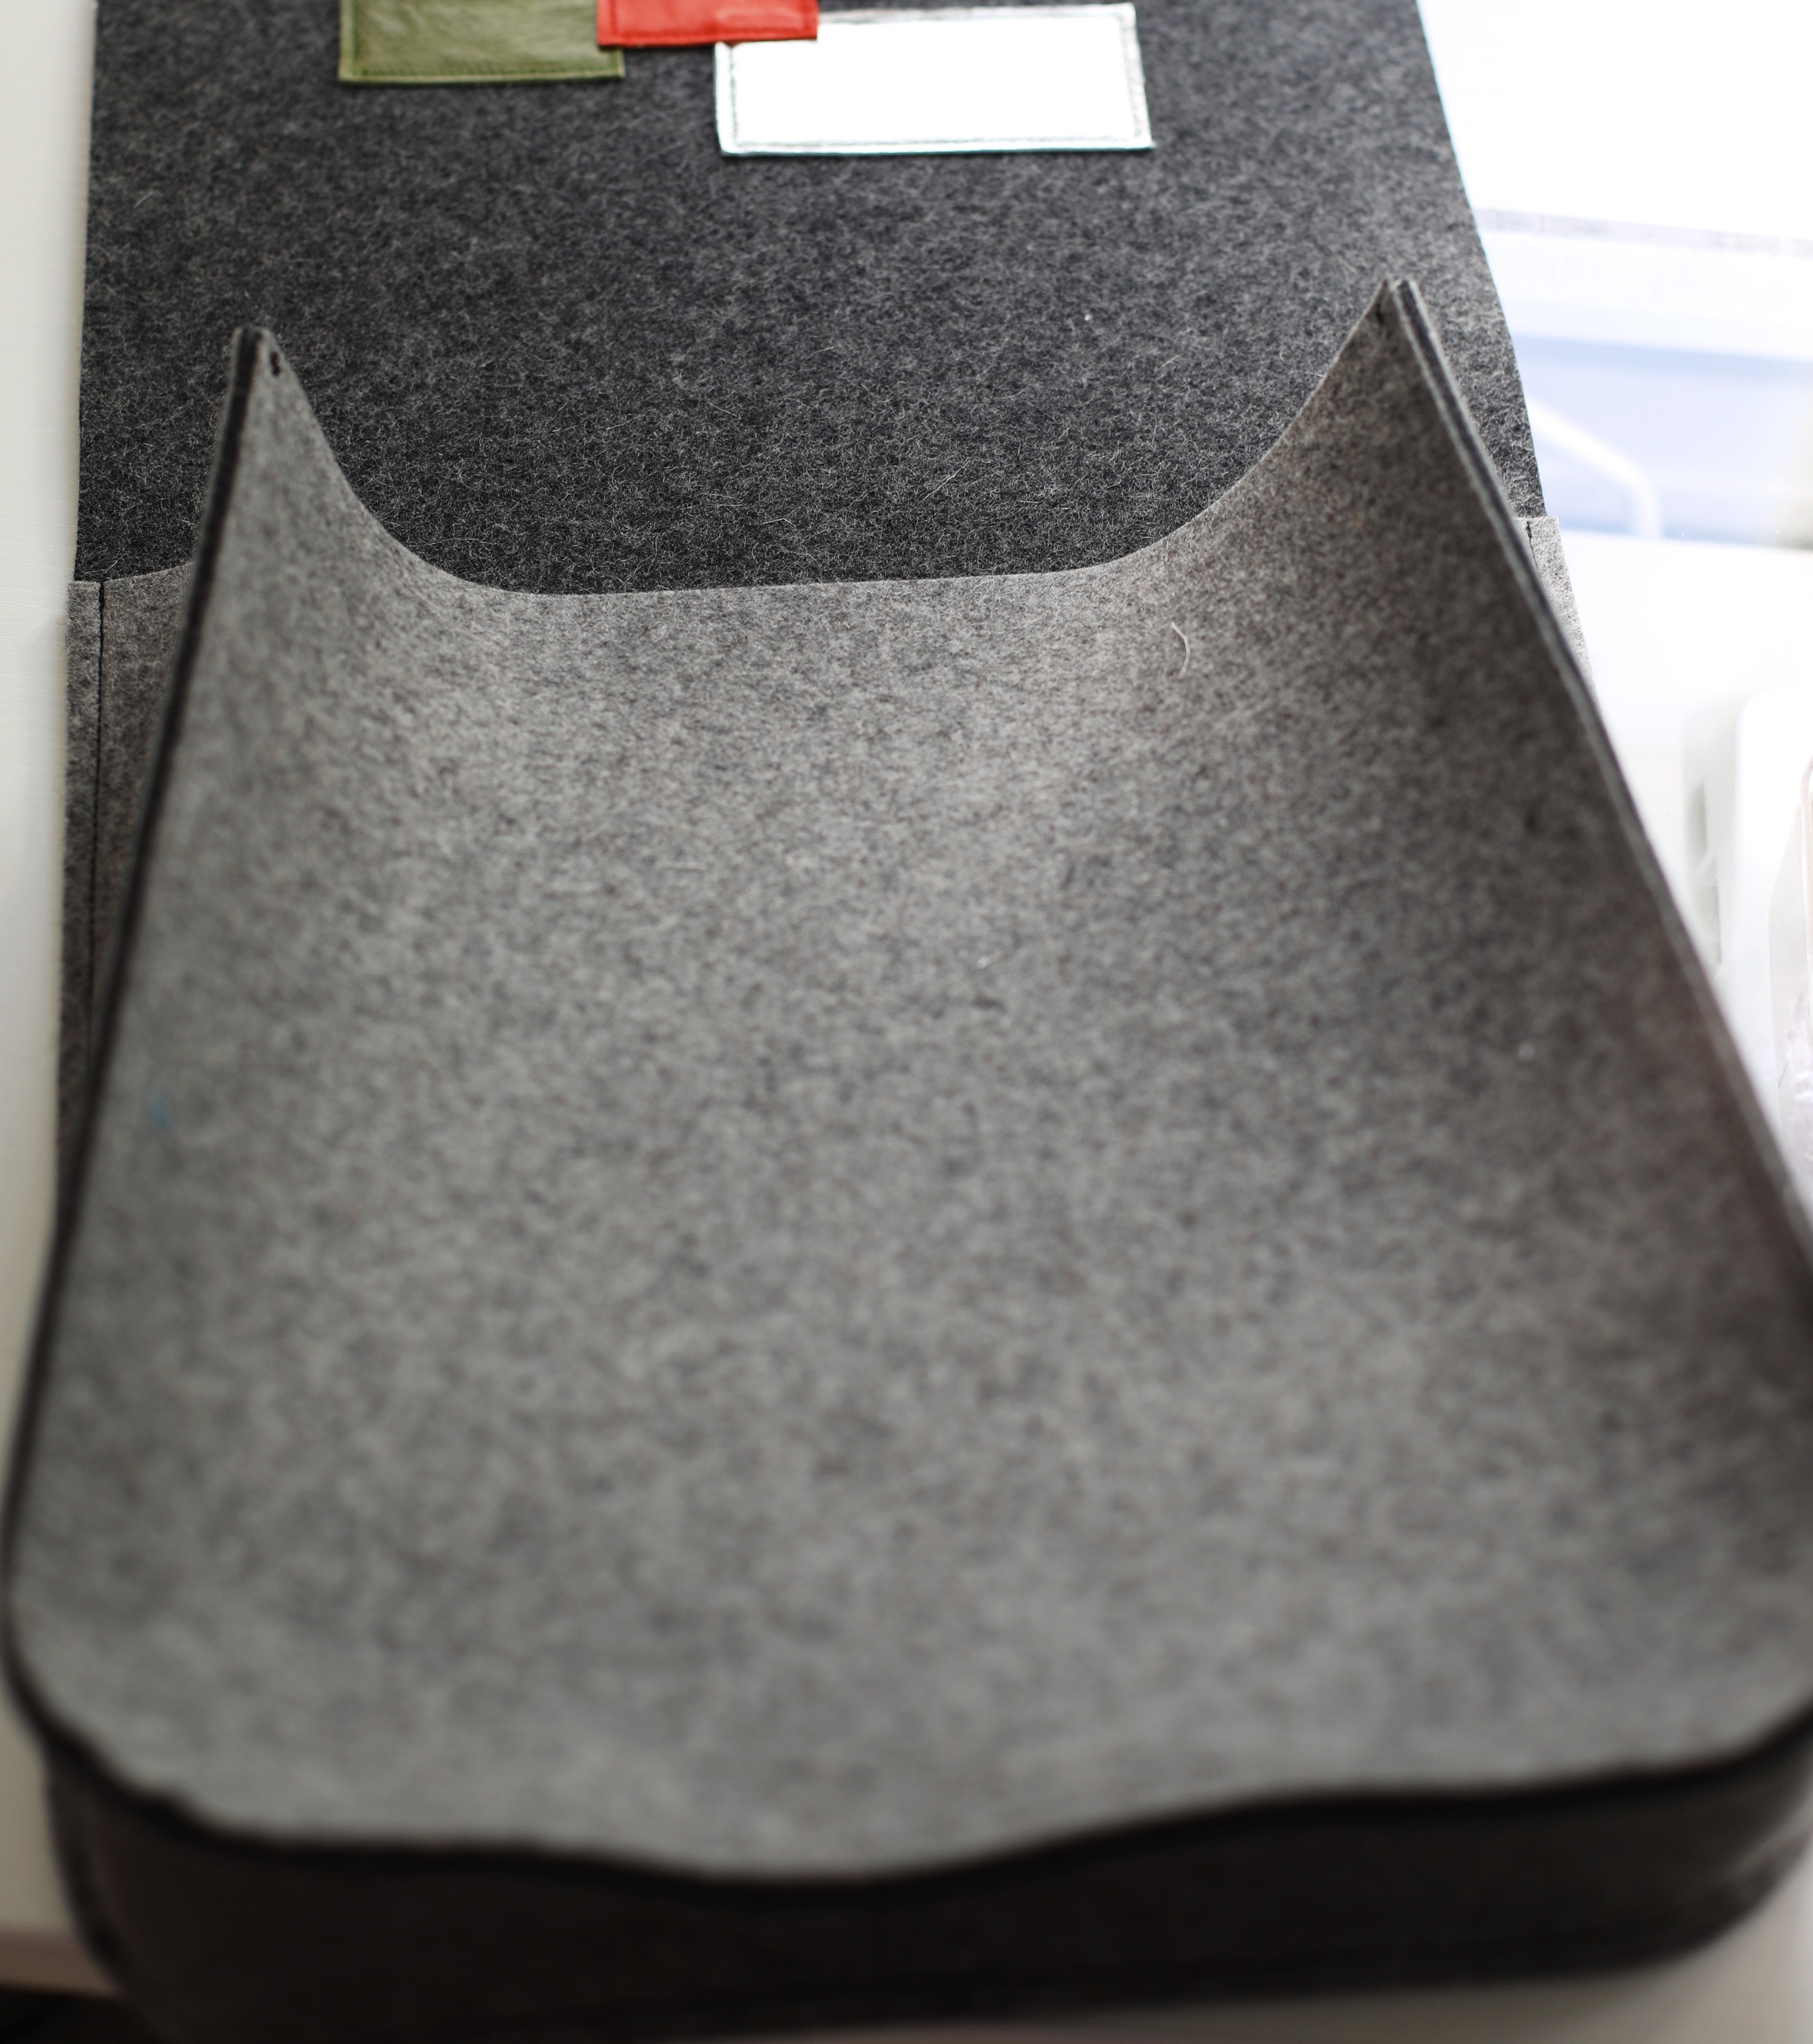
-Round the bottom edges of your Front/bottom piece (remember that it is slightly narrower side to side then top to bottom to assure you are rounding the correct edges) and round all sides of the Back/top piece. I used a 4 inch circle template but you can use a small plate or can as your guide instead.

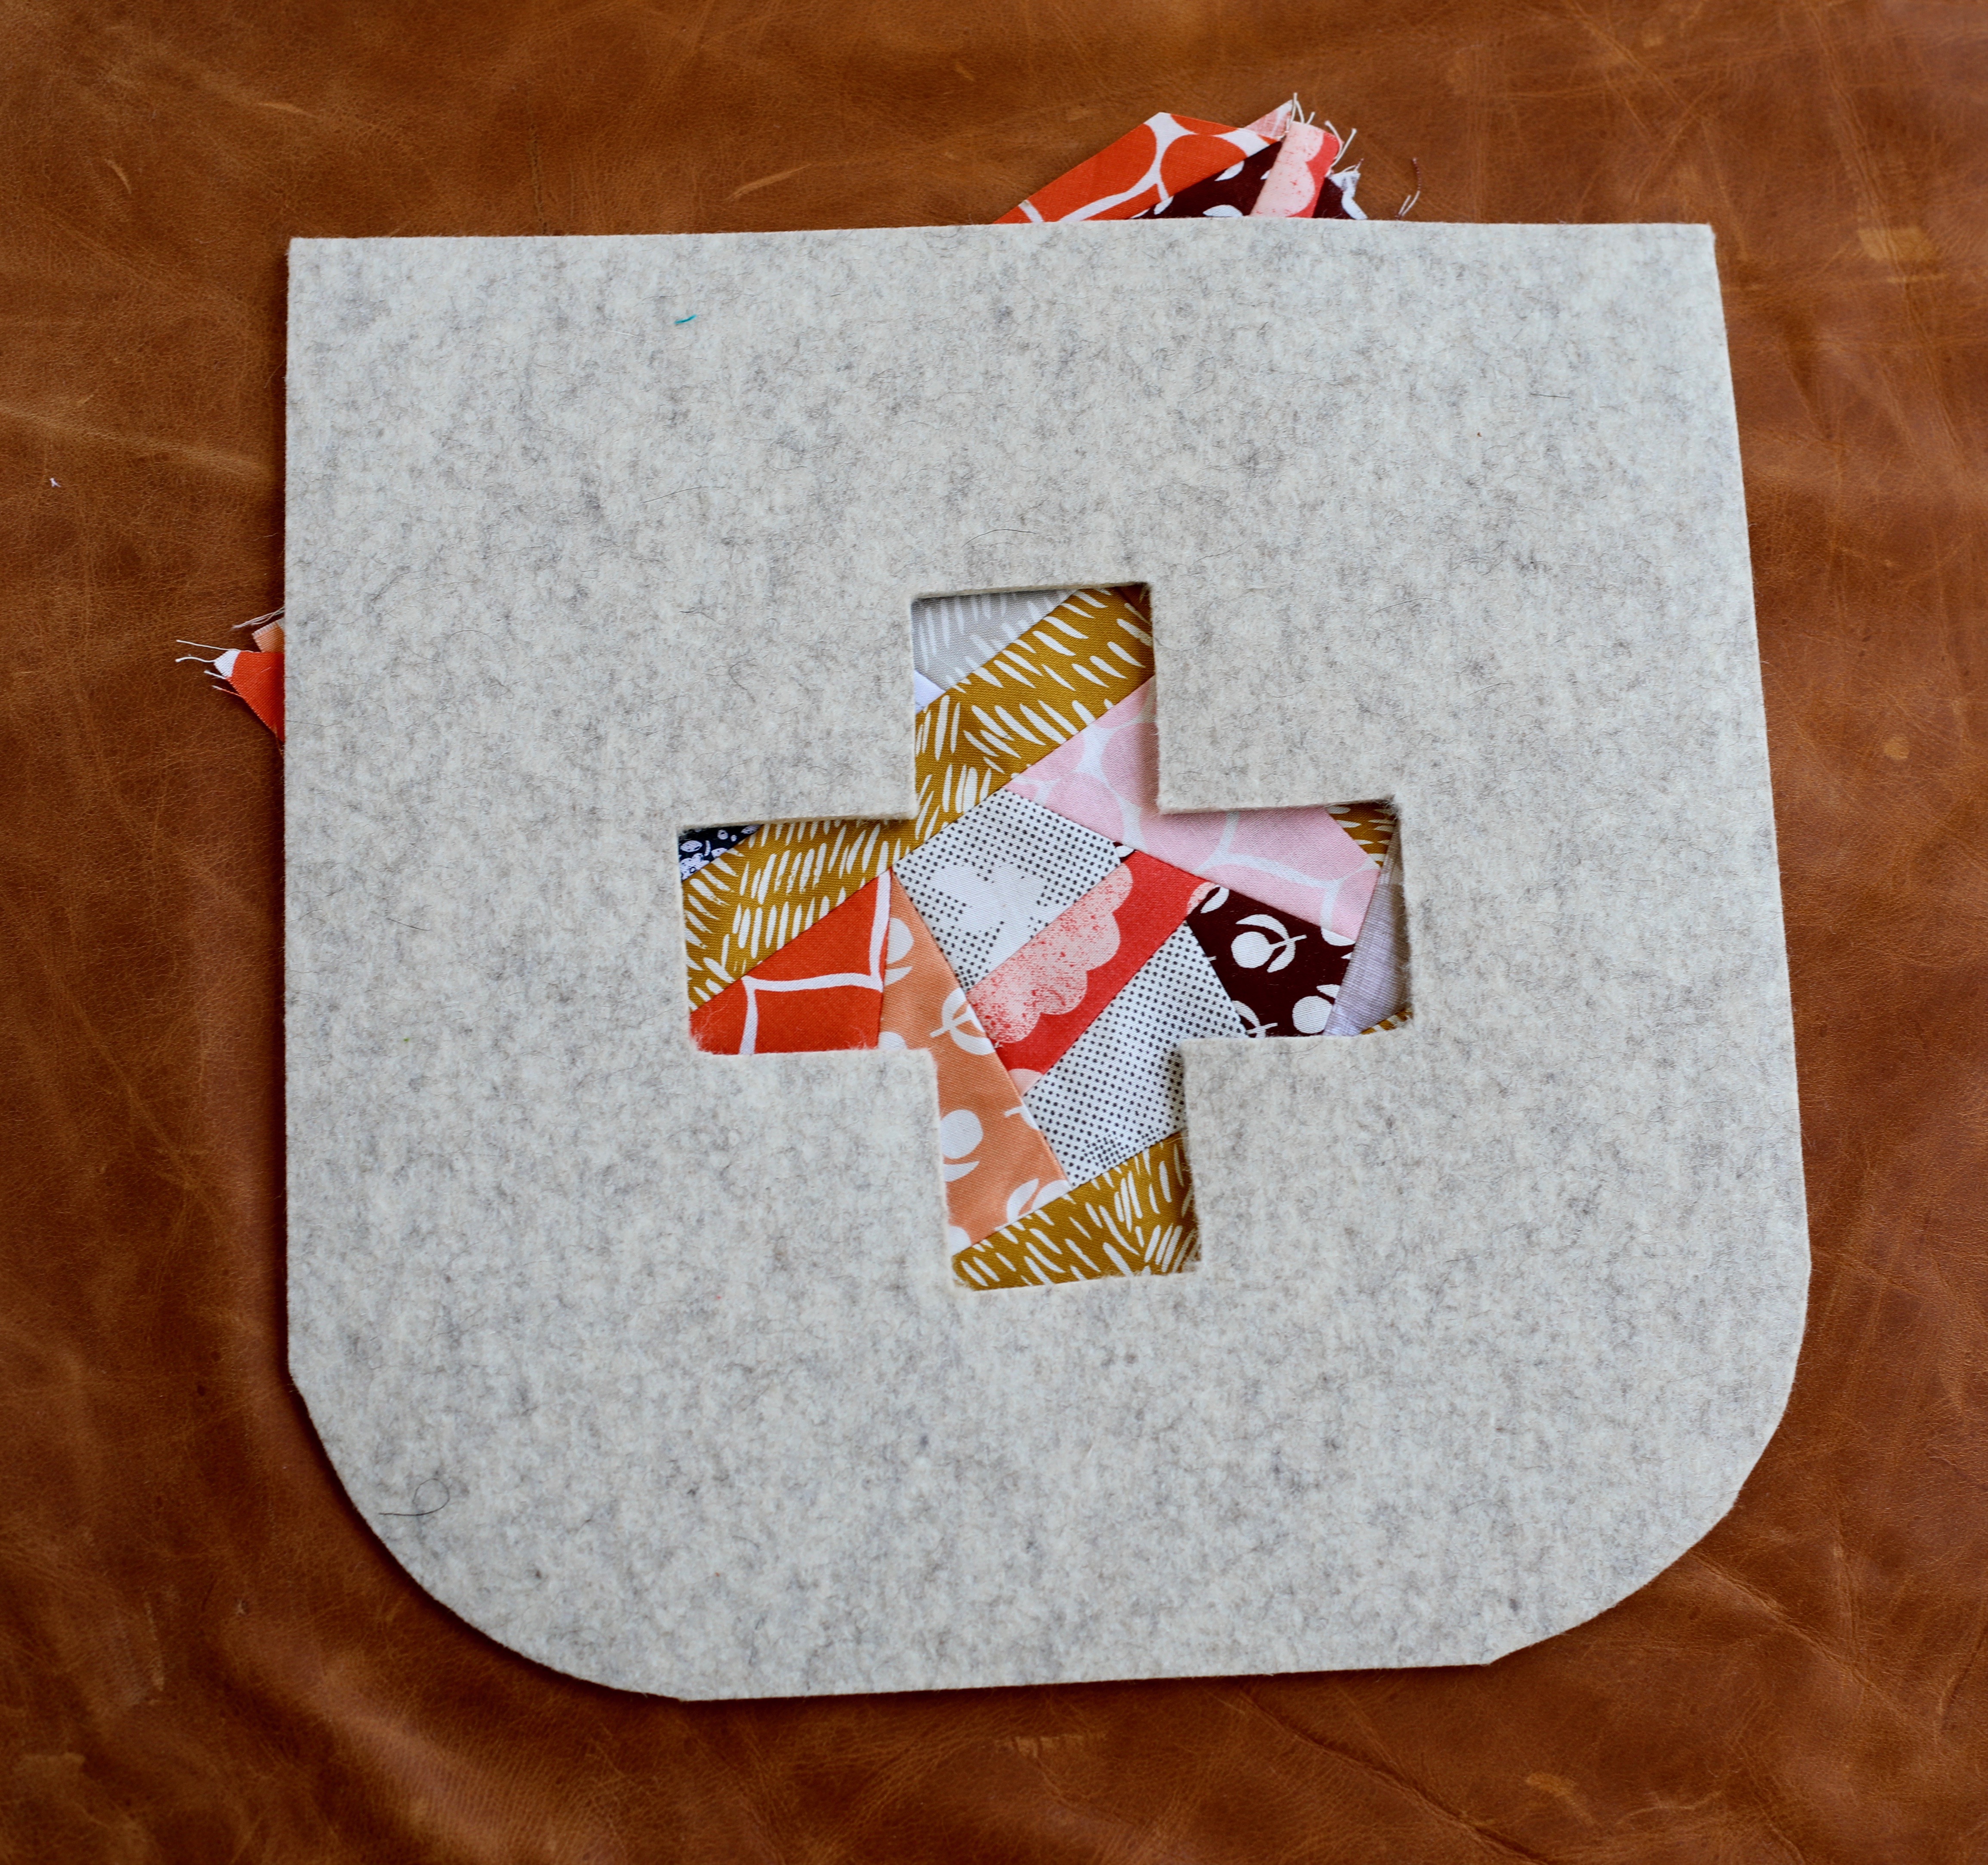
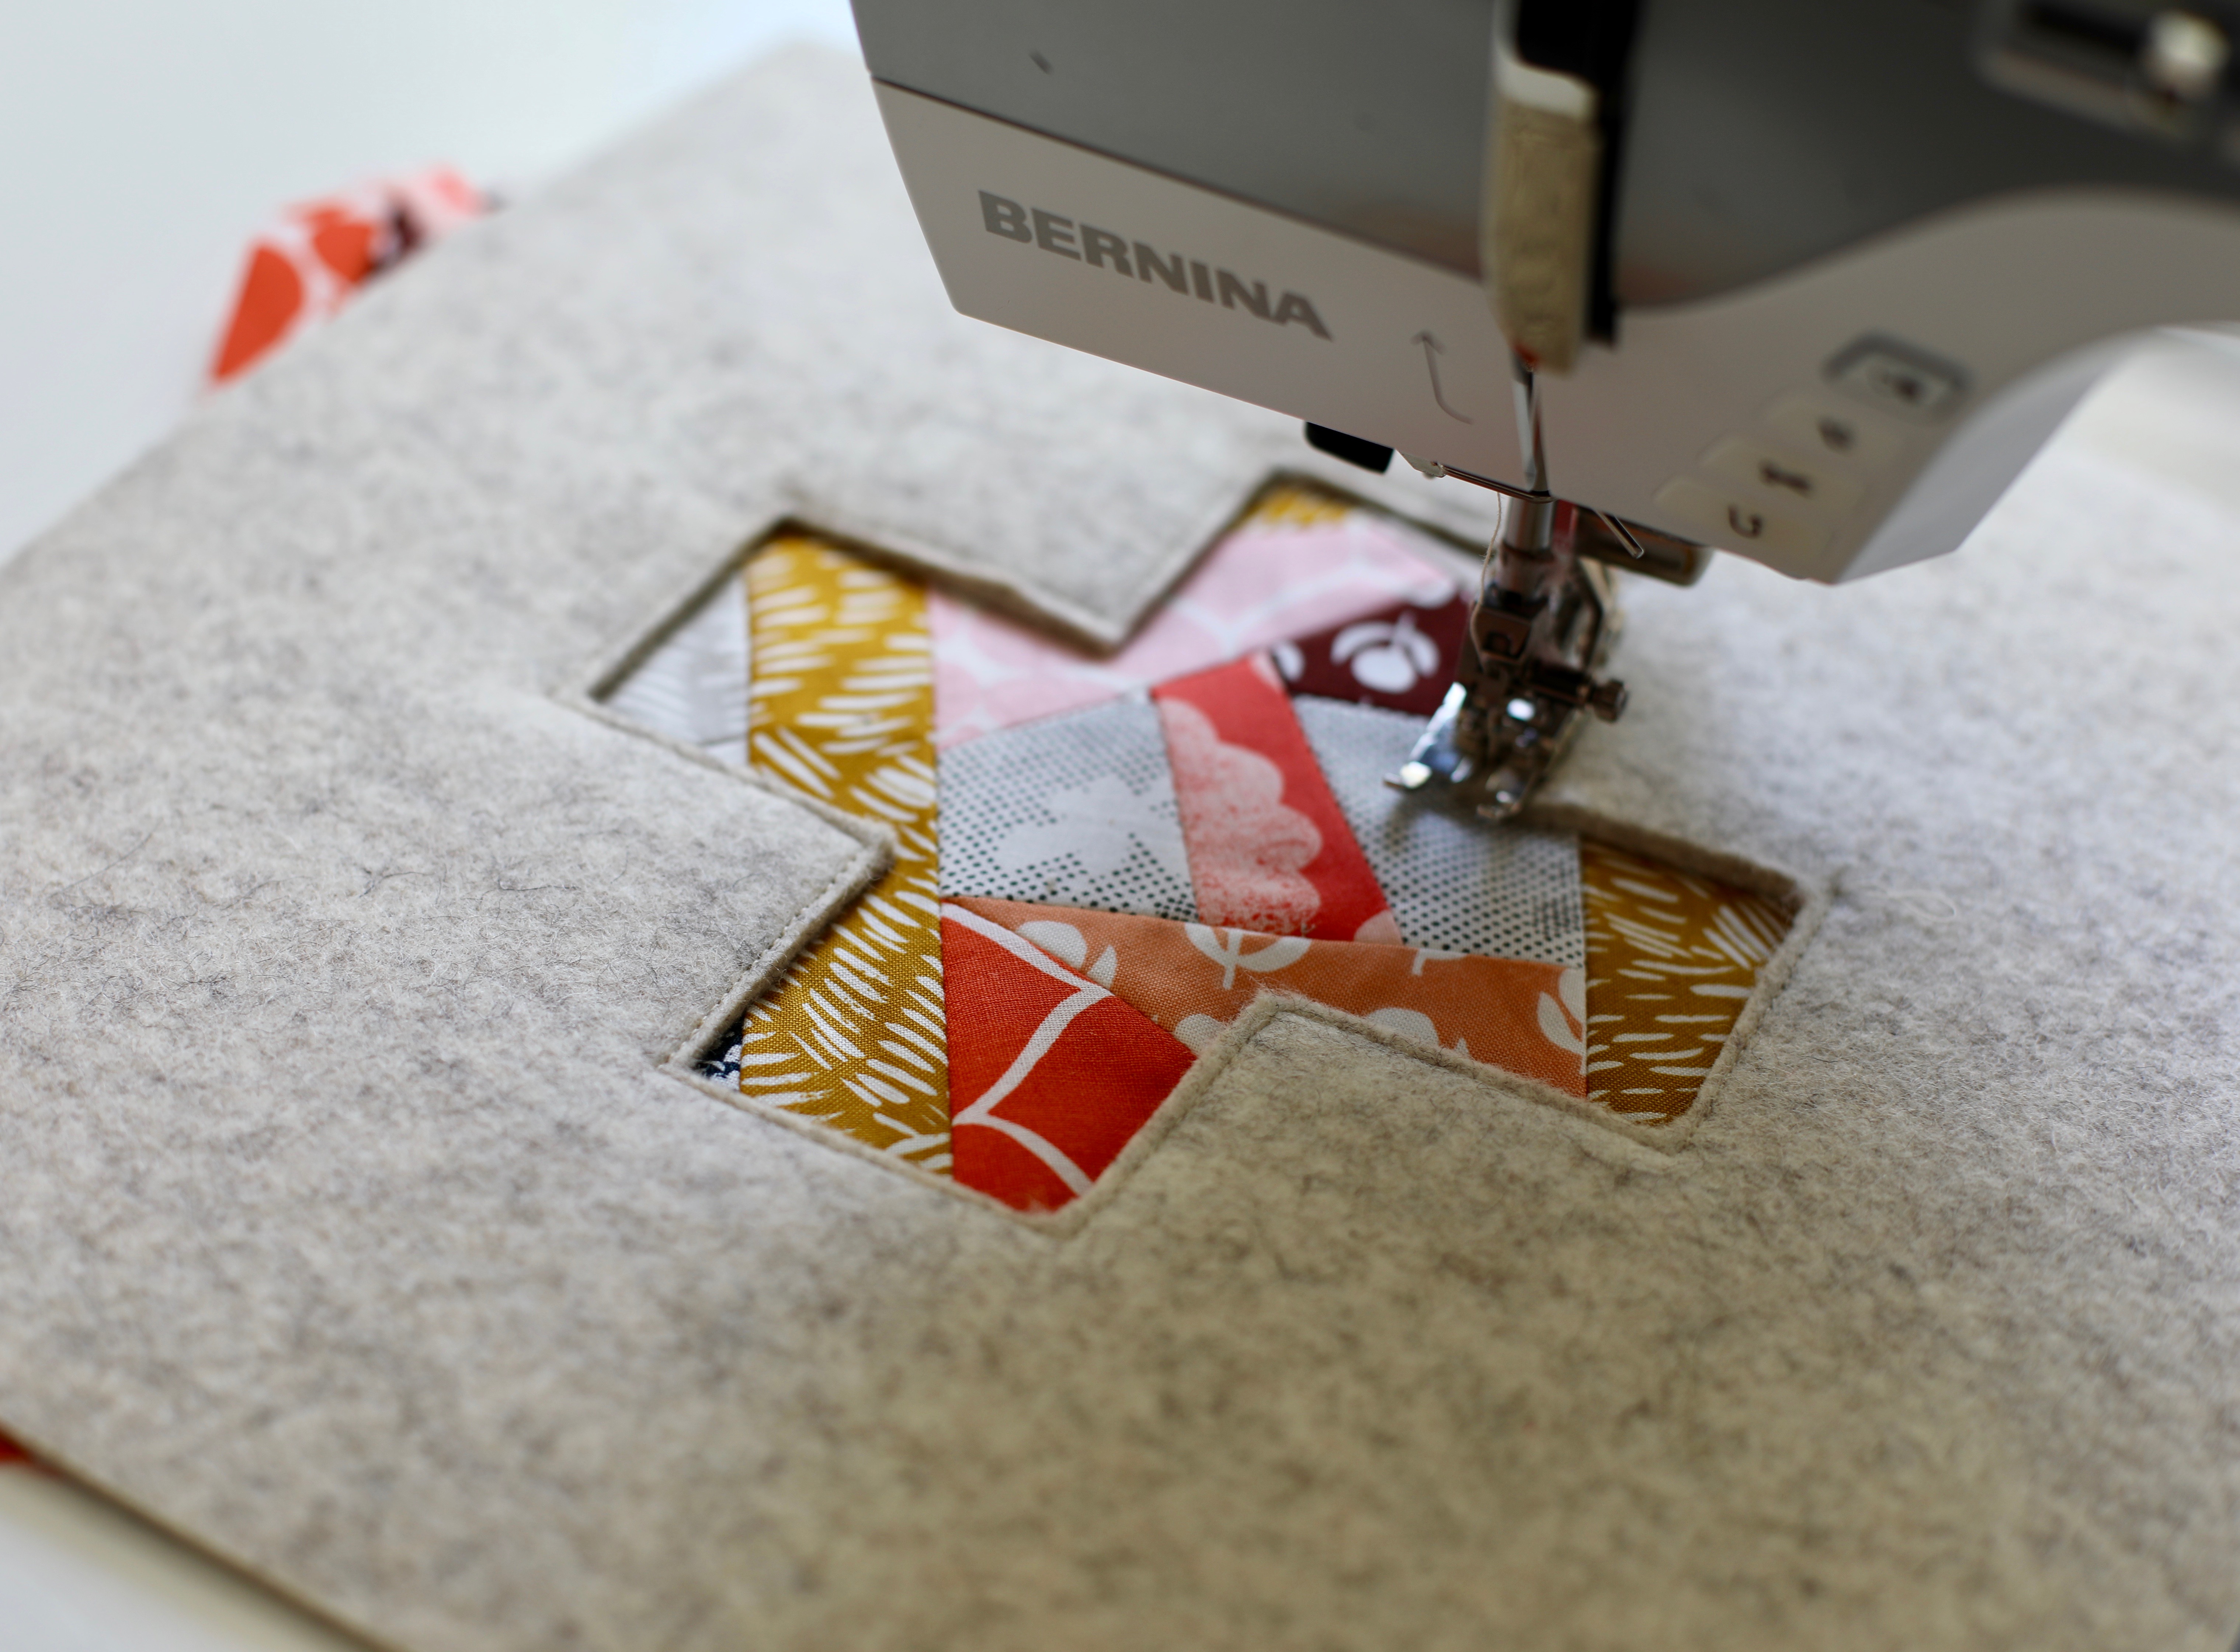
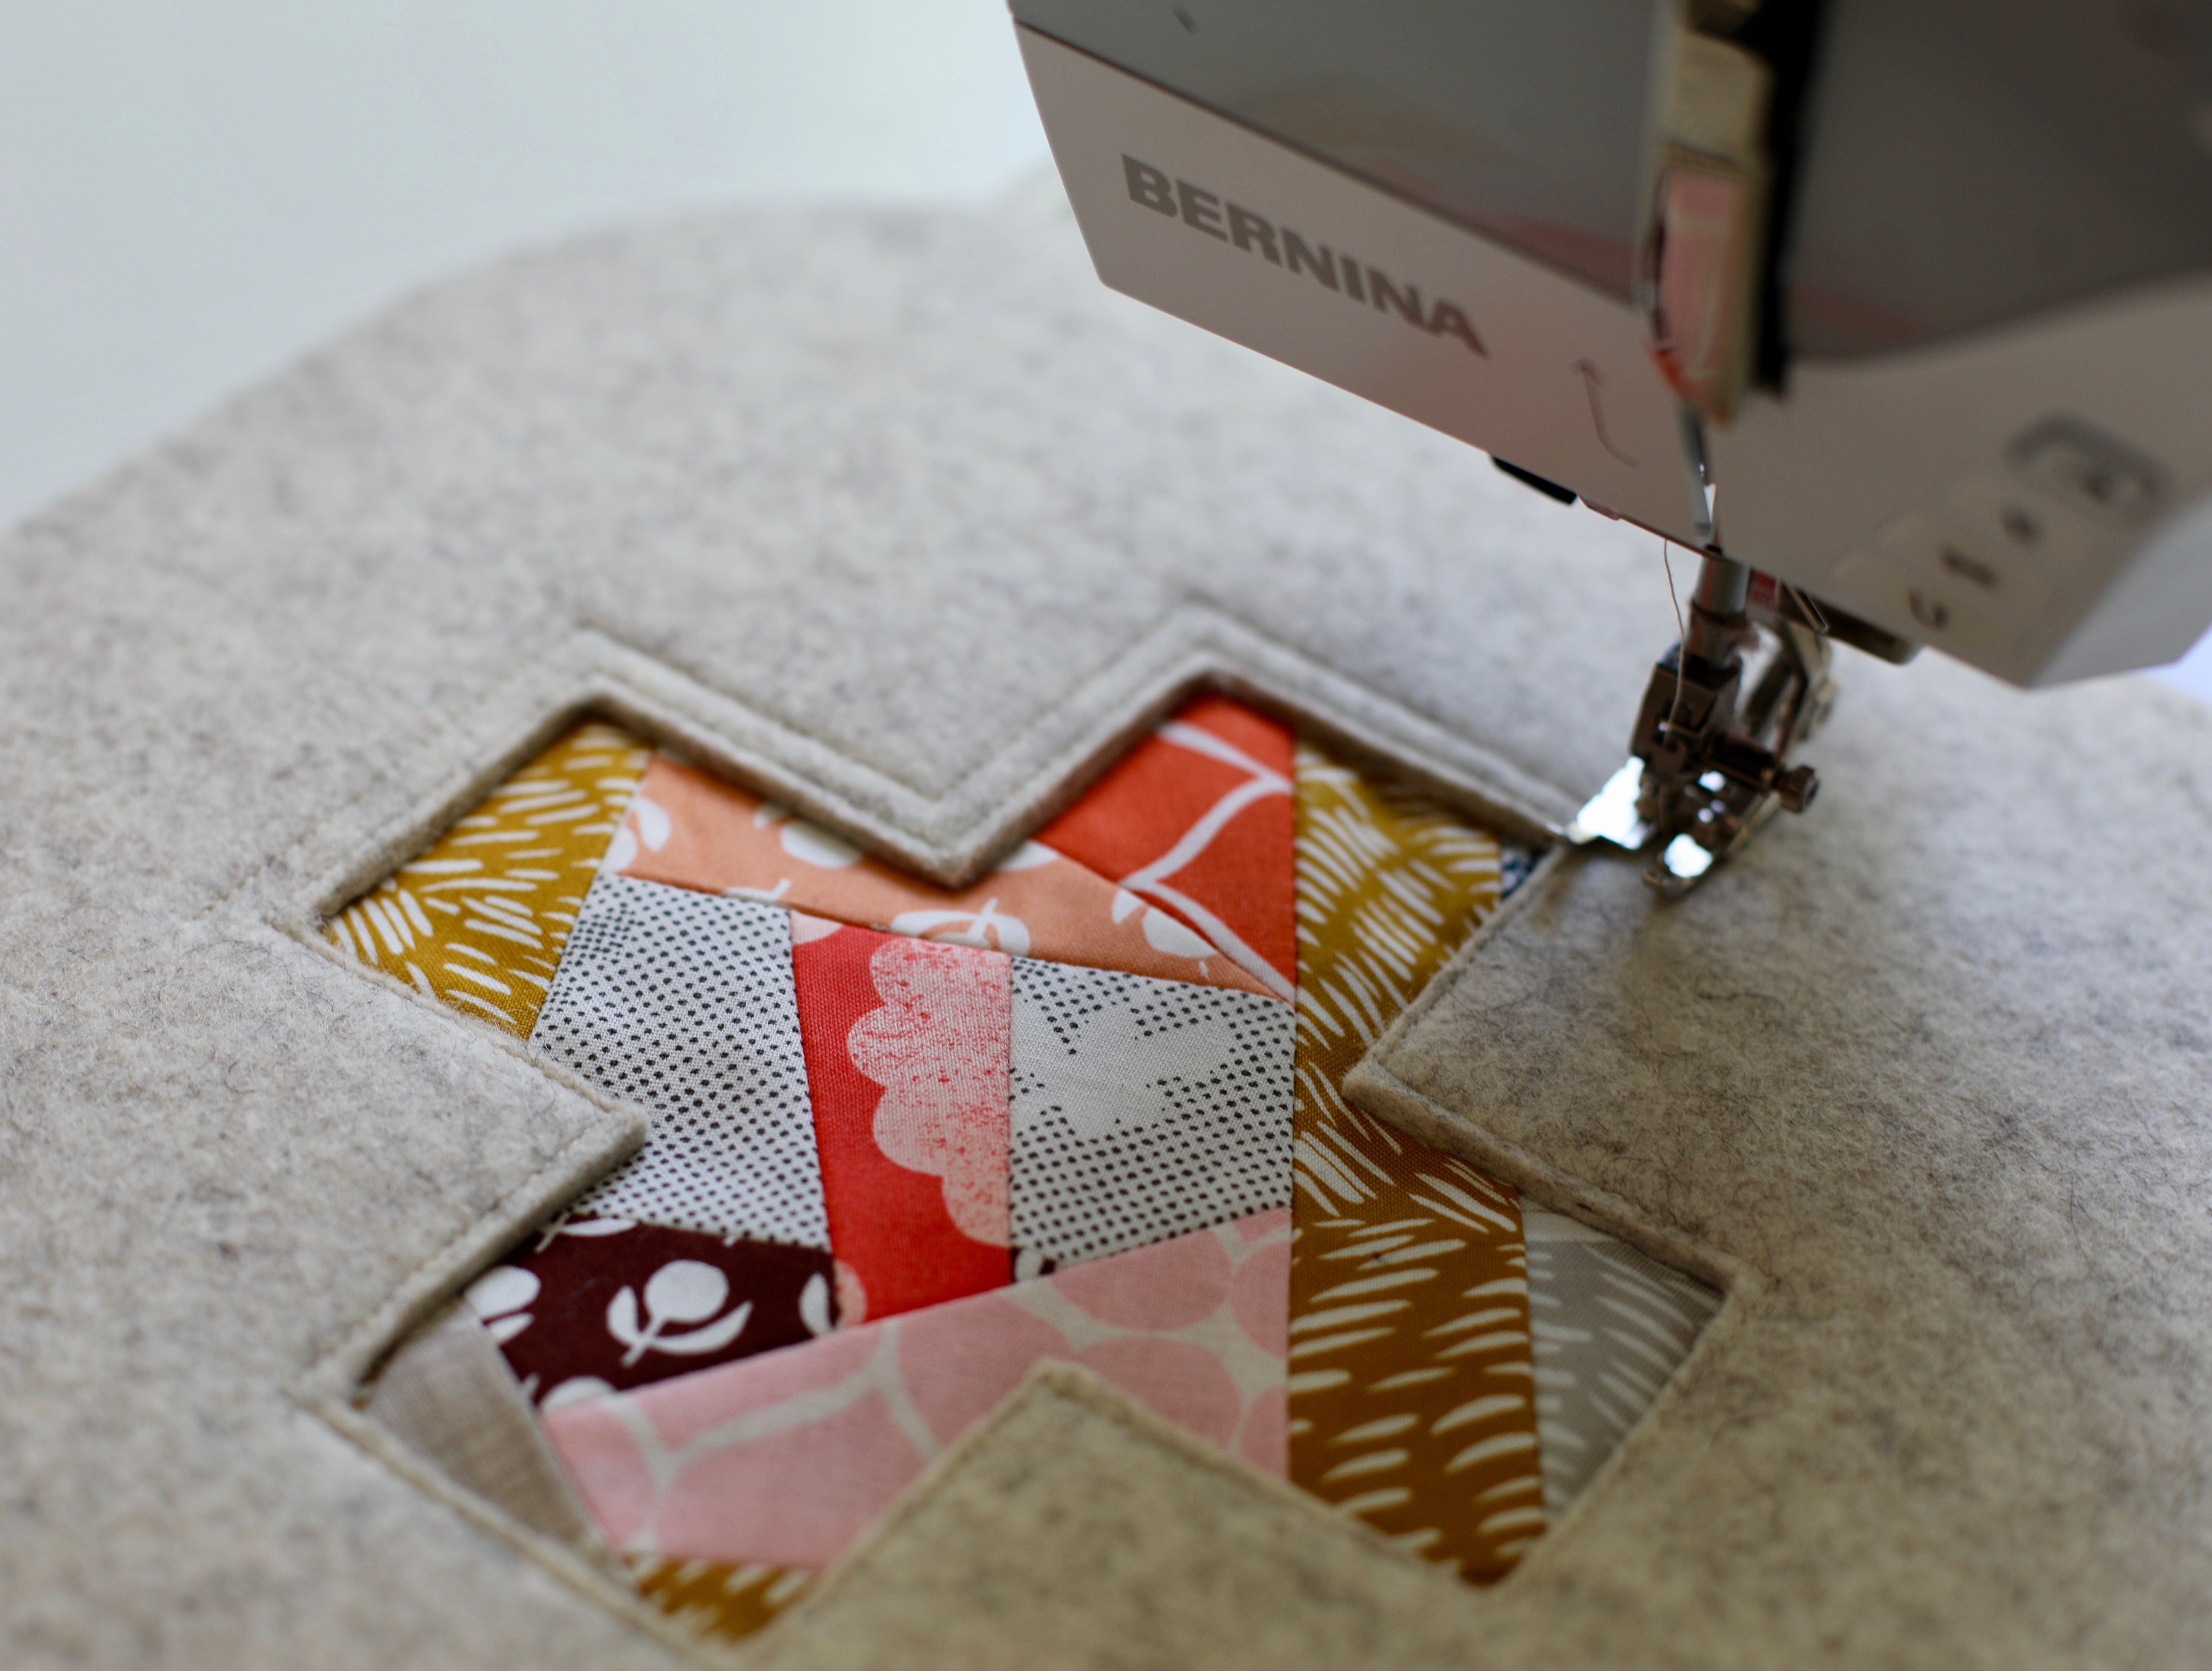
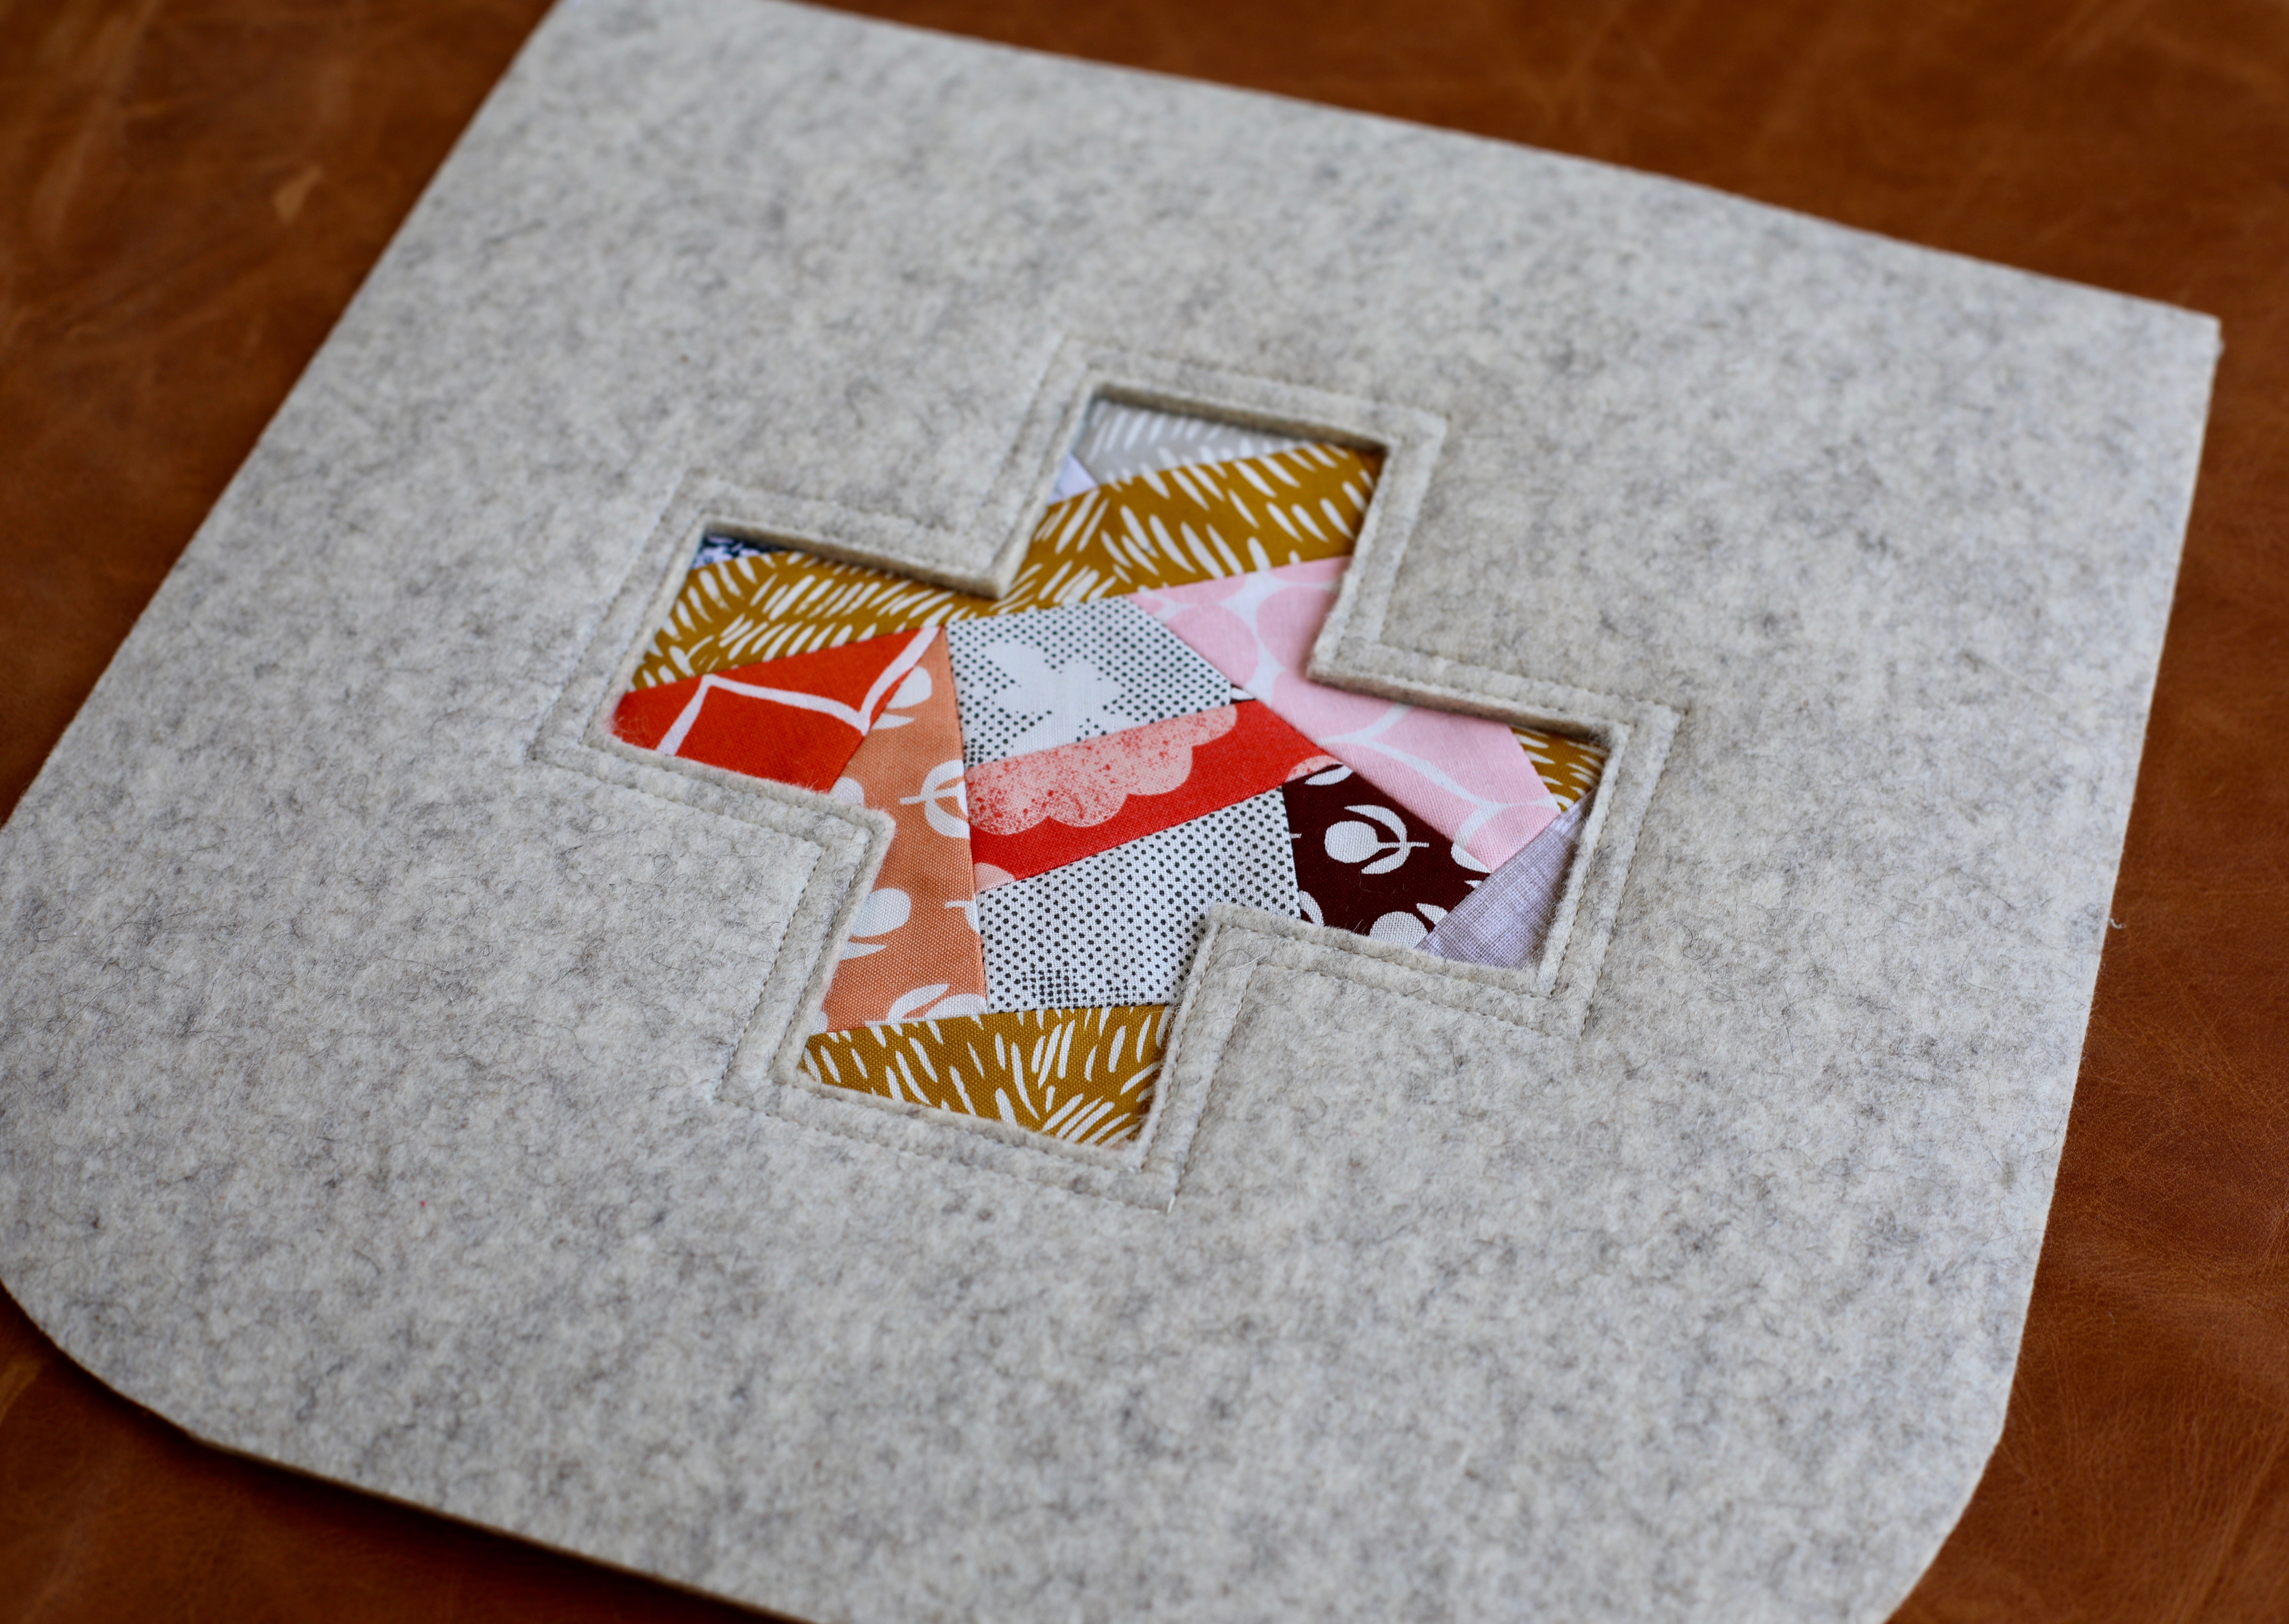
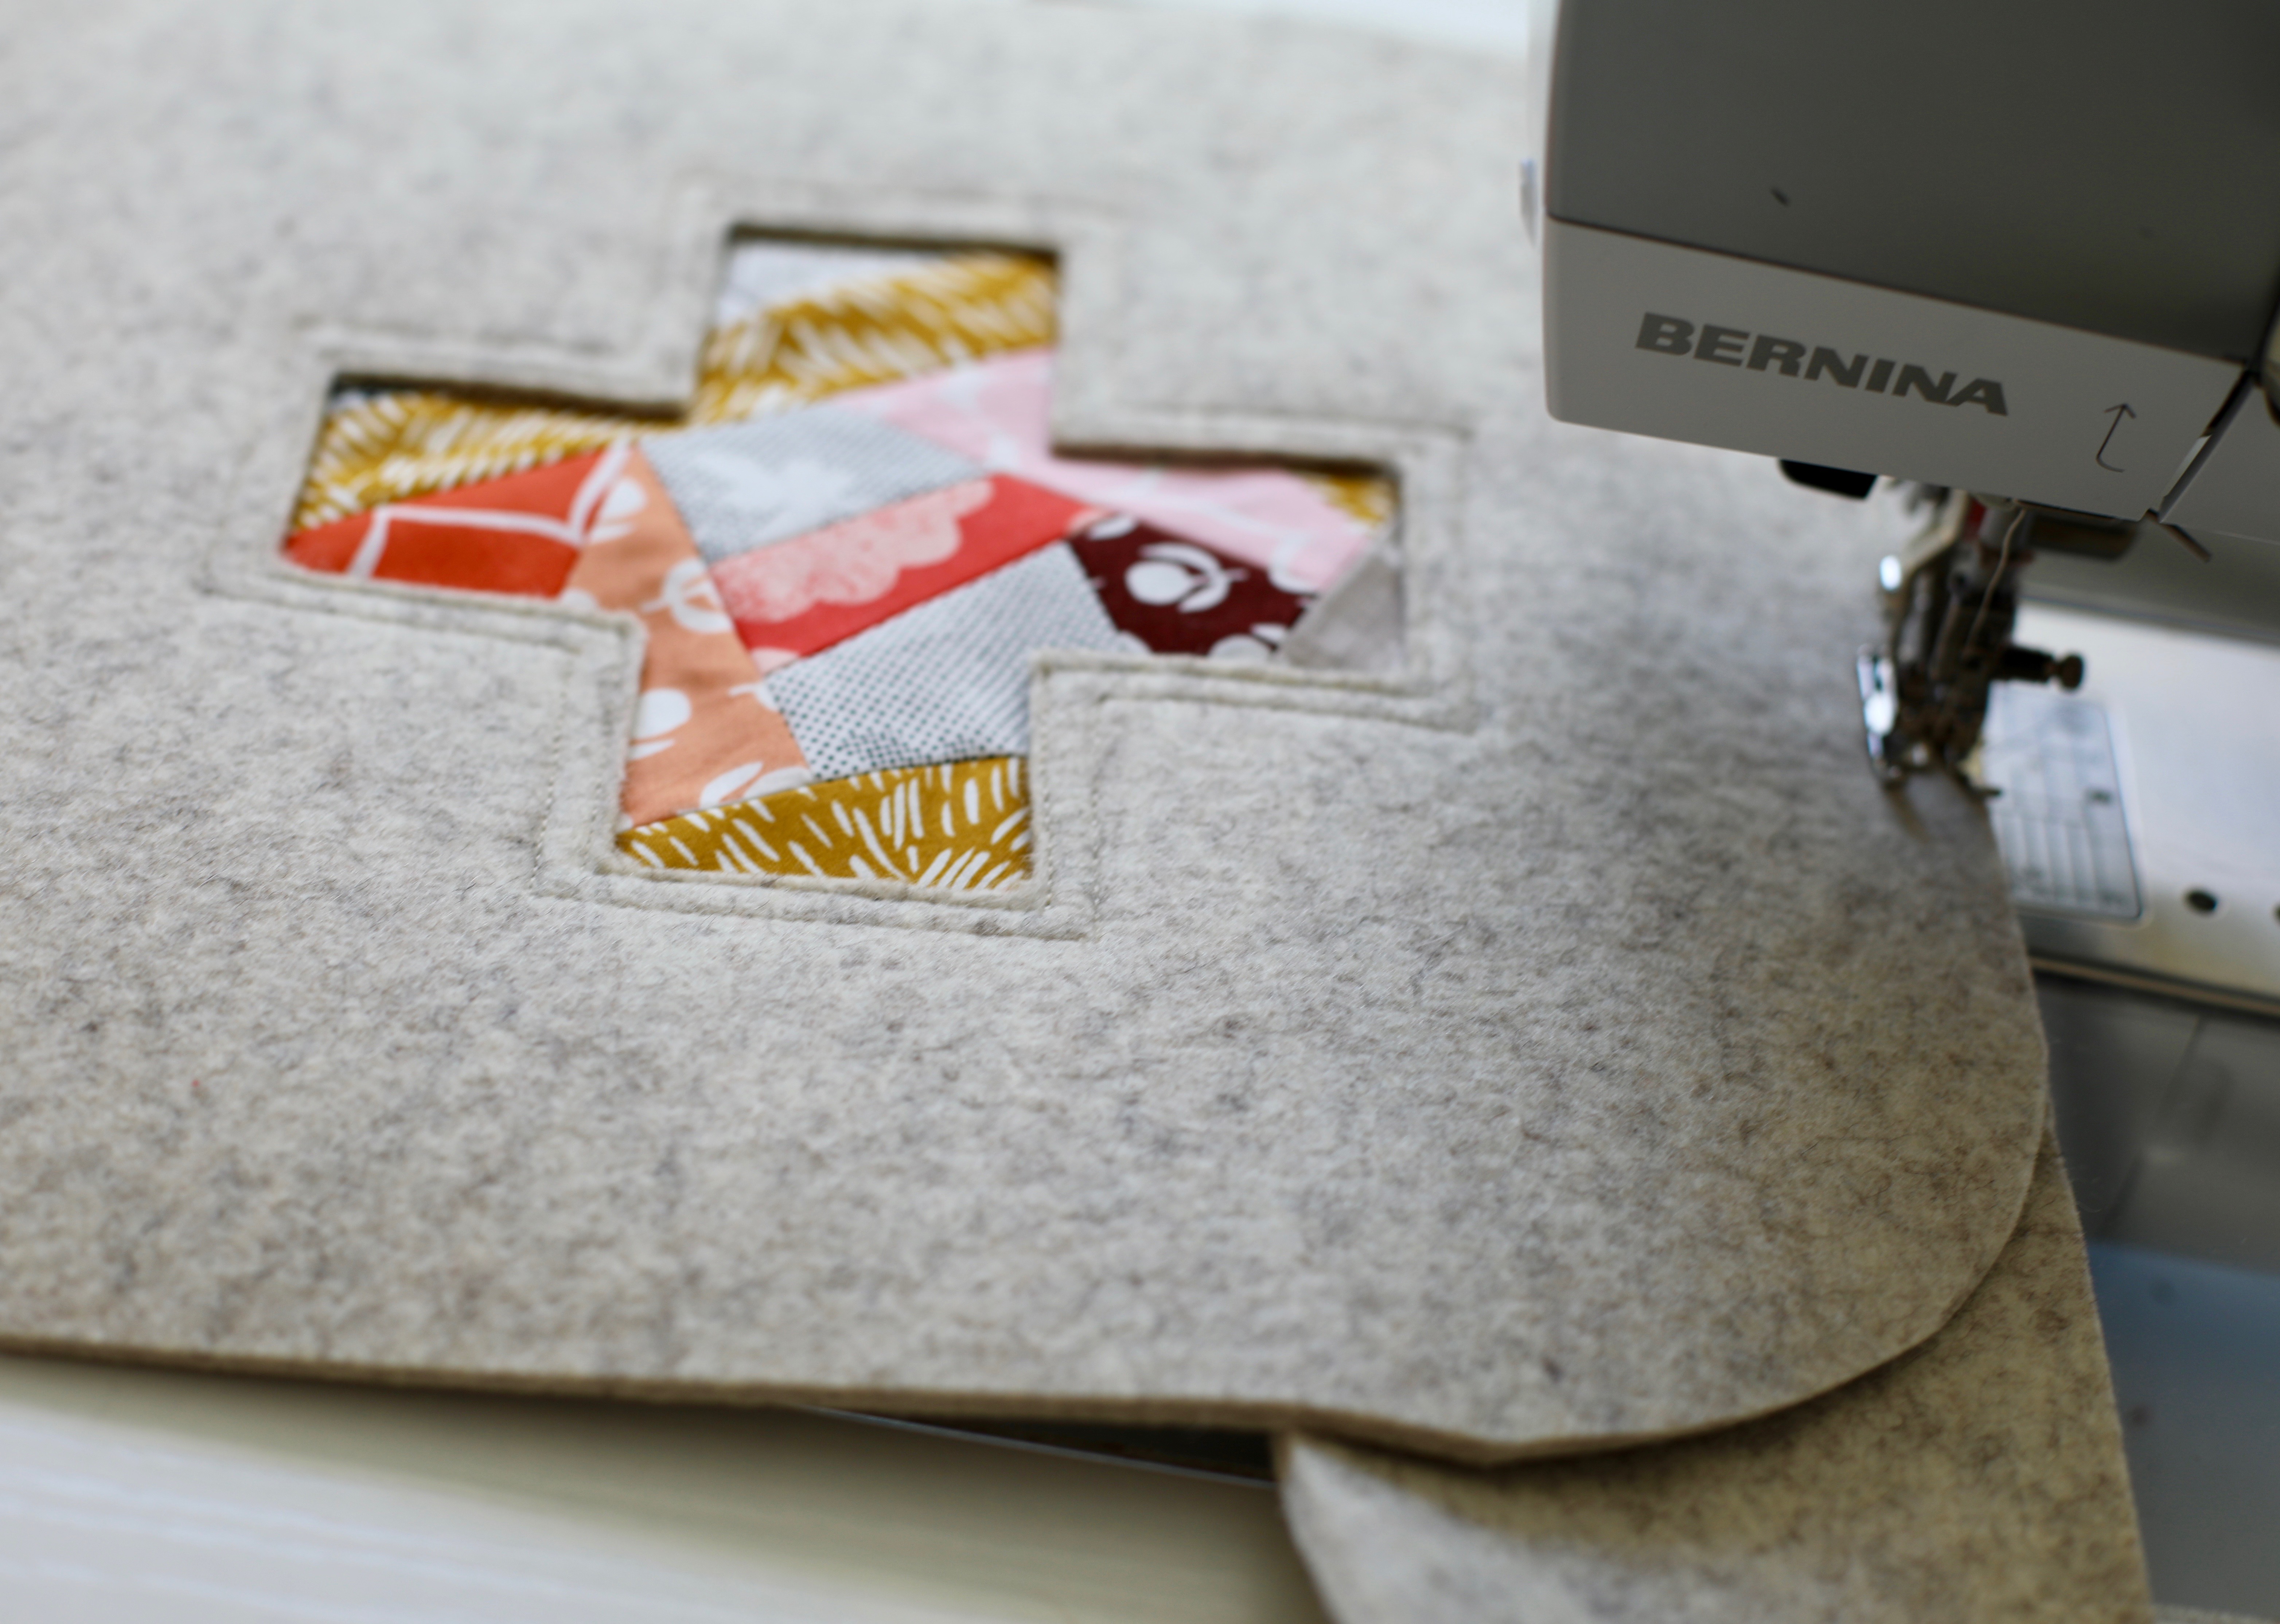
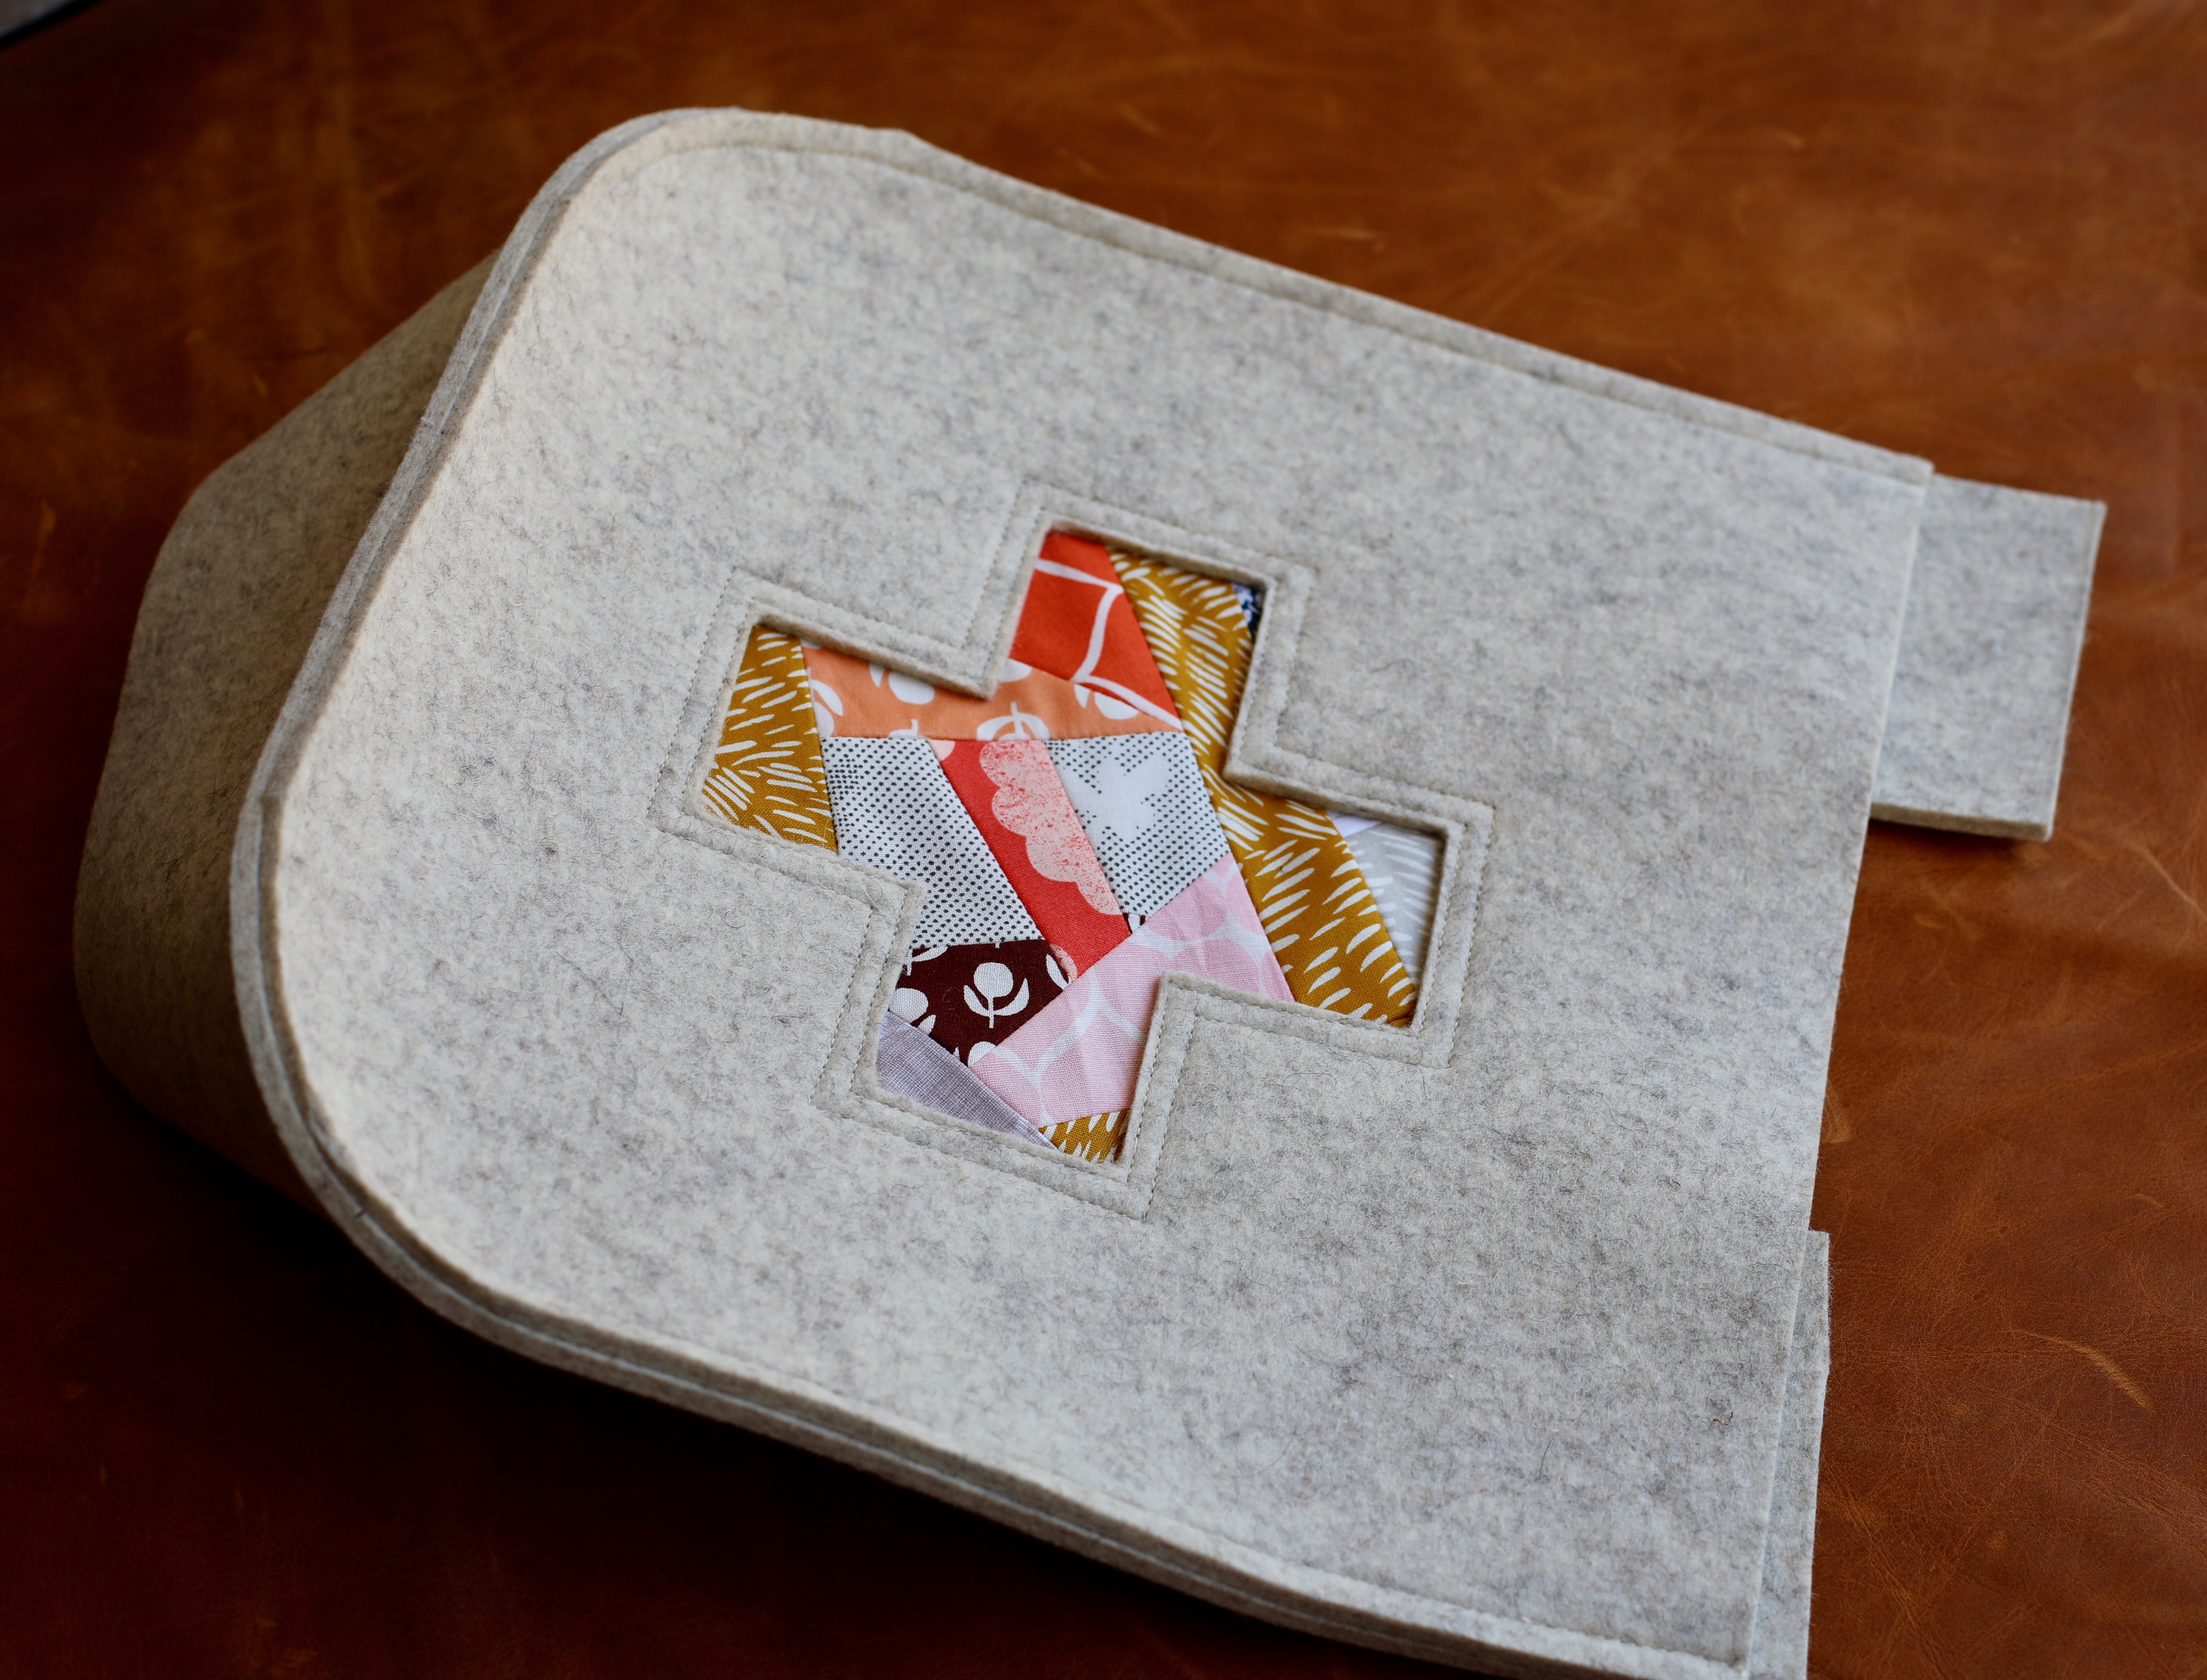
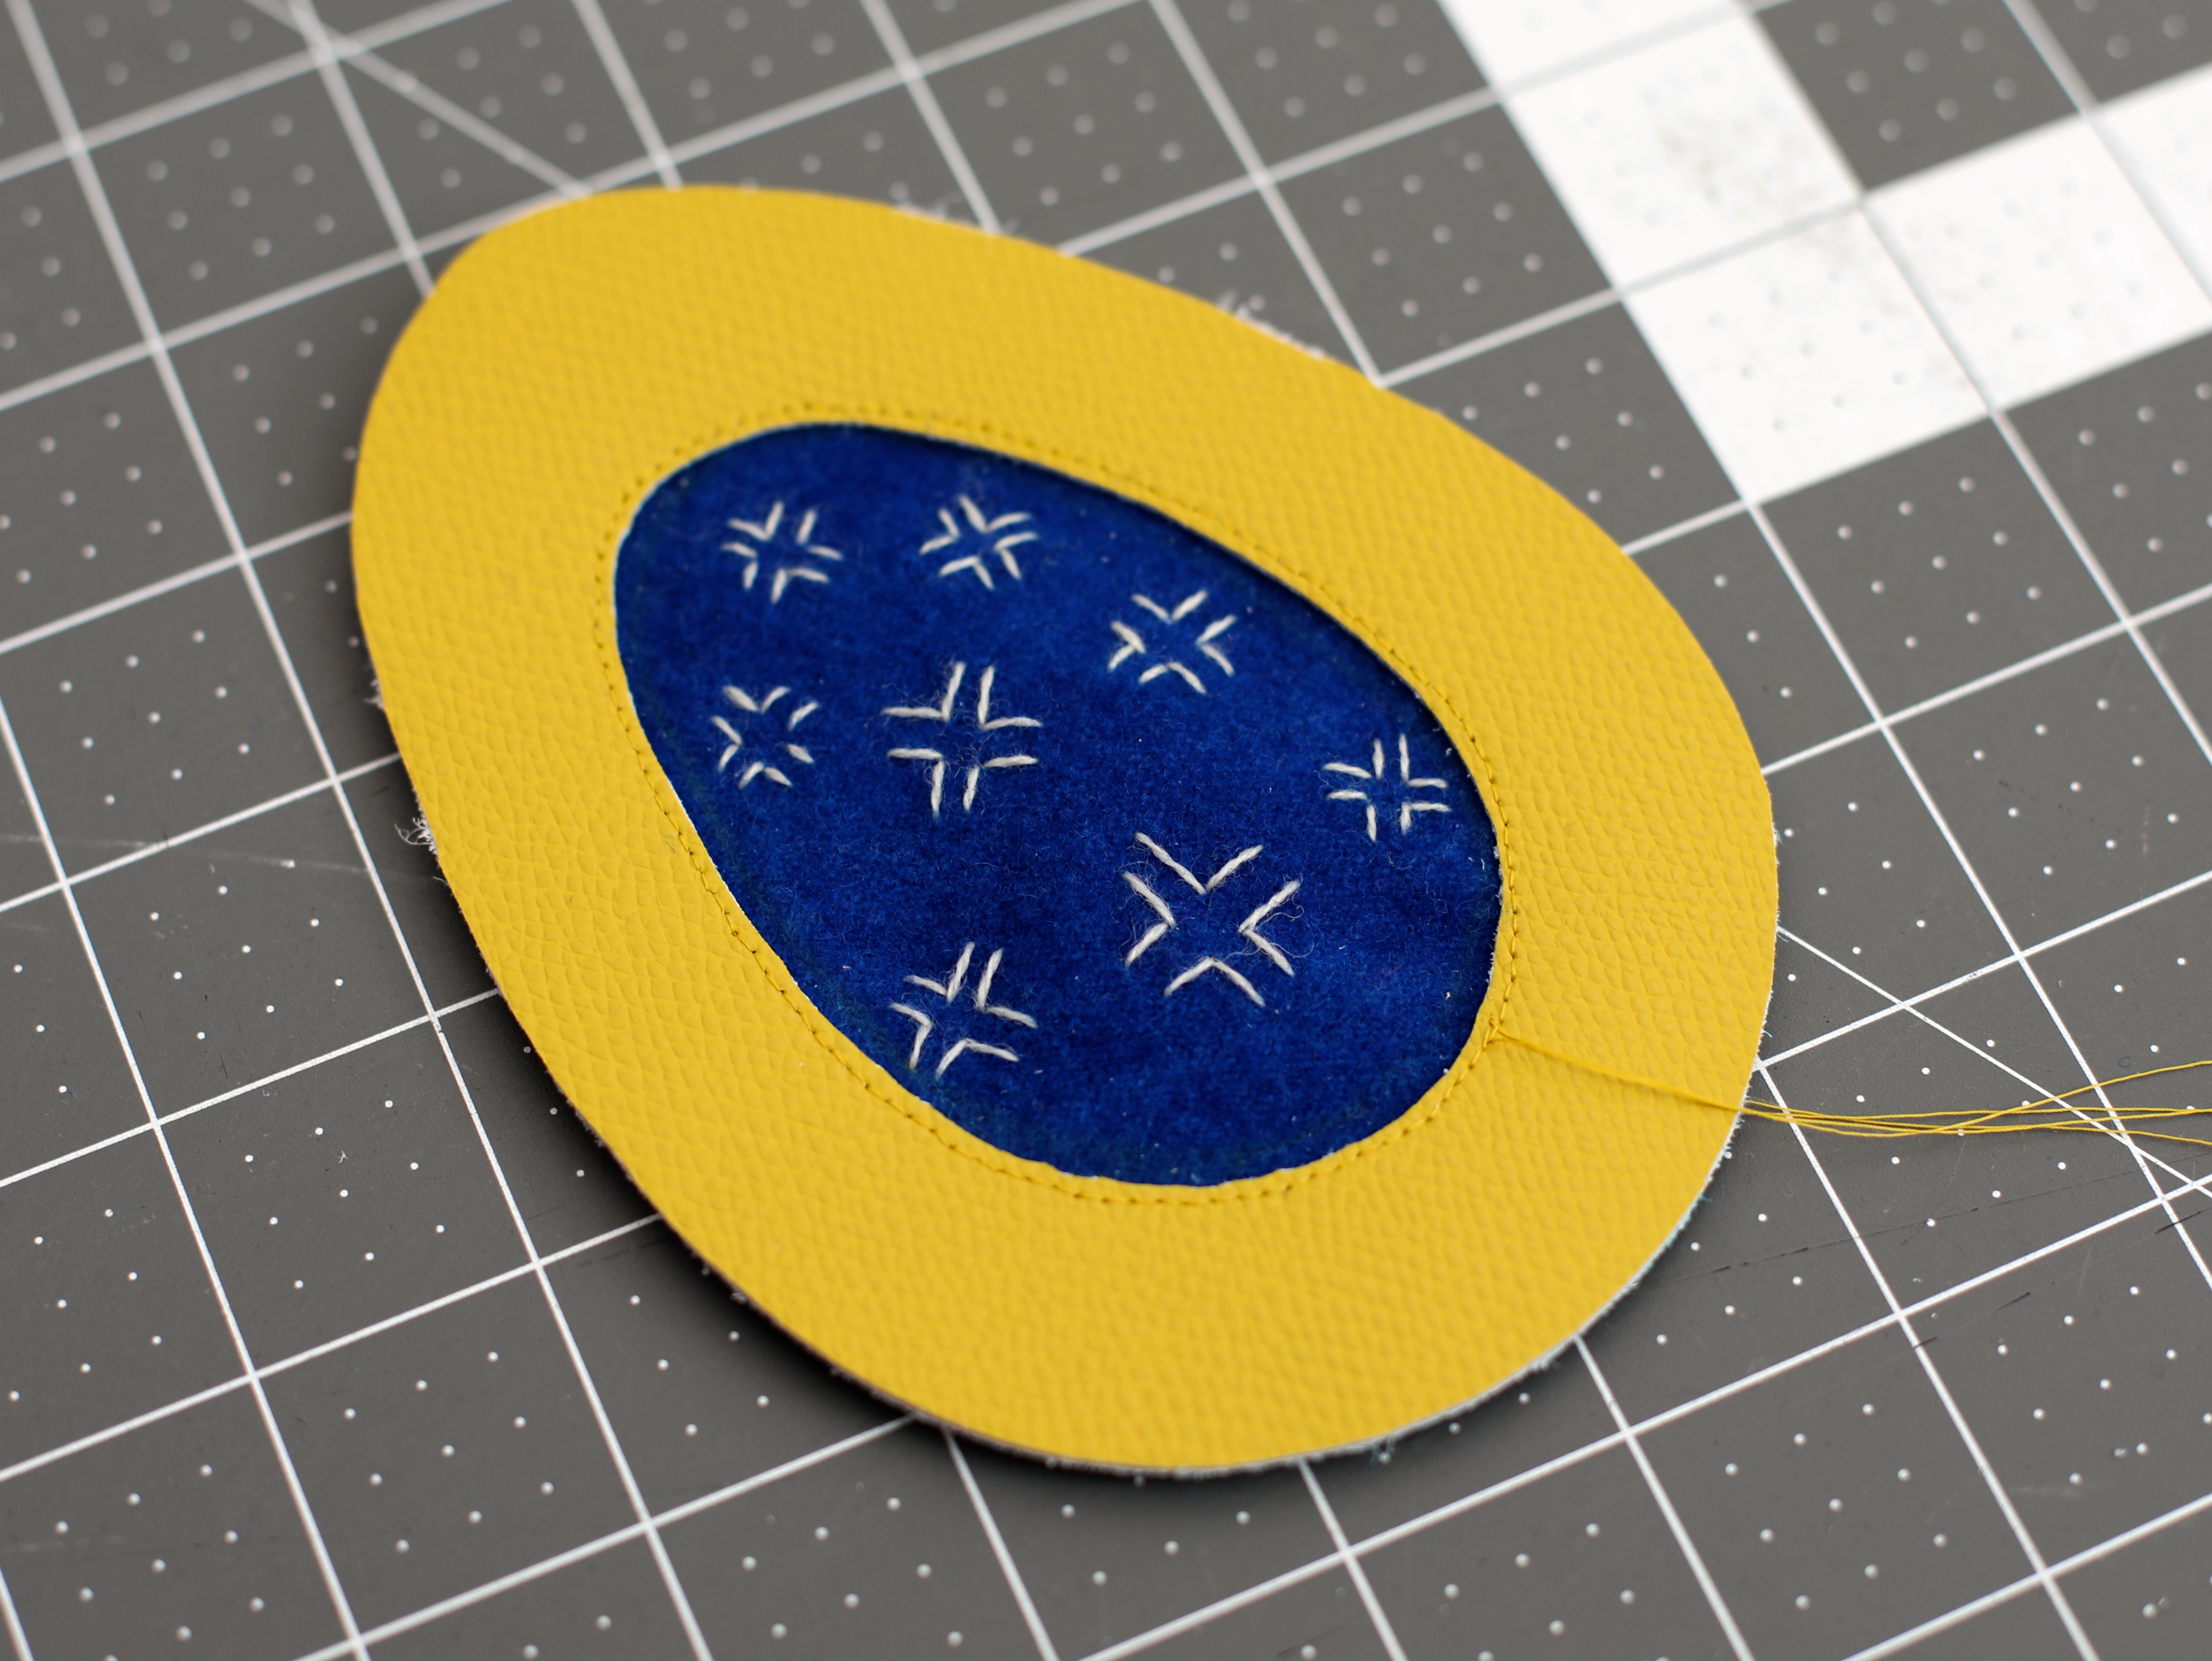
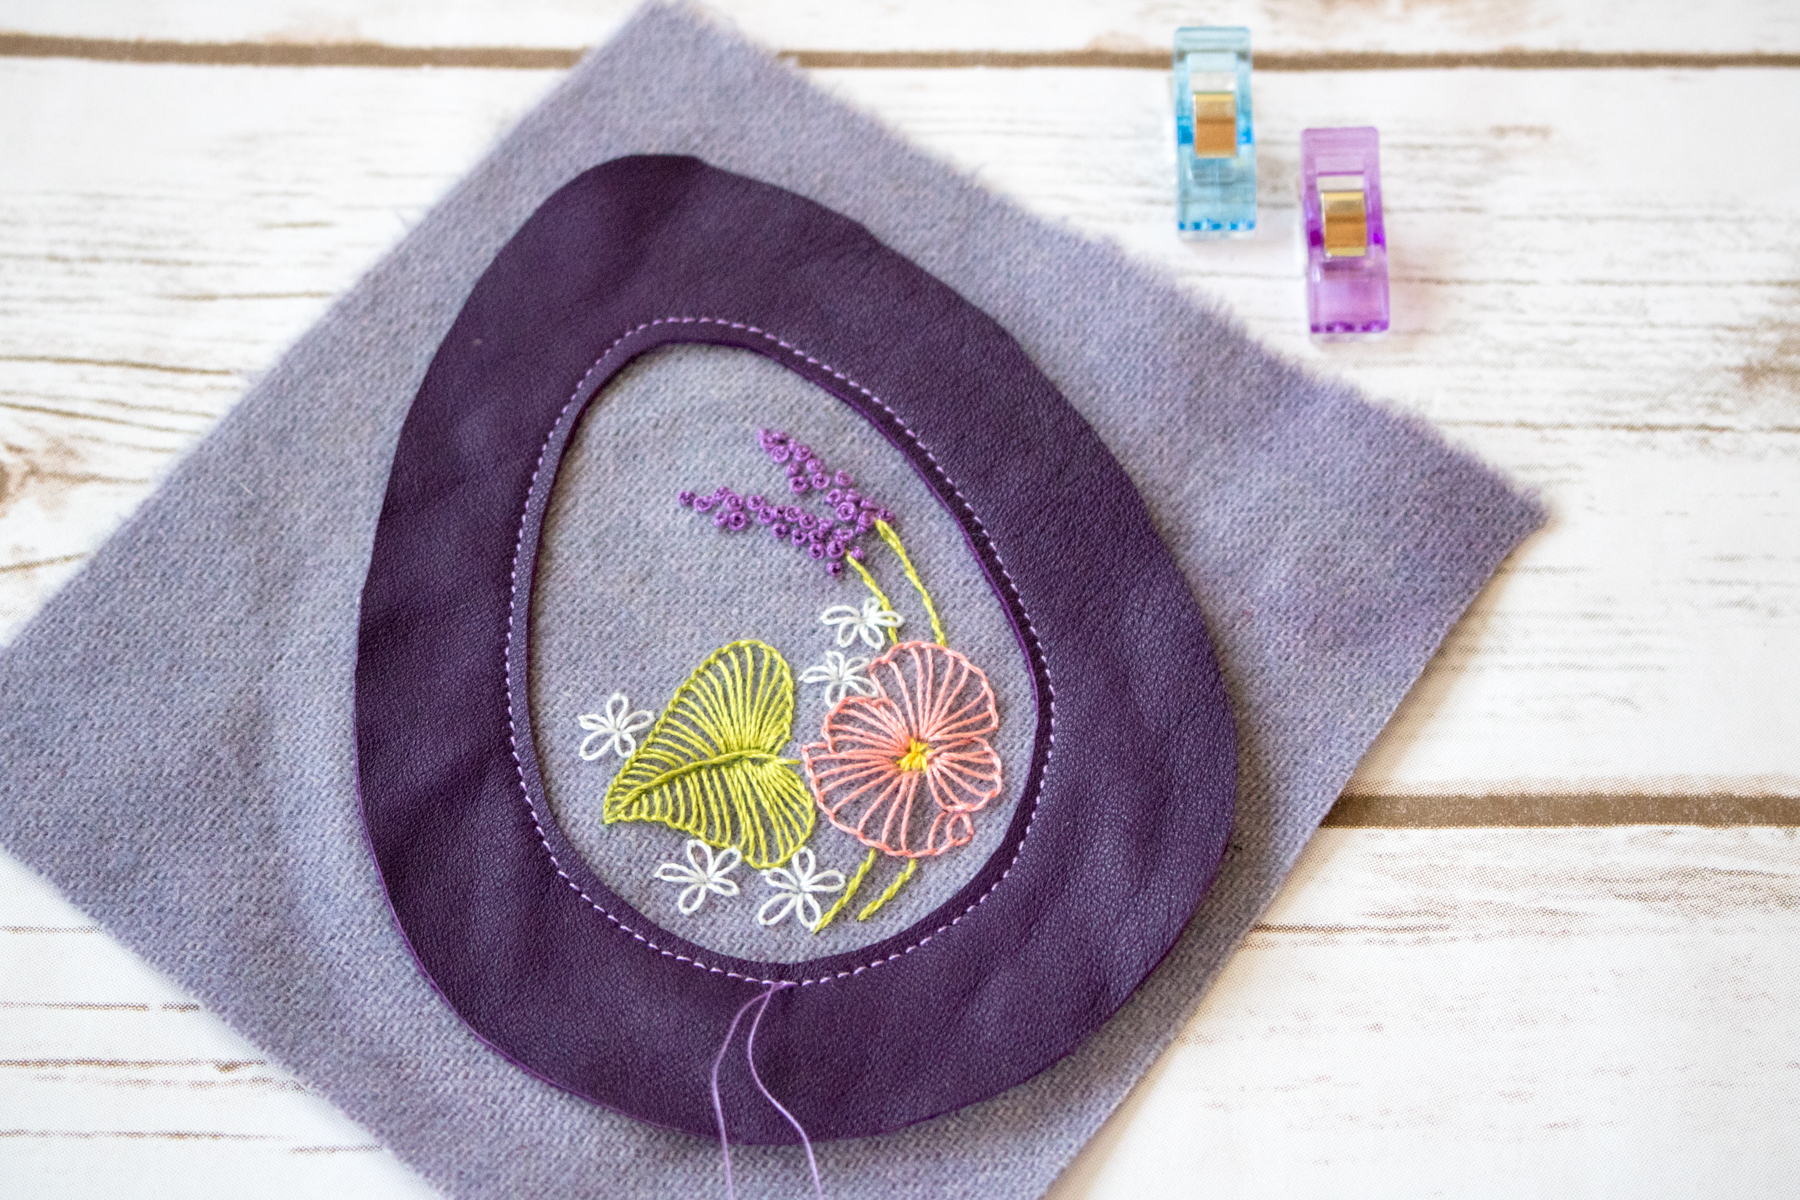
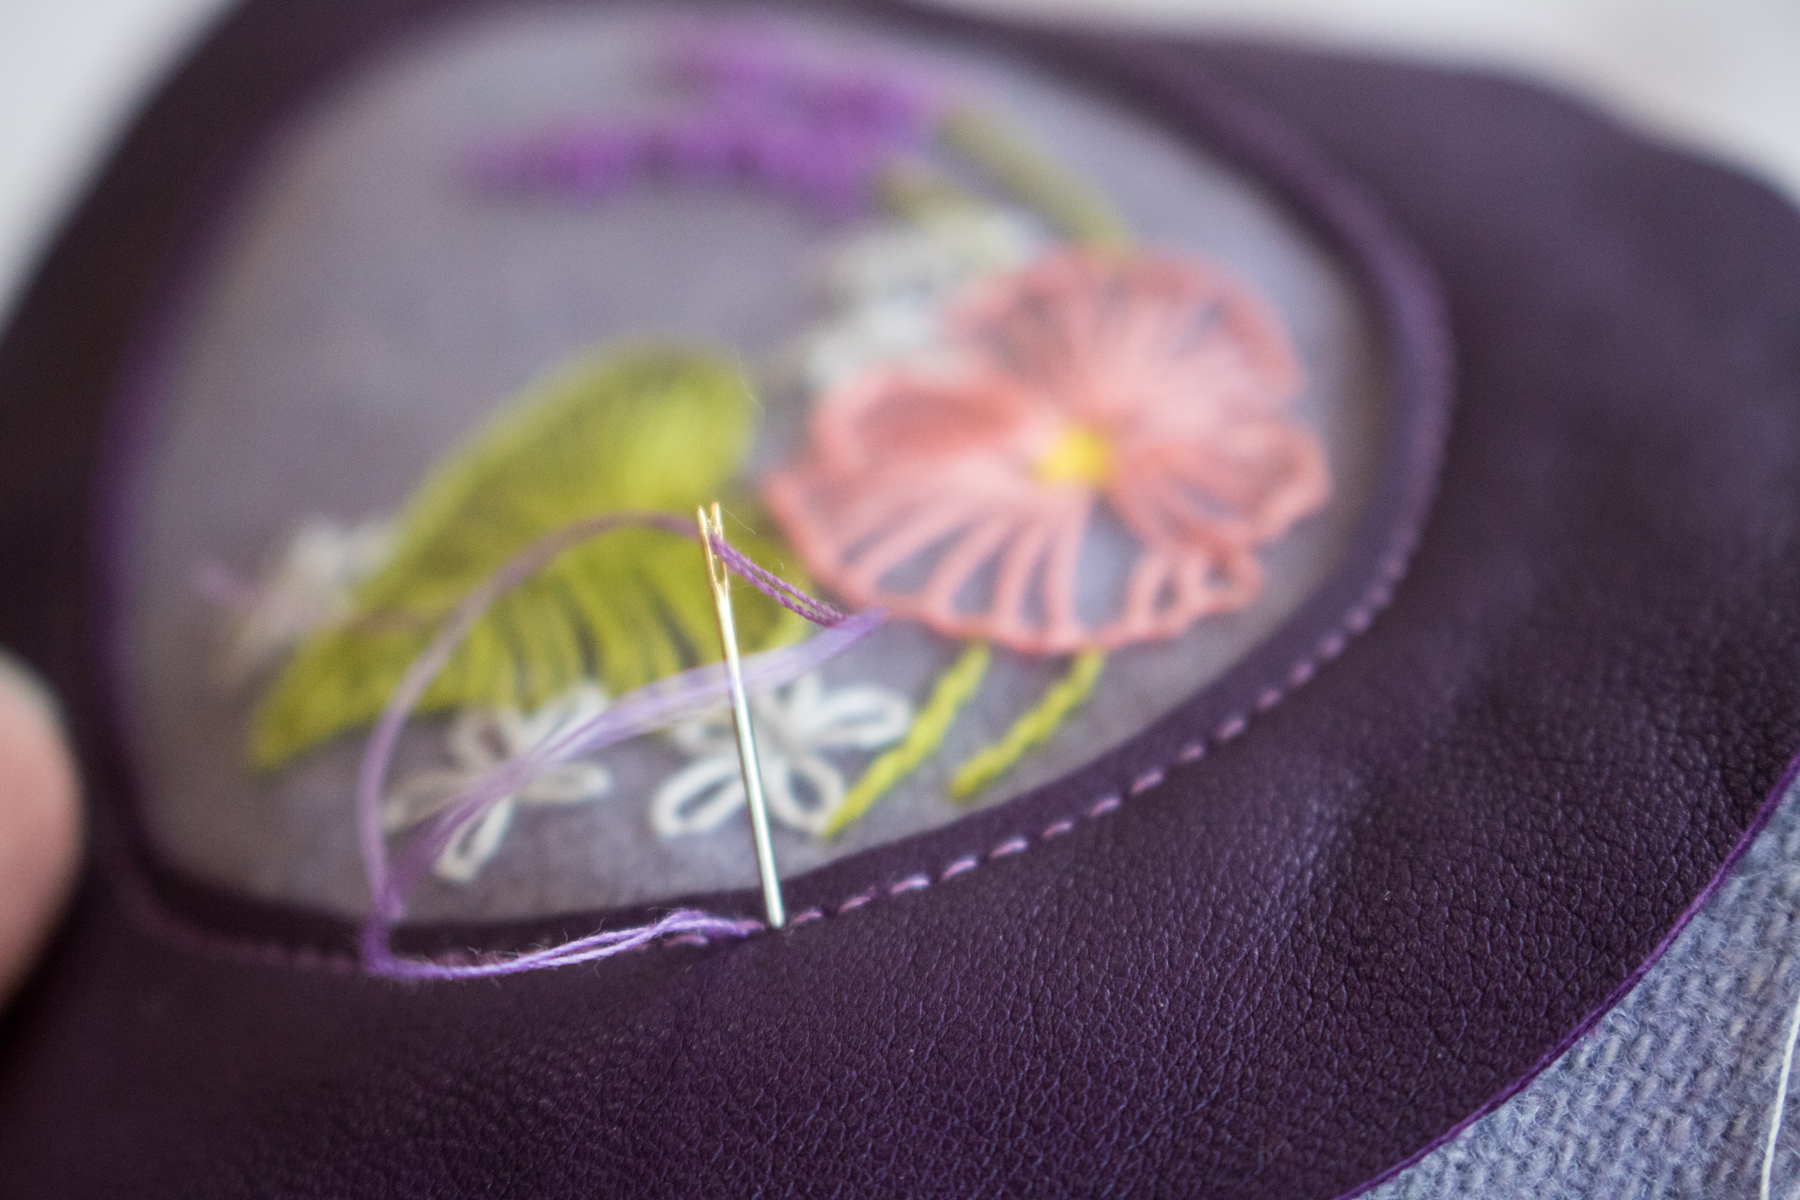
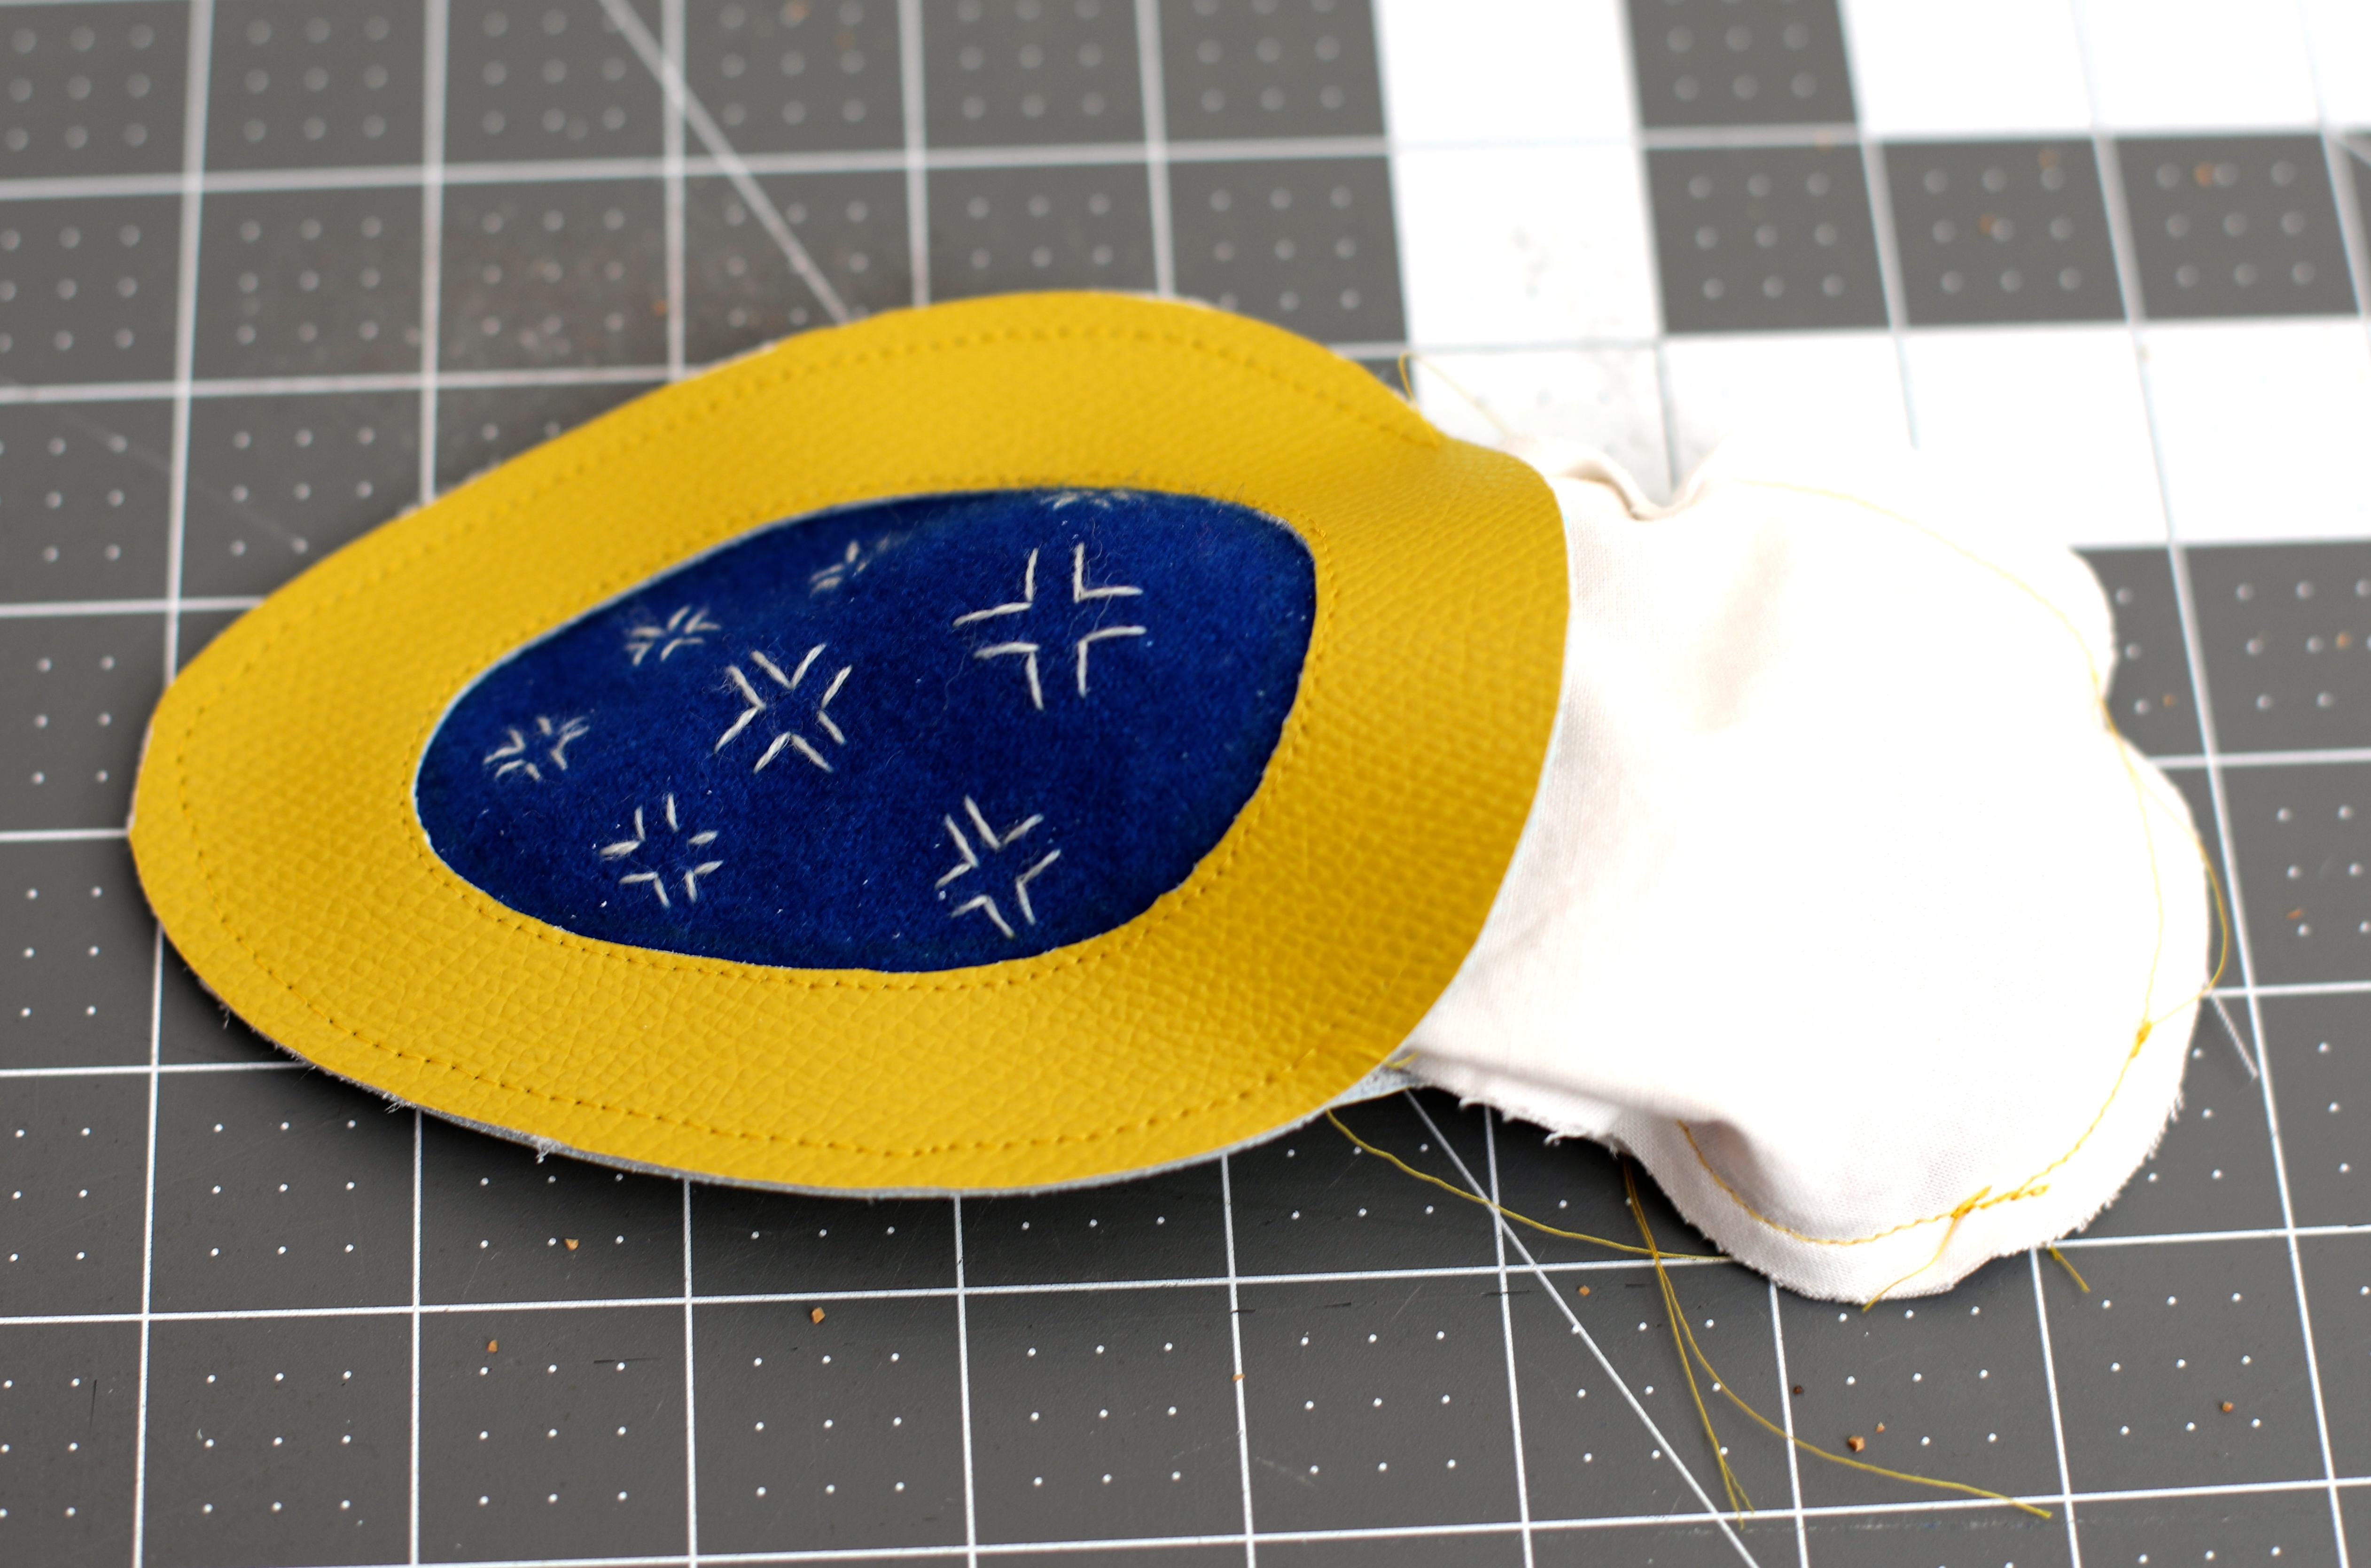
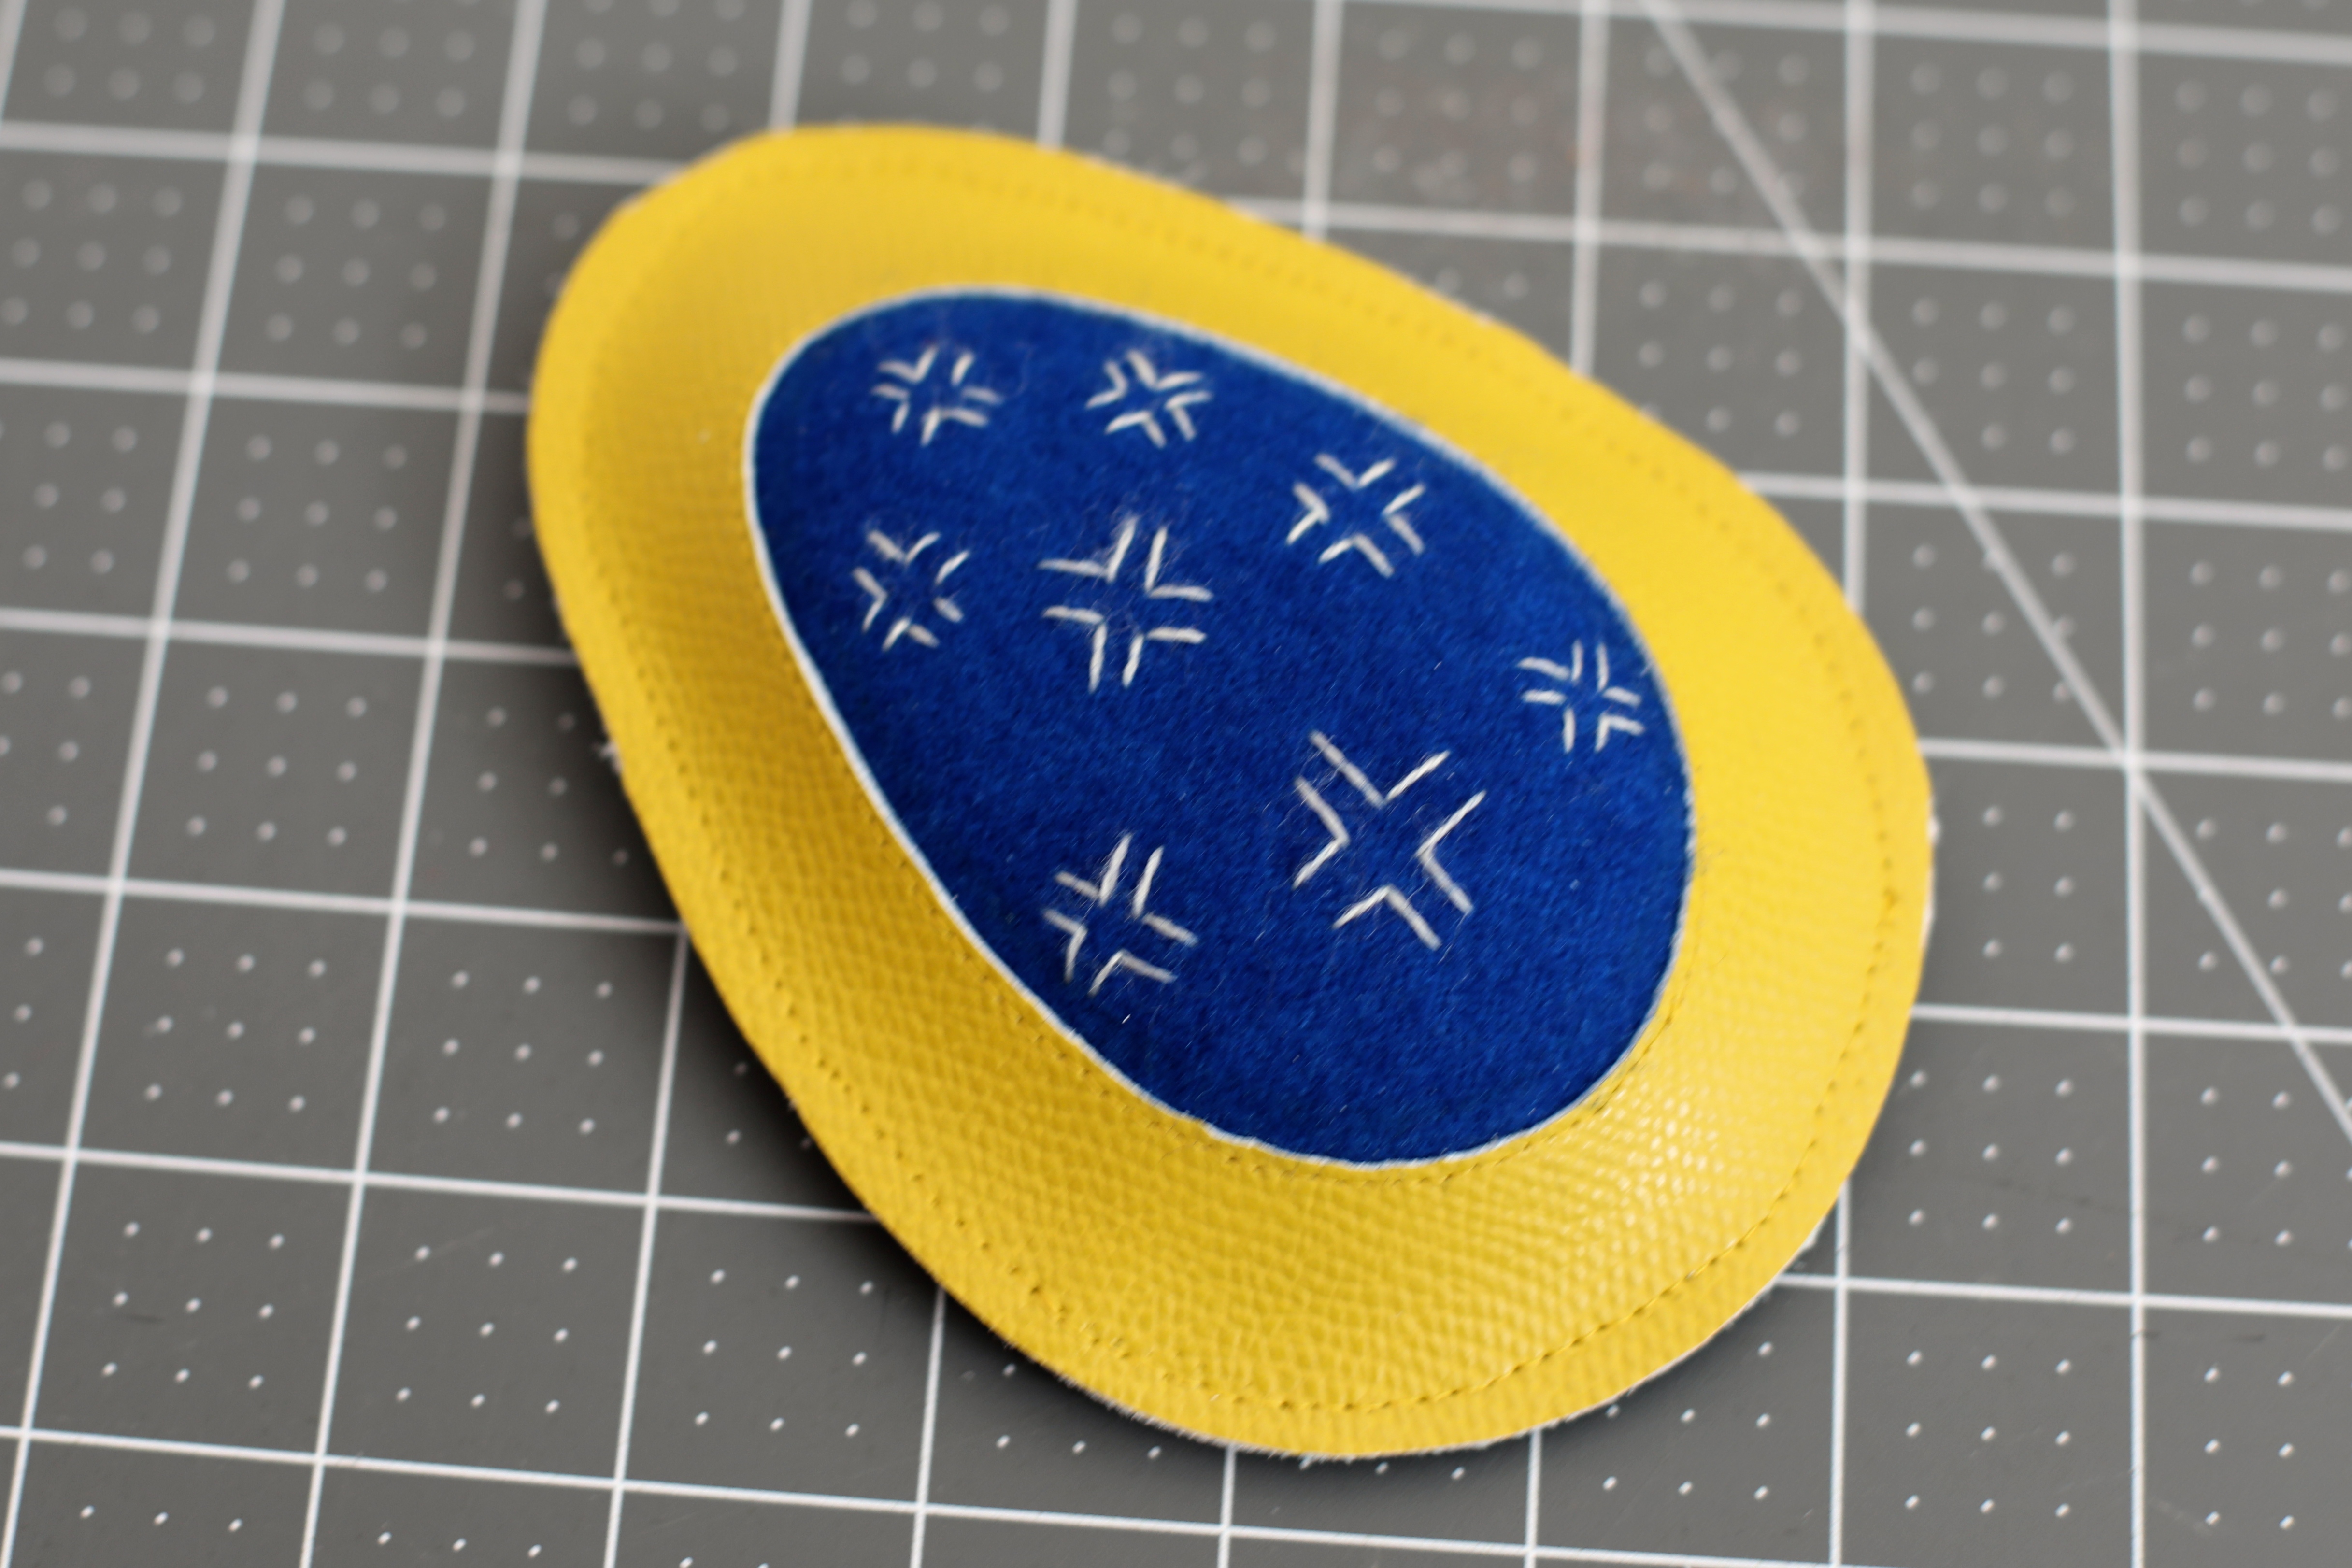
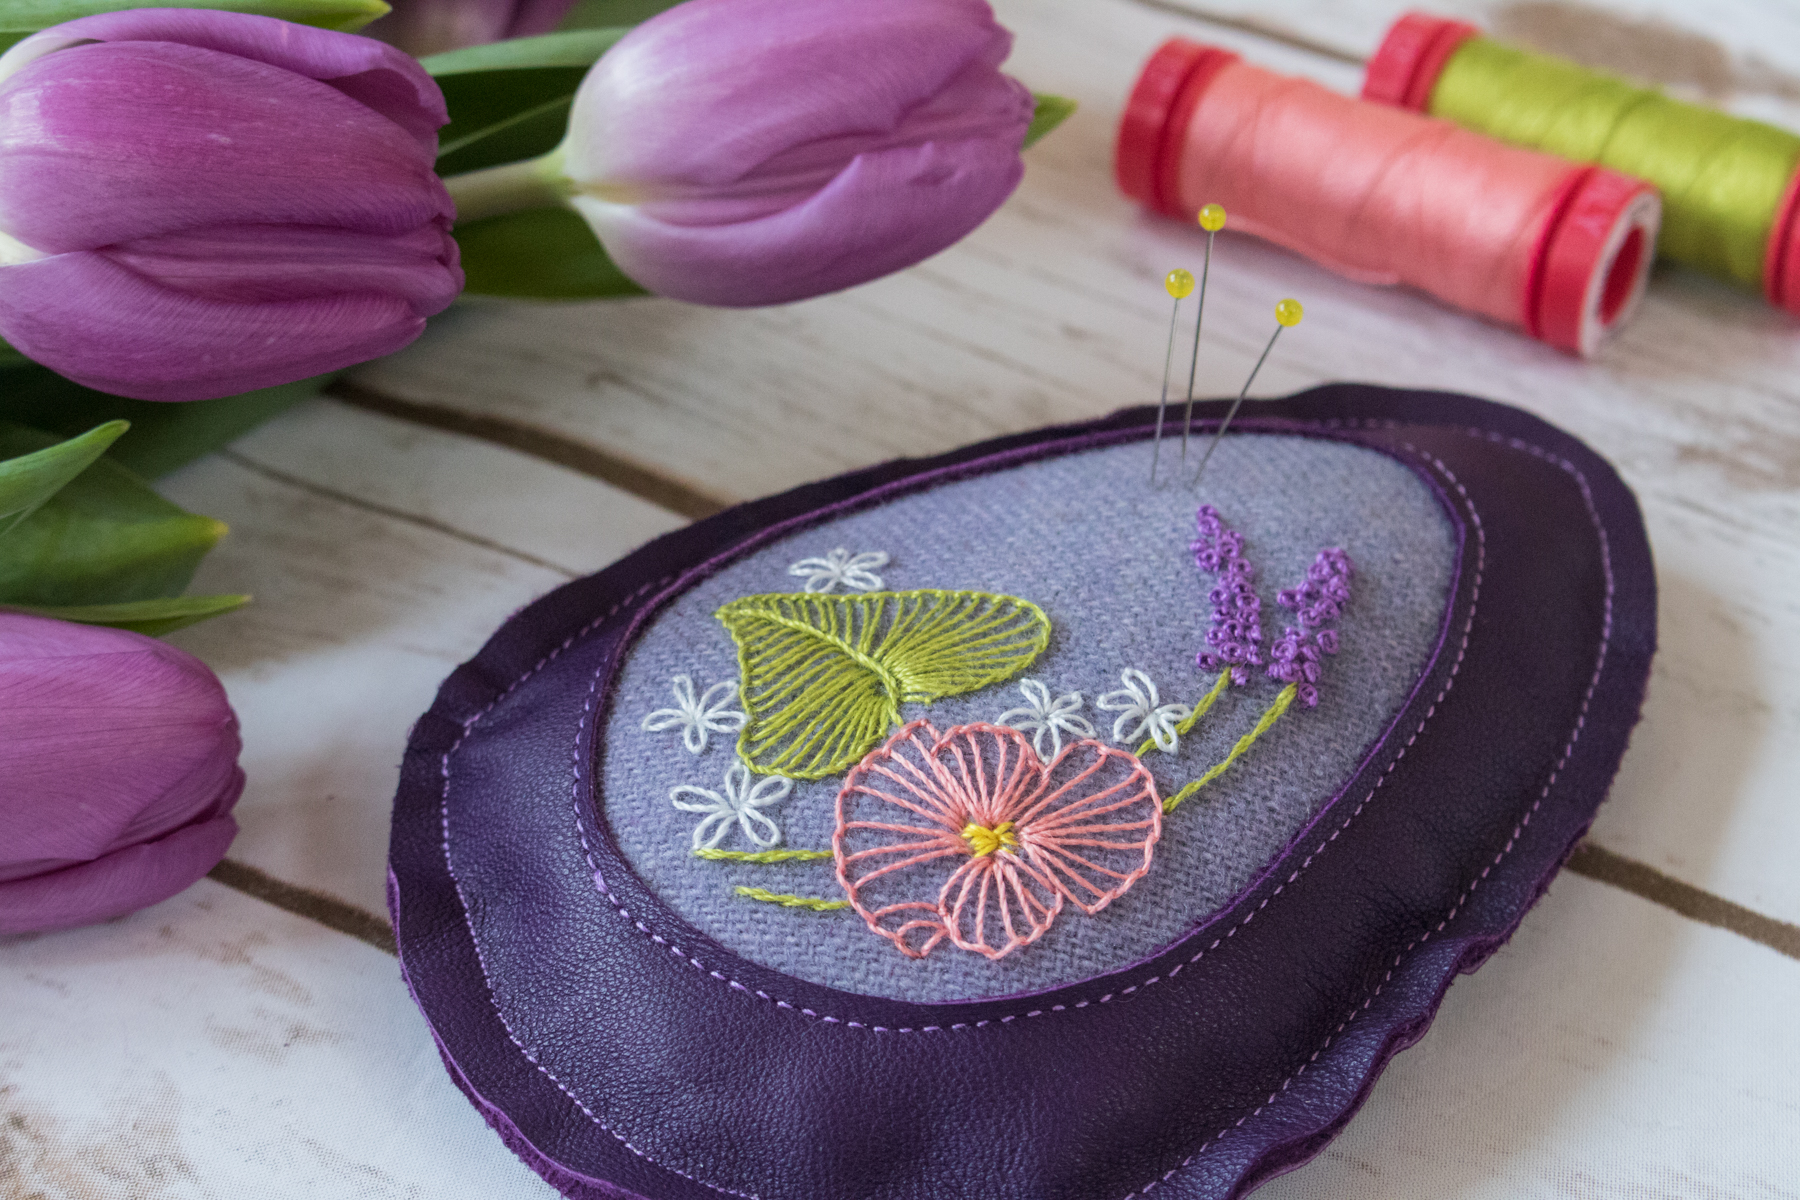
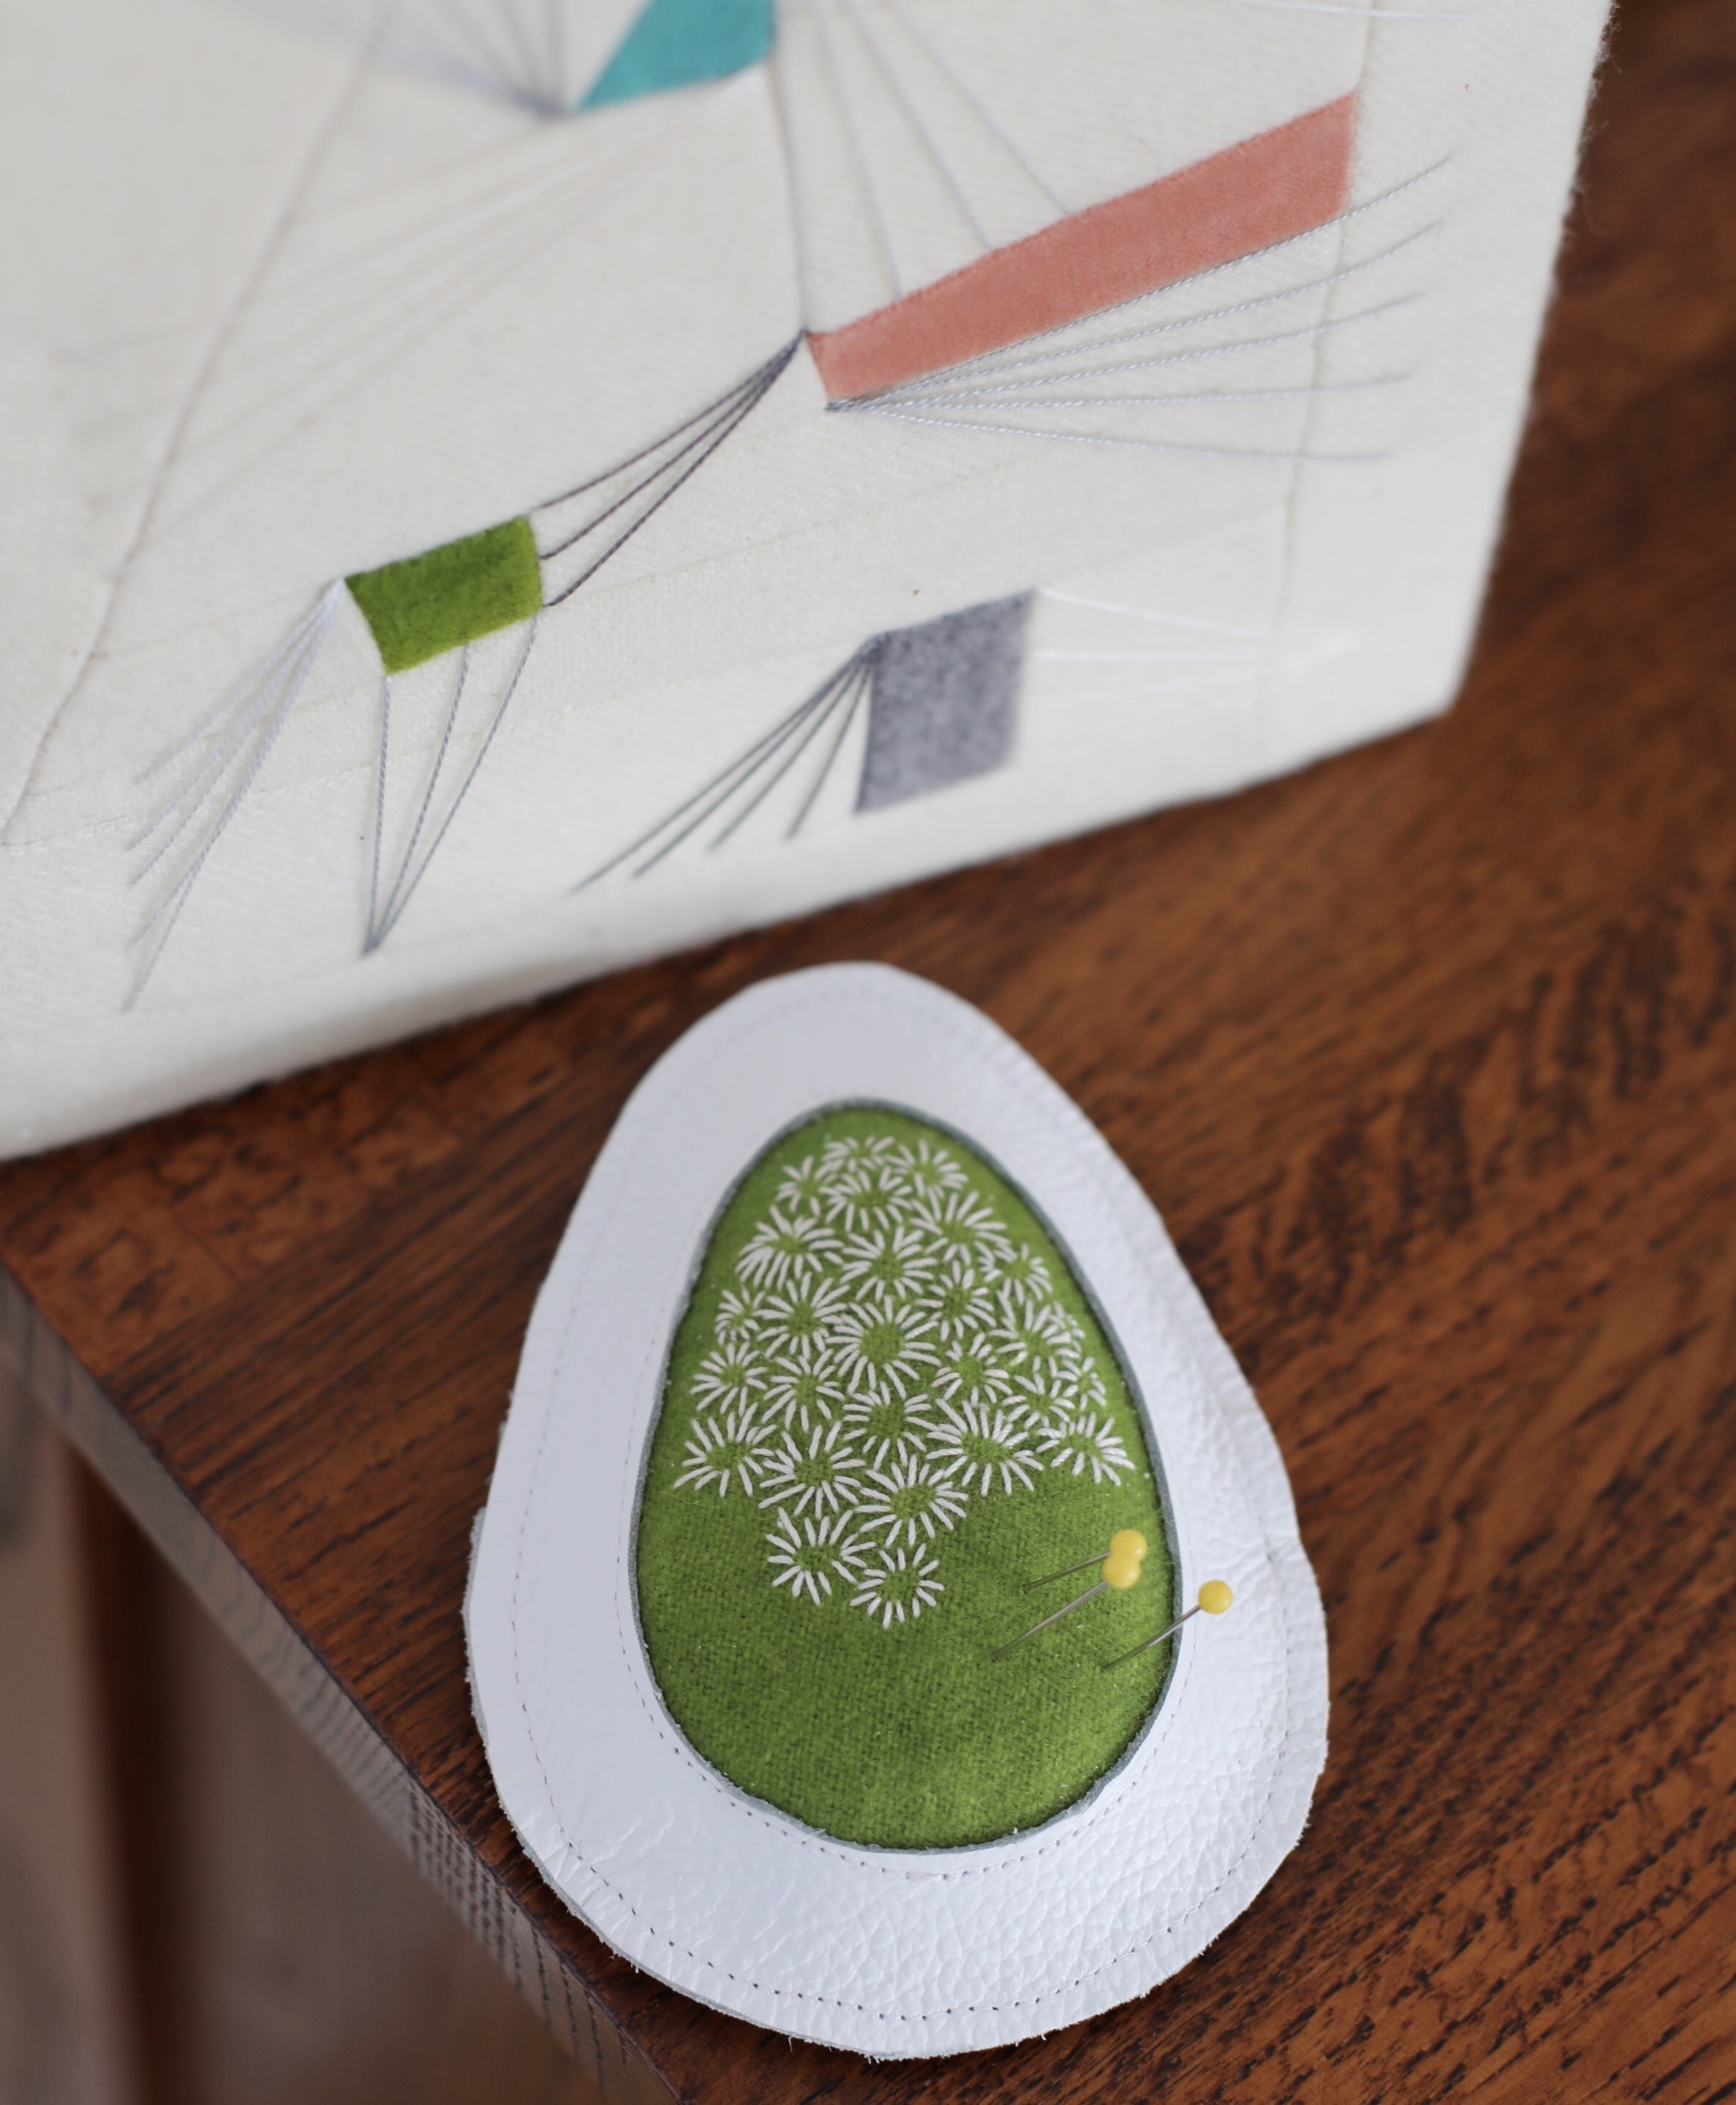
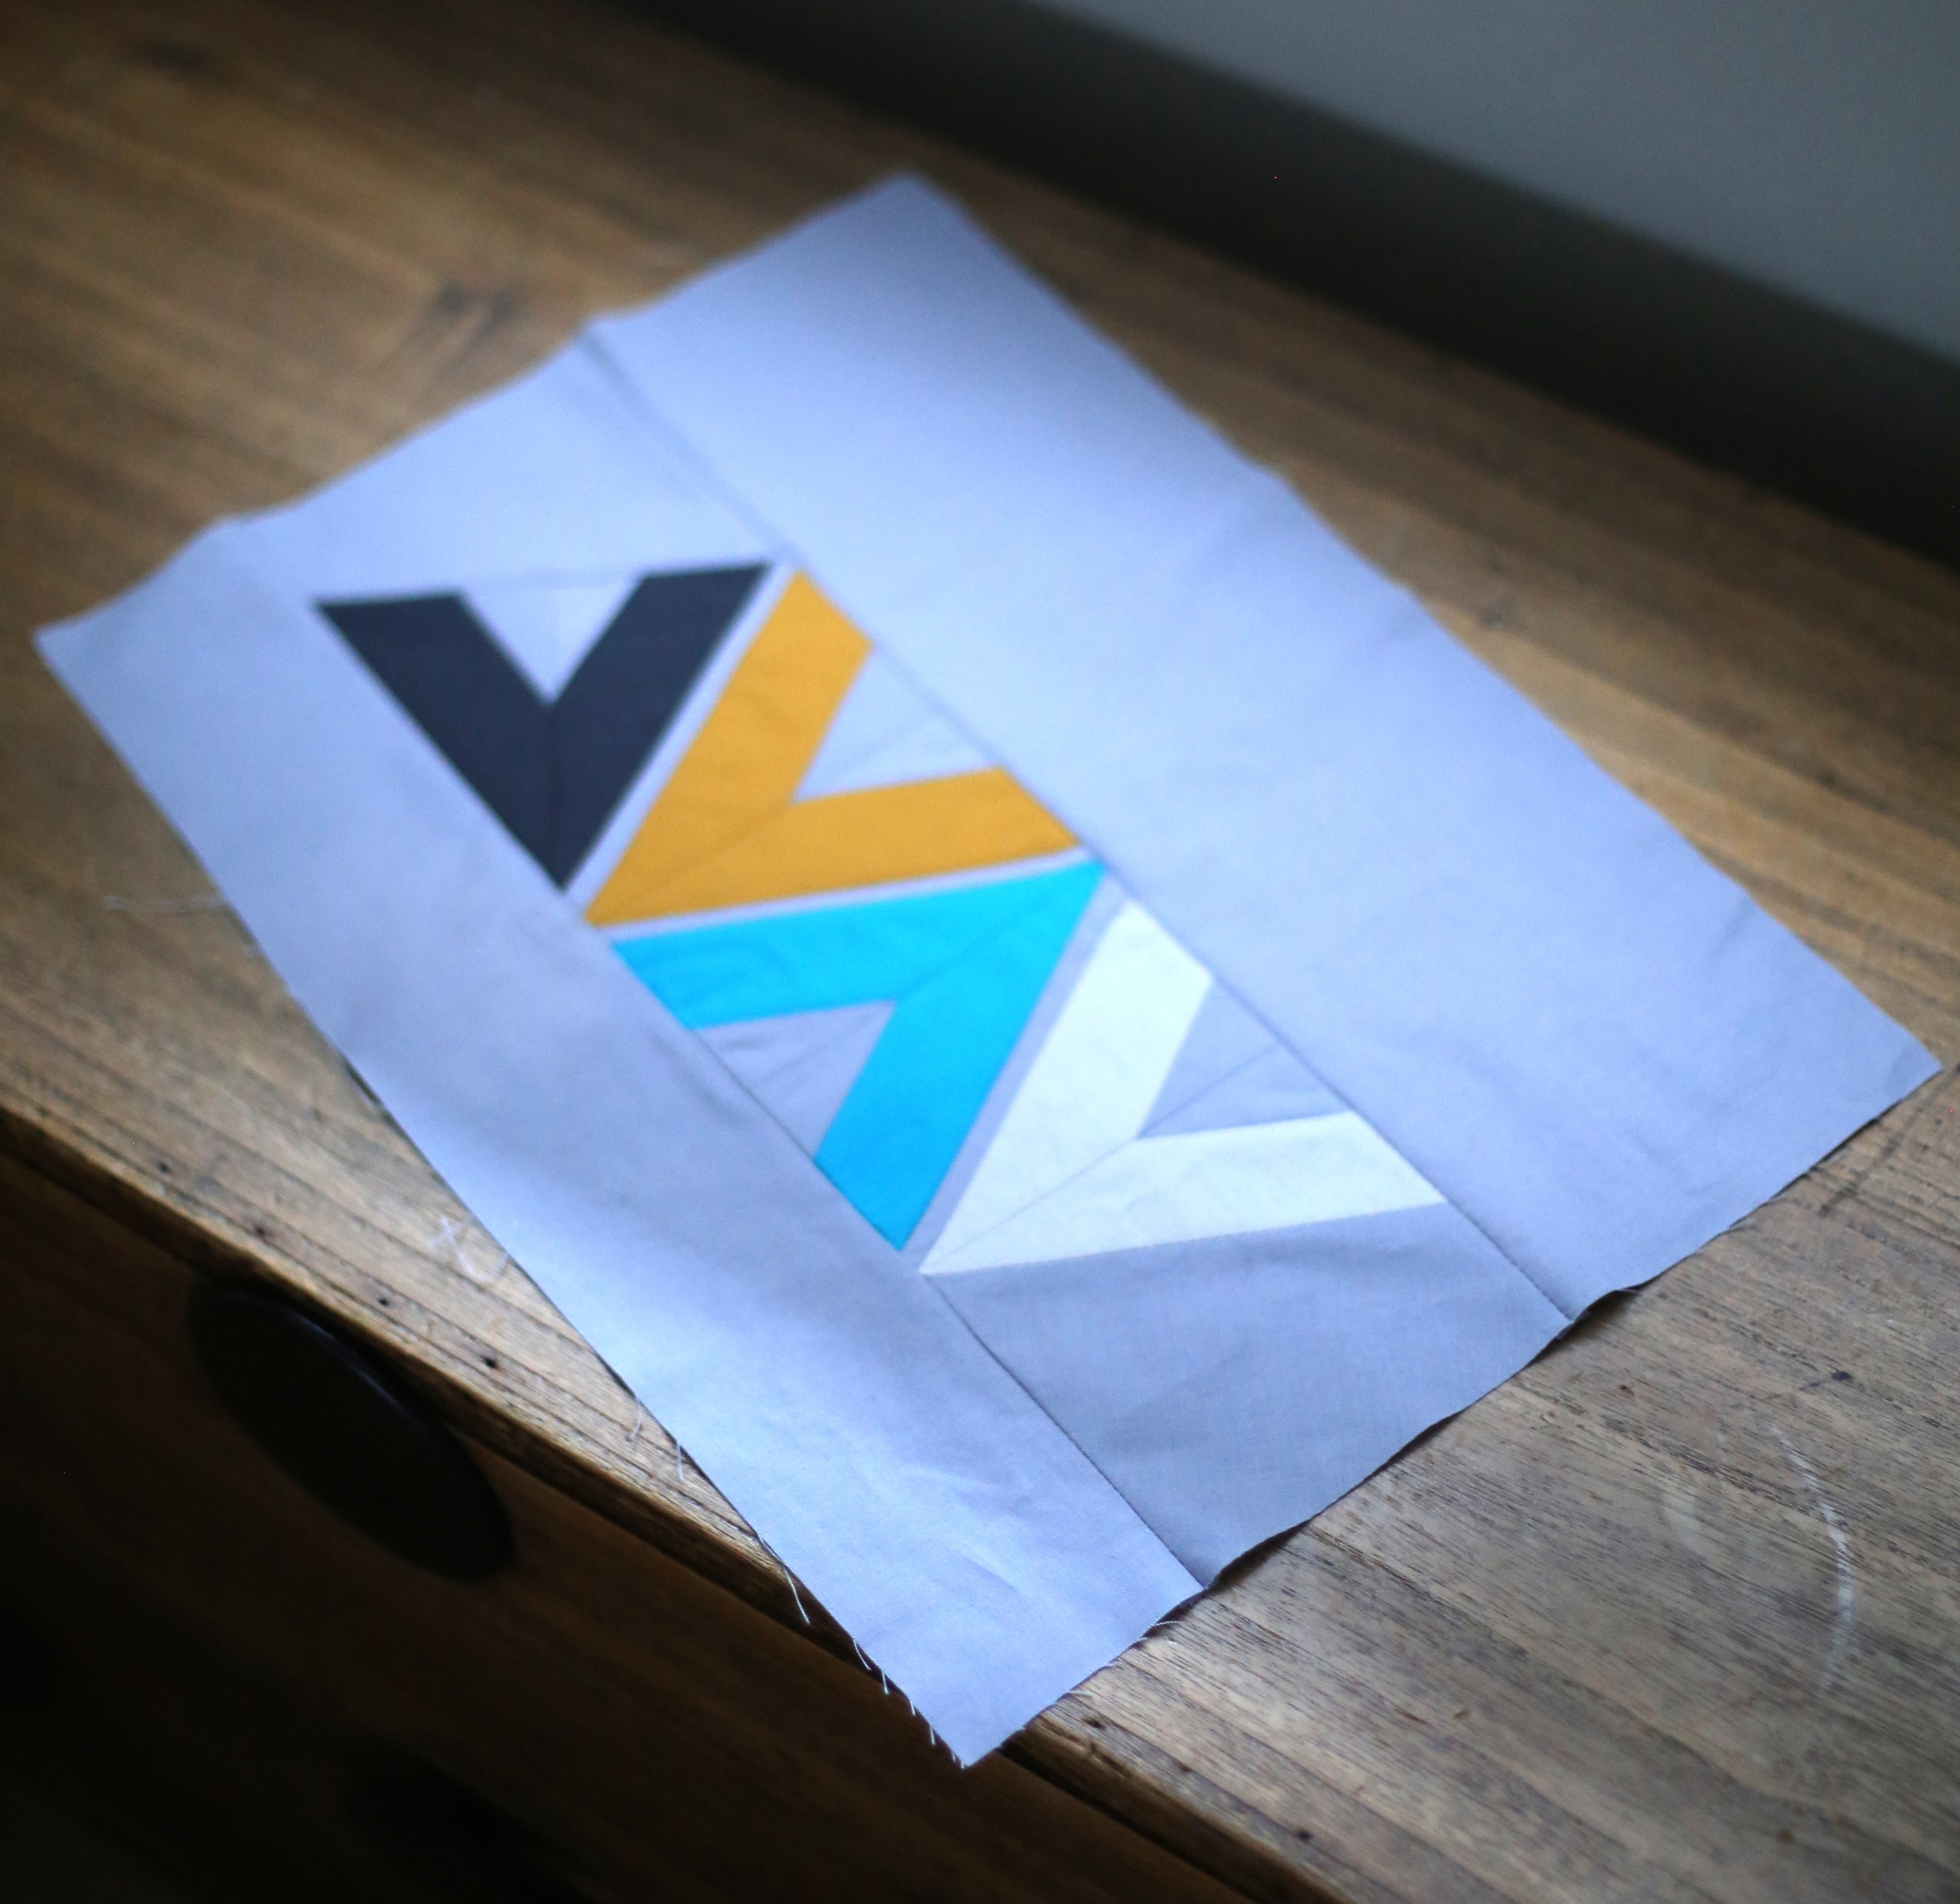
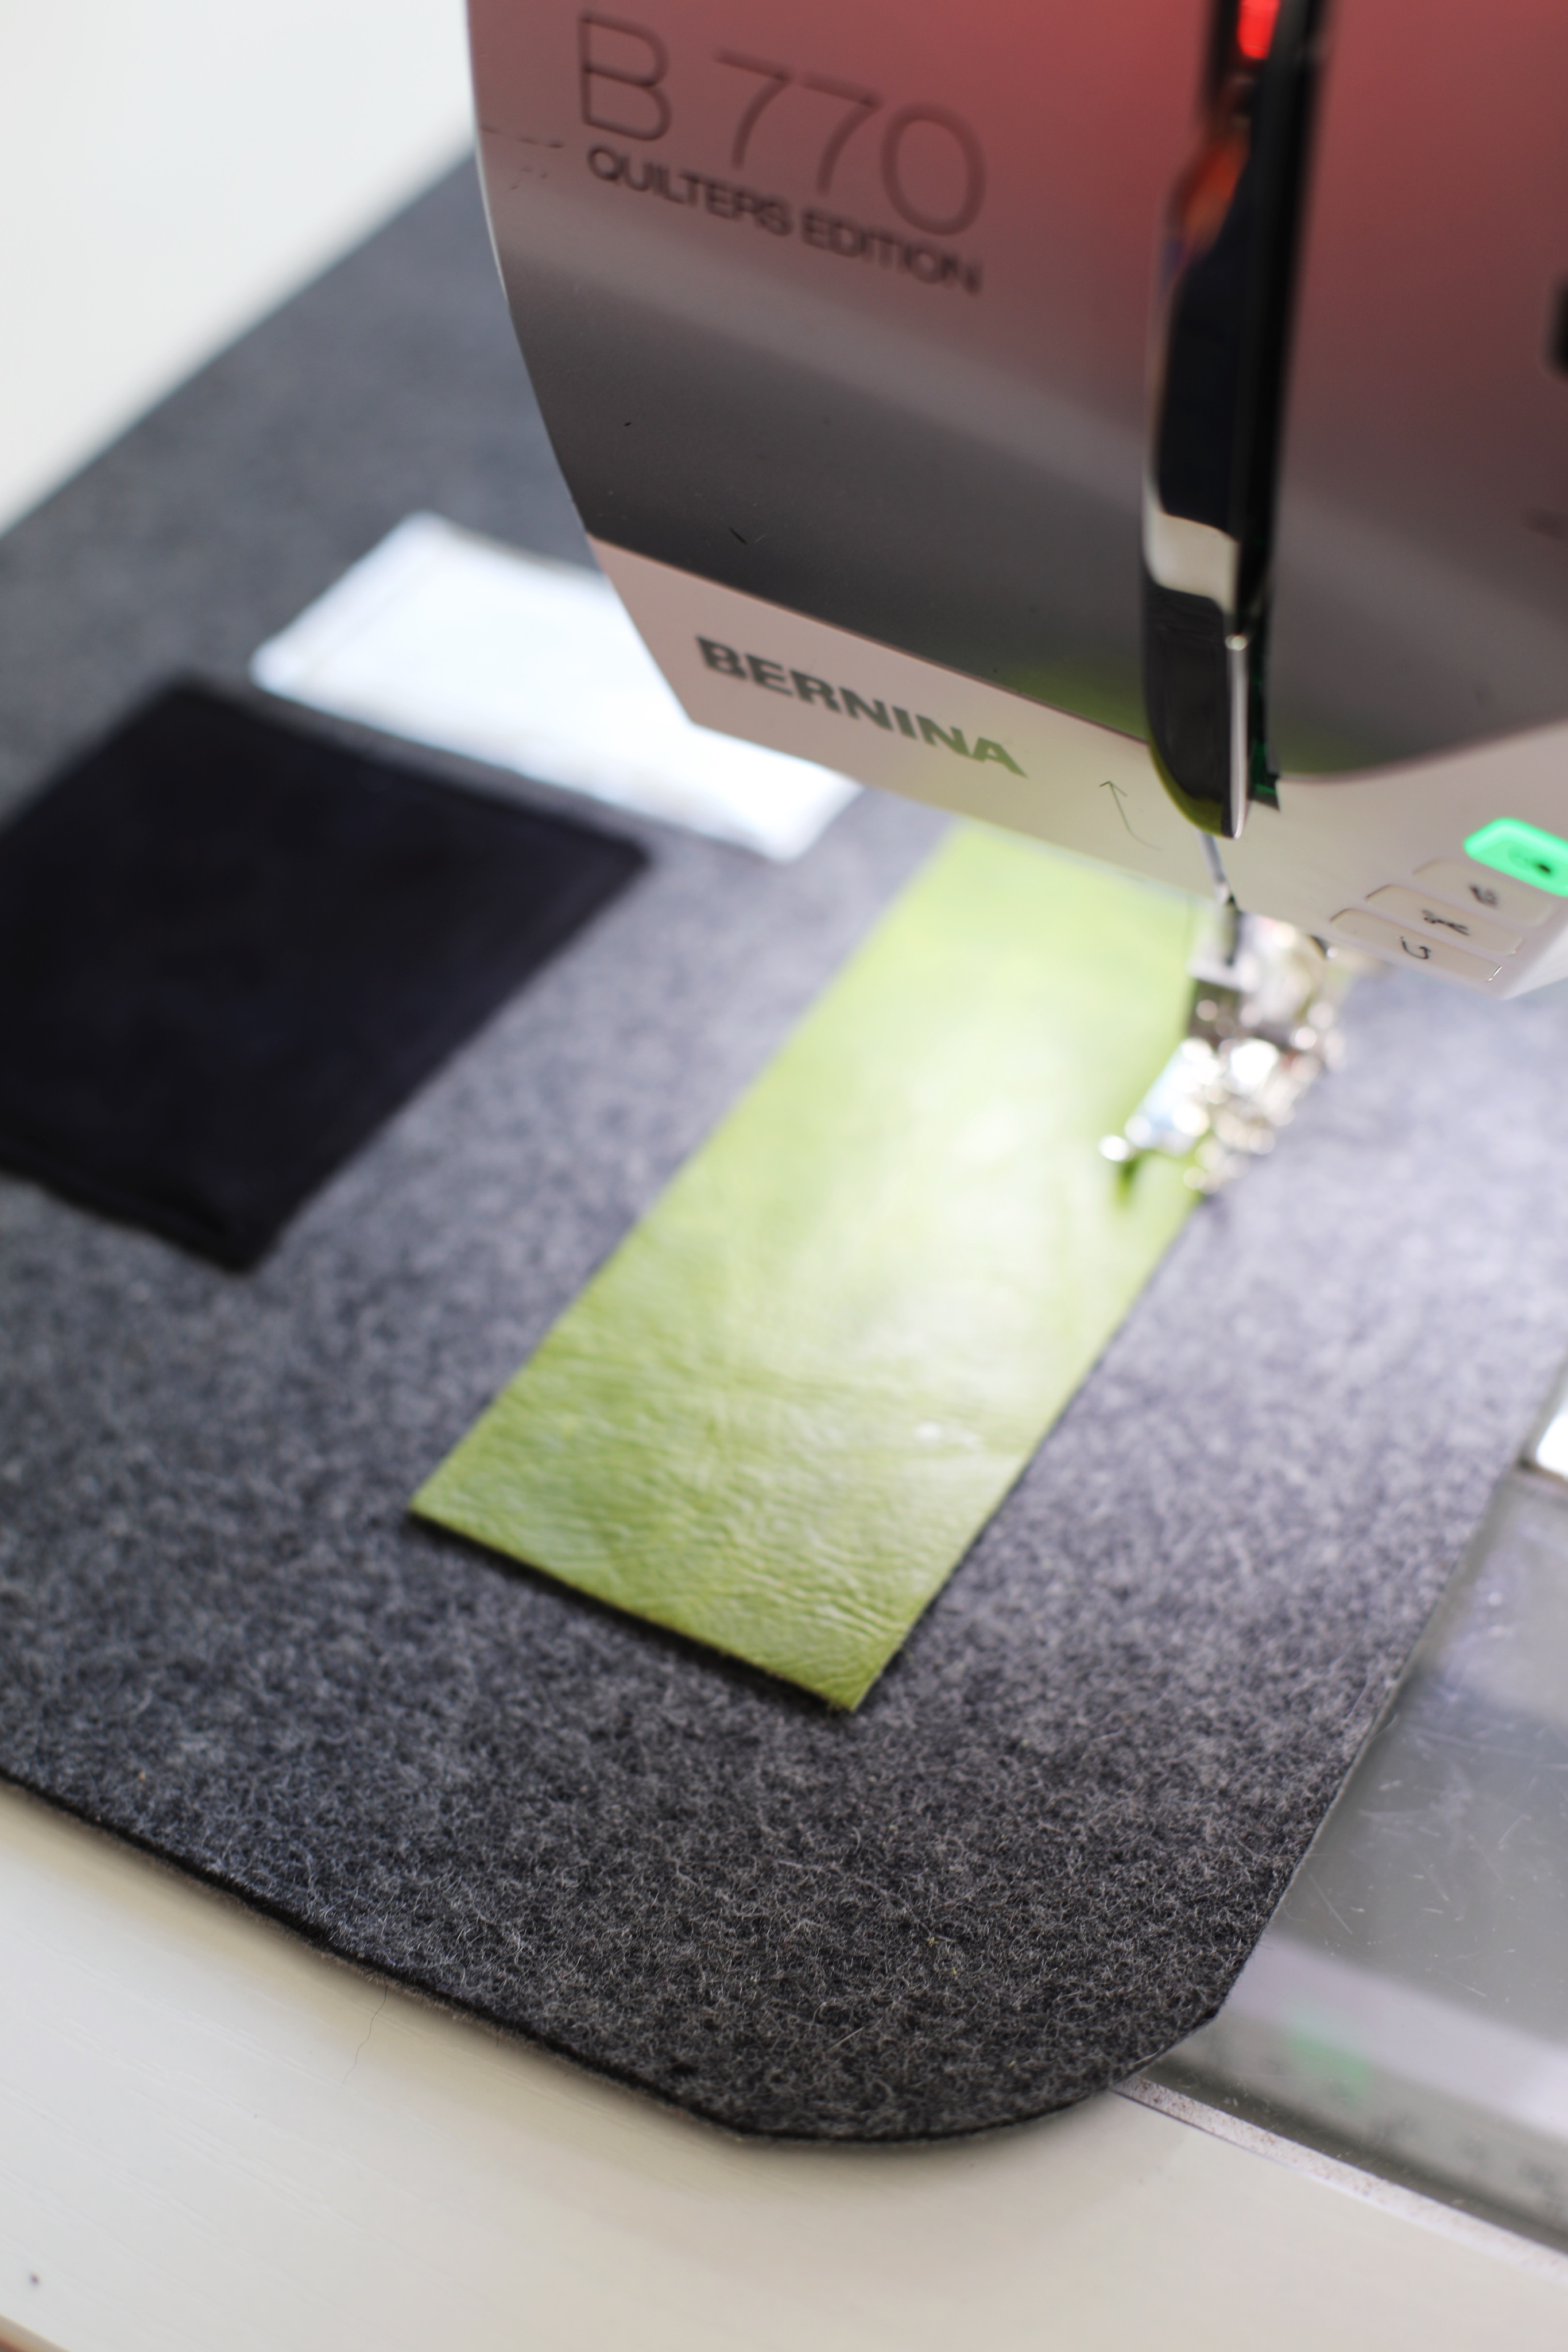
Step Two: Appliqué your leather Design
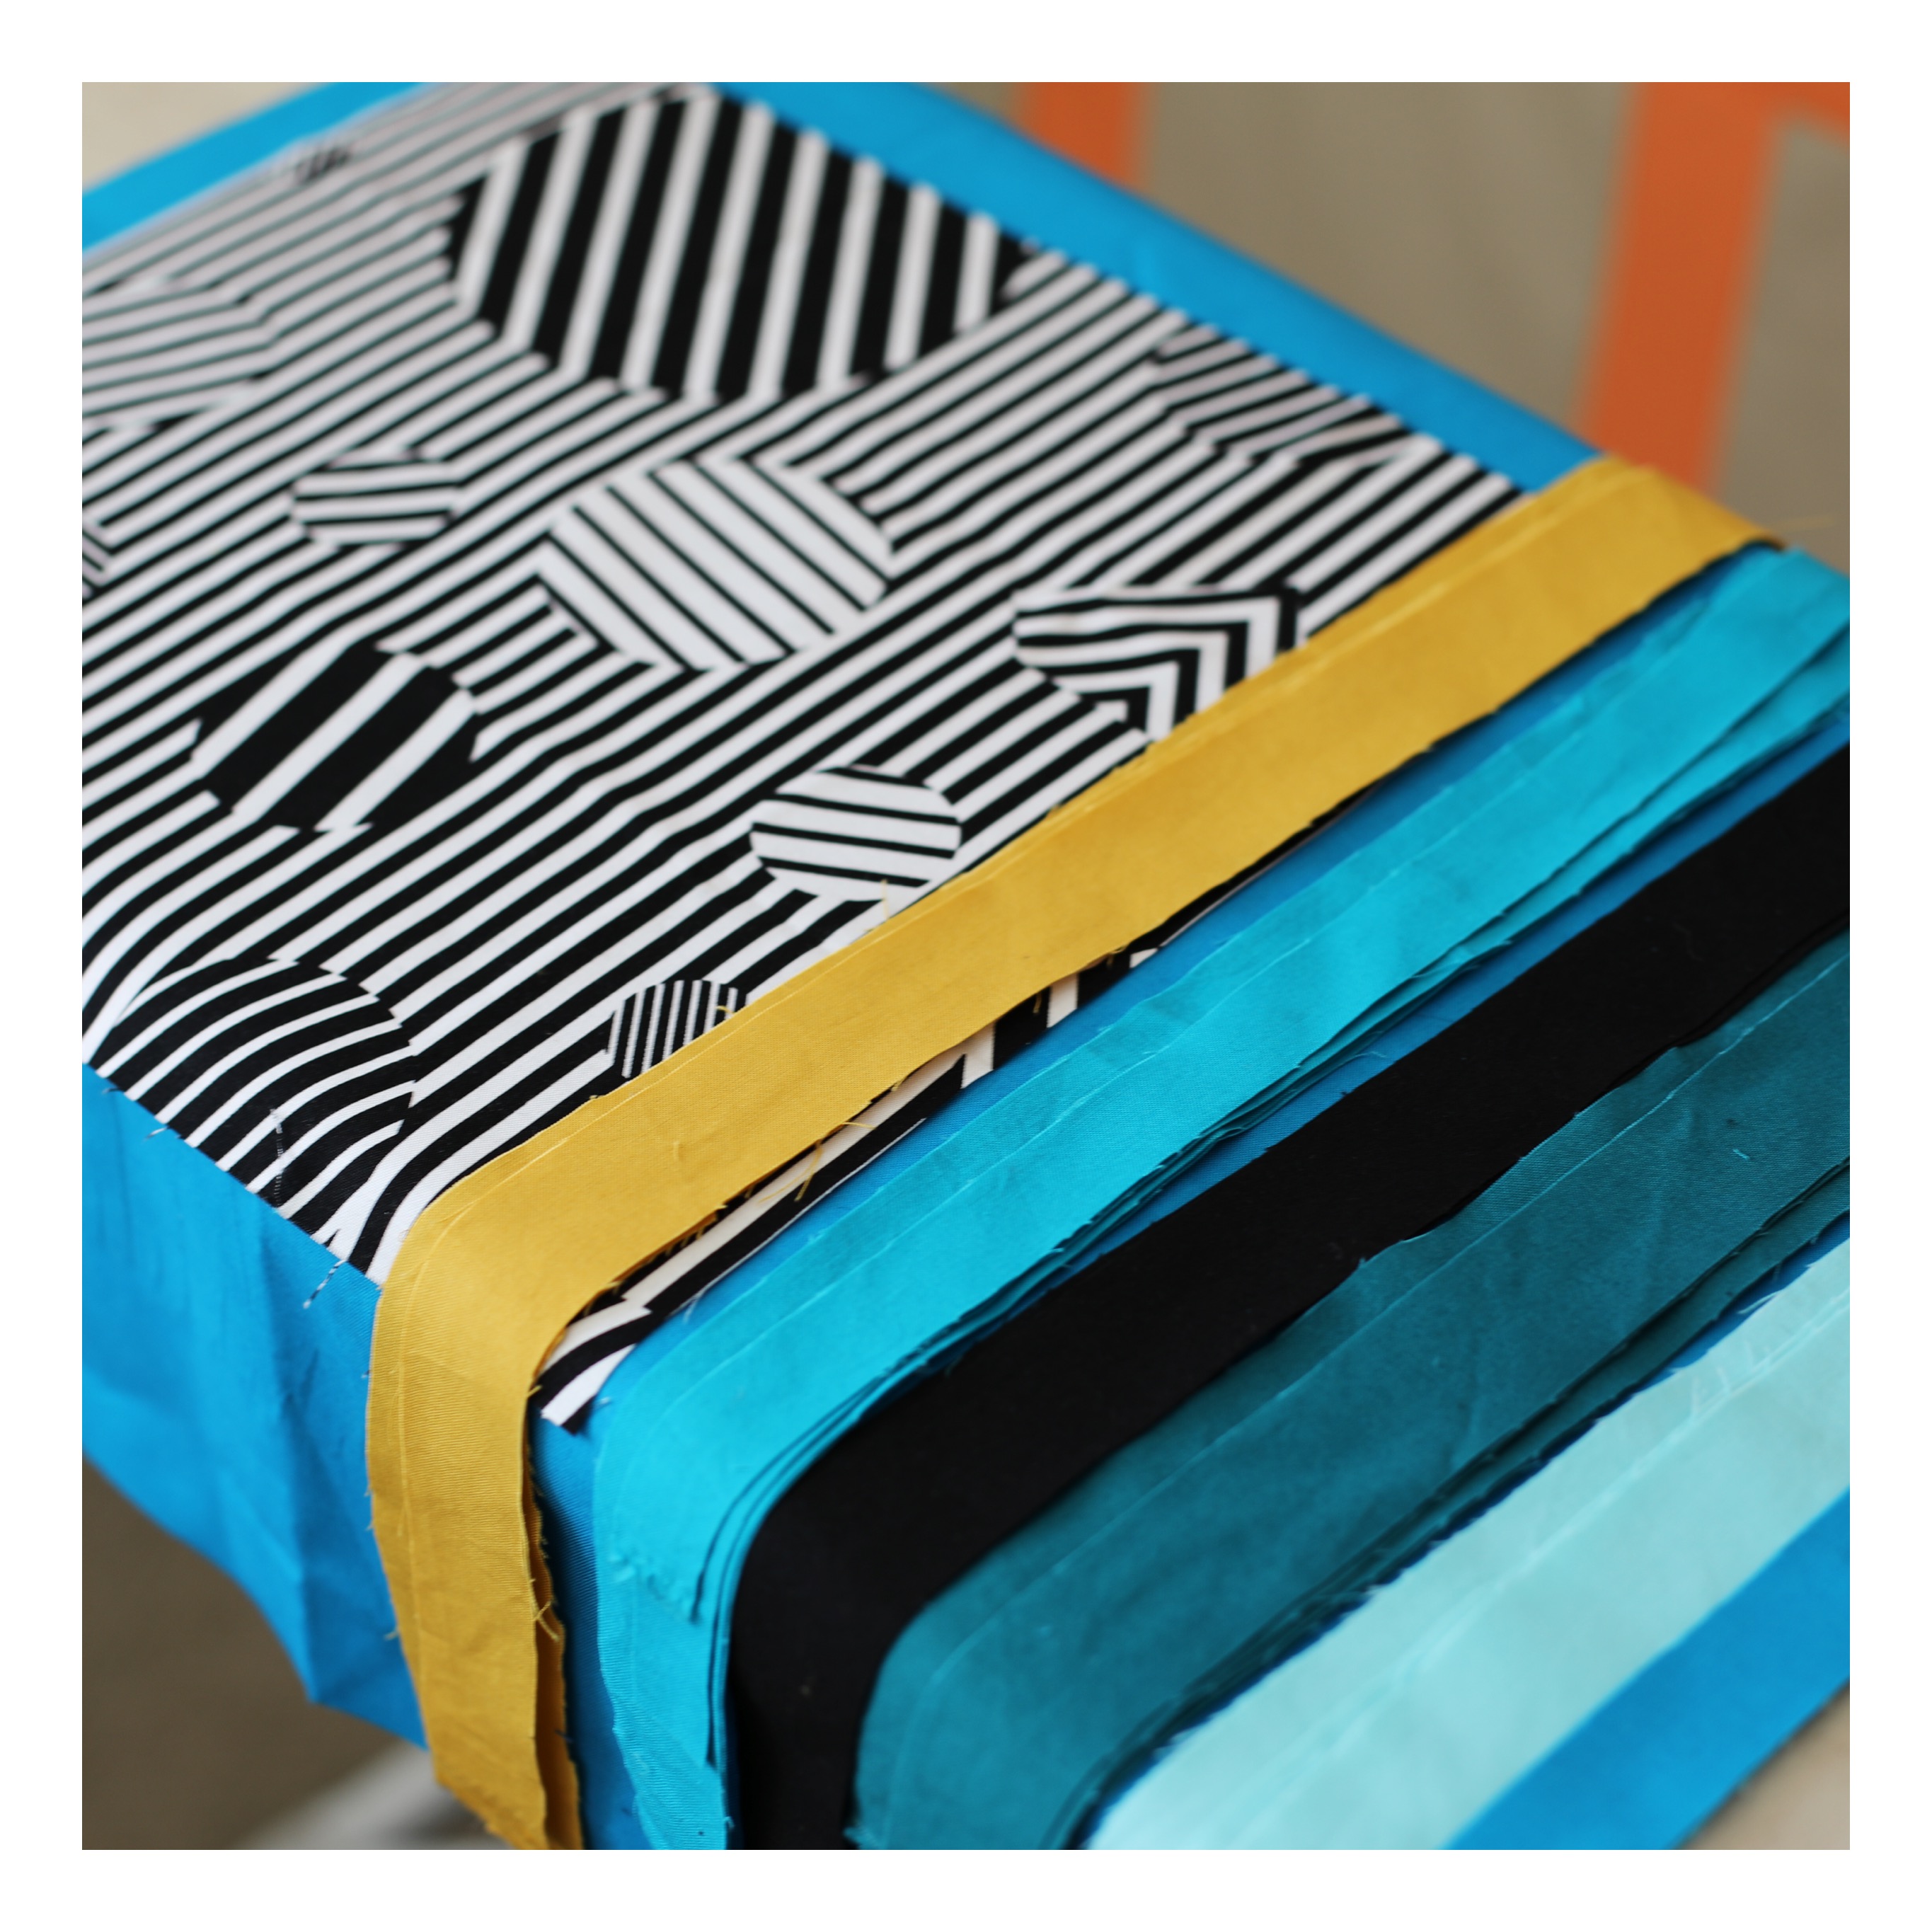
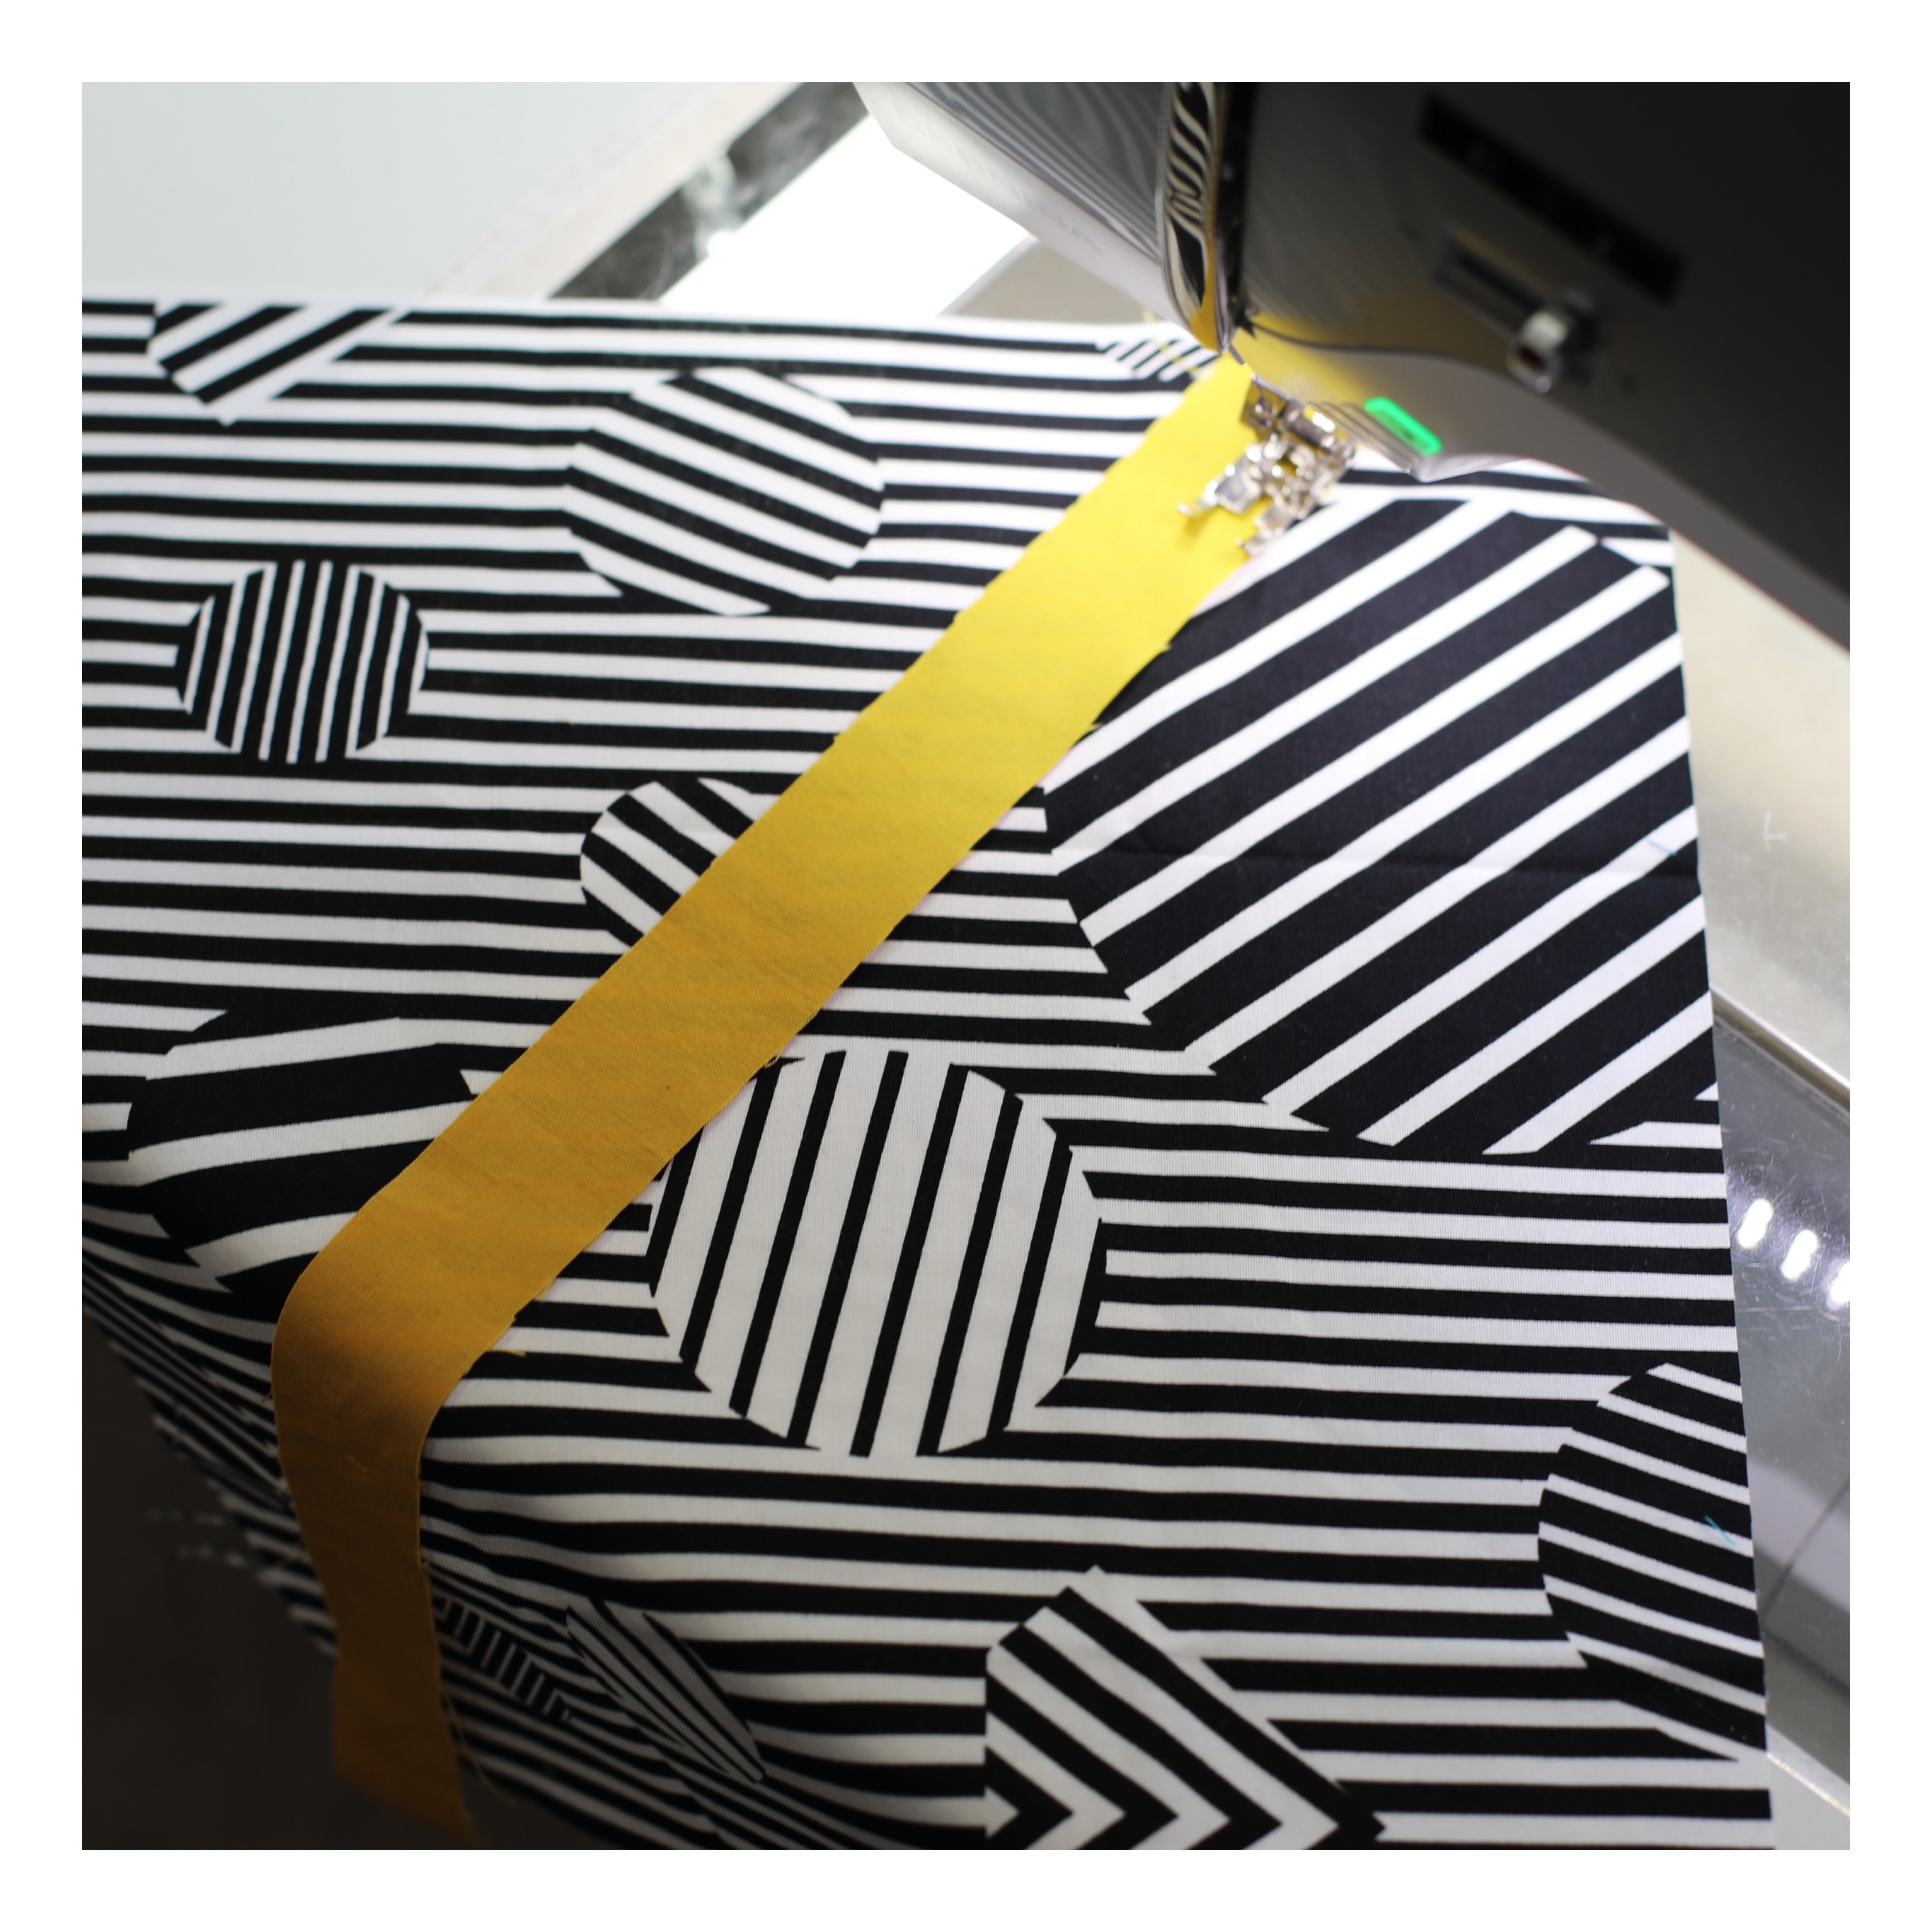
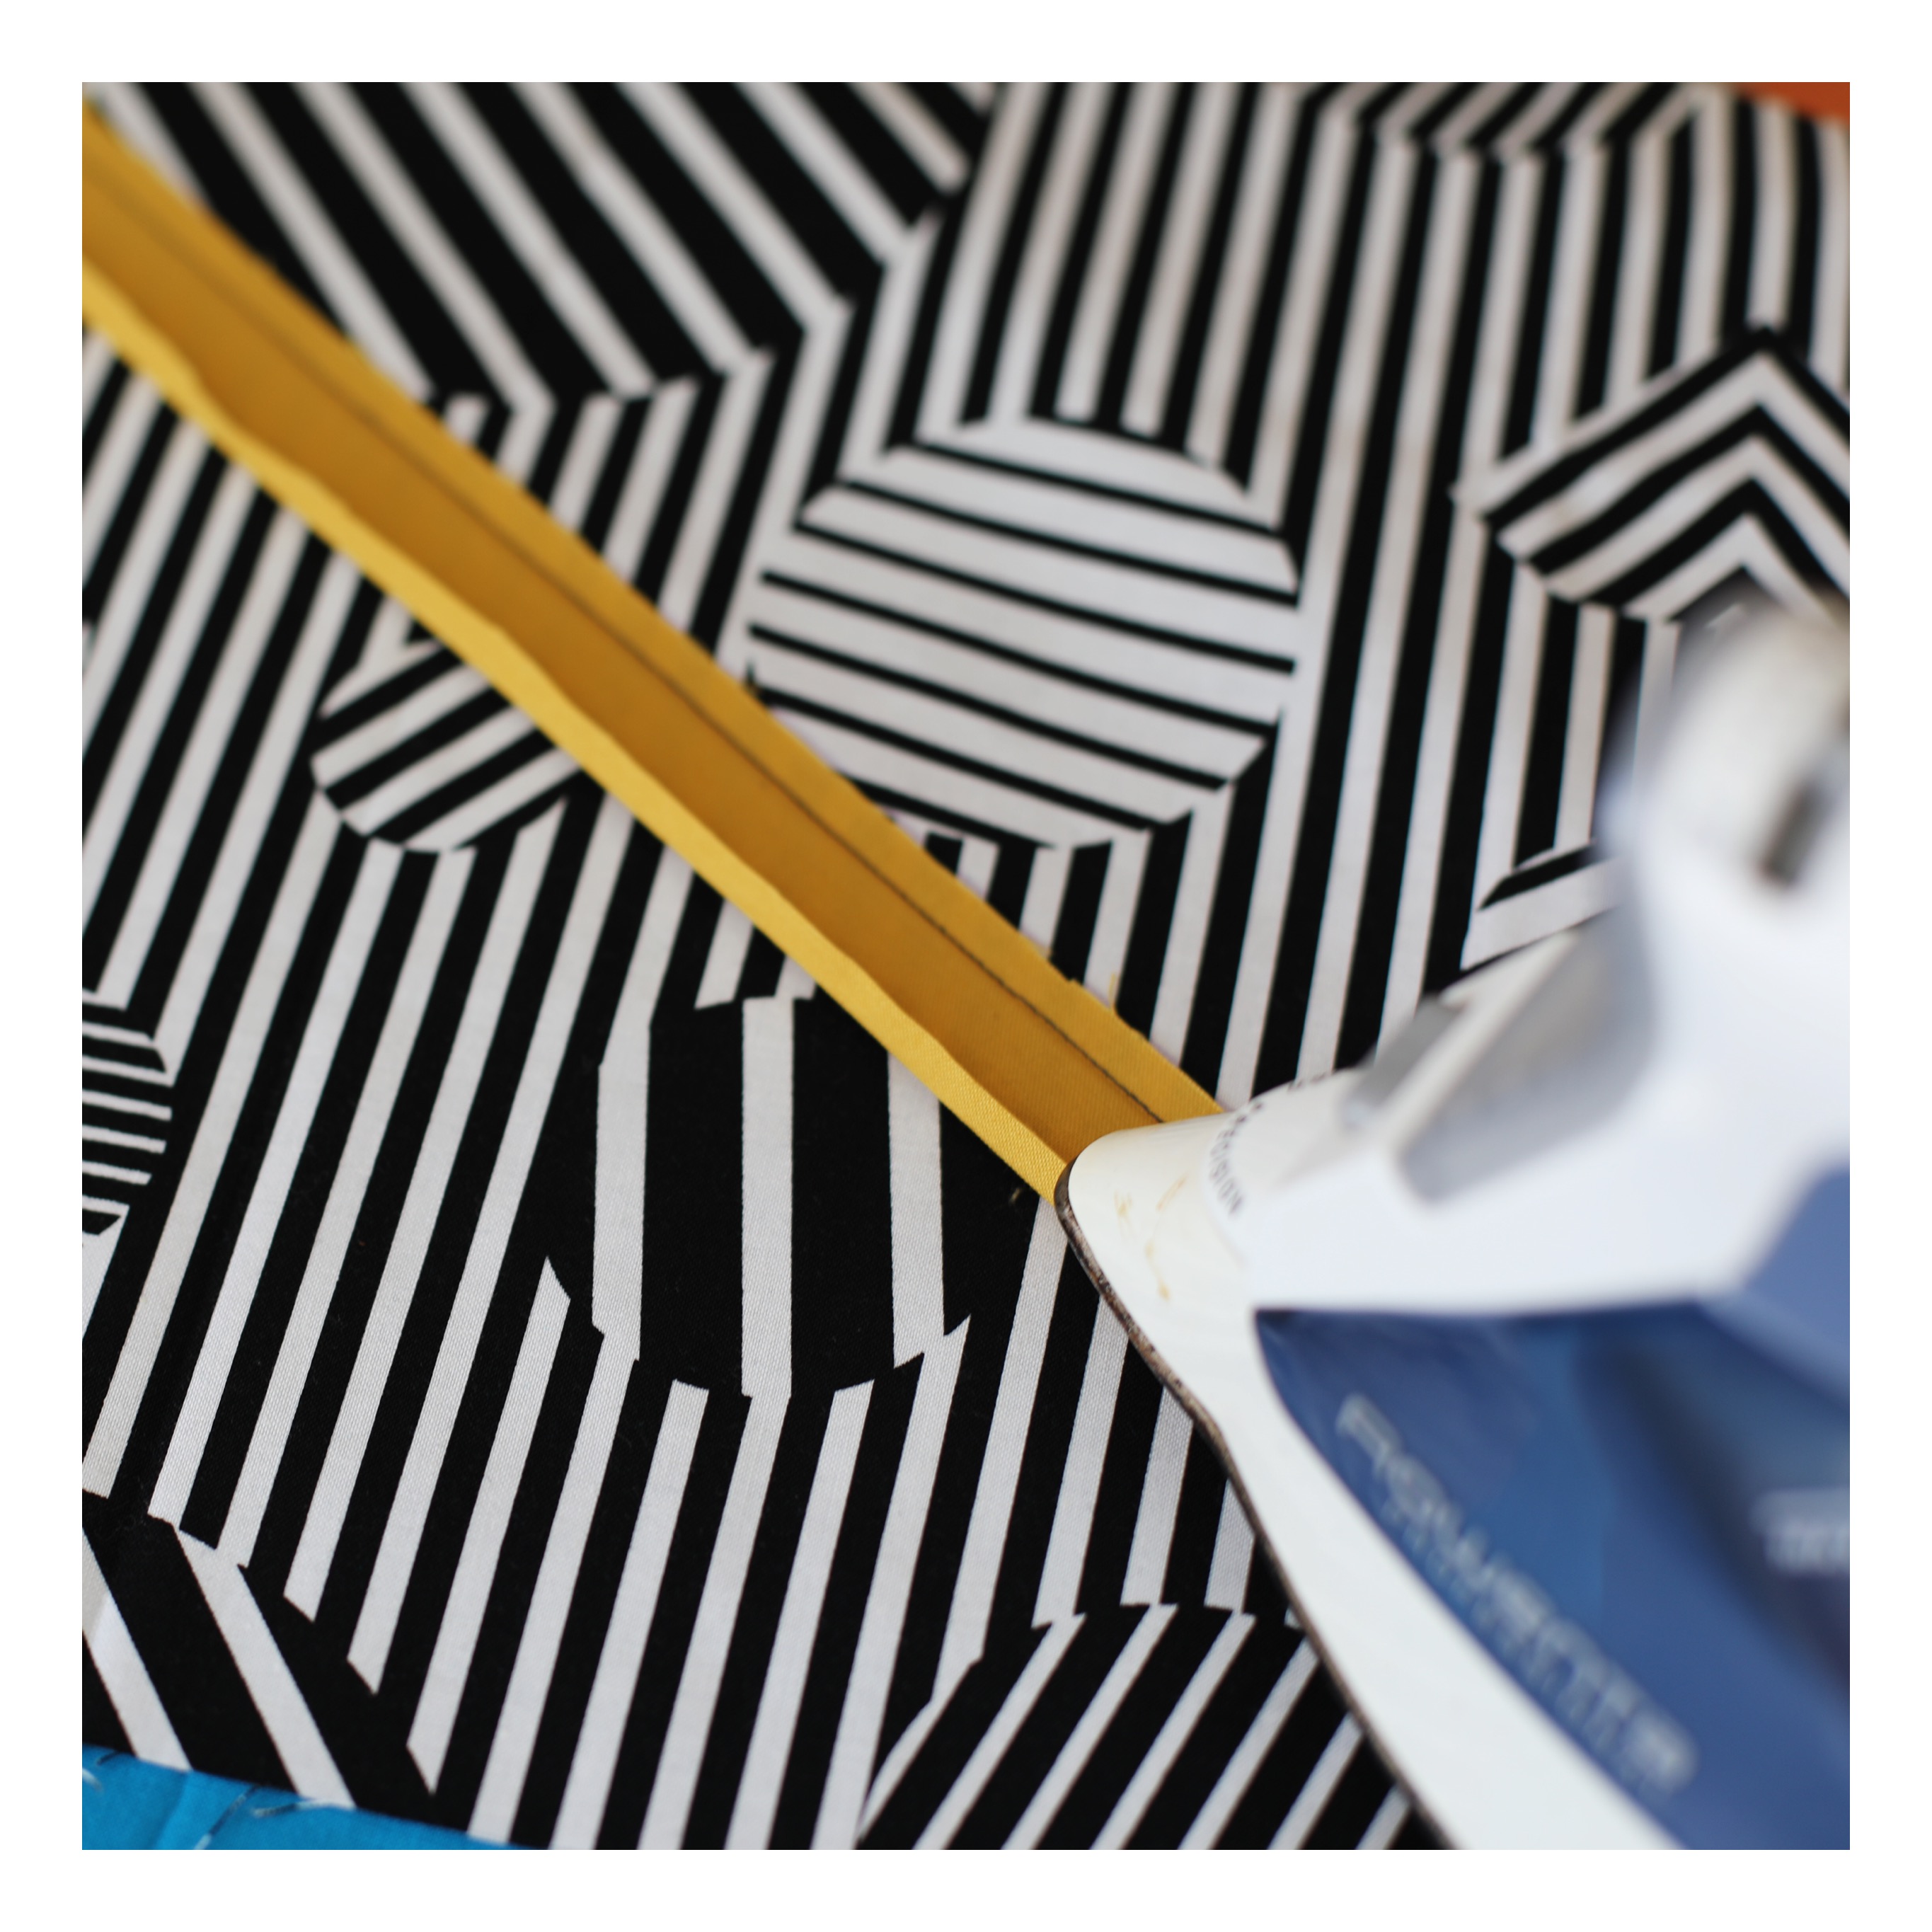
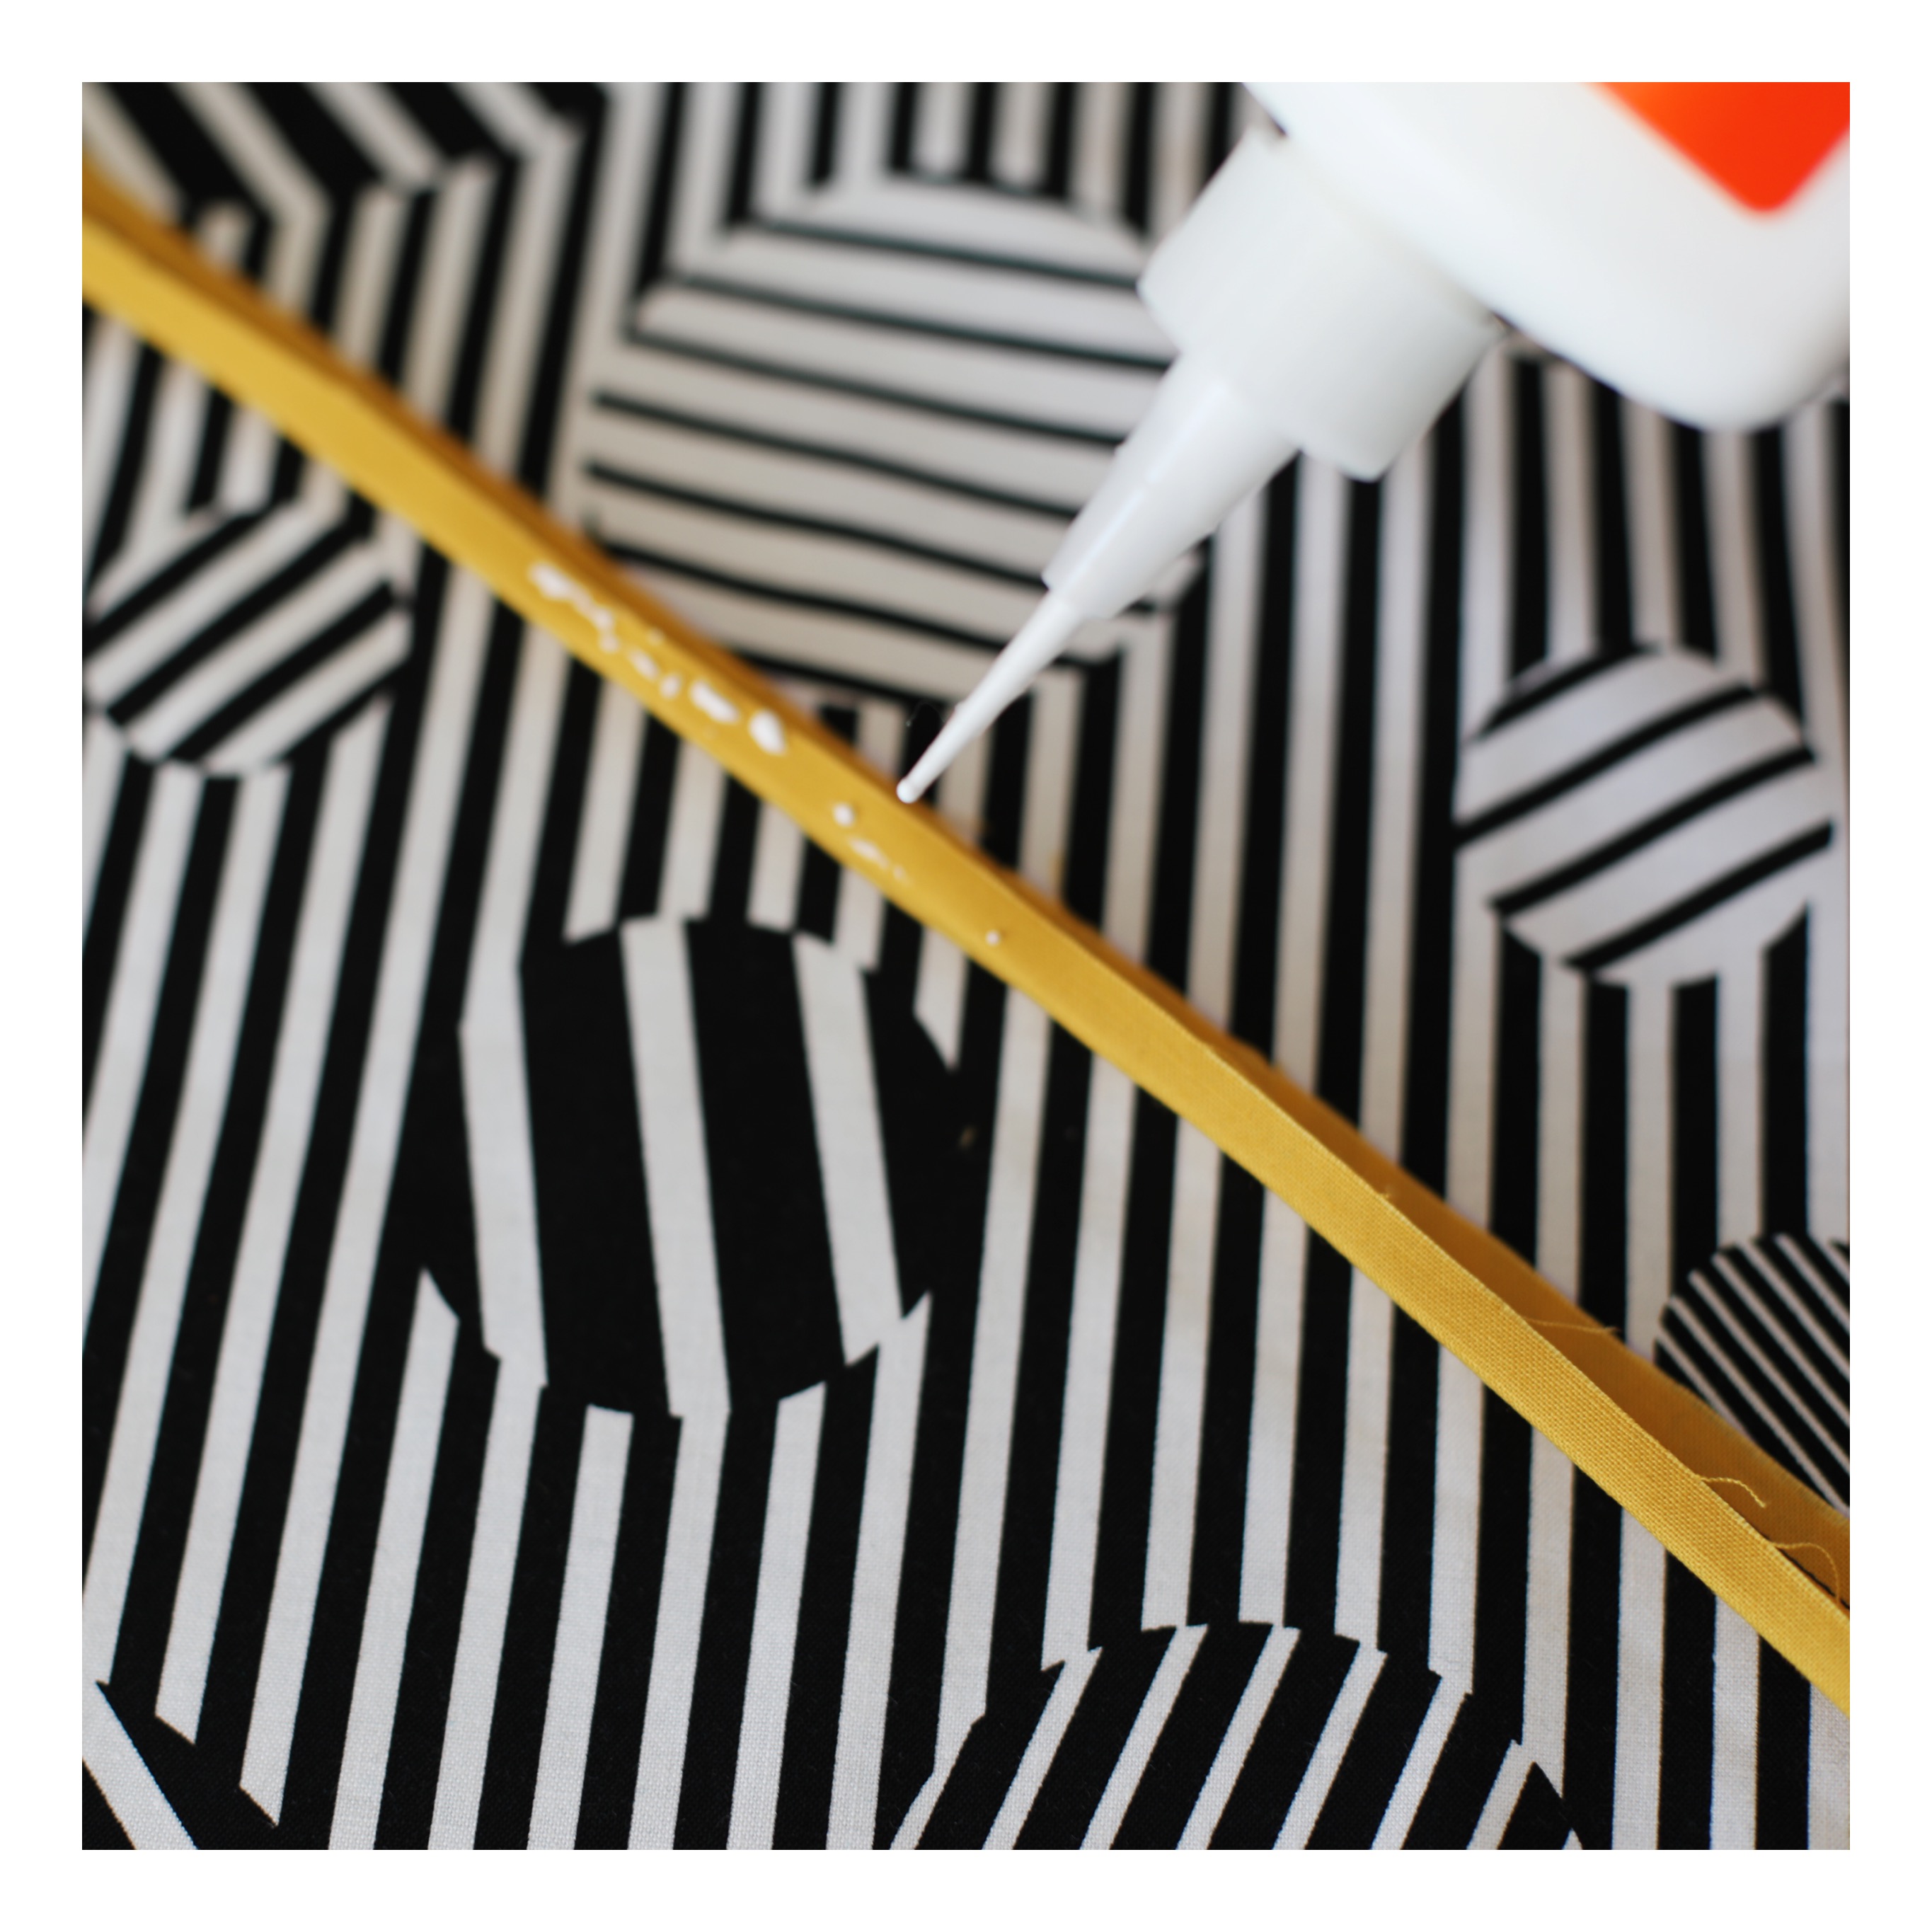
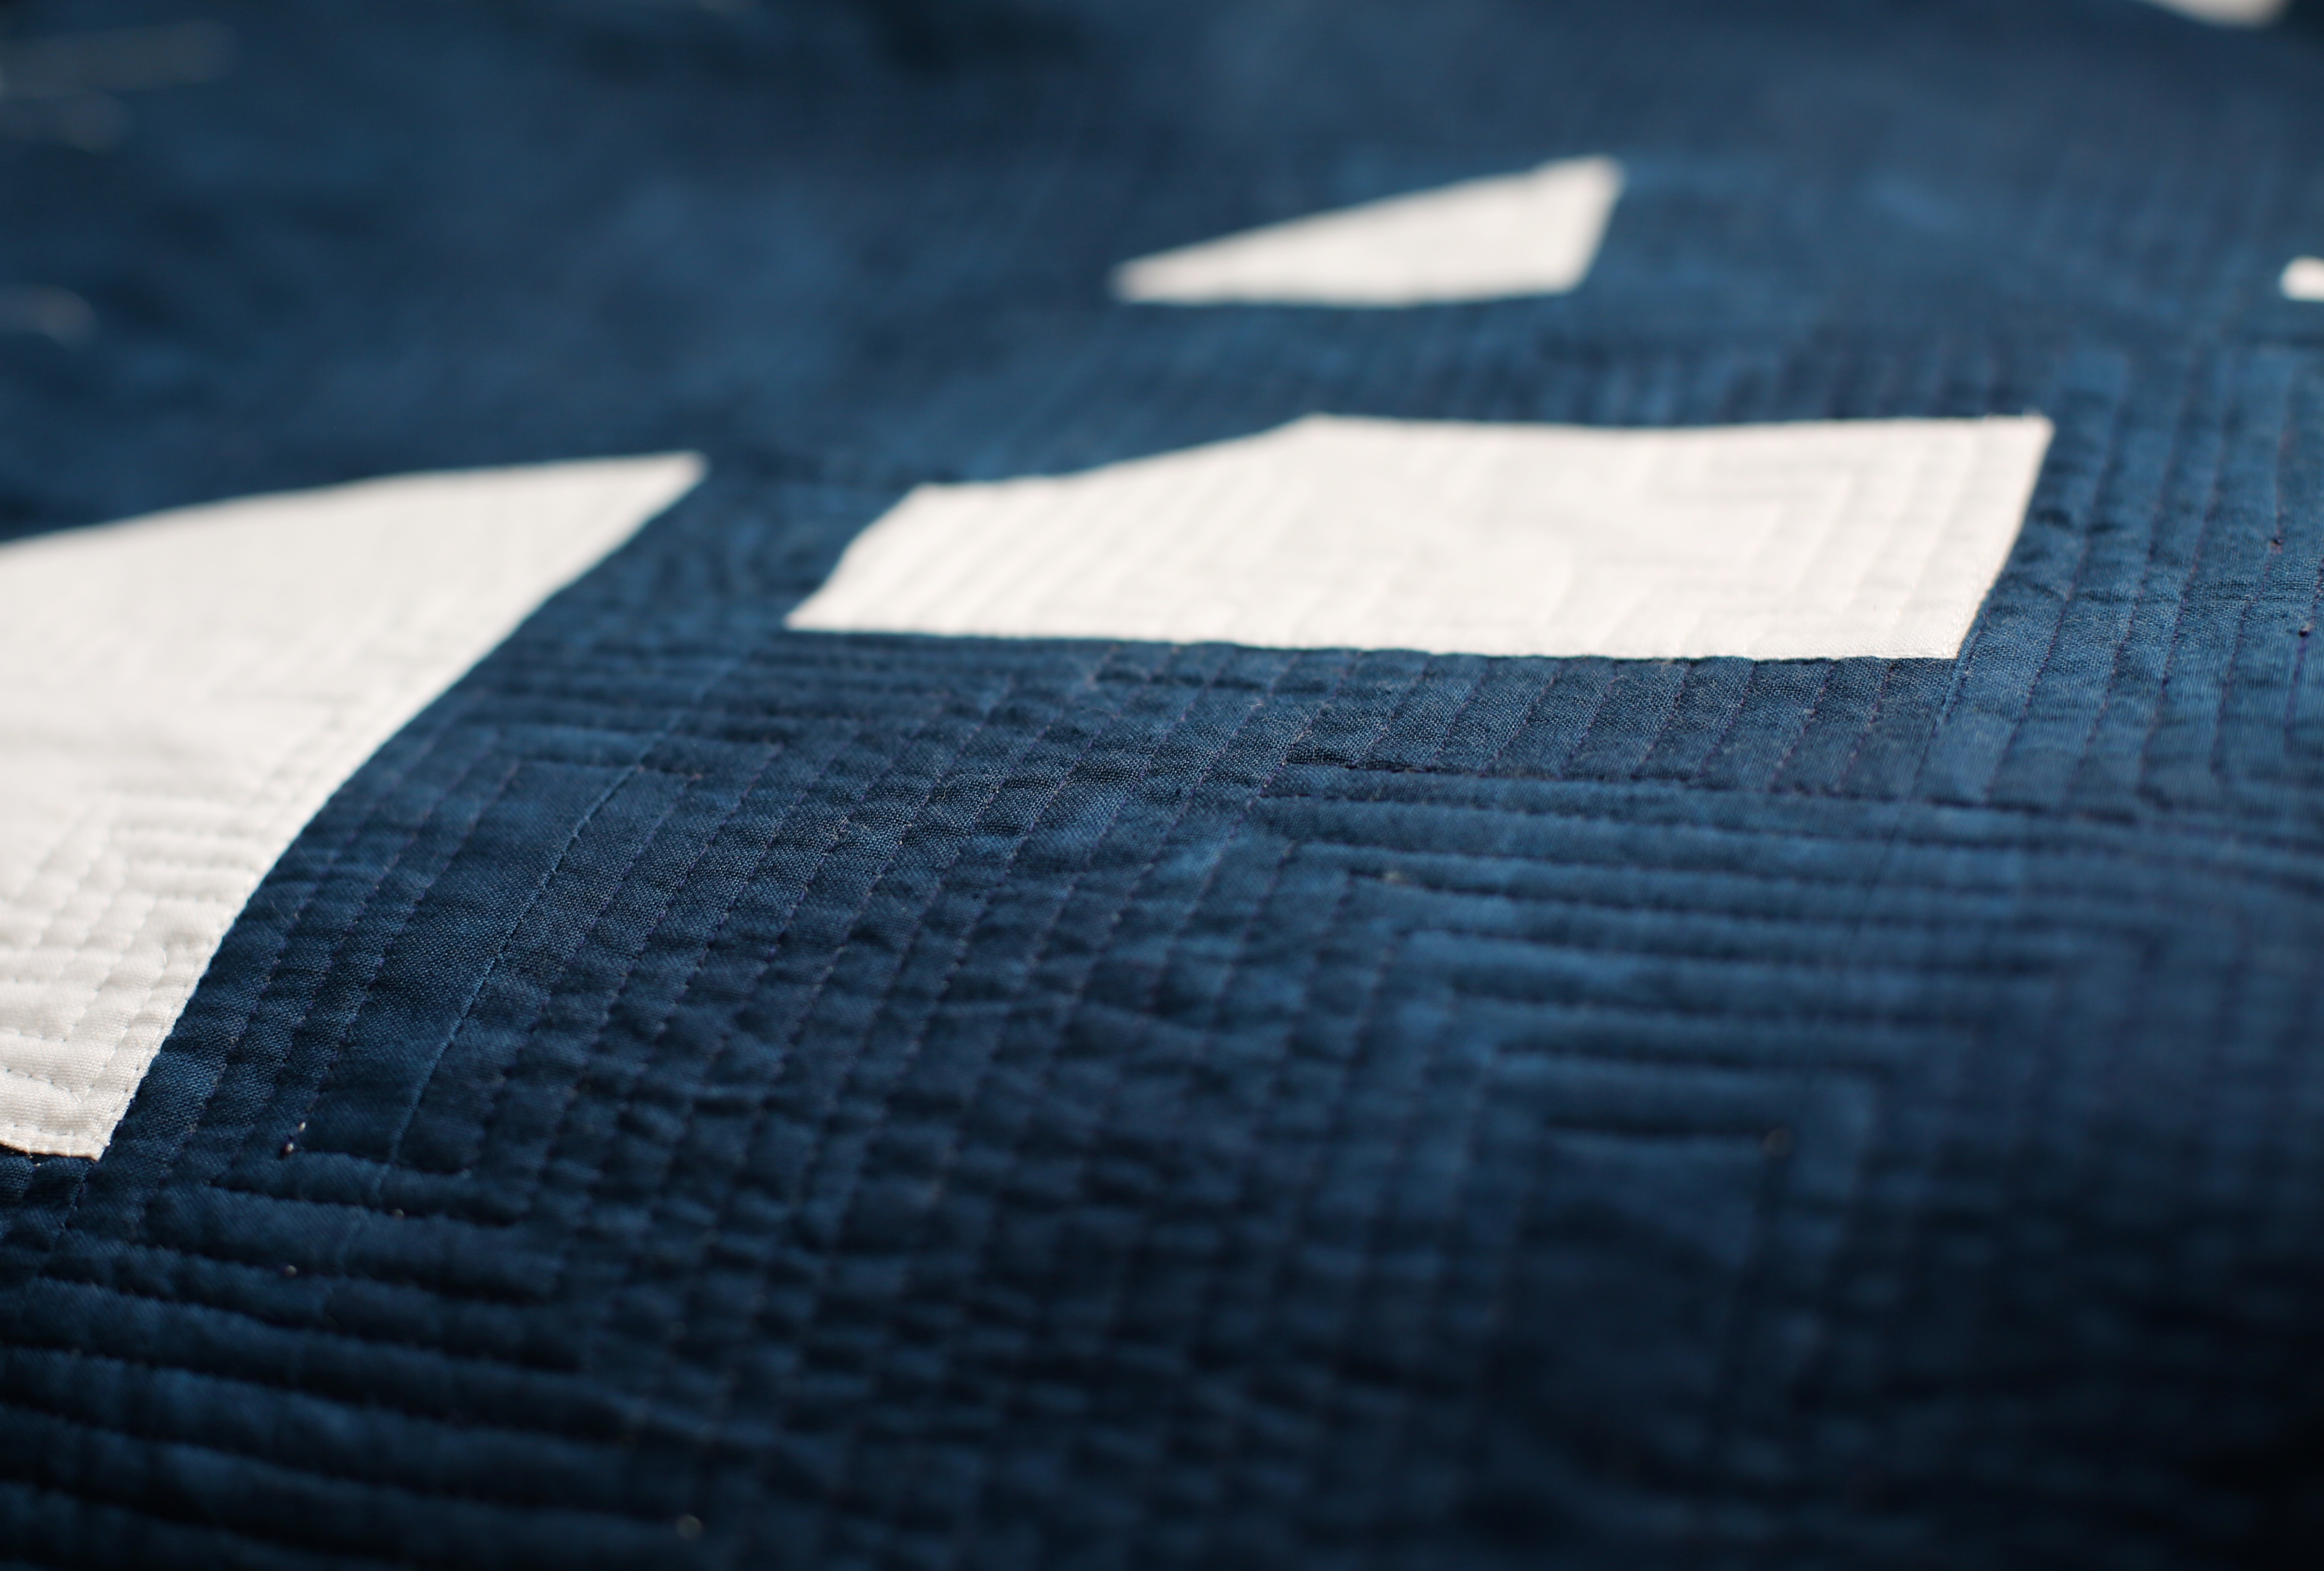
-Using your long Front/top felt piece, right side toward you, arrange your leather appliqué as you would like it to appear on the bag. Piece by piece, then glue down and sew 1/8 inch from edge each leather piece. Make sure to use a leather needle and a walking foot or teflon foot on your machine.
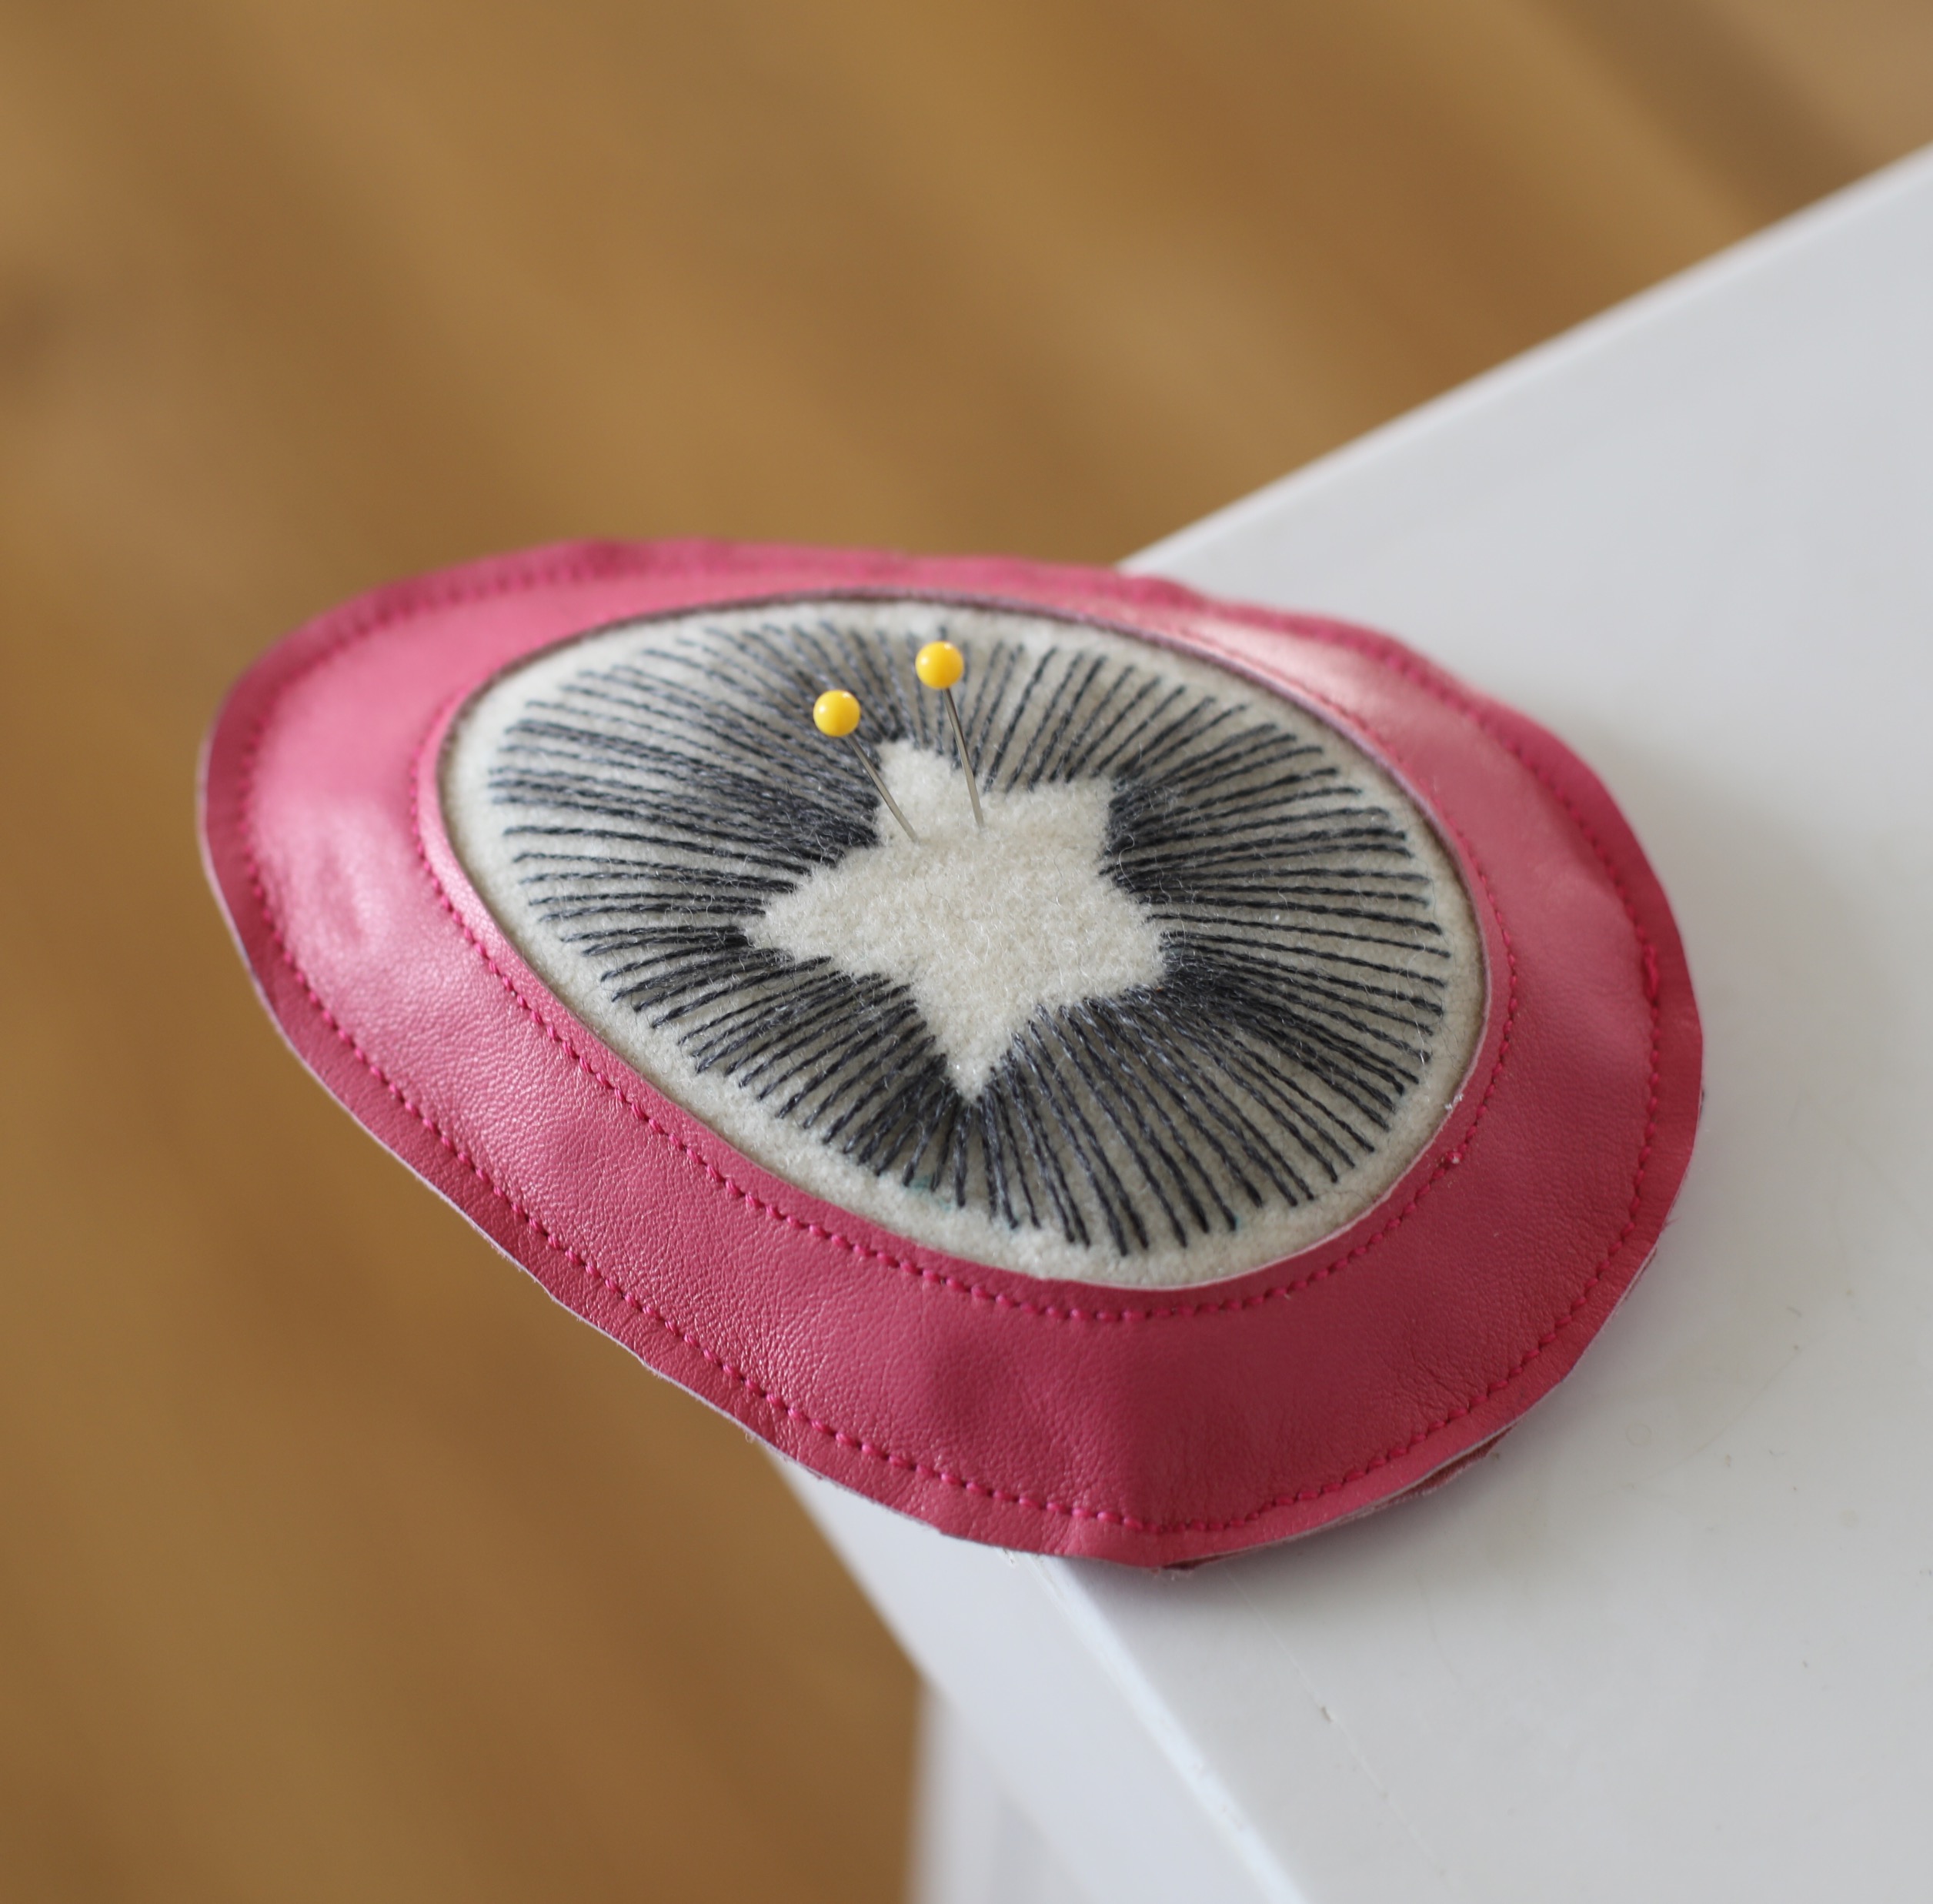
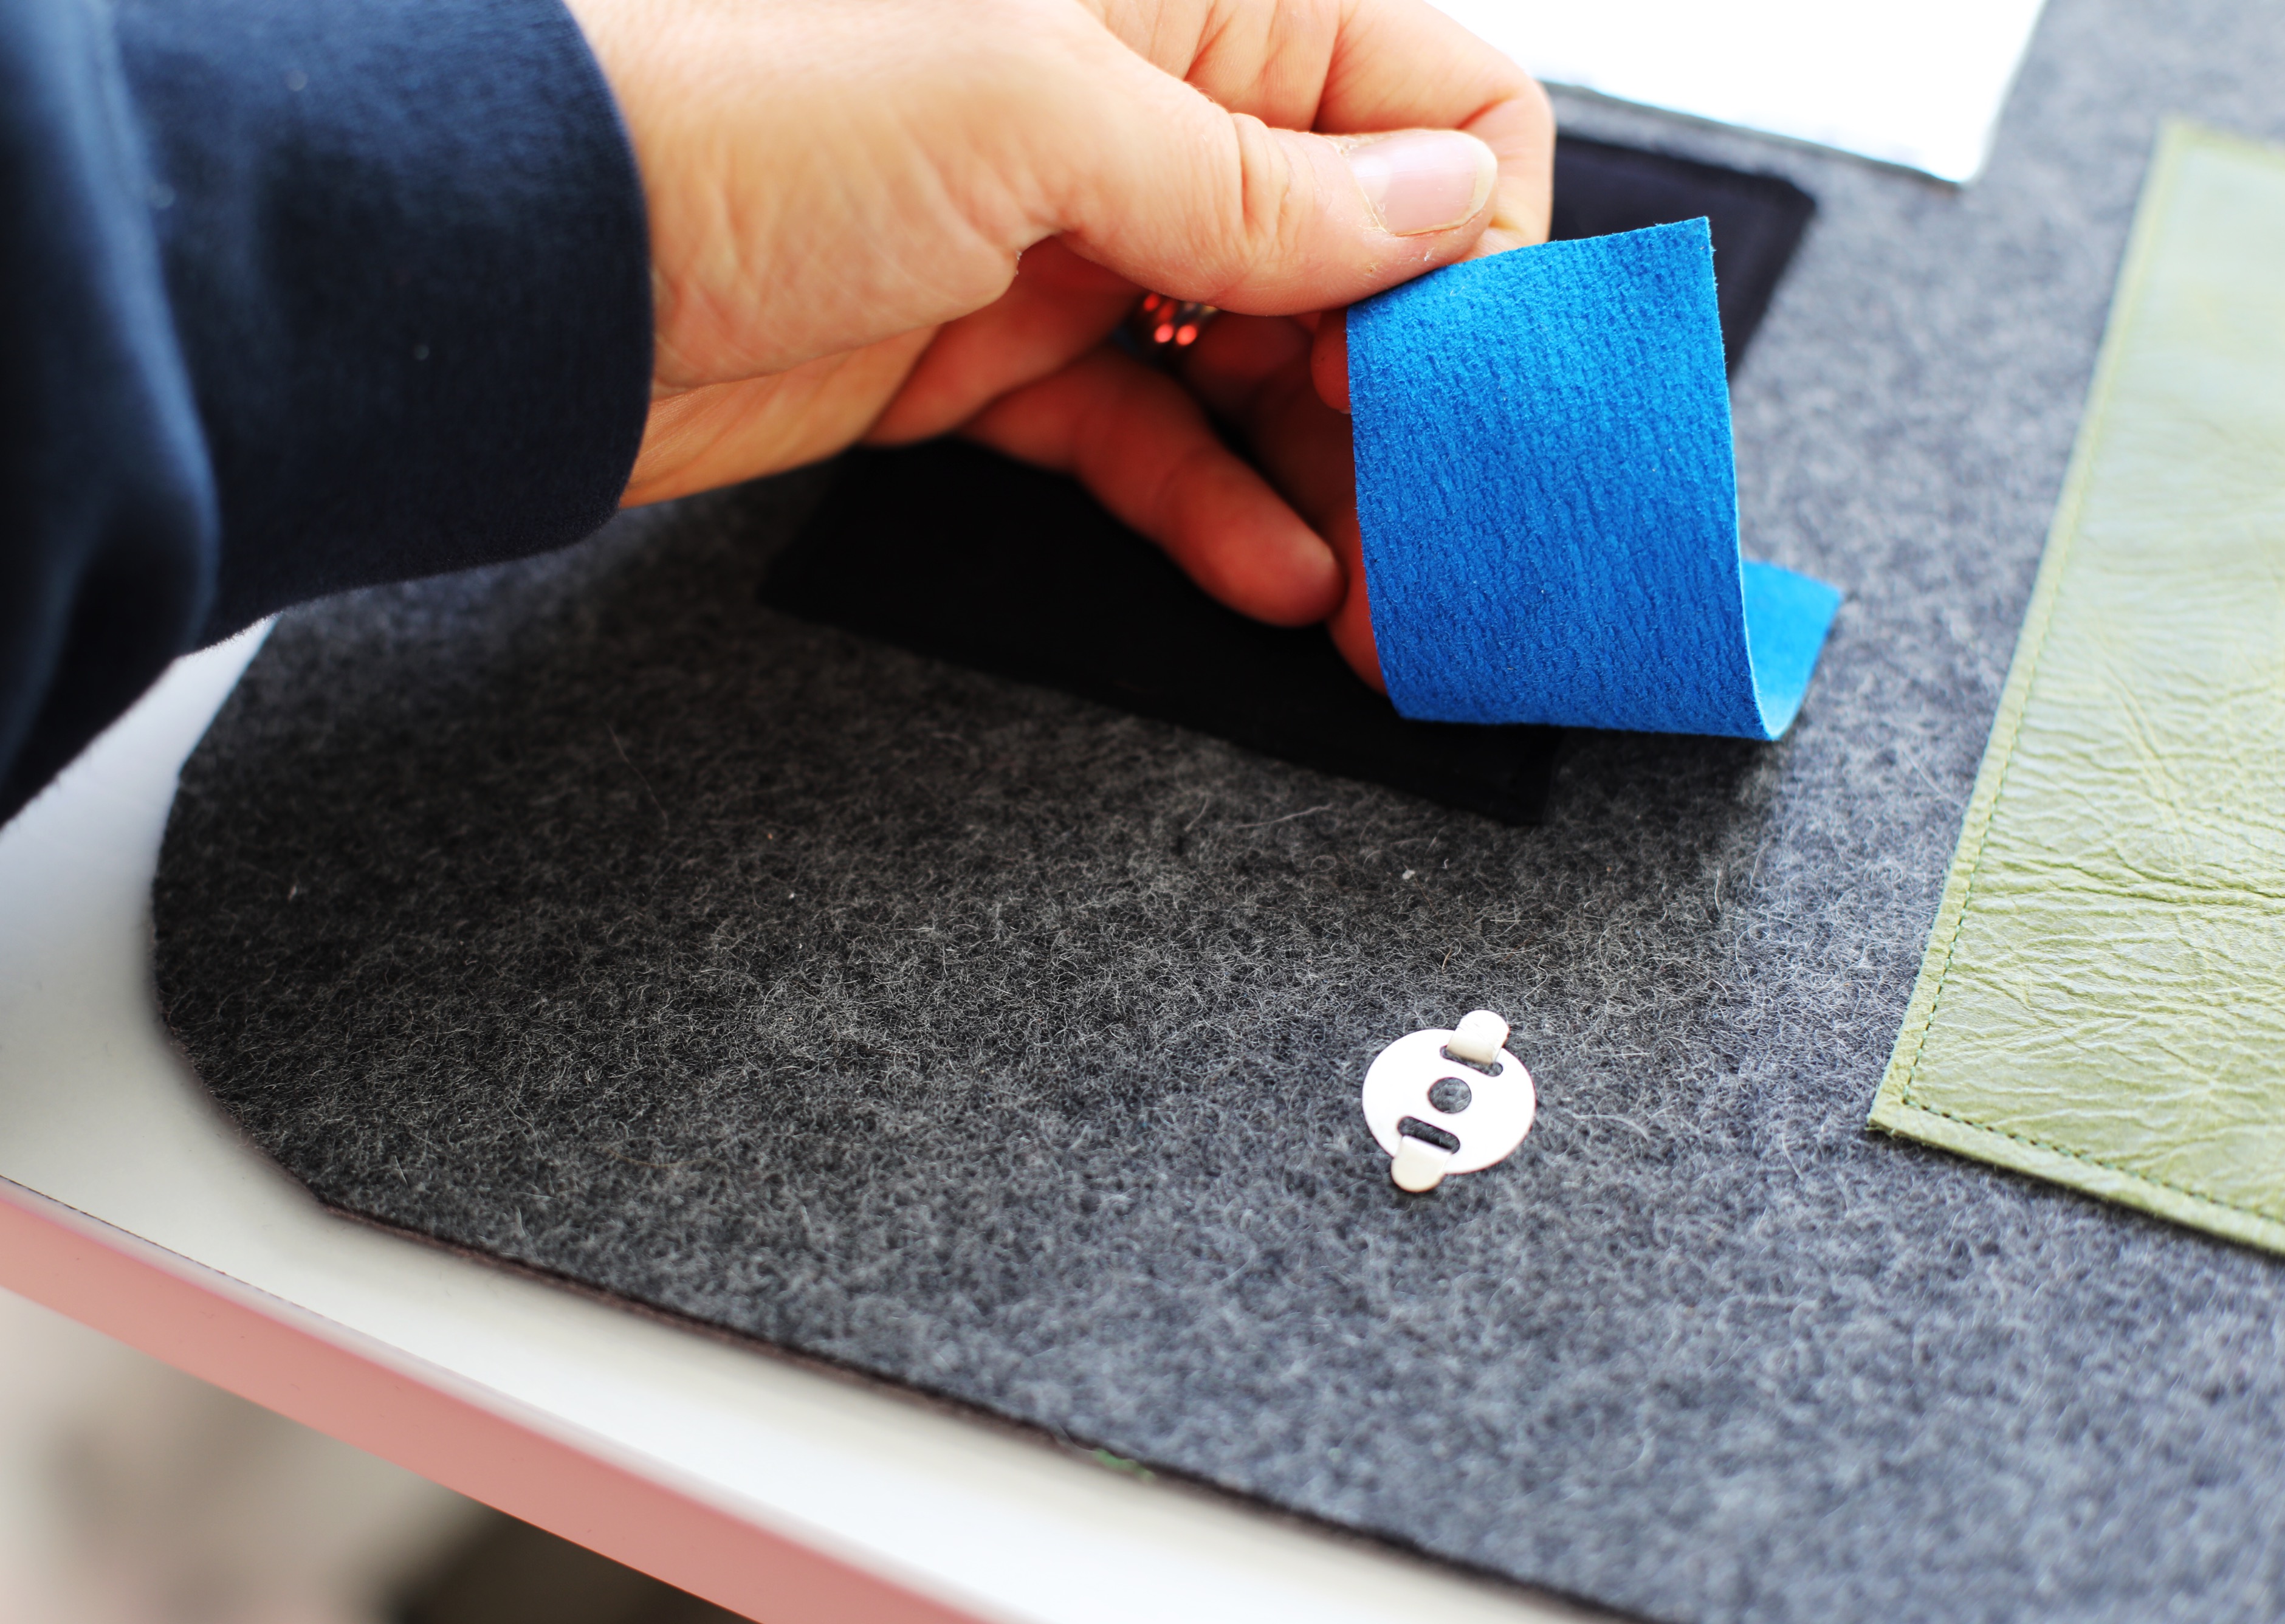
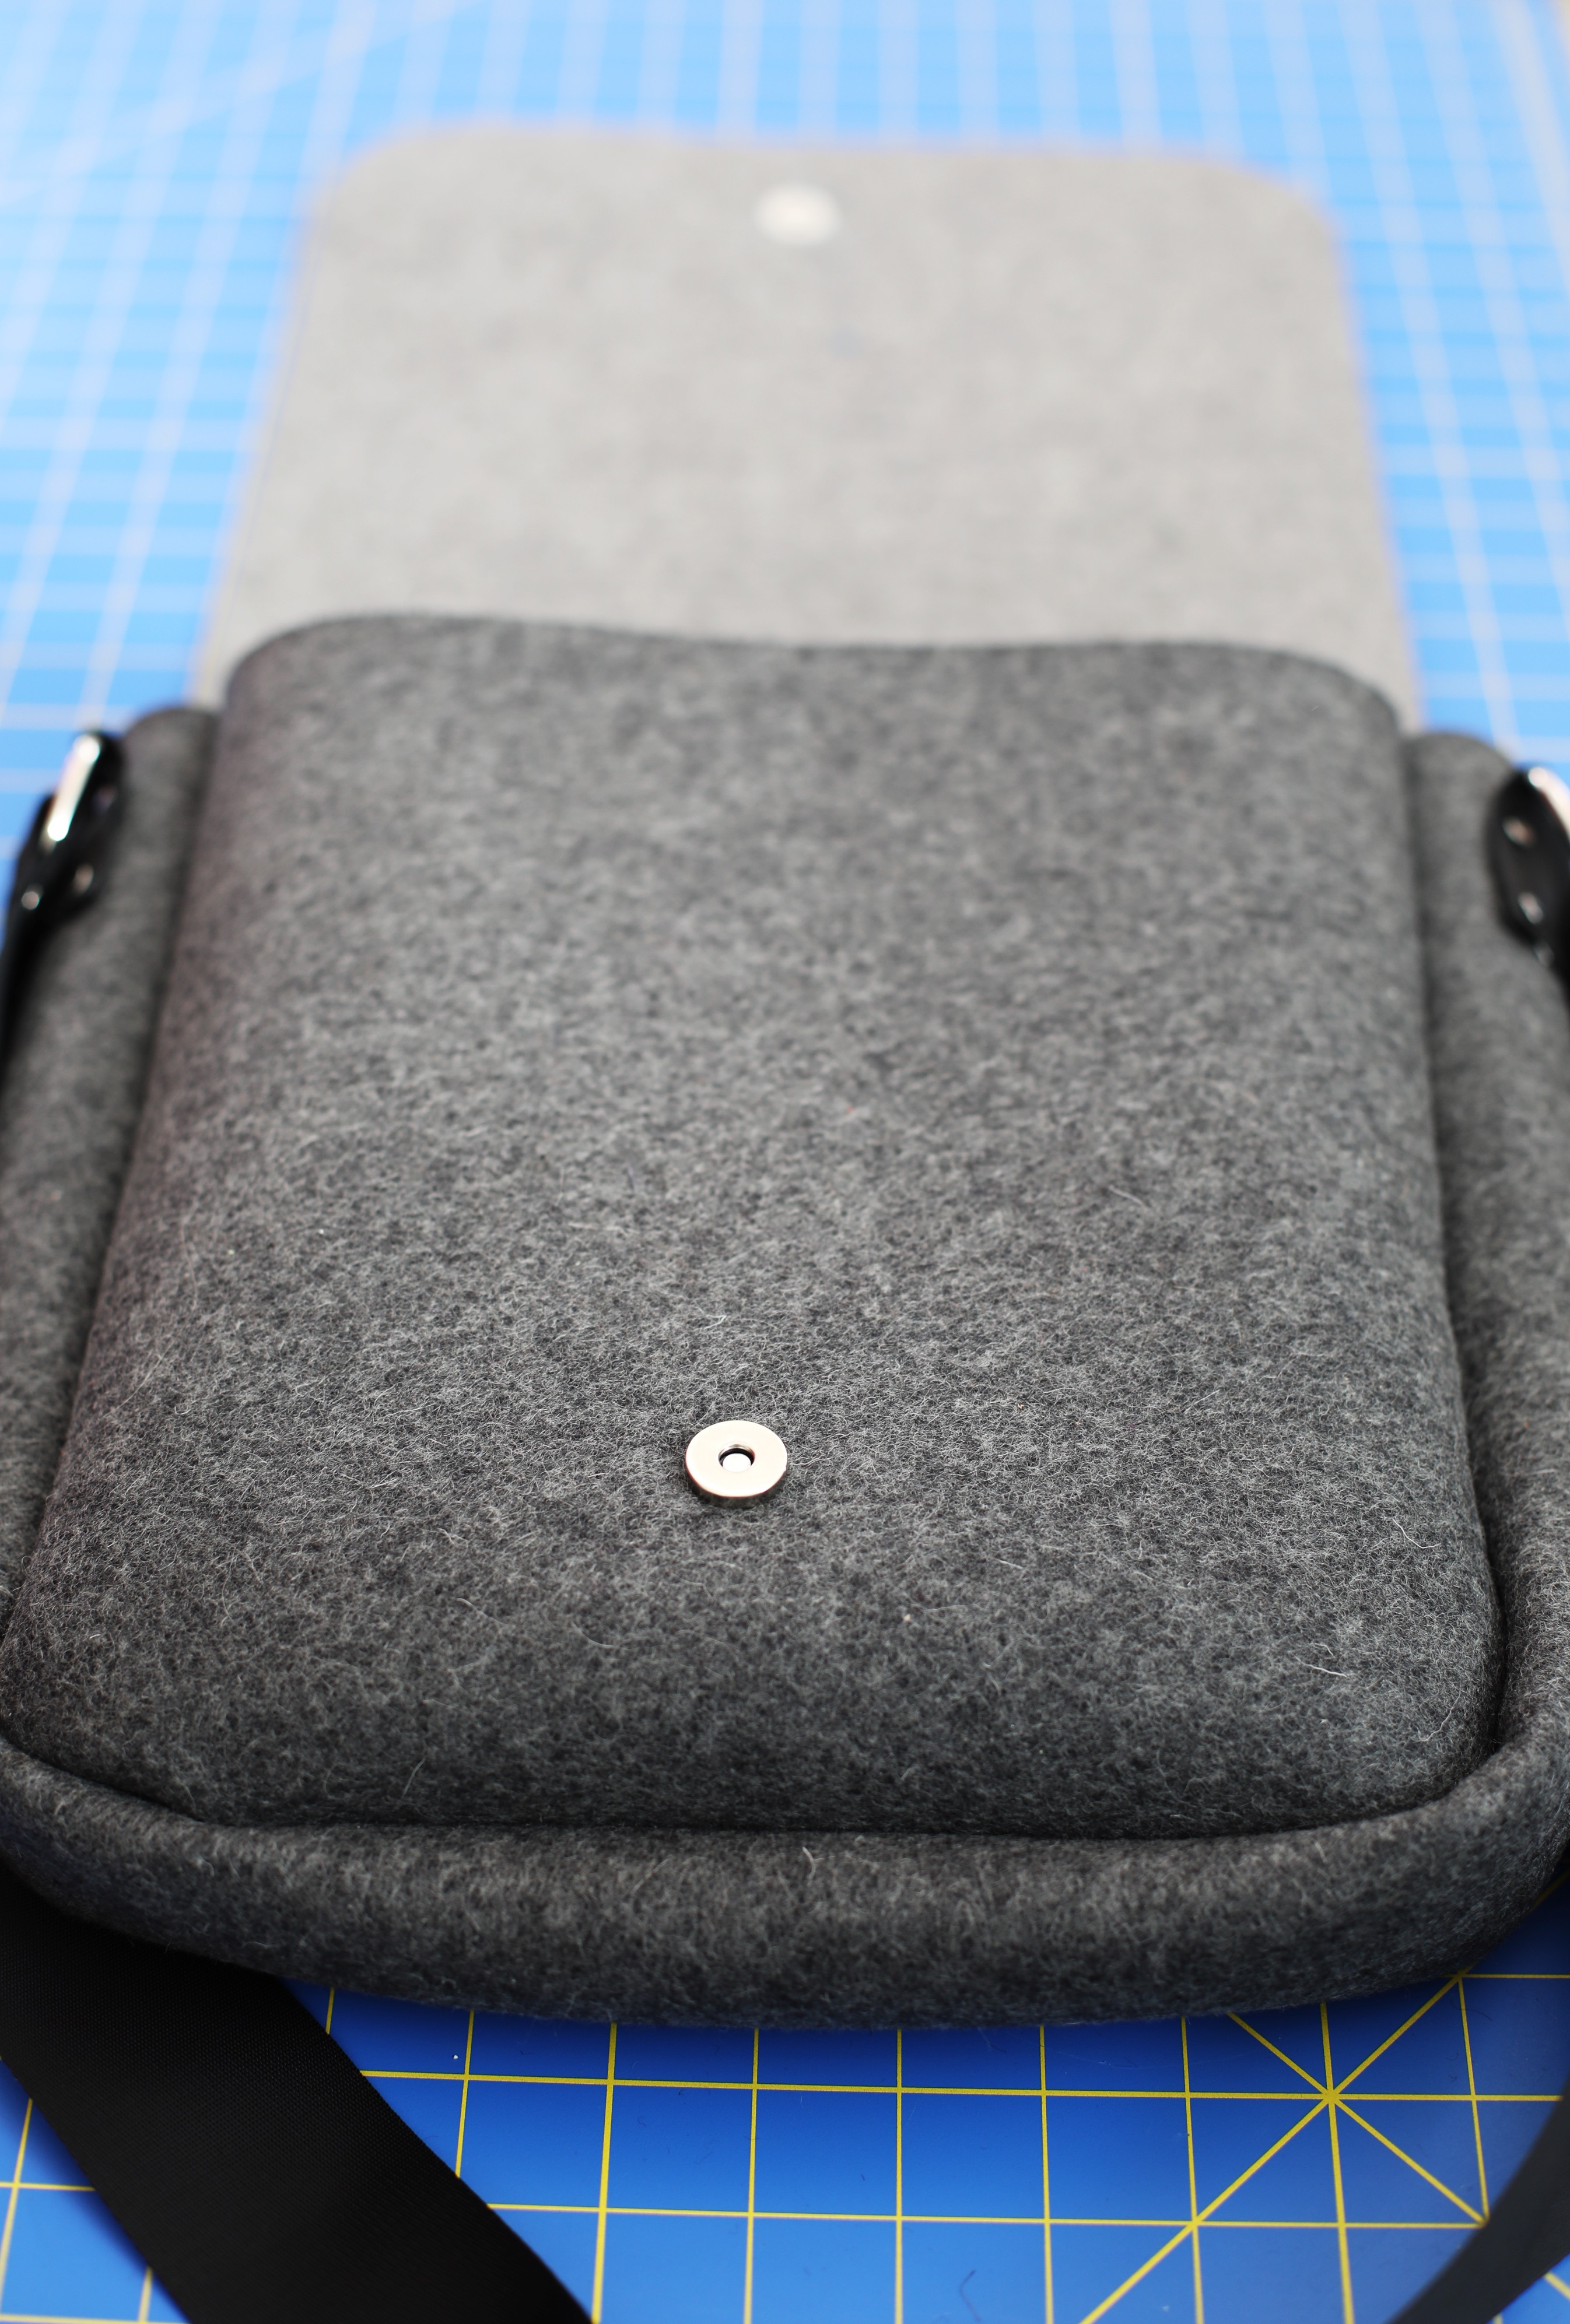
-At the bottom of the front piece before glueing and sewing all portions down, insert one part of your magnetic bag closure if you like facing to the back and hide by glueing and sewing a piece of appliquéd leather over it. (see picture)
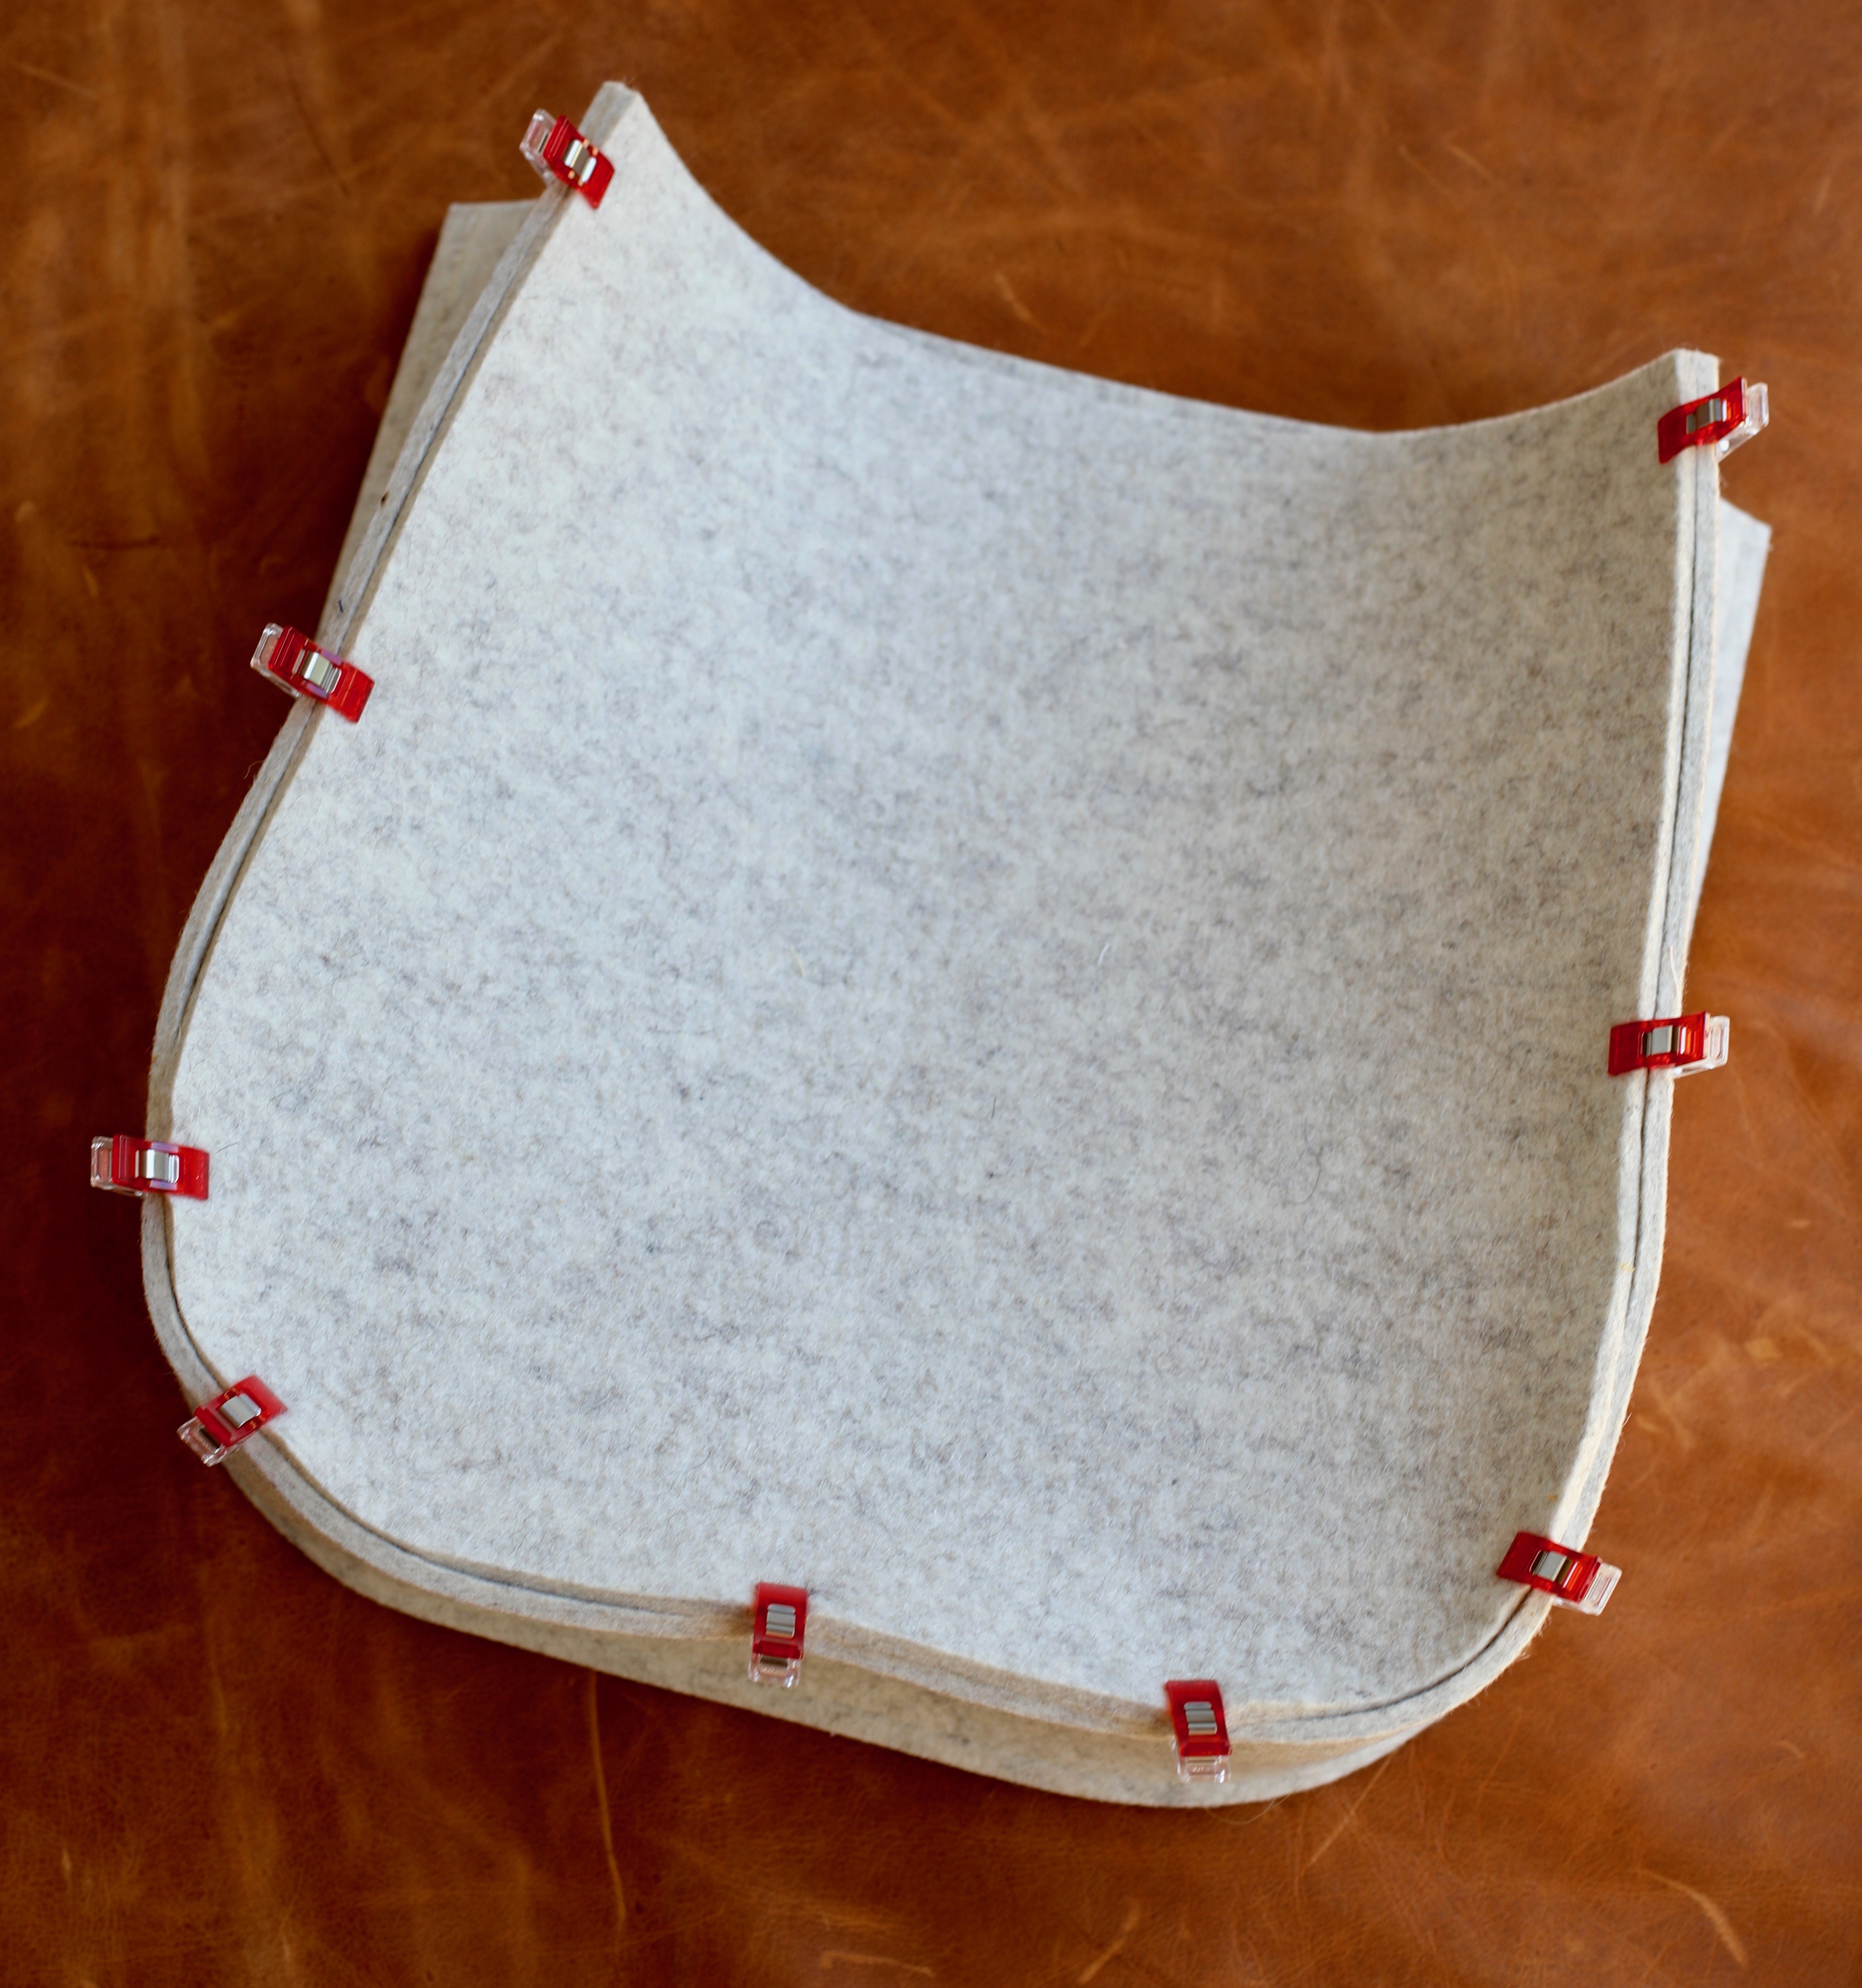
Step Three: Sew your side and Front/Bottom Piece Together
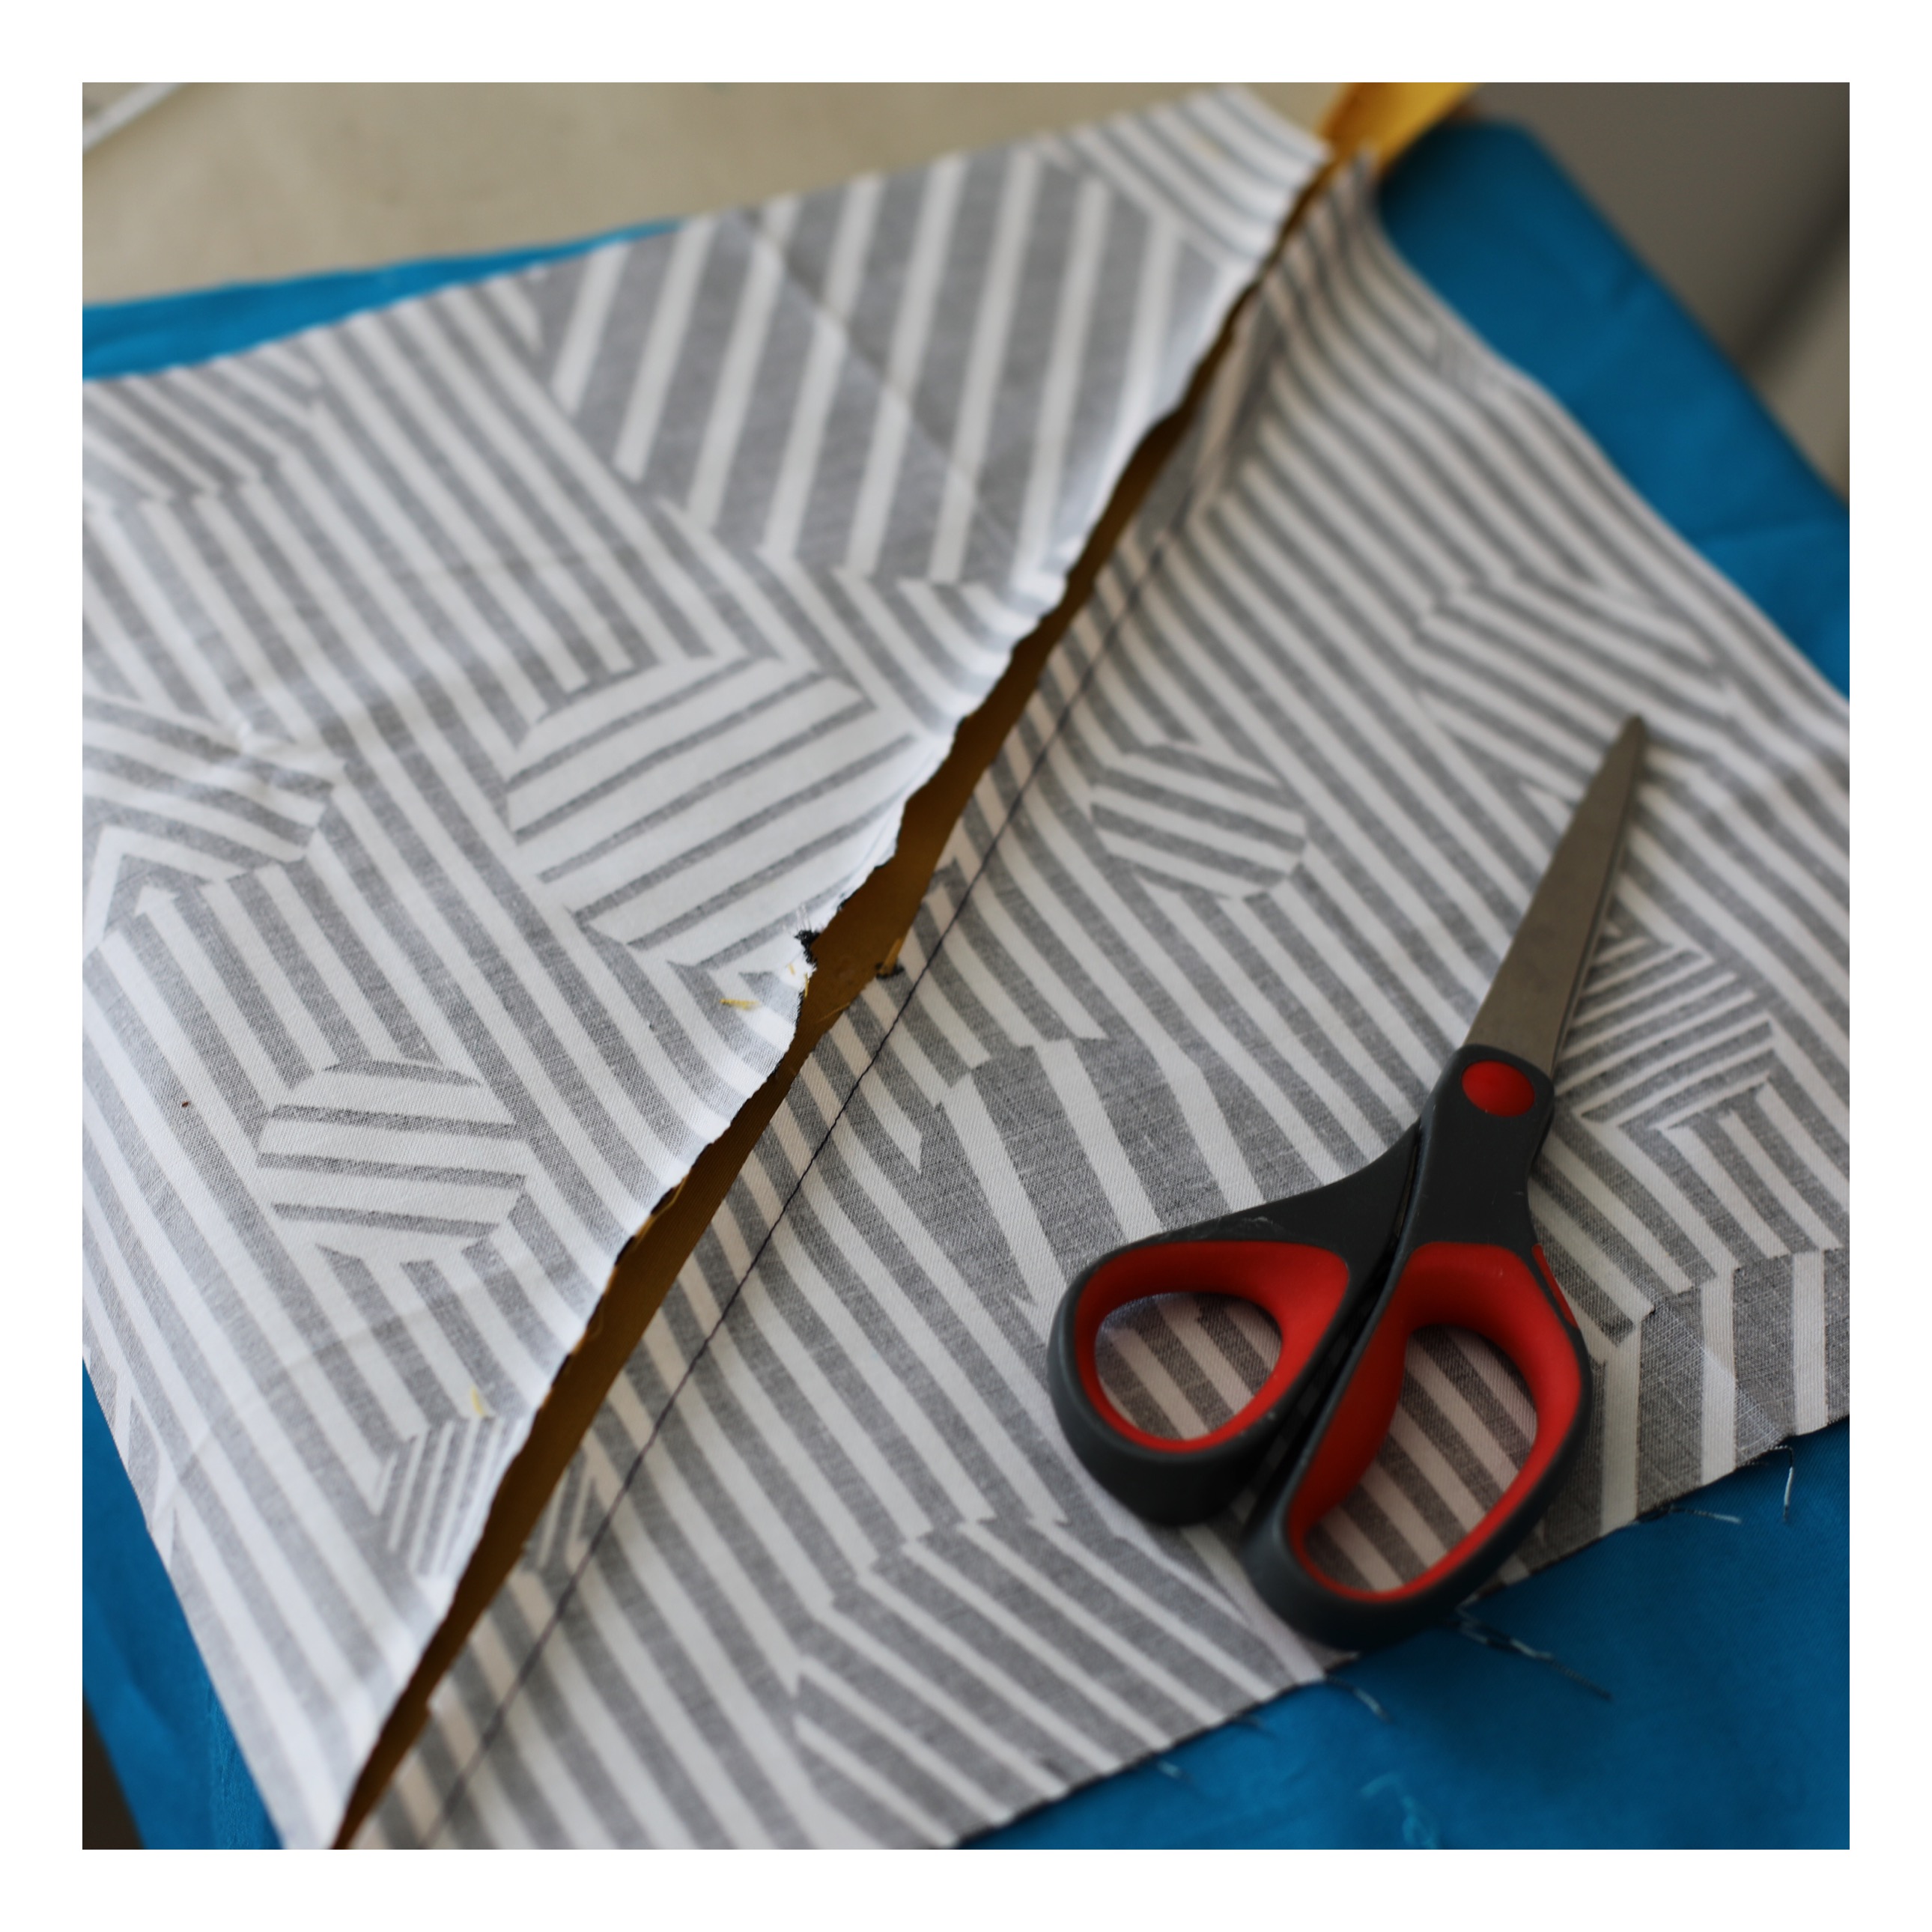
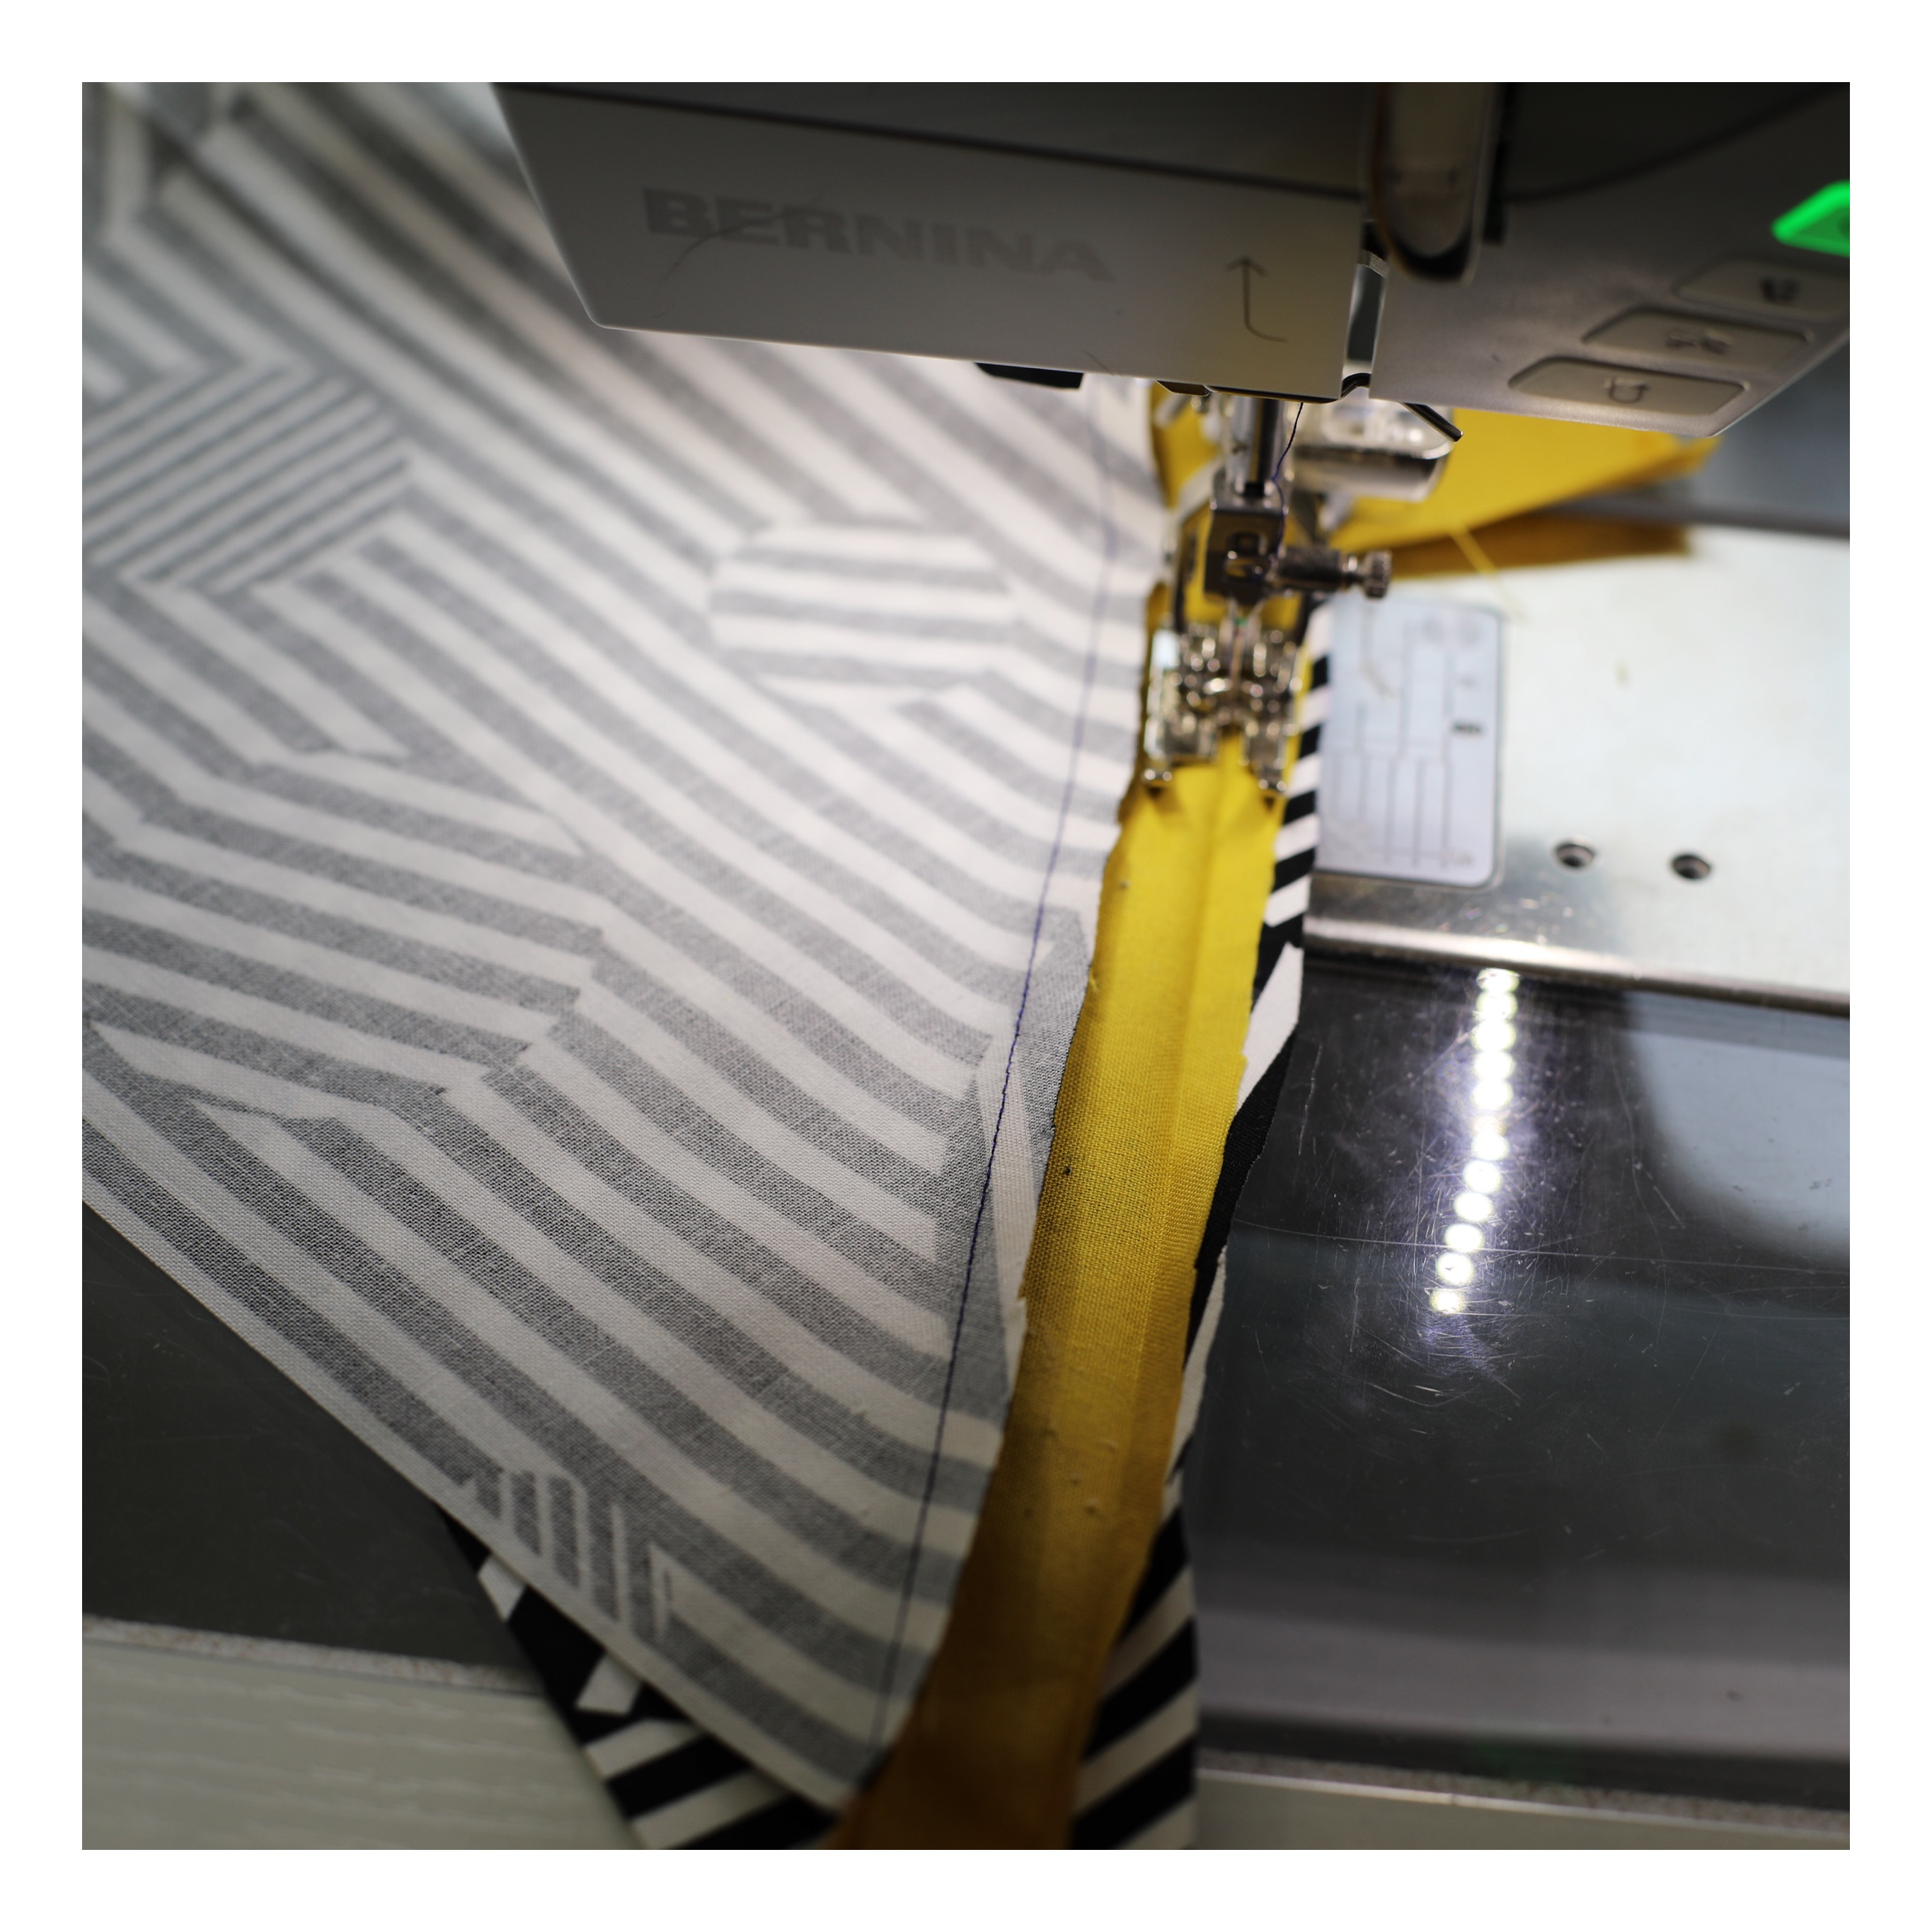
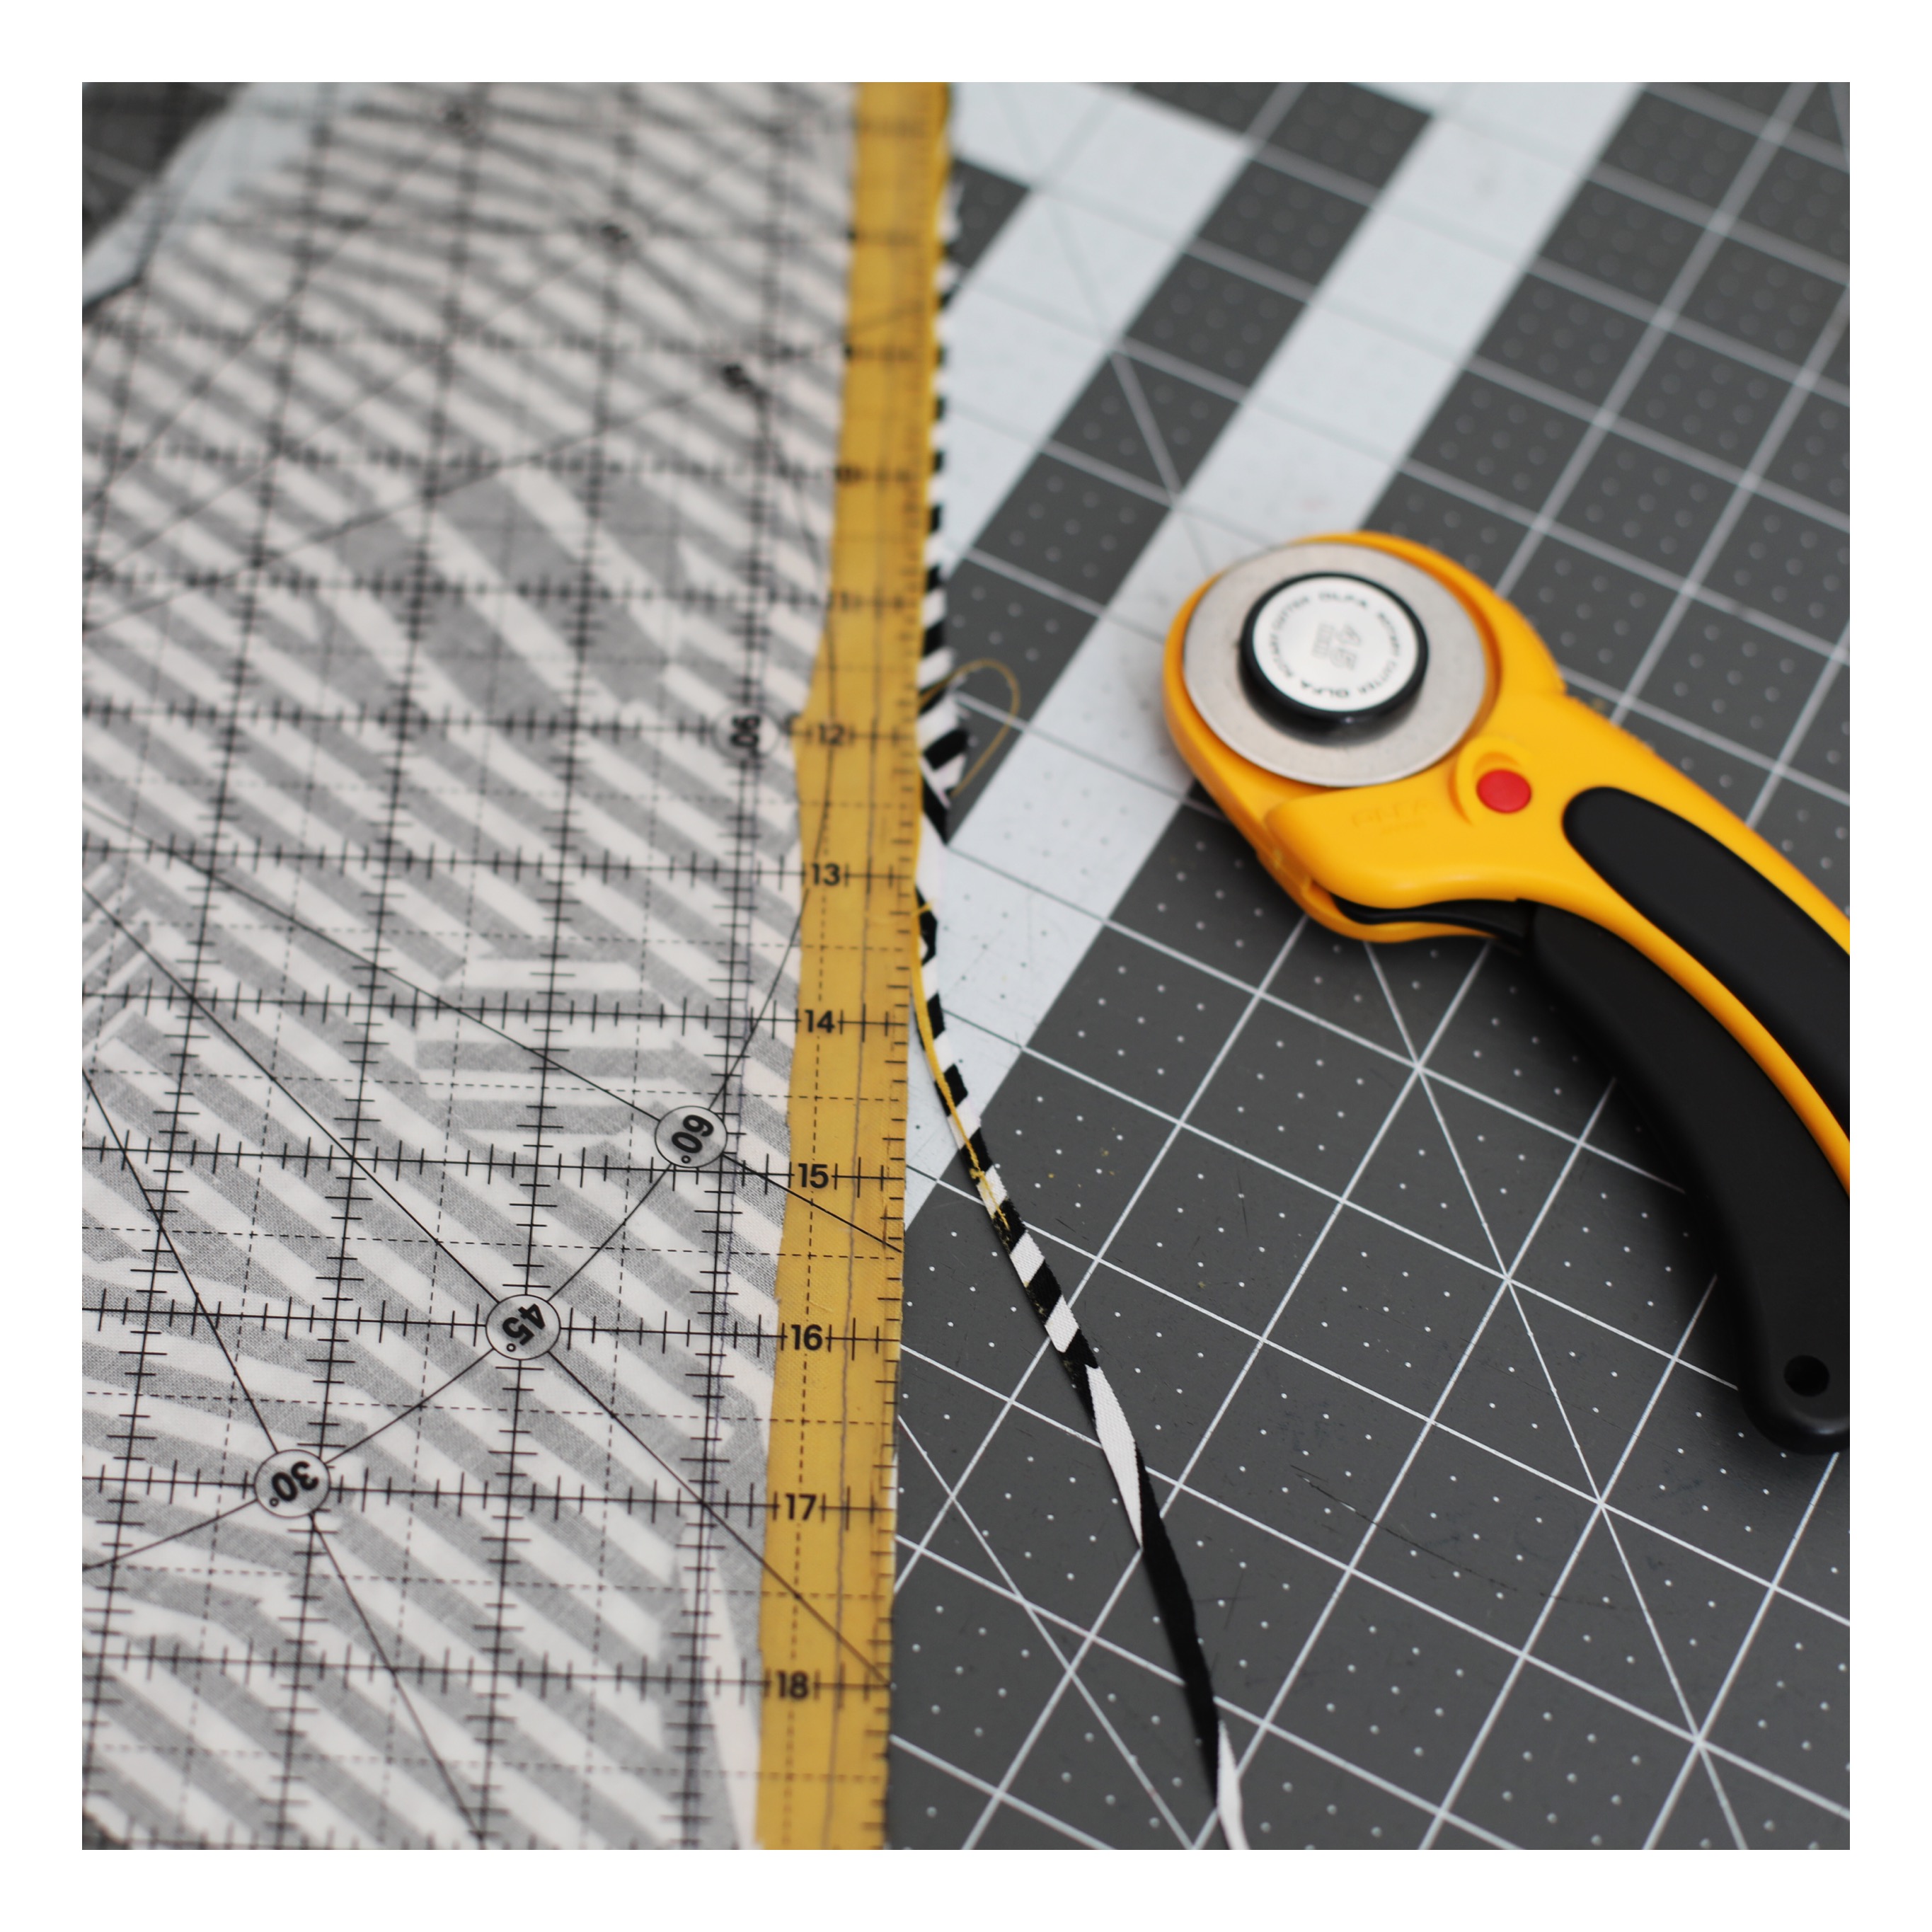
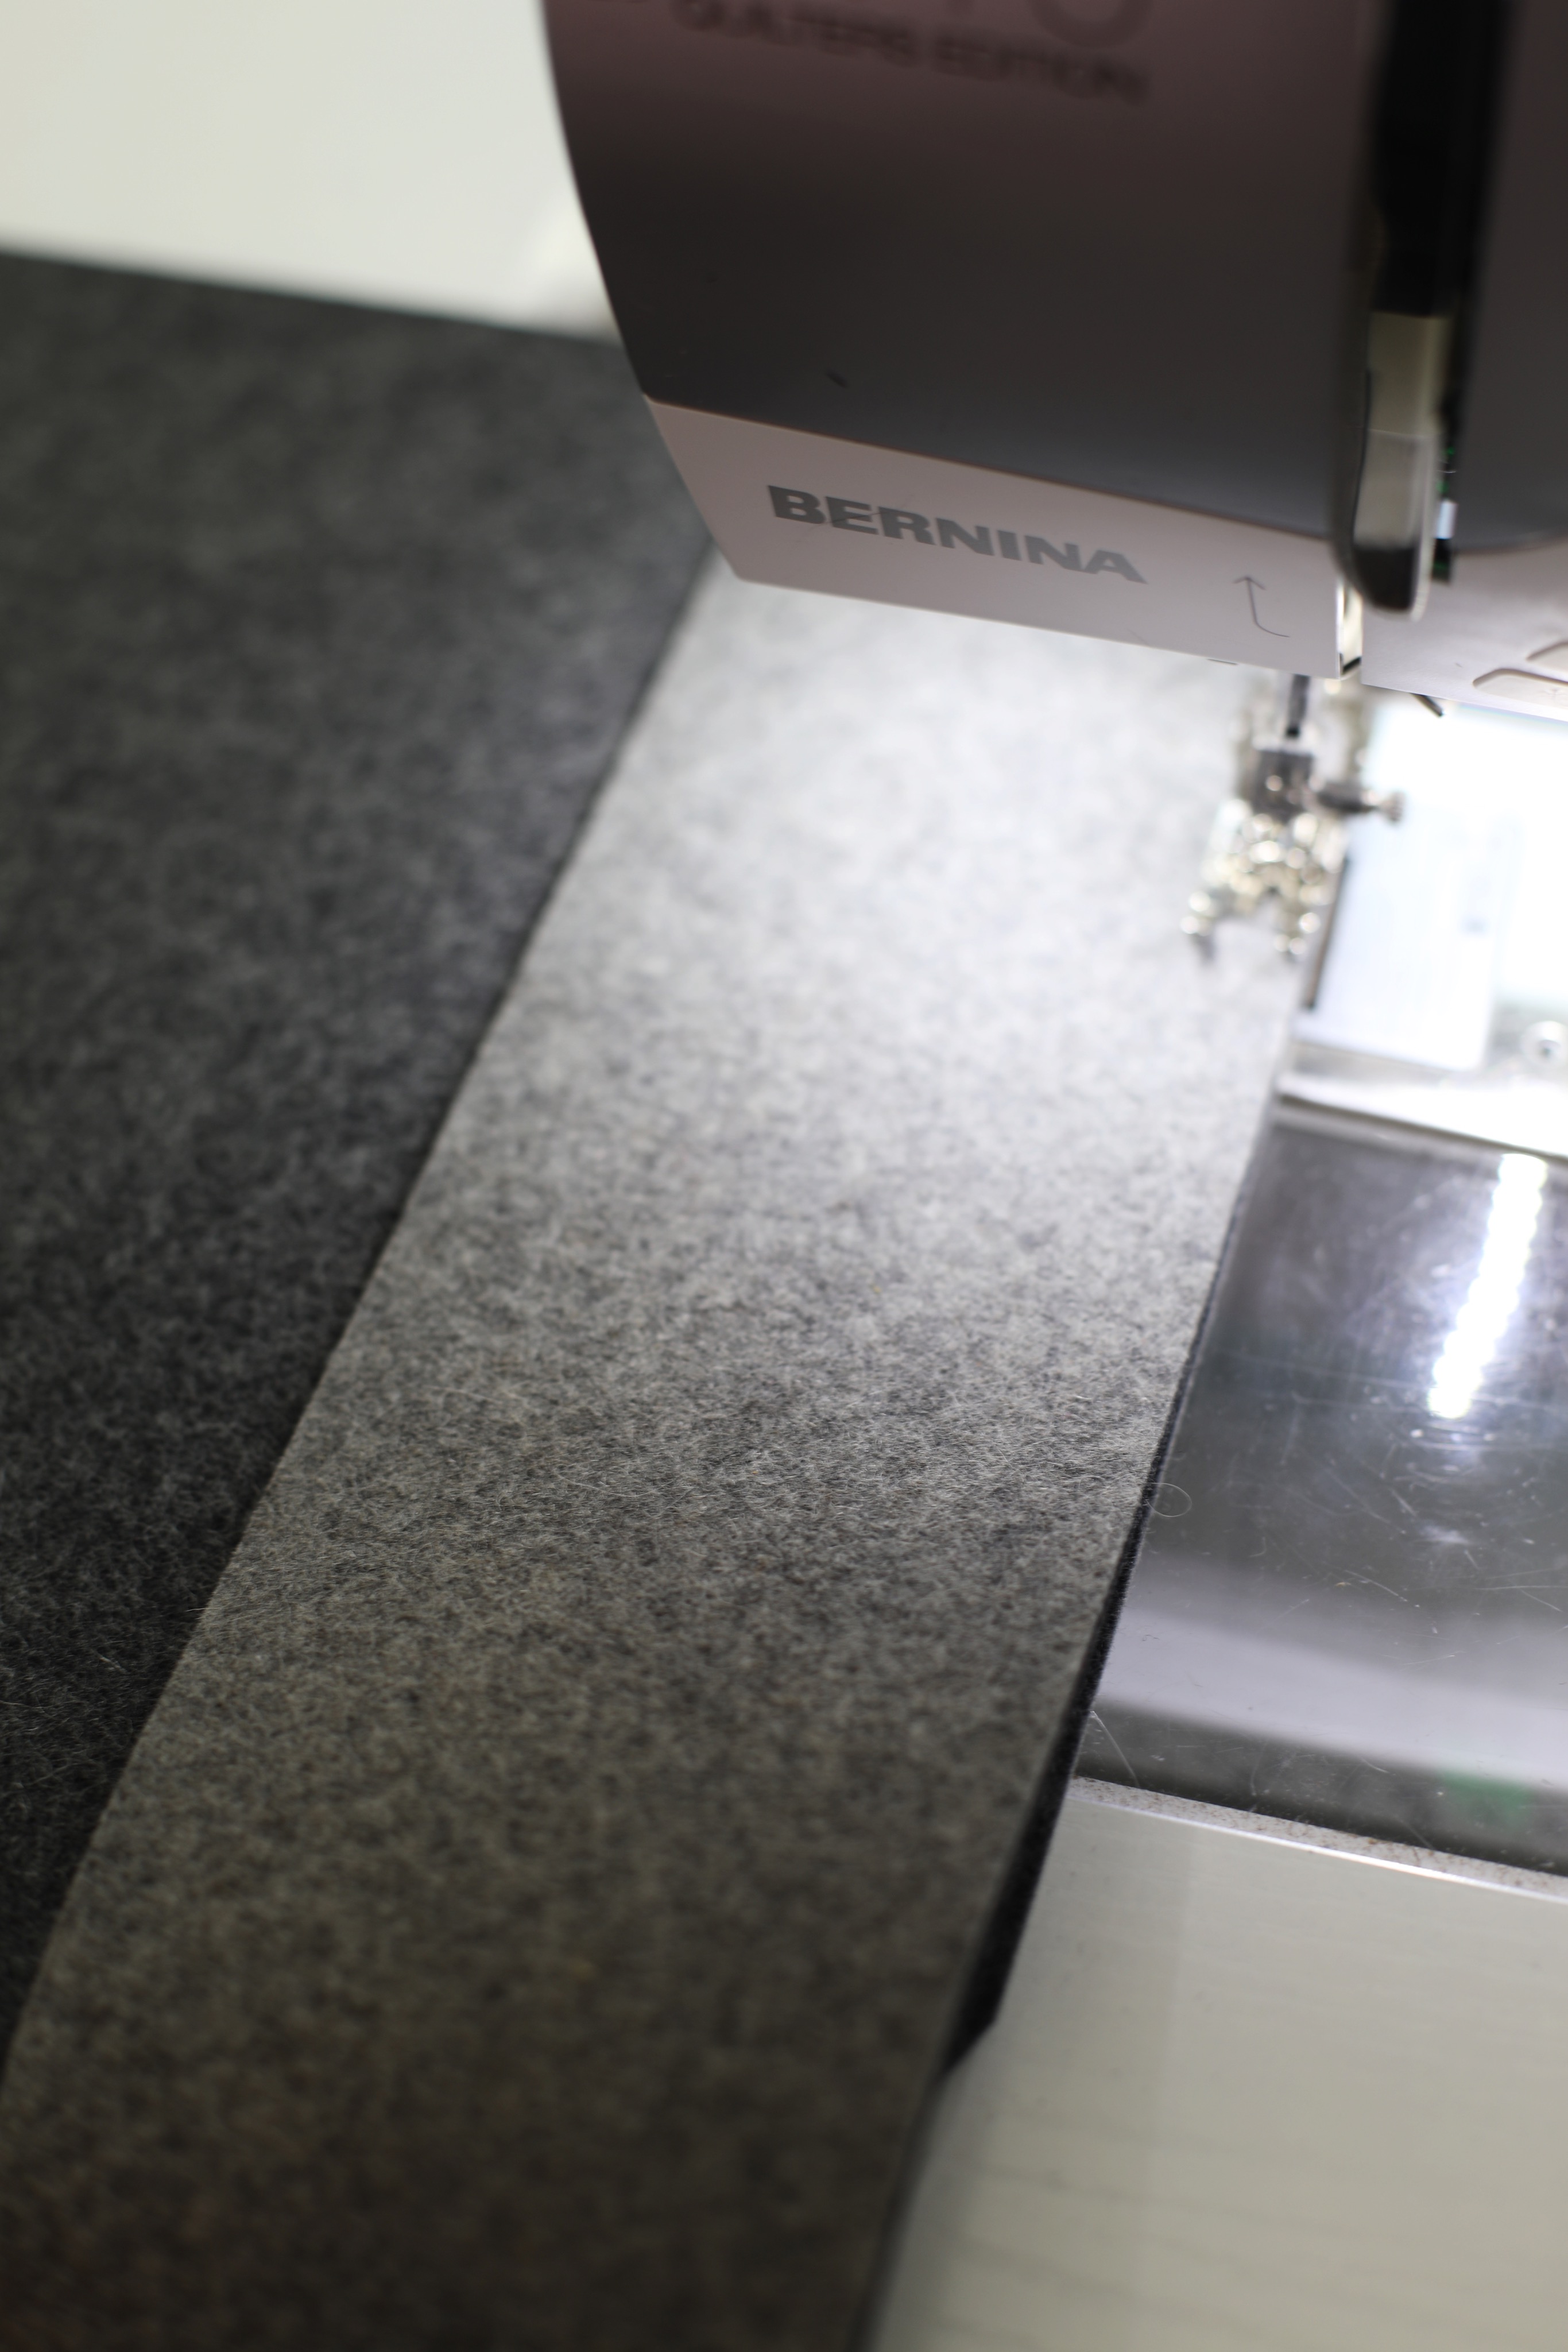
-Using a 3/8 inch seam allowance sew, right sides together sew the long wool Side piece and the smaller Front/bottom piece.
-Cut any extra of the side piece projecting from the top

-Right sides together, using pins or wonder clips secure the unadorned half of your long Top/front piece to the side piece. Before you begin sewing, the seam should be 14 inches from the end of the long Top/front piece on both sides. Using a 3/8 inch seam allowance, sew along the edge.
-Invert the bag and prepare for strap placement
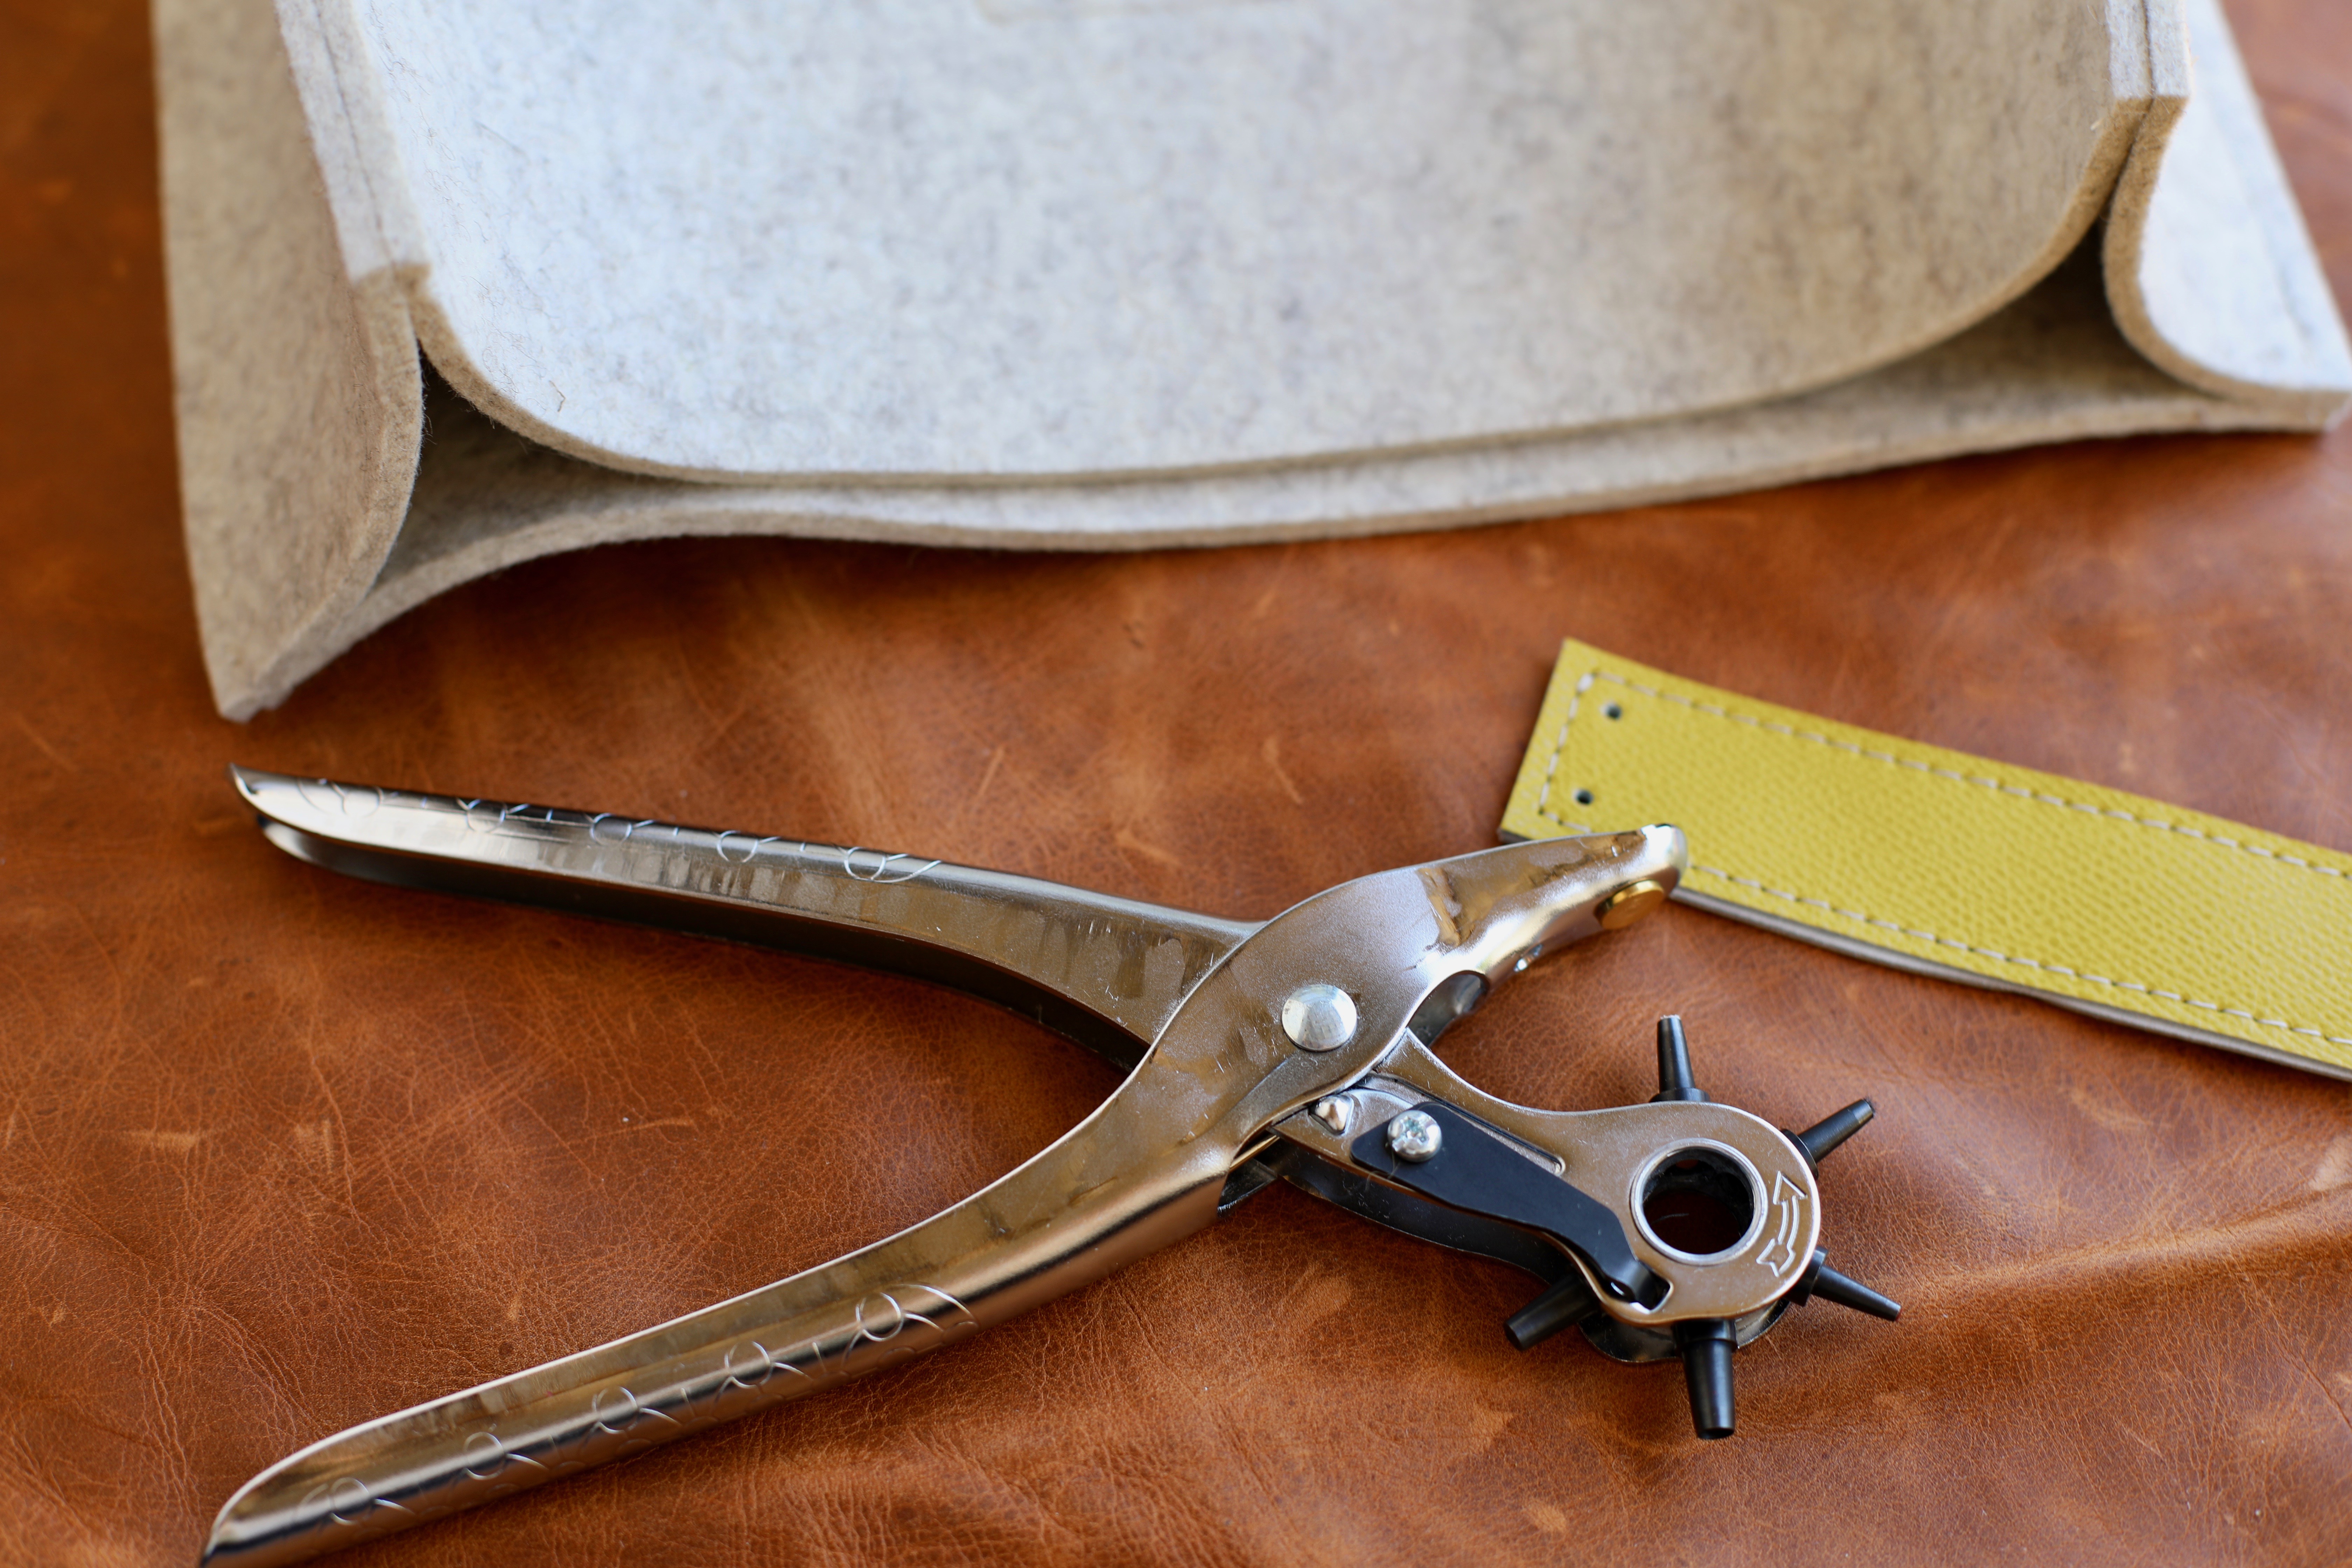
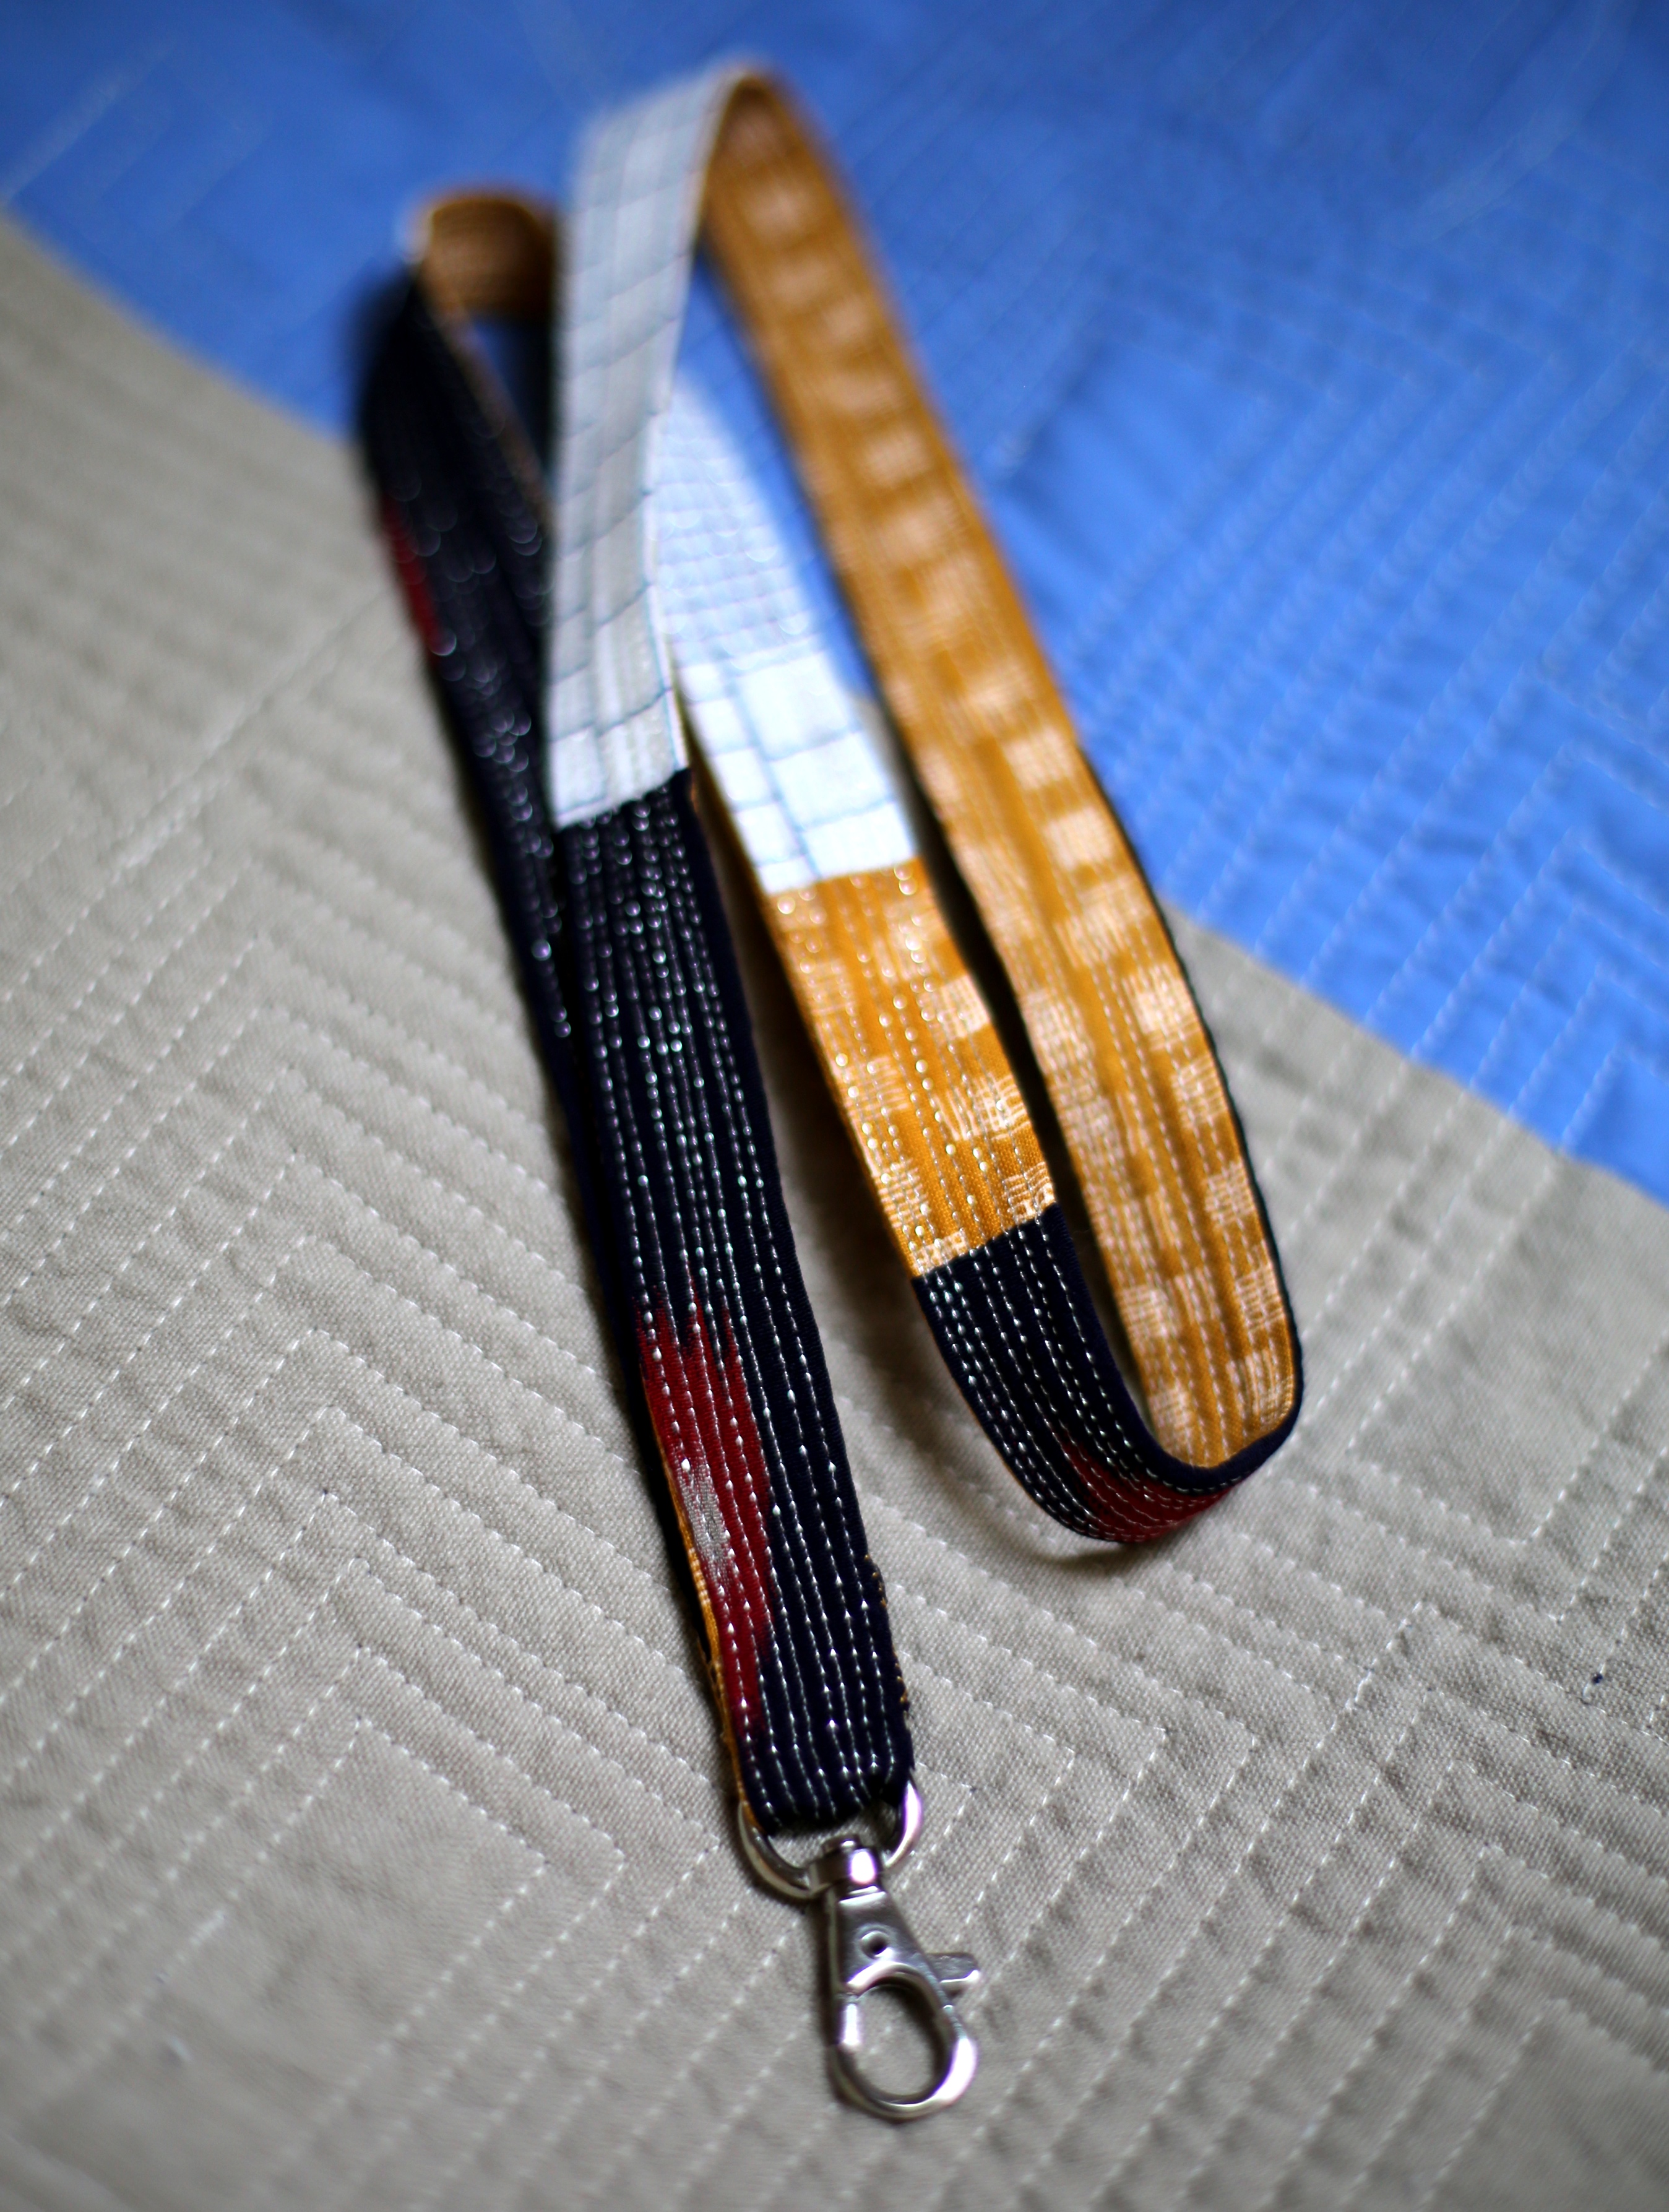
Step Three: Attach your Straps
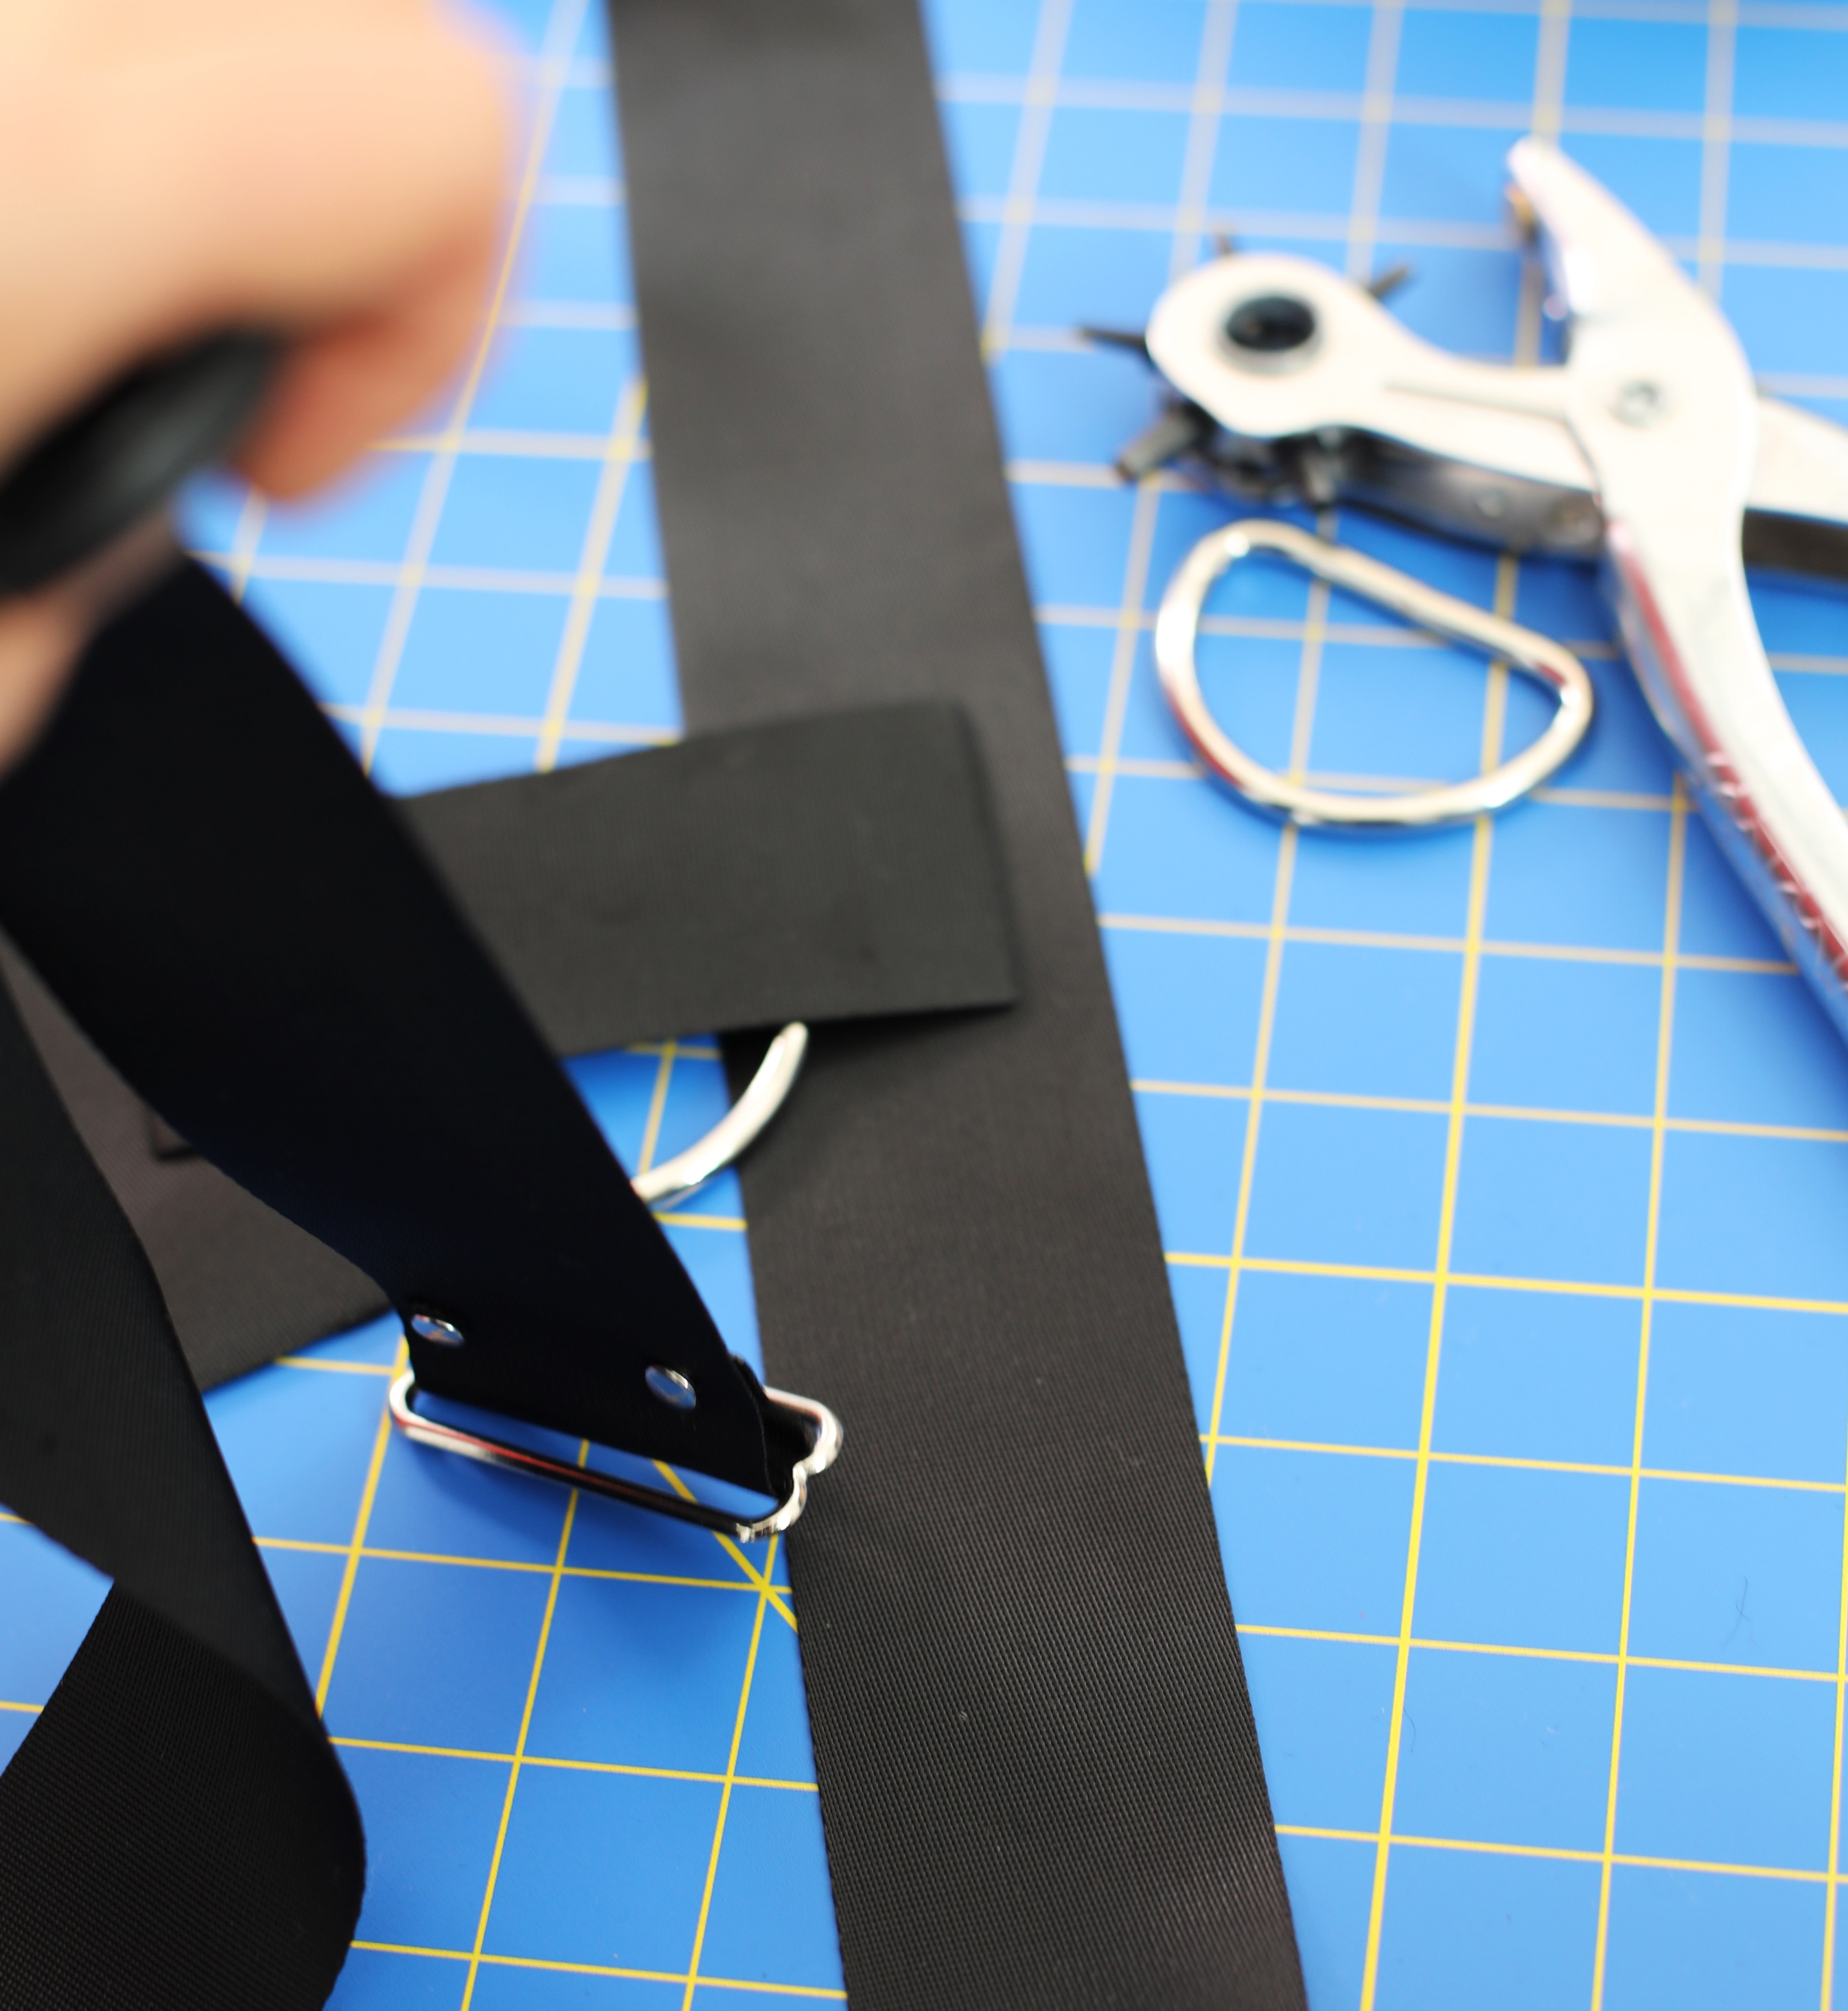
-Cut two pieces of the 2 inch webbing 4 1/2 inches long and cut another piece 50 inches long (a lighter or match used at the cut edges helps melt and finish the end of the webbing)
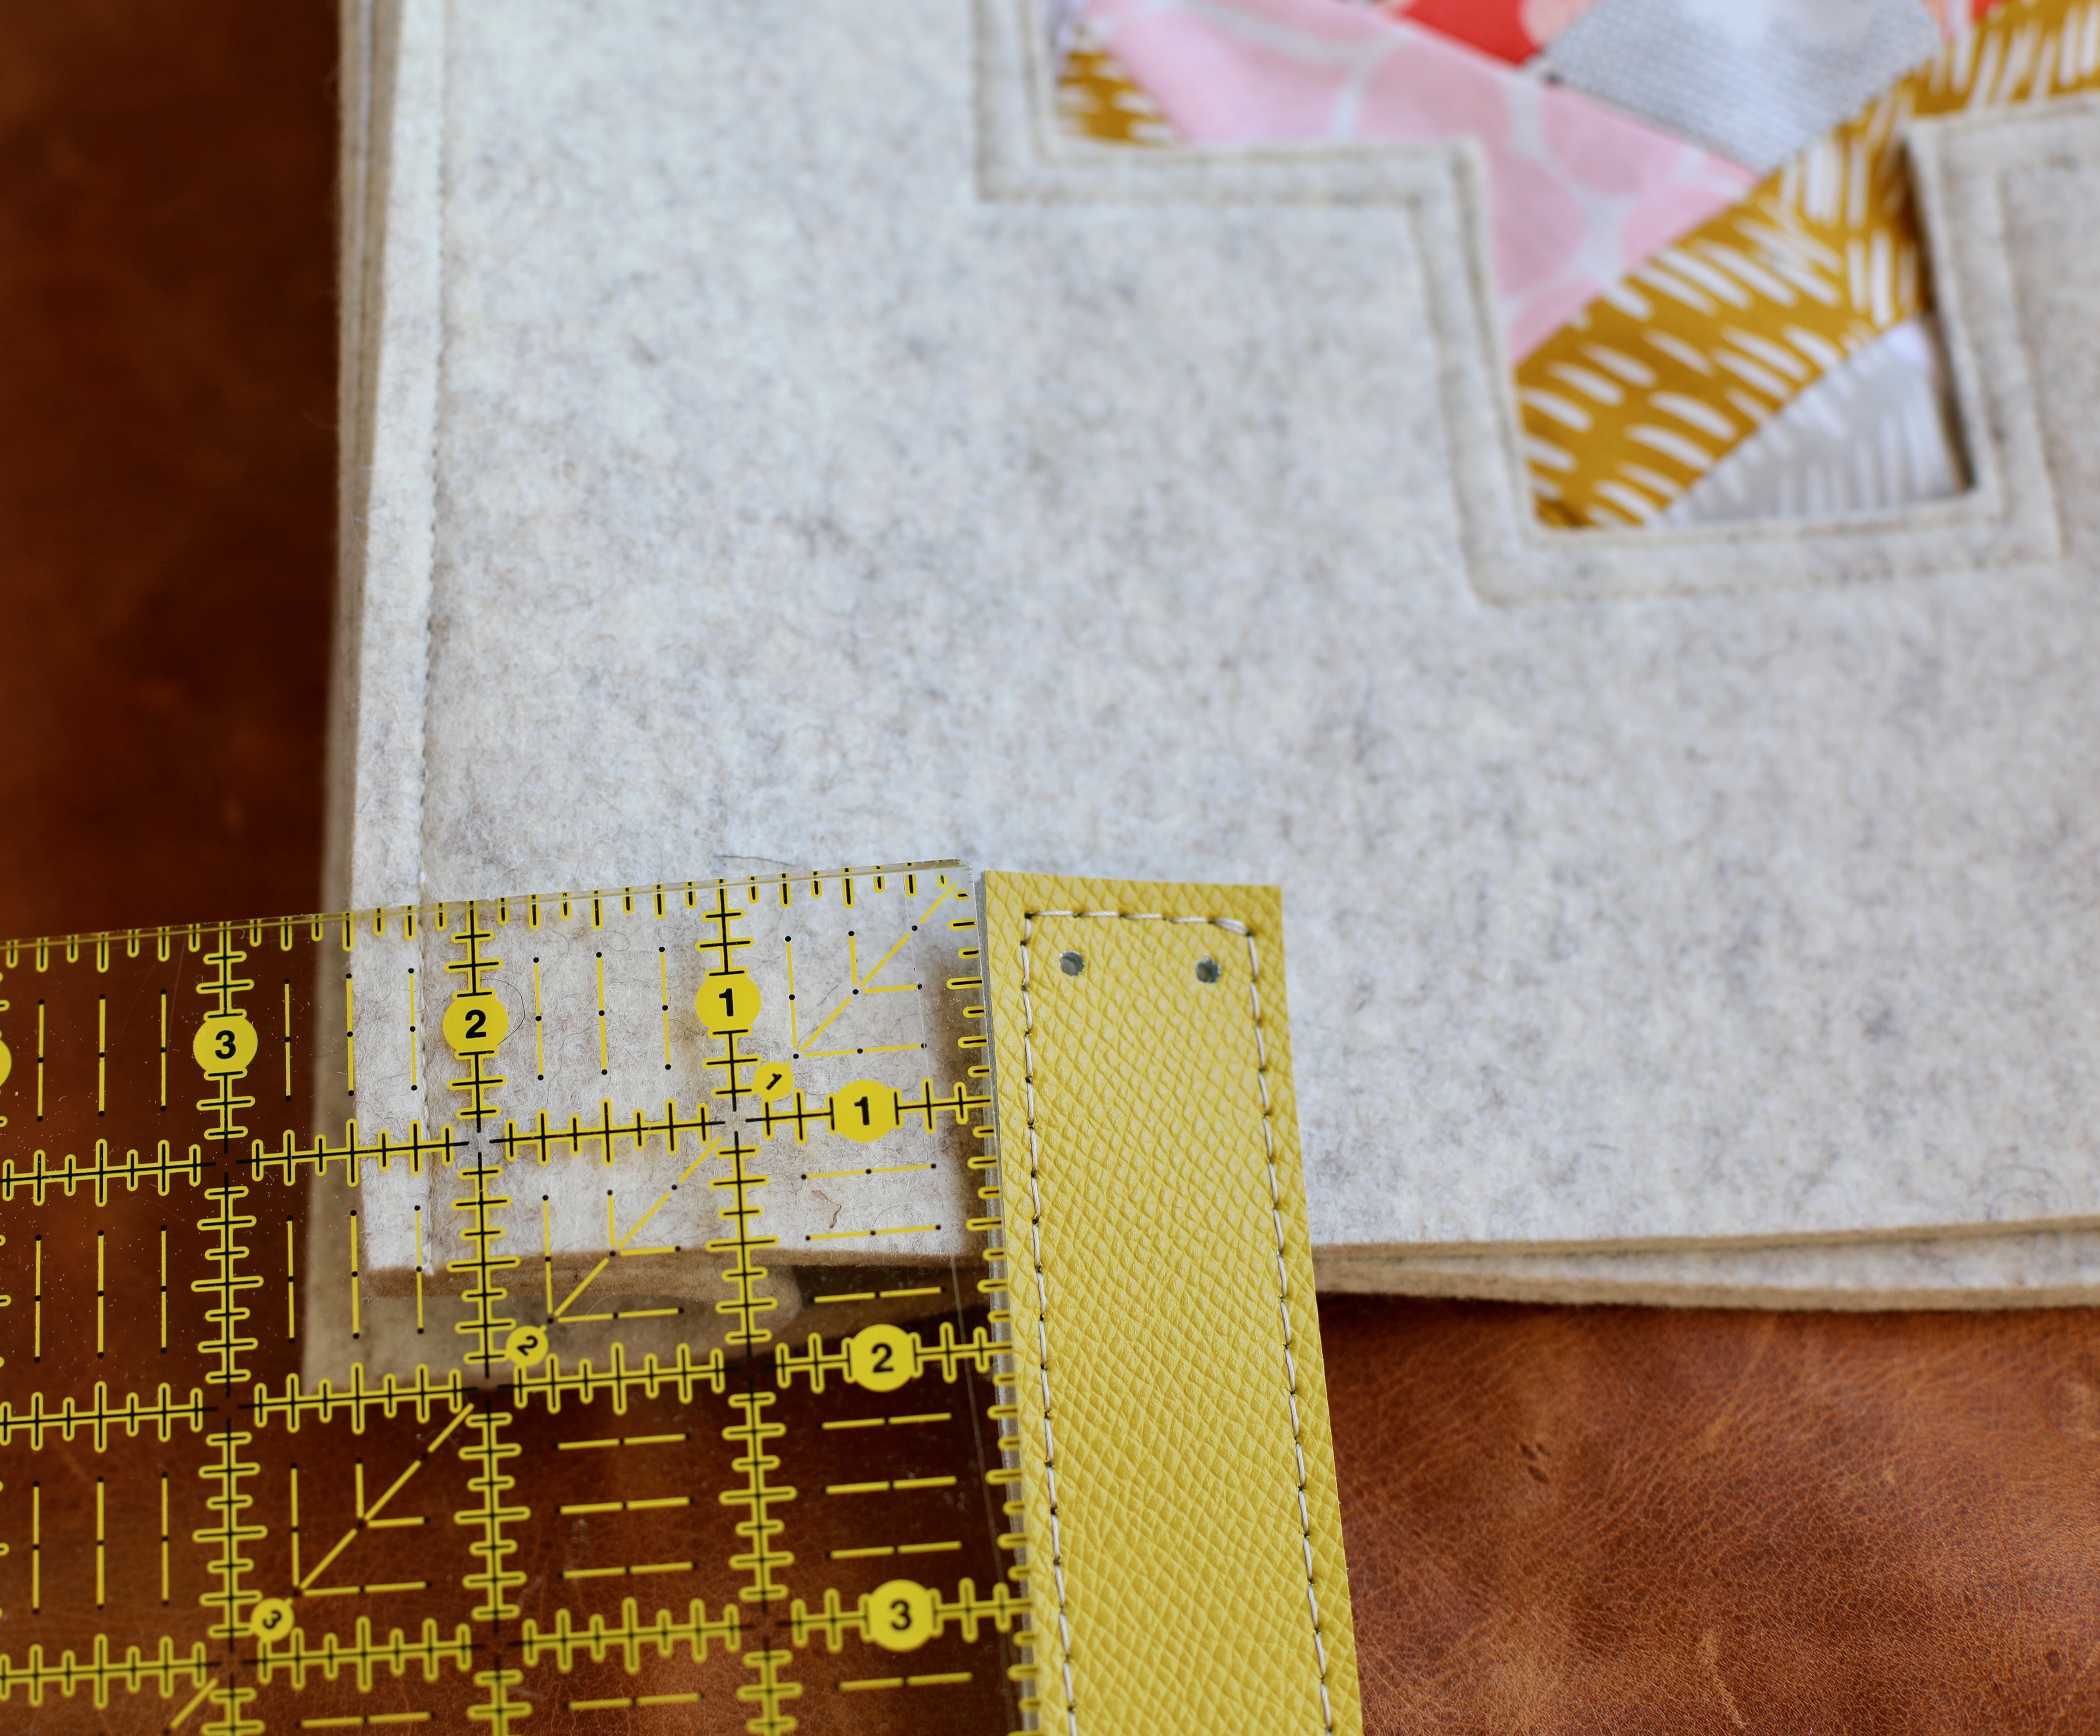
-Fold one short webbing piece over a metal D Ring. Mark 4 positions in each corner at least 1/4 from the edge and punch holes in the webbing at the marked spots using your leather hole punch. Repeat for the second D Ring and short webbing piece.
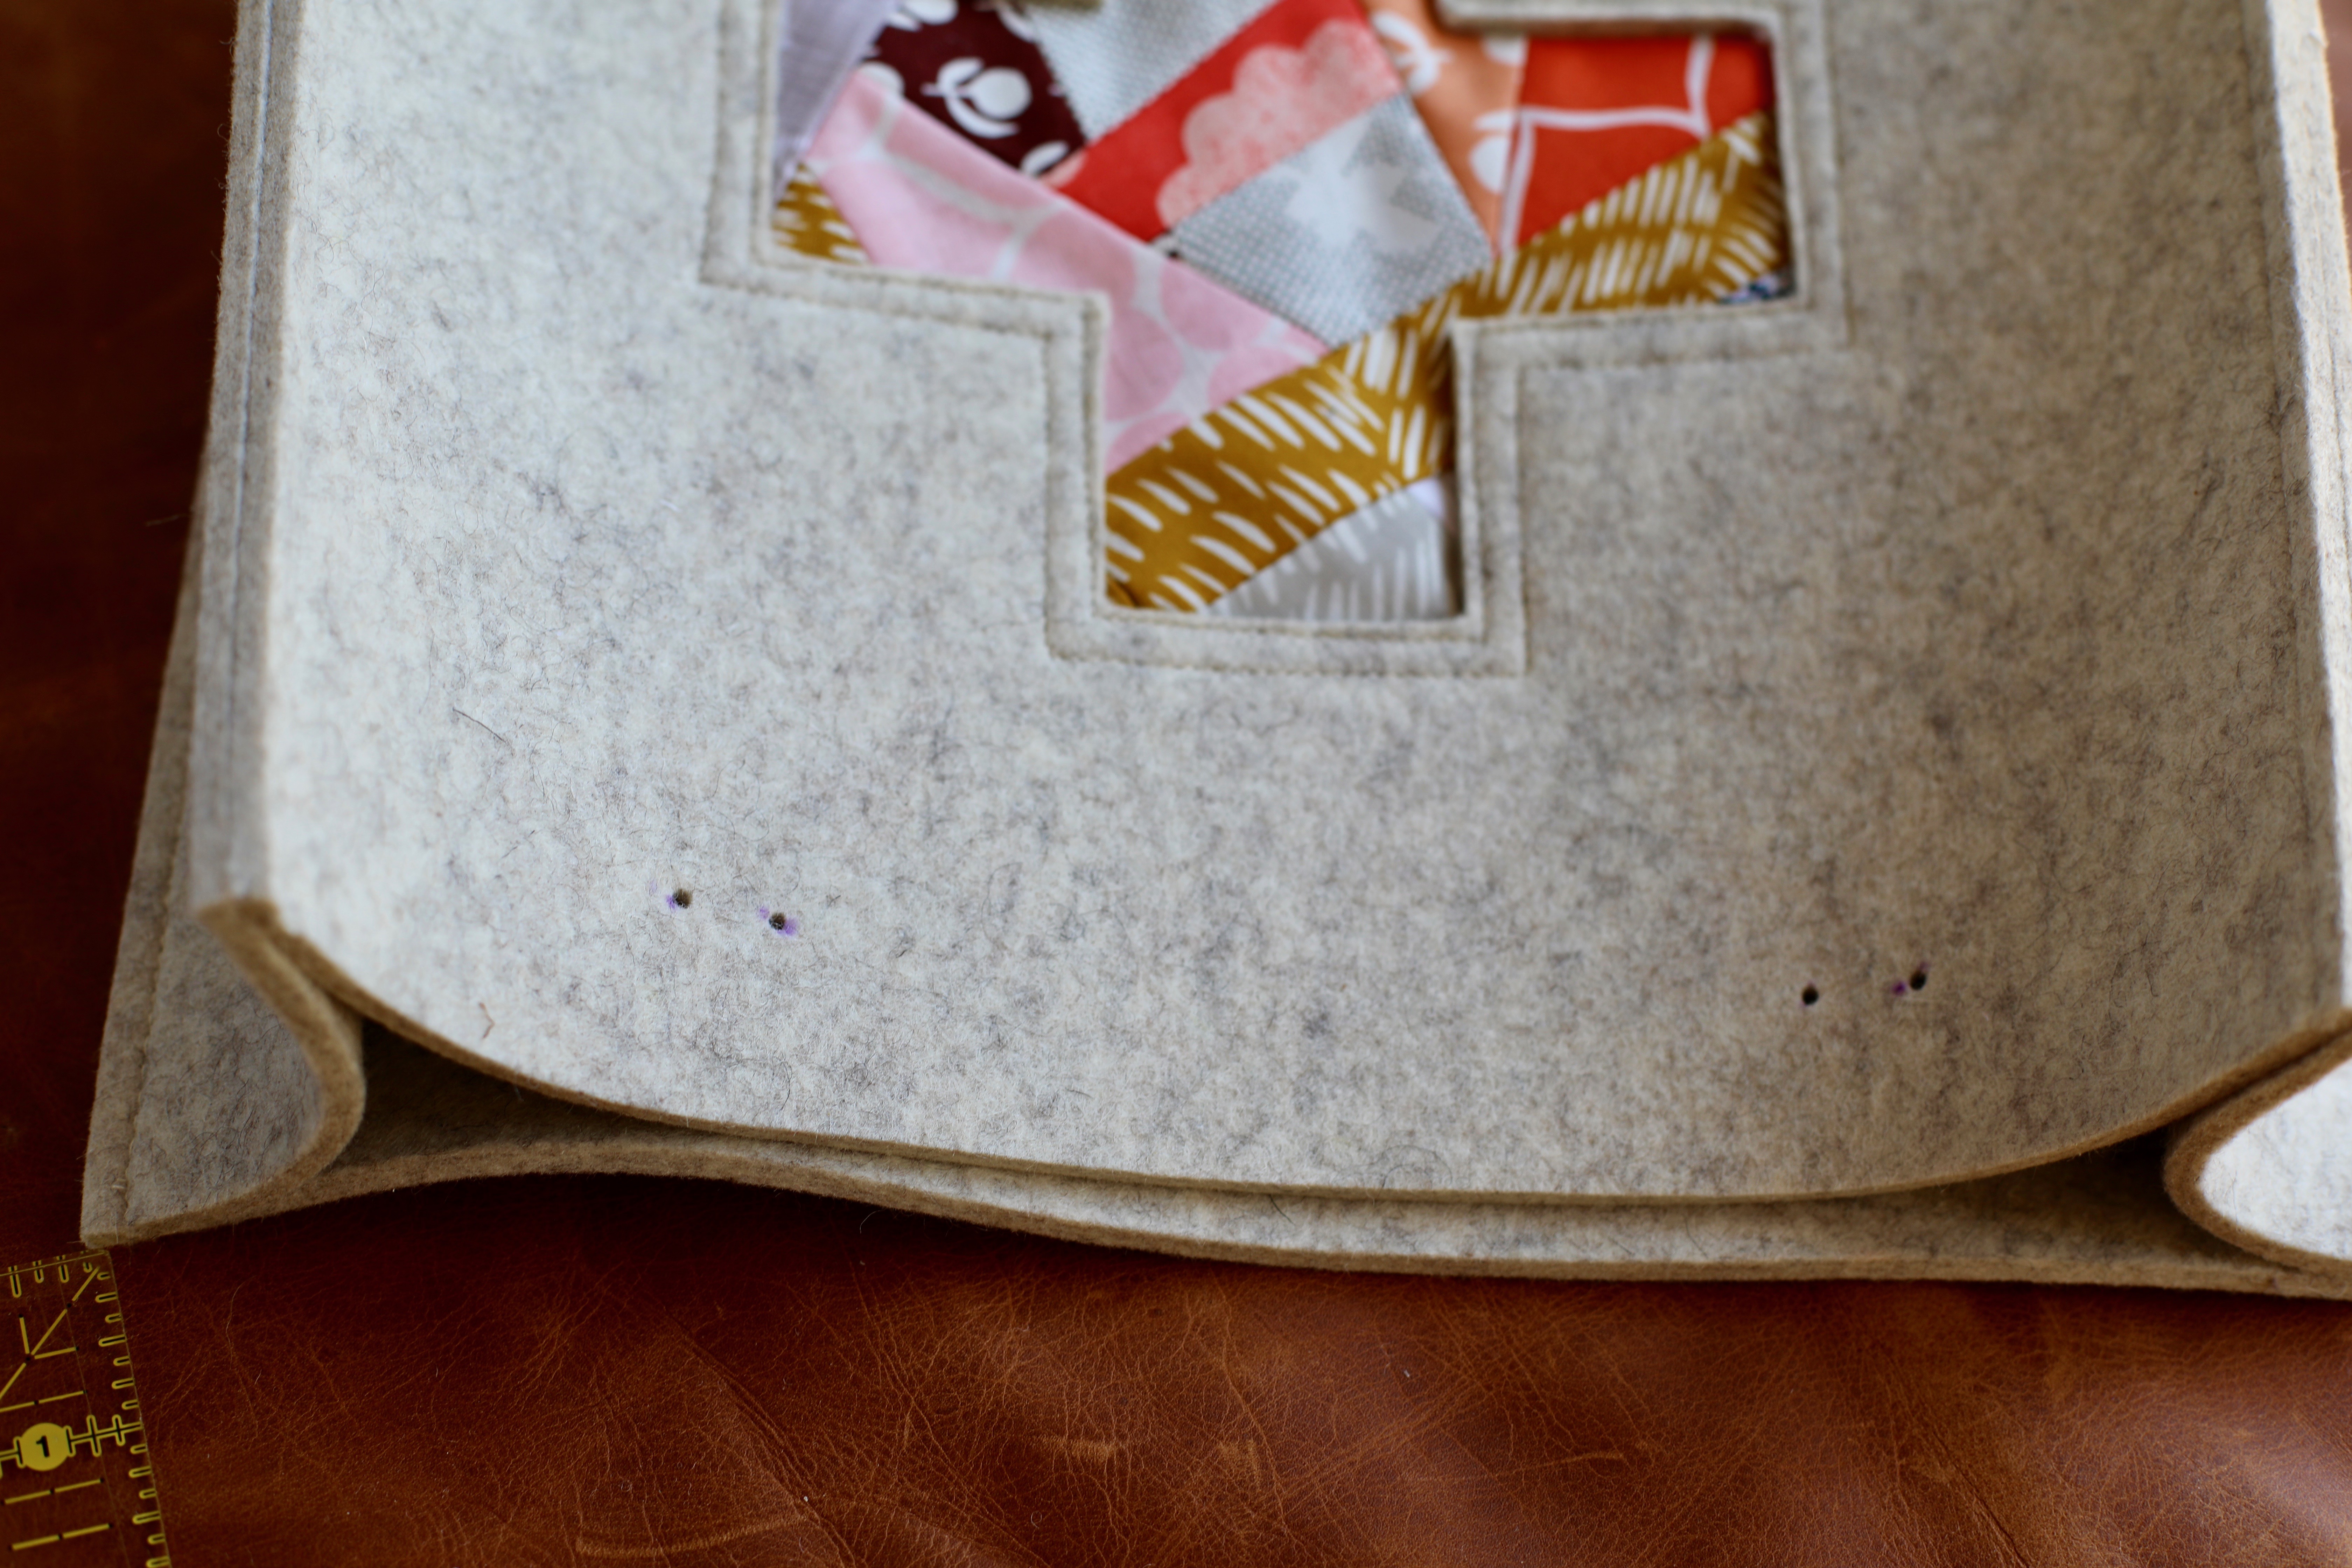
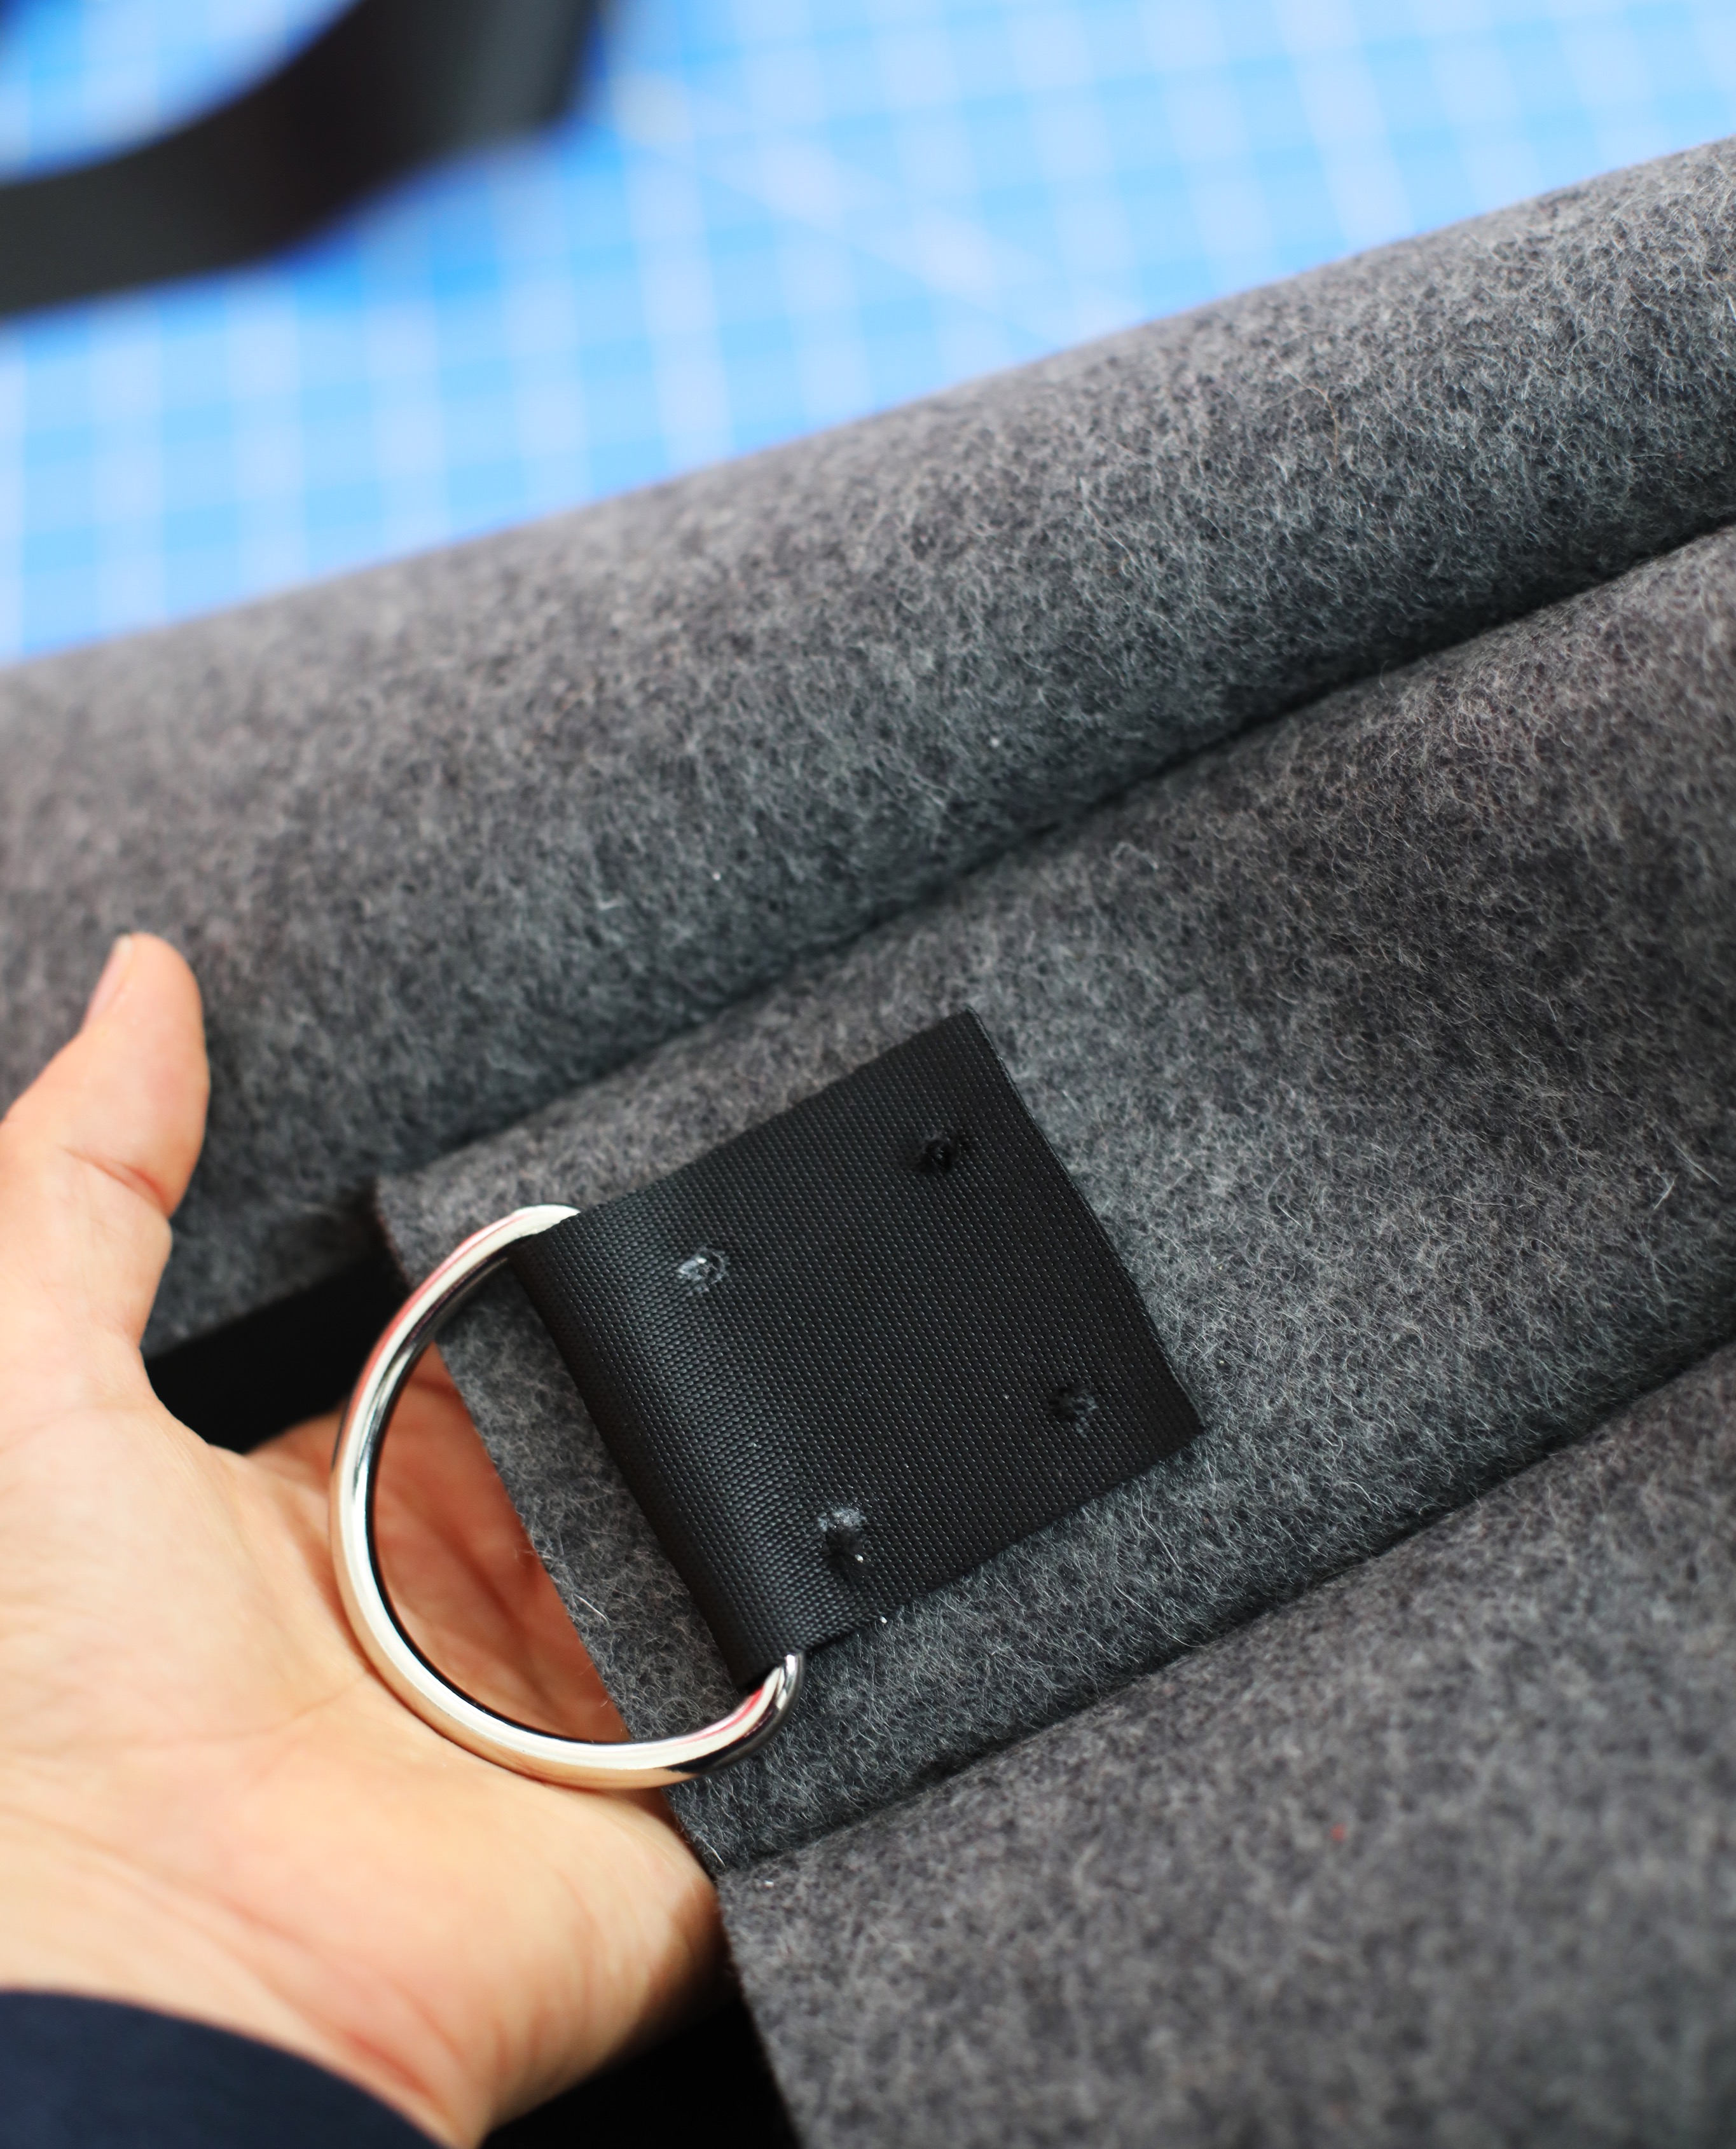
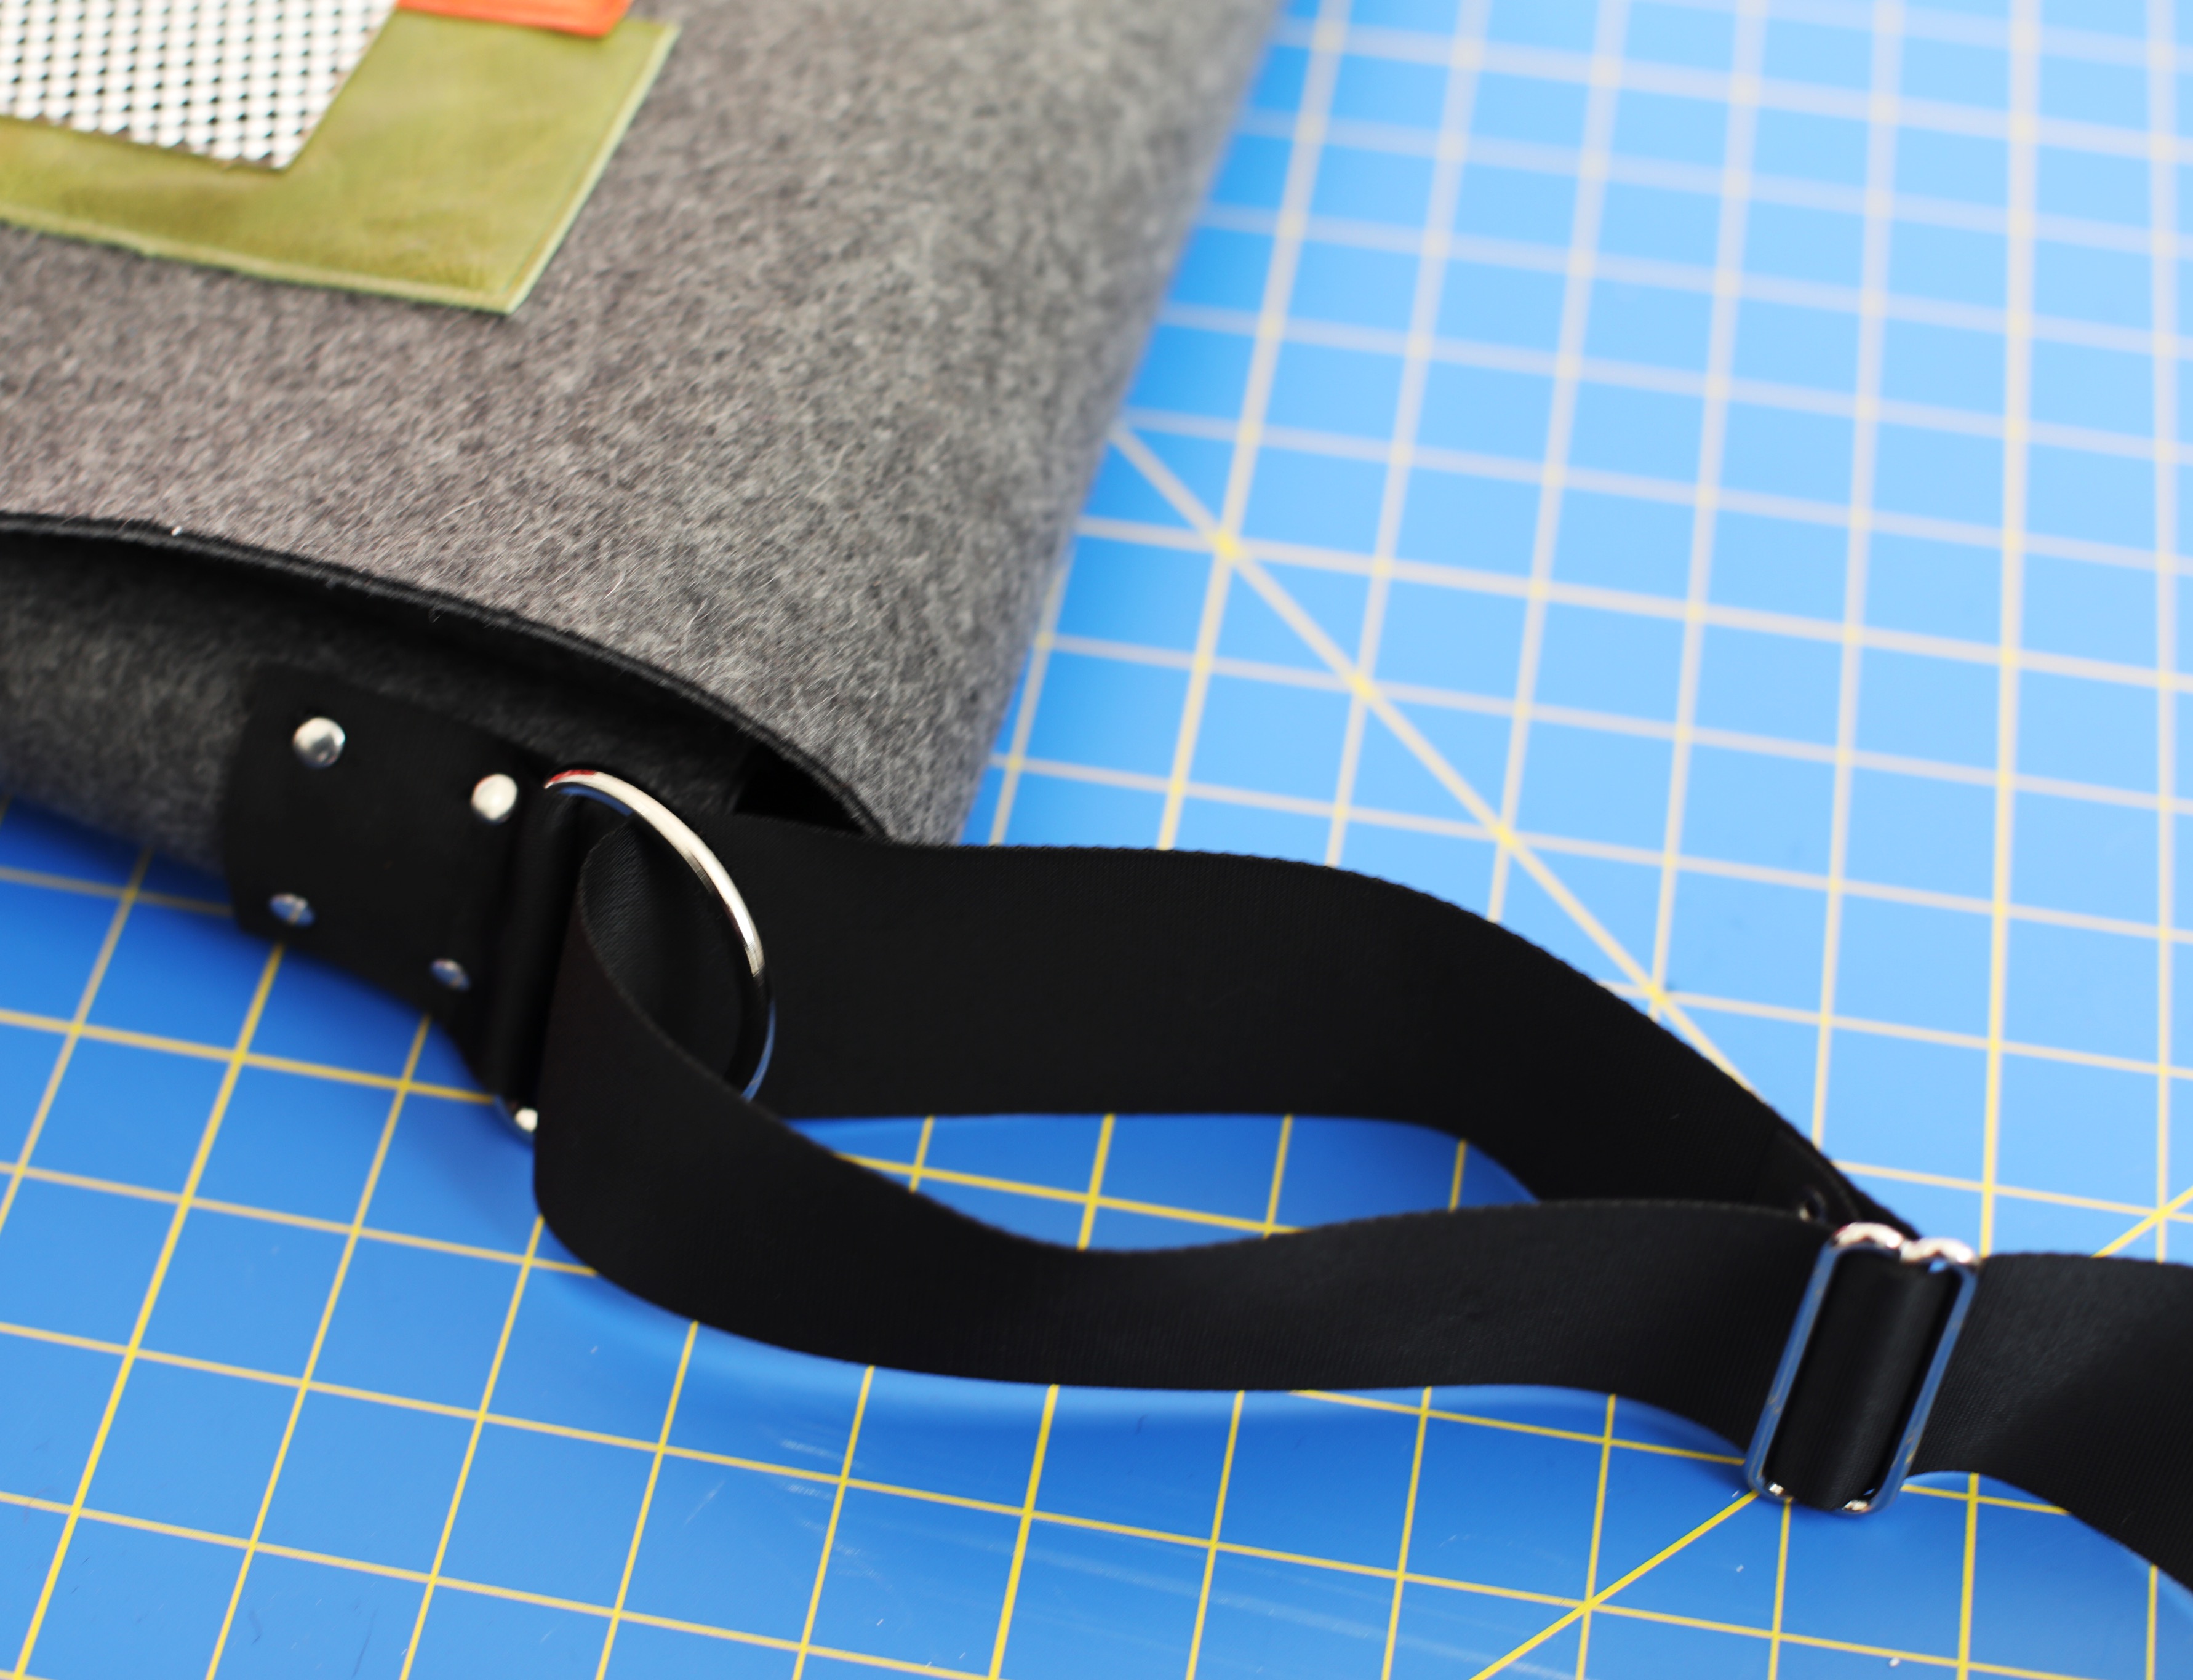
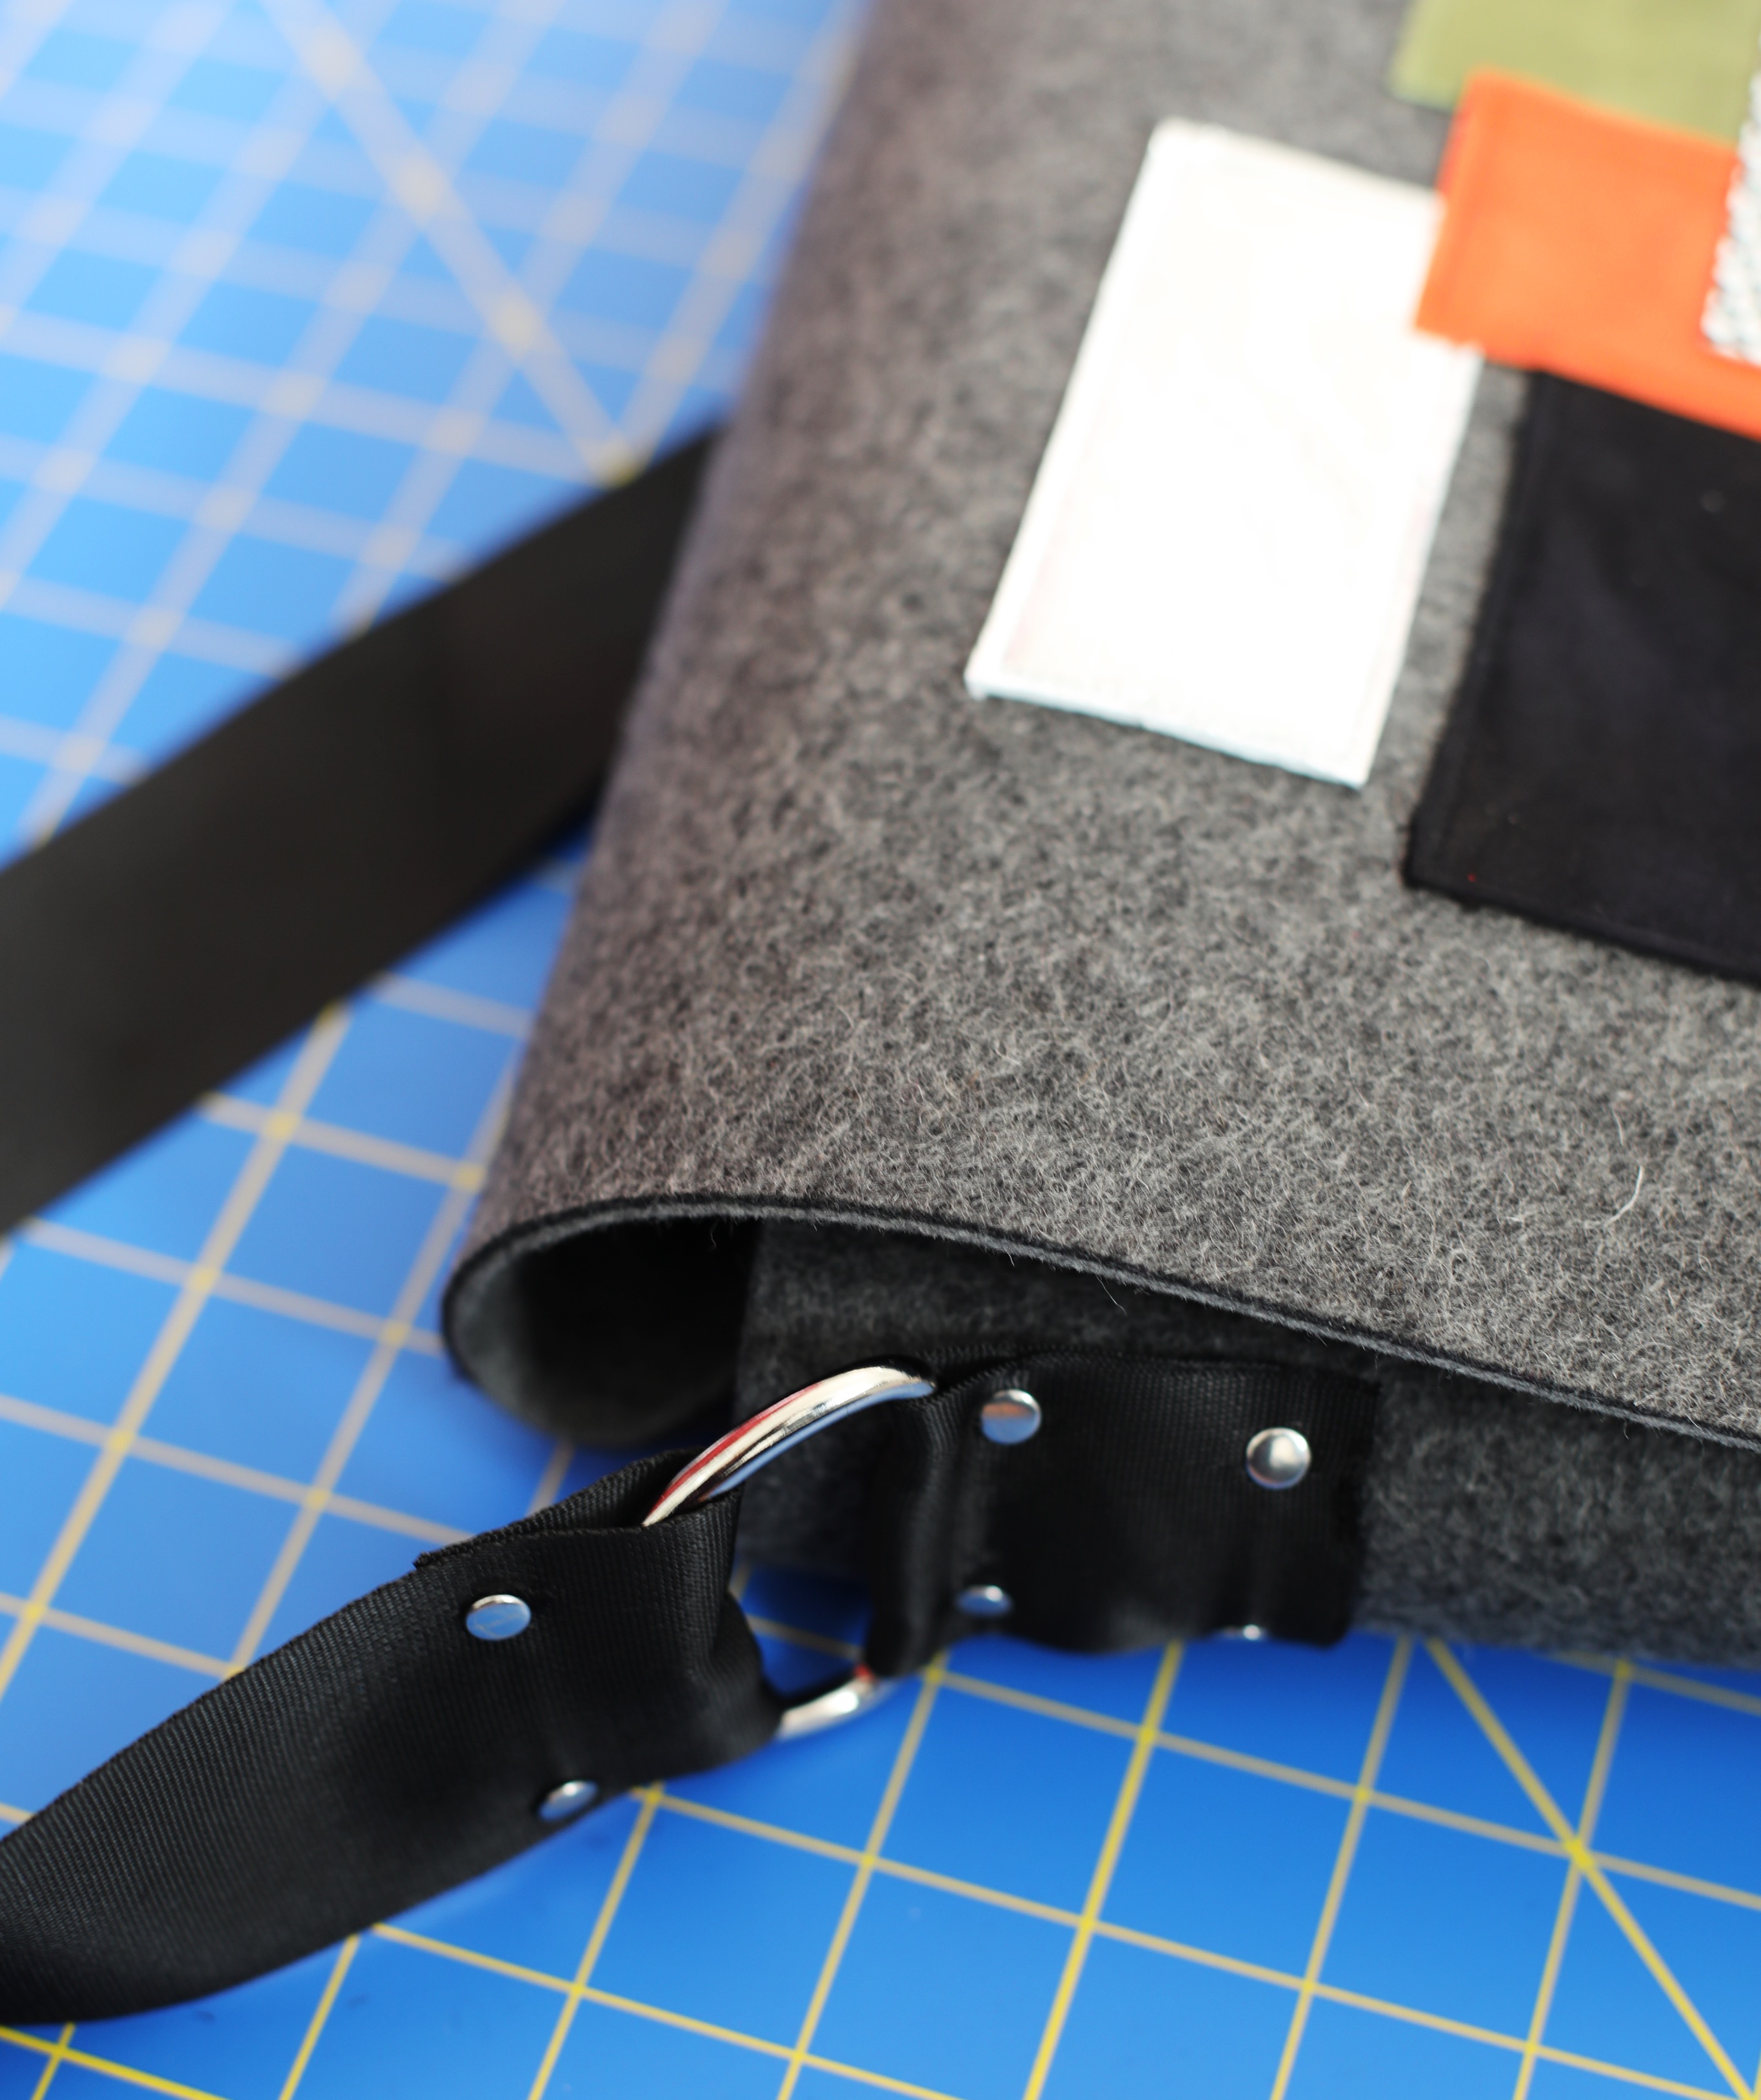
-Center each D ring/webbing piece on the side 1/2 inch down from the top. Using your marker, mark each hole you have made in the webbing onto the wool. Punch holes through the wool in each of these spots and connect the wool and webbing/D ring piece on each side with your rivets and rivet setter(4 rivets per side).
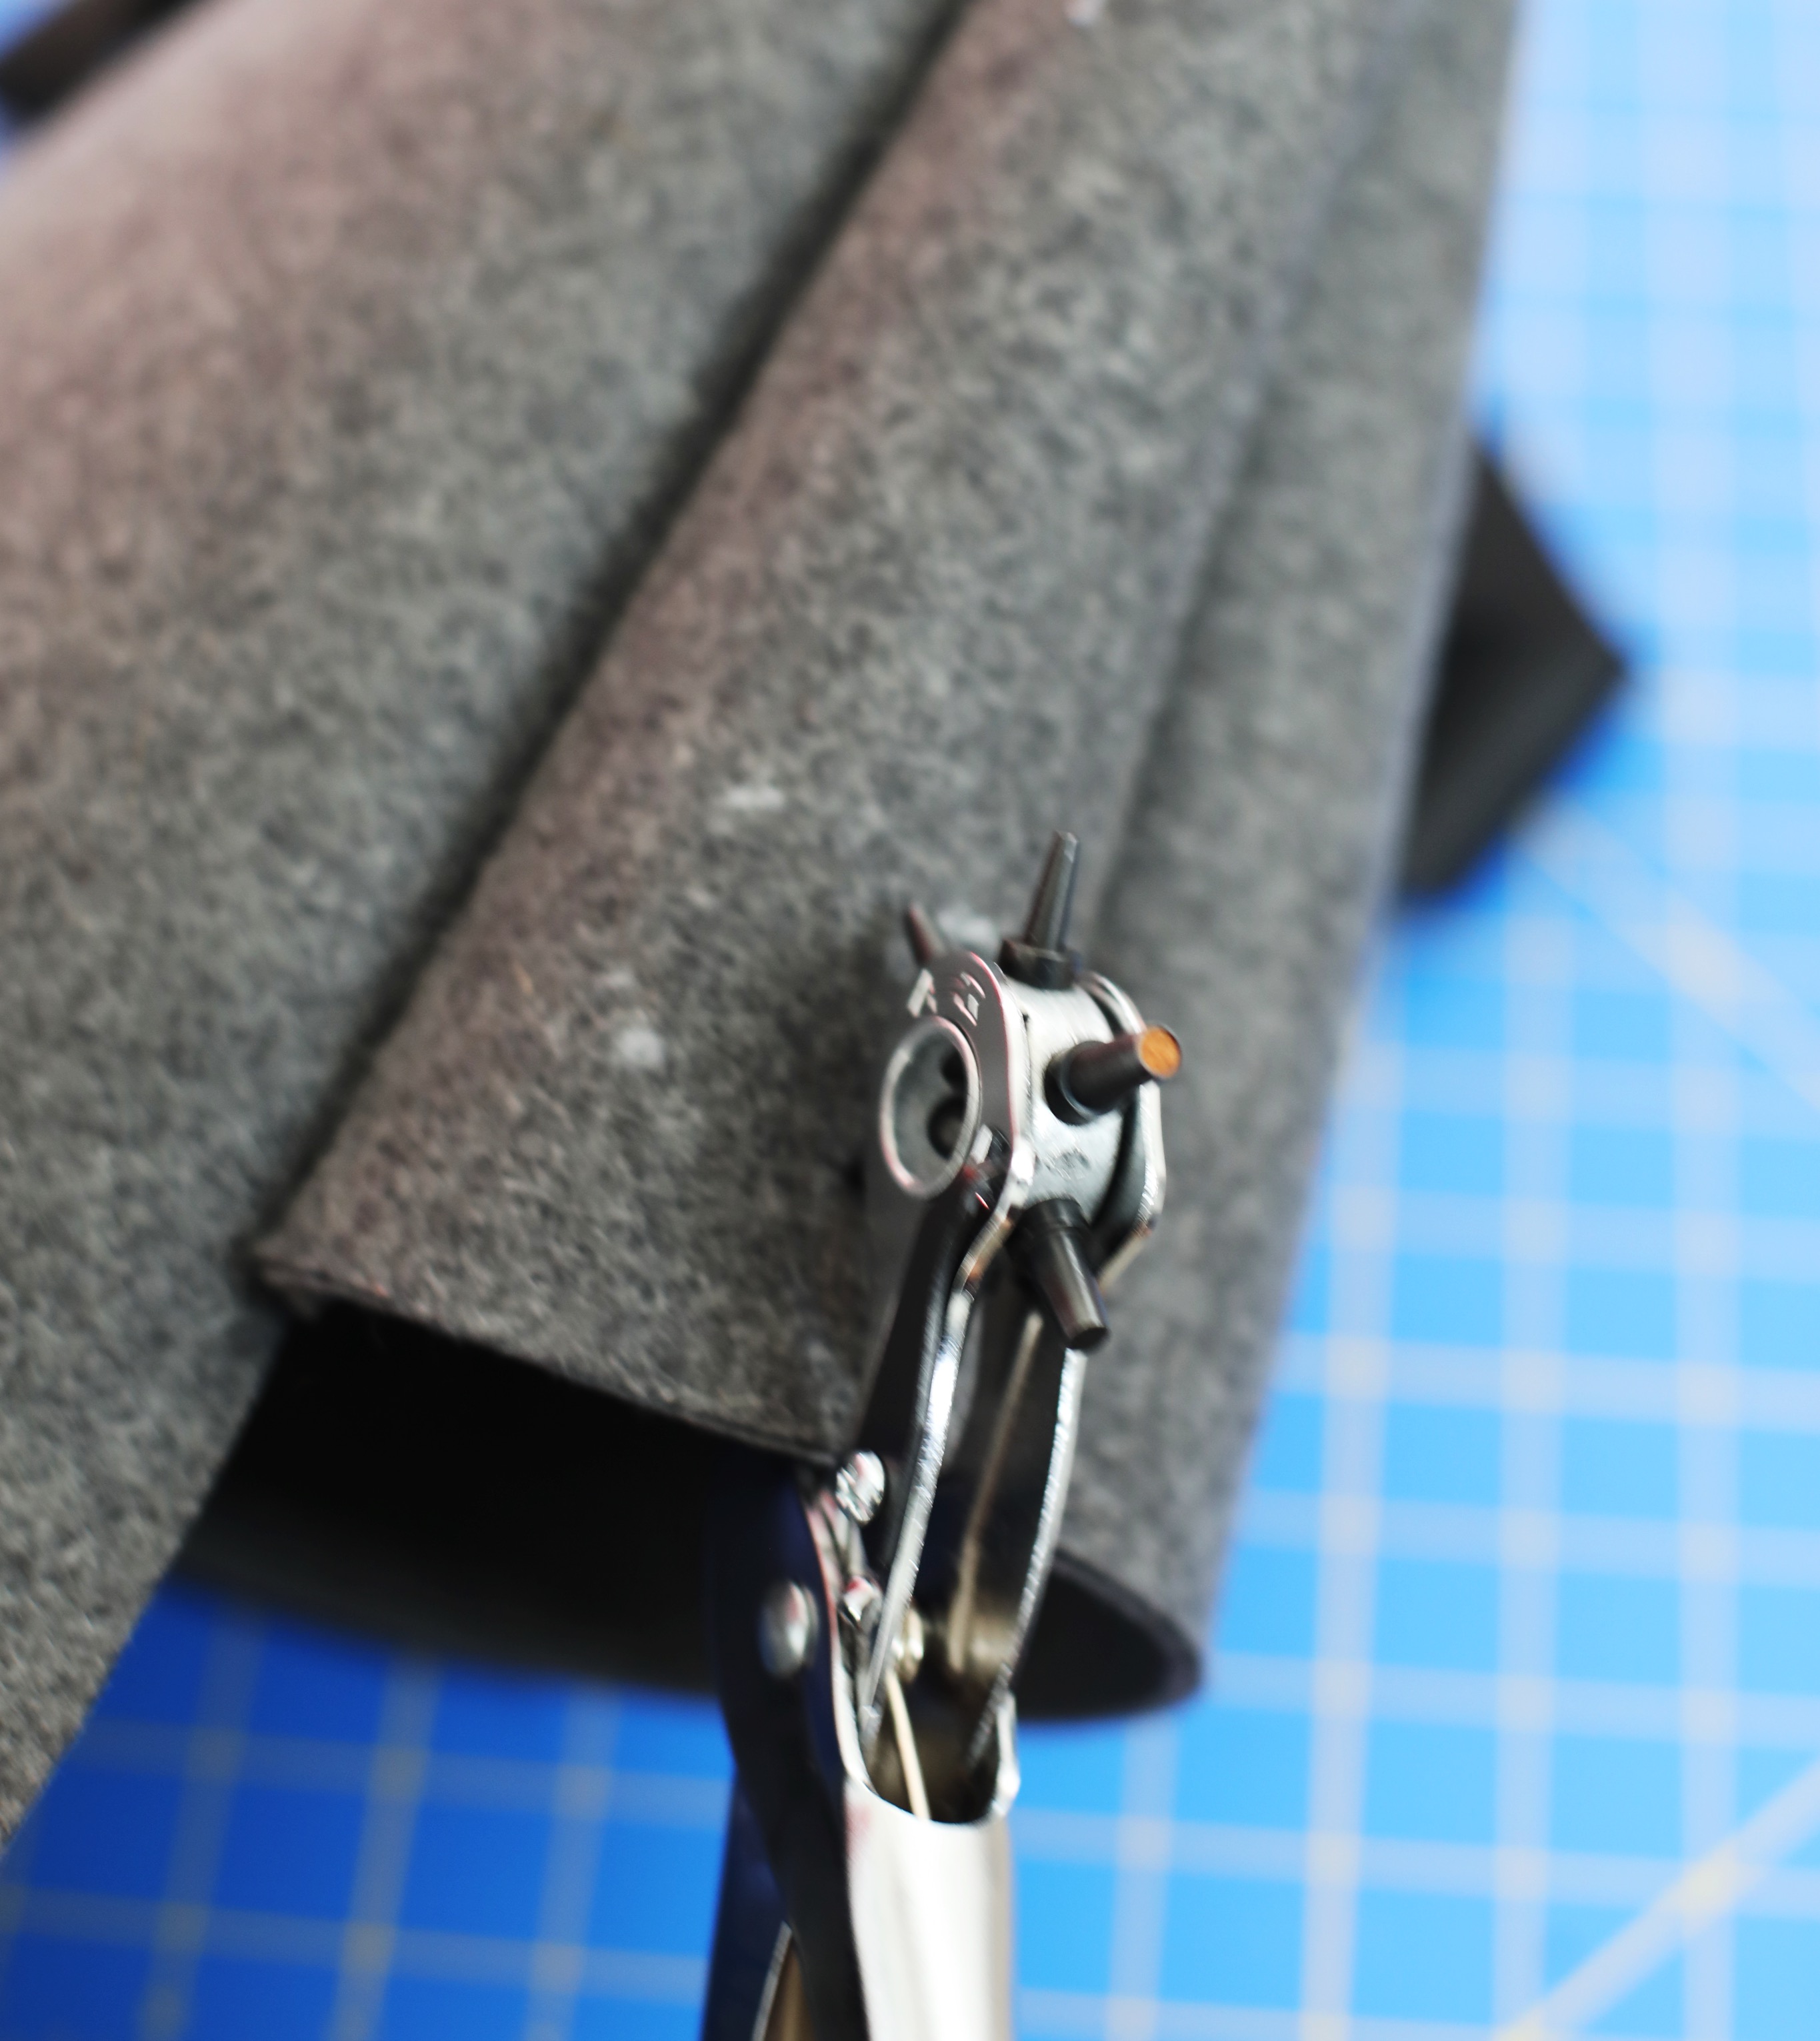
-Next, wrap the long webbing piece through the center of your Slide Buckle and fold over at least an inch and a half. Mark two places 1/4 inch from the side, mark, hole punch and secure using two rivets.
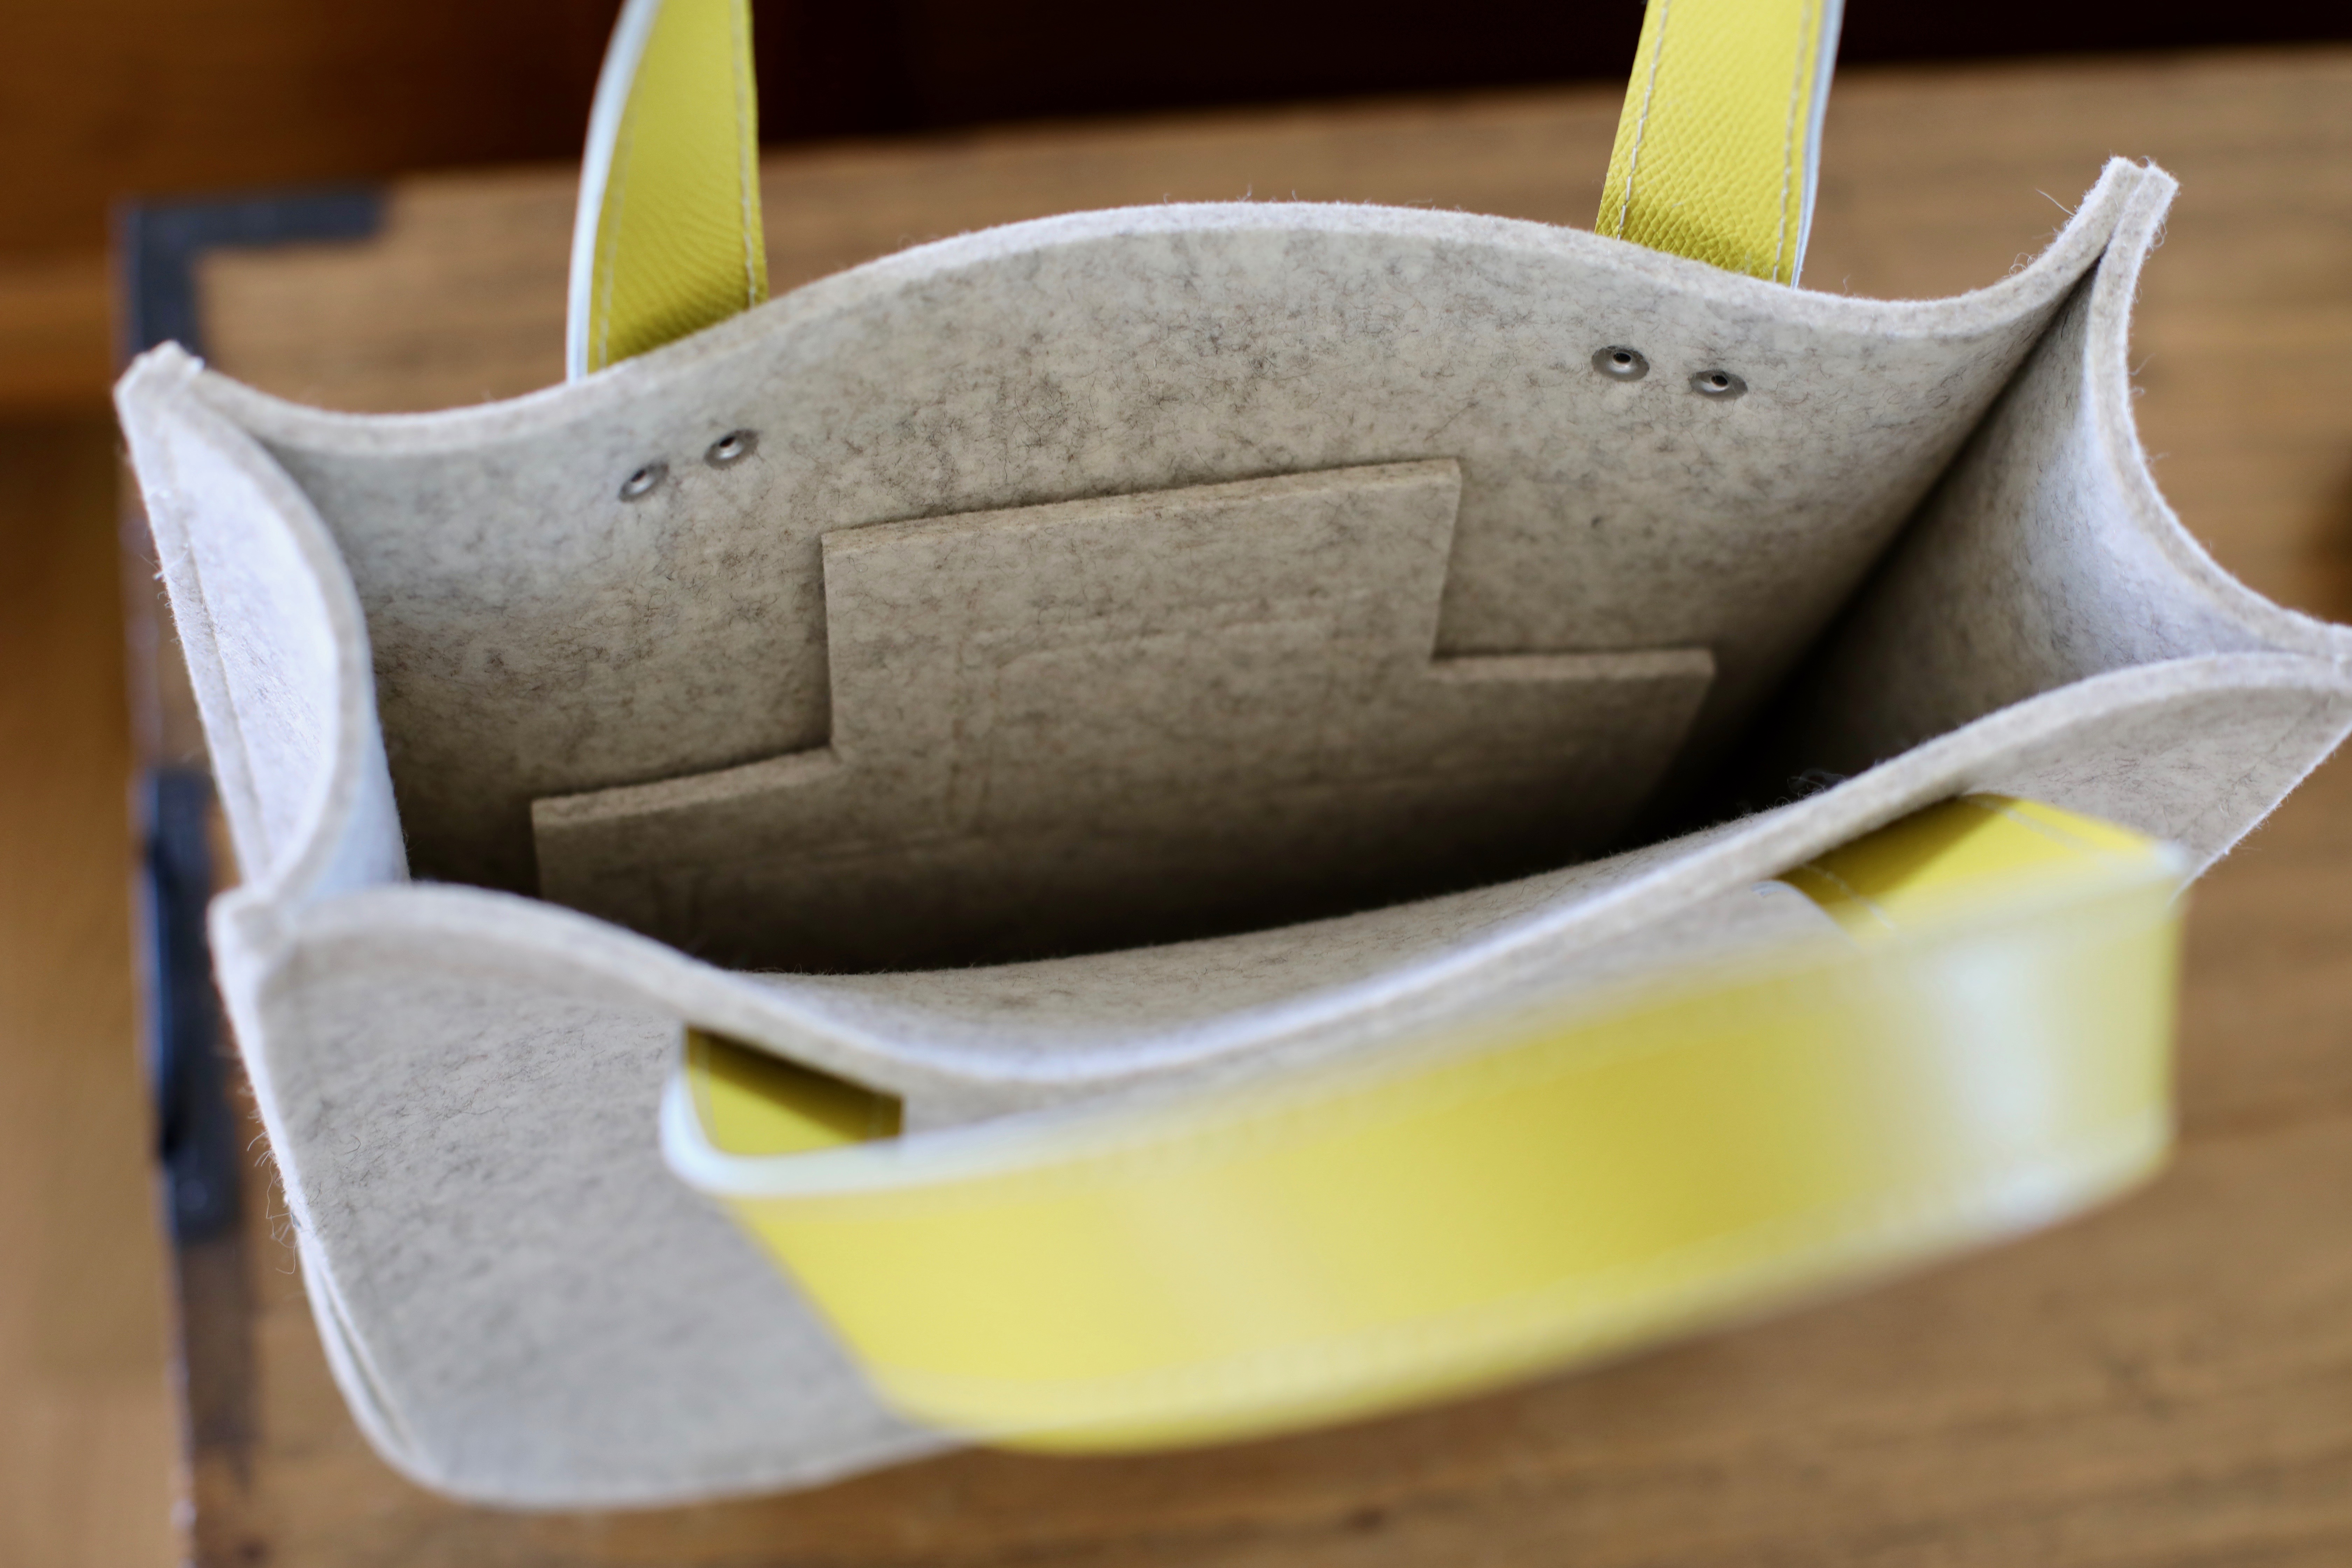
-Slip the free end of the webbing through one side D ring with the wrong side of the rivets facing up and lace the webbing under and then over through the Slide Adjuster (see picture).
-Fold the open end of the webbing through the other side D ring and secure with two rivets as previously described making sure the webbing hasn’t twisted and keeping the wrong side of the rivets to the inside.
Step 4: Attach the Other Piece of the Magnetic Closure
-Using the already inserted Magnetic Piece as a guide, mark and insert the other part of the magnetic closure facing toward you on the bottom/front felt piece.

You’re Done! Enjoy! Tag me @entropyalwayswins and the project (#feltmessengerbag) on Instagram if you make one. I would love to see.
Hillary