
One of my favorite aspects of sewing is discovering new techniques while experimenting. There are many weirdo sewing tricks I now rely upon but a latest discovery with piecing is so simple and helpful that I thought I should share more broadly.
Of note, there are several sewists especially in my Bee Sewcial quilting bee that have been dancing to the same proverbial melody in making. I think of us often creating in parallel and most certainly learning from each other. Indeed after I posted this tutorial on Instagram, my marvelous friend Marci (http://www.marcigirldesigns.com) said that she had used exactly this technique earlier this year without describing it. For these reasons, the following technique is best attributed to our Bee Sewcial group as a whole.
Although I shared this on Instagram (where you can still find it under #insetstripsonthefly) I figured for posterity’s sake and easier reference I would make a more formal post about it.
I absolutely love some wonk in my makes. Indeed I often seek it out as I appreciate the interest asymmetry adds to a piece. There are times however when I really want things to line up perfectly, have a background seen uninterrupted through layers etc. The classic “slice and insert” method for adding pieced lines in sewing is awesome but is frustrating when using sizes other then 1/2 inch finished strips (assuming a 1/4 inch seam allowance). Unless you spend extra time with math, the background can look distorted. I am actually a math lover, but the more time I have to calculate and think about sewing, the less fun it is for me. This new technique works with any sized inset strips, doesn’t distort the background AND requires very little thinking. All you need is fabric, scissors and washable glue.
Step 1: Gather you background fabric, some fabric strips and perhaps a plan (or not. This technique is very fun to make up a design as you go.)
Step 2: Line up your strip Right Sides Together(RST) with the background fabric along the line you plan to place your strip. You may find it helpful to mark the line on your fabric with an erasable marker. Realize that the marked line is 1/4 inch in from where the strip will be sewn to the background fabric. Next, sew the strip using a quarter inch seam allowance (and keeping RST) along one side to your strip to your background fabric.
Step 3: Fold the strip over along the sewn edge and press. Unfold the strip back and iron a 1/4 inch fold all along the raw edge of the strip TOWARD the sewn edge.
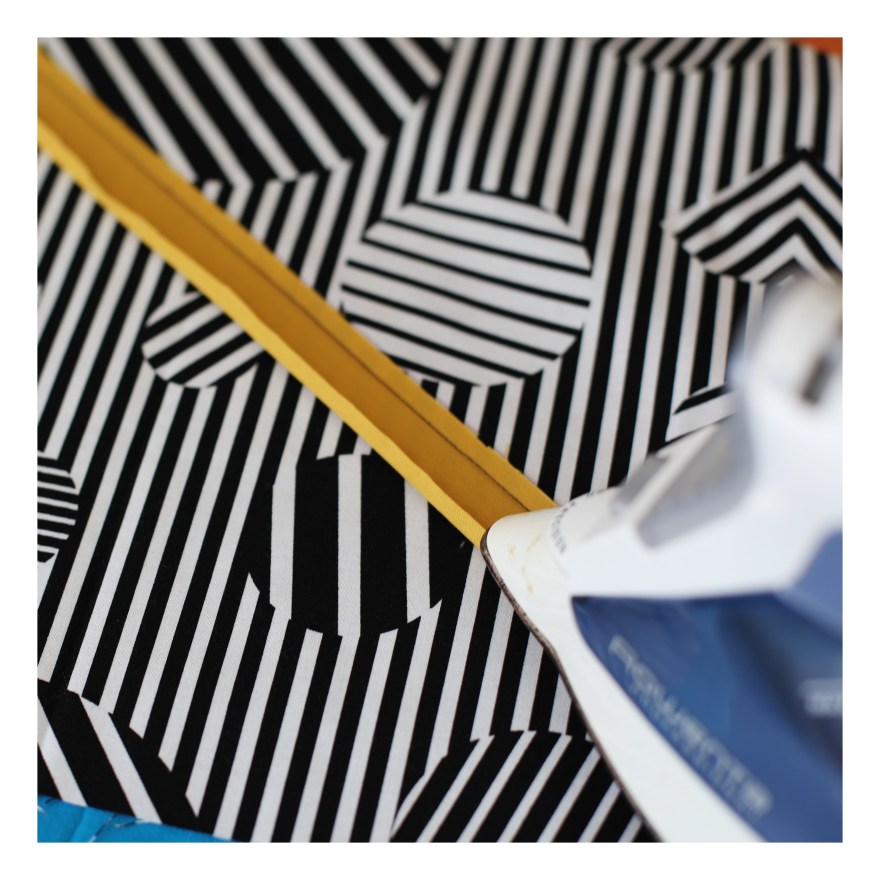
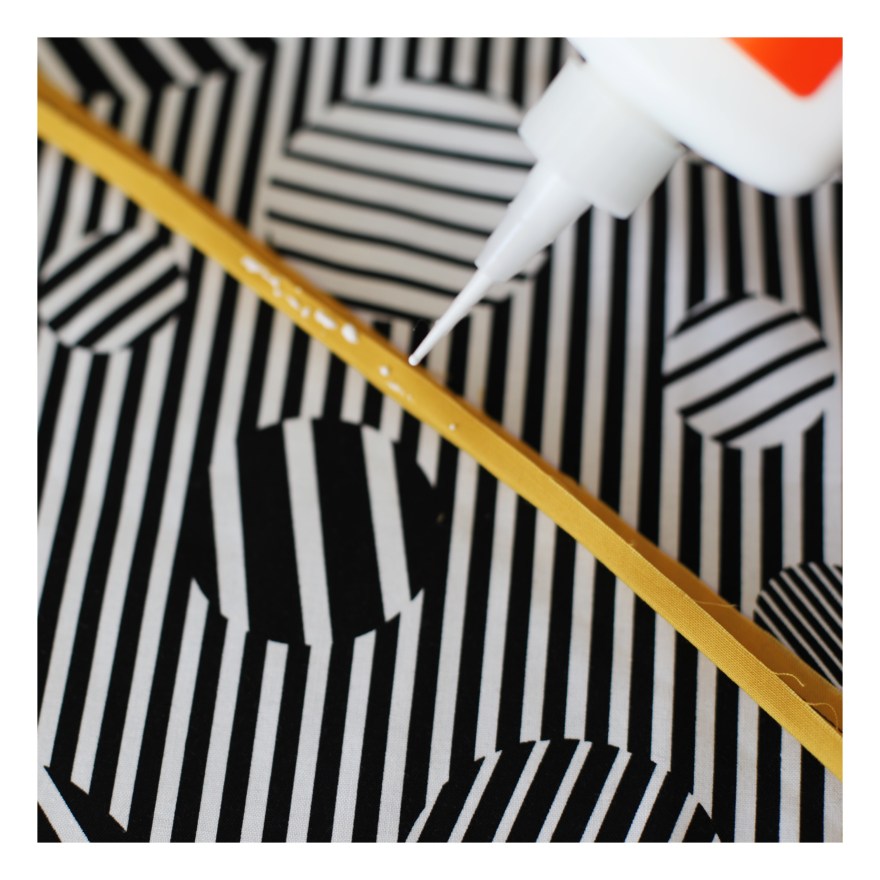
Step 4: With a light touch, apply your washable glue to the folded edge.
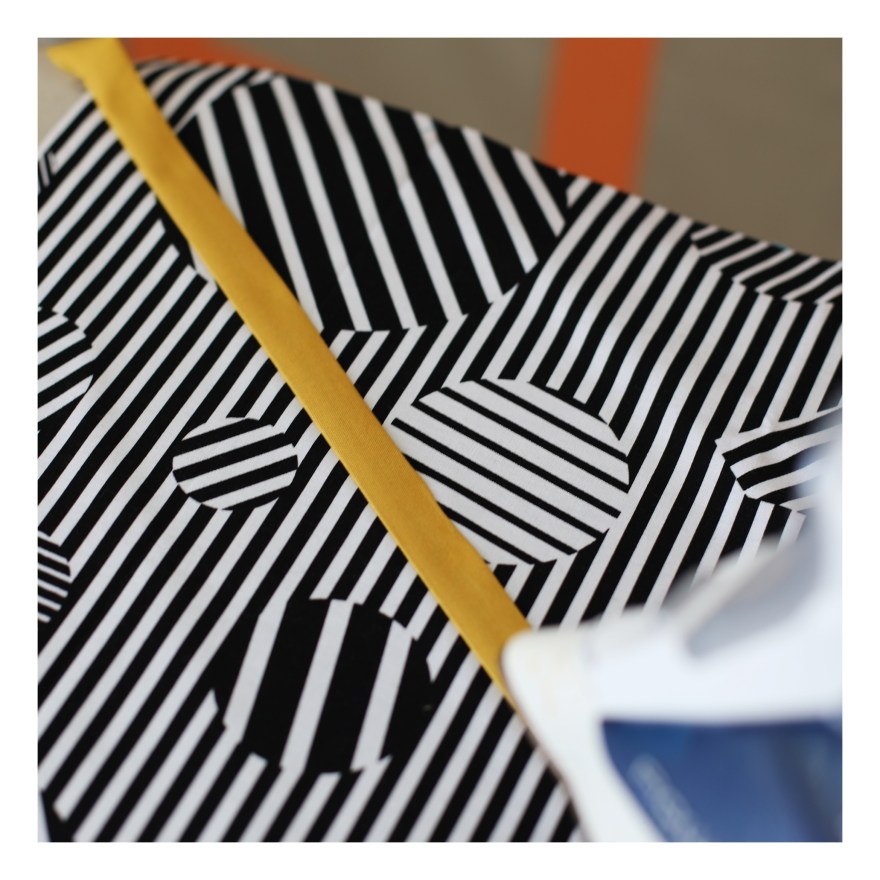
Step 5: Fold the strip over and press in place.
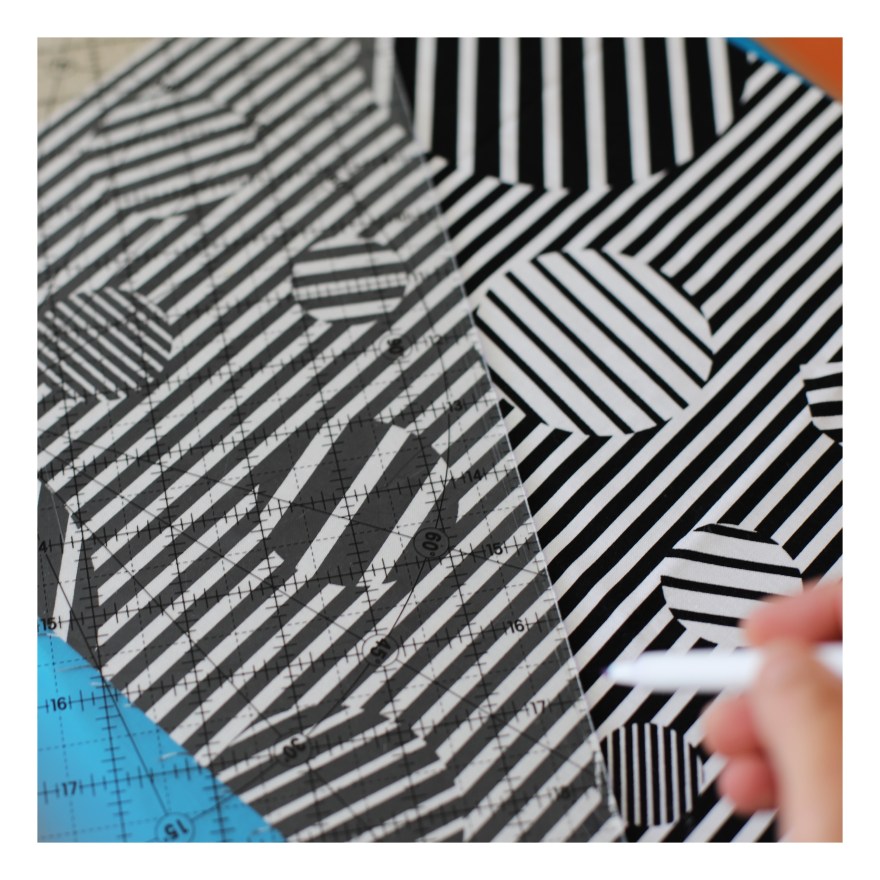
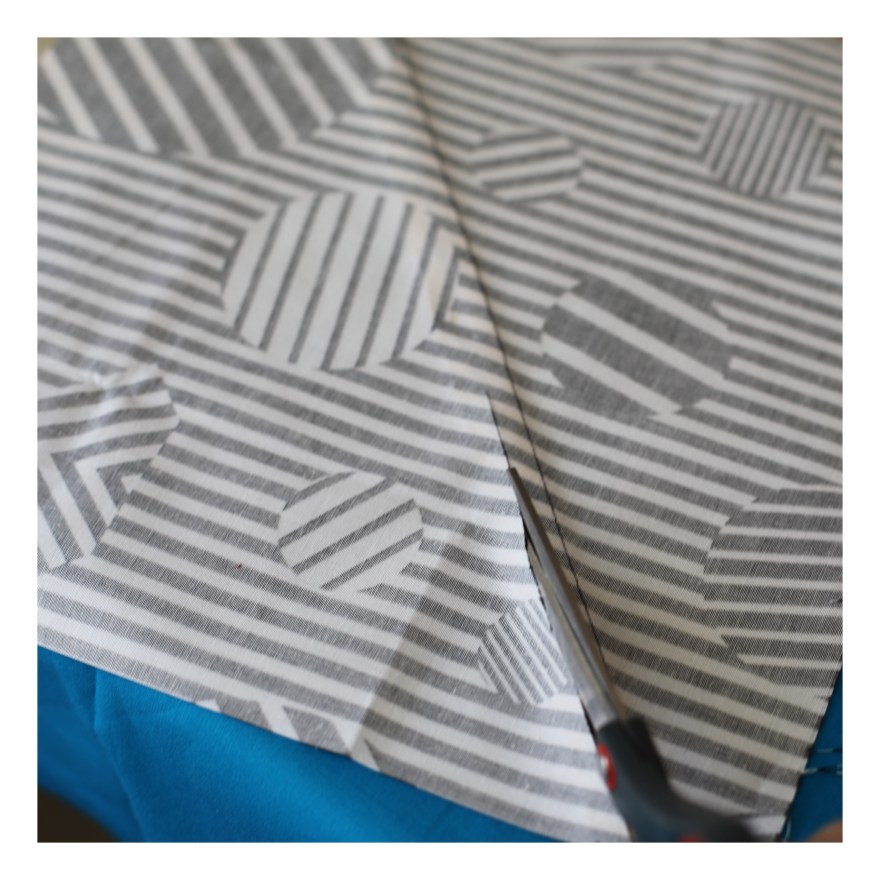
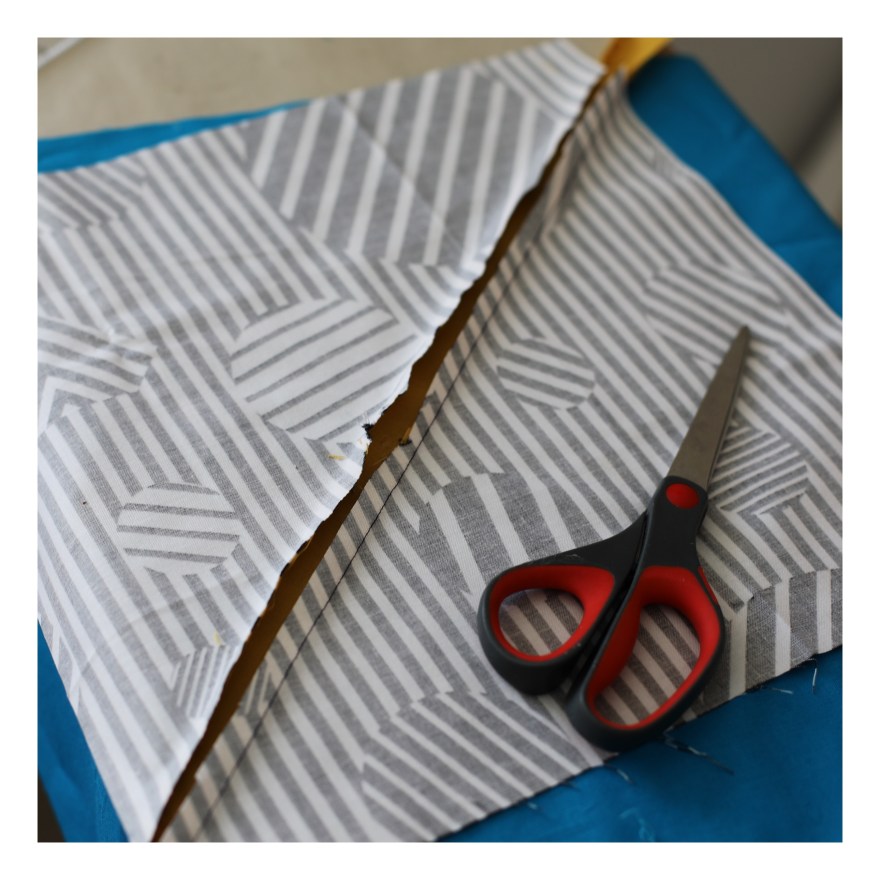
Step 6: Flip the whole thing over and cut with your scissors IN BETWEEN the strip the the bottom fabric 1/4 inch away from your sewn edge.
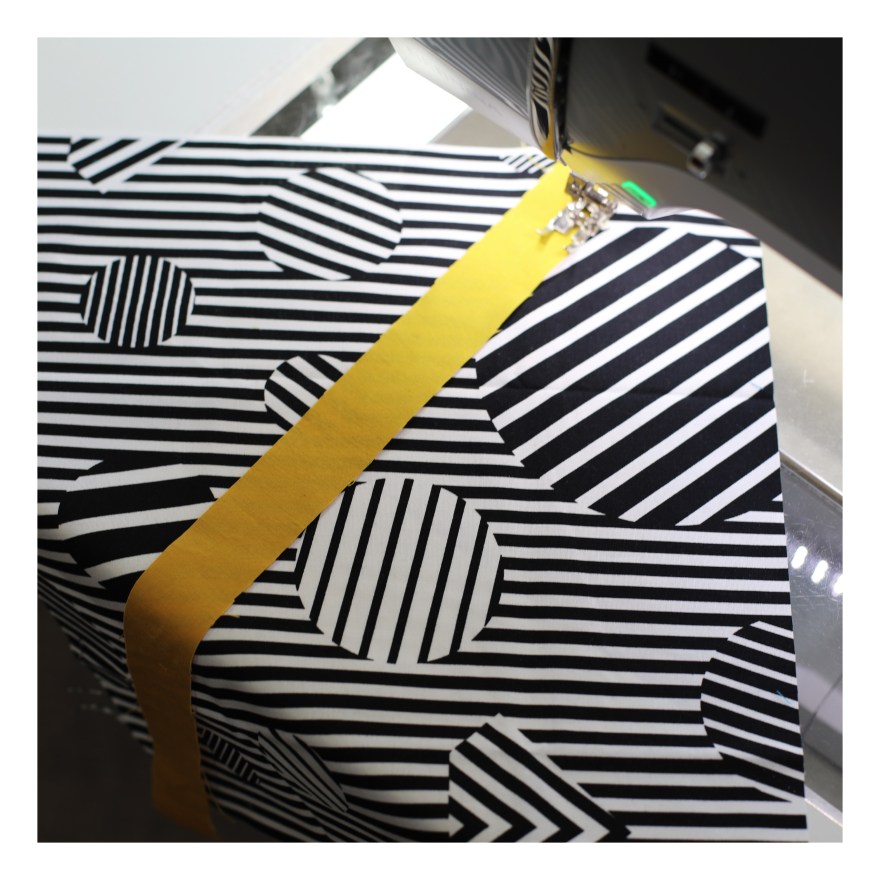
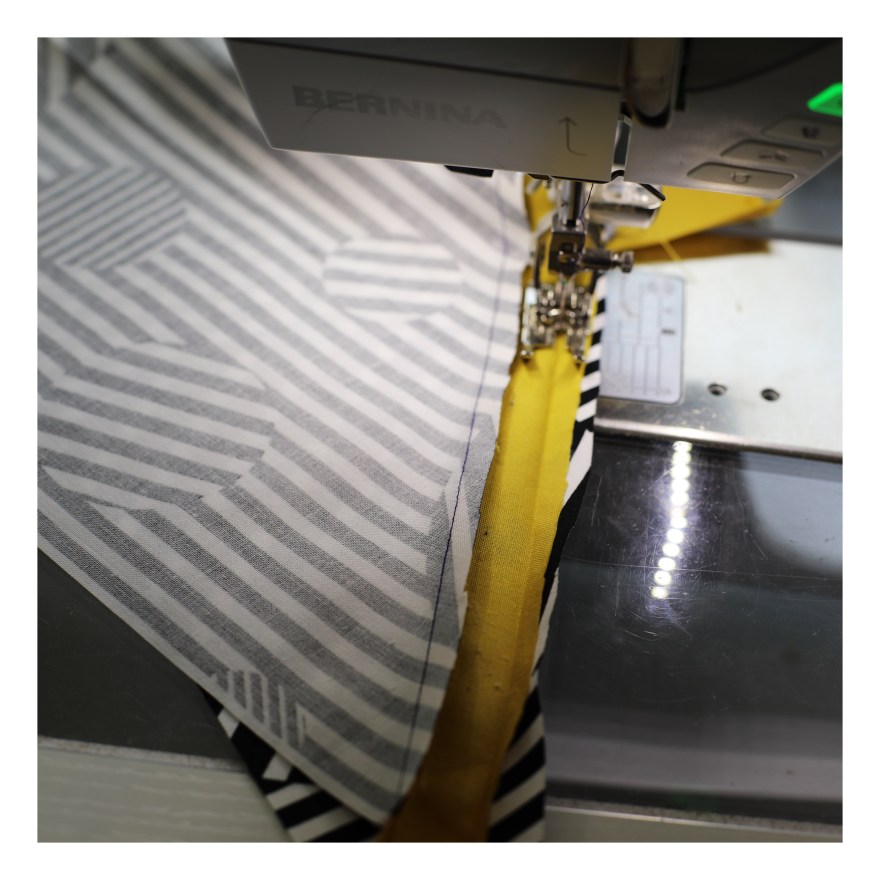
Step 7: With the back still facing you, fold open and sew along the unsewn folded line.
Step 8: Trim both sewn edges to give a clean 1/4 inch seam allowance.

Step 9: Turn the whole piece to the front, press and add more inset strips as you like.
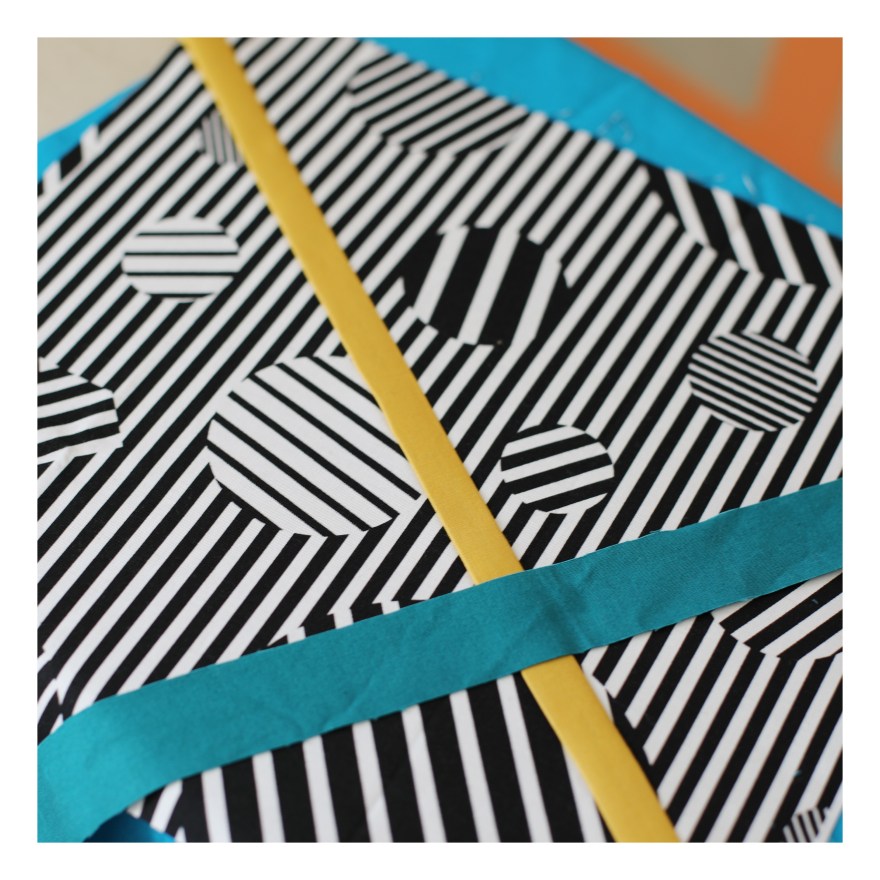
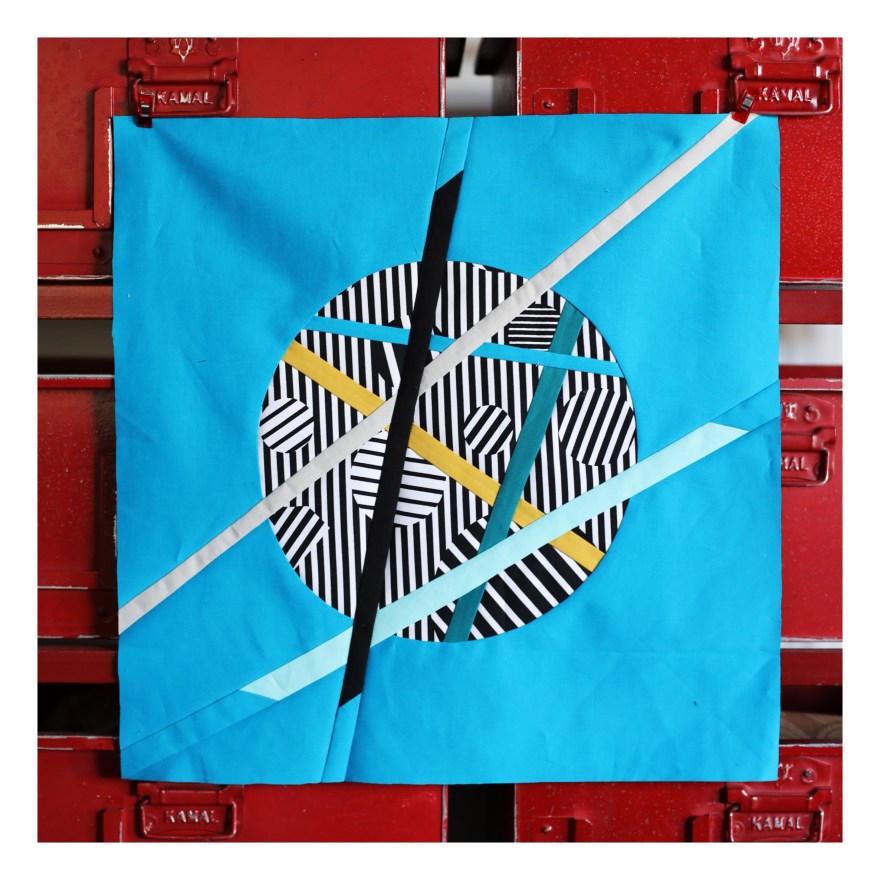
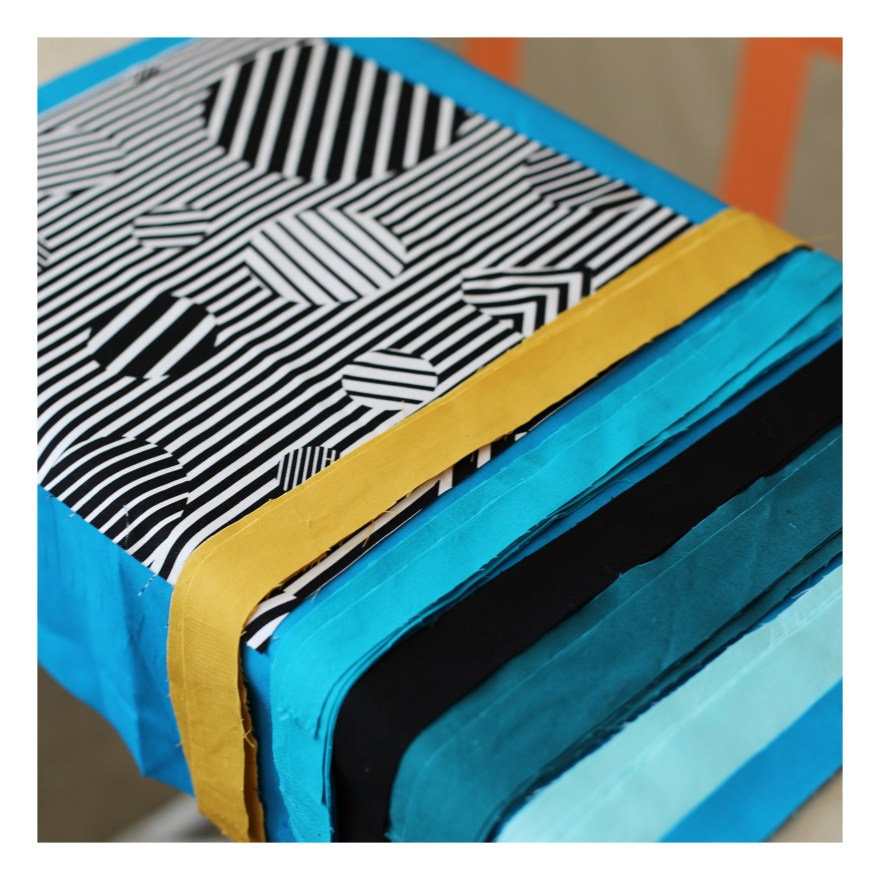
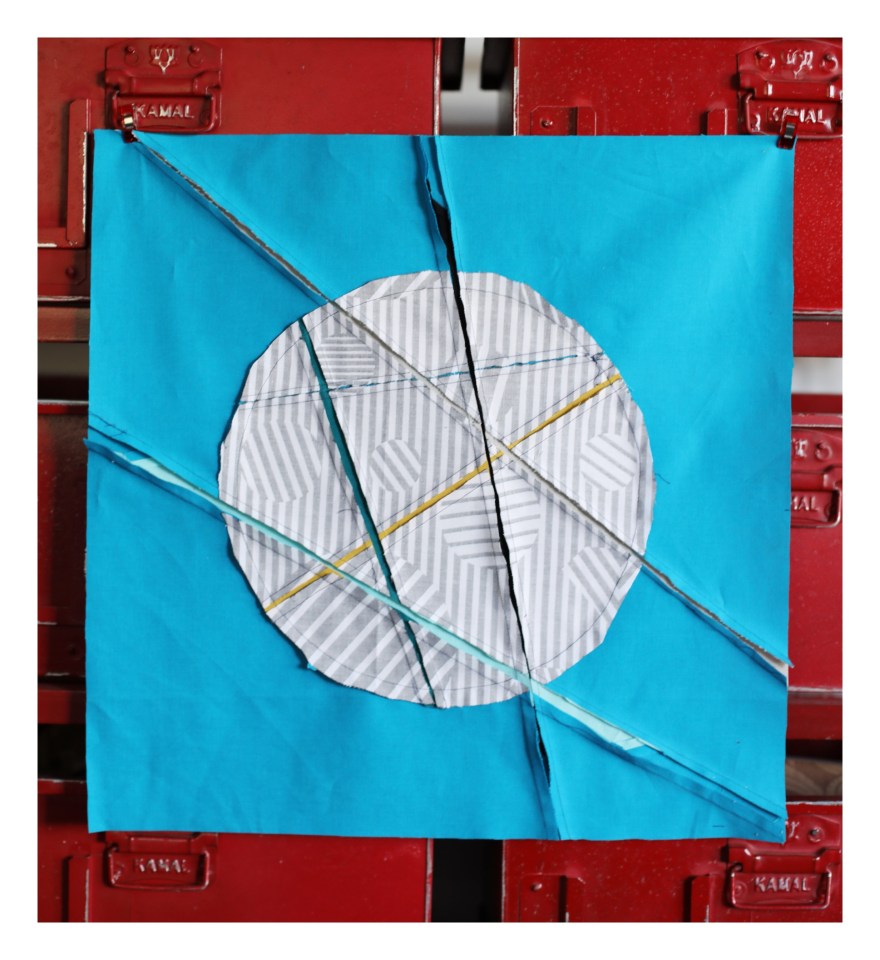
I combined some inset strips, added an inset circle and then added more inset strips on top to exaggerate the sense of layers in this piece. You can see how clean the technique is by a view from the back (something I am often hesitant to do frankly when showing my makes!)
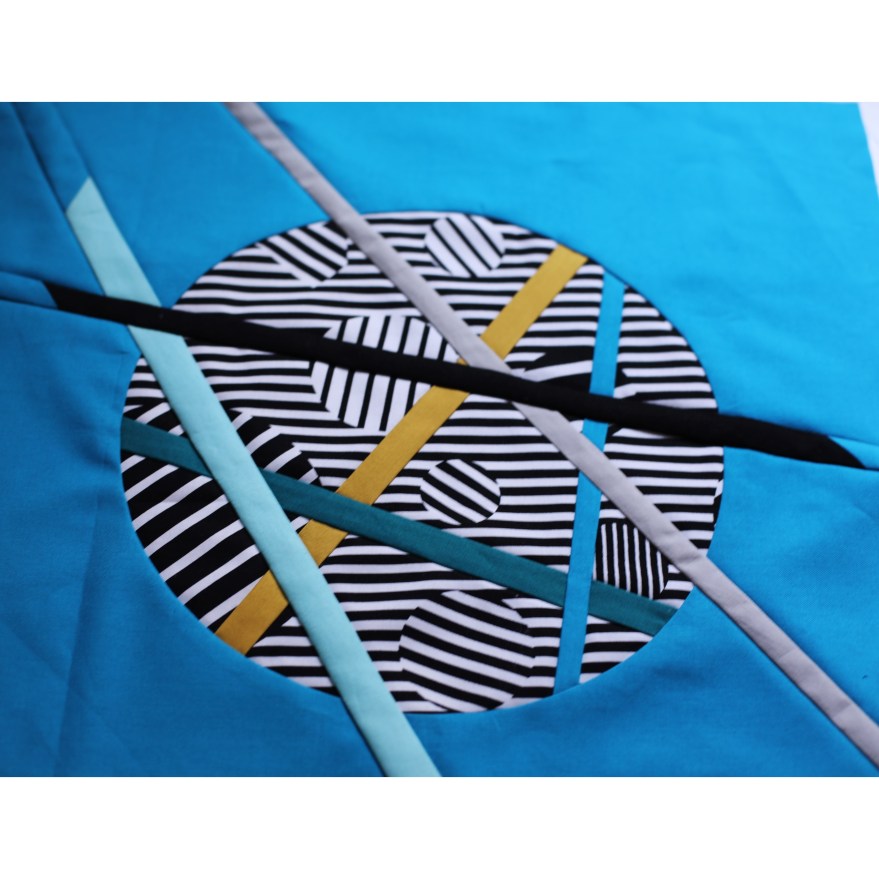
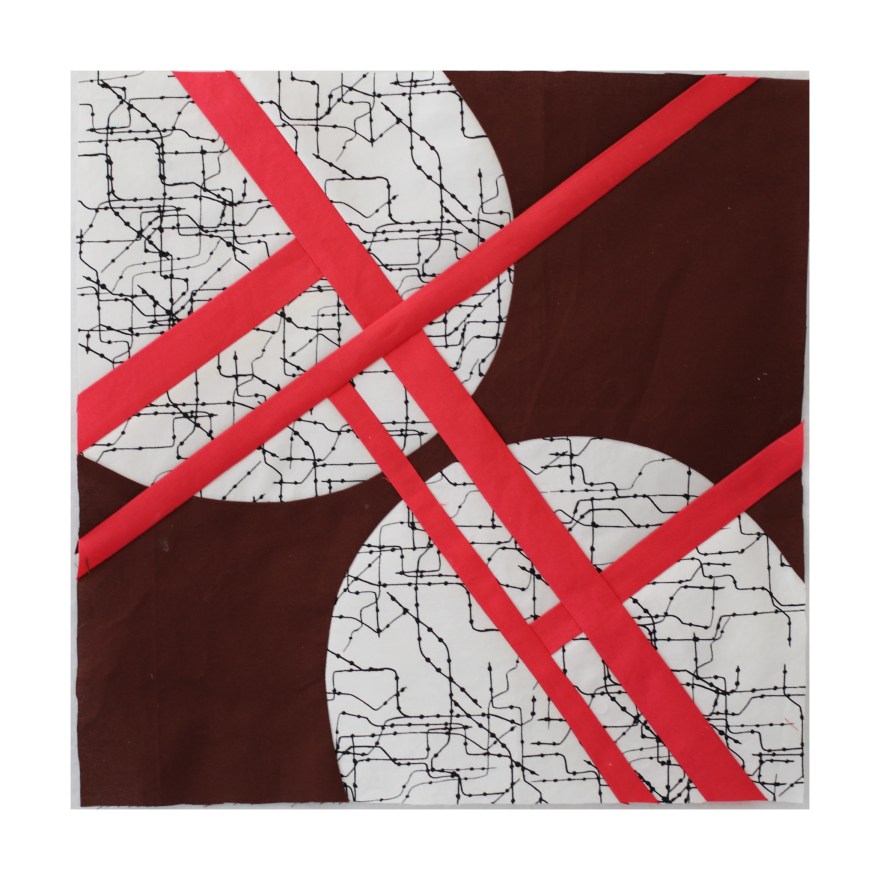
There are so many ways to go with the technique. (hint, hint: You can insert more then straight parallel strips this way). Below are a couple other blocks I made while playing around.

I hope others find this tutorial helpful. I would love to see what folks make with it. If you are on Instagram tag me @entropyalwayswins and your make #insetstripsonthefly.
Hillary

Brilliant as always, Hillary. You never cease to amaze and inspire me
I feel exactly the same about you Mary. xo
I’ll confess I have never done this but I love it! (doh!) And it has some similarities to the matched-seam backing I did recently. Do you use Elmer’s washable glue? or?
Thanks for sharing Hillary!
My absolute pleasure!
>
Very clever. Beautifully explained and photographed. Thanks so much!
Thank you!
When you first posted your pick up sticks quilt, I kept going back to it and just staring, wondering how you created such great depth. TBH, I love all your quilts for their thoughtfulness and graphic impact, the designs resonate for me. I had no idea you have a blog until this morning, so imagine my excitement at finding this post! Thank you for all you share, and for doing so with kindness.
That’s so kind of you to say Marilyn. Thank you
yay!