An Addition to My Inheritance

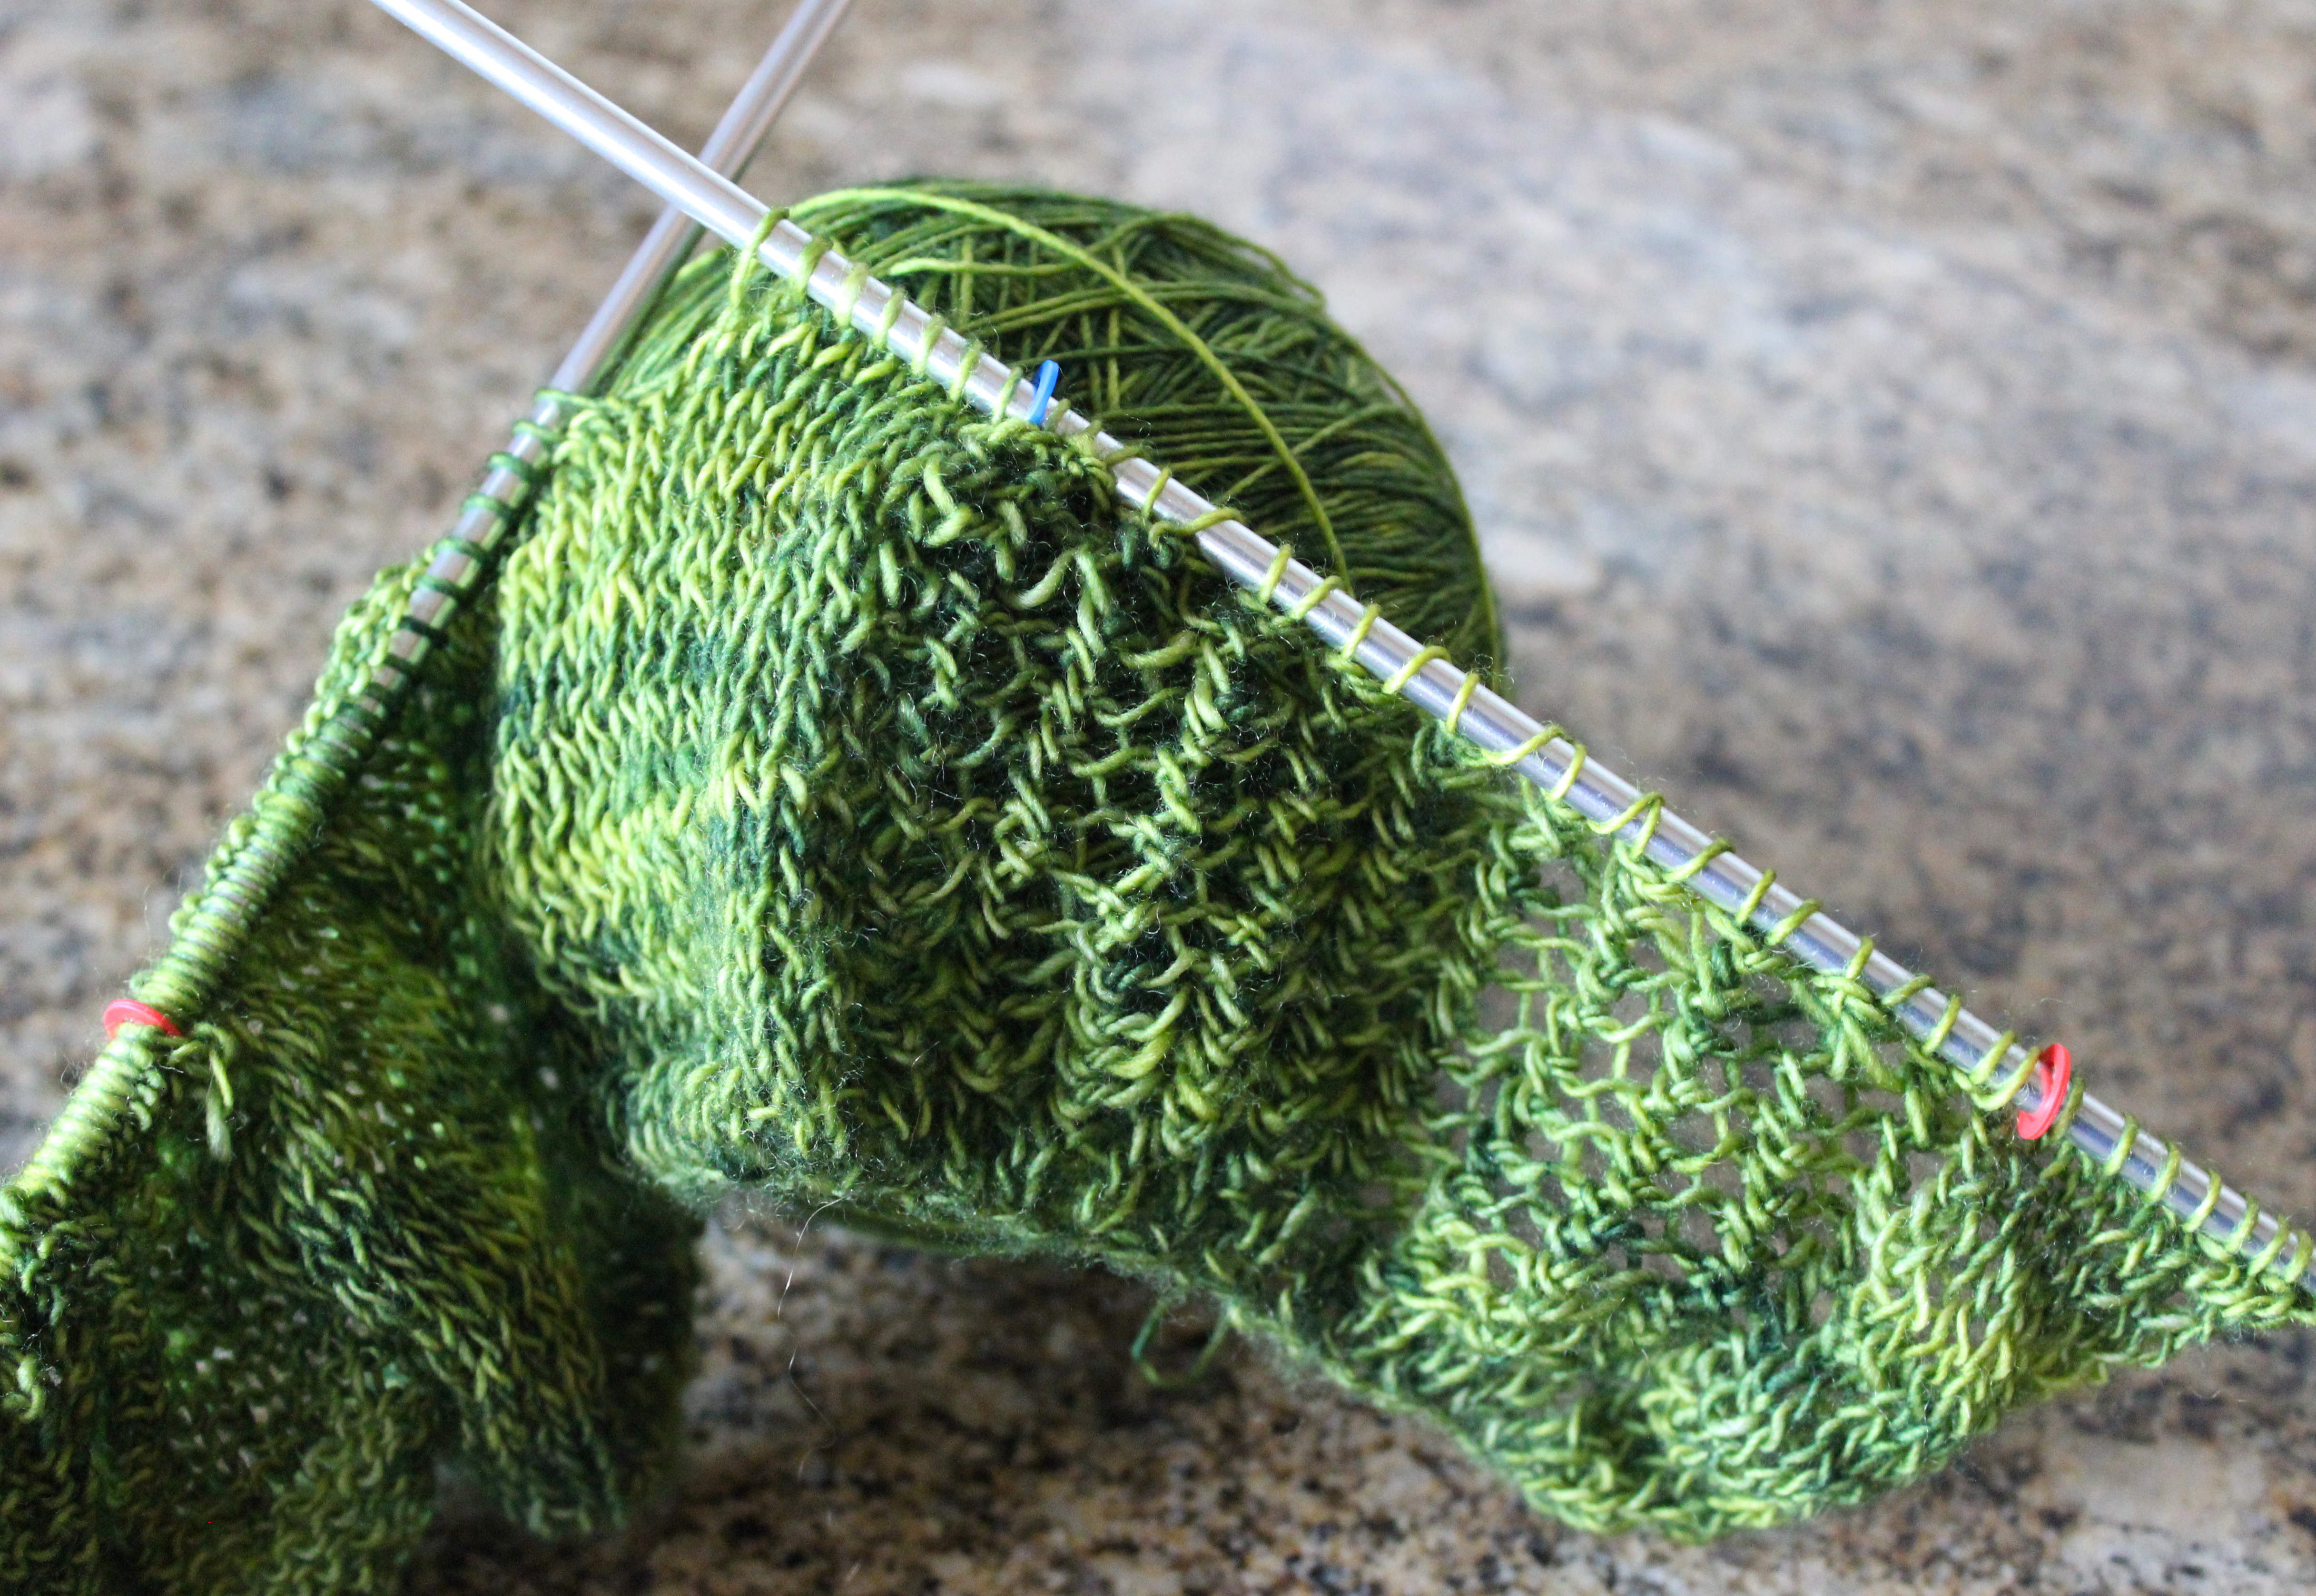
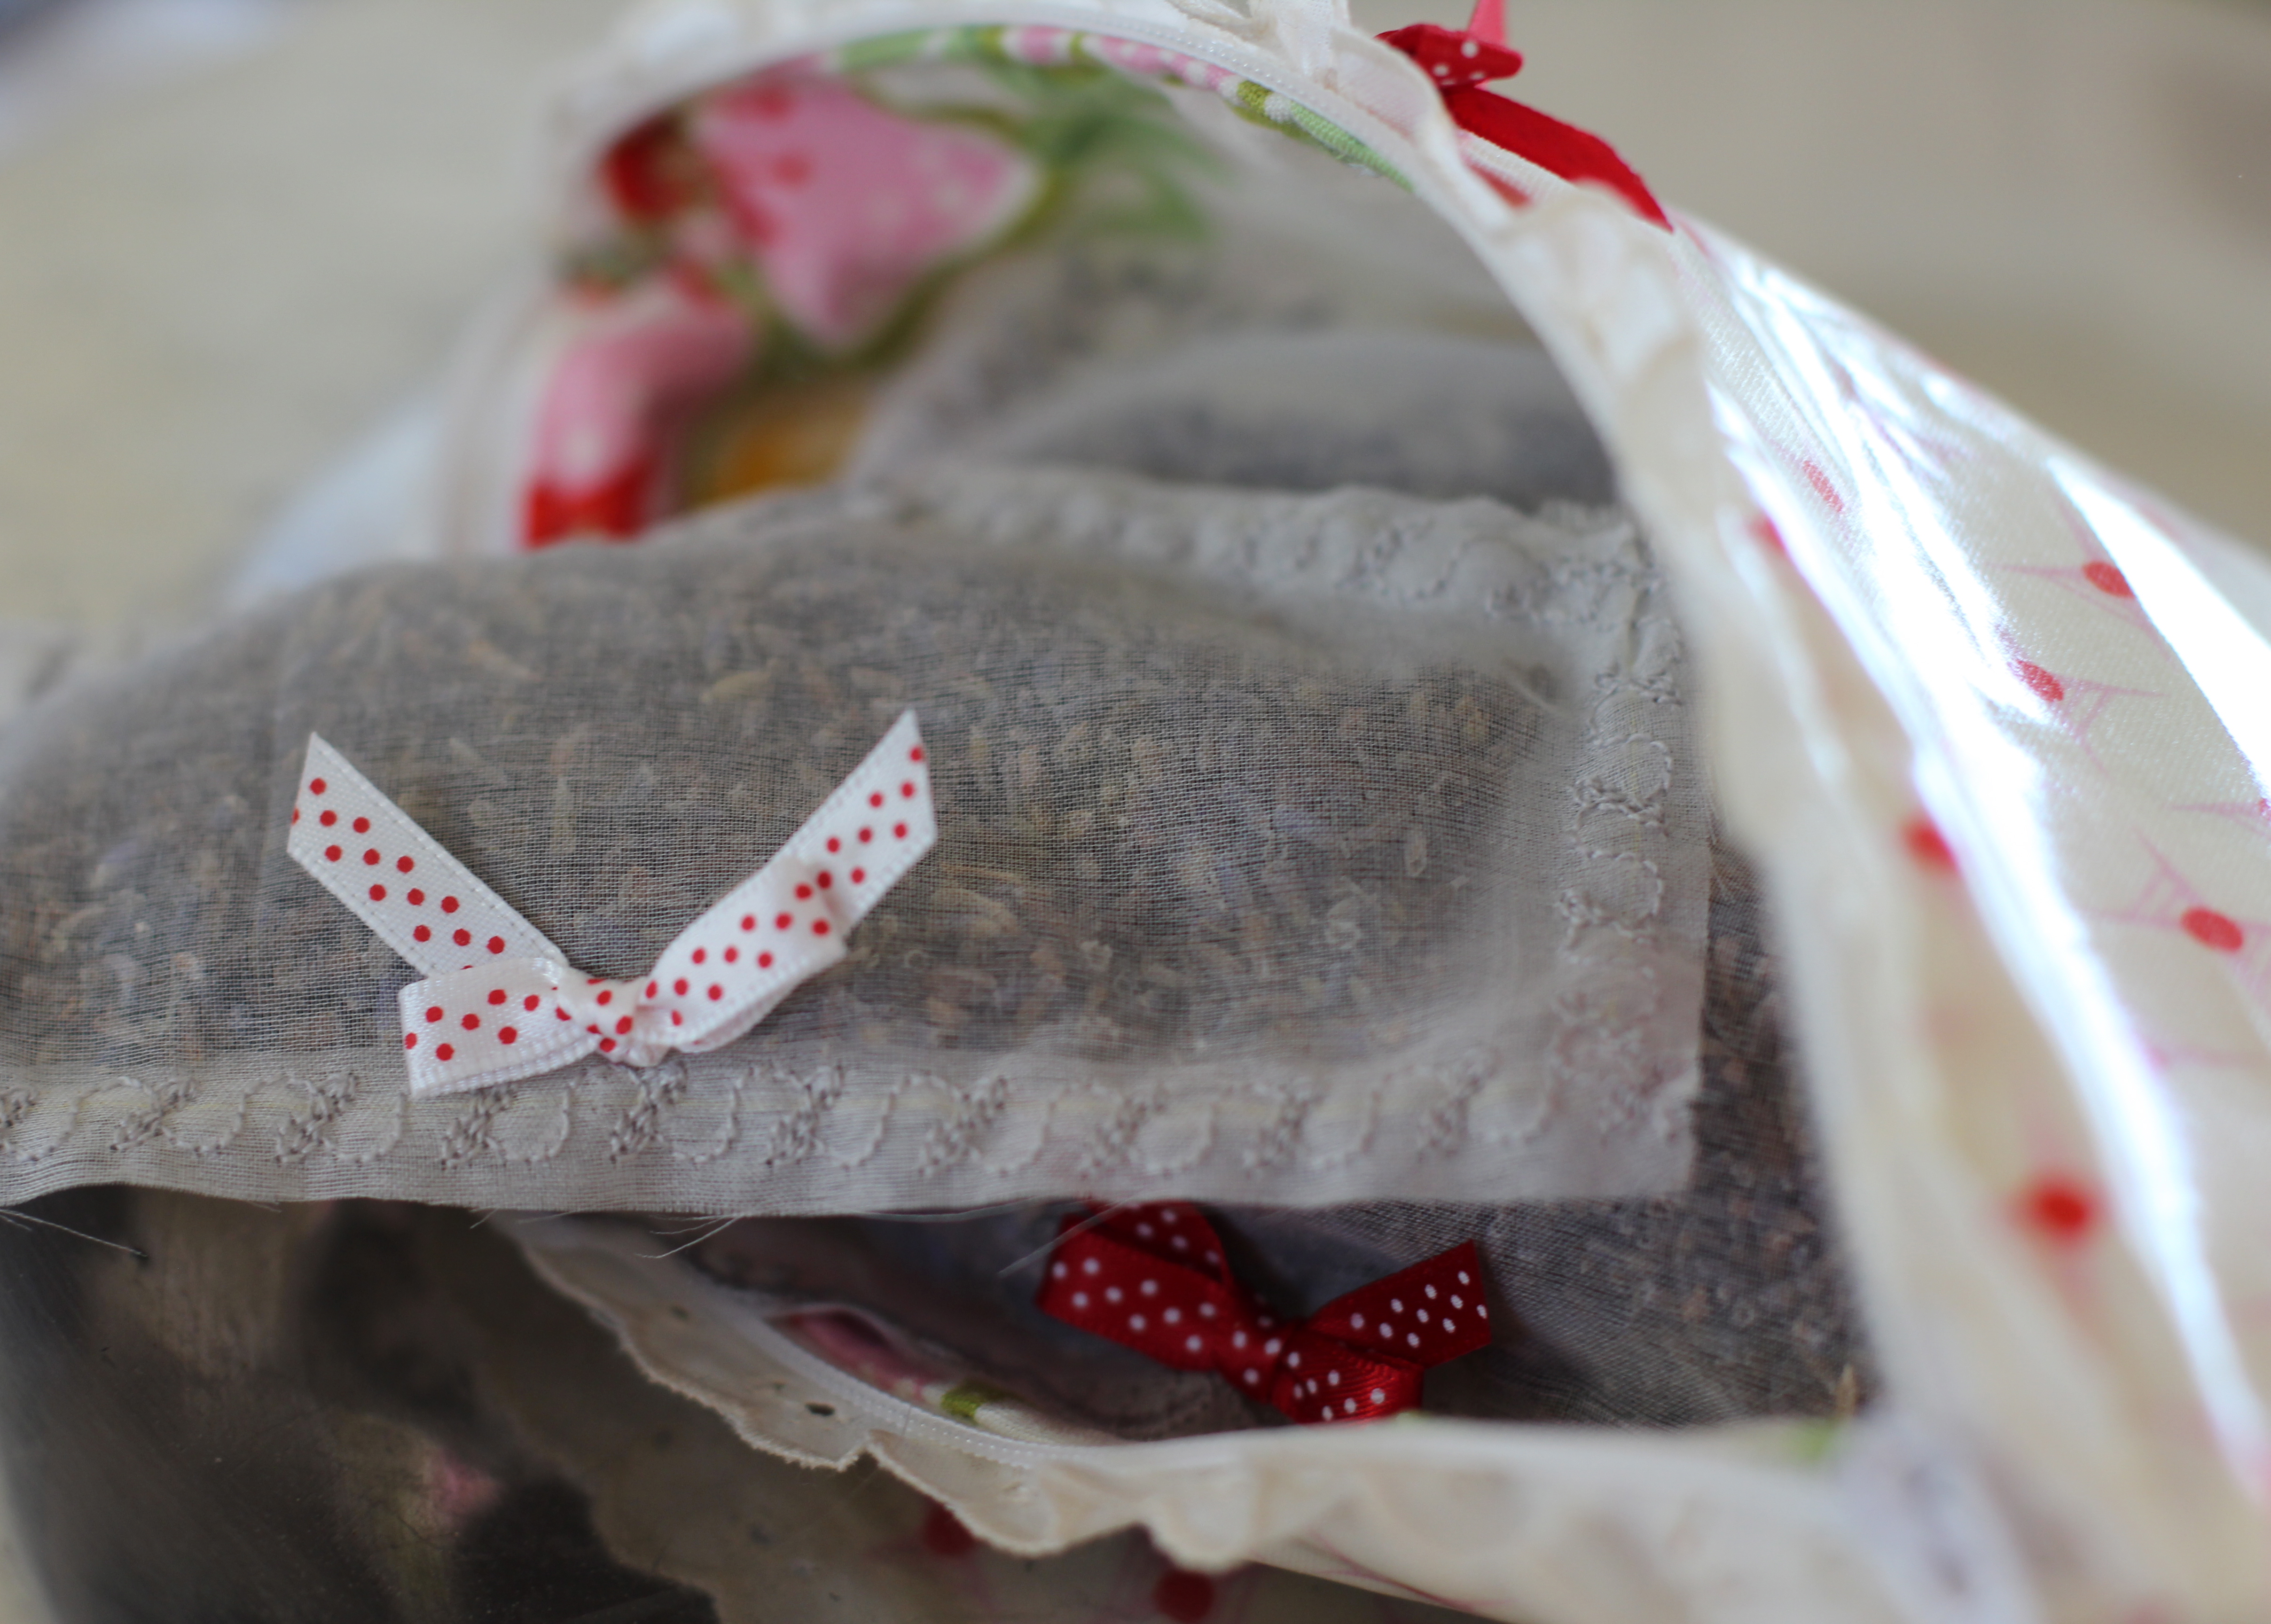
Many moons ago, my grandmother and mother taught me how to knit and sew. Every Christmas and birthday as a child, Grandma LiLa would make my brother and I handmade toys and clothes. When my knitting skills progressed she made me my own knitting needle roll which I use to this day. When she died I inherited her own knitting needle rolls, needles and all. To say I have an impressive collection is an understatement.

IMG_4927

IMG_4928

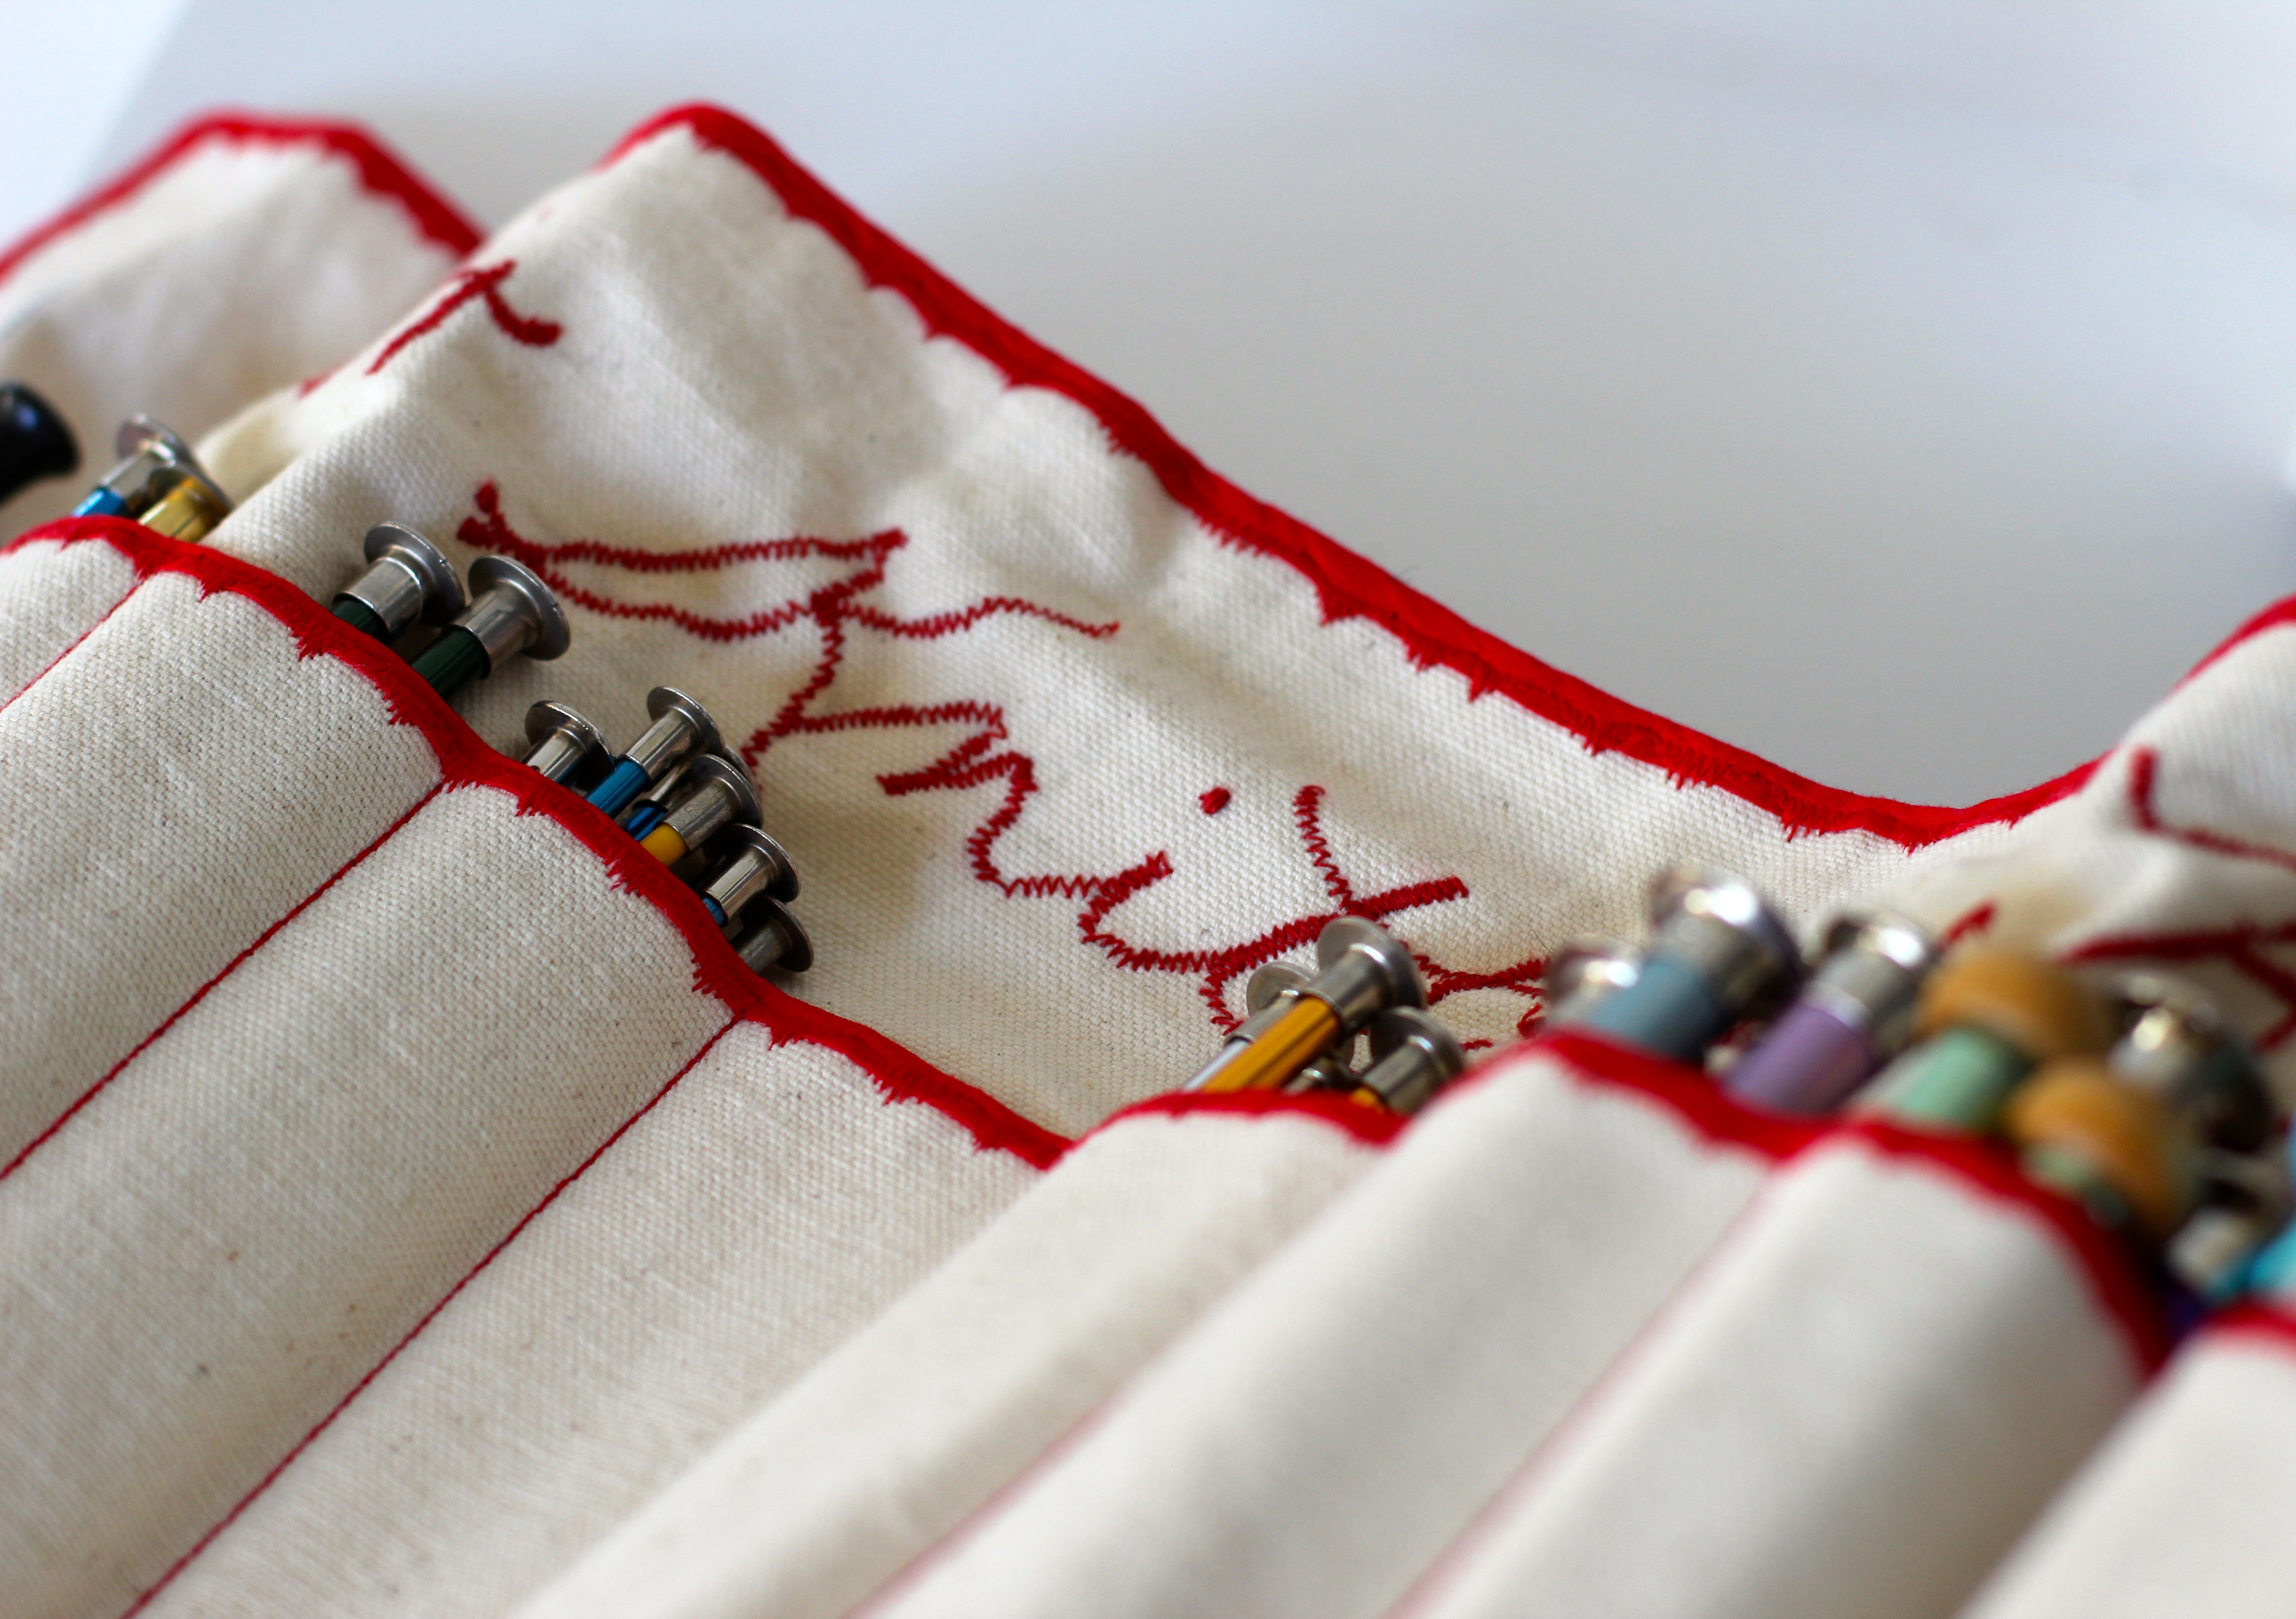
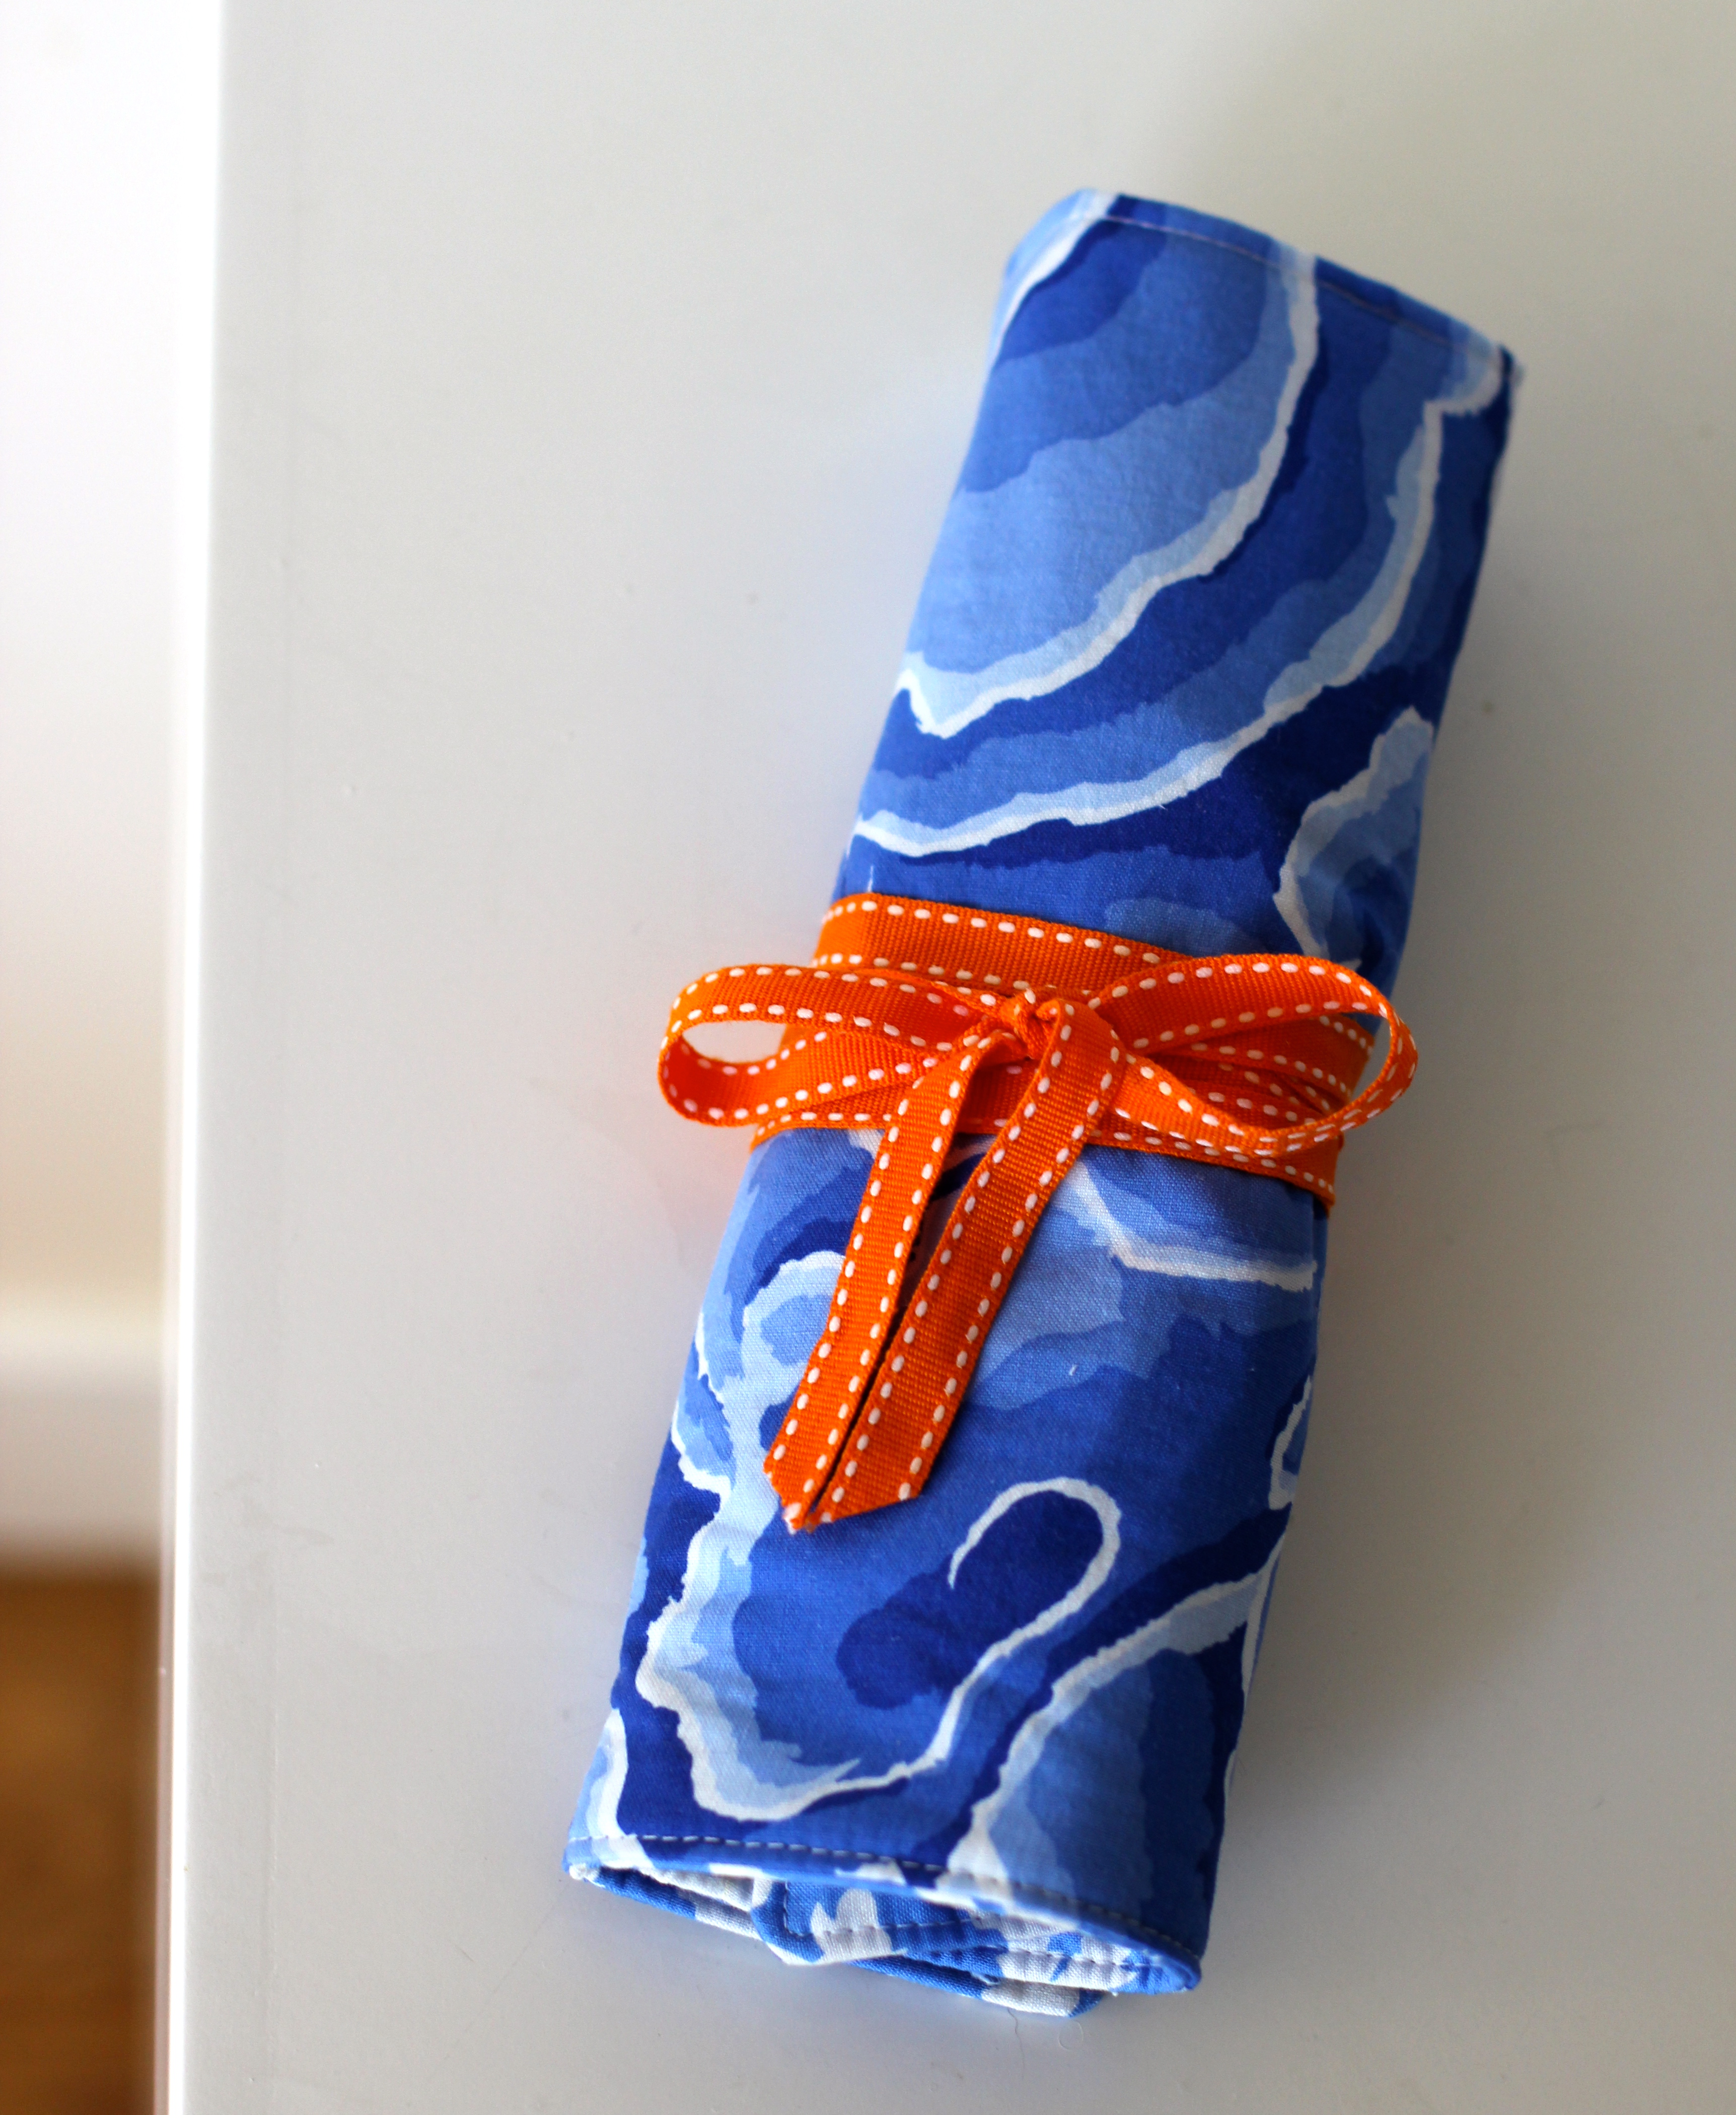
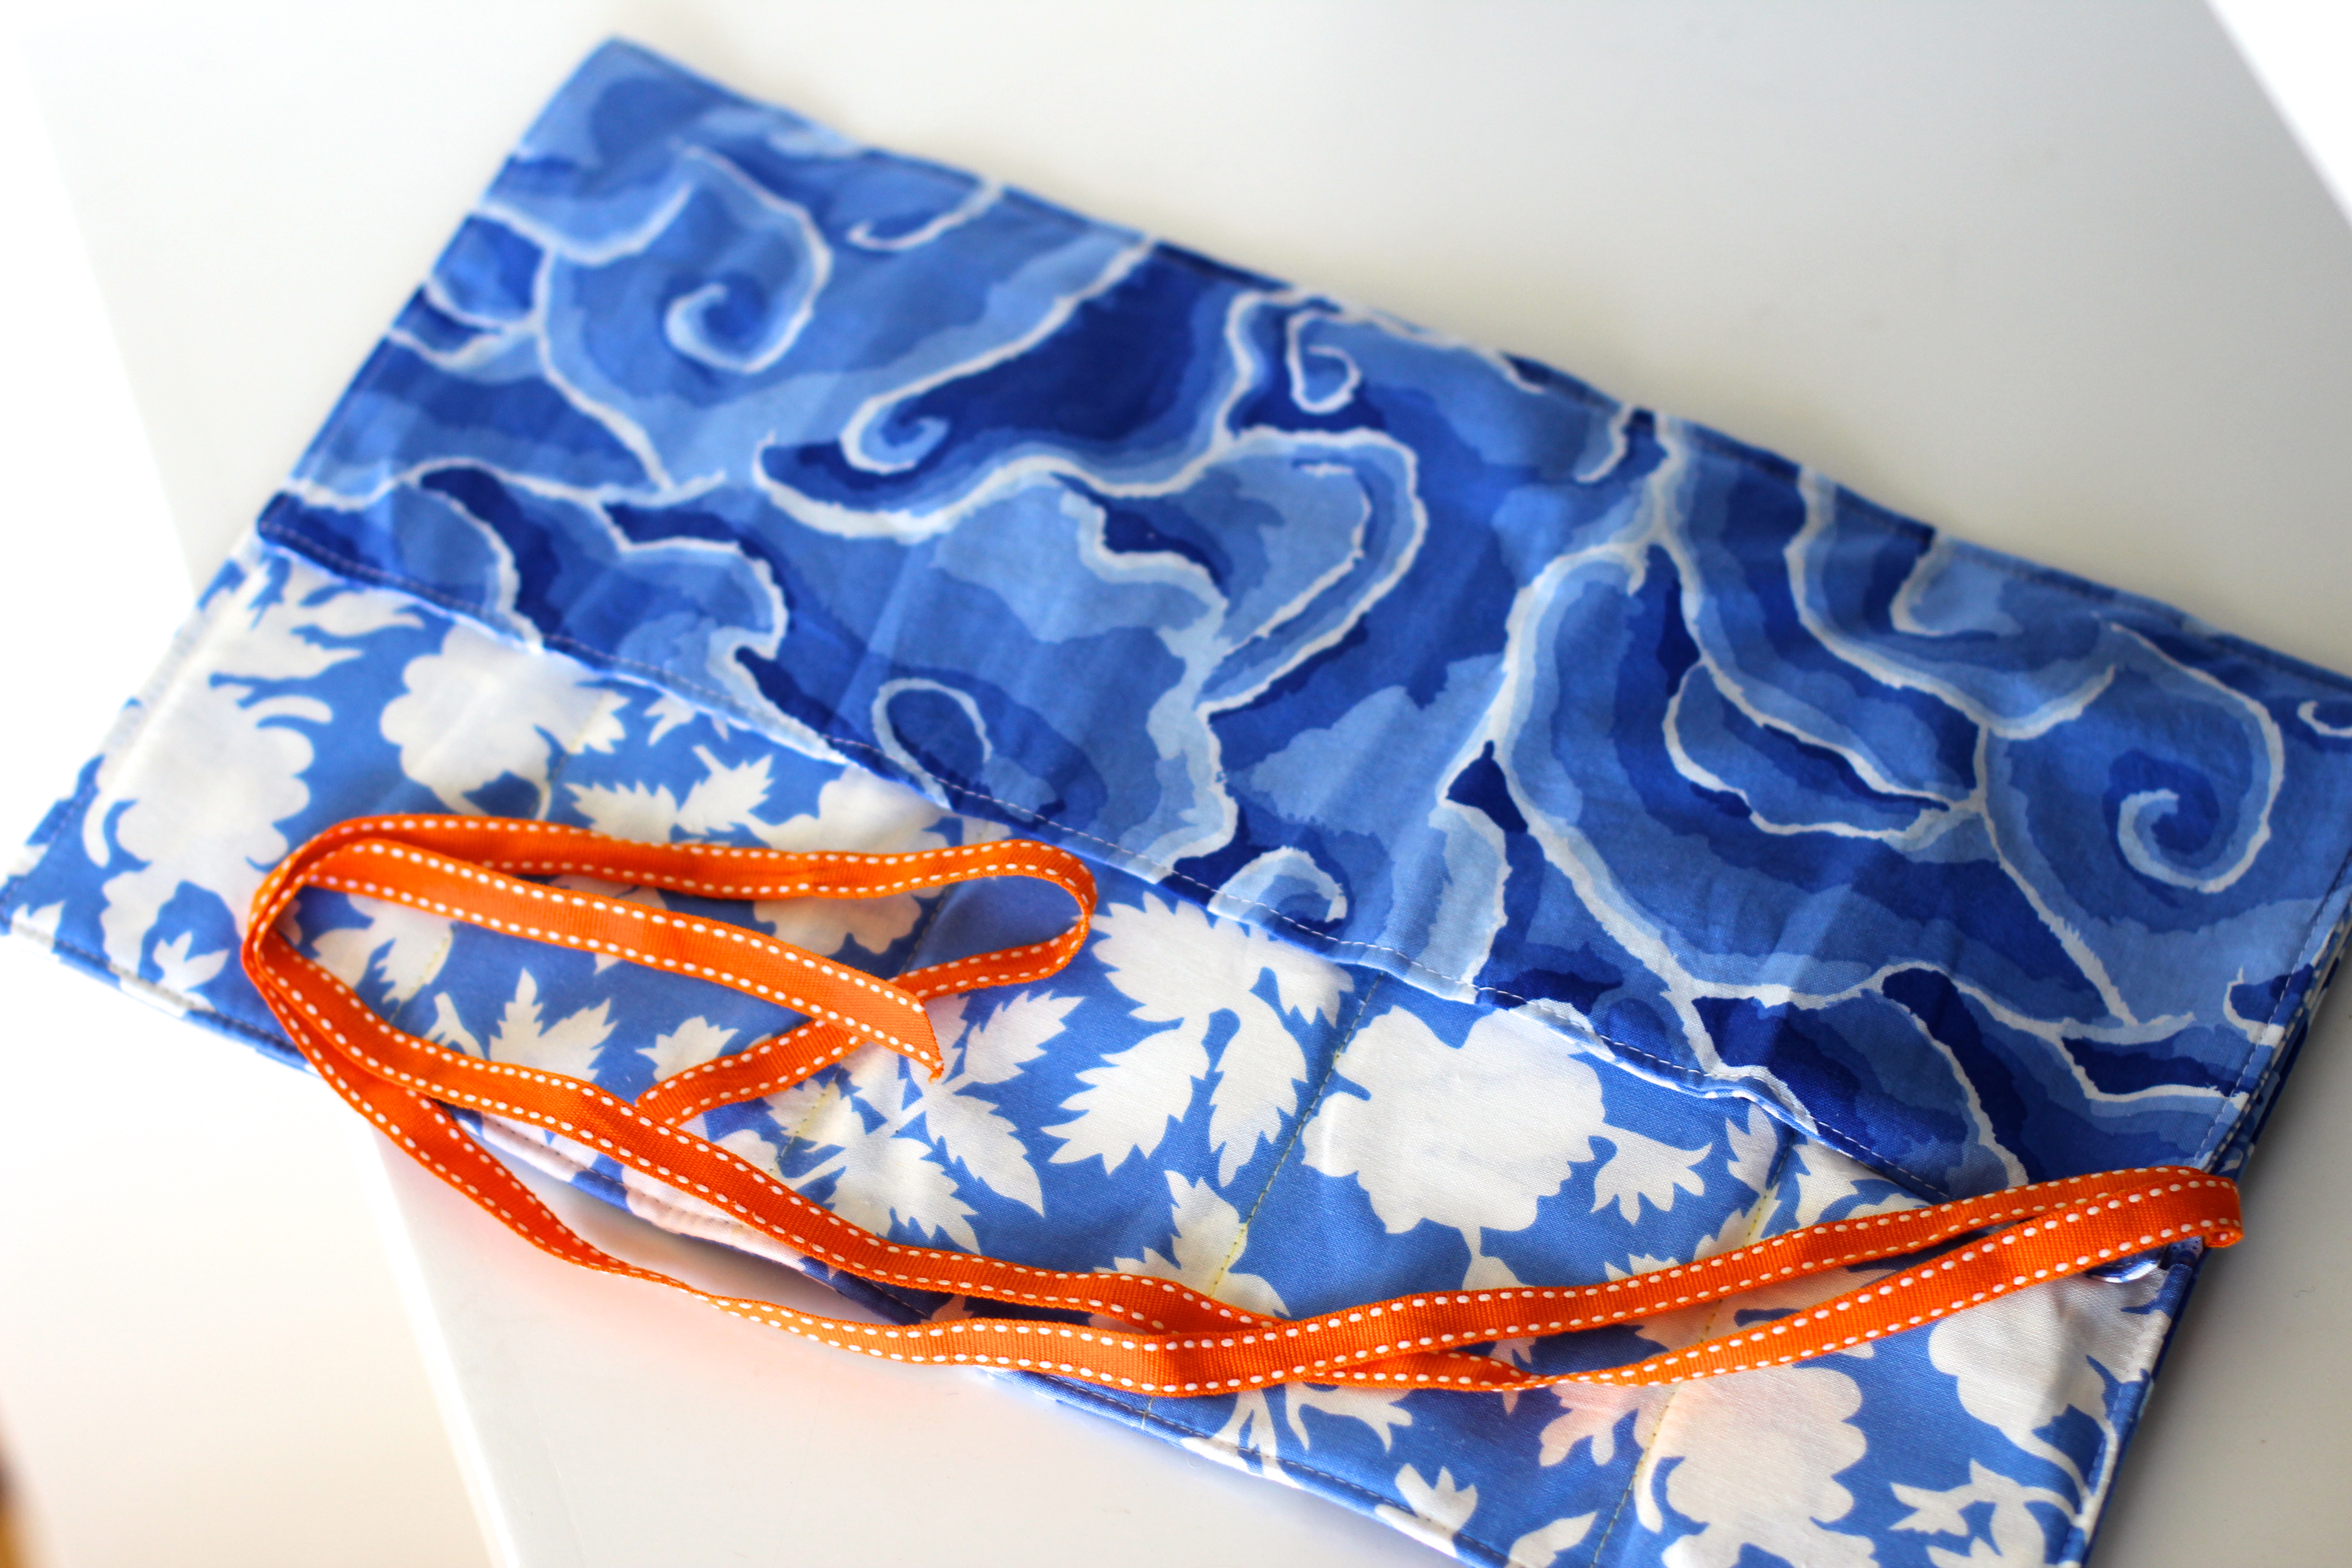
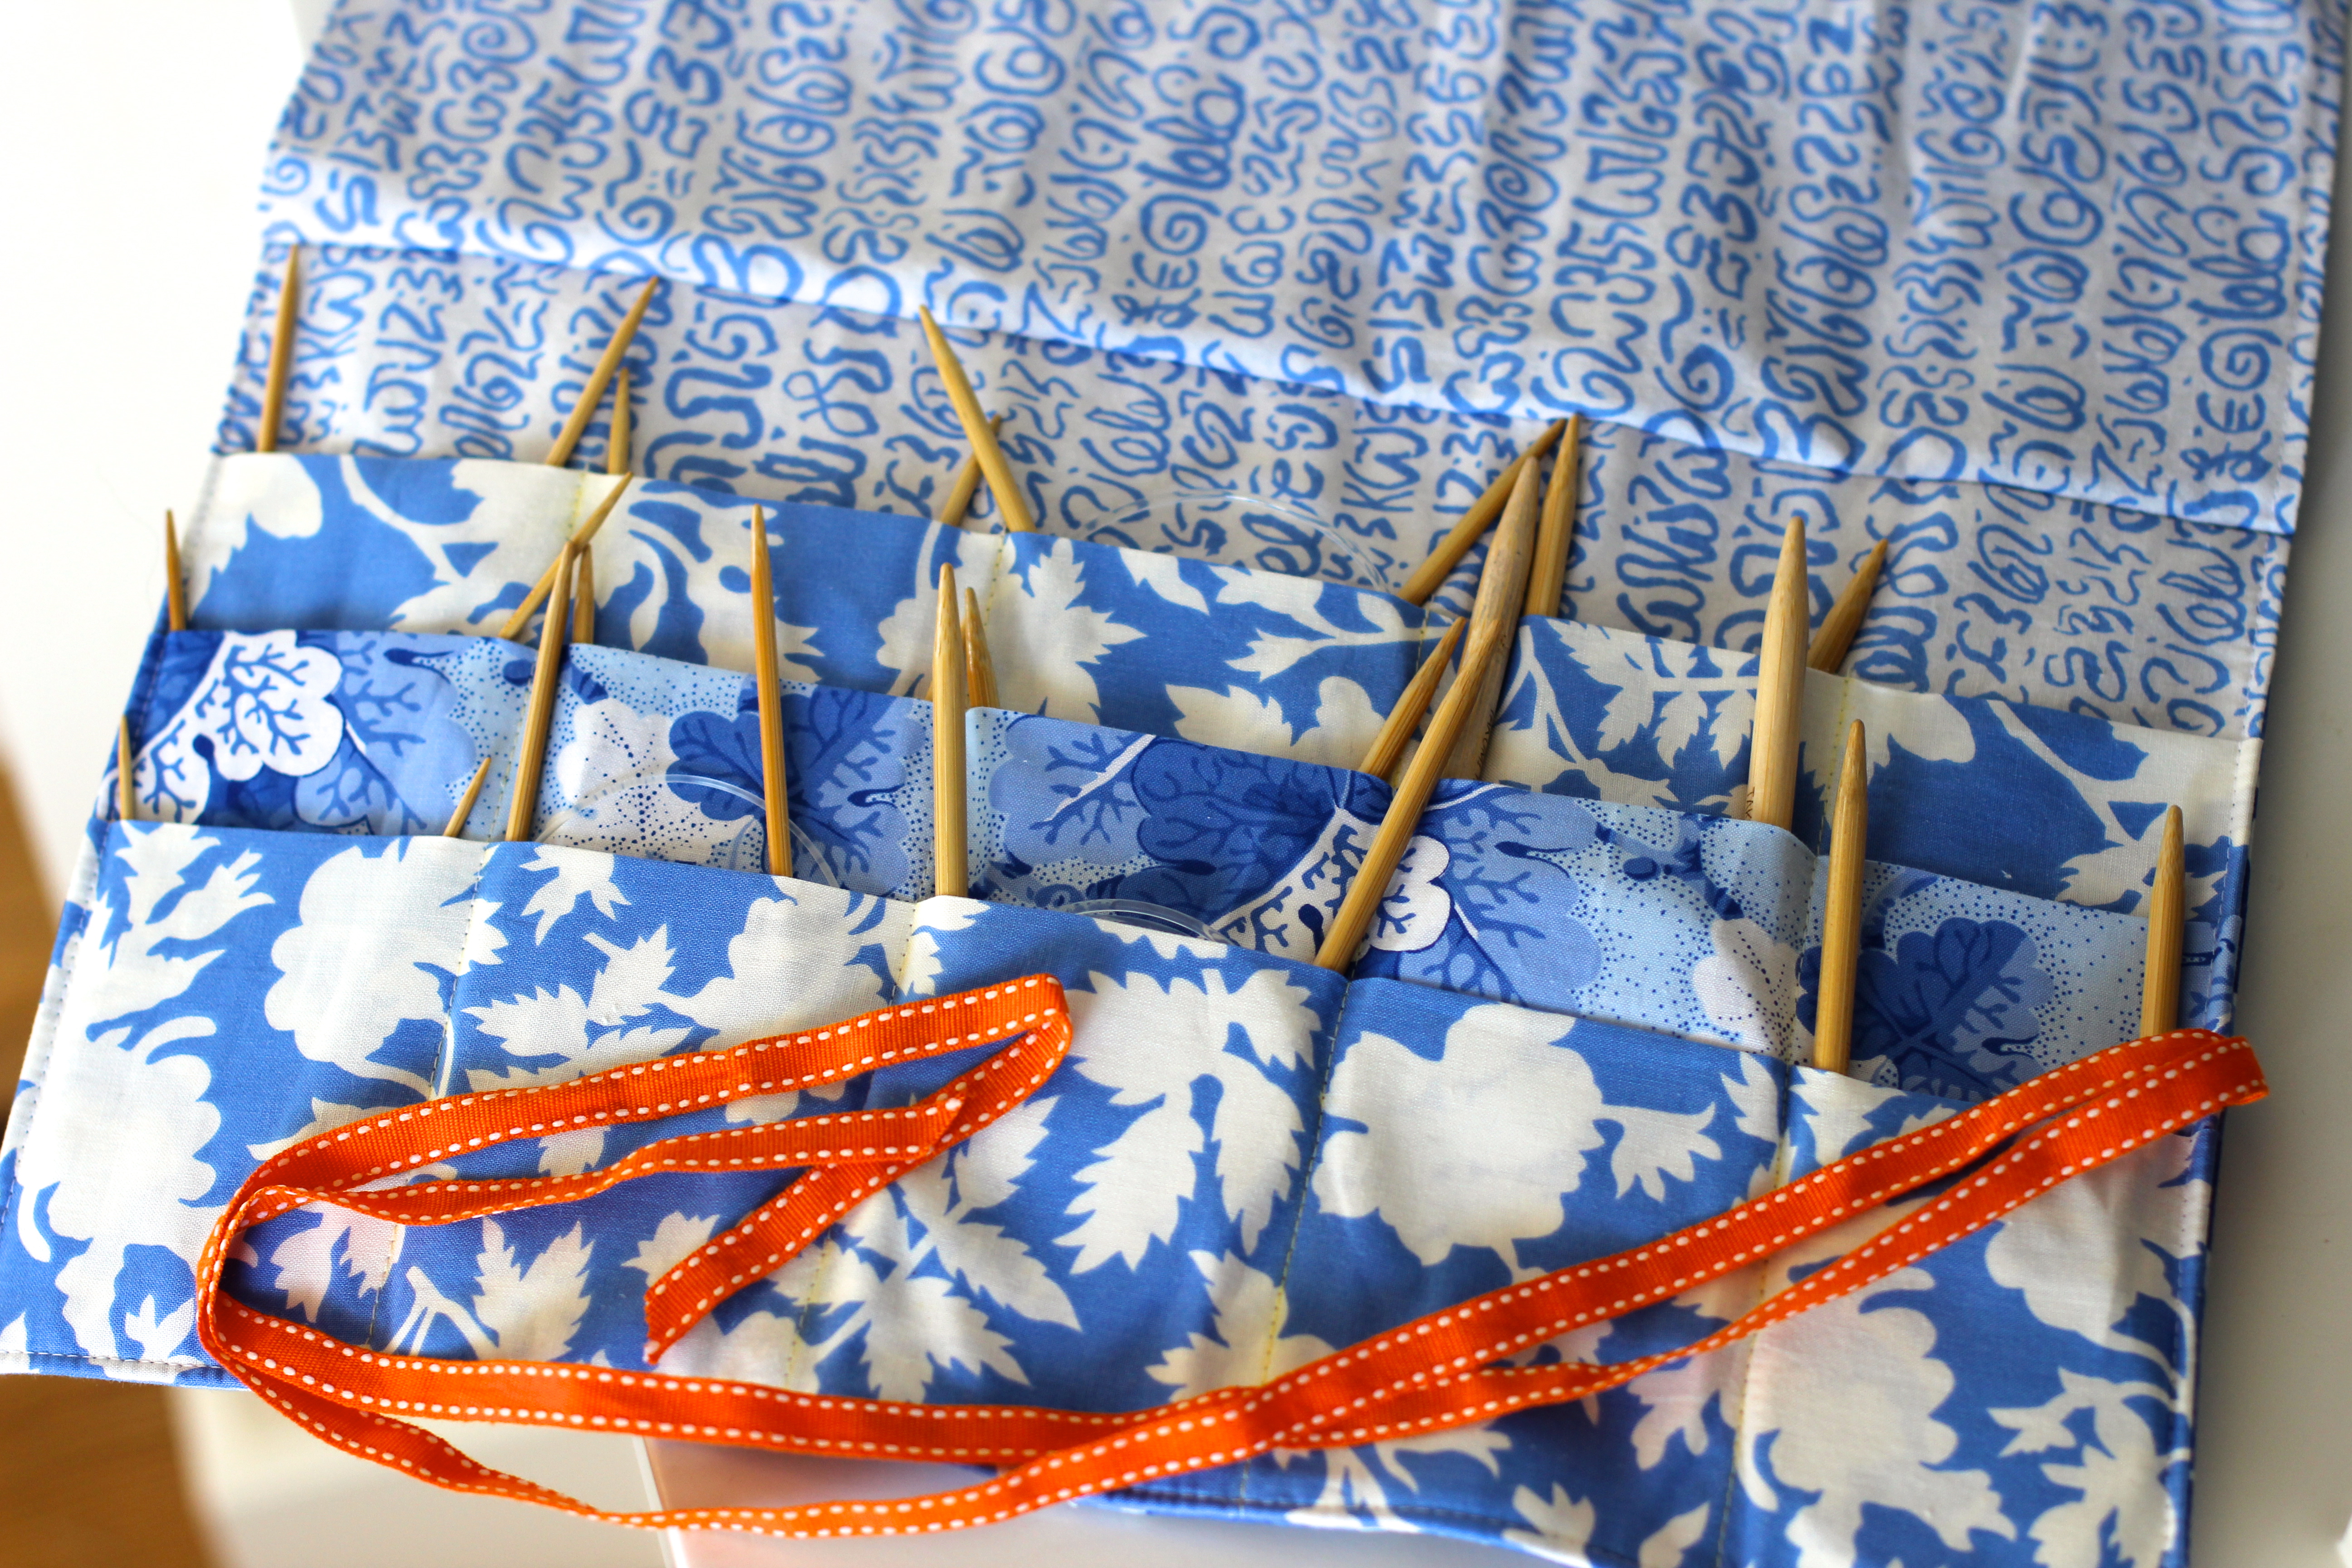
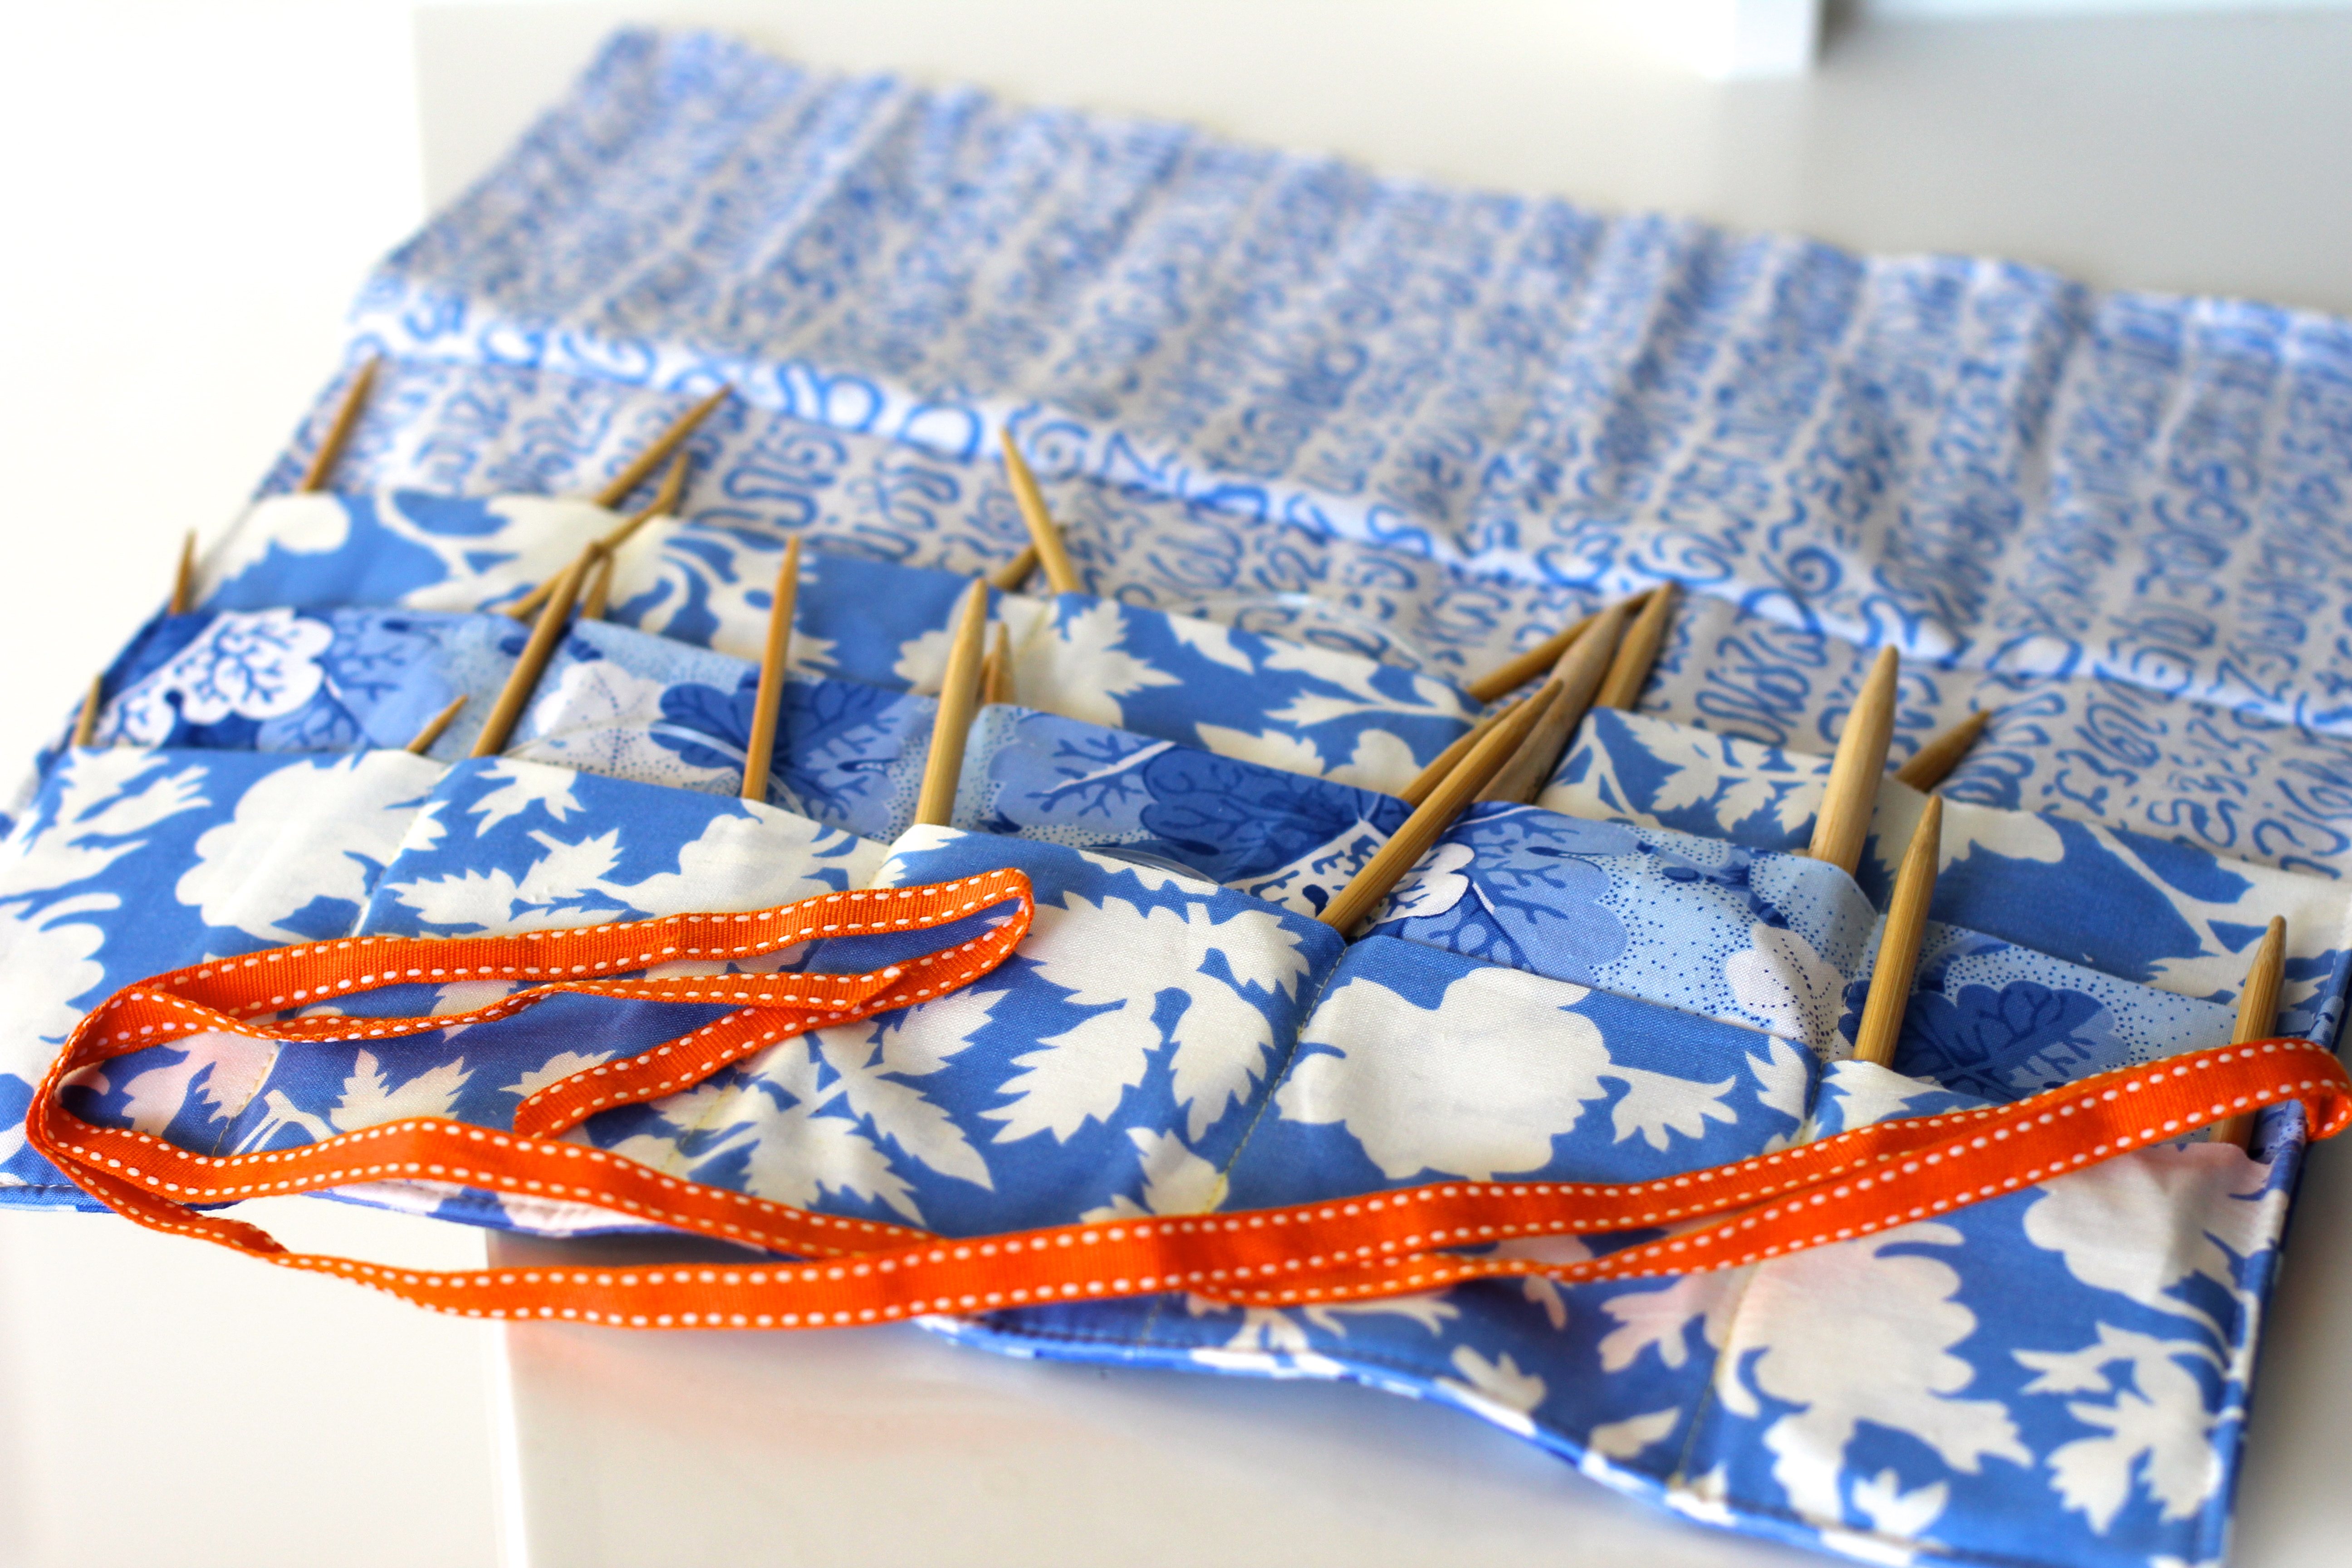
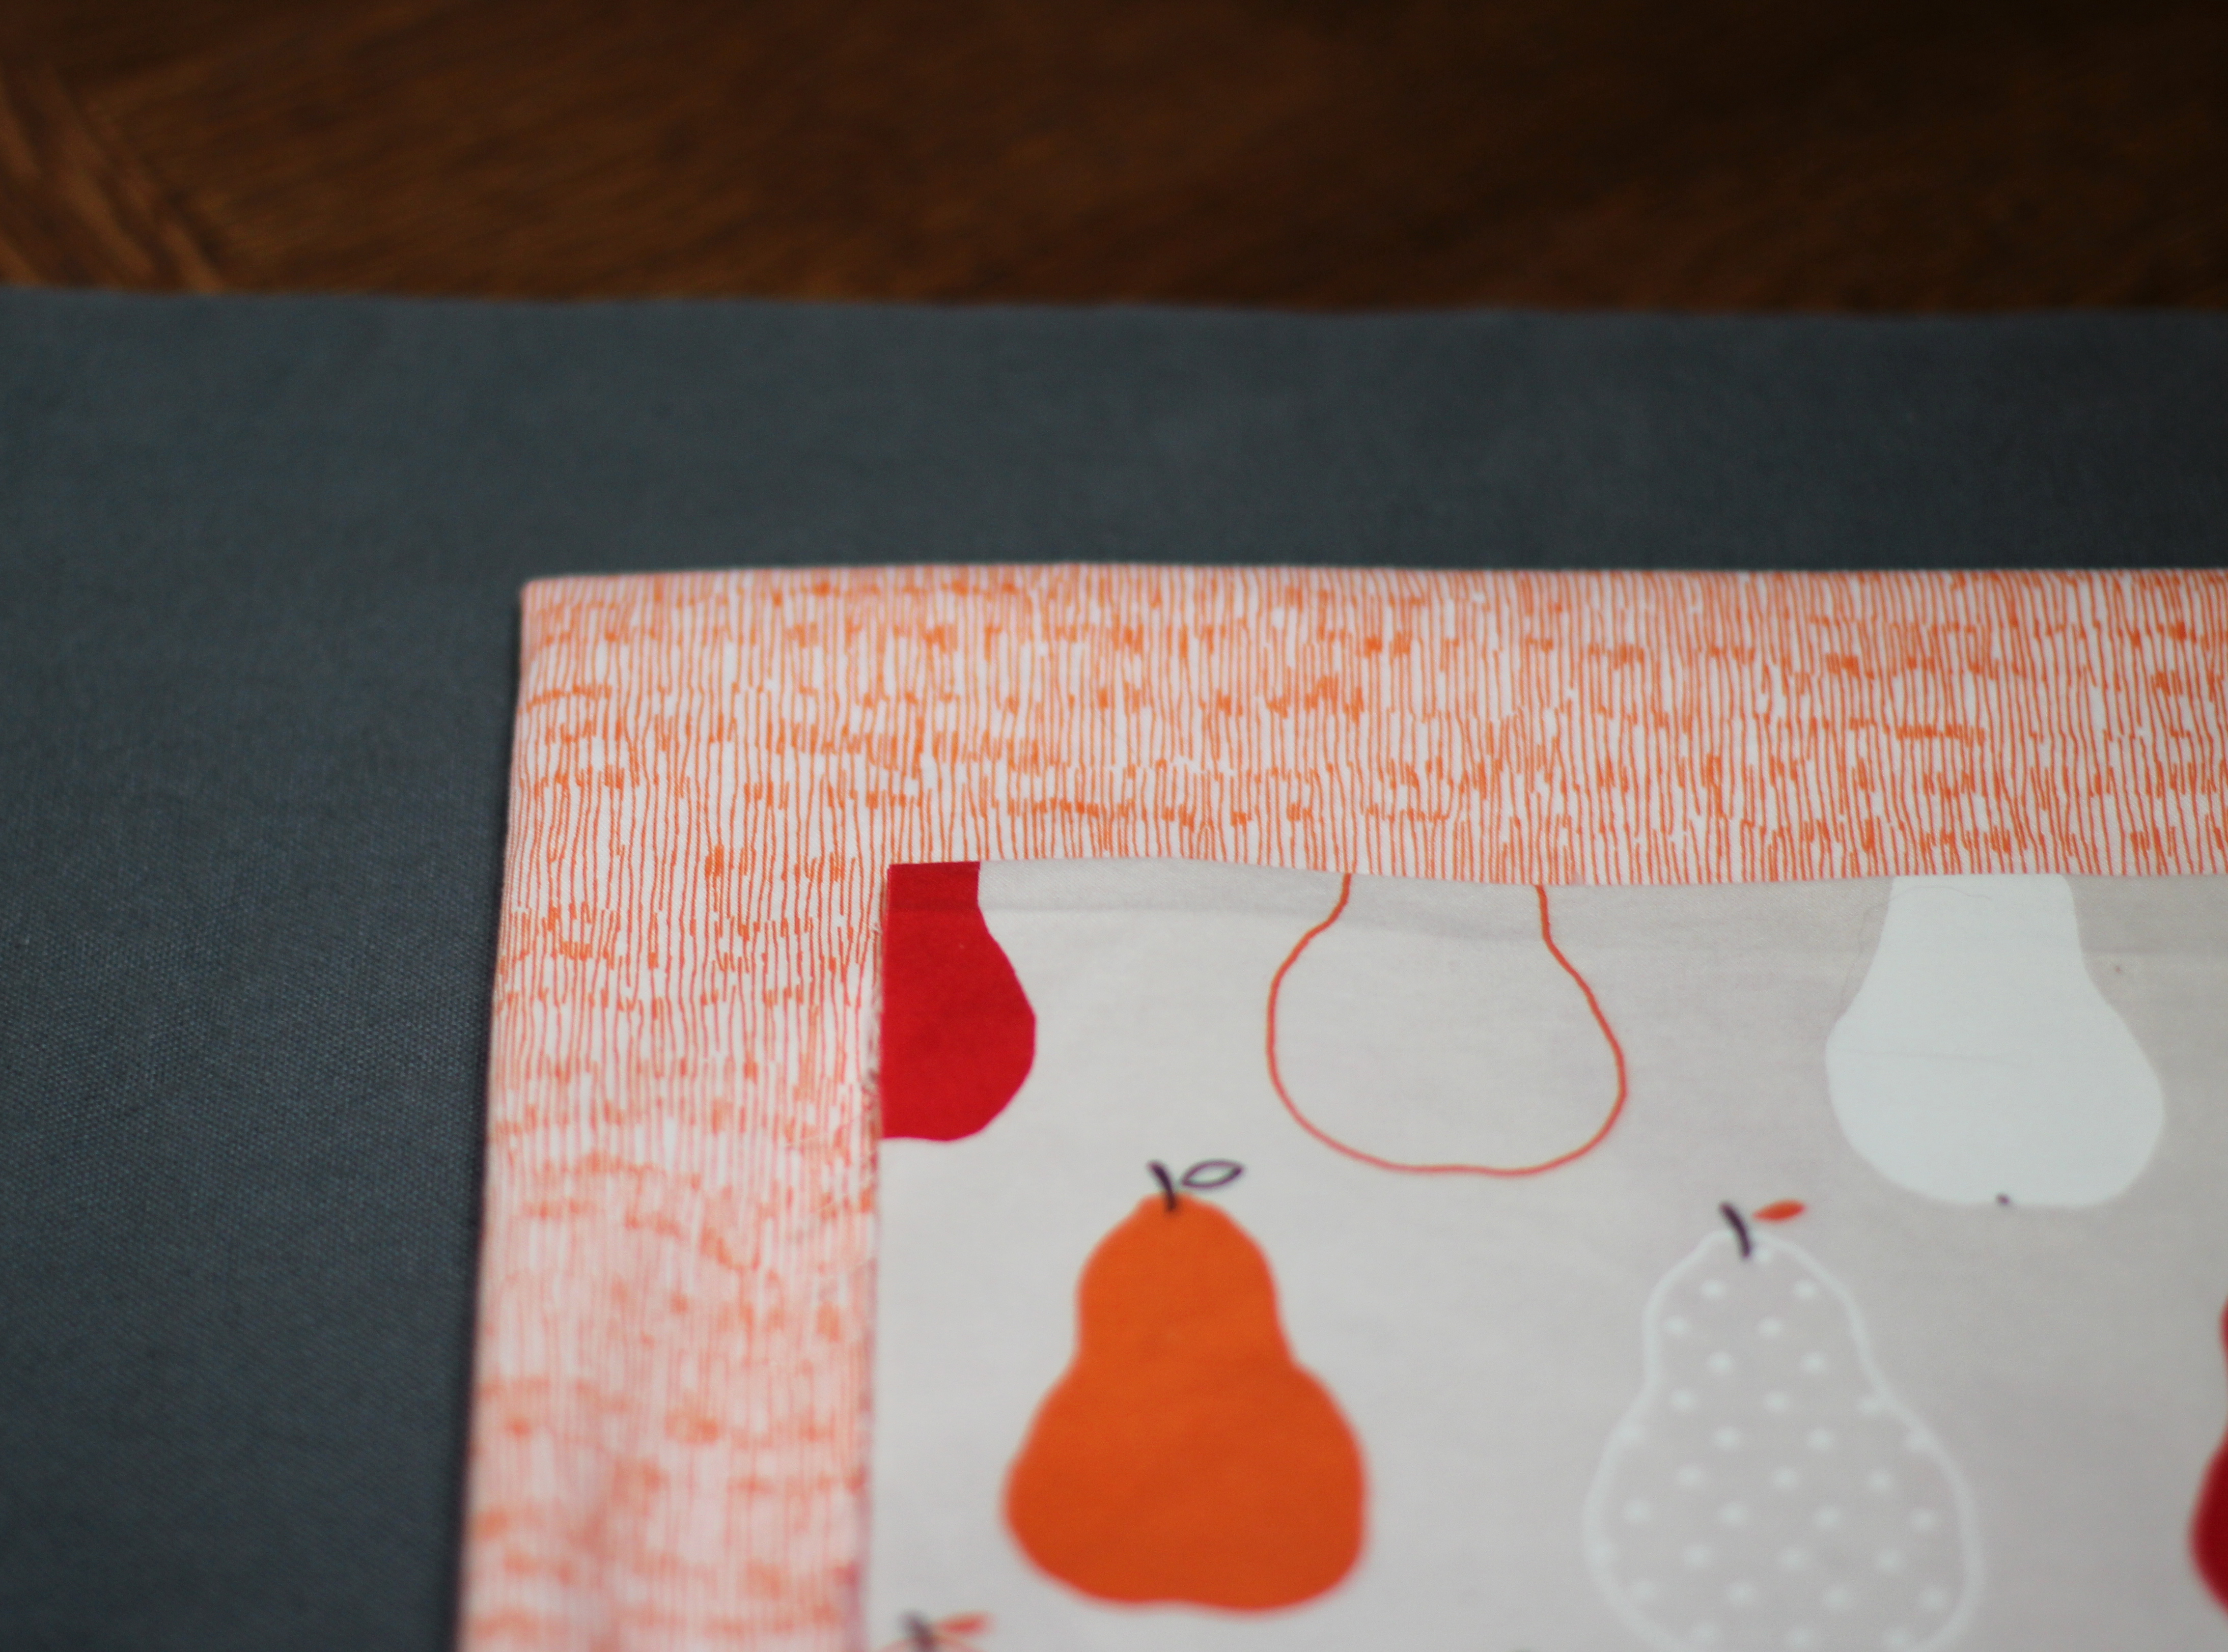
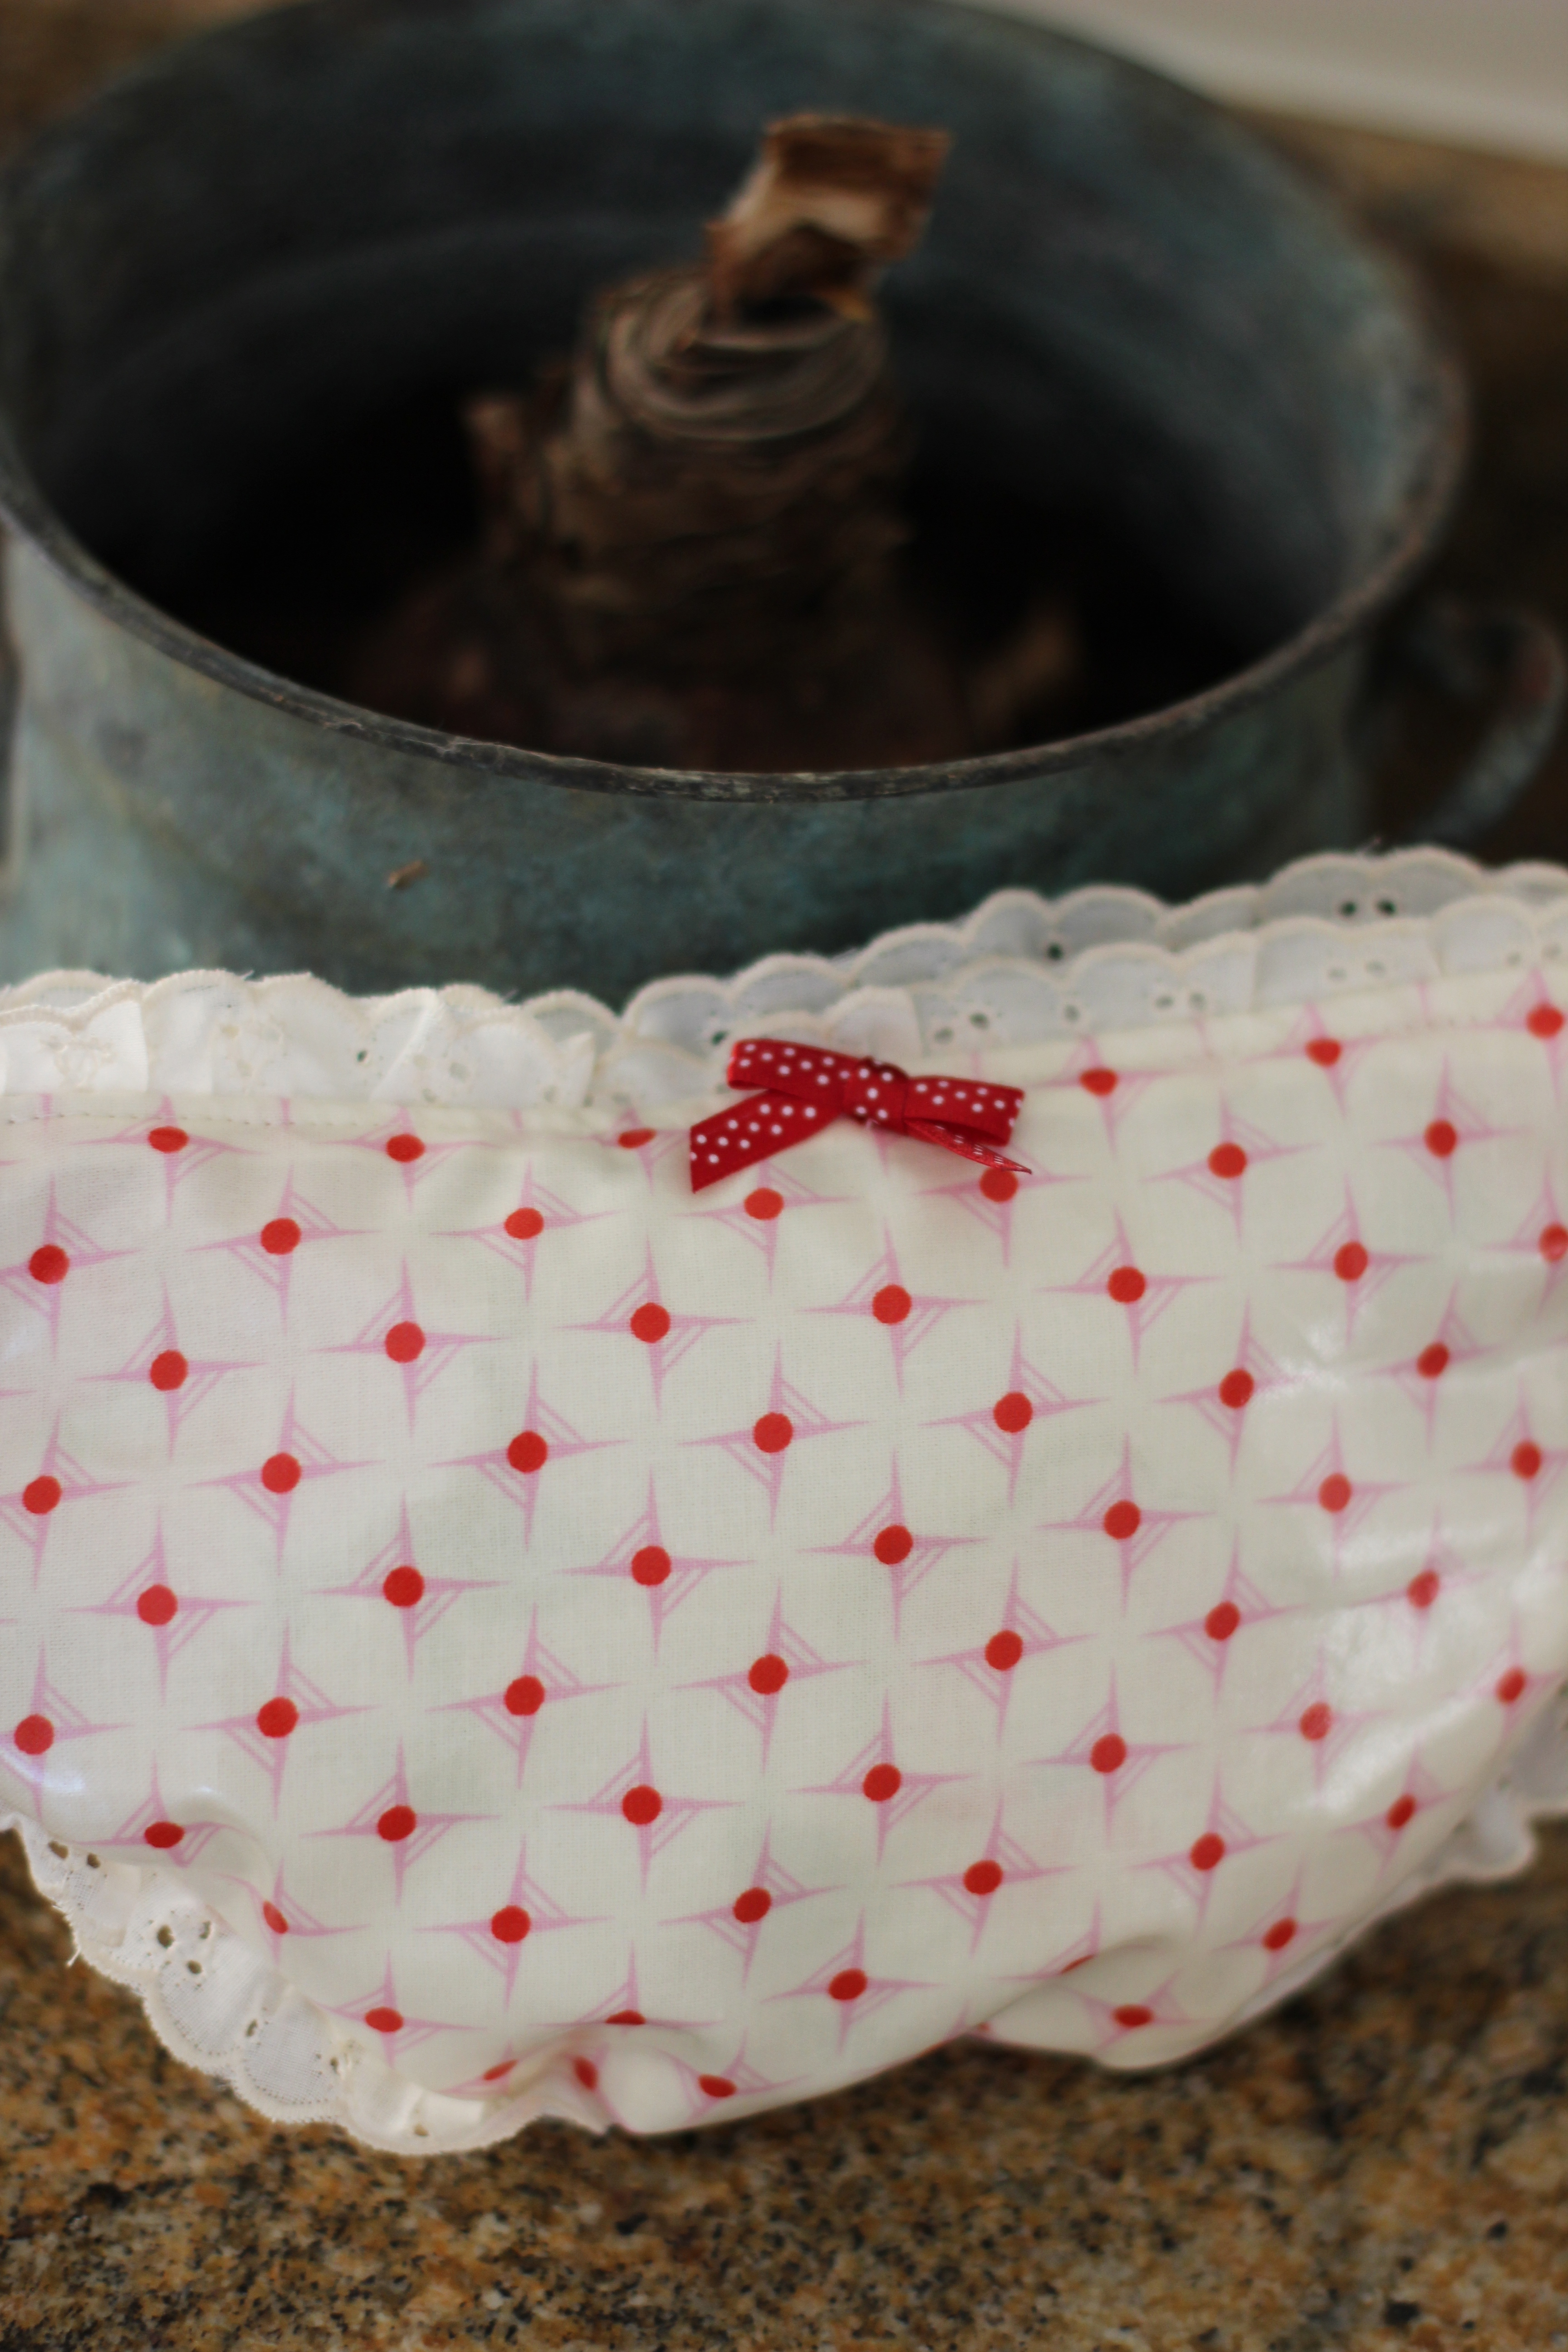
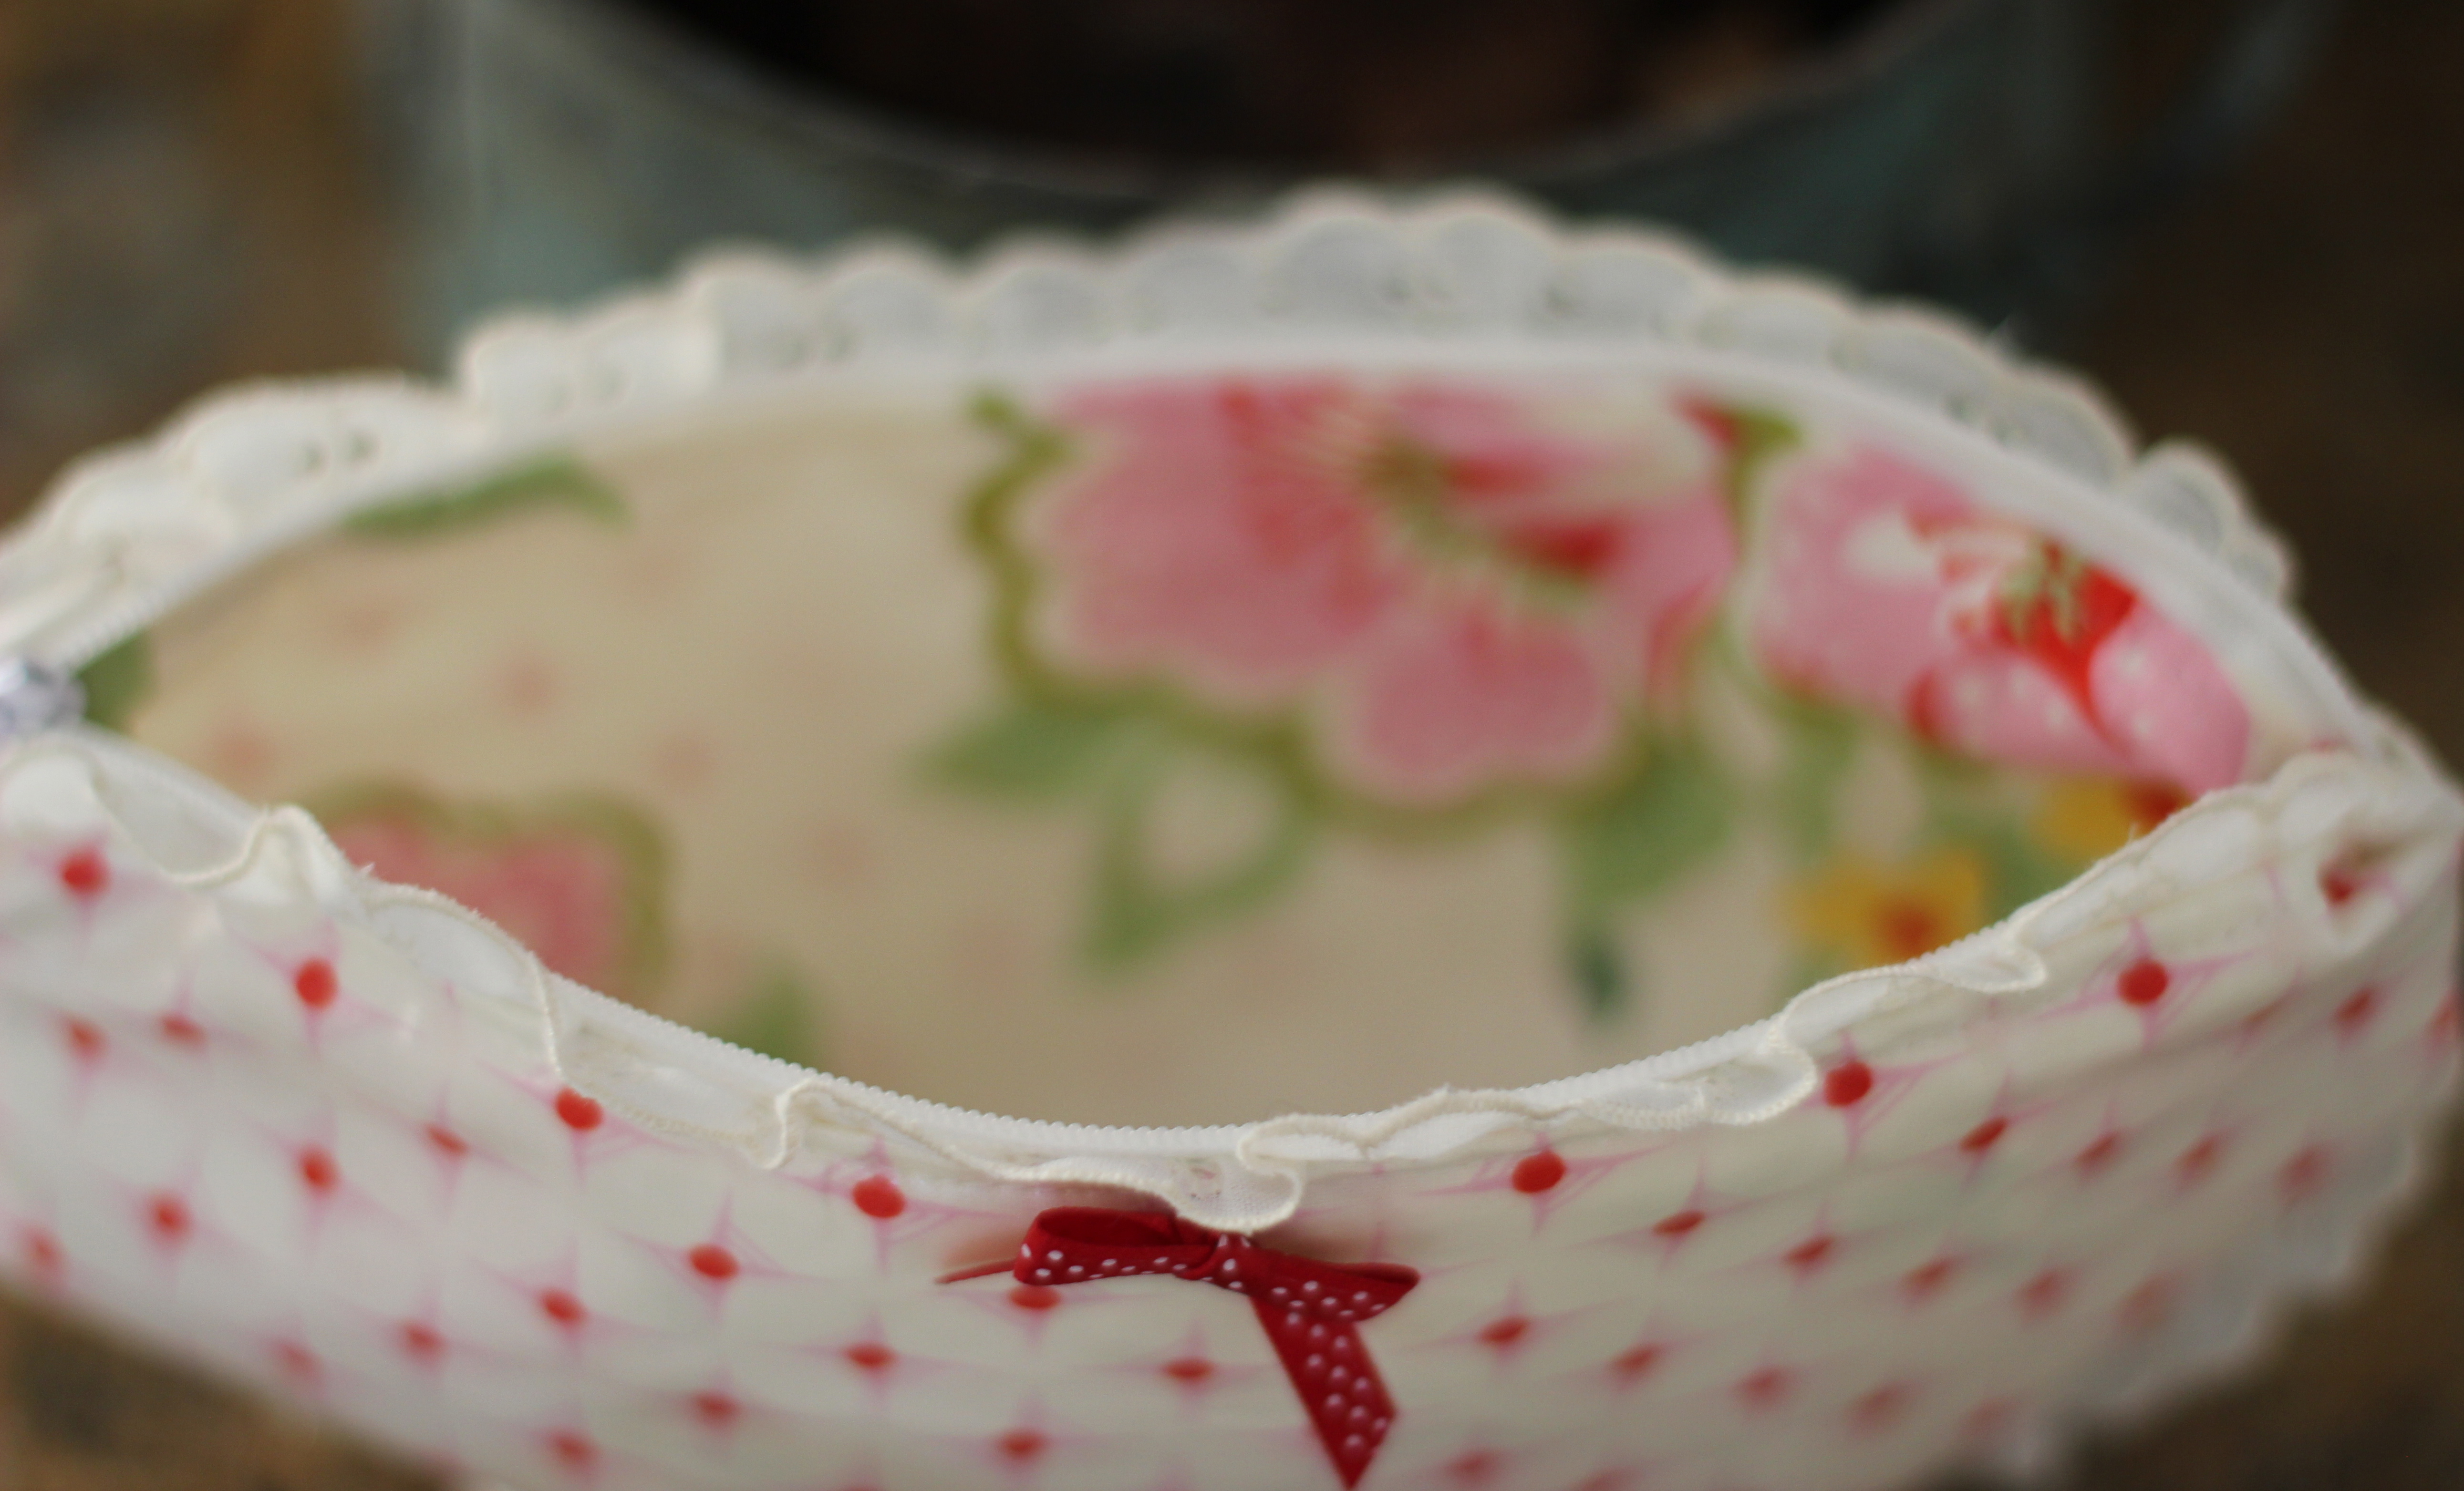
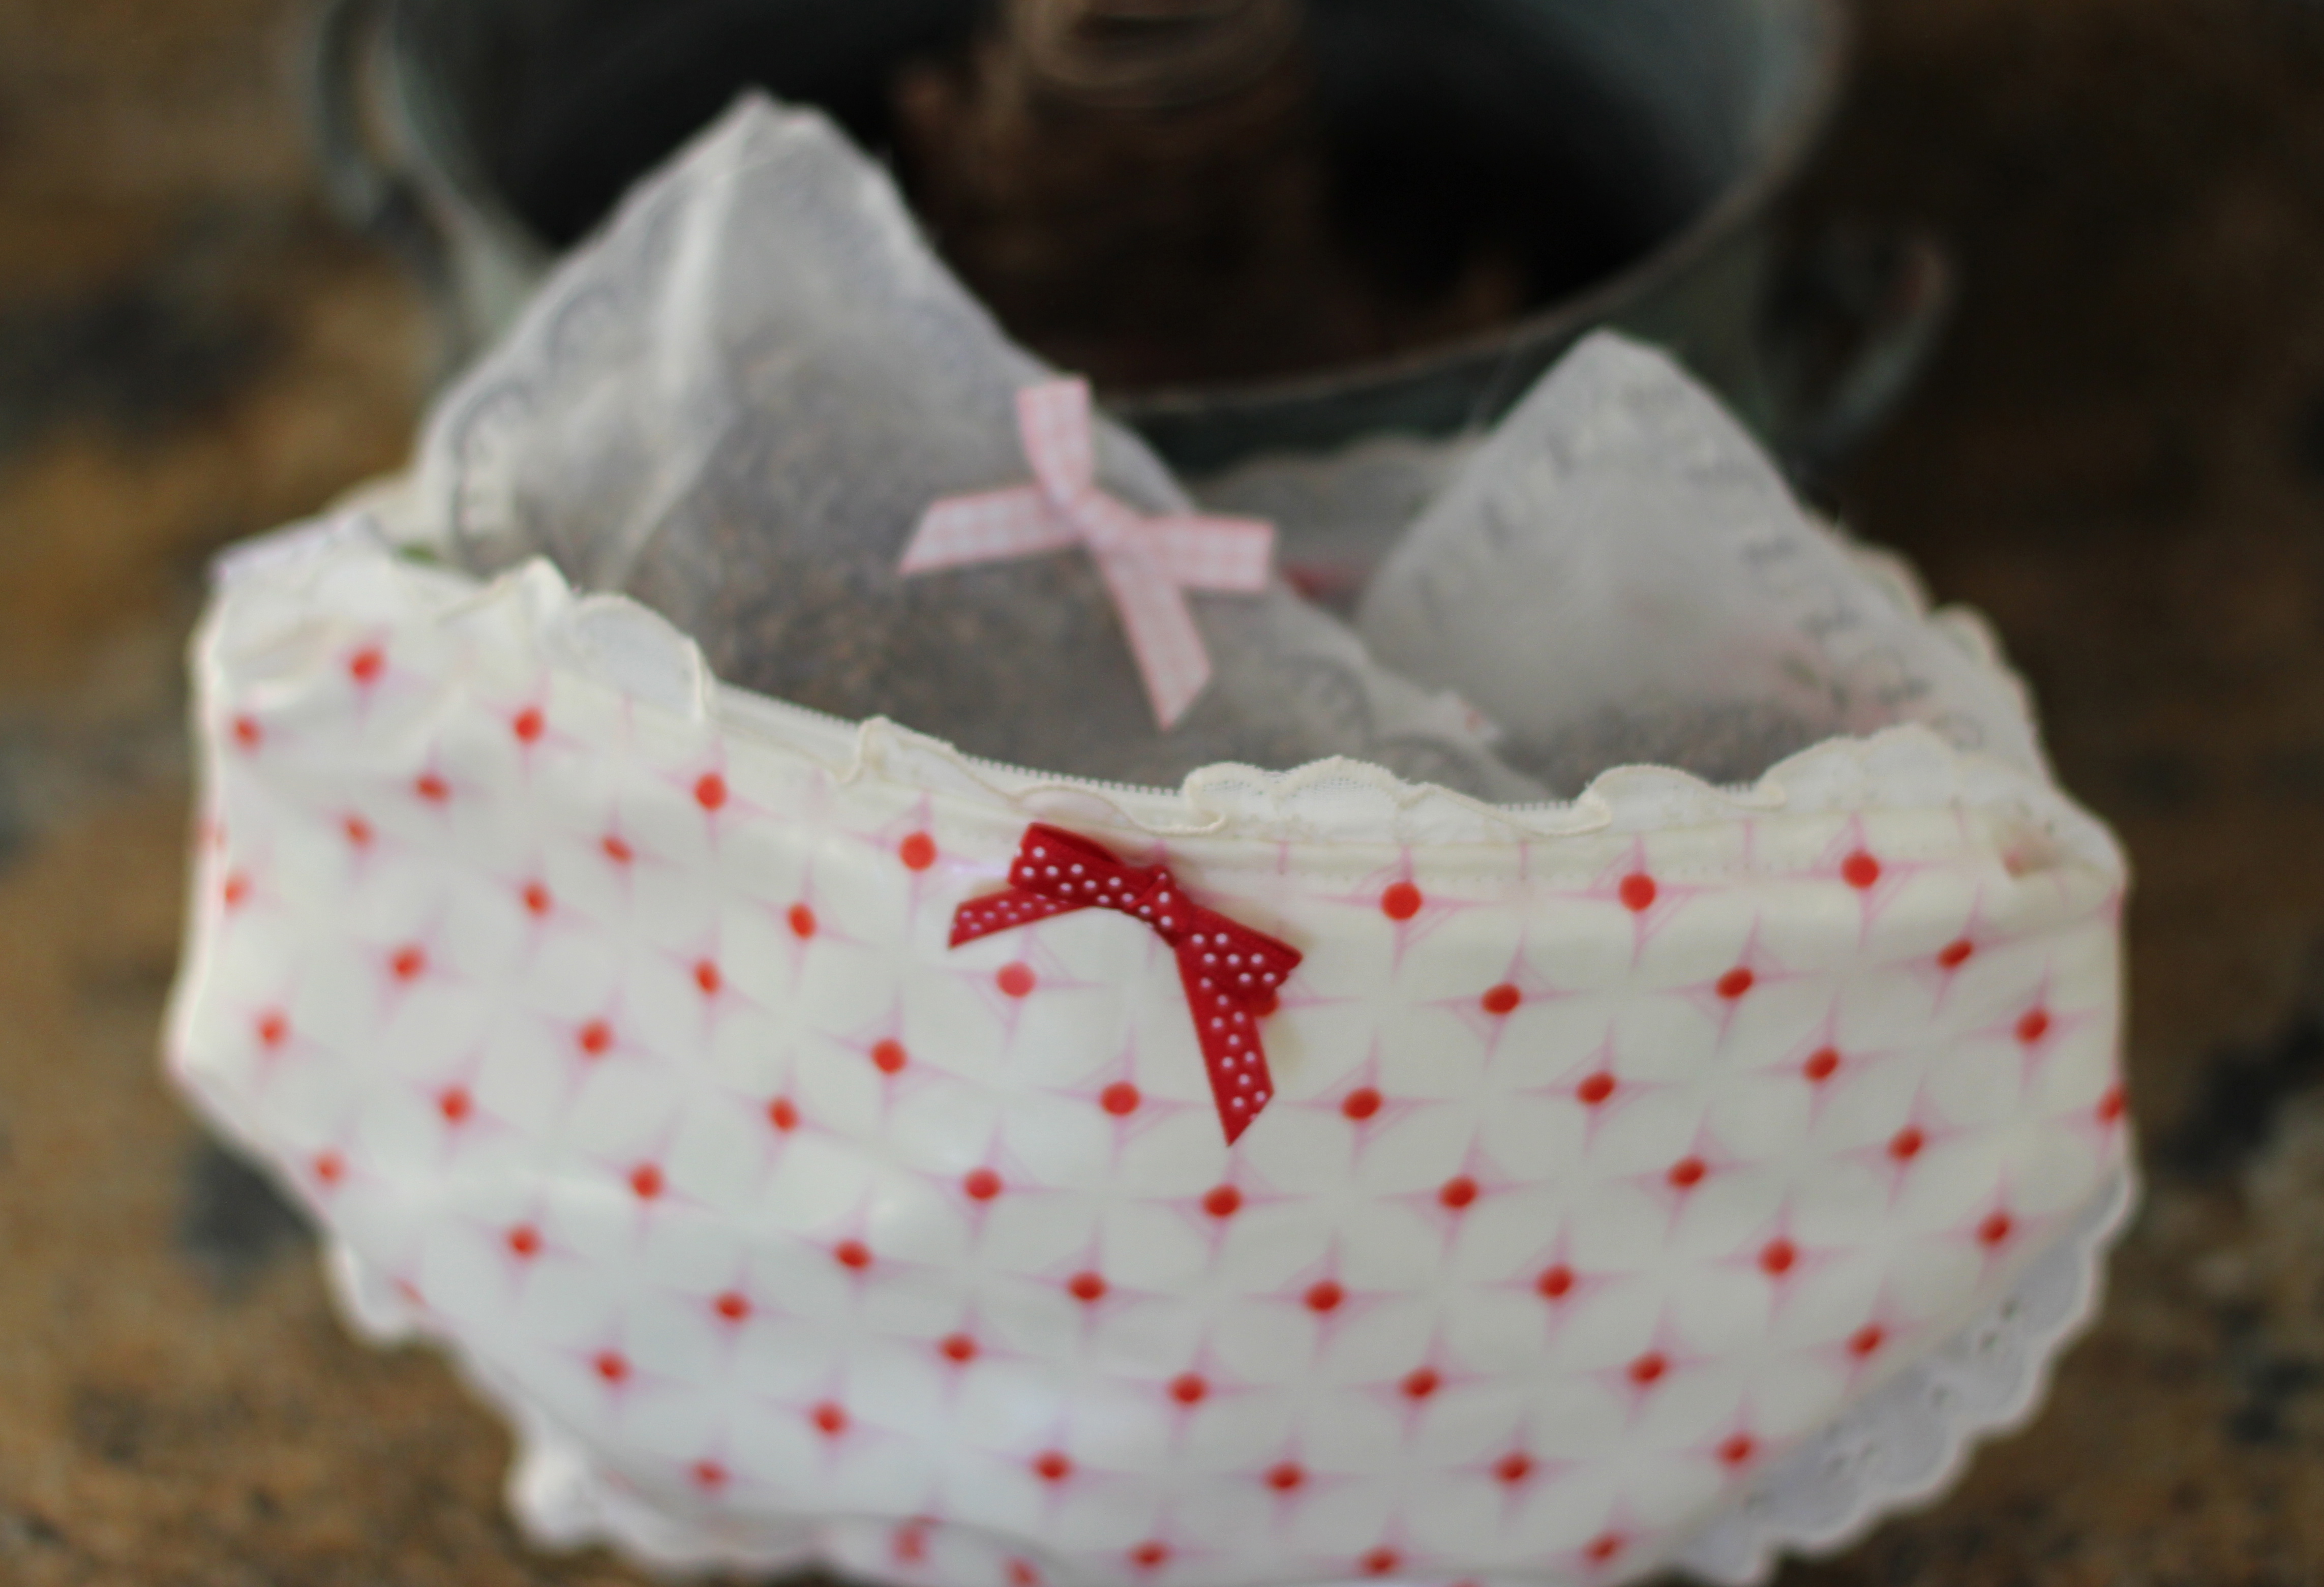
I love these old rolls as they remind me of her and cause me to reflect and appreciate the skills and interest in making things with my hands that she passed on. Even with all this storage, my cirucular needles have been hanging out in a large, beat up freezer bag. After perusing Jeni Baker’s blog (In Color Order: Recent Sewing Projects) I found a pattern (Circular Knitting Needle Wallet PDF Pattern by TheCraftJunky) that was perfect for what I had in mind. This is a great project for fat quarters so I pulled together several complimentary Kaffe blue fabrics and sewed it up. Such a fun and easy project.  Happy Friday everyone.

IMG_4915

IMG_4919

IMG_4920

IMG_4921

Monday Musings

While my work schedule is not traditional, Mondays still mean the end of the weekend, the  start of the kids’ school schedule and back to homework for us. I often muse about previous vacations and places I would rather be. Are their places you dream about on your Mondays? (Alcatraz seen while sailing San Francisco Bay. My husband and I have kayaked and sailed the bay. It’s such a fun way to see the city and the amazing boats if you go as we have done during the America’s cup races.)

Hares for Haiti and Fabric Stacks

A good friend of mine is headed to Haiti next week to provide dental care for an orphanage.  She is taking a whole suitcase full of toys for the kiddos.  For my contribution, I am making stuffed rabbits tonight hoping they will find a child to love.  The pattern is by Martha Stewart and found here: Stuffed Menswear Bunny | Step-by-Step | DIY Craft How To’s and Instructions| Martha Stewart.

I have also pulled together a few fabric stacks for Sophie’s Noodlehead Cargo Sew-a-long (C’est la vie: { CARGO DUFFLE SEW ALONG: PART I: choosing fabrics / choisir les tissus }.  My fabric stash is overflowing a bit so I decided if I was to participate, I would have to use the fabric I have on hand.  The first pile includes a brown organic cotton canvas from Marcus Fabrics and two prints from Birch’s Charley Harper line.

IMG_4868

The second stack includes an old favorite Robert Kaufman pear print as well as one from Carolyn Friedlander and a grey cotton canvas.

IMG_4872

The last grouping is probably my fave because it makes no sense at all and is ugly/pretty. It includes Glimma from Lotta, another Carolyn Friedlander print and a linen in putty. I think I may also use some of my recycled leather for accents on this last bag.

IMG_4870

The Big and the Small of It

Working both the big and small sides of crafting today. With an image in my mind and 6 yrds of Kona Black and Snow colored fabric at my disposal, another new jumbo geometric quilt top is complete.

IMG_4835

In the jumbo crafting arena, I also finished the back for my Big Blue Quilt top and have sent it off to Emily Sessions for some custom quilting. (https://entropyalwayswinsblog.com/2014/01/02/big-blue/ ) I can’t wait to see what quilting she comes up with!

IMG_3924

I also was kindly invited to join a sew along for the Noodlehead Cargo Duffle (http://www.noodle-head.com/2013/10/cargo-duffle-pattern-for-robert-kaufman.html) being organized by Sophie (http://lescrapdesoph.blogspot.fr/2014/02/announcing-cargo-duffle-sew-along.html). I have never joined a sew-along before but with Sophie leading (her blog and crafts are so beautiful) and the Cargo Duffle as a goal, how could I refuse?! I have about three different versions of this duffle in consideration, one using some recycled leather. This is going to be fun!

On the small side of Crafting, I have been slowly working on a lace wrap using my Madelinetosh Prairie yarn. Though I have knit lace stitches before, I have never made a lace throw nor worked with lace weight yarn.

IMG_4823

Enjoying all of these projects, big and small. Wishing everyone a relaxing and inspired weekend.

Hillary

The Bianca Clutch

The digital age has changed irrevocably our day to day lives.  The way we interact and make connections has forever changed.  Through various forms of social media, we now can date (thank goodness I am married!!), we can reconnect with friends from high school and we can make new friends on line.  I was reminded of this recently when I received a surprise package from Texas. Via Flickr, I have been introduced to the work of many talented people.  One such person is Bianca (http://www.flickr.com/photos/48608470@N06/).  Bianca has THE best style.  She makes clothes that compliment her so well and her hand stitching is amazing.  Soon I also discovered her blog (http://thanksimadethem.blogspot.com) where you can find great tutorials and inspiration.  Bianca somehow read my mind after I got my new industrial machine and picked up a leather jacket from a thrift shop for me.  Little did she know that I had been requesting old leather jackets from friends and family with the idea of repurposing to no avail!  In any case, Bianca’s wonderful gift came and today I decided to put my new machine and this leather to work.

IMG_4751

I pulled together some of my favorite Carolyn Friedlander Botanics and followed an online tutorial for a fold over clutch I had been eyeing. (http://youandmie.com/tag/foldover-clutch/)

IMG_4758

To add some extra bulk to this quilting cotton I used a medium fusible interfacing and I quilted the lining. (This is one of my favorite bag making tricks as I often like a little more heft to my bags but prefer a smooth nonquilted outside.) My Juki did well and I am delighted with this bag. I only used a small amount of the leather in this coat and look forward to using more. Thank you so much Bianca!!

IMG_4797

IMG_4807

The Backstory Quilt Completed

I quilted up The Backstory Quilt today.  It is on it’s way to one of the only girl babies (and her mama) in my sphere.  I loved using the back of the Kaffe Fassett fabric so much for parts of the front that I flipped the fabric over for the back and the binding.  It is so soft and girlie.  I quilted it in straight lines following the rectangular shape of the quilt.

IMG_4767

IMG_4780

IMG_4793

IMG_4786

This quilt was small enough I was able to display it from the mantel in our bedroom. My husband has designed and made most of the wood furniture in our house as well as both our fireplace mantels and the vanity in our bathroom. A few years ago when we were remodeling part of the house I drew a picture of the mantel that I wanted and he constructed this for me.  So grateful for my guy.

IMG_4785

Sachet’s For the Underwear Drawer-A Tutorial

I think I have underwear on the brain. Not sure why, but making panty shaped sachet’s has been pushed front and center on my to do list. I have about three quilt tops to quilt and several projects midway done but after buying silk organza yesterday, all I can think about is sachets.

IMG_4745

And these have been so darn easy to make that it is hard for me to stop. Another bonus is that with each one, I have been trying out new to me decorative stitches on my Janome.

IMG_4734

IMG_4731

To be honest I am a great Do-er and not the best teacher but these guys were so easy I thought I would pass on the techniques I used.

Supplies: Sewing machine, silk organza, thread, small premade bows, a small funnel and lavender flowers. (I used white organza and grey thread to make the decorative stitching more noticeable and I bought my lavender in the bulk section of Whole Foods.)

Basic Instructions: Mark off with fabric marker a rectangle 5 inches by 7 inches and cut around these rectangles in the silk organza allowing a generous 1 inch border to make stitching easier.   Make symmetric diagonal cuts on the lower rectangle corners to make it into the shape of underwear.  Pin the two pieces of organza together in the middle of the rectangle to keep them together when sewing.   Using a decorative stitch, sew around the edges along your marked lines, leaving the bottom open. Using your funnel, fill the sachet with lavender. Finish the bottom with the same decorative stitching to seal the lavender in place.  Trim the edges of the organza on all sides close to the stitching.   Using some of your thread, hand sew one of the small bows in place in the top center and you are done!

I decided I needed a little bag to hold my sachets so I used some Laminated Cotton from Heather Bailey’s Nicey Jane line and made an underwear shaped bag with frills to match my sachets.

IMG_4725

IMG_4737

IMG_4741

IMG_4740

Spring Dreaming

My favorite local fabric shop, The Tin Thimble is having a sale and I couldn’t resist these beauties today. This shop has THE best combination of new and vintage fabrics and buttons. It is run by a woman and her daughters and is located in part of an old produce warehouse. Every time I go visit, I am completely blown away by the lovely creations on display made by these gals and their customers. Good stuff and something that could never be replicated in an online store. I also purchased a few skeins of Madelinetosh Prarie in Jade from a local yarn shop. Swoon!!! (So happy to support our local businesses.) The whole combo has me dreaming of spring and I can’t wait to dig in to these treasures.

Handmade Treasures

My creative efforts have been a little frustrating lately. I ran out of fabric in the middle of making another geometric baby quilt top and a shawl I am knitting is turning out more washcloth size then shawl size. I did however finish up a Mala requested by my husband for his woodworking shop. Not only is his shop full of huge power tools, it is his man cave of sorts. On the walls, he has hanging his long surfboard, climbing gear and memorabilia from the kids and I. He wanted one of the necklaces I make before I had used up all my favorite Turkish Tassels. (Tutorial here: https://entropyalwayswinsblog.com/2013/11/08/making-malas-a-tutorial/). I thought it was appropriate in turn to show it off with one of the wood boxes he made me in that man cave a few years ago to store my rings. Isn’t it beautiful? He is quite a woodworking artist.

IMG_4689