

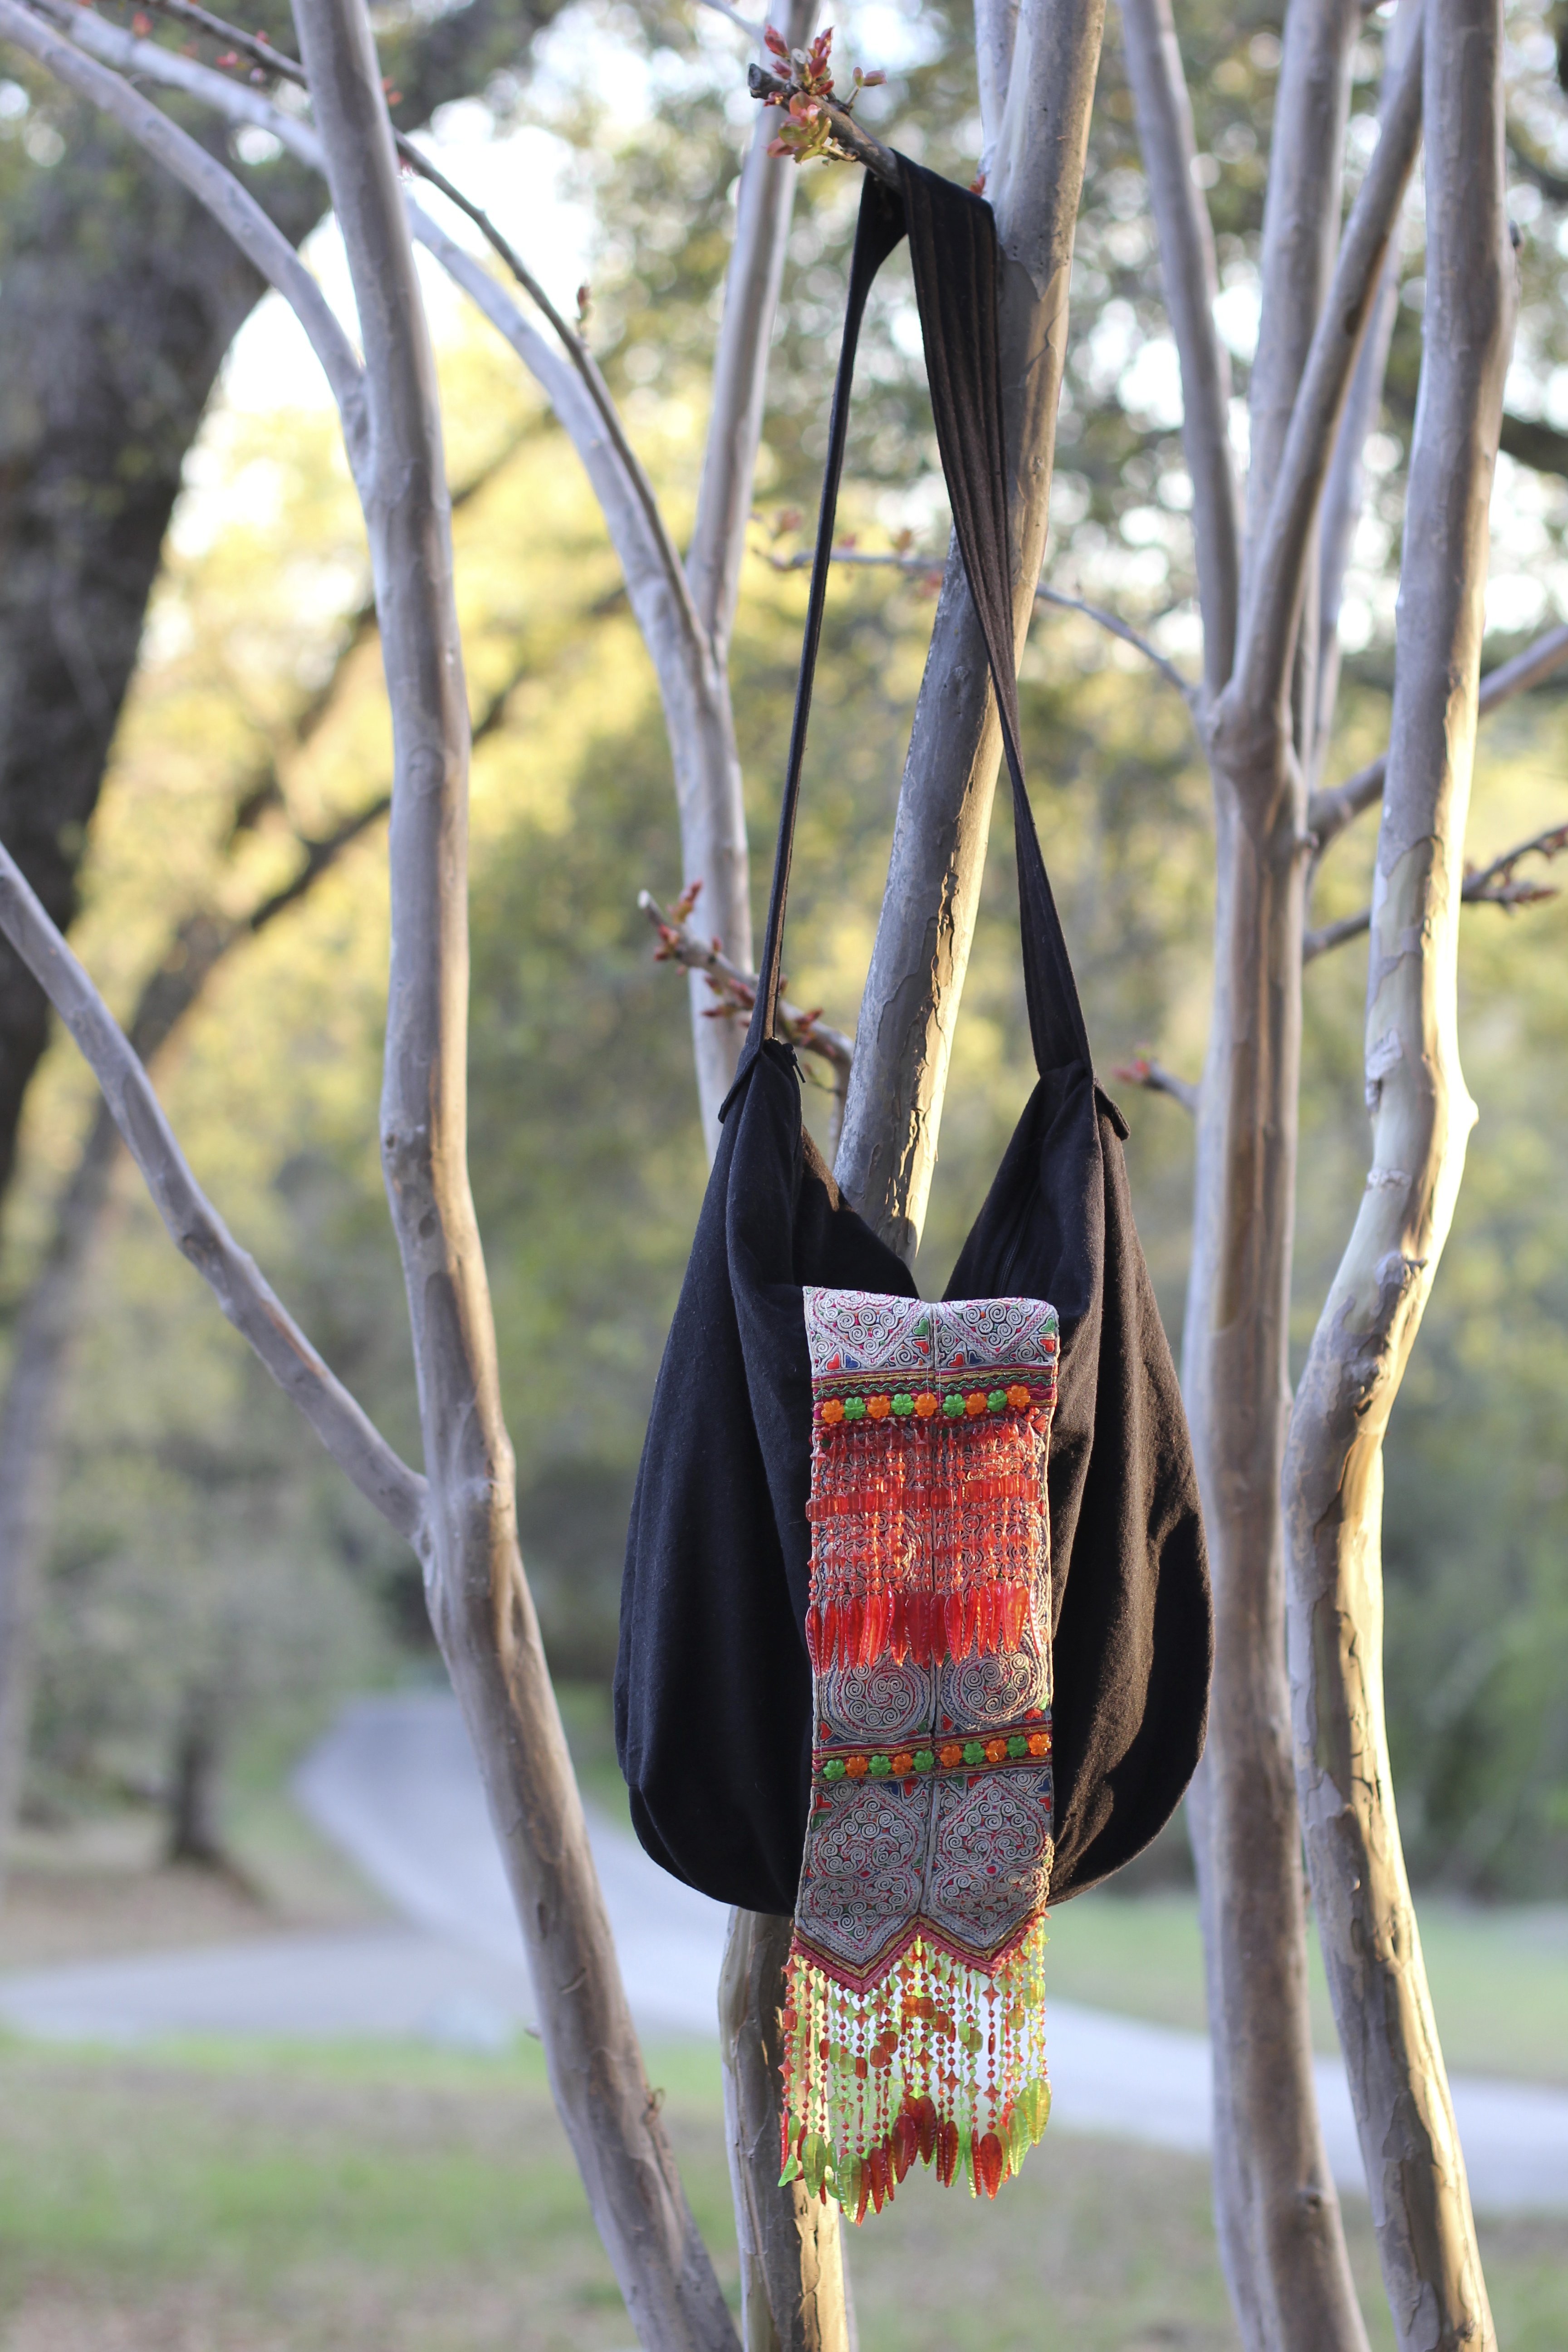
I am a sucker for charity causes and so when my friend contacted me today with an invitation to donate one of my creations to a silent auction in honor of a nurse we worked with who passed yesterday, I could not say no. (Sidenote: I am humbled at how many of the sweetest people in the world are asked to deal with unimaginable suffering. This was true with my friend who contracted a rare cancer in her 20s and now leaves behind her husband and two young children we hope to raise money for. Ugh!) In any case, with this in mind, I dropped my other projects and pulled out a favorite Hmong remnant and whipped up a bag. I came up with this bag design last year when making another Hmong remnant bag for a friend. It is not a particularly unique design but I thought it would be fun to share as these bags always garner compliments and they are a fun way to show off odd-shaped special textiles.
I am a Macgyver kind of sewist. I’m not formally trained and I always figure things out in odd ways so forgive me if the structure and instructions are unusual (and please share your tips if you have better ways of bag making).
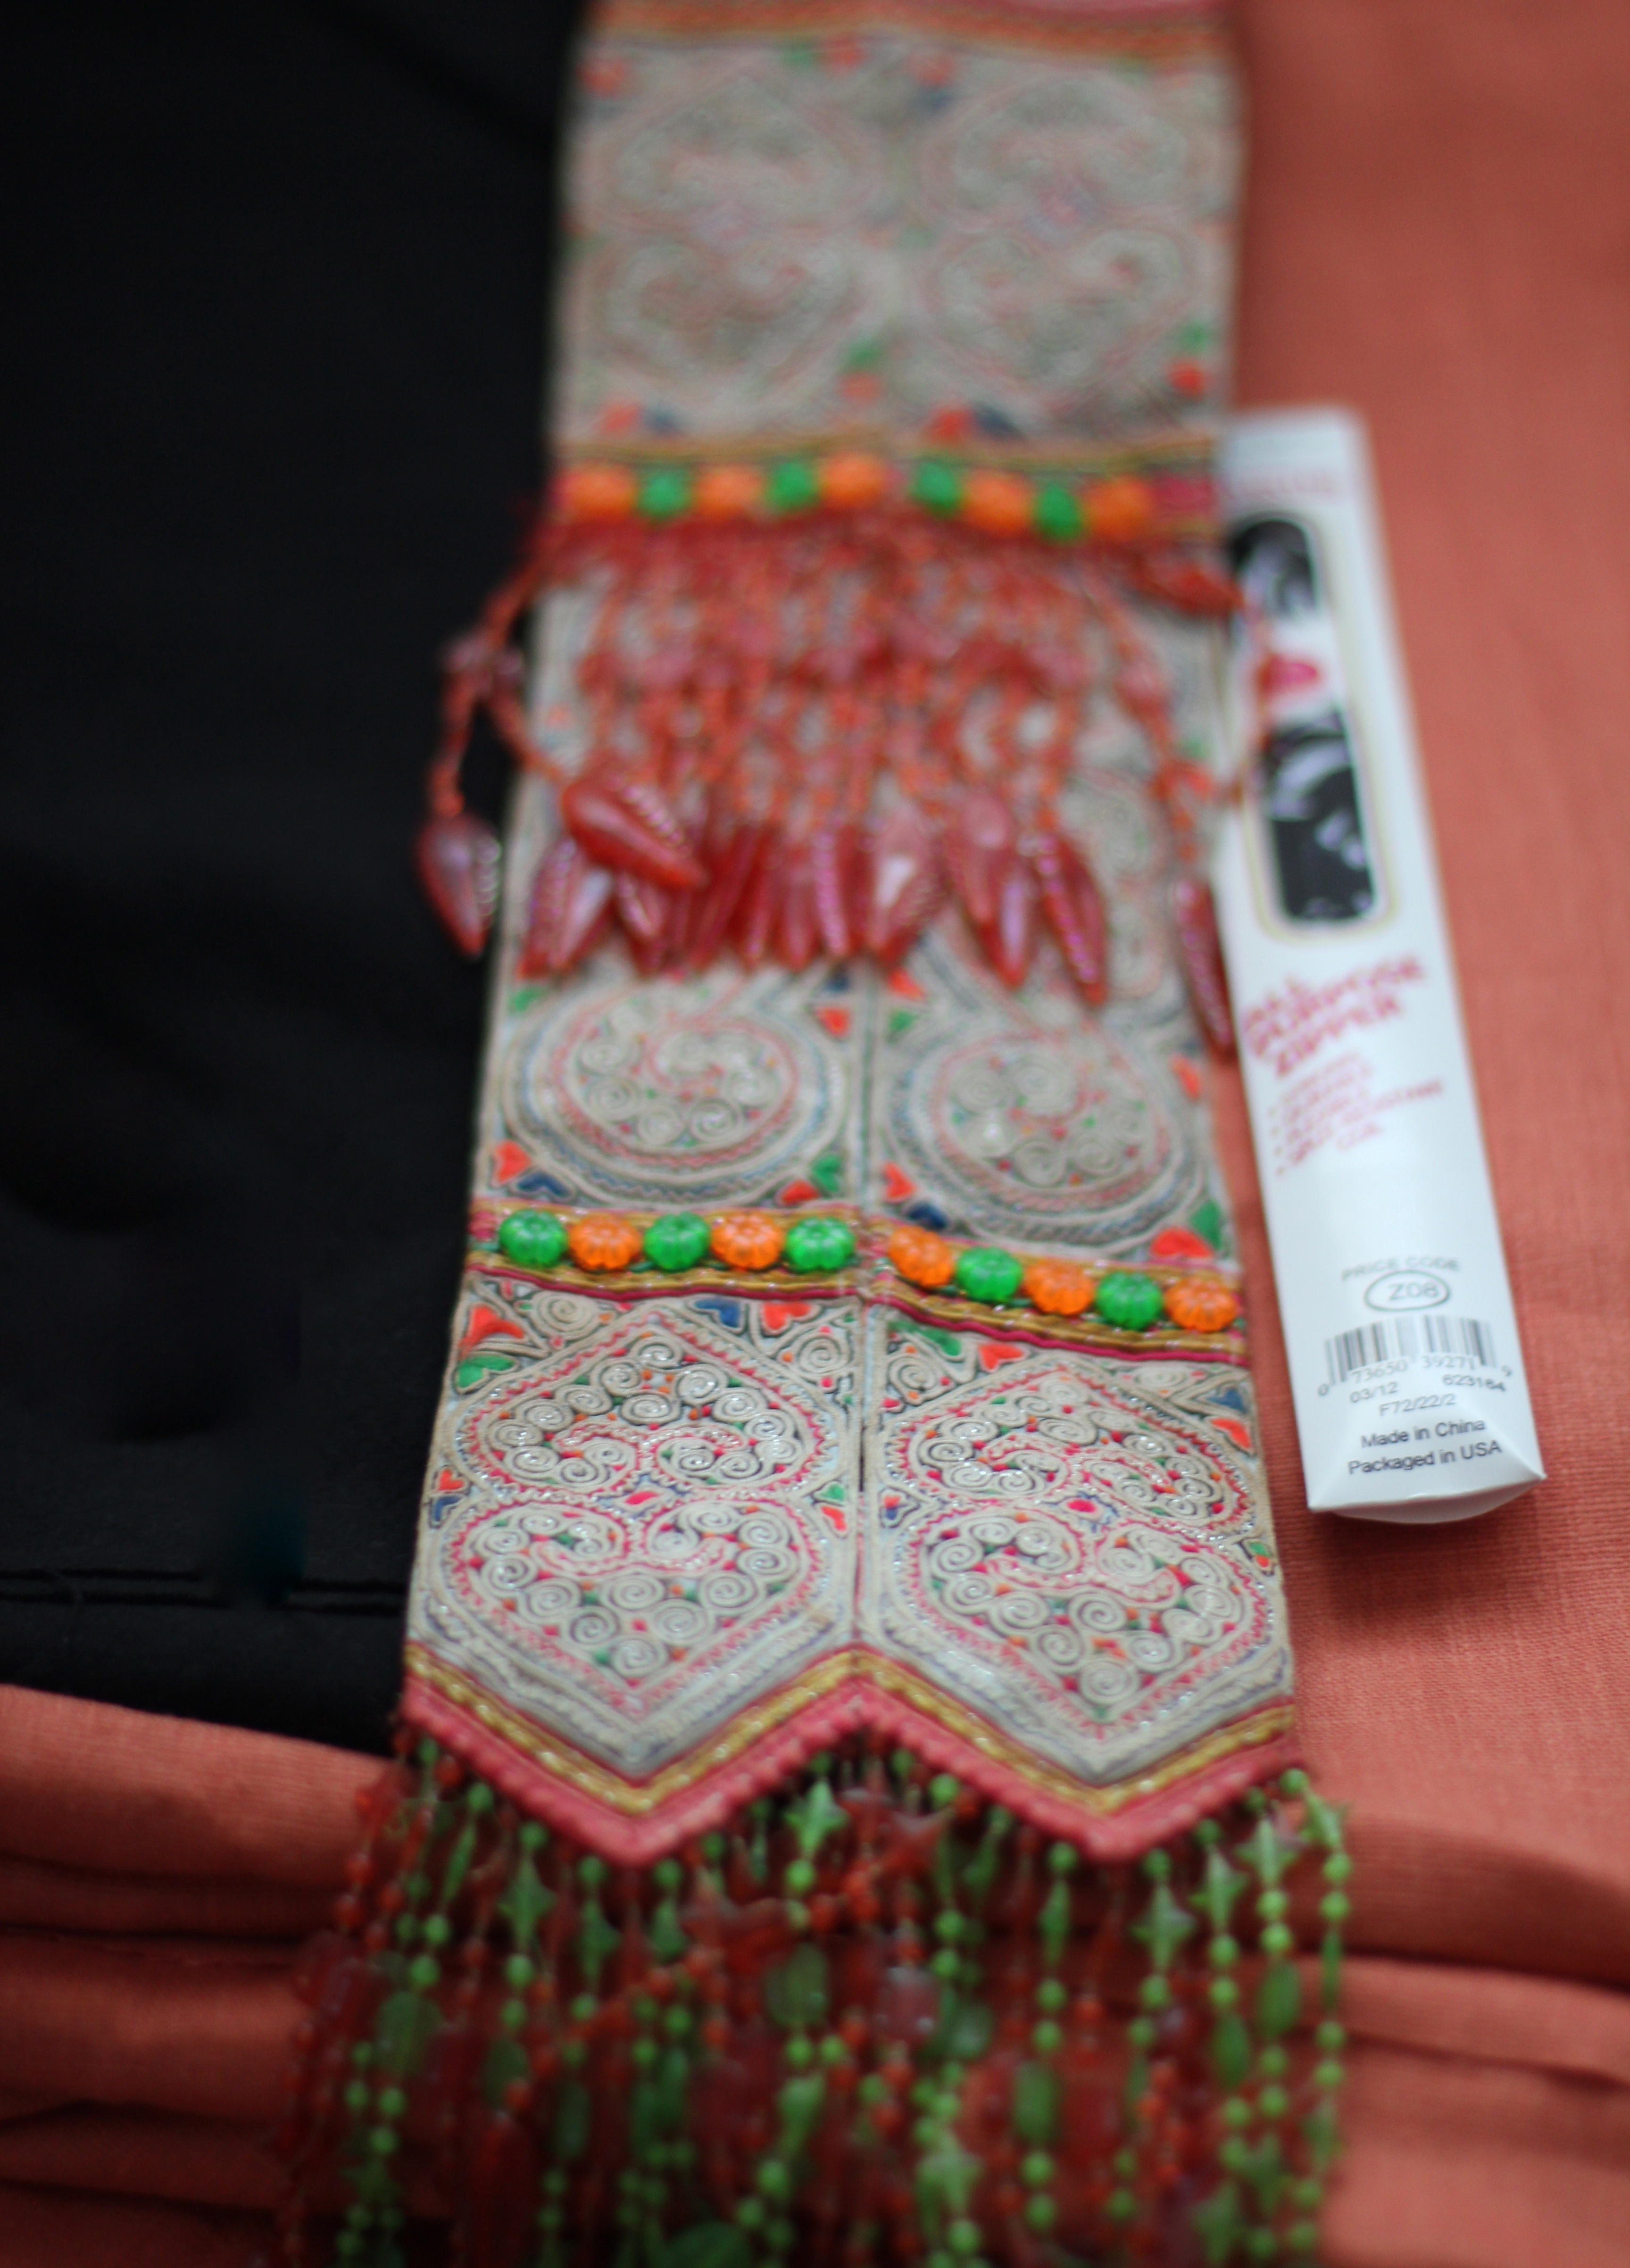
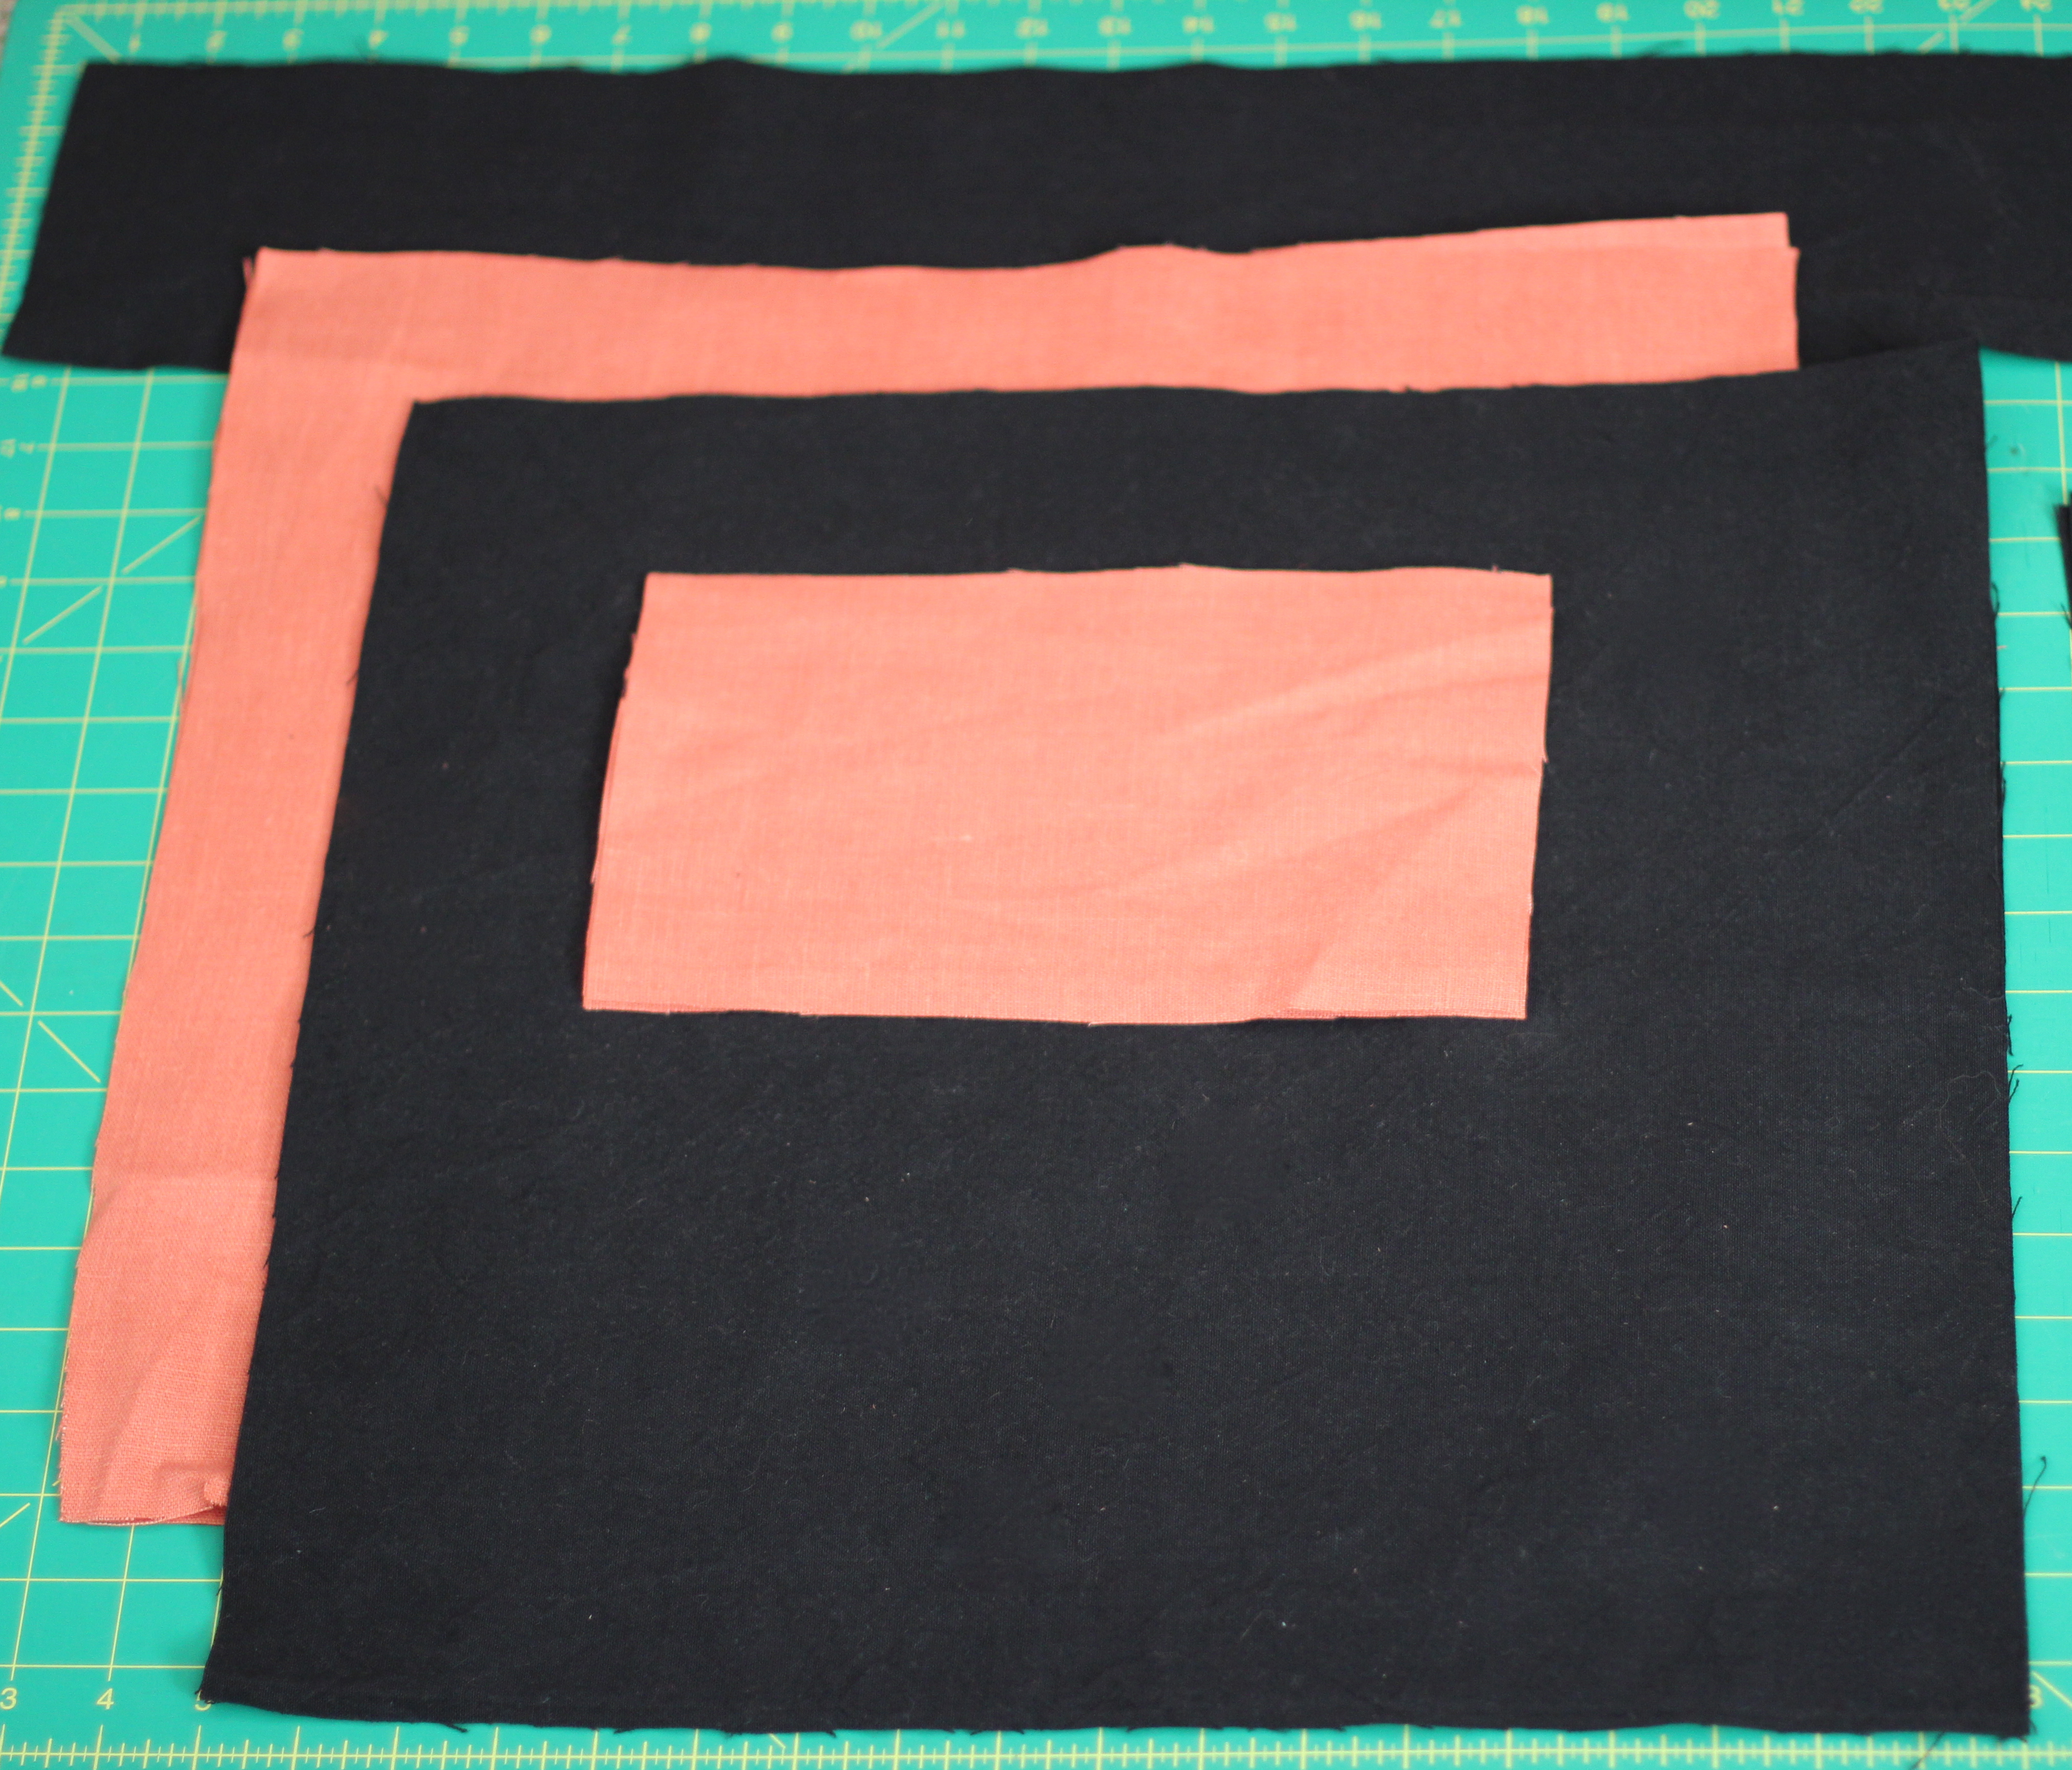
To start off, I gathered some of my fave Marcus Fabric Organic Cotton Canvas for the outside, some peach linen fabric for the lining, my fabric remnant, a heavy sewing needle, fusible fleece, thread to match the outside fabric, the lining and the remnant and a 20 inch black zipper. (for my bag size, anything 18 inches or up would do) I then cut two squares 18×18 inches in the canvas and two same sized squares in the linen lining fabric. I also cut a piece 5×36 inches in the black canvas, two rectangles of the linen lining (6×10 inches) and I cut a piece of the fusible fleece in 2.5×36 inches long. (Depending on the textile you want to show off, you may need to adjust your bag size.)
I then stacked up the outer and inner large squares and rounded off the bottom corners.


I then drew an isosciles triangle freehand on the center of one of the curved corners, I folded the square in half again and cut the triangle out of all 8 layers.

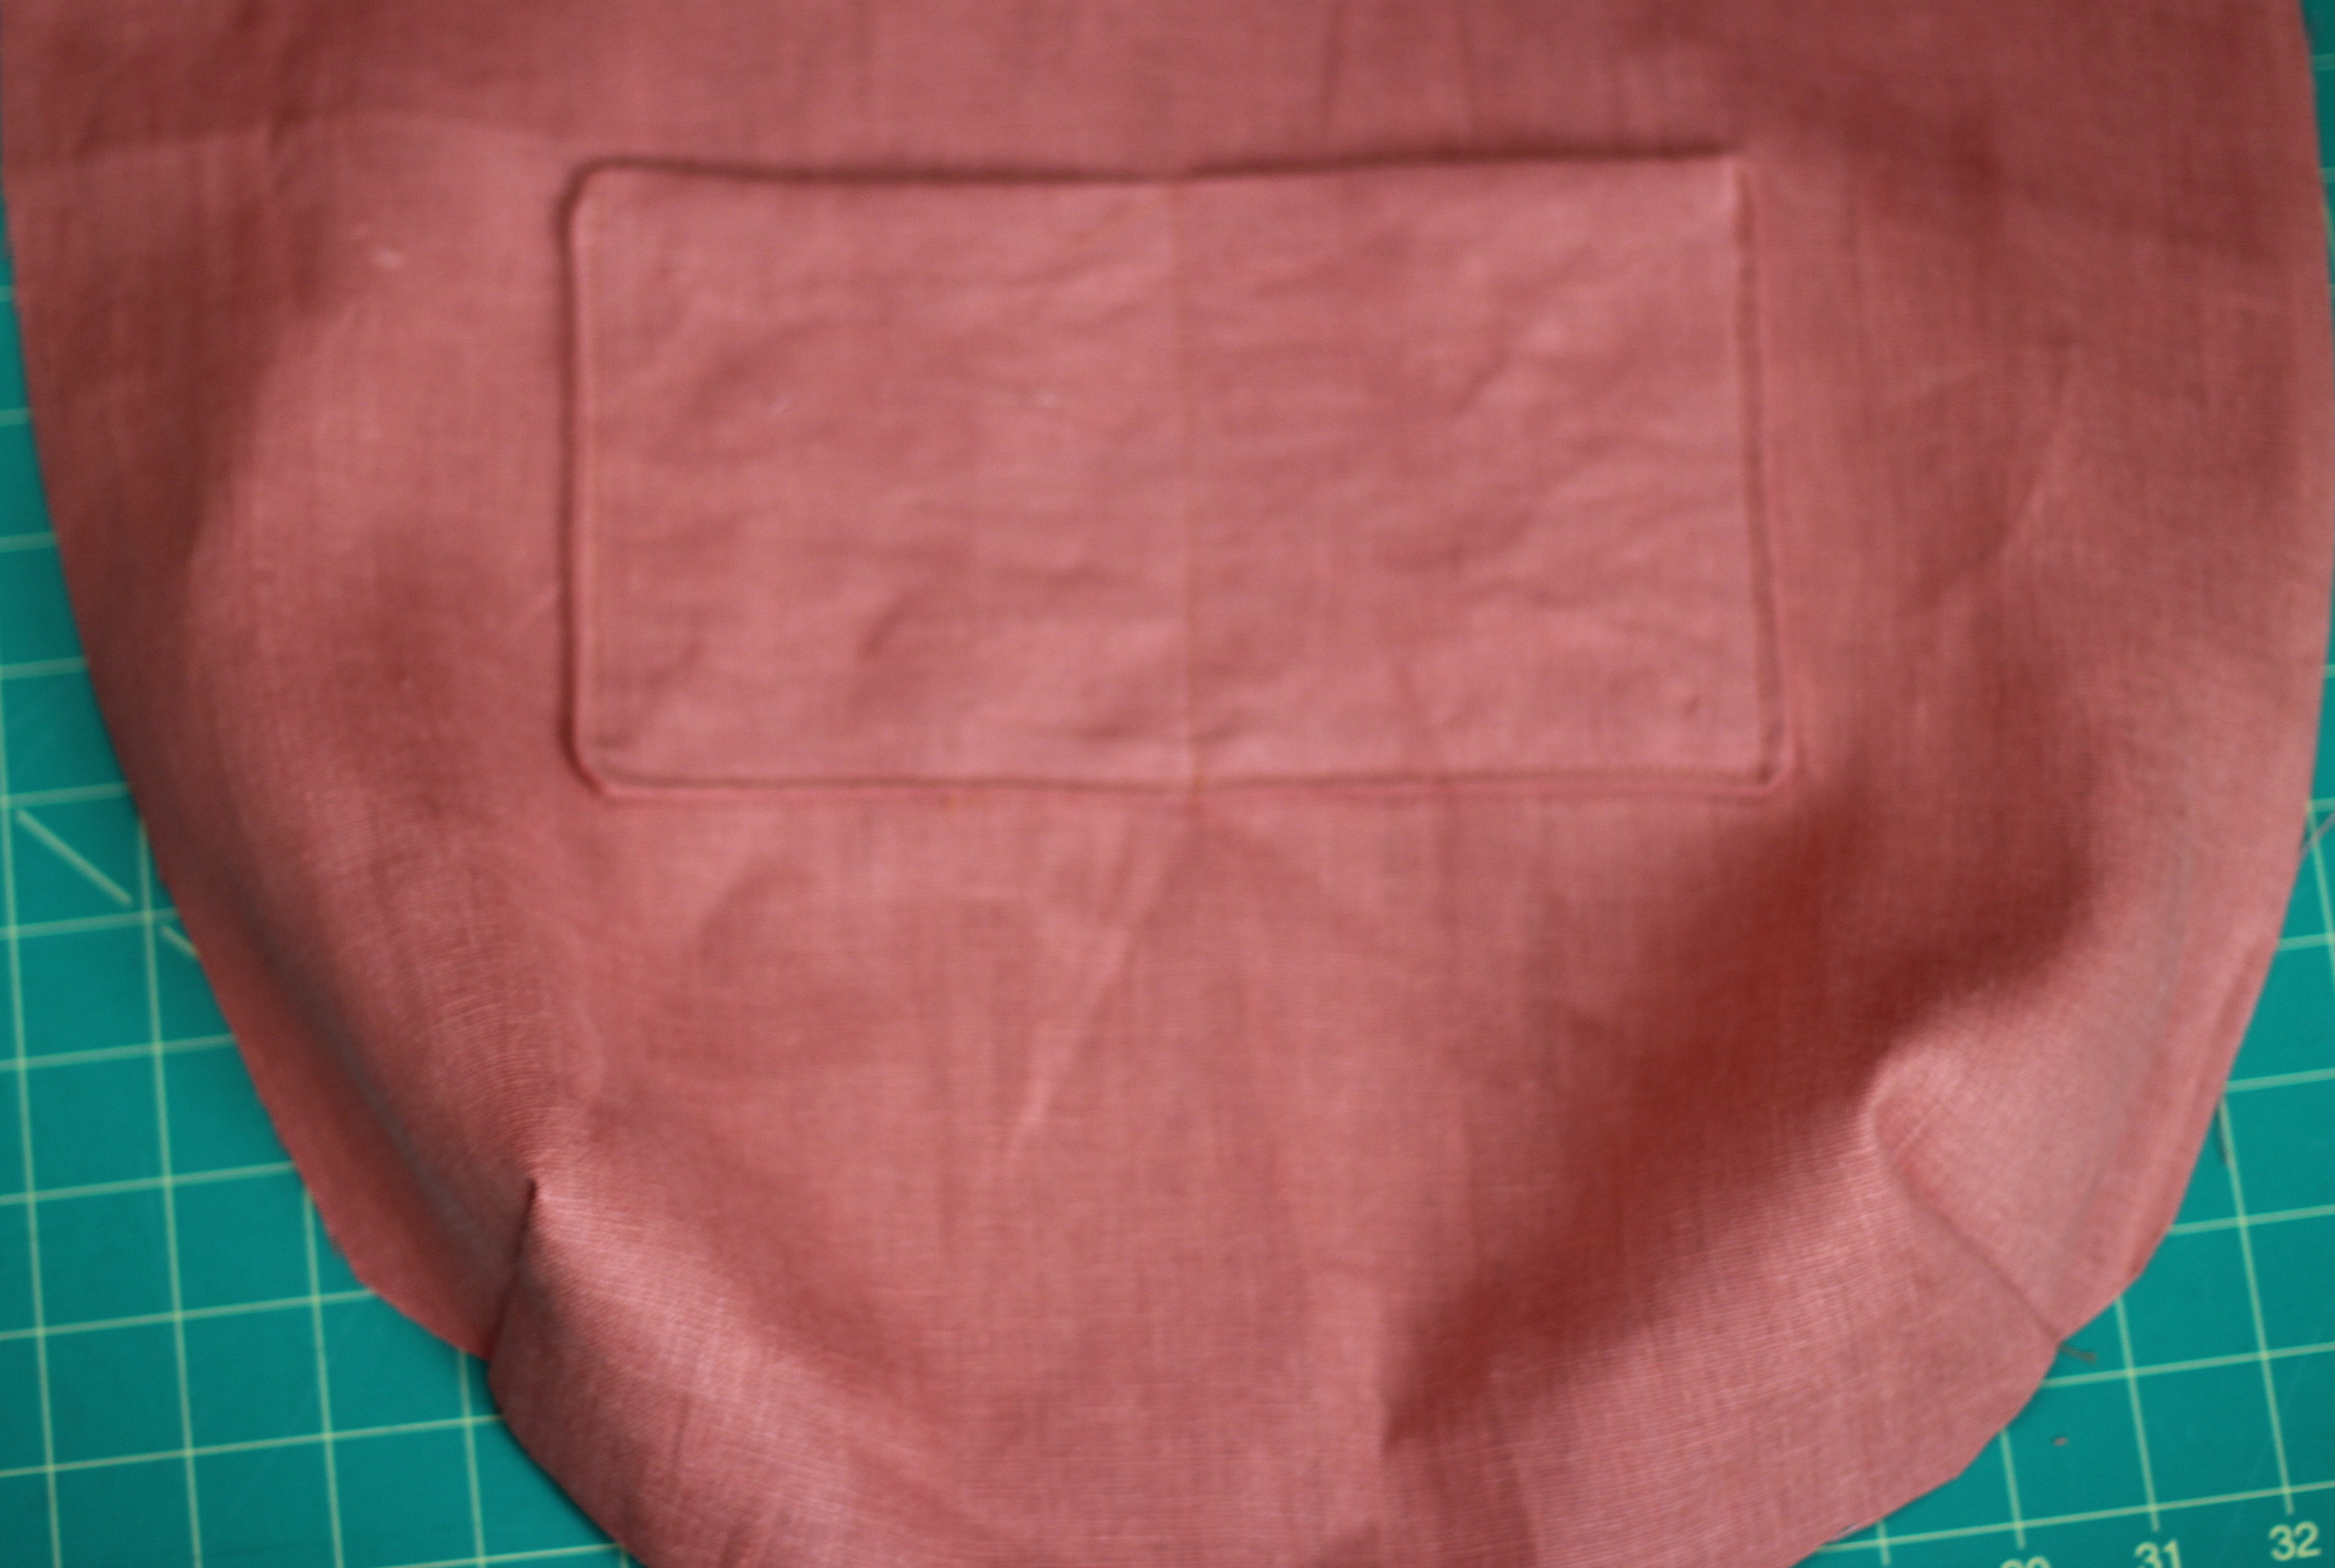
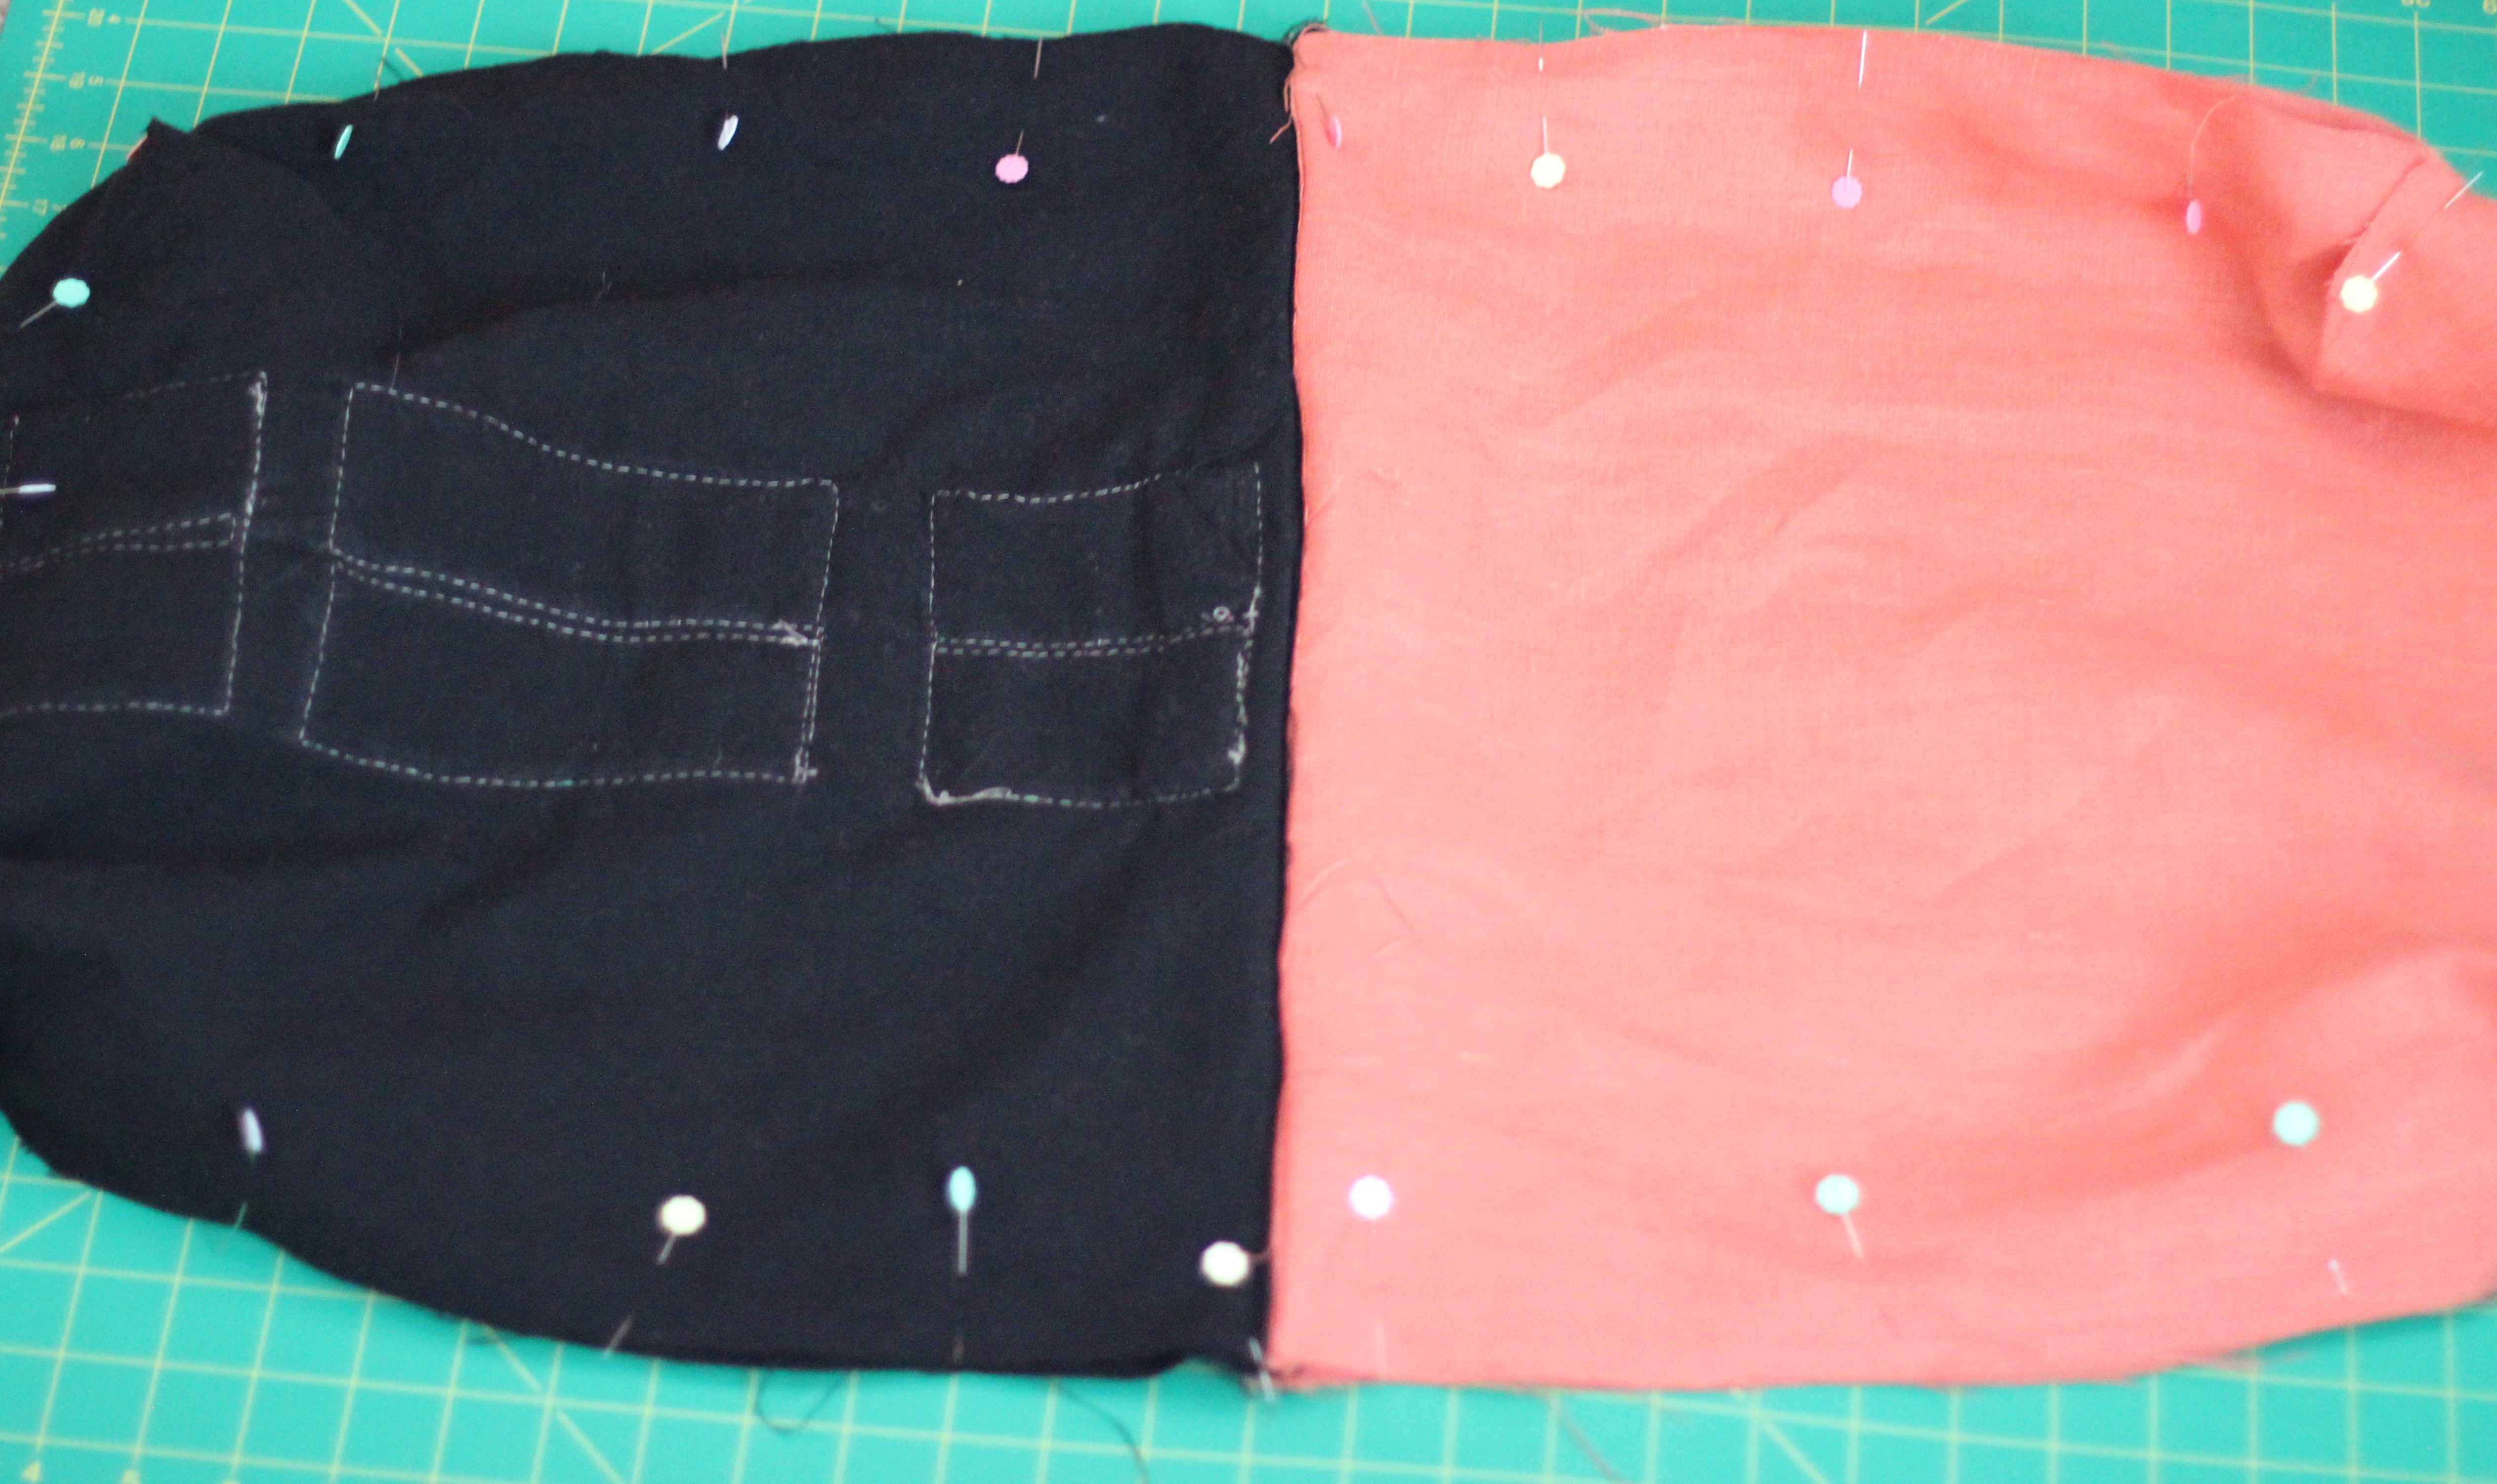
I then sewed the two smaller rectangles of the lining fabric to make an inner pocket leaving a center area at the bottom unstitched for turning inside out.
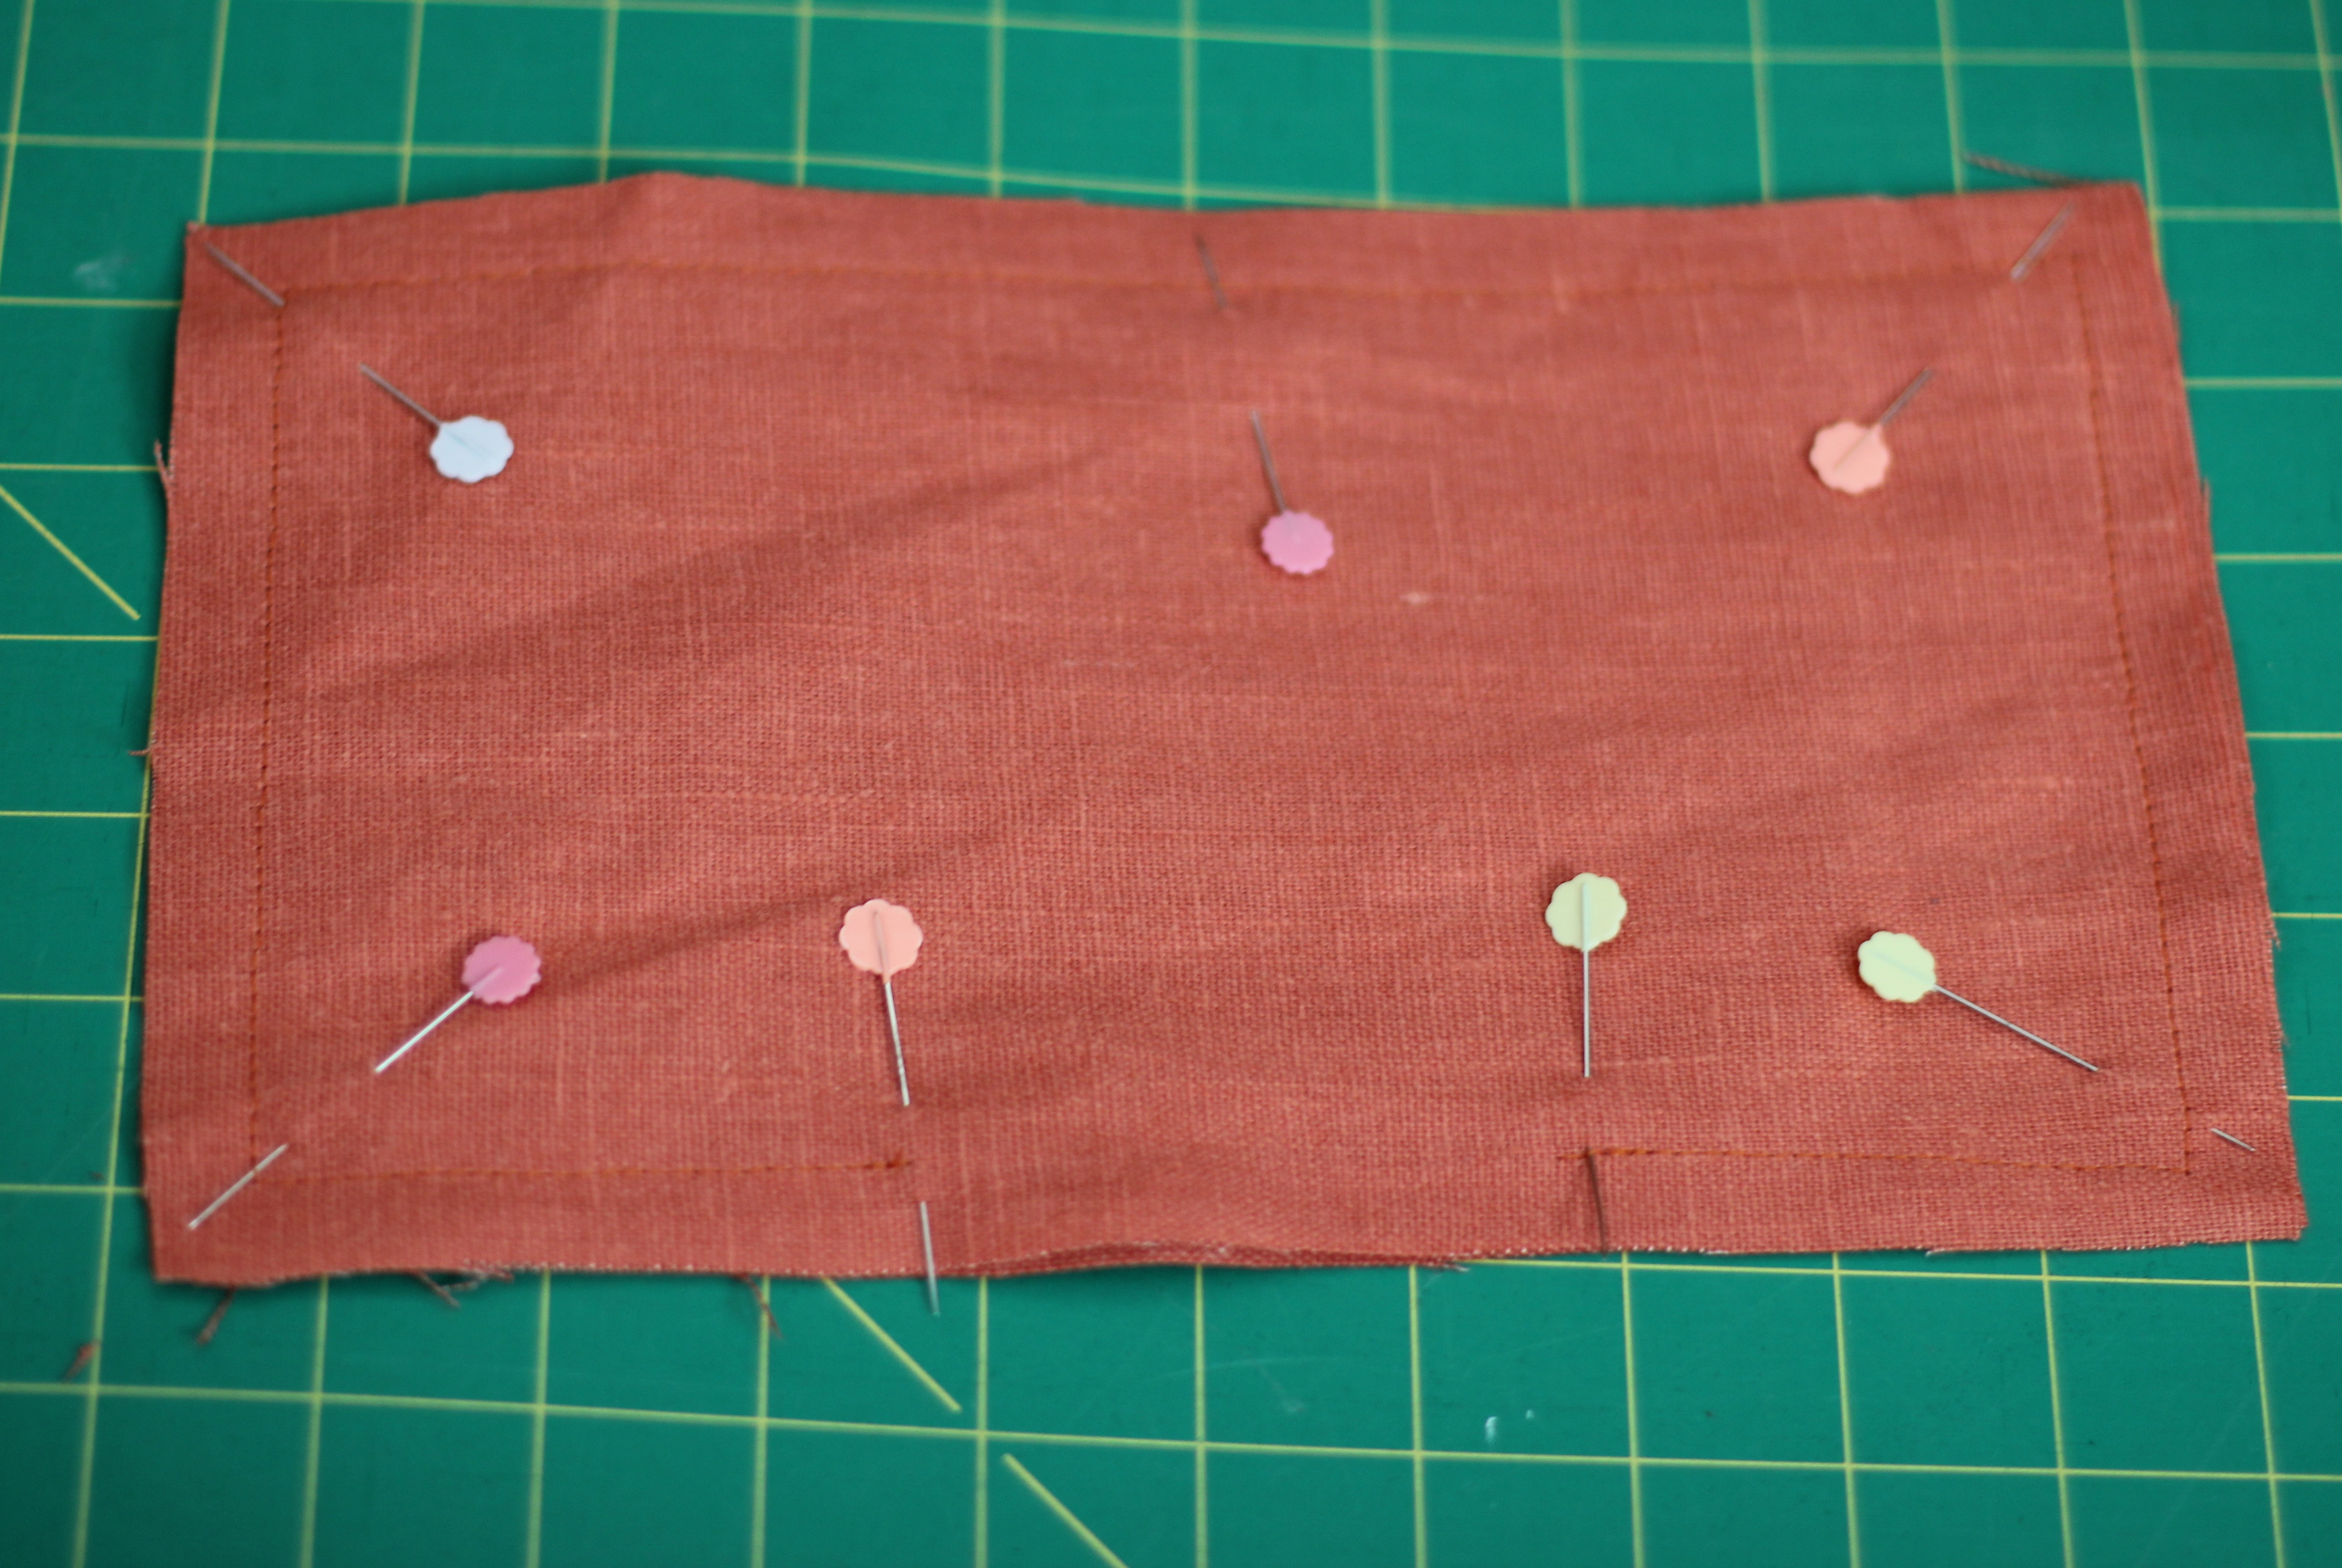
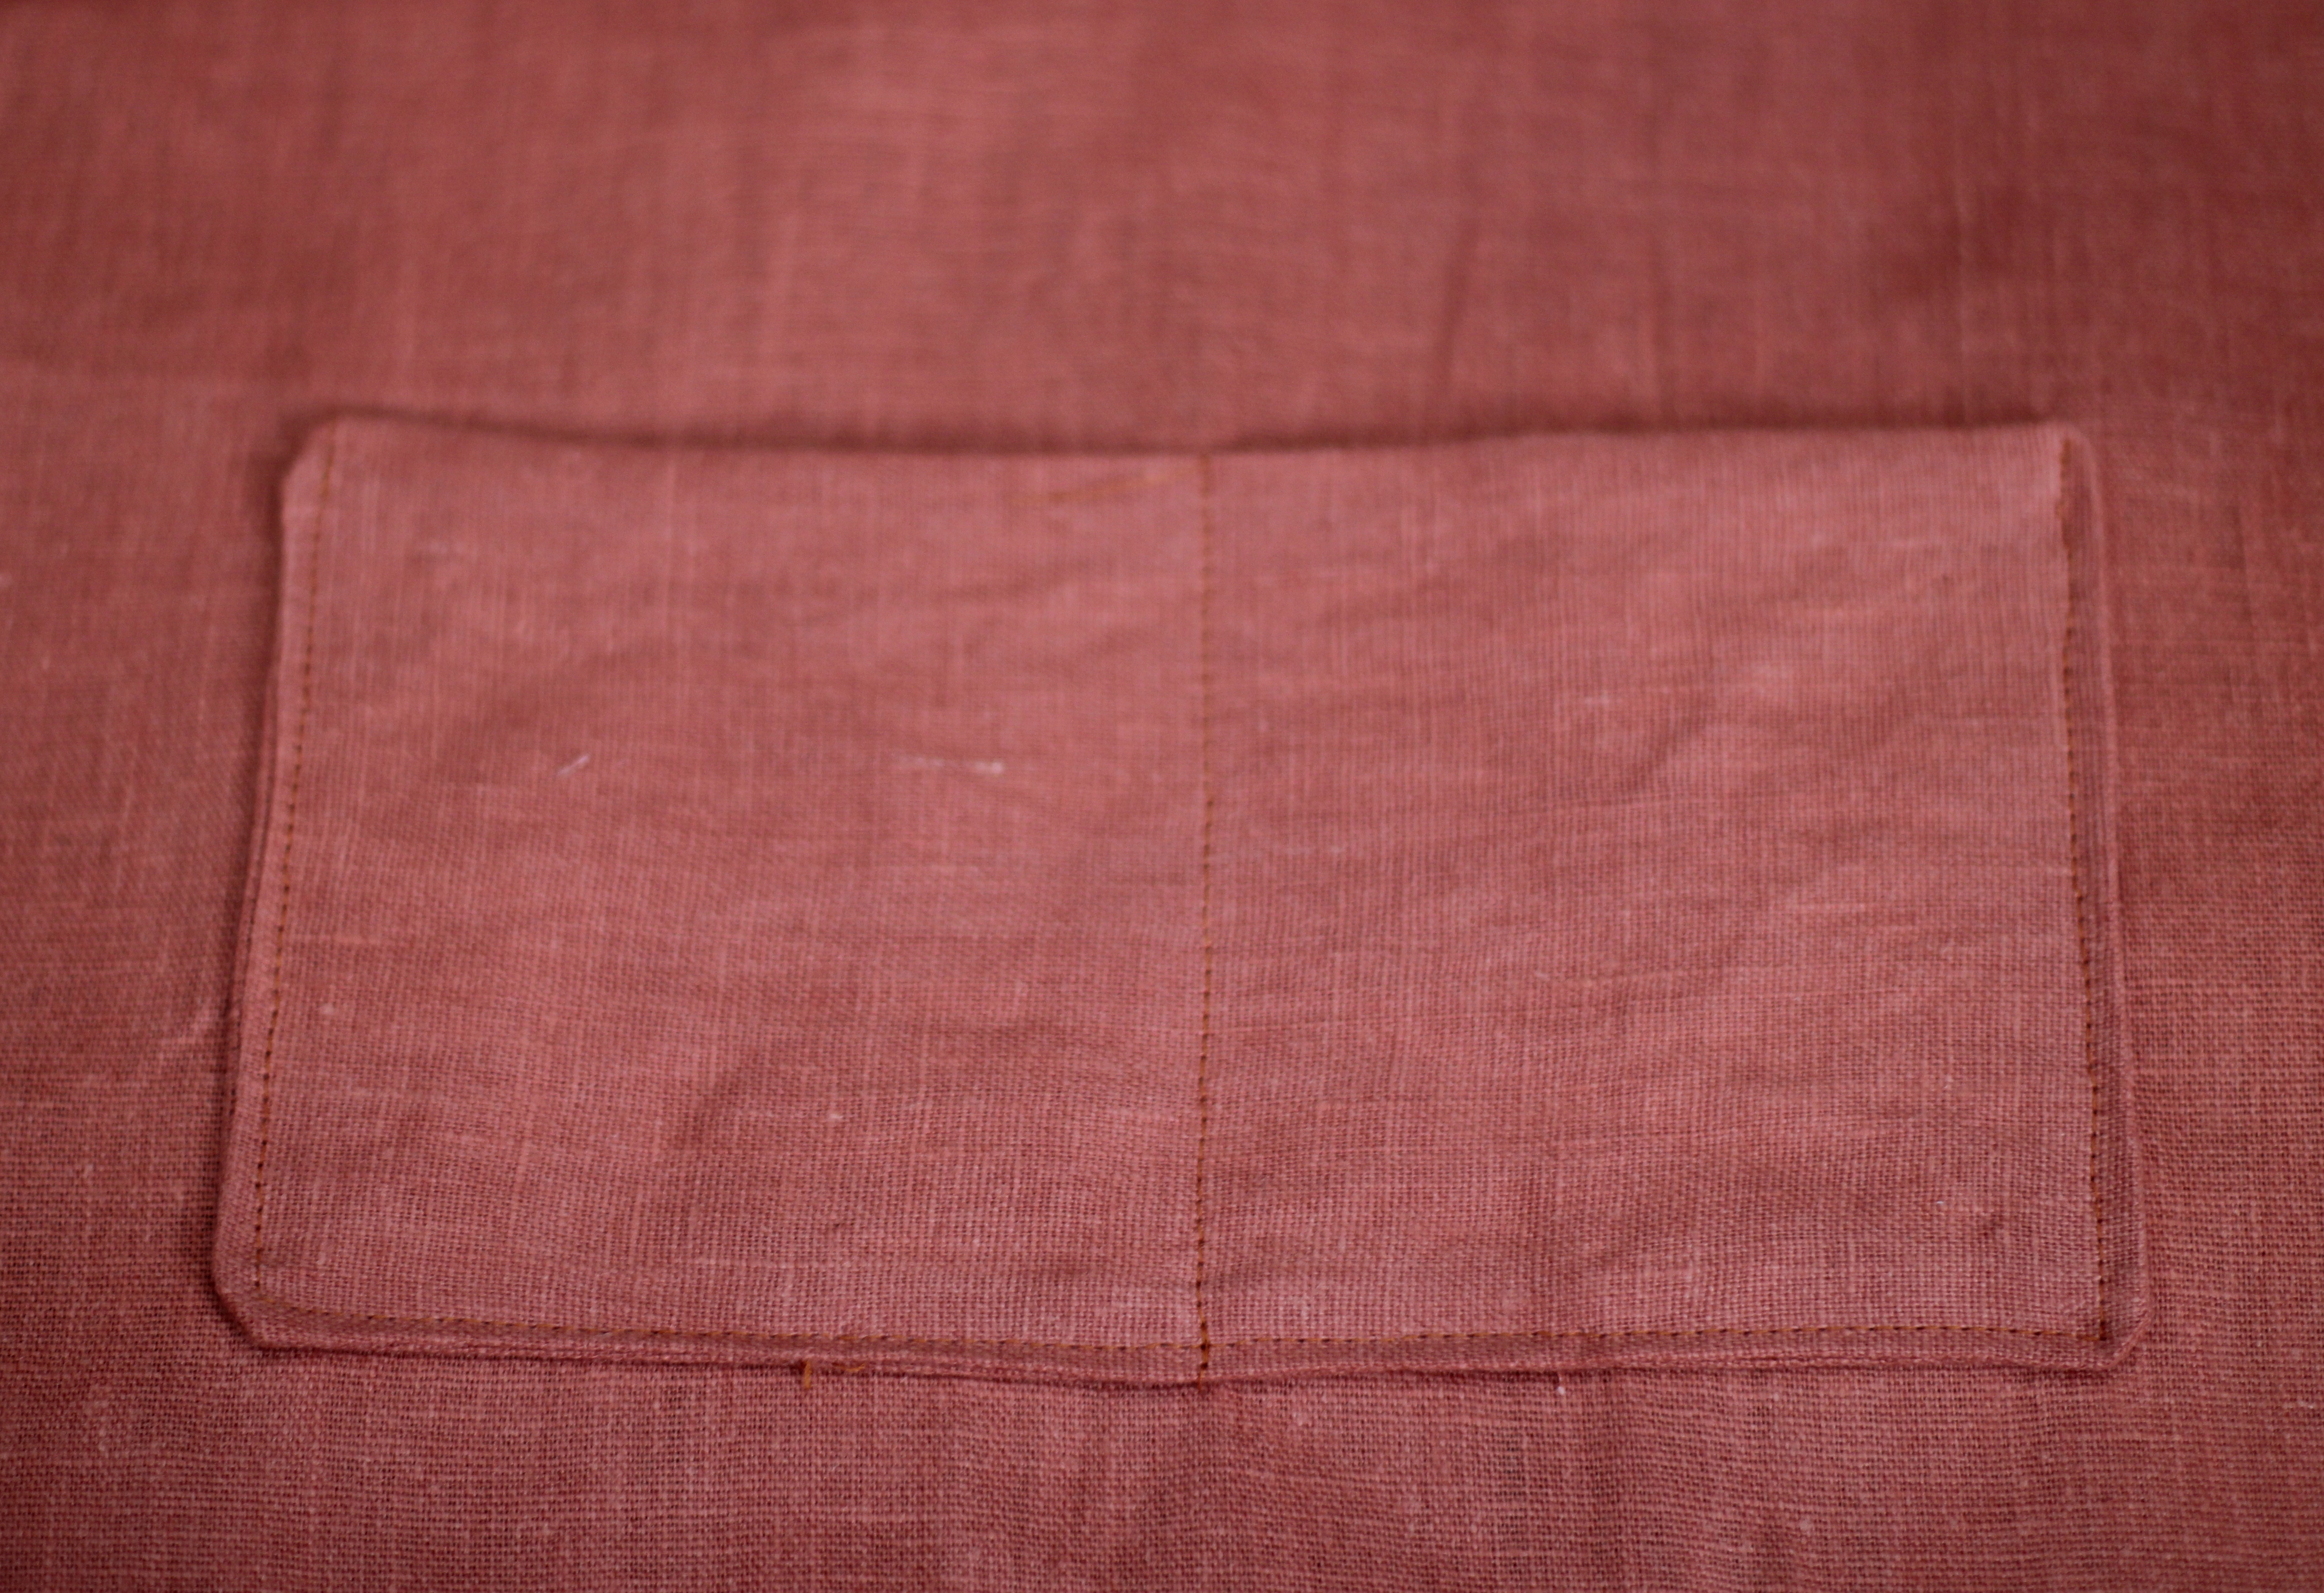
I trimmed the corners of the inner pocket rectangle, turned it inside out, ironed it making sure the opening at the bottom was pressed to match the sides and finally sewed the rectangle on the middle center of the front back lining with a 1/8th inch seam. I also stitched down the center of the pocket to make it into two separate pockets.
I then sewed the bottom corner triangles together, right sides together on both the outer fabric squares and the inner lining pieces. I used a 1/2 inch seam from here on out unless otherwise stated.

Next, I sewed the bag outer and inner fabrics to the zipper. This part can be a little confusing but I sandwiched the zipper between the lining and the outer fabric right sides together with the zipper top matching the fabric top and the zipper pull facing the outer fabric. I used a 1/4 inch seam for the zipper, pushing the zipper pull out of the way when sewing.
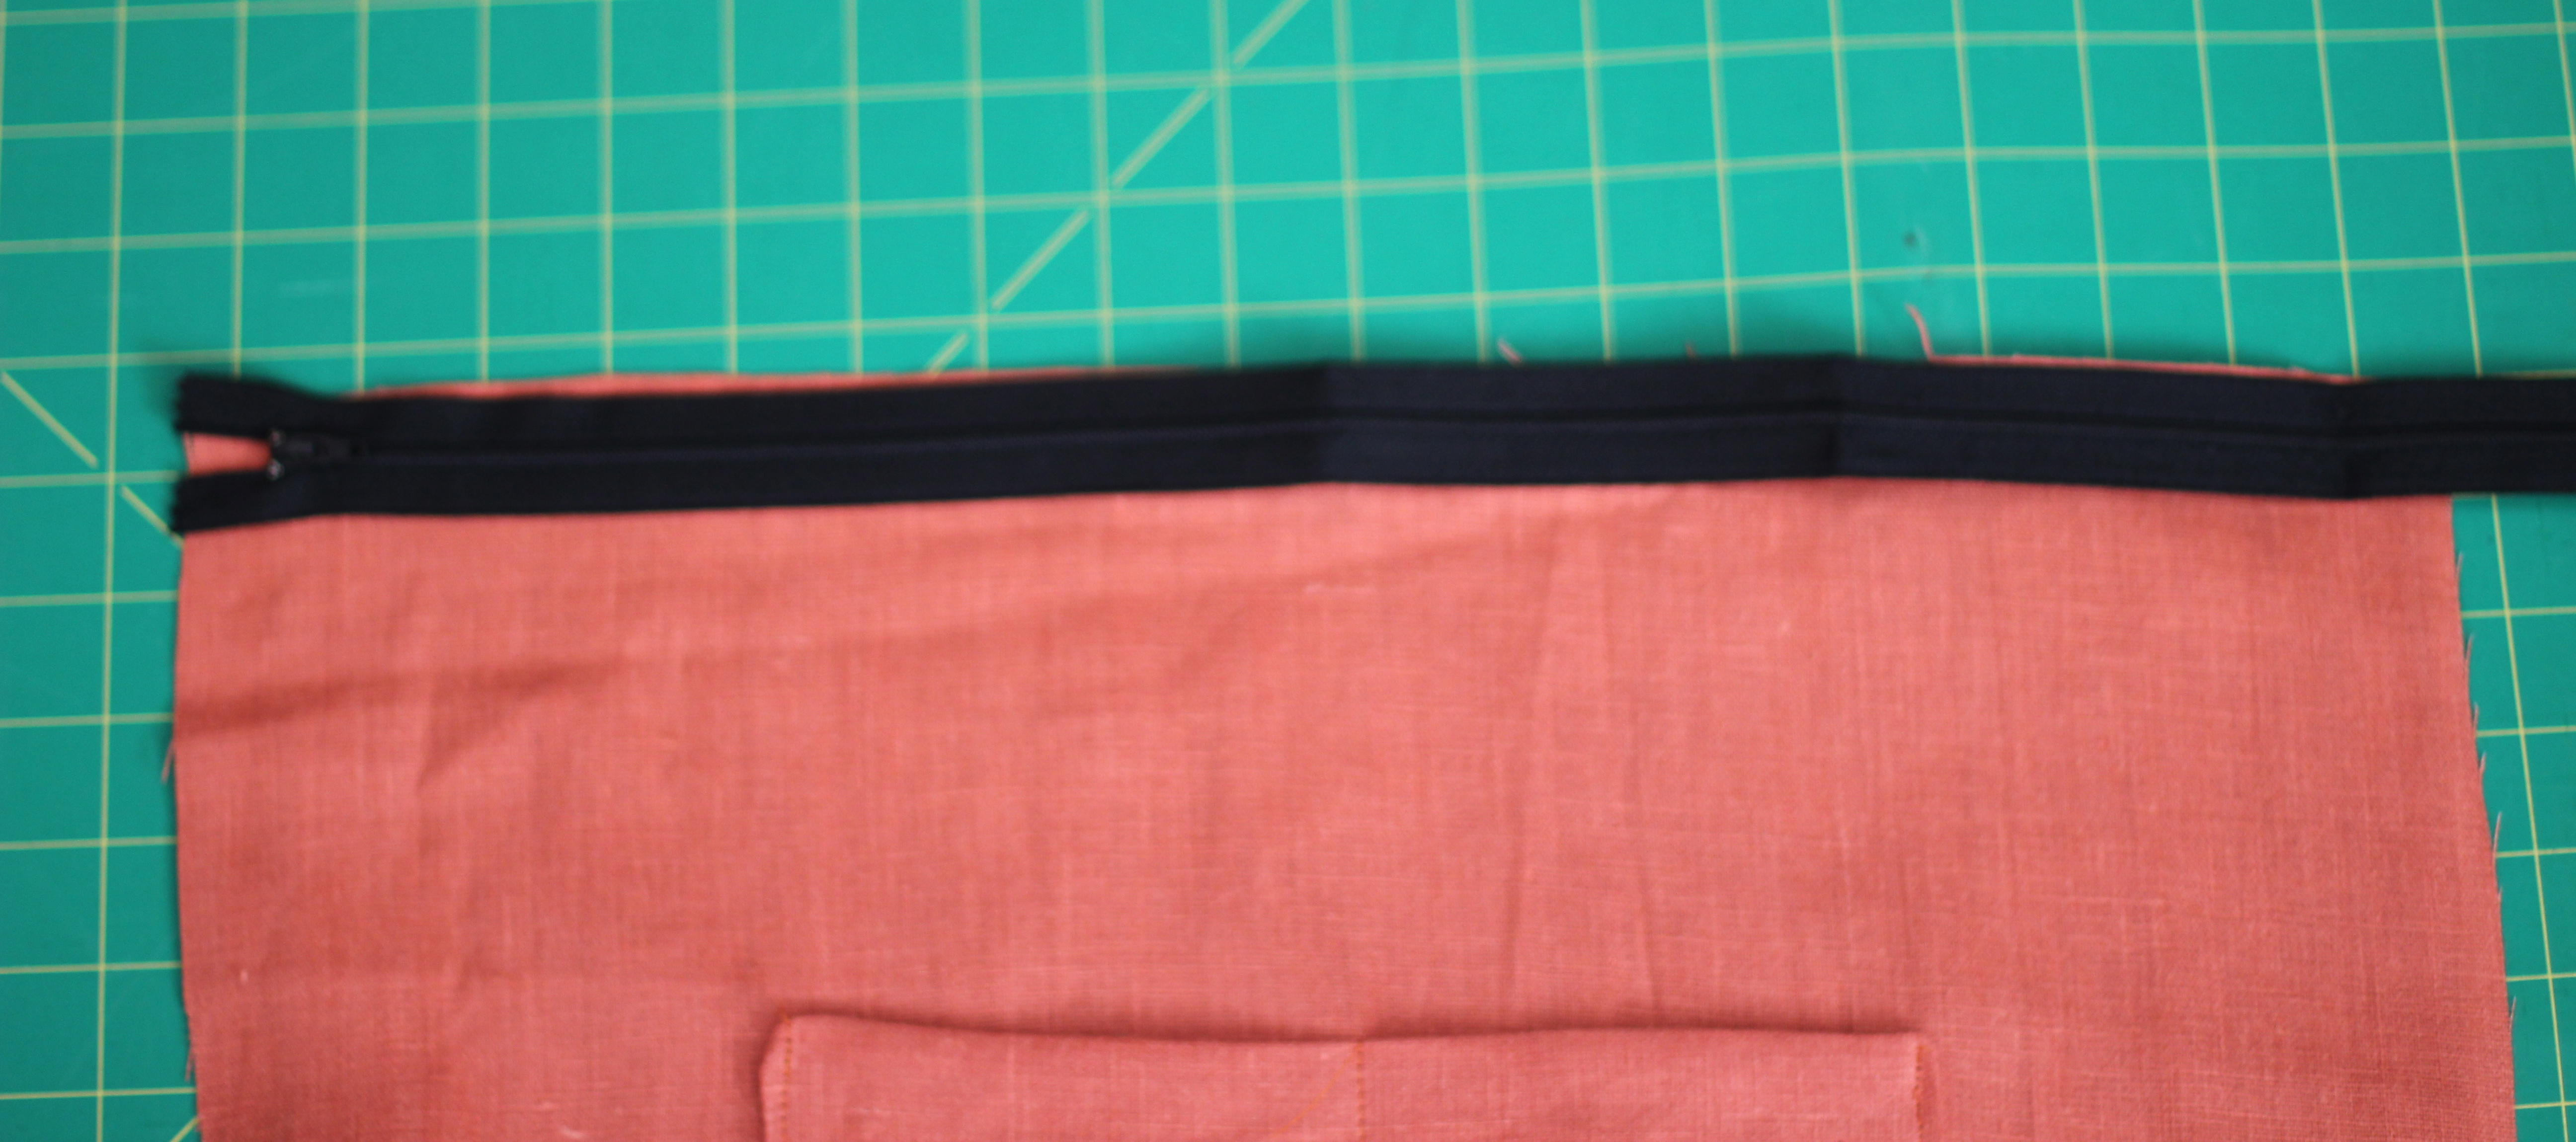
I repeated the sequence on the other side of the zipper and was left with outer fabric and inner fabric wrong sides together on either side of the zipper.
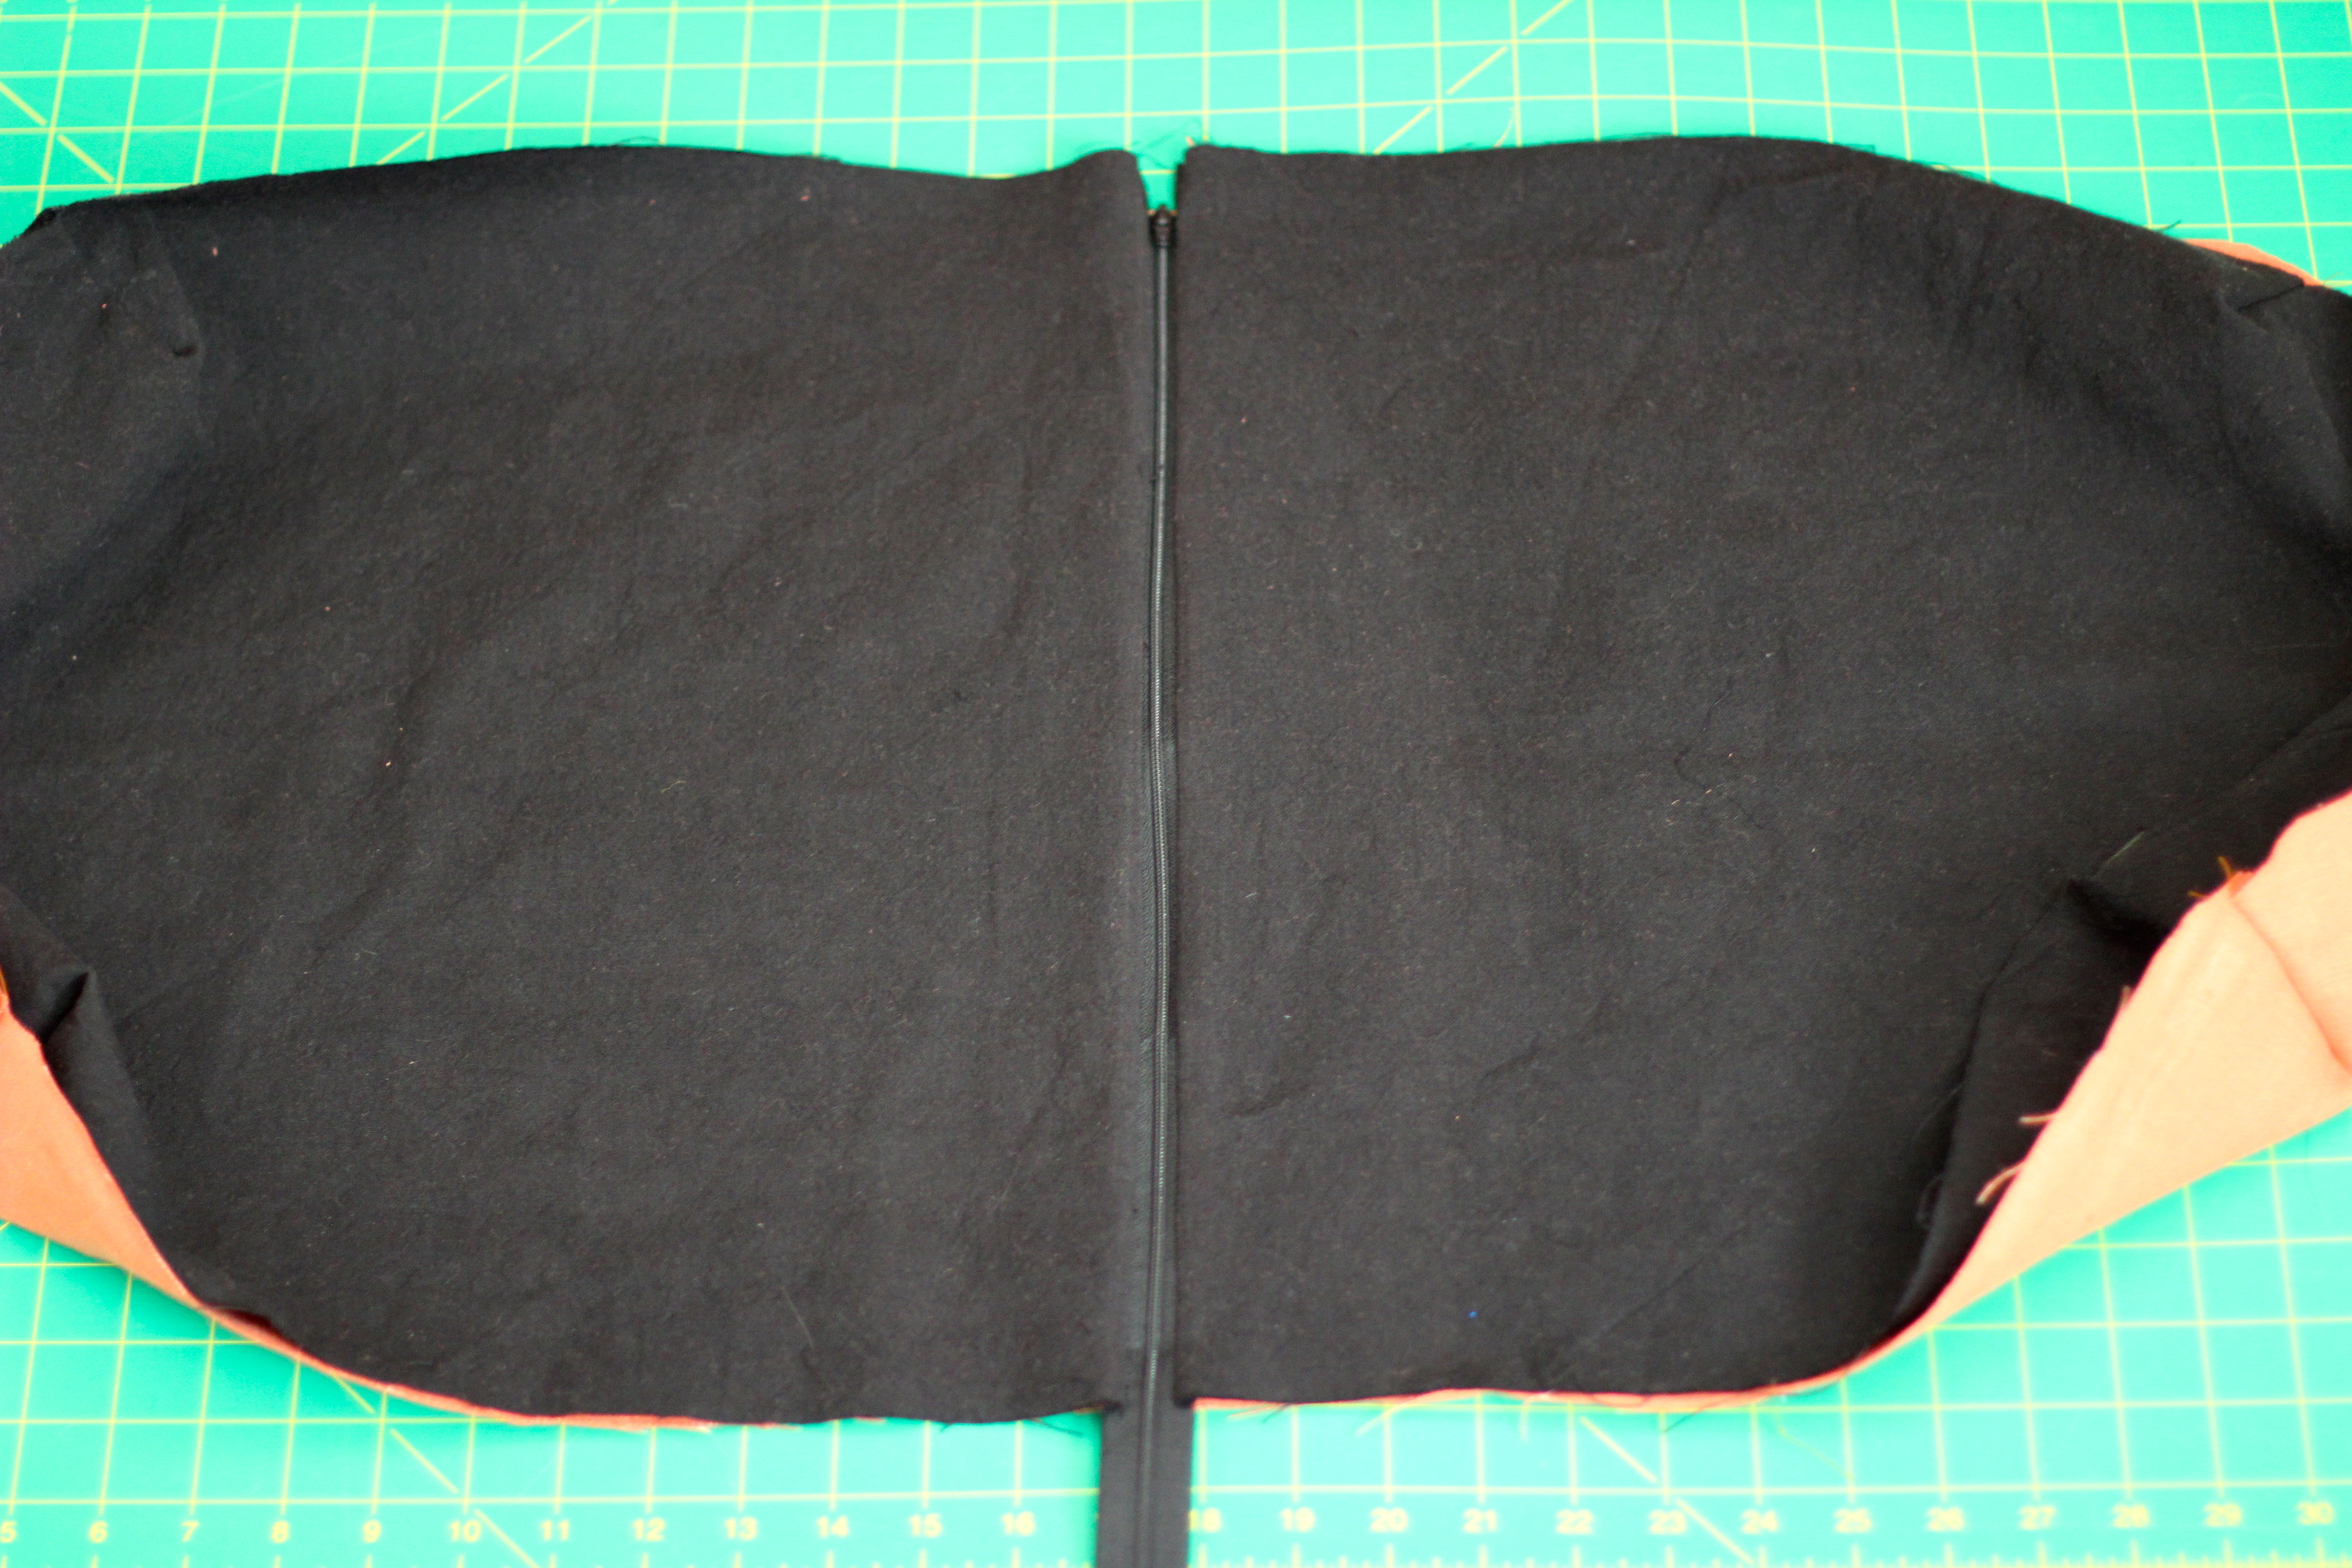
I then placed my fabric remnant on the center of the outer canvas on the side opposite of the one with the inner pocket. I pulled the lining away and made sure that there was 1/2 free at the bottom to allow the bottom seam to come together. I sewed the remnant in place using thread that matched.
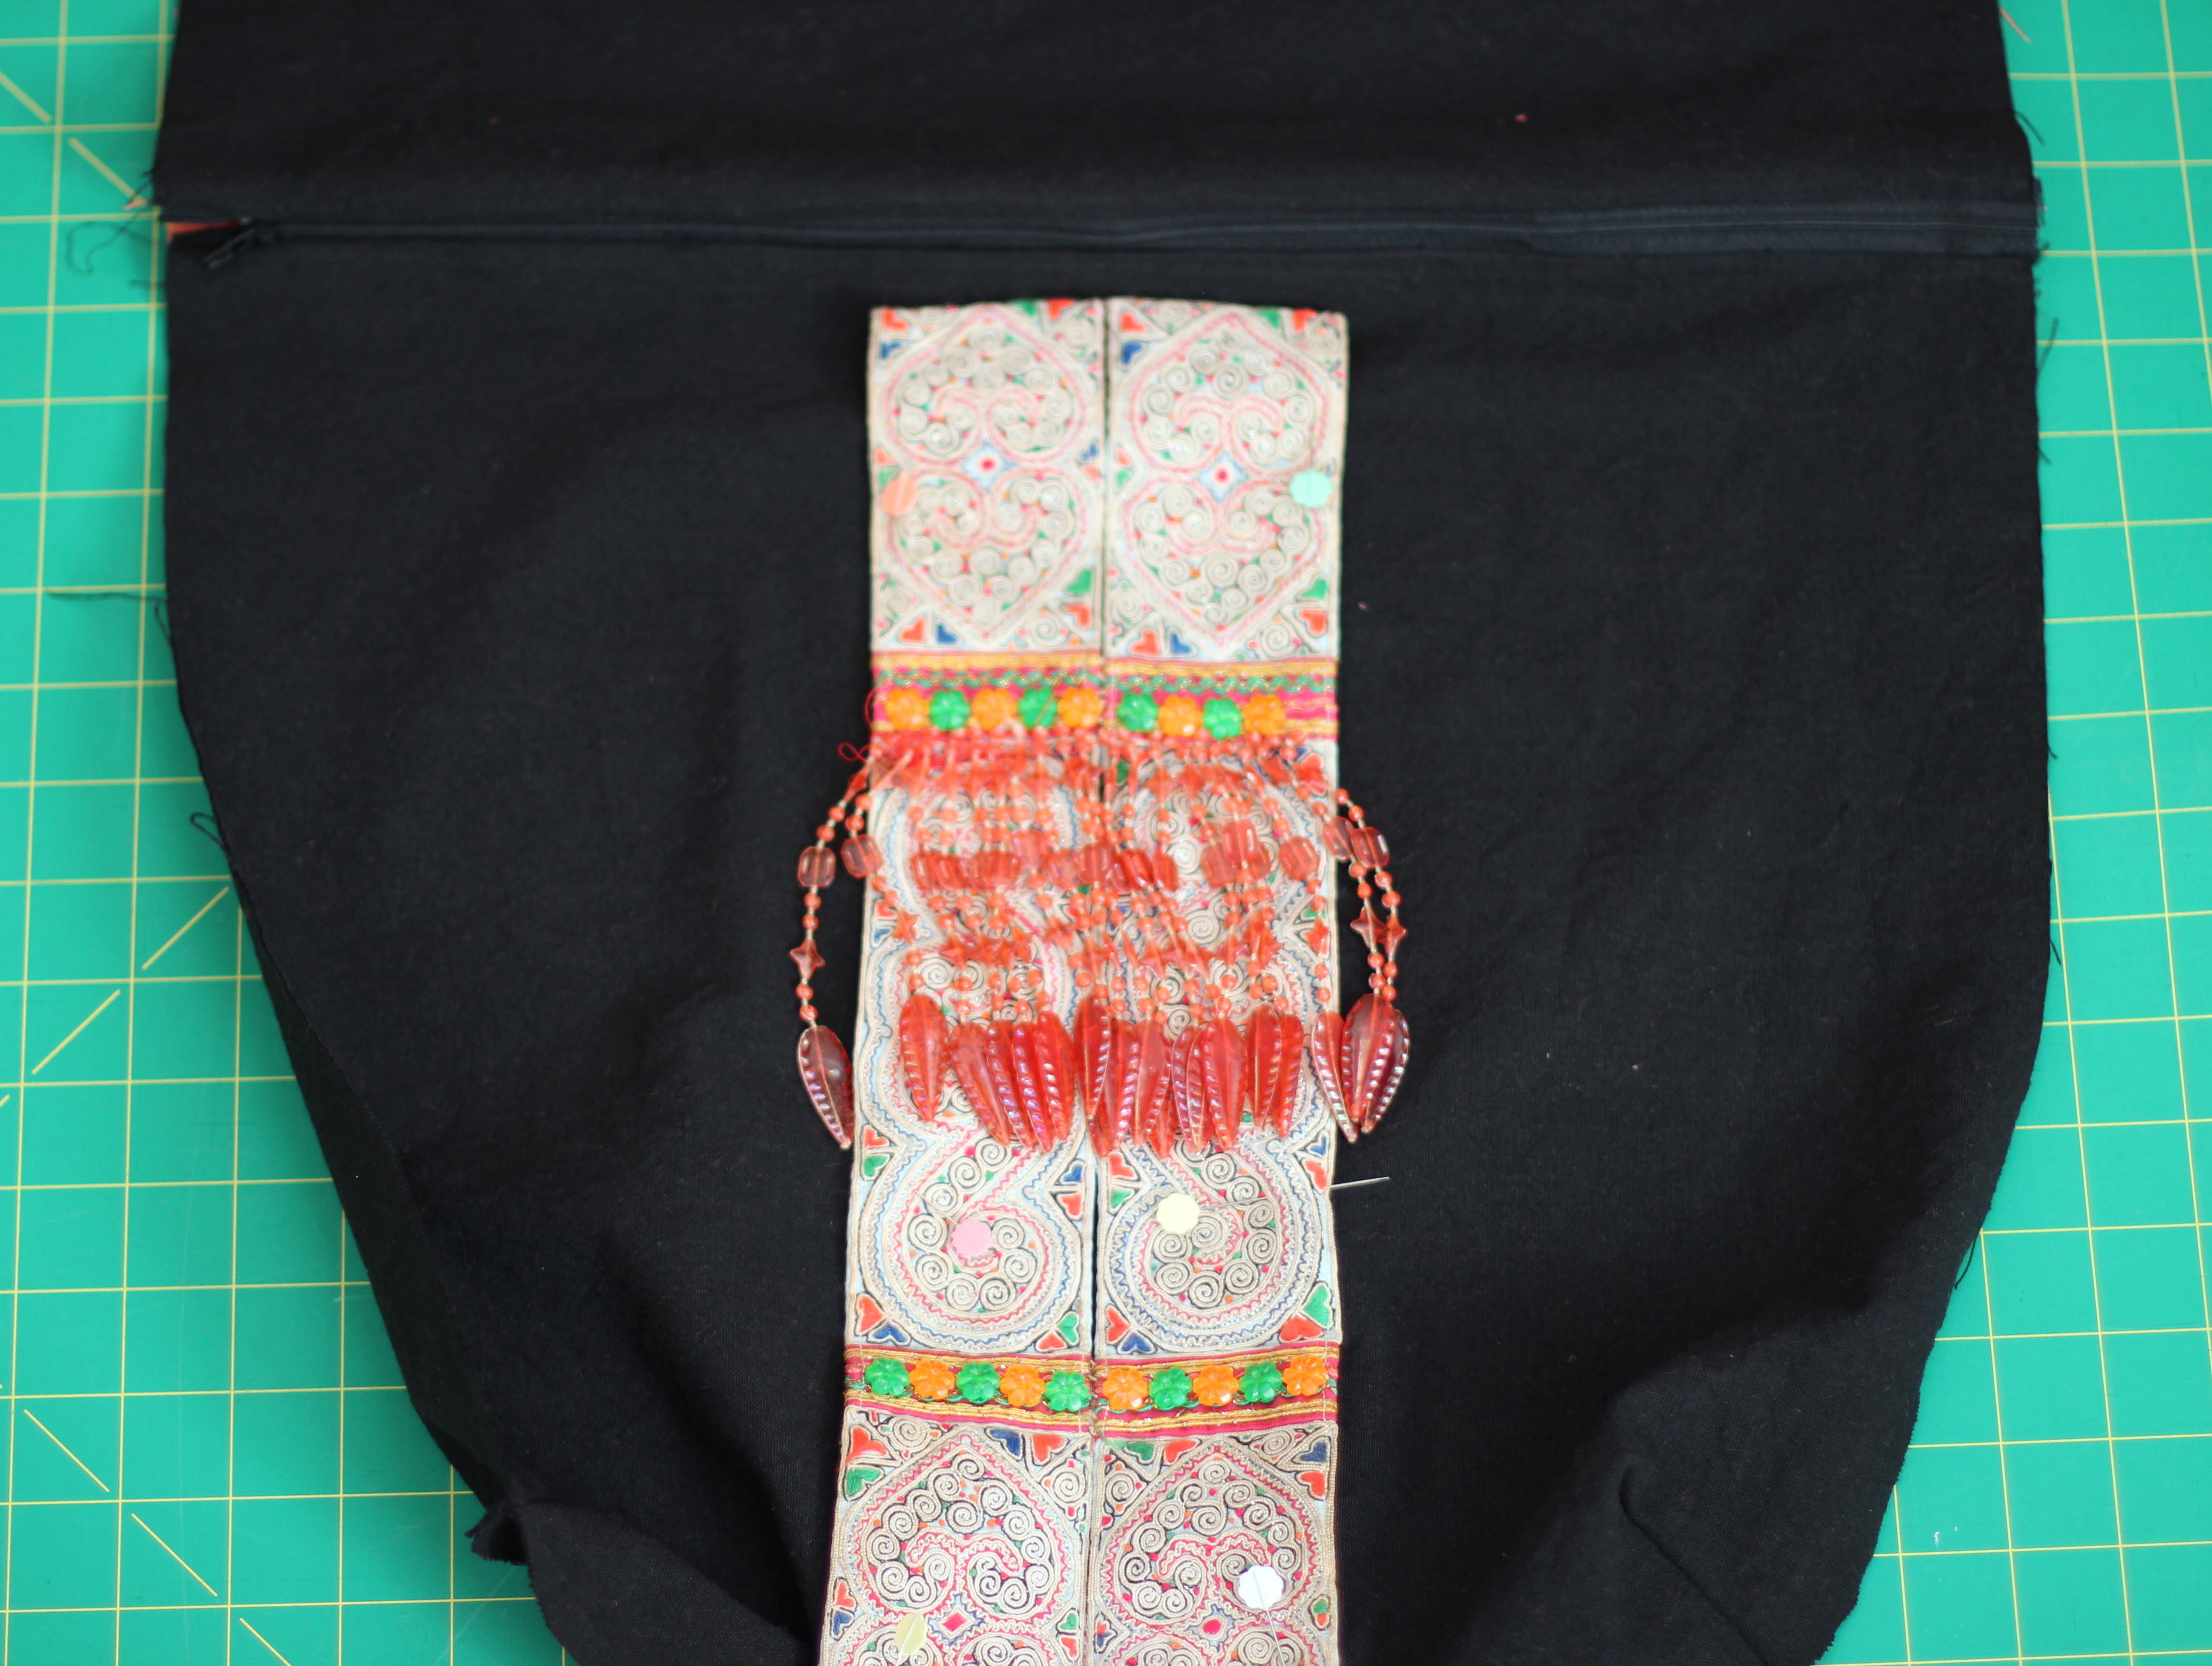
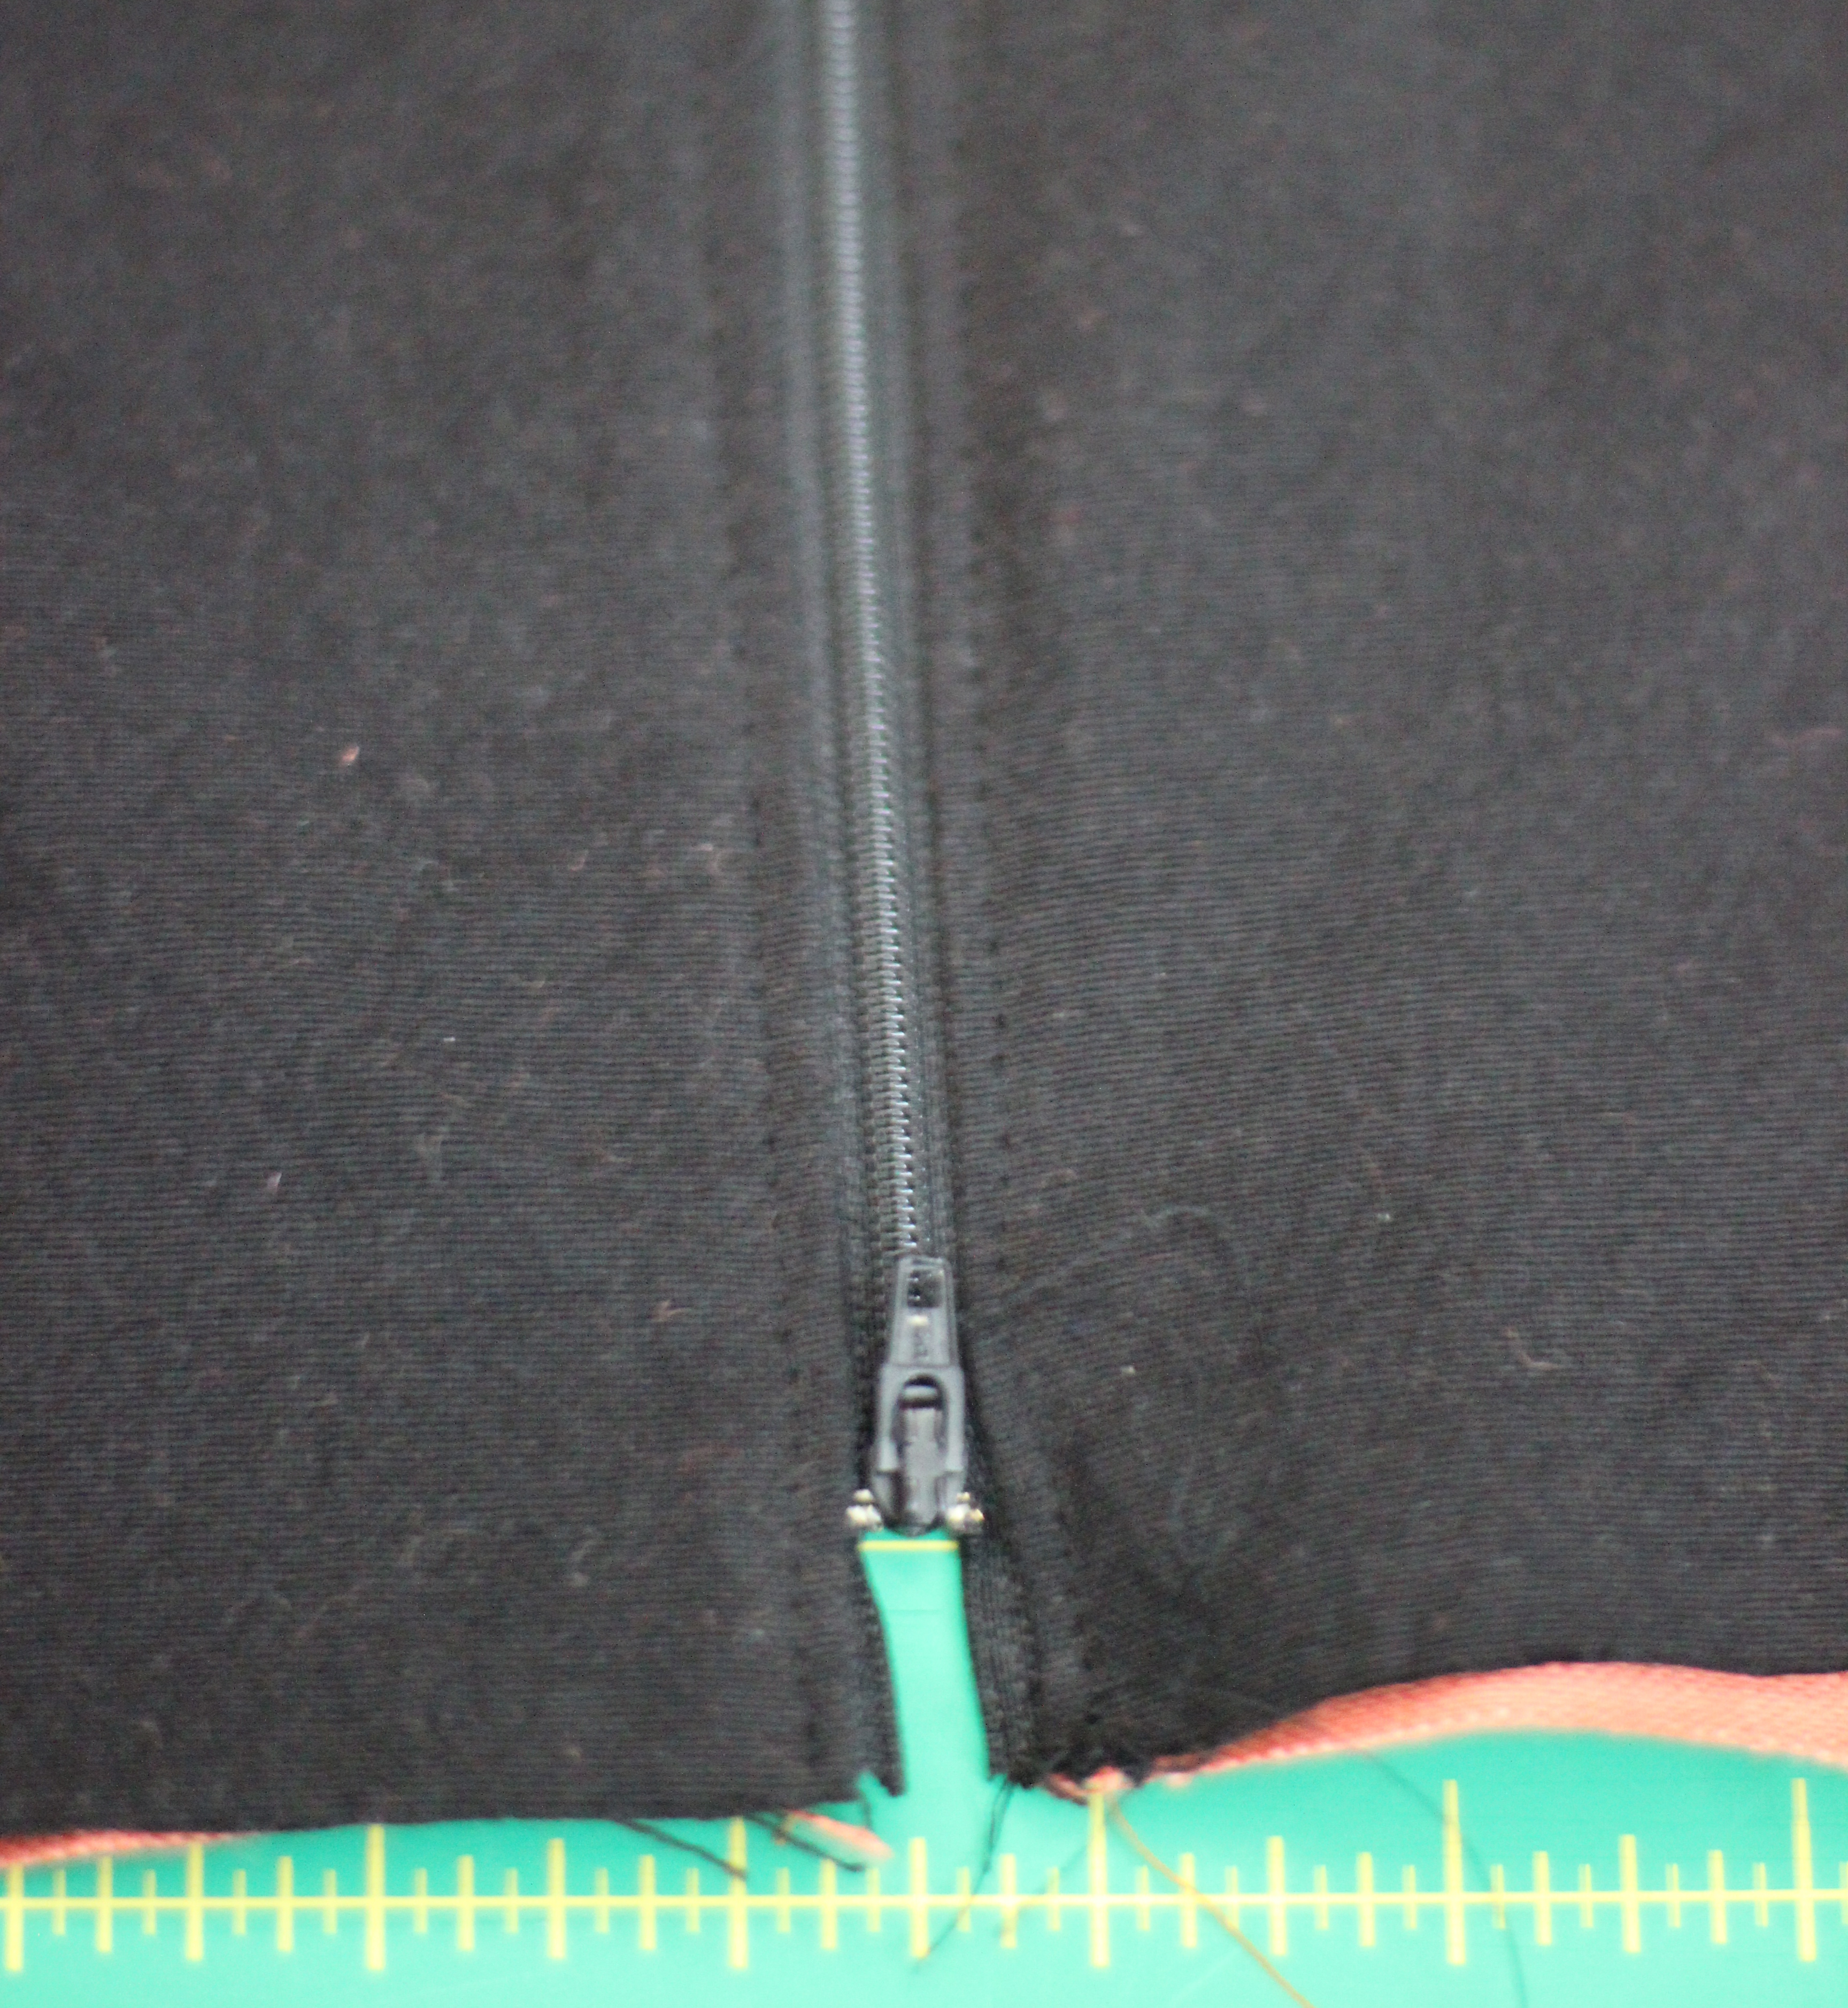
I top stitched along either side of the zipper using a 1/8 inch seam and trimmed the end of the zipper.
Next up, I pulled the outer canvas pieces together and the inner lining pieces together wrongs side together and sewed around the whole sandwich leaving a large opening at the bottom of the lining to facilitate flipping it right side out.
I flipped it and started working on the handle. To make the handle, I folded the 5×36 inch piece in half lengthwise and fused the fusible fleece with an iron to the top. I sewed around the rectangle leaving an opening in the middle of the long side to facilitate flipping inside out and also made a curve at each long end. I flipped it and pressed making sure the opening was lined up and topstit hed all around the handle at 1/8 and 1/2 inches.

Almost done, I reached inside the lining opening and secured the ends of the handle to the both sides of the bag so that the curved end of the handles were 3 inches below the zipper. Although it was a tight fit, I used my machine to sew the handle to the outer canvas (keeping the lining out of the way) in a u shape following the curve of the handle and sewing across the top of the U a couple times to reinforce. Lastly, using thread to match the lining I sewed the lining opening closed using a 1/8 inch seam.

Hope that wasn’t too confusing. I think this bag would work for remnant of any kind, in fact I have an antique quilted square I want to try next.

I will share this to my friends who have organizations like helping women. This can taught to them so that they will be able to earn additional income. Thanks for this great idea!
I love purses, bags, etc. This one is very cool! The black and orange look great together!
Thanks. 🙂
Beautiful bag! Thanks for sharing. I wish I had remnants like yours, it looks so special.
Thanks Sonia
Great bag and tutorial. You made it sounds so easy. I always get turned around with sandwiching the zipper and opening out the lining from the bag for stitching. Your pictures are the clearest I have seen.The remnant with the beads is lovely.
Rushed this bag and post a bit. In retrospect wish I would have taken more time. Always so hard to fit in work, family, and crafting. Thanks Bianca.